Verticals Stabilized


The past week hasn't been too active, but I did find some time to get down into my workshop and start on the rest of the vertical stabilizer skeleton.
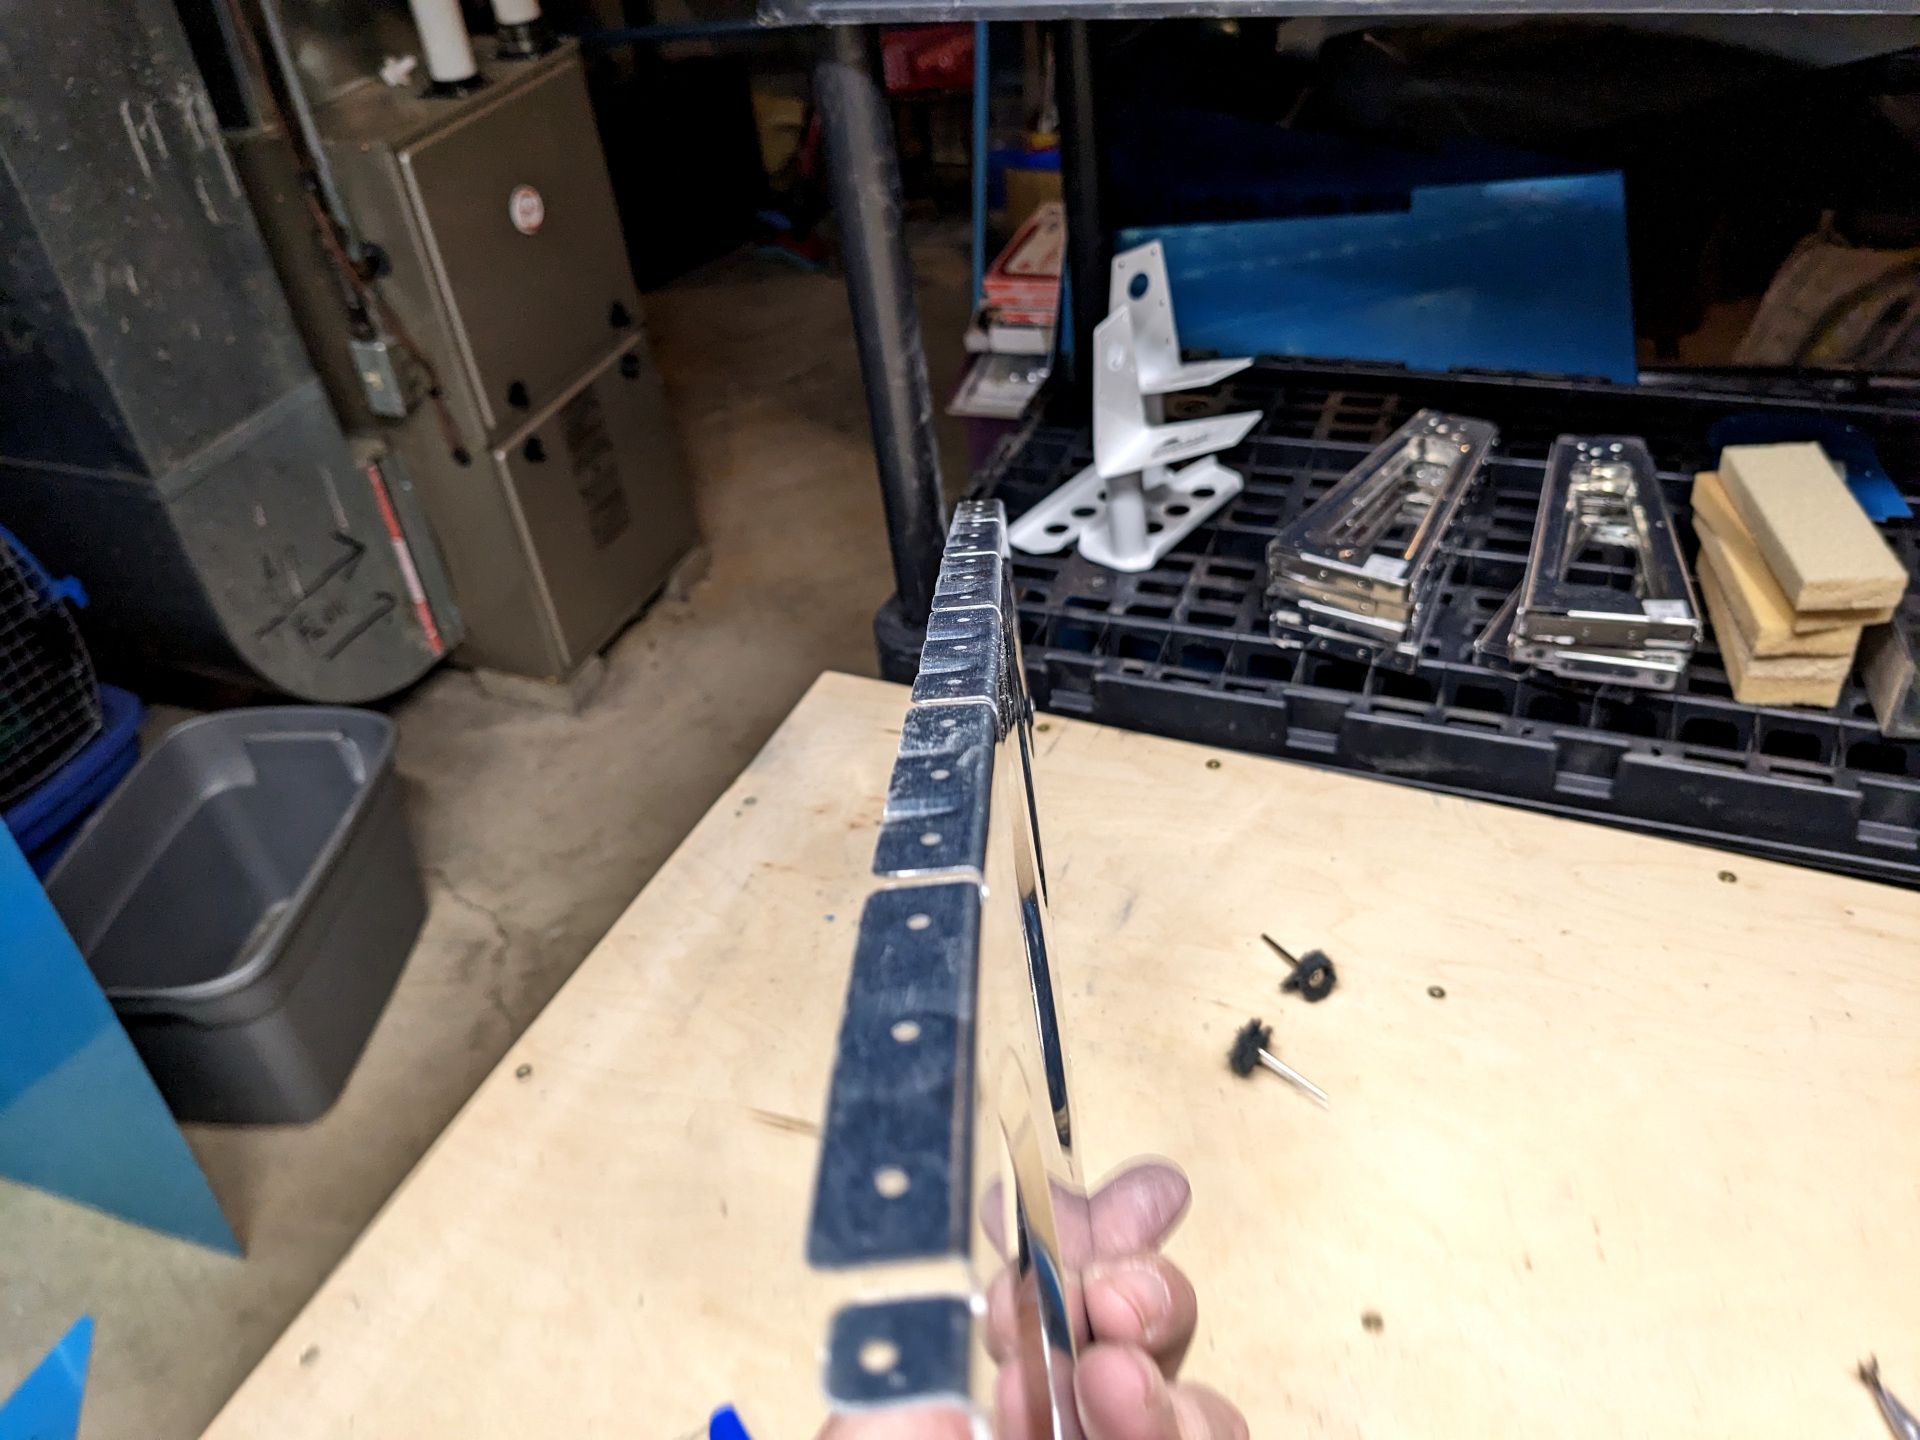
As I went on I tried out a few new techniques I have discovered, been told, or otherwise got tools for. A set of small files has sped up my edge cleaning considerably as well as a 3M wheel I cut up and put on my Dremel to get the flange fingers. So that part of the work has become pretty easy and I decided to start with a middle rib so I could make my project 3D.
Wow, look at it in all its majesty. It really brings a tear to my eyes. But it is time for more progress! One thing I did notice (and wasn't unexpected) was that the ribs generally weren't straight because they are punched out of a sheet and gain a little bend.
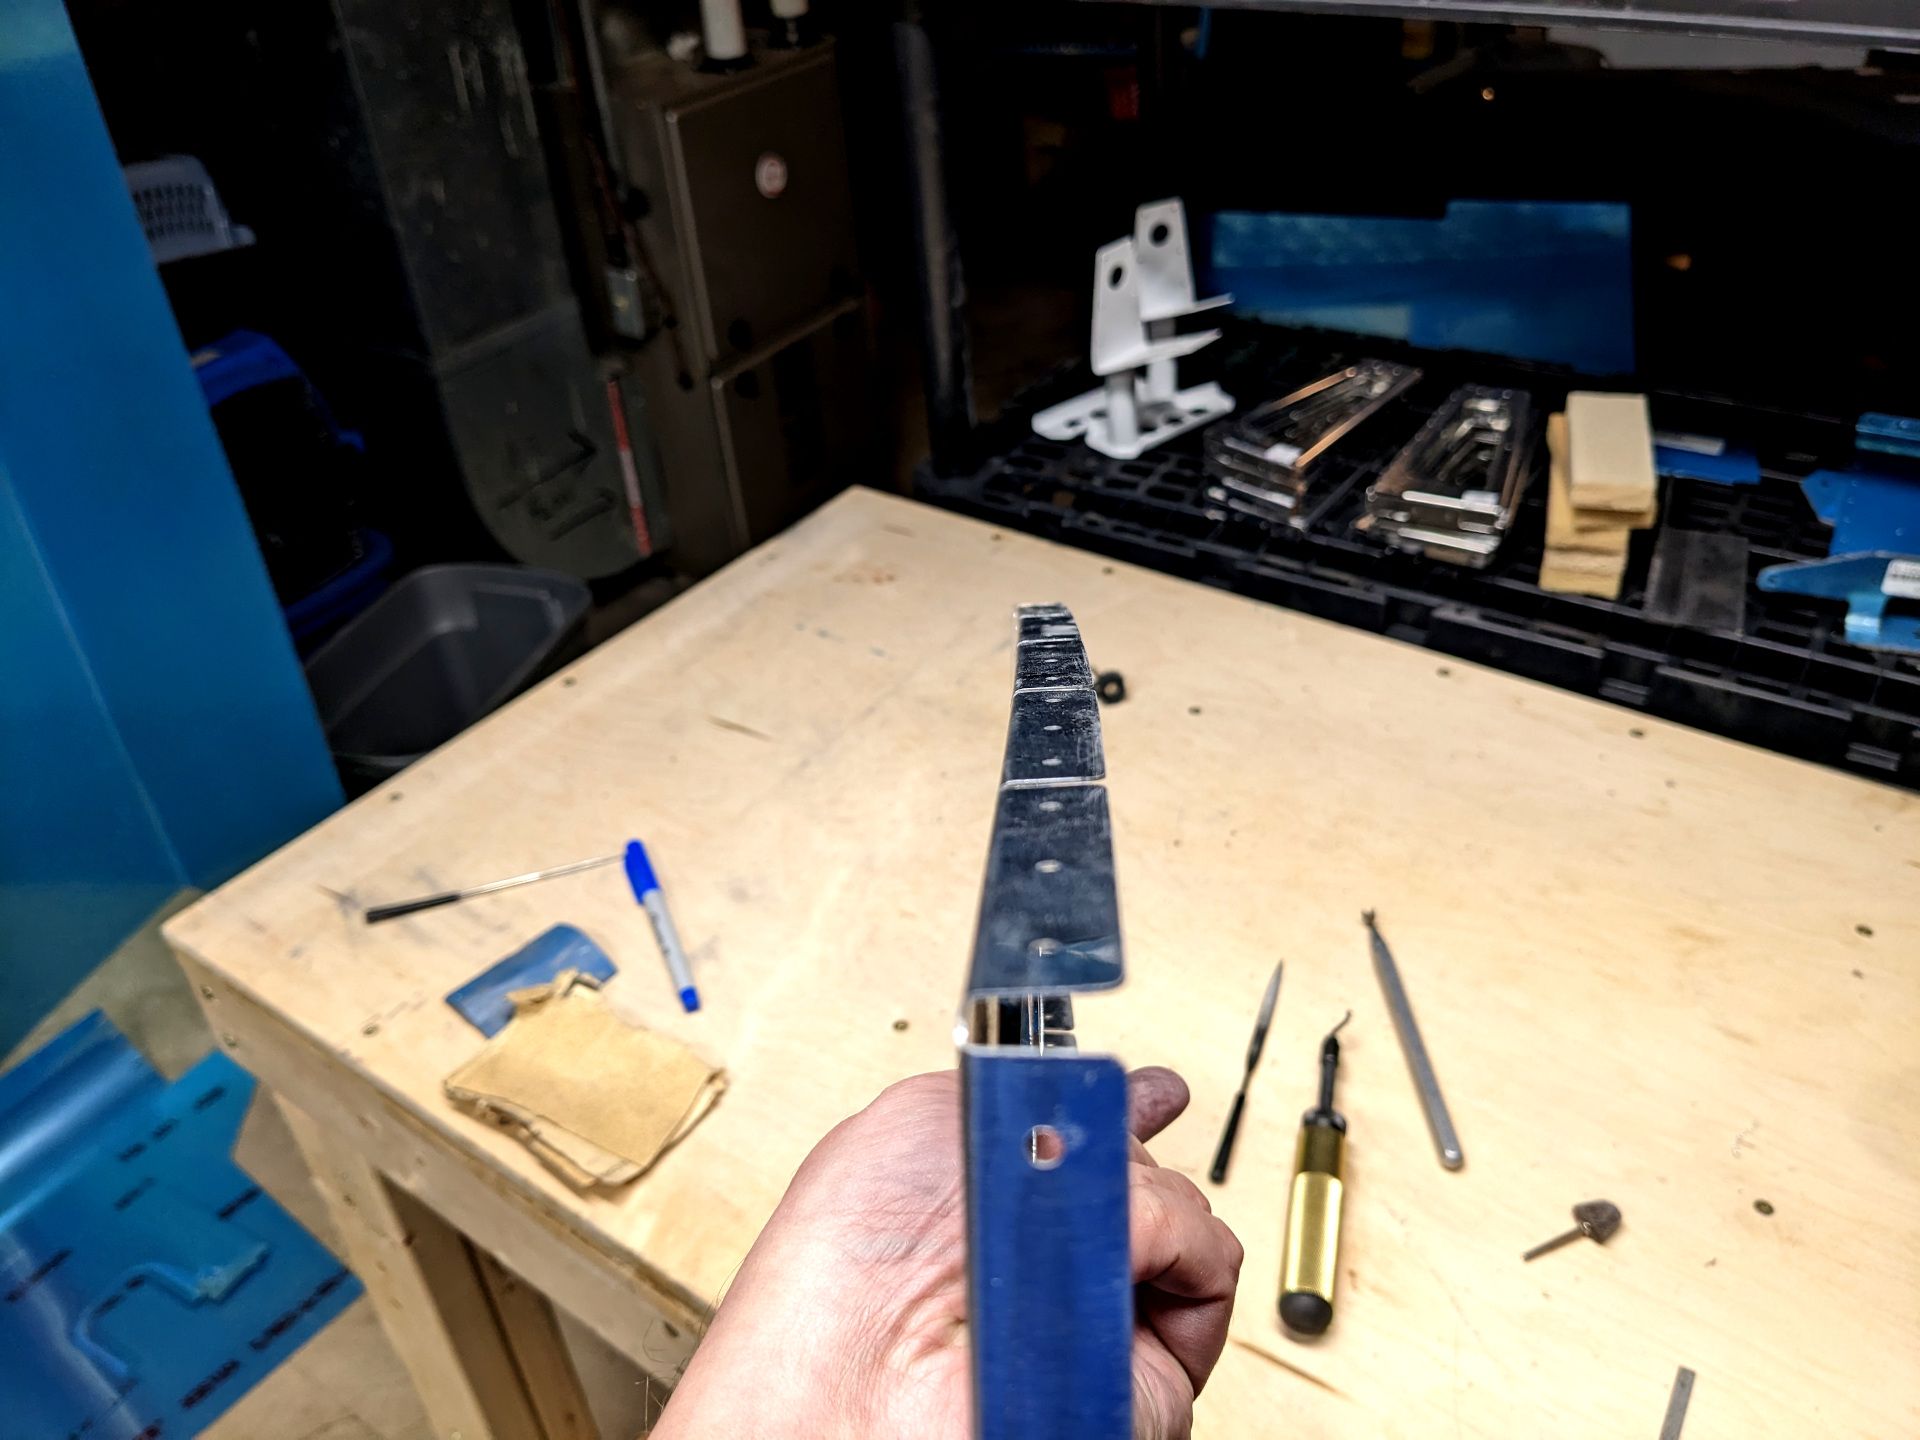
But this bend isn't anything hard to take care of. I have a pair of pliers, called fluting pliers, and they let you put your own little bends in the flanges to help shorten the distance and pull the end inward. So after 30 seconds or so, I had a straight rib.
Now at this point I was thinking things were going along a little too well. Not to worry, I found a very ambiguous step that caused me a lot of puzzling and scratching my head.

I guess this could be obvious to some that have worked with a lot of sheet metal before but I honestly didn't have a clue what that wanted from me. Then I did the impatient thing and instead of calling Van's builder help I just made a guess. It would appear that I made the correct guess but that was probably not the way to go about things.
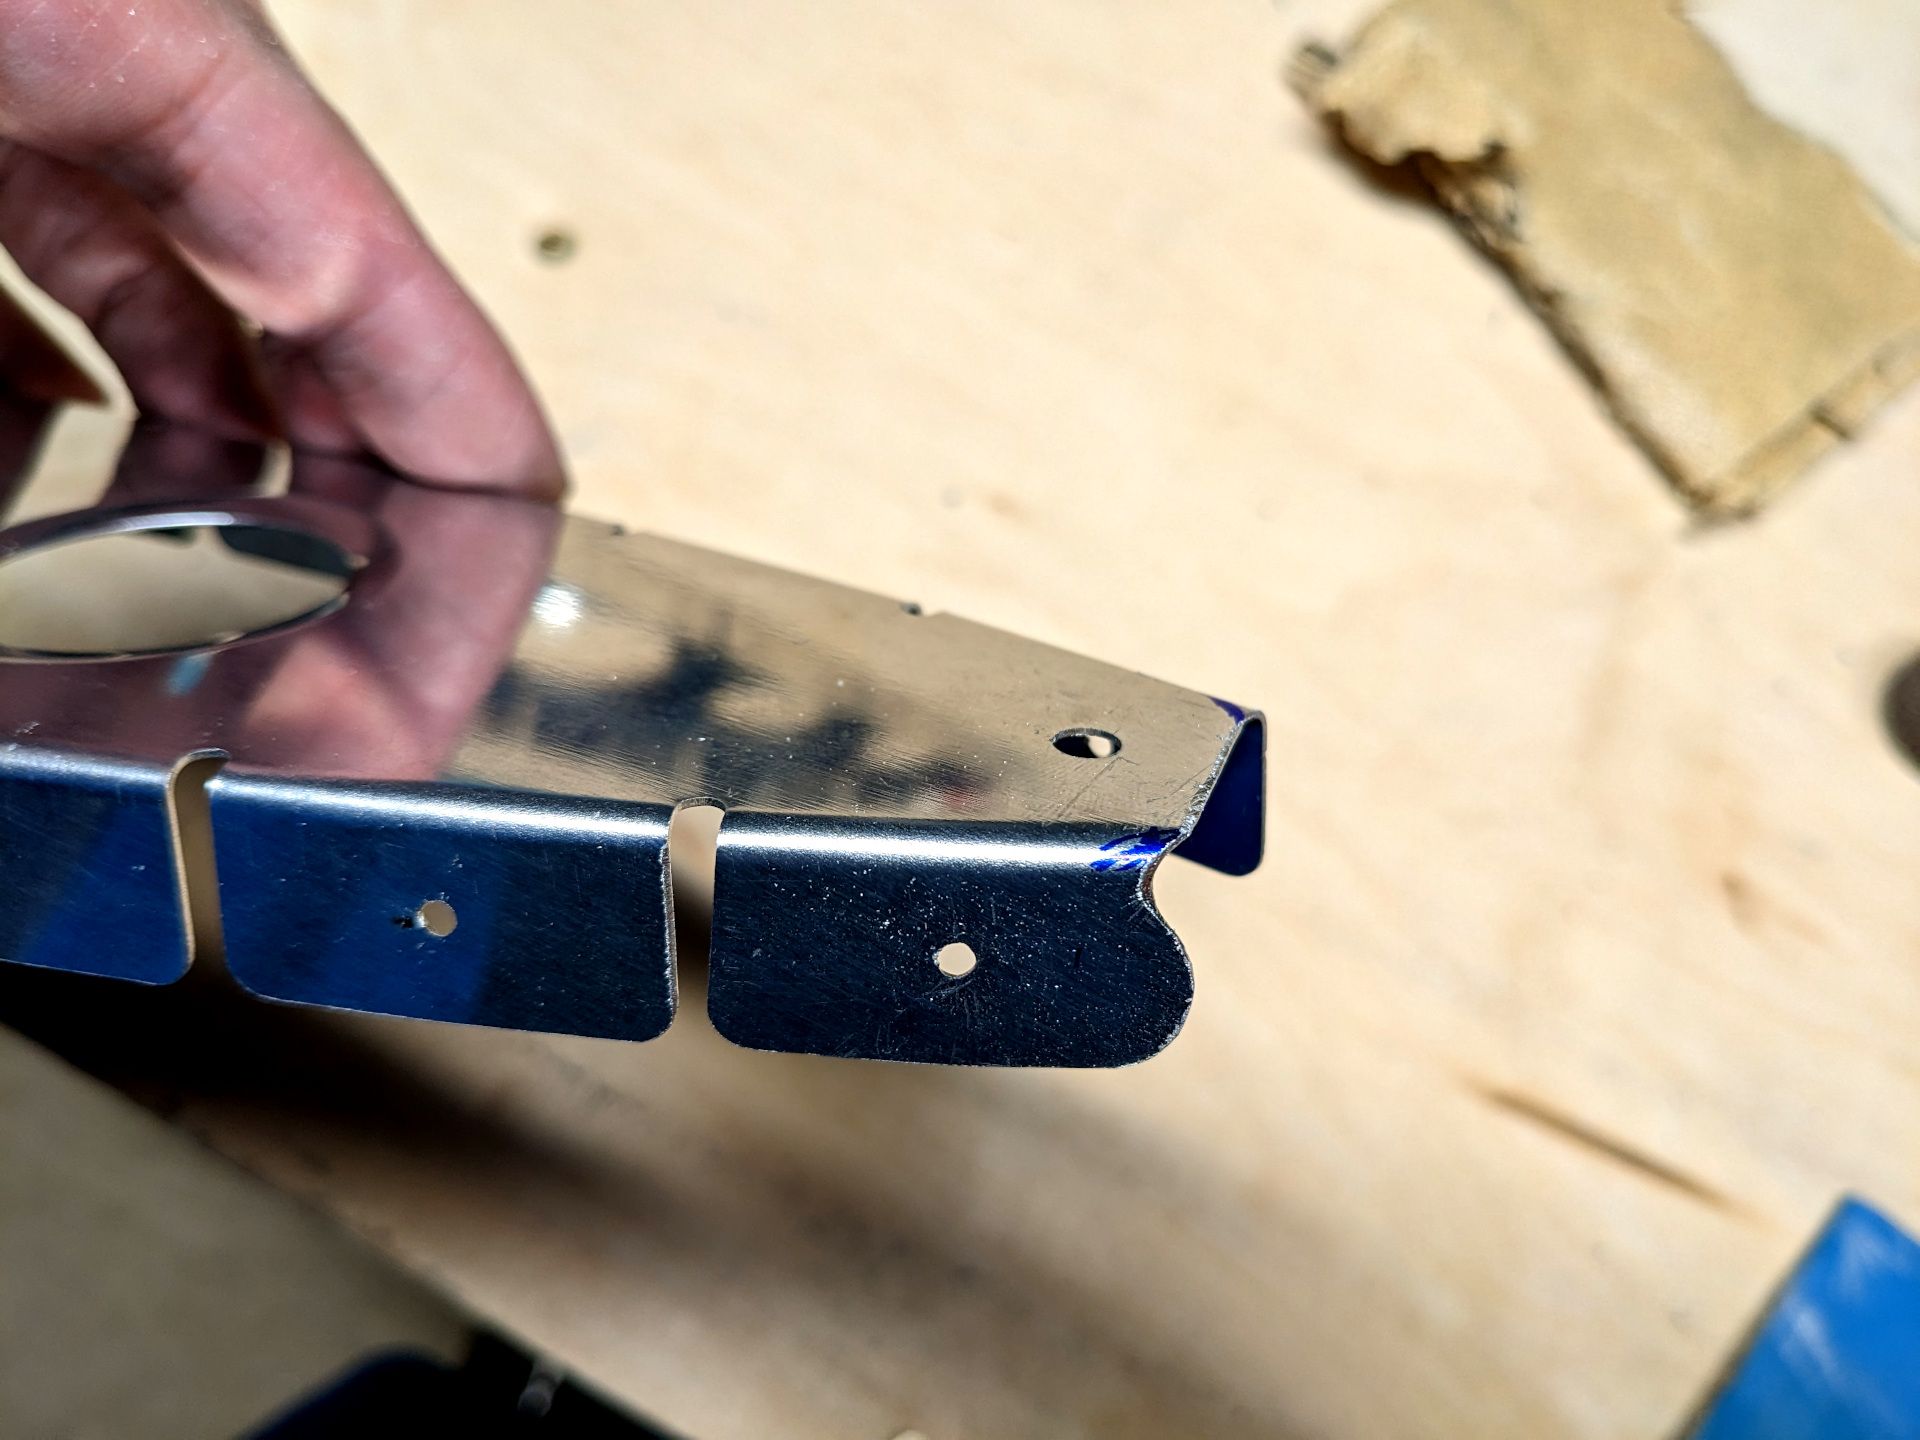
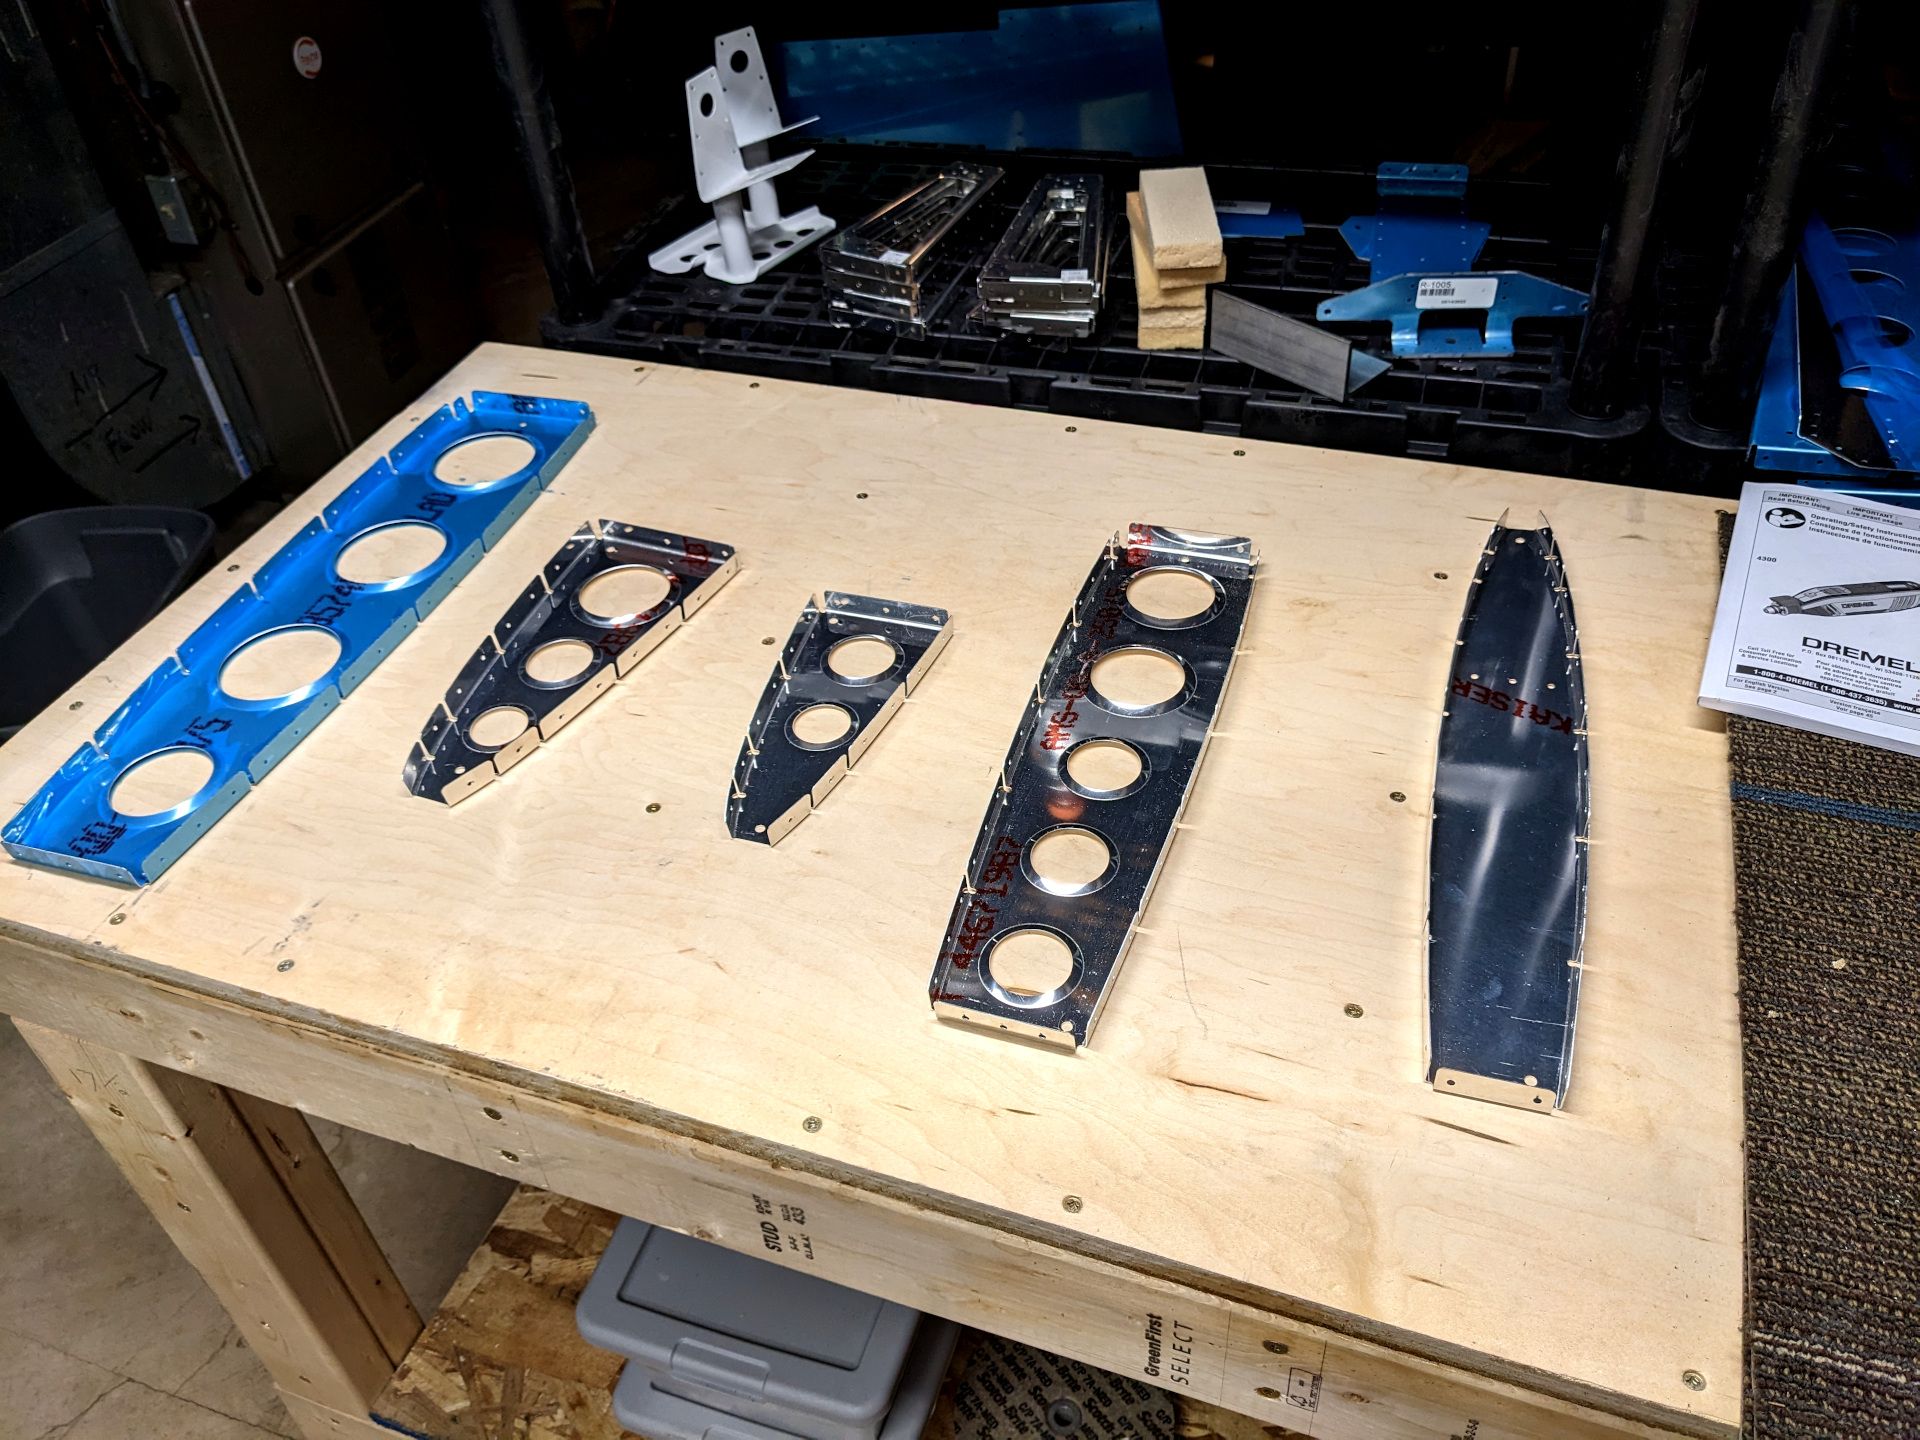
That above picture wasn't the final rib shape, but it is where I started. It is easy to remove more material but a lot trickier to put it back on later. But with that preparation done, I decided to slap the whole skeleton together and see what I have.
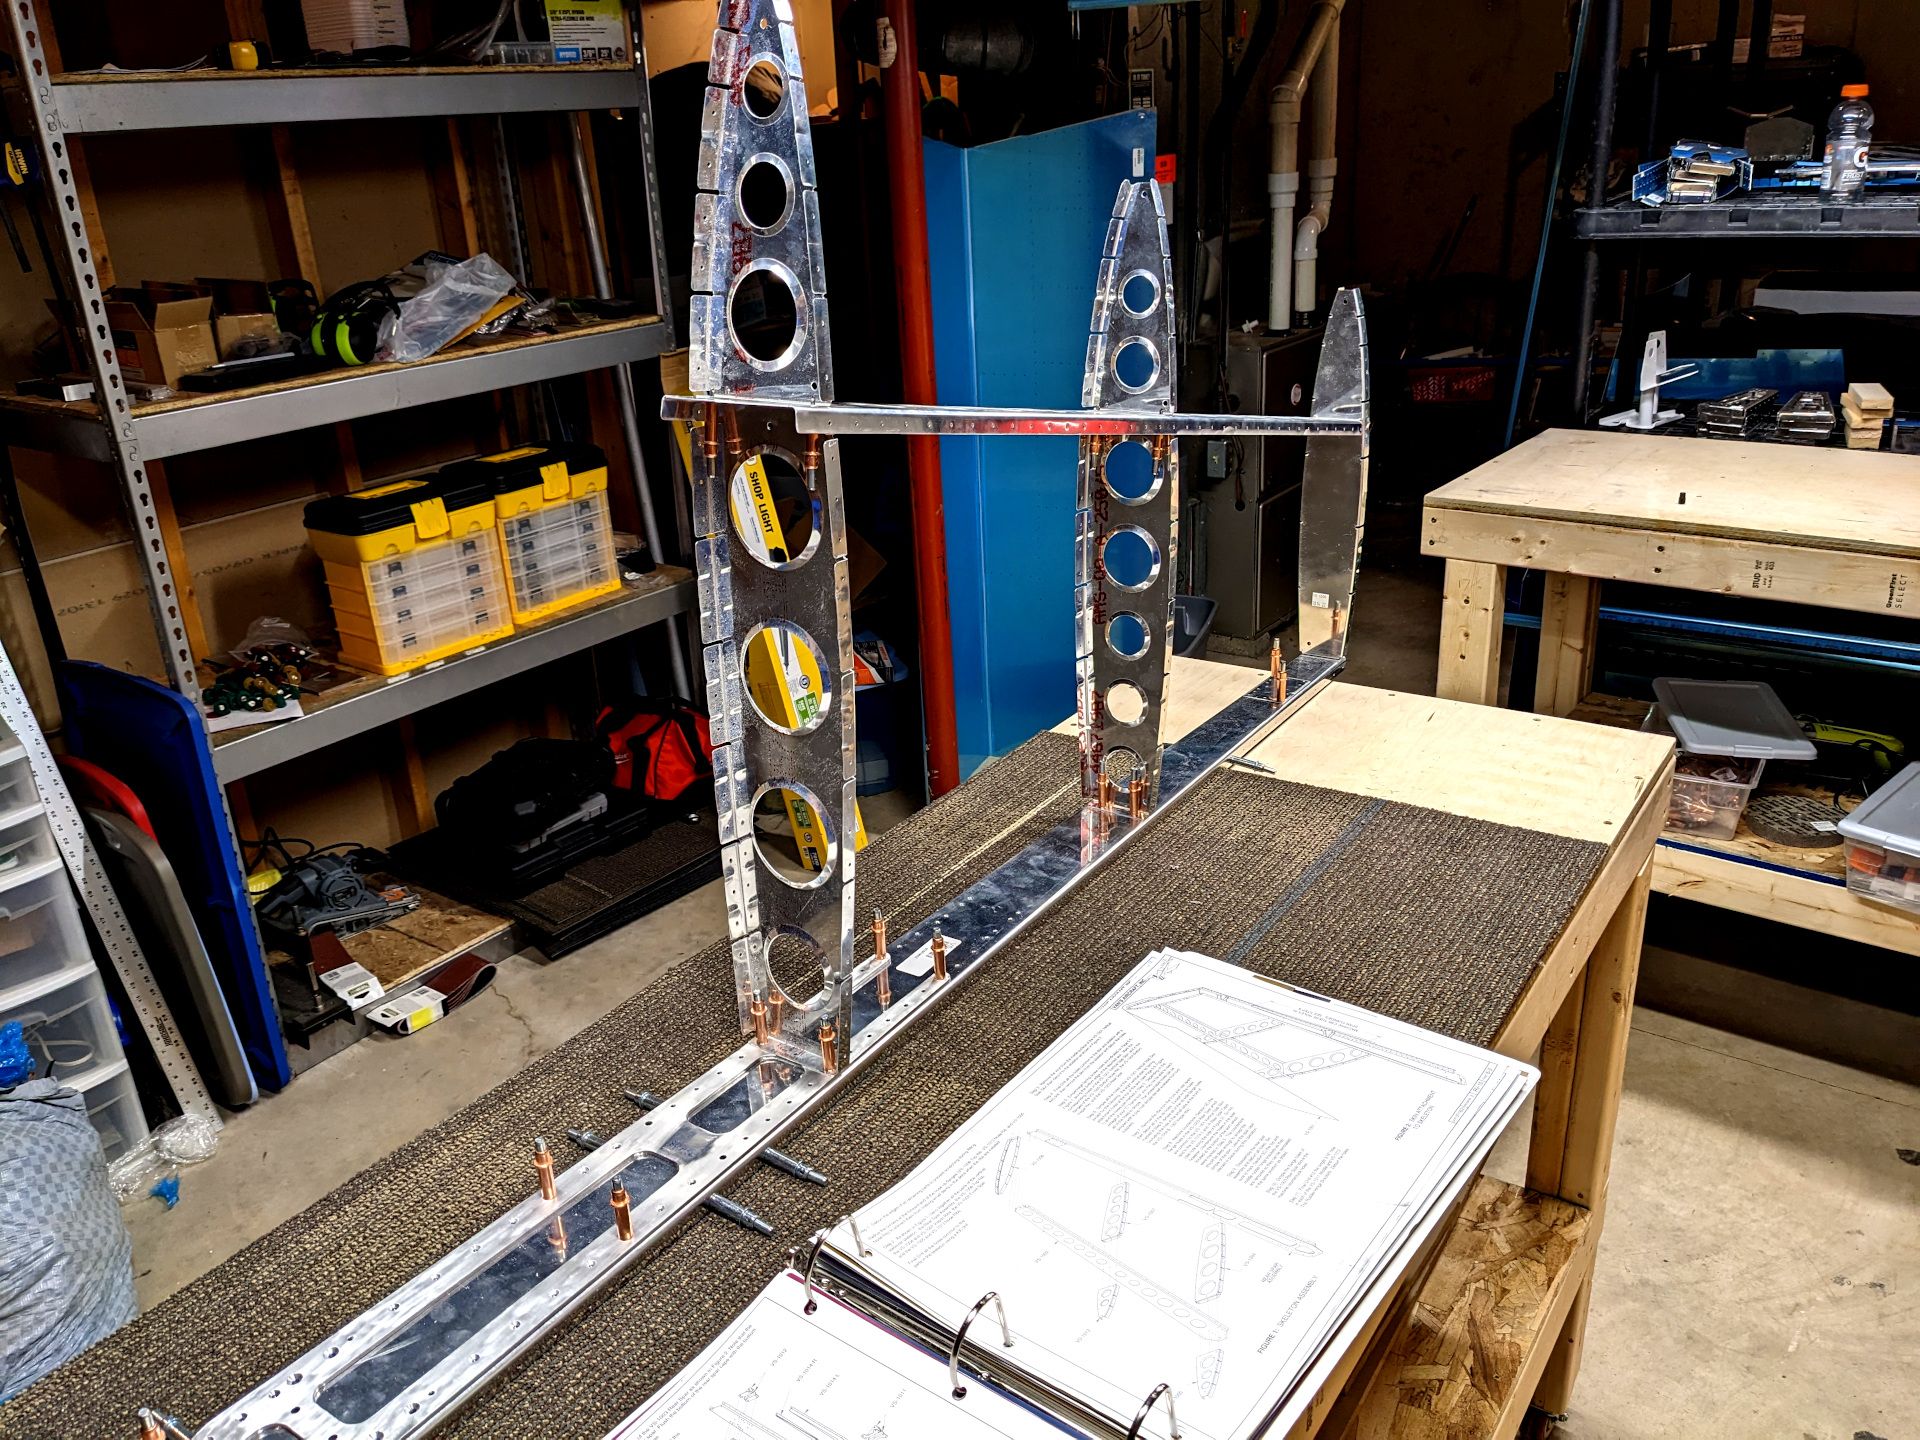
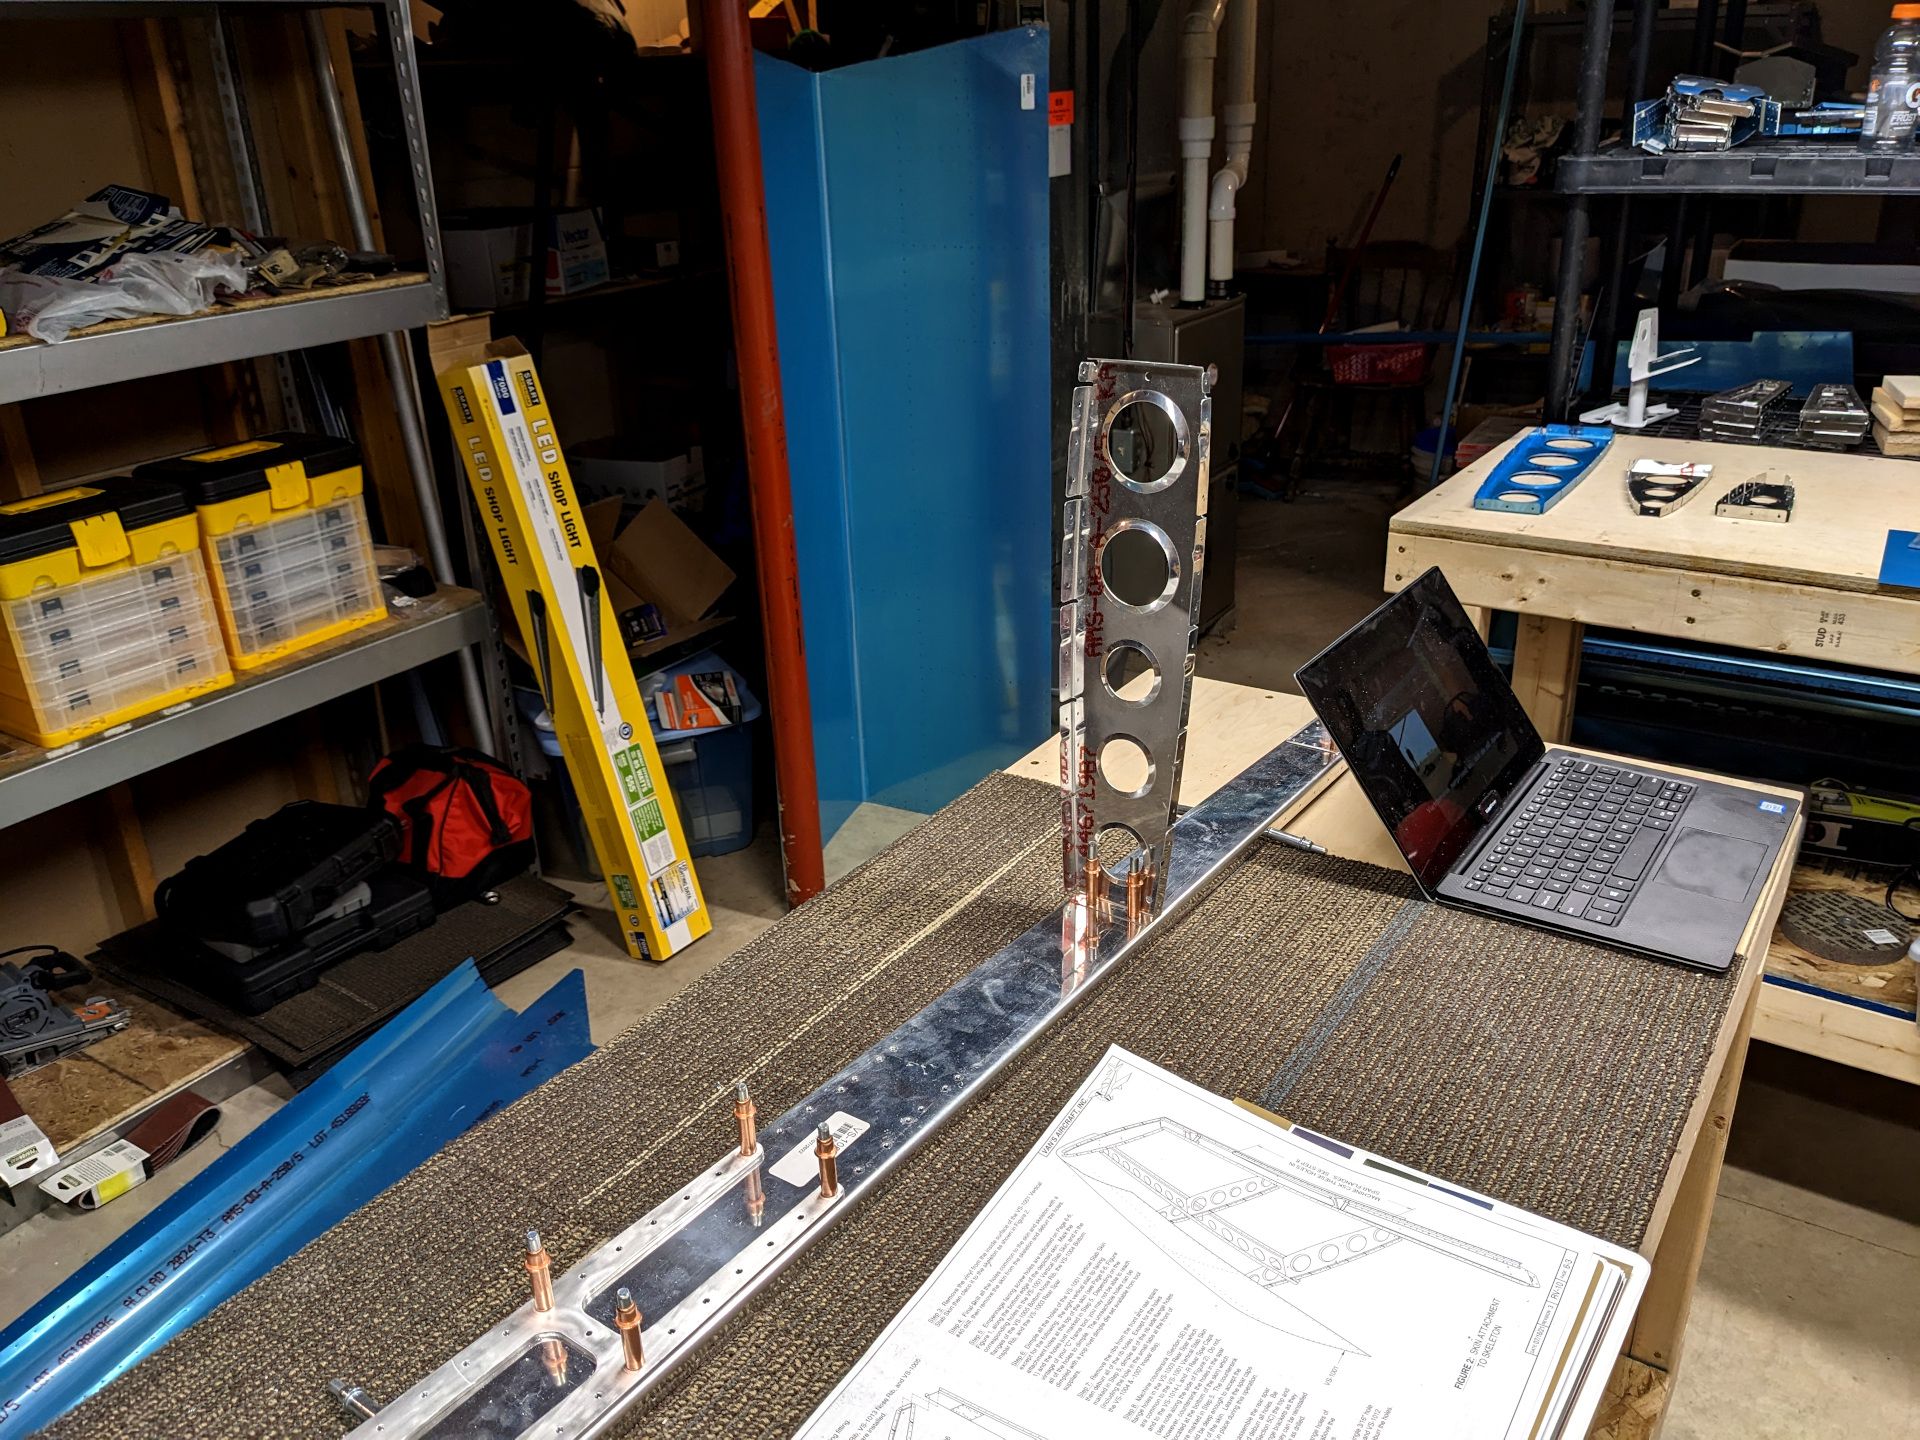
I don't have much to say about this whole process because it really was just a lot of cleaning up aluminum. It took a few sessions in the workshop to get through it but I am getting faster each time. This brings me to what I did tonight which took me four hours of head scratching and fighting with it: Putting the skin on the skeleton.
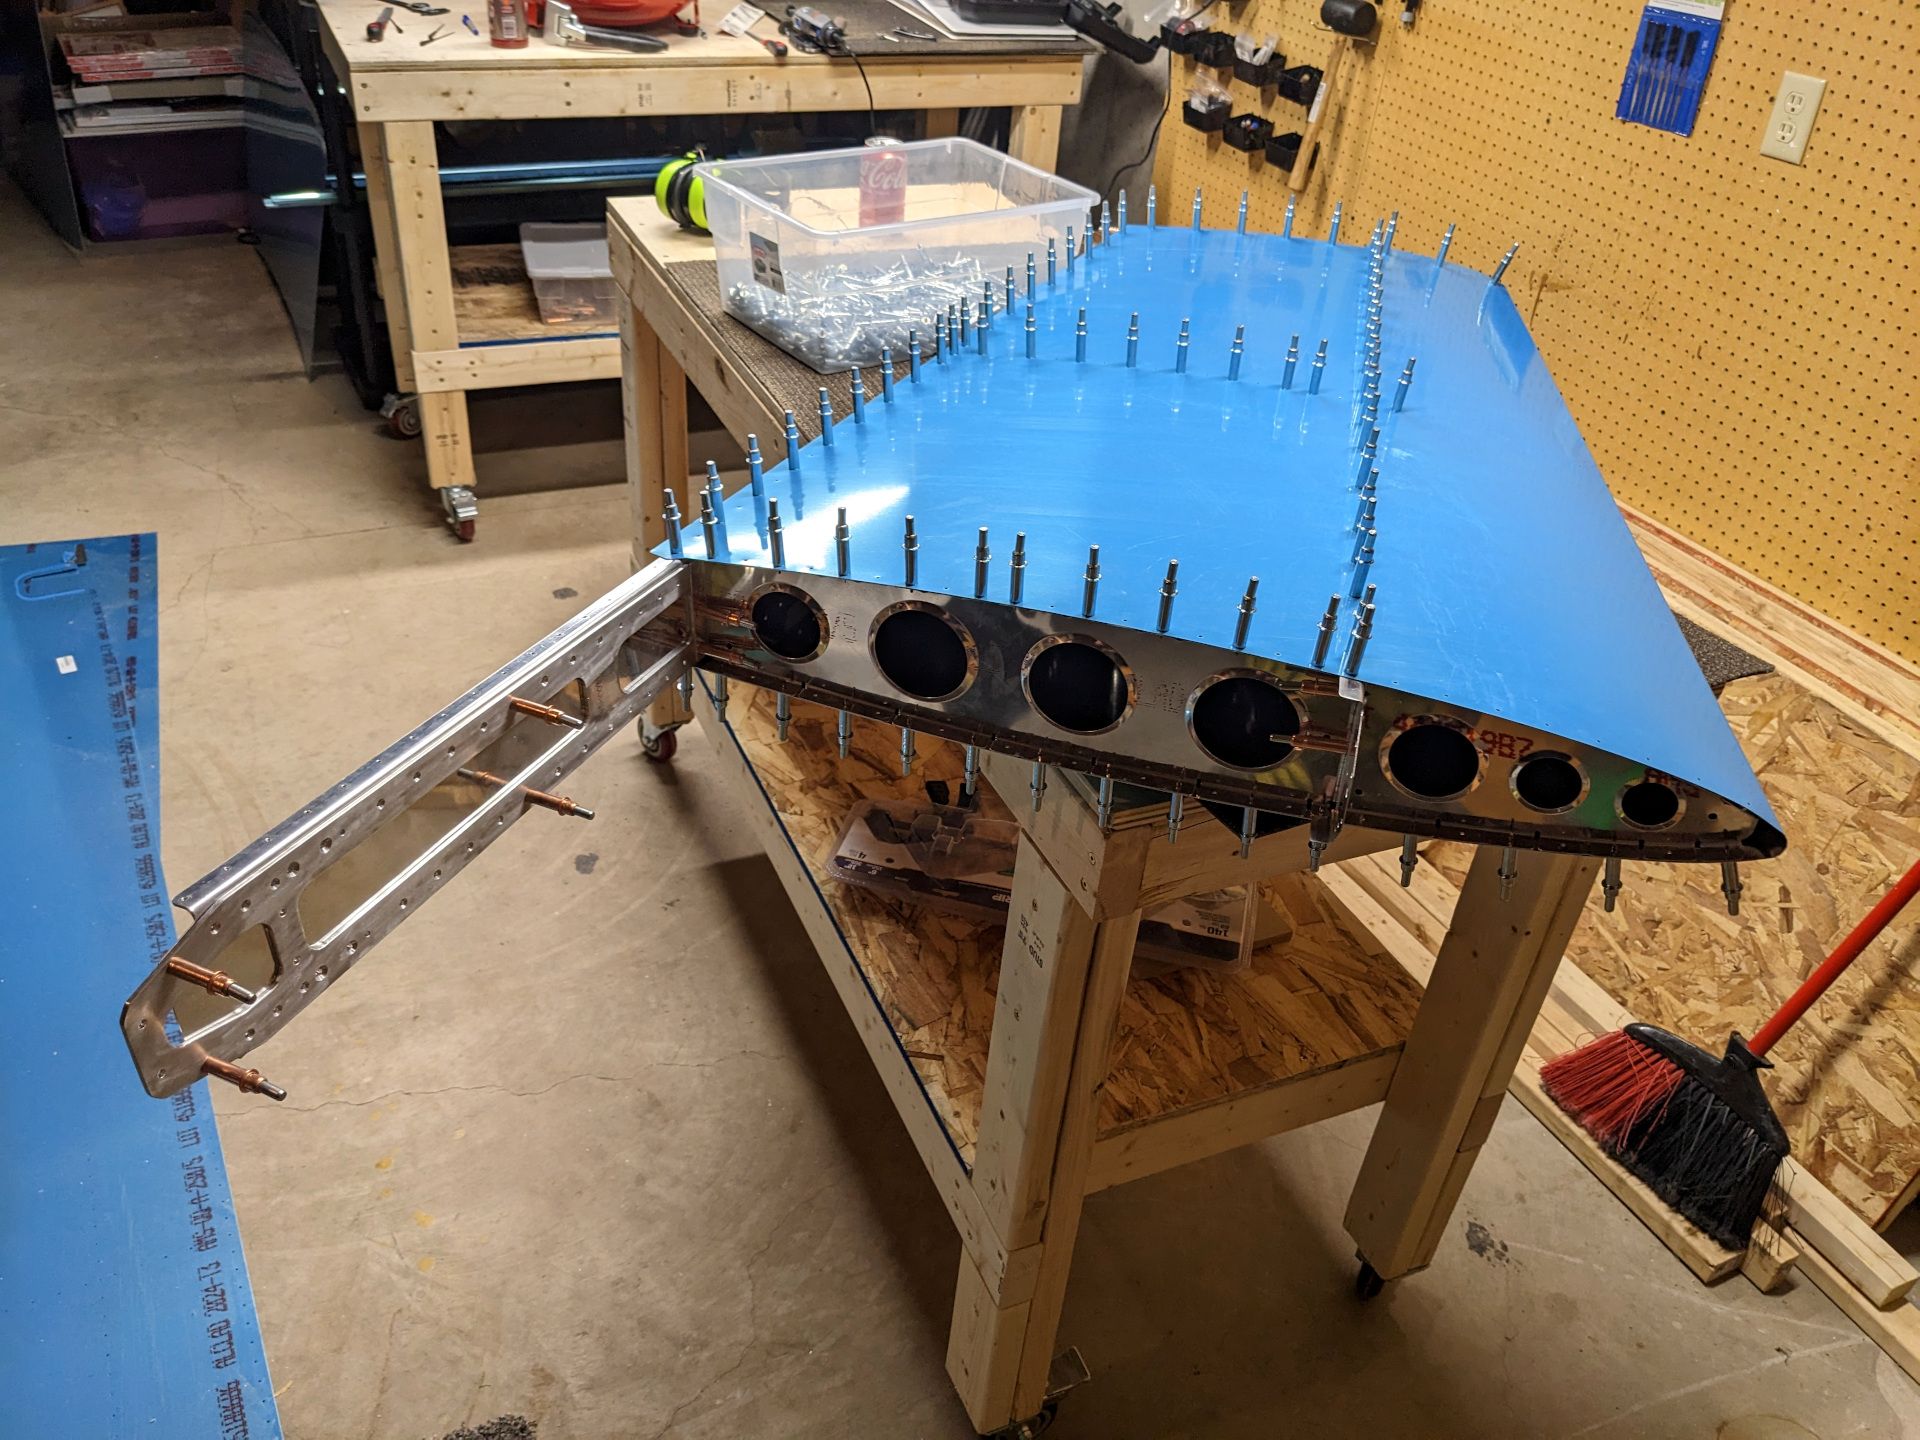
I could not, for the life of me, get those nose ribs to line up well enough to cleco them into place. So I had to take the whole thing apart a few times, file down parts, test fit things, take it to pieces again, file down parts, test fit things, take it to... well, you get the idea. So I invented a lot of new swearwords while listening to my Spotify liked songs playlist. At one point I swore the ribs were just too wide since it appeared like they were bending when the skin tried to get attached. Physics and I fought for quite a while and eventually...

... I won. It was a hard fought battle for such a simple line in the instructions of "attach skin to skeleton." I eventually put the skeleton in piece by piece so I could push and pull at parts (especially the middle rib) to get holes to line up. Now the day is won though, and next I have to match drill everything and then take it to pieces so I can deburr the holes... just to put it back together again.
The next time I do put everything back together, I believe is when I start riveting things. This means I have to get a paint situation setup so I can prime all the parts. I have scratched the aluminum pretty good so I'll want to buff all the parts and prime them to prevent any corrosion later down the road (and to prevent the scratches from becoming weak points). There is a little planning to figure out where I'm going to do the painting since it is too cold in my garage for the primer to cure correctly.
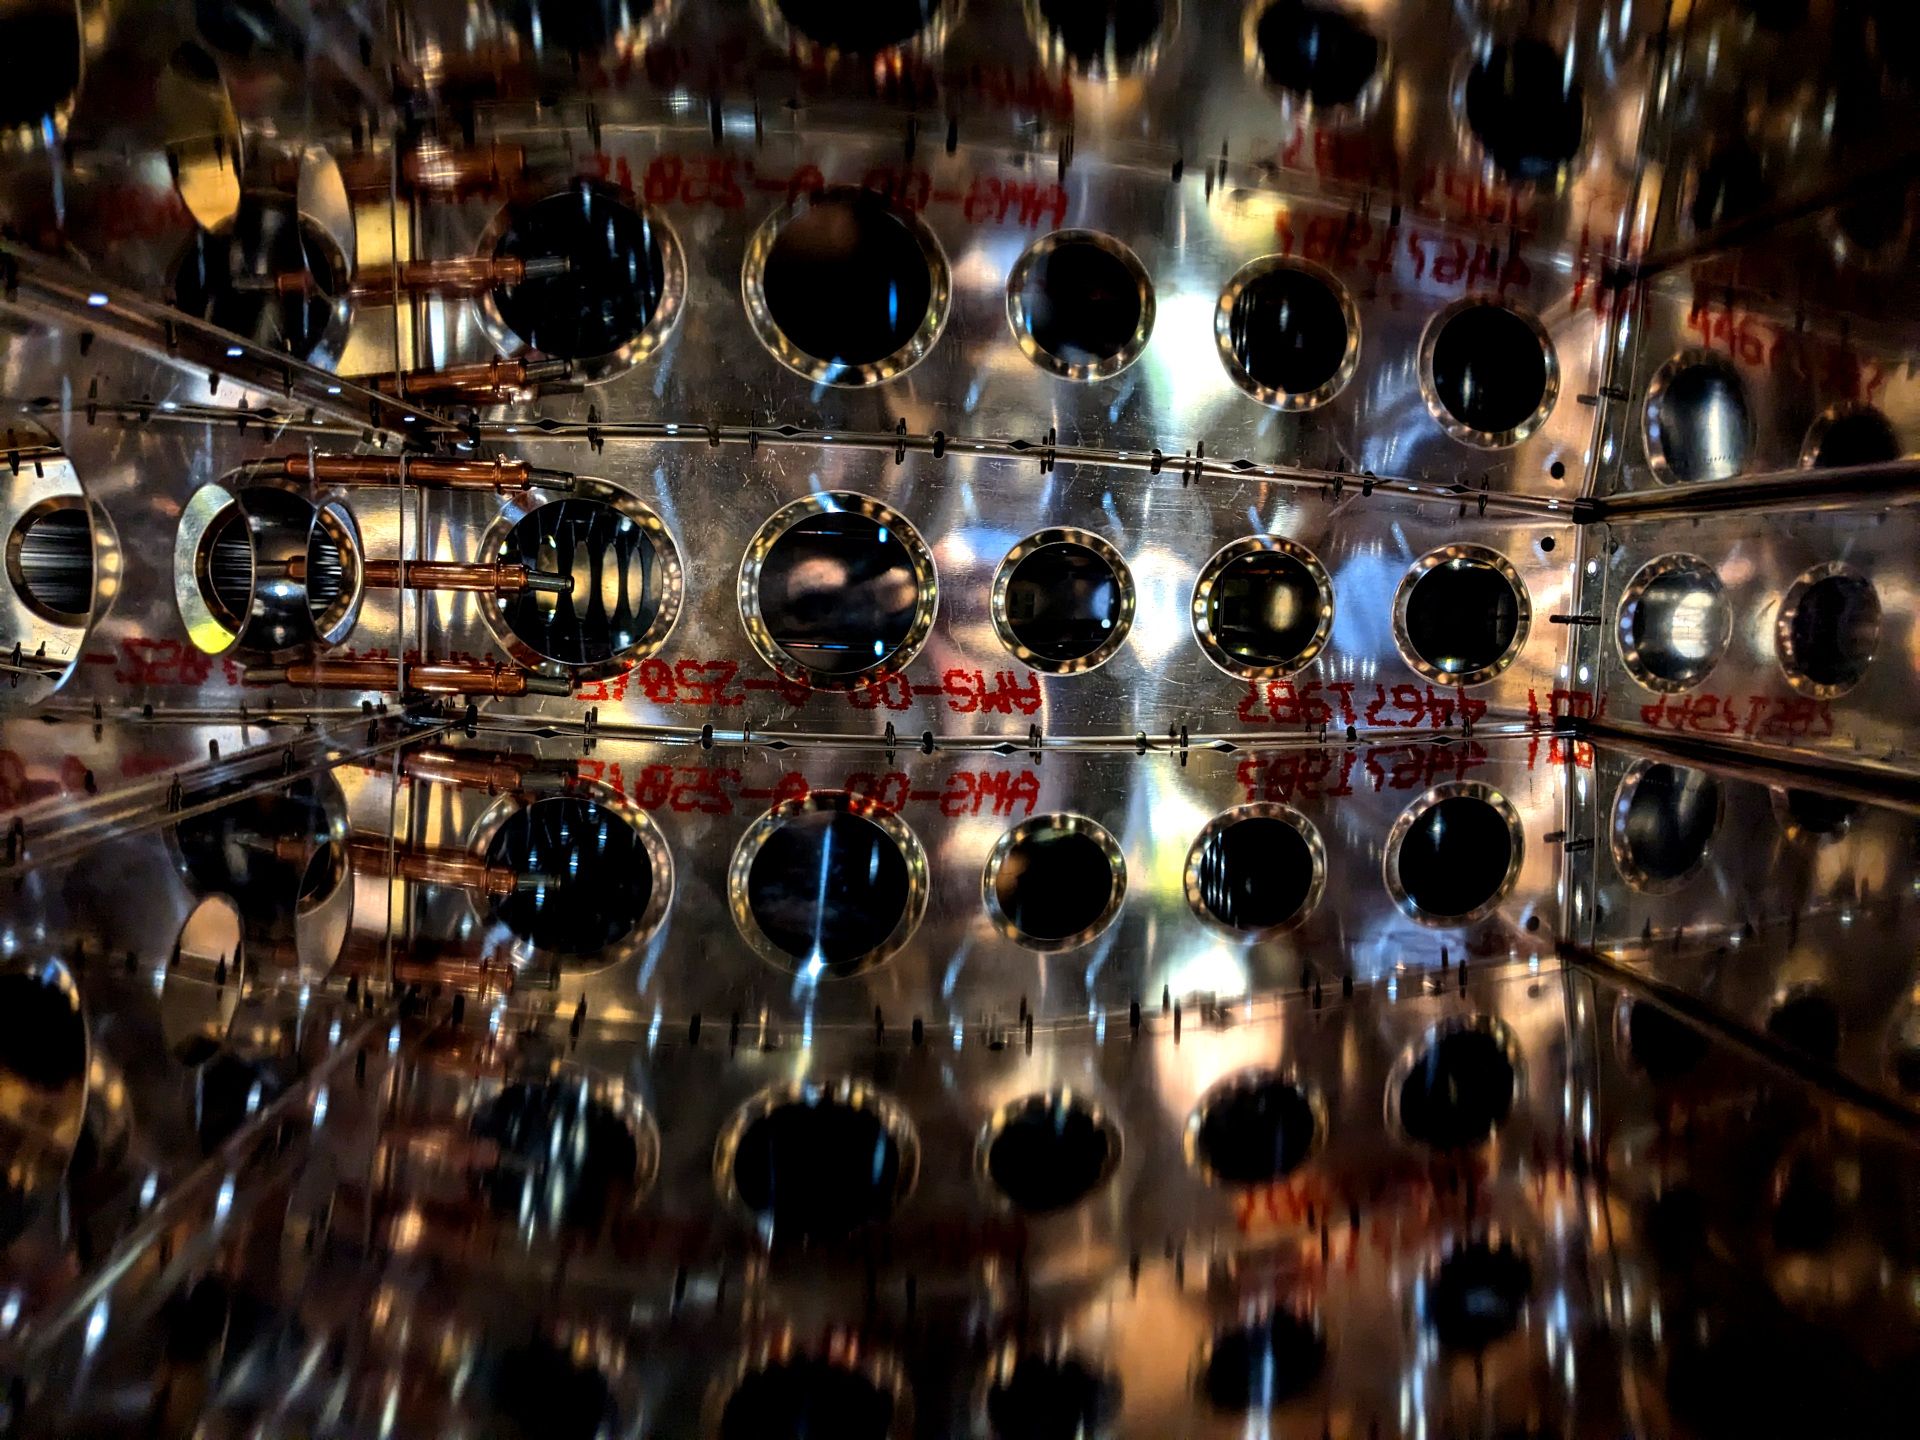
Anyway, thanks for stopping by. Enjoy this neat picture I took of the inside of the stabilizer!