Building Some Pitch Control

The first quarter of this year has been a lot busier than I would like, but that is just how things go sometimes. I'm not blameless, I mentor a High School Theater Build Crew and they have a spring show coming up. It is pretty rewarding to teach them how to build with wood. Y'all aren't here for the wood though, let's go check out some of that glorious aluminum.
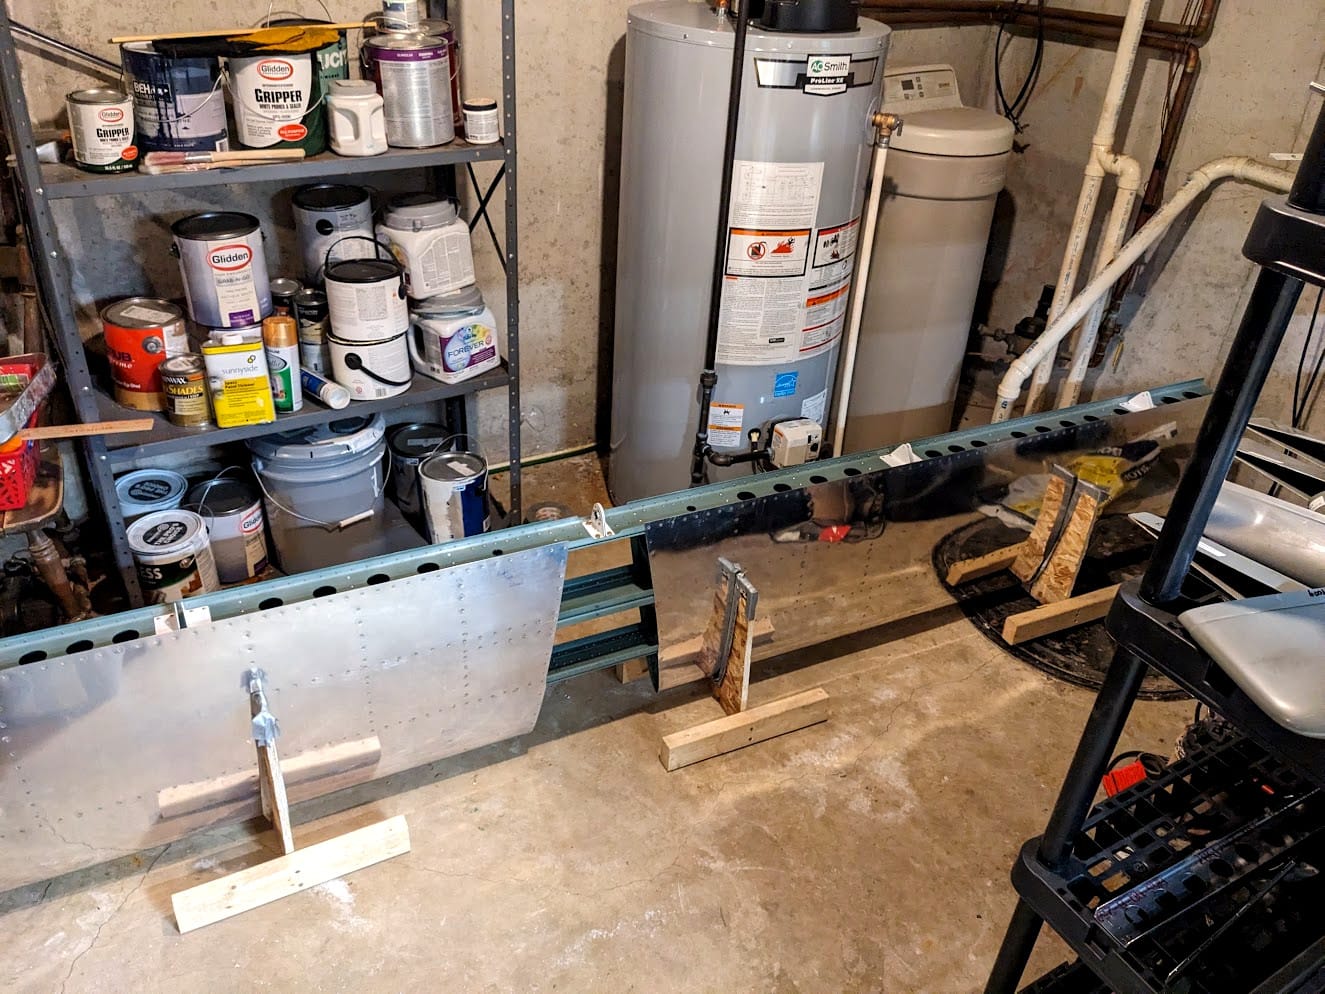
The ever important elevator. This is what allows us to control the pitch of the aircraft (for the most part. If you want to get super pedantic about it pitch is a combination of things. This is the primary control surface for pitch, however). First though, I had a giant horizontal stabilizer on my workbenches that I needed to find a home for. Not to worry, I found a place by my hot water heater.
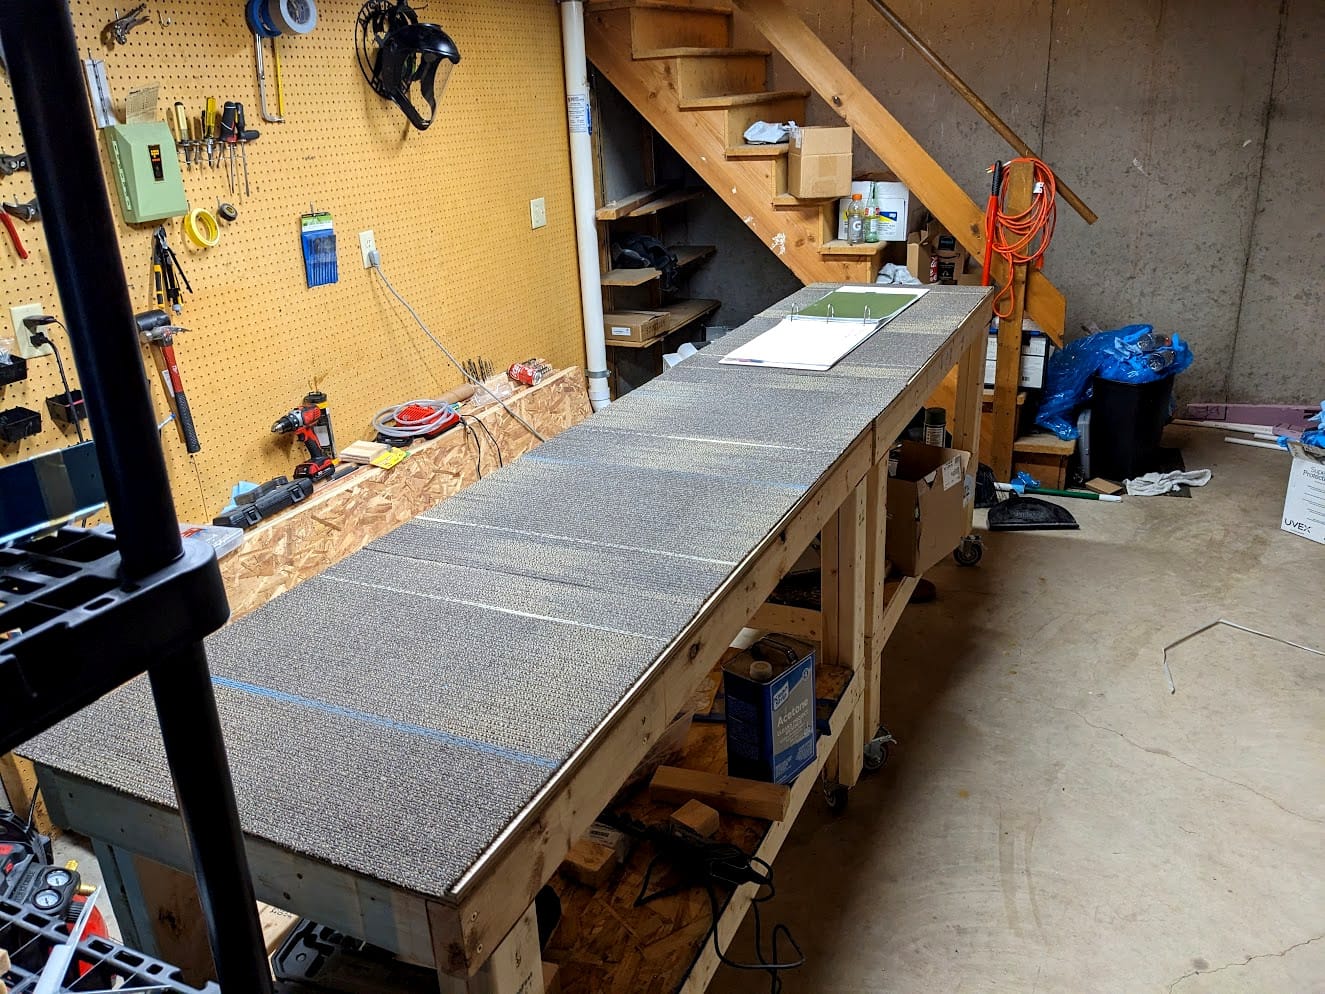
Now that everything was clear again, it was time to fill it up right away with things (the horrible cycle of a workshop).
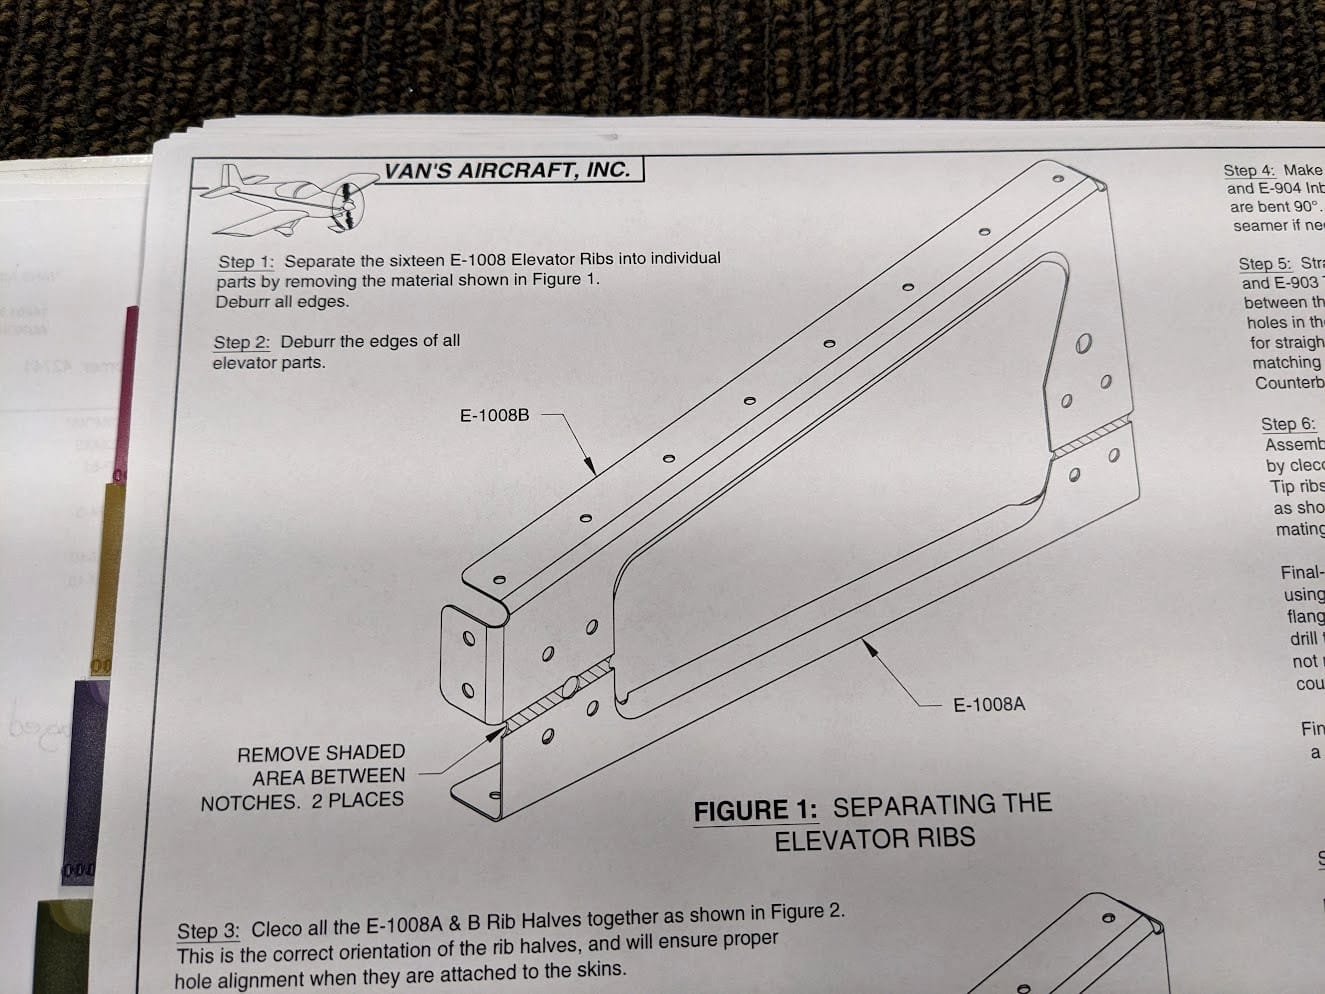
I was provided with 16 rib pairs that I had to cut into 32 of them. That is a lot of ribs! First step is to lay them out nice for a picture, though.
Enough goofing around. I could have cut them with a snip but my EAA chapter has a band saw so I drove out to the hangar to cut the ribs (and gawk at planes).
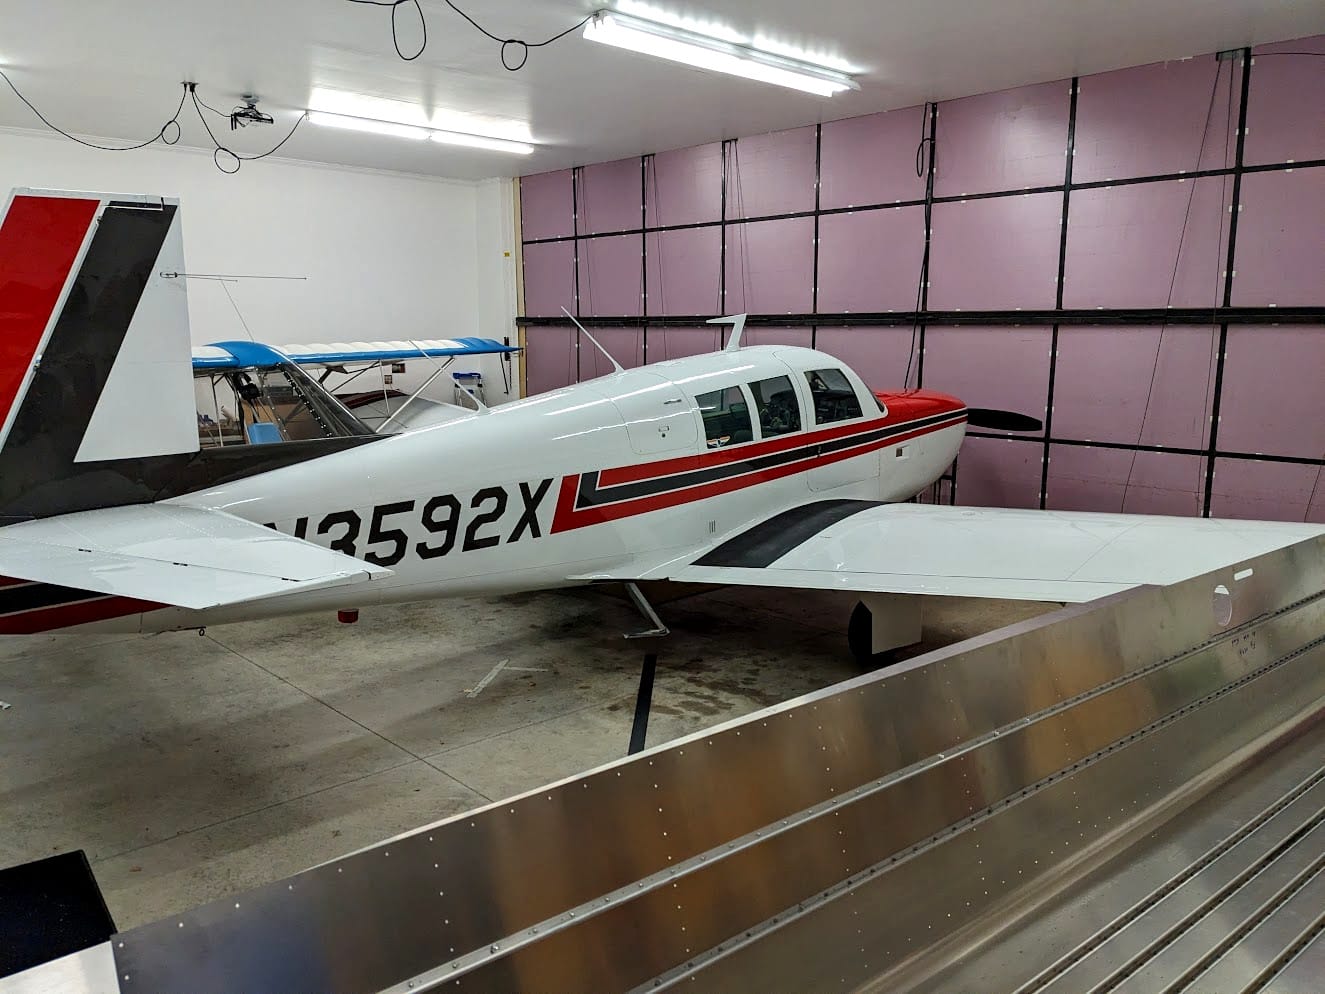
There it is! A plane to gawk at! Okay, enough gawking, let's do some cutting.
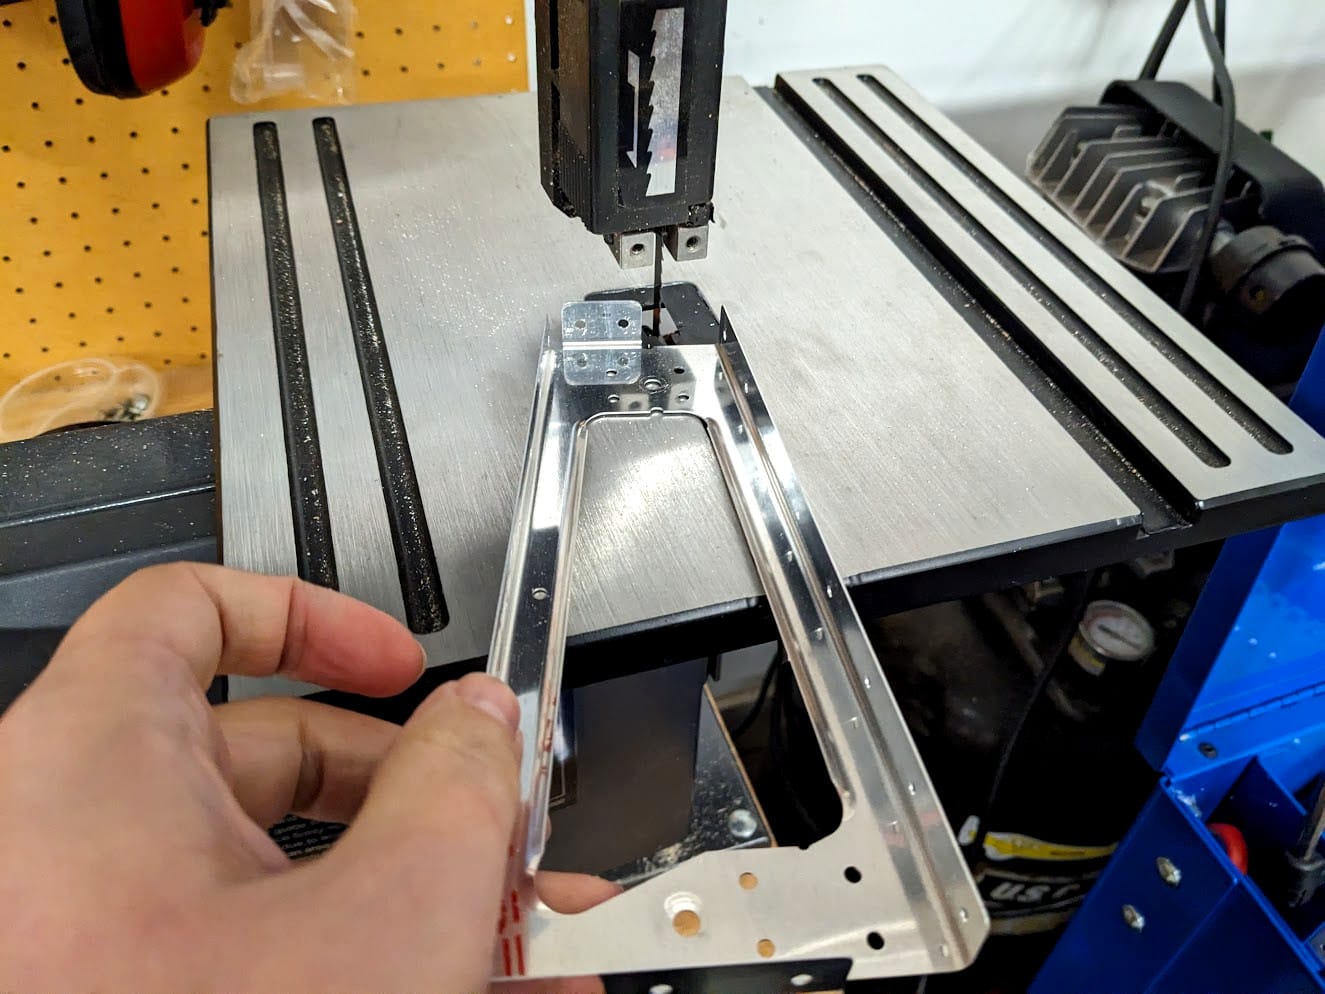

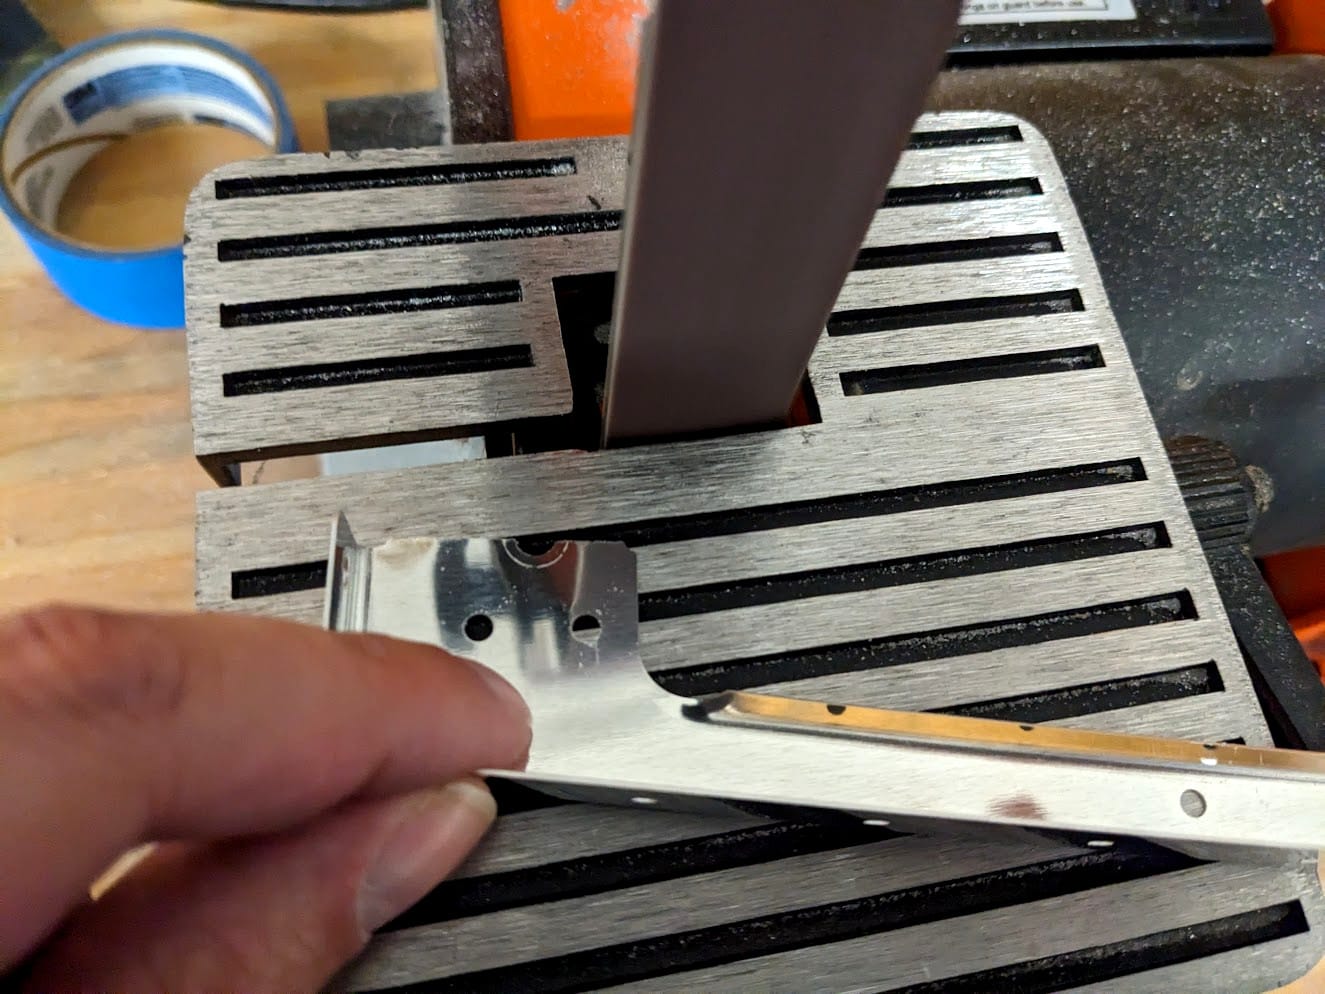
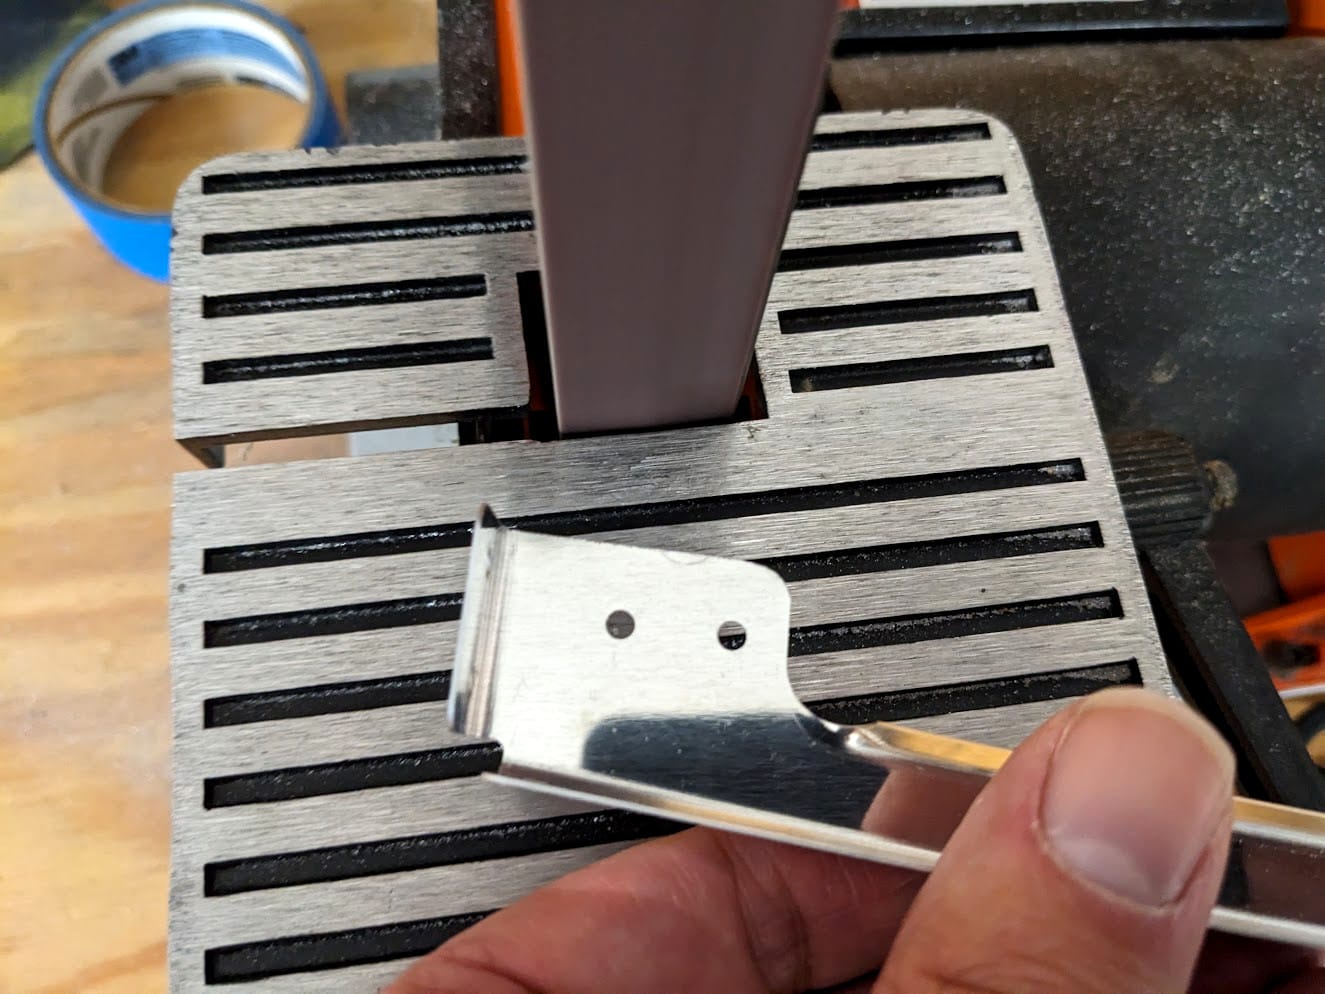
As advertised, the band saw did saw through the aluminum. These ribs are very thin so I was trying to be careful not to snag them. Then, as luck would have it, there is a belt sander right next to the band saw so I can clean up the edges.
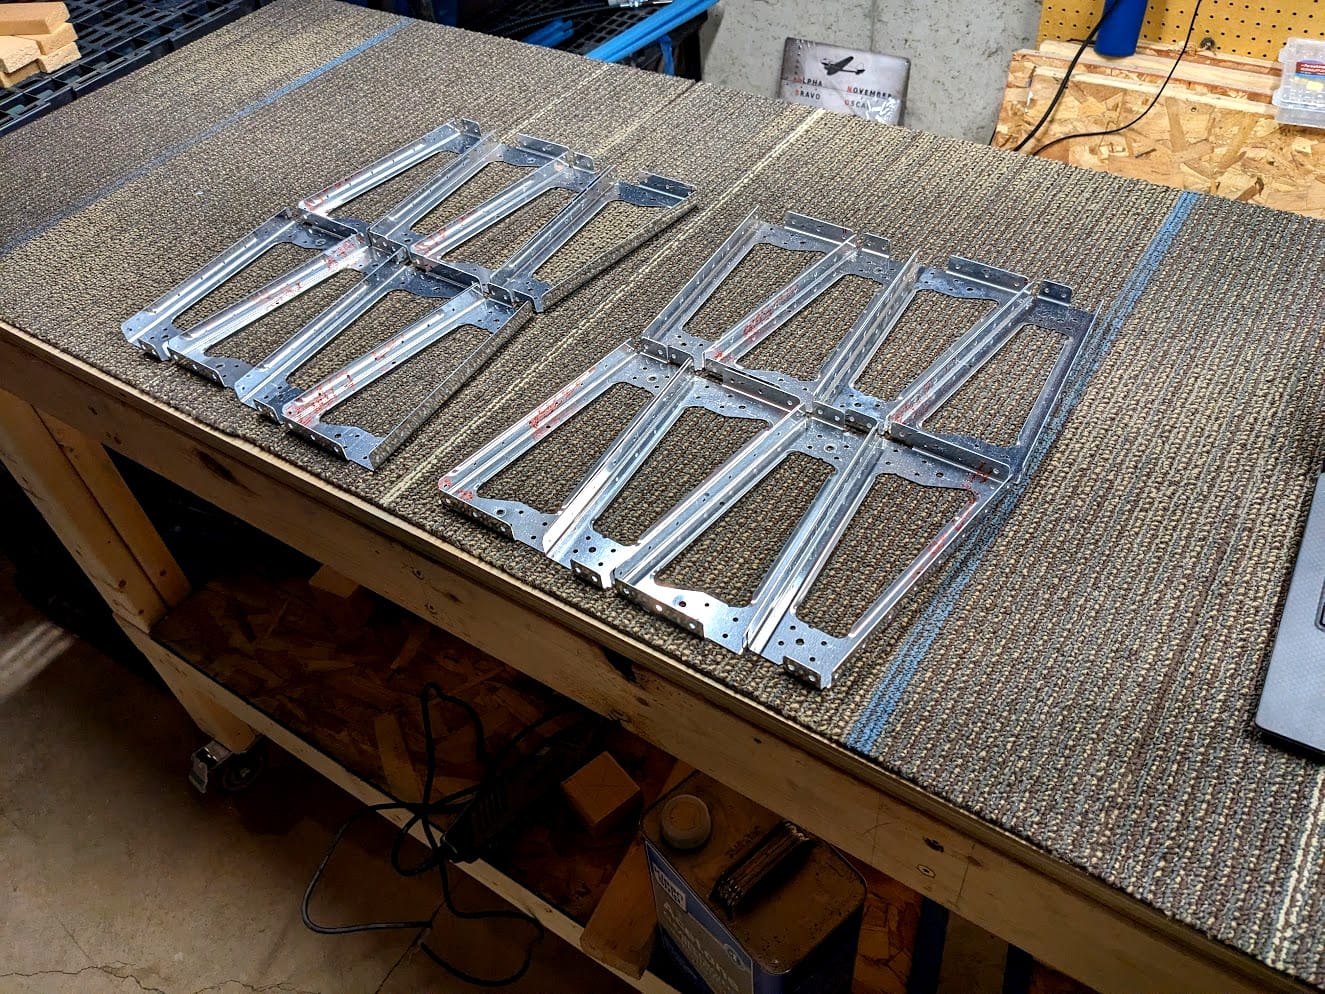
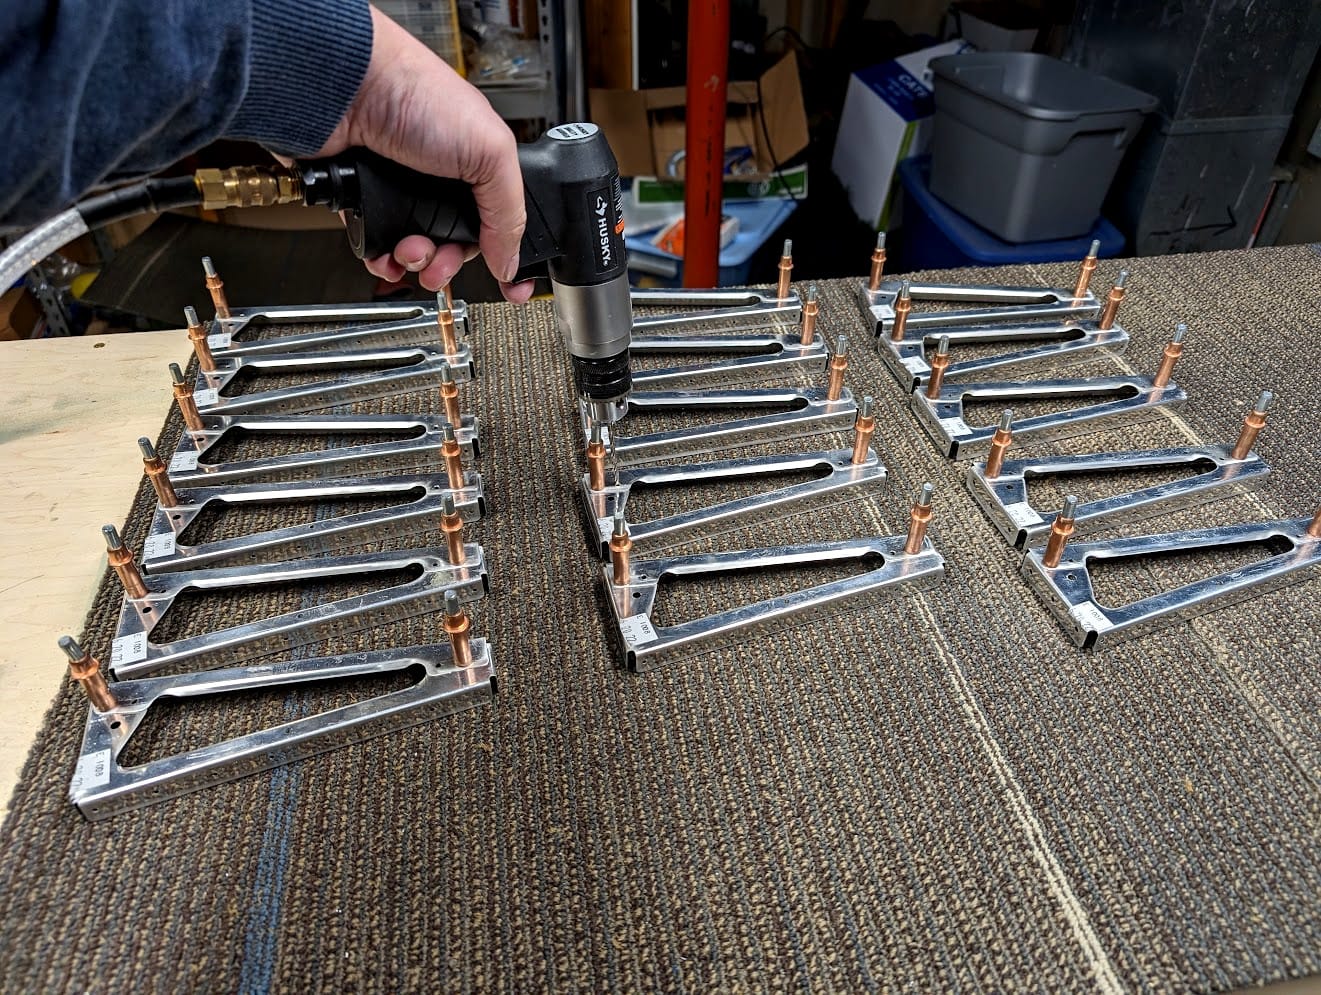
Nice. Time to take everything home and lay it out in a way that look imposing.
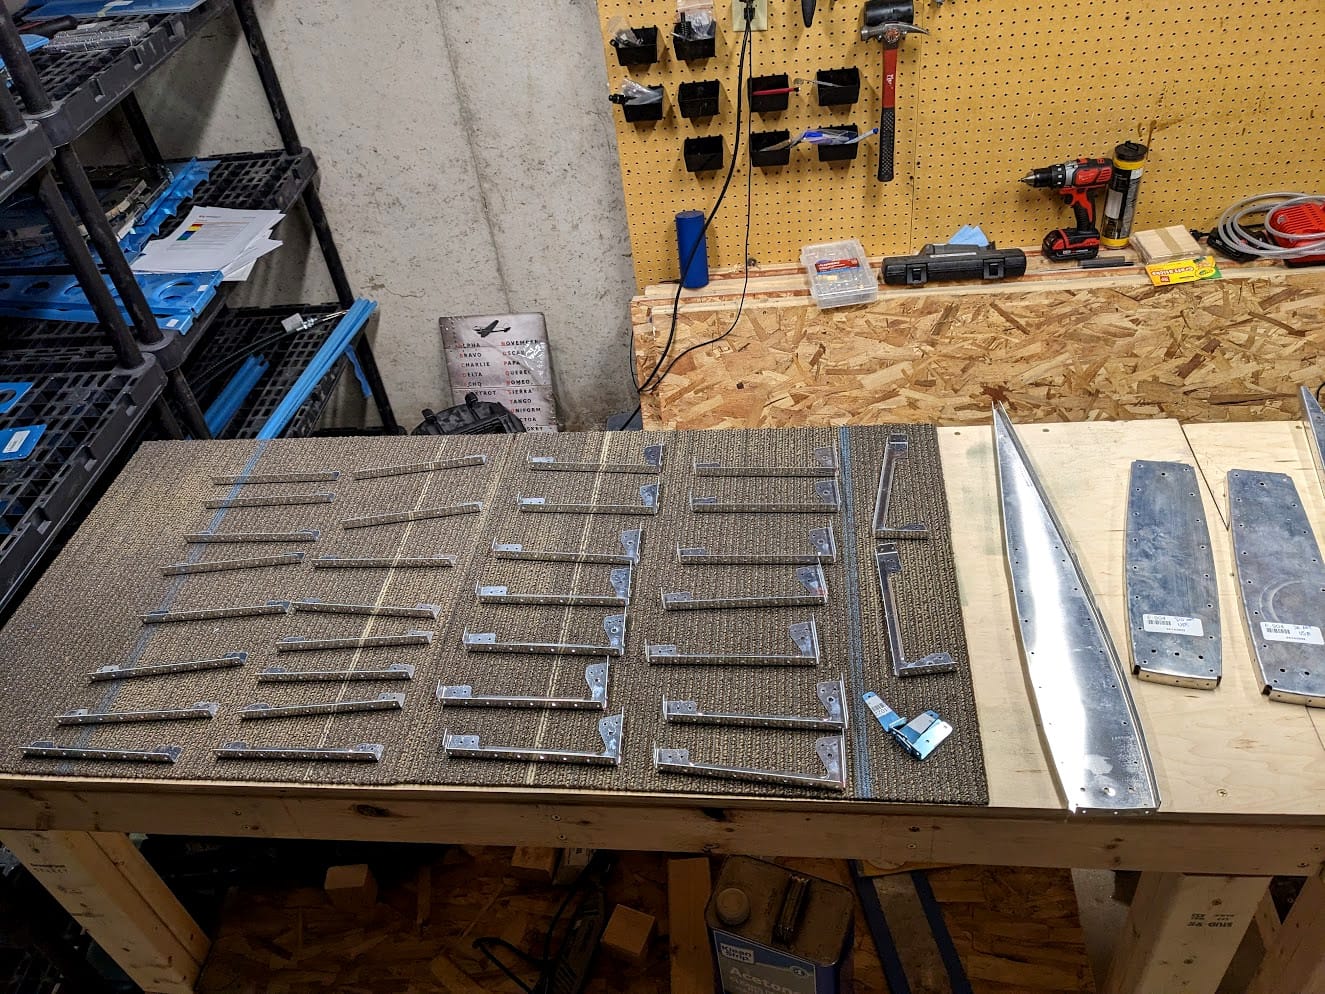
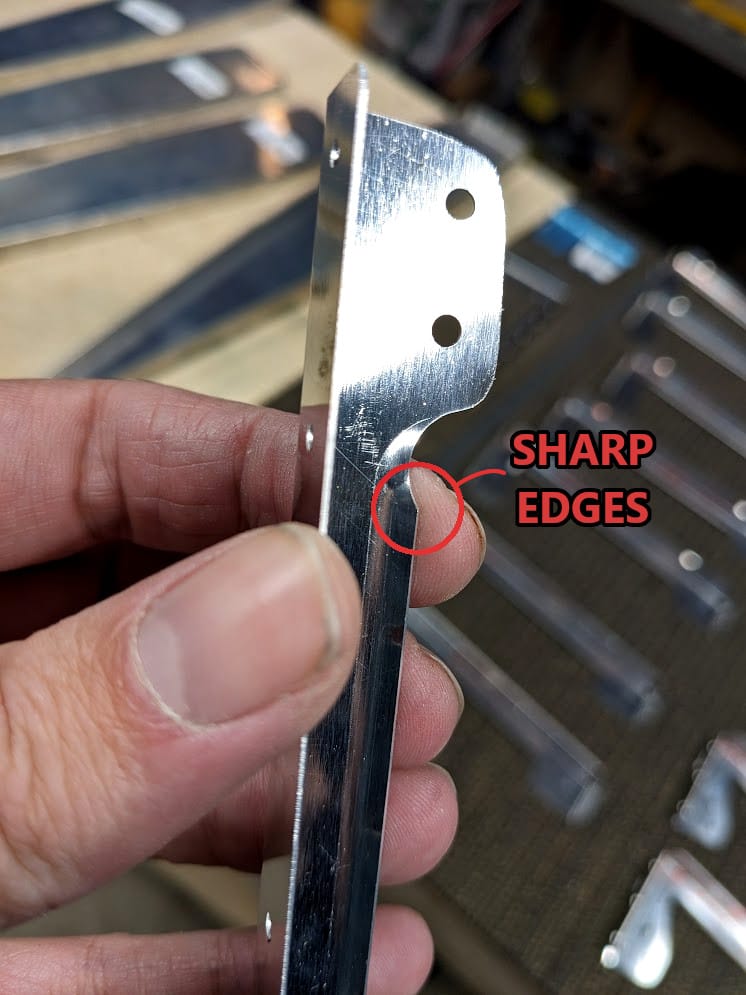
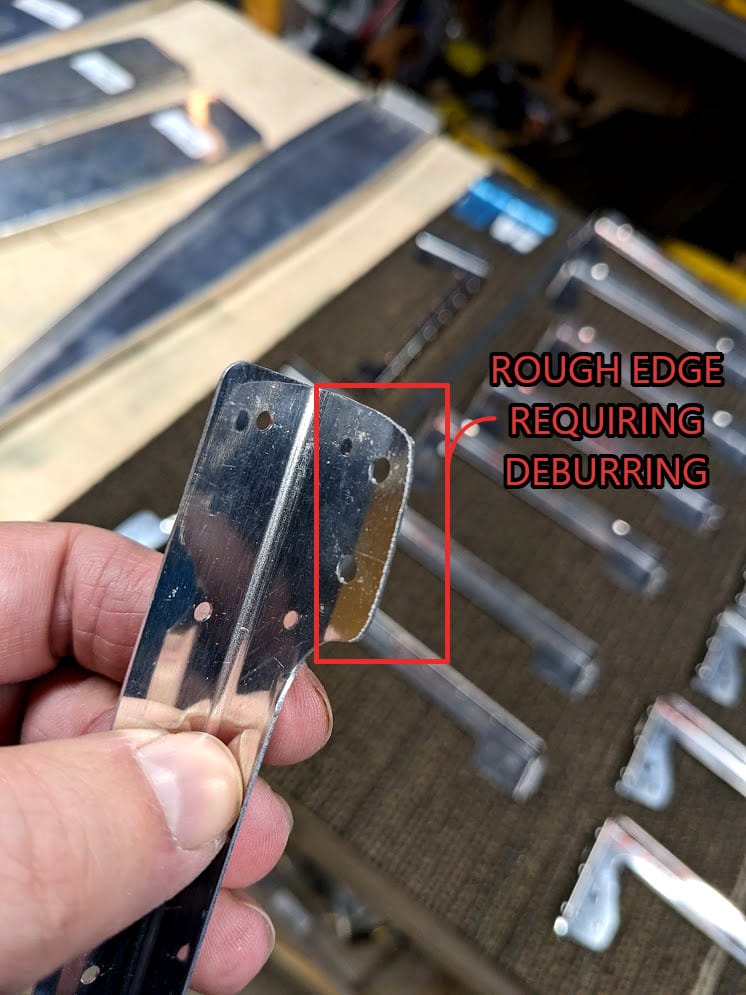
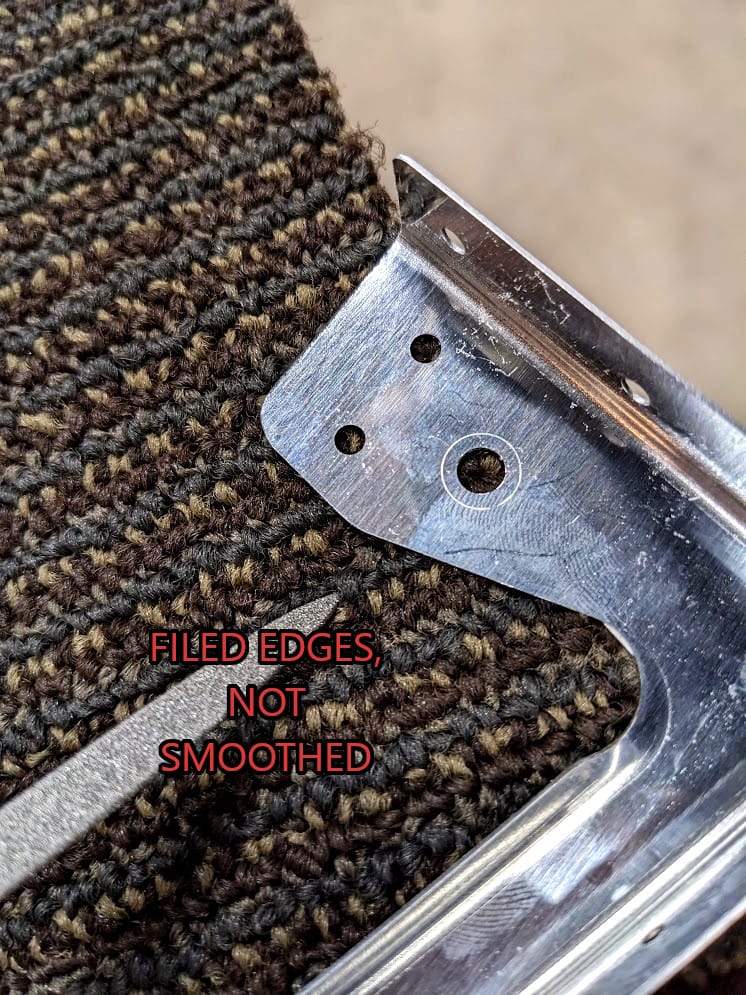
Mission accomplished. I already don't want to work on it and this is in the past. So each of those ribs have to get deburred and filed a little and otherwise made nice. Just time to put on some music / podcasts and go.
(cue music montage)
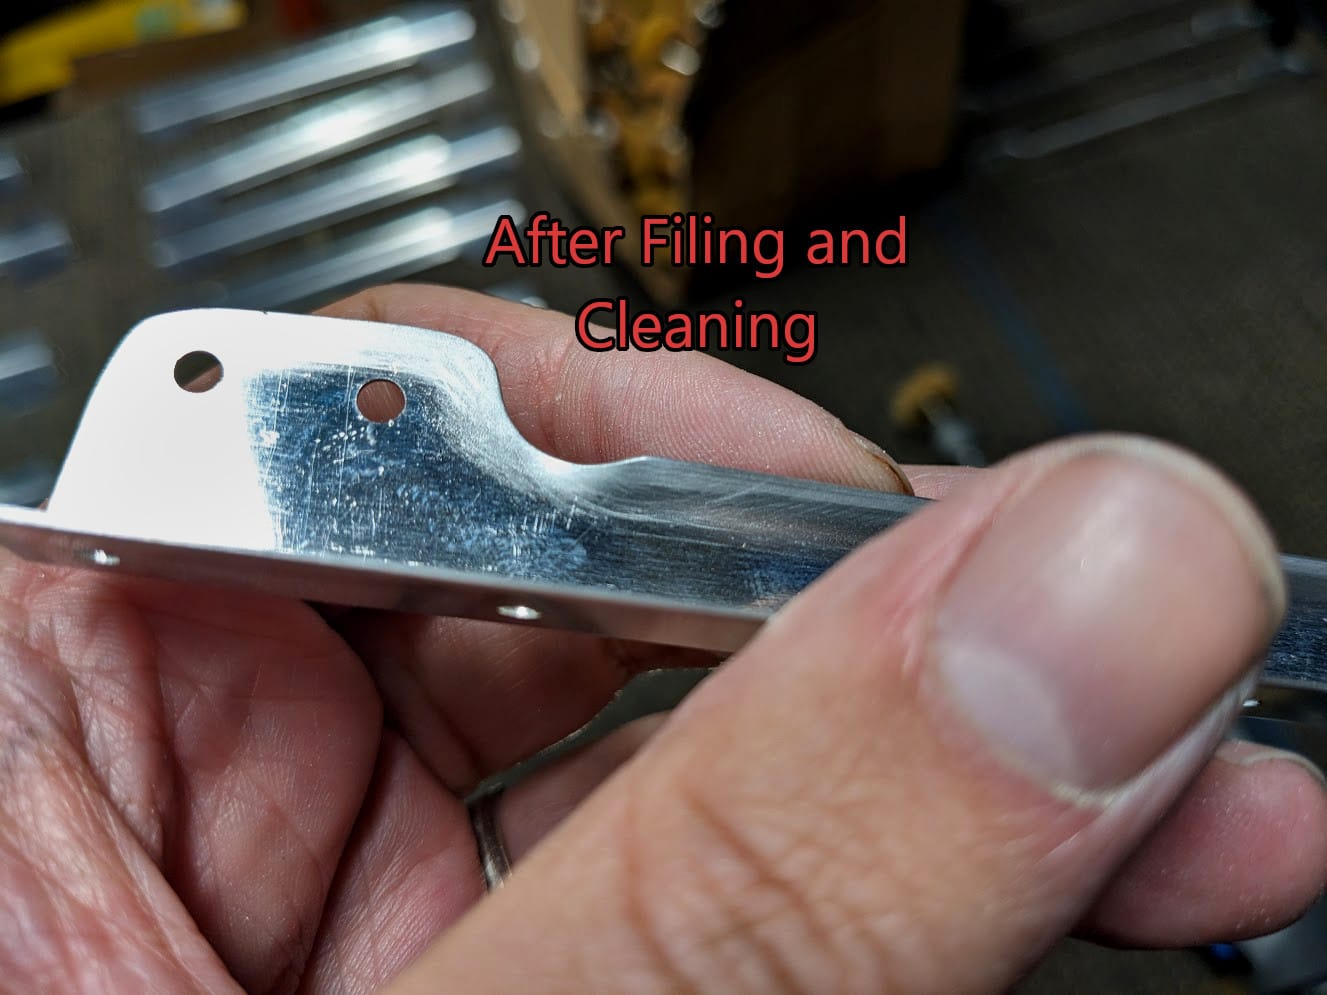
and when you think you're done, you're really only half way there. Keep going.

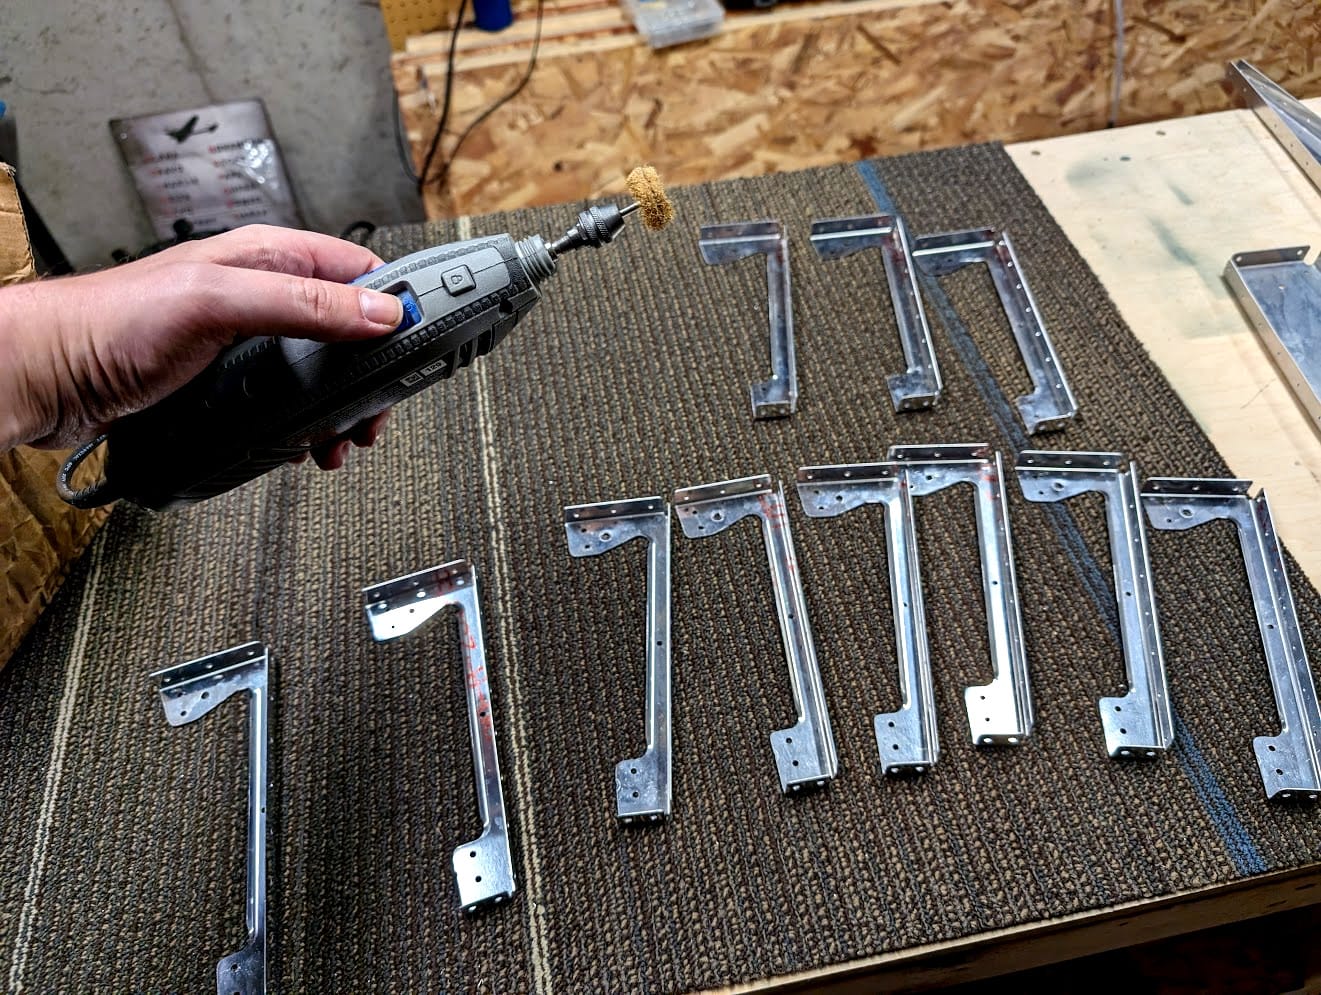
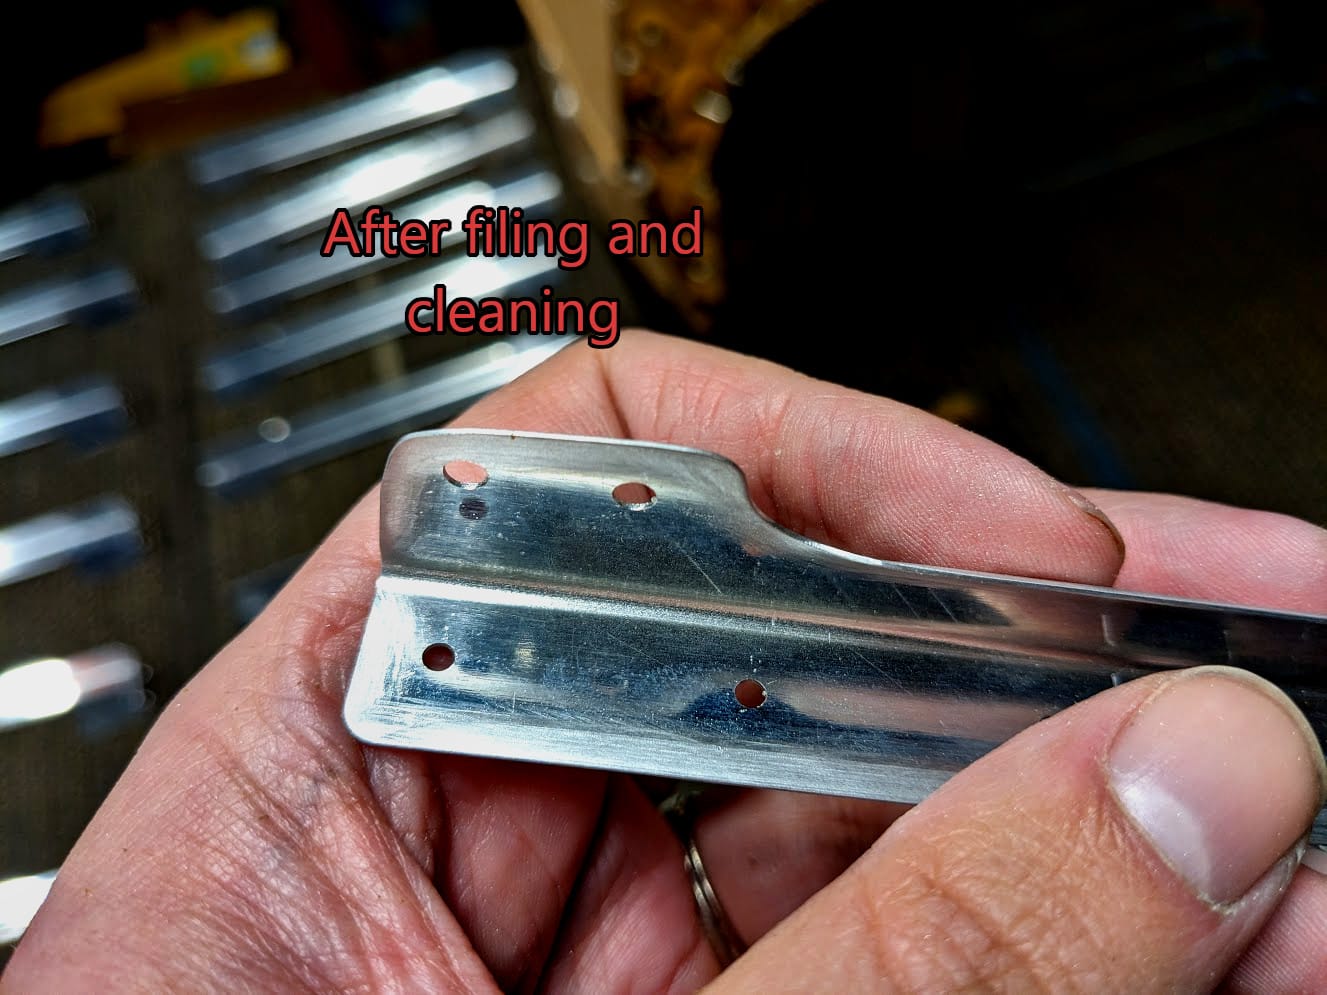
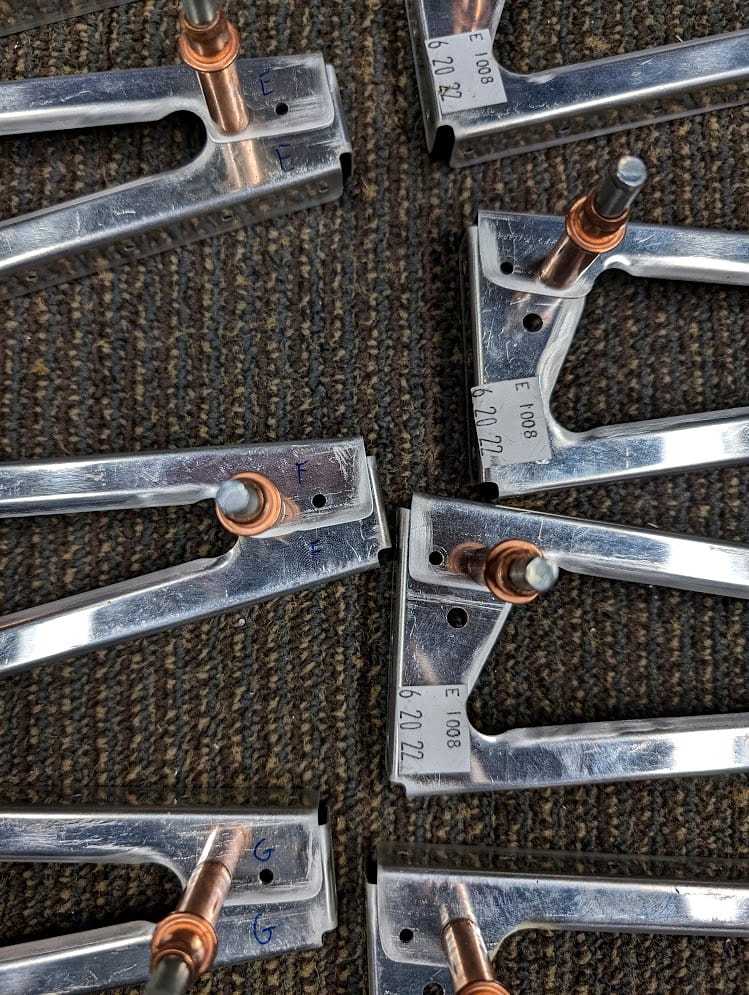
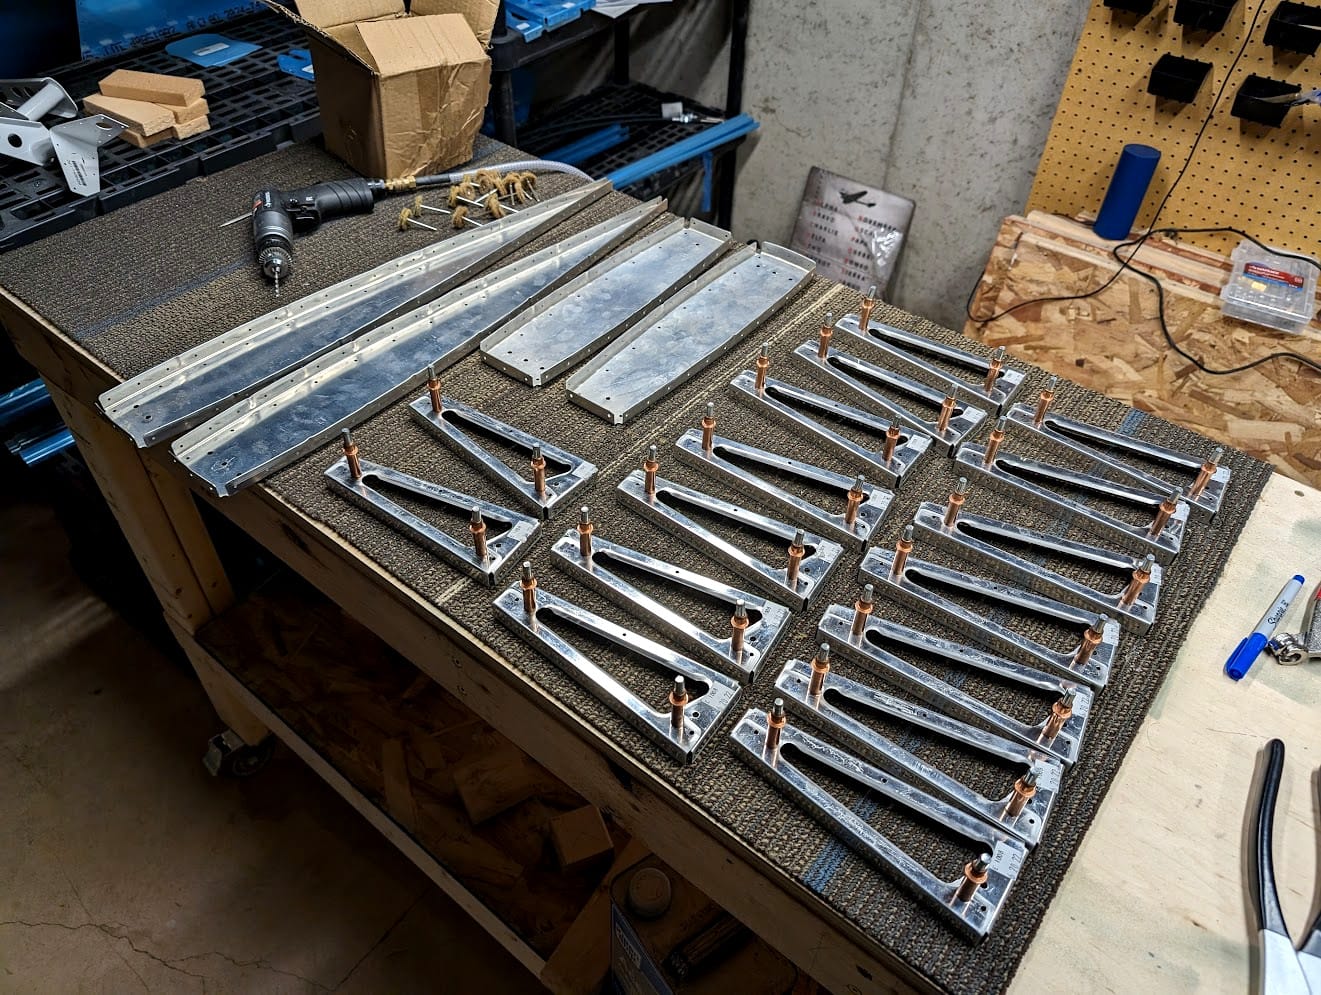
and eventually you actually are done. I went through a lot of those deburring wheels but they are cheap and I have literally 100 of them. The next step was to pair up the rib halfs so they can be match drilled.

After match drilling, the rib halfs should be labelled so they don't get lost from their partner. They are literally drilled to go together so this is important.
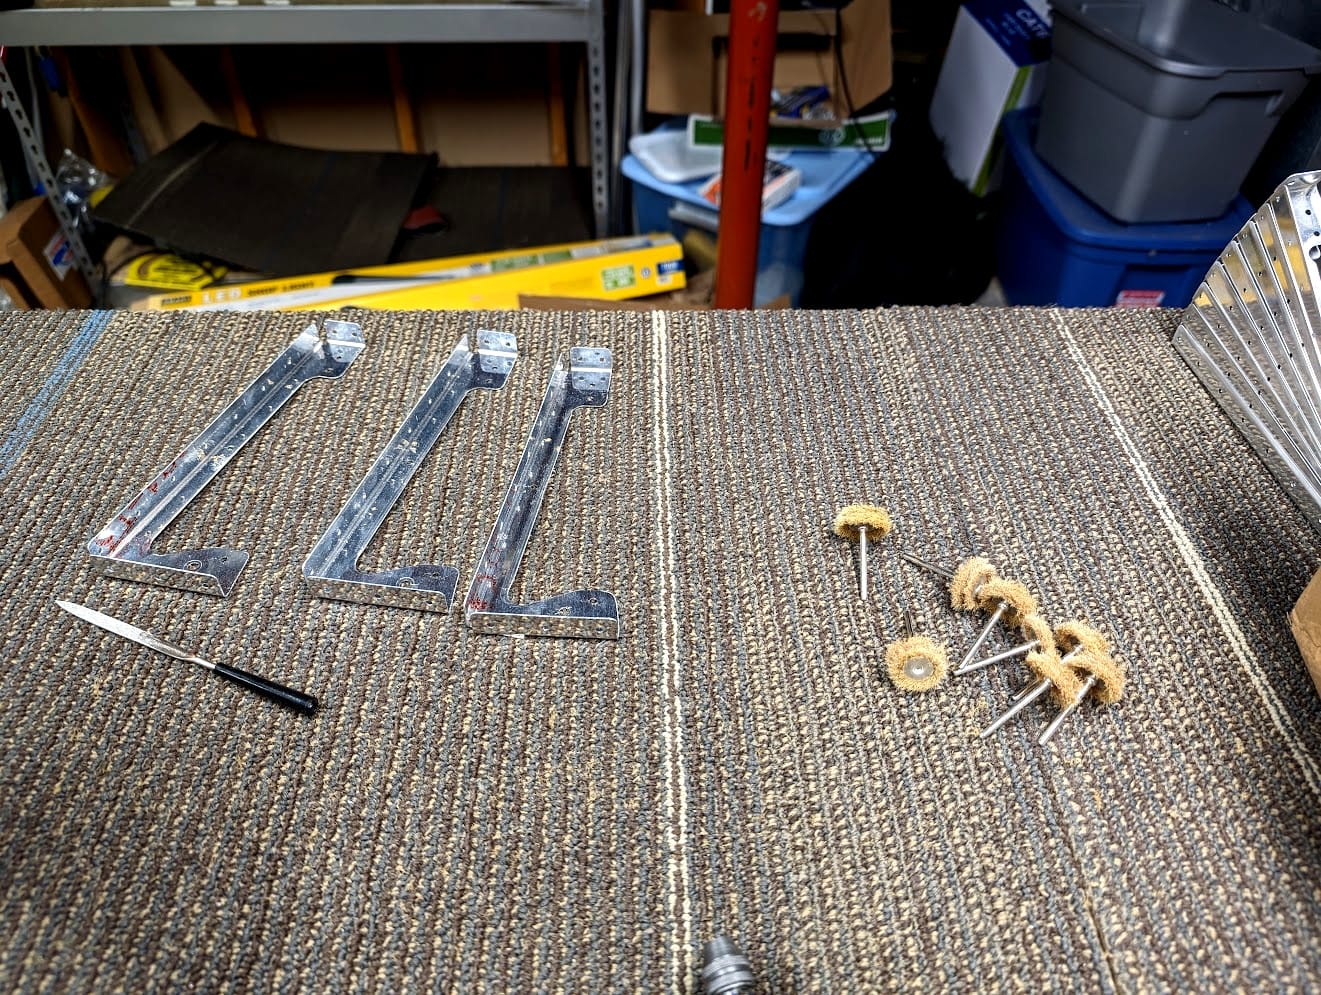
Somewhere along the way I also cut out some clips.
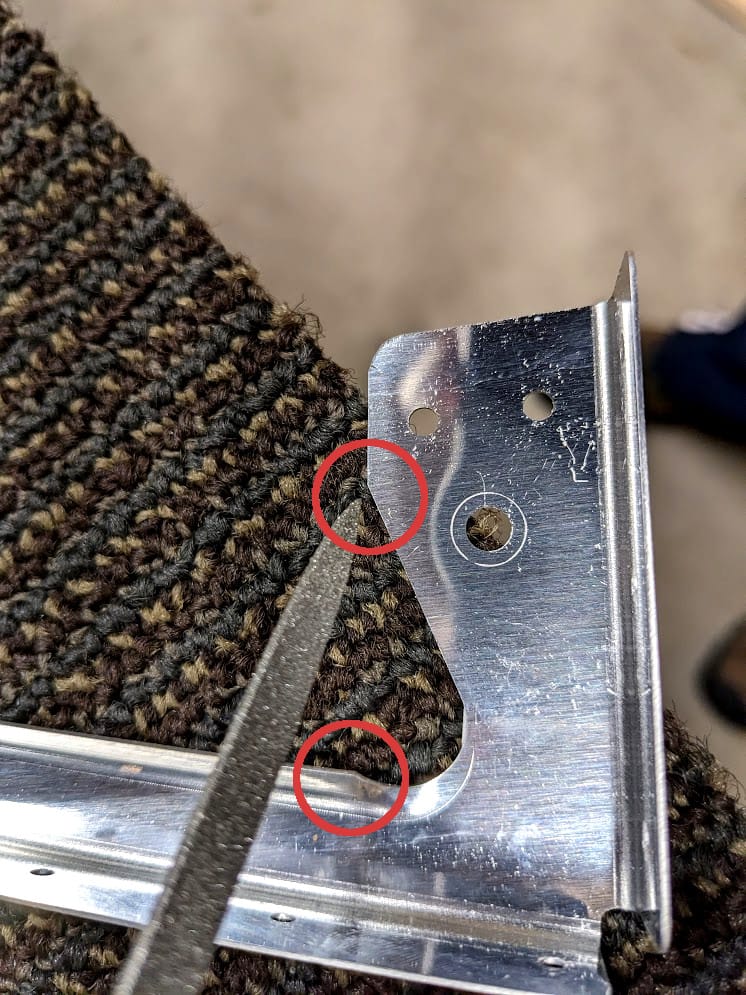
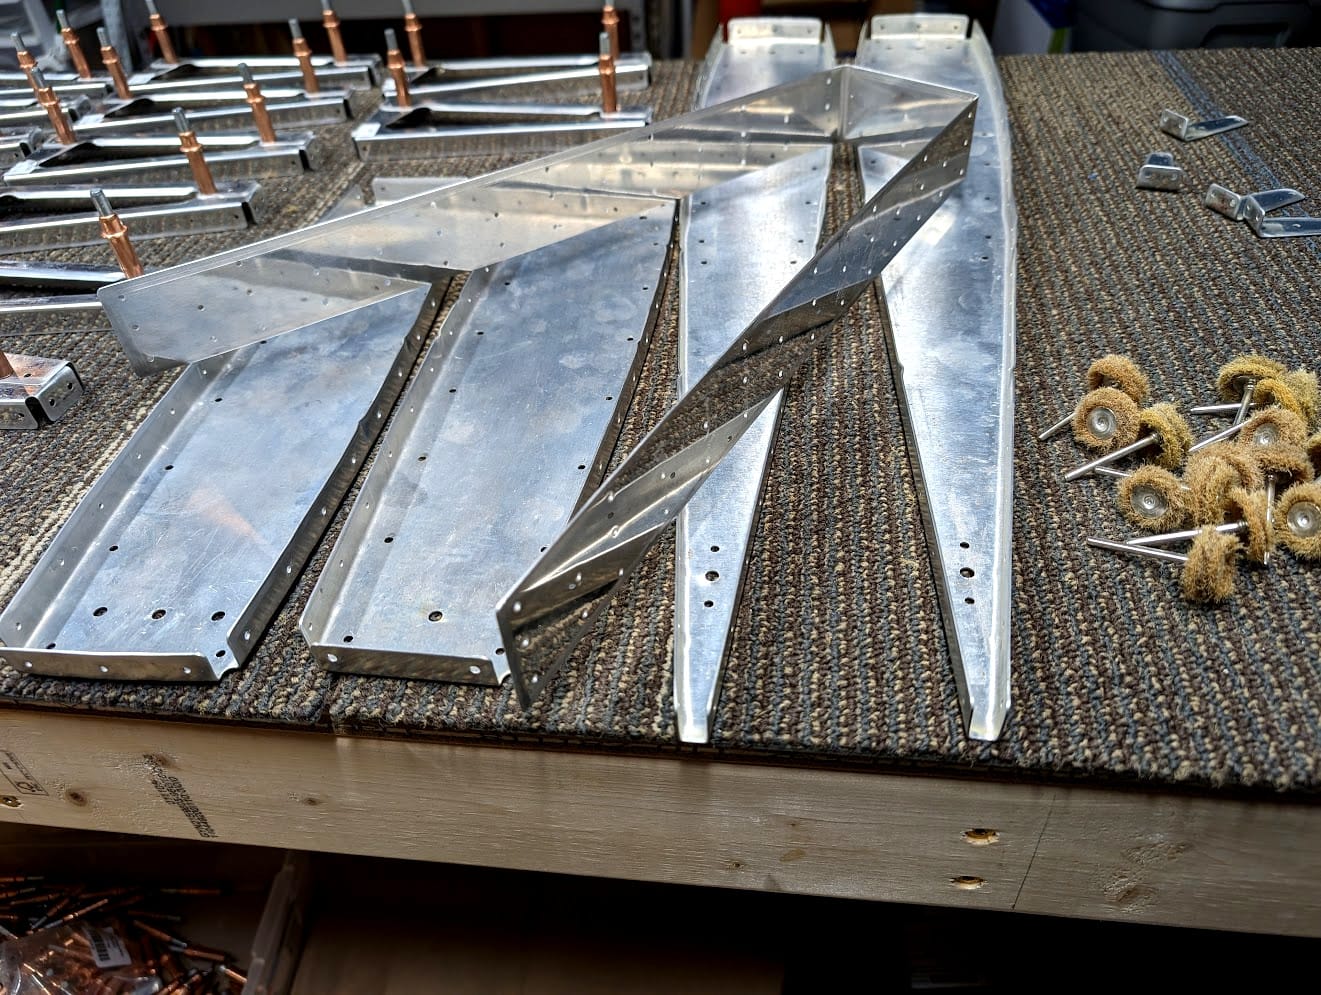
I don't understand their purpose as of yet. But I'm sure they have one since the instructions asked me to prepare them. Okay, on to the outer rib straightening. The ribs don't always come straight so to remove bend you can put small bends in the edges to make them straight. It feels like a magic trick but it works great (the process is called "fluting").

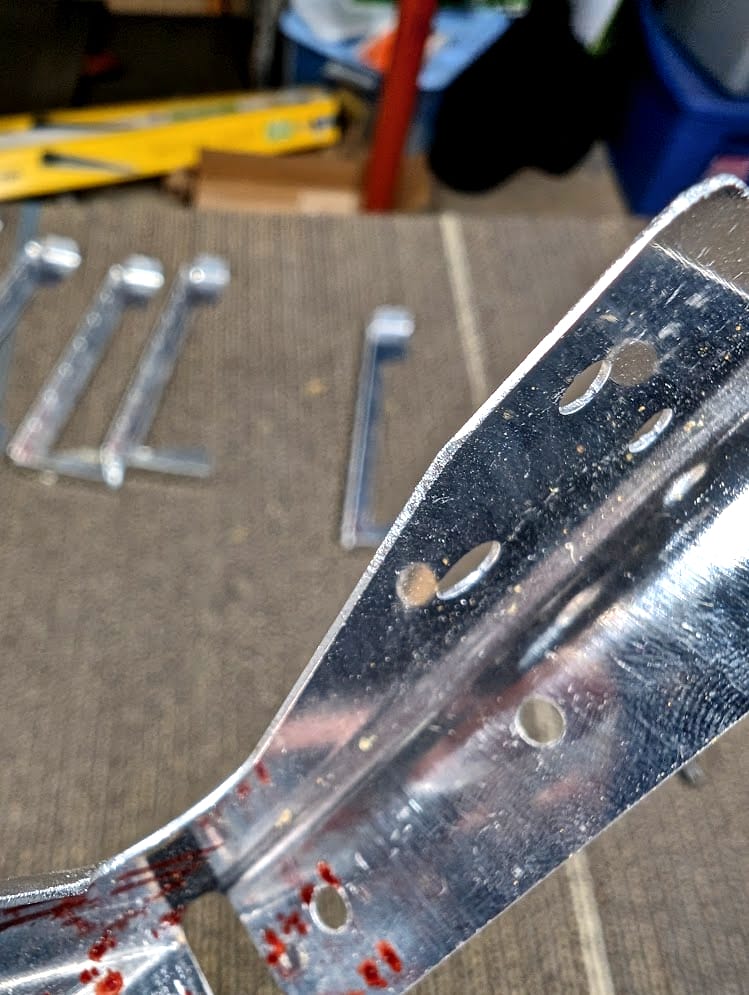
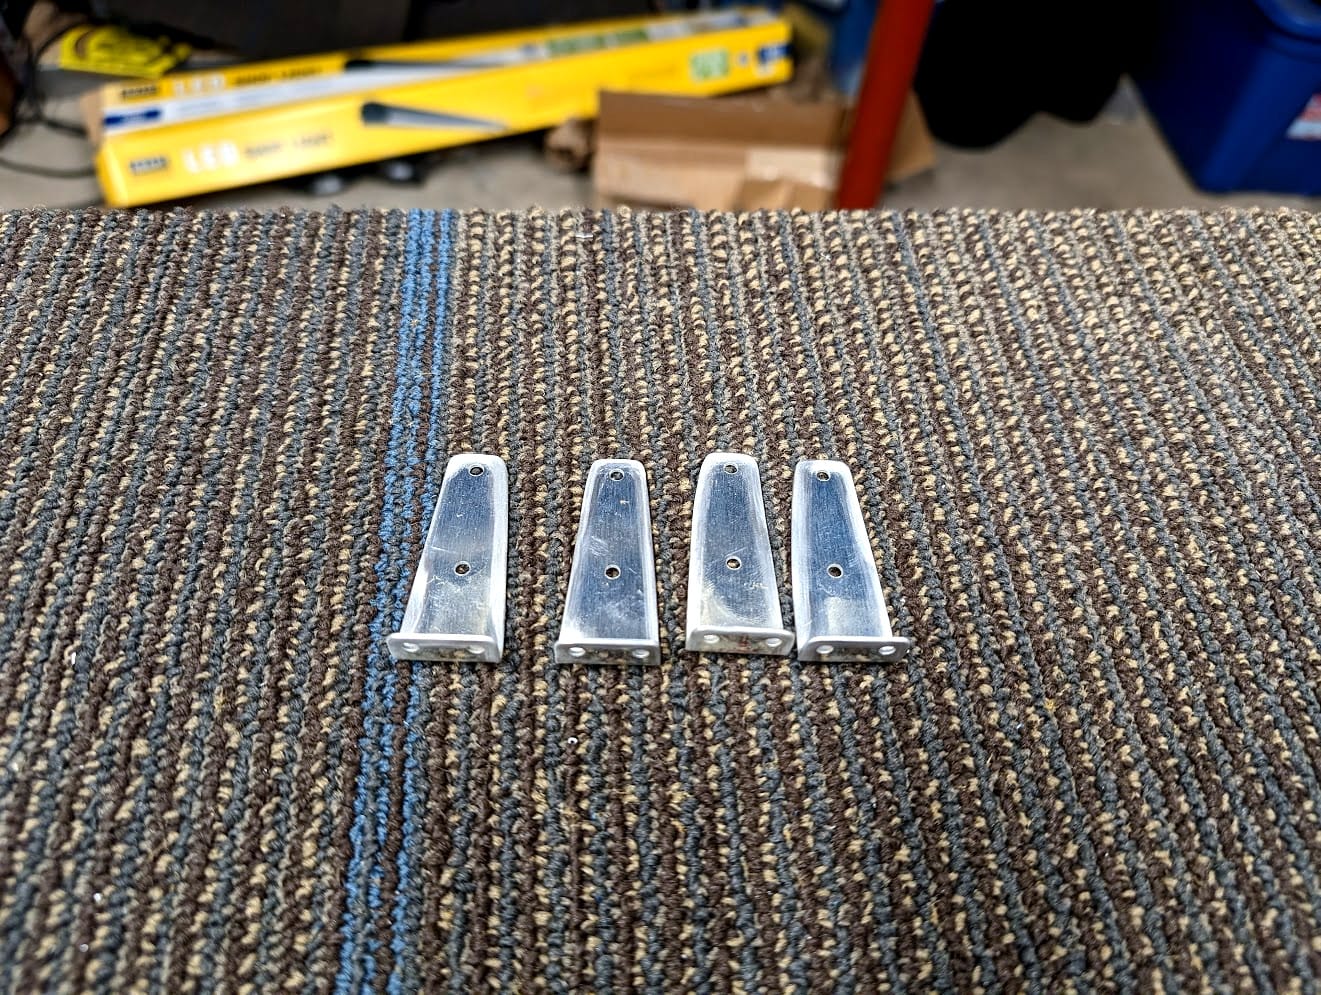
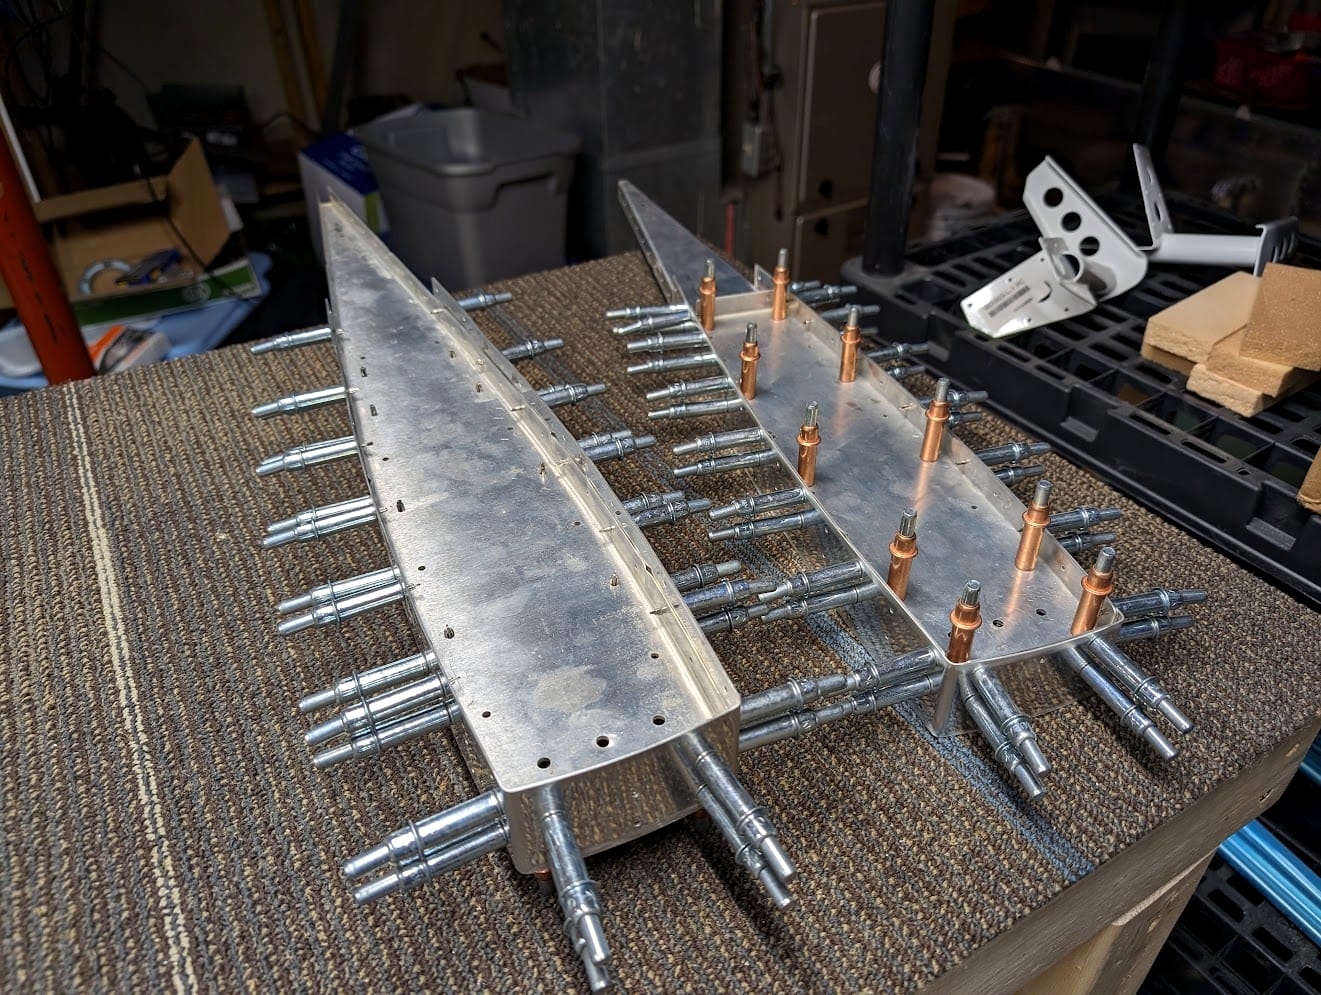
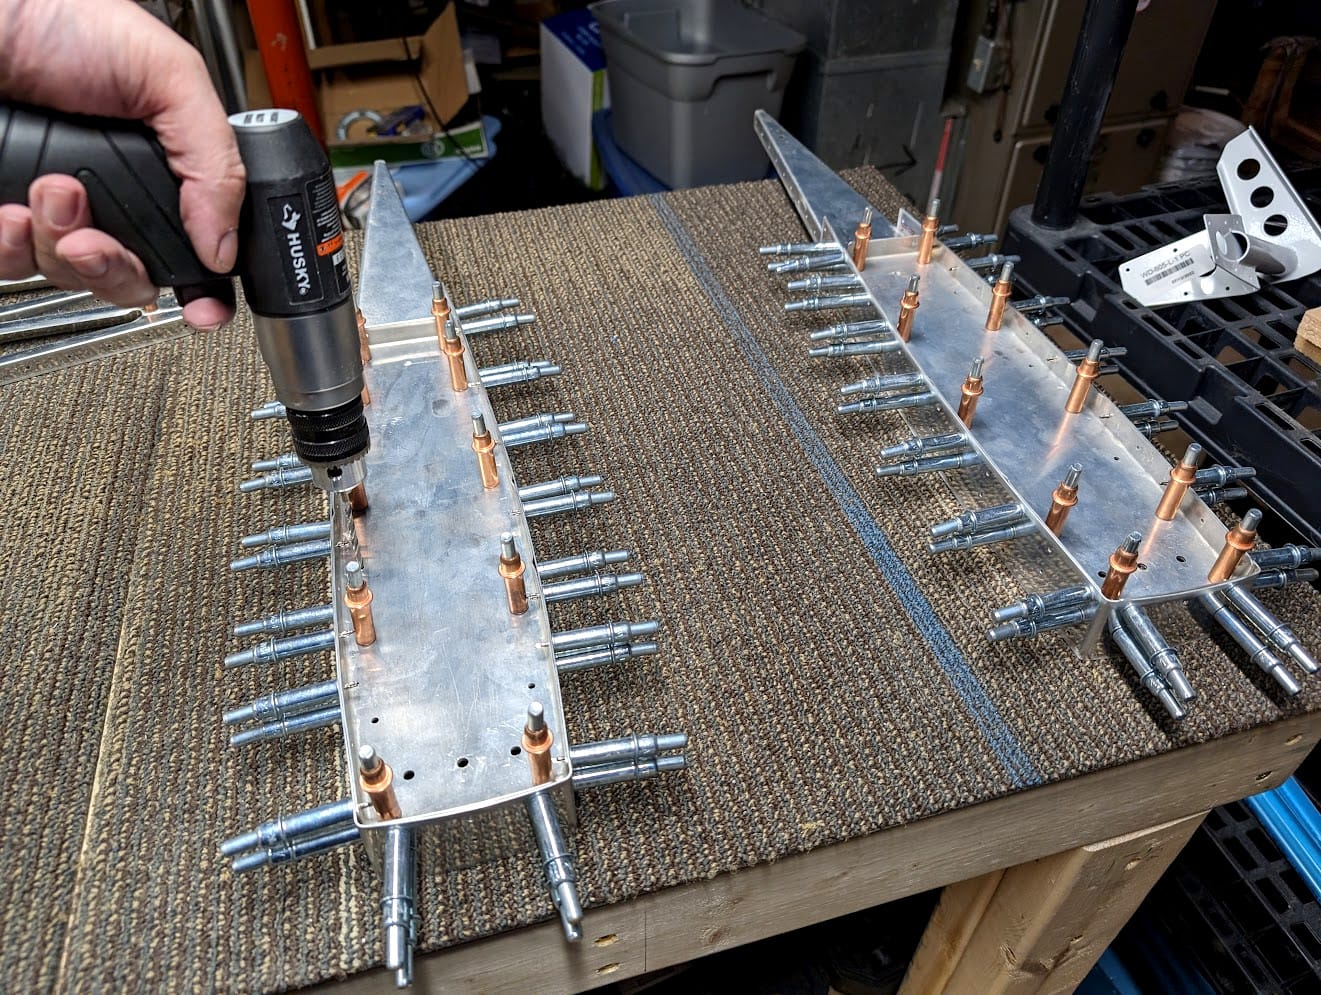
So now the ribs are mostly ready. The end assemblies for the counterweights are next. I had to go find the skin part for them but after a little digging it turned up.
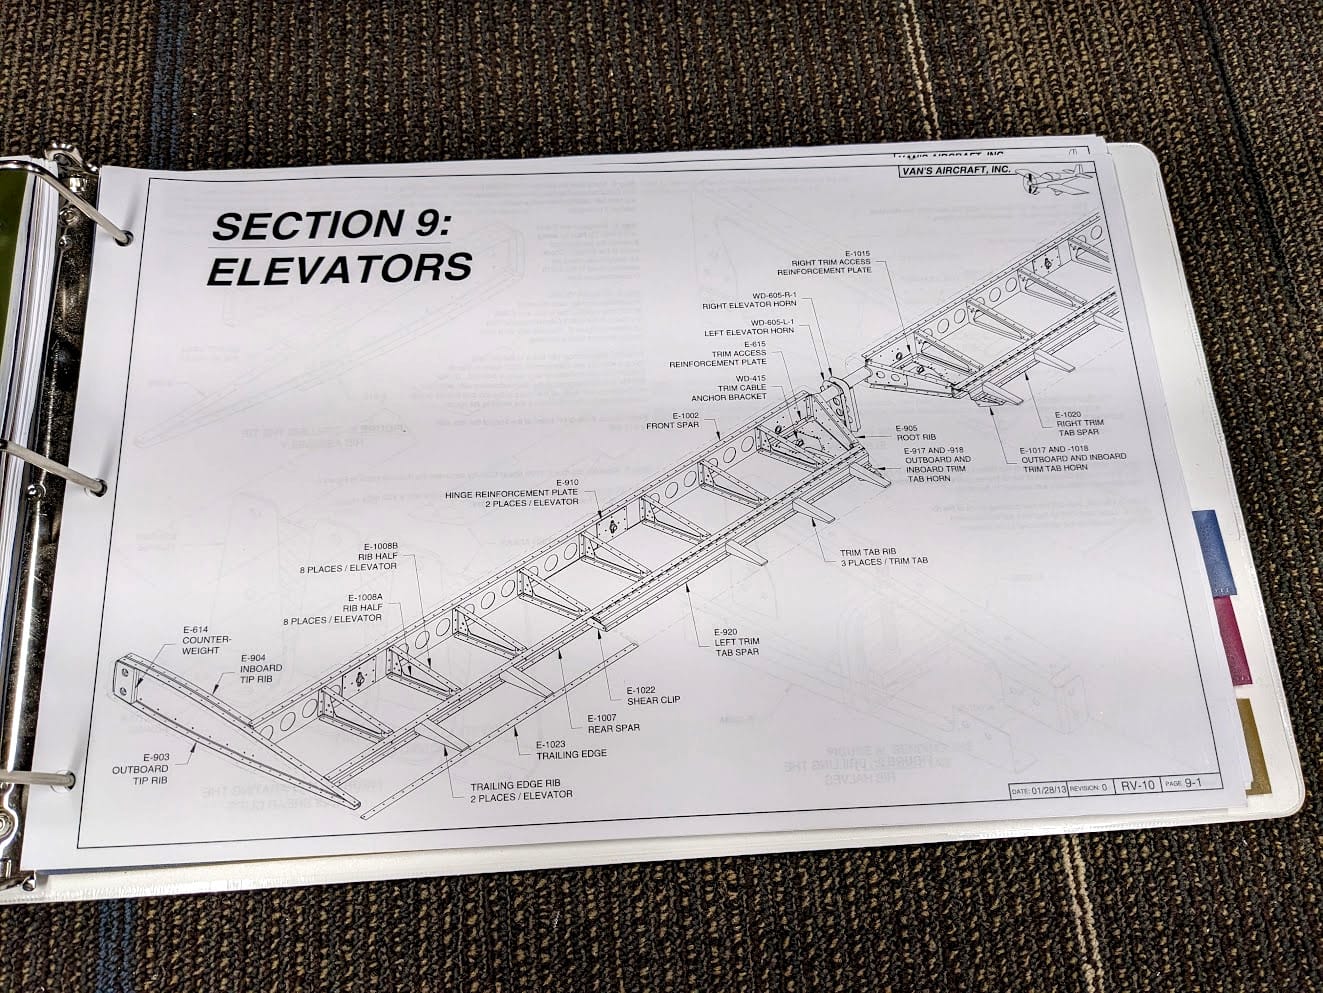
Here are the plans for putting those together and drilling them to match.
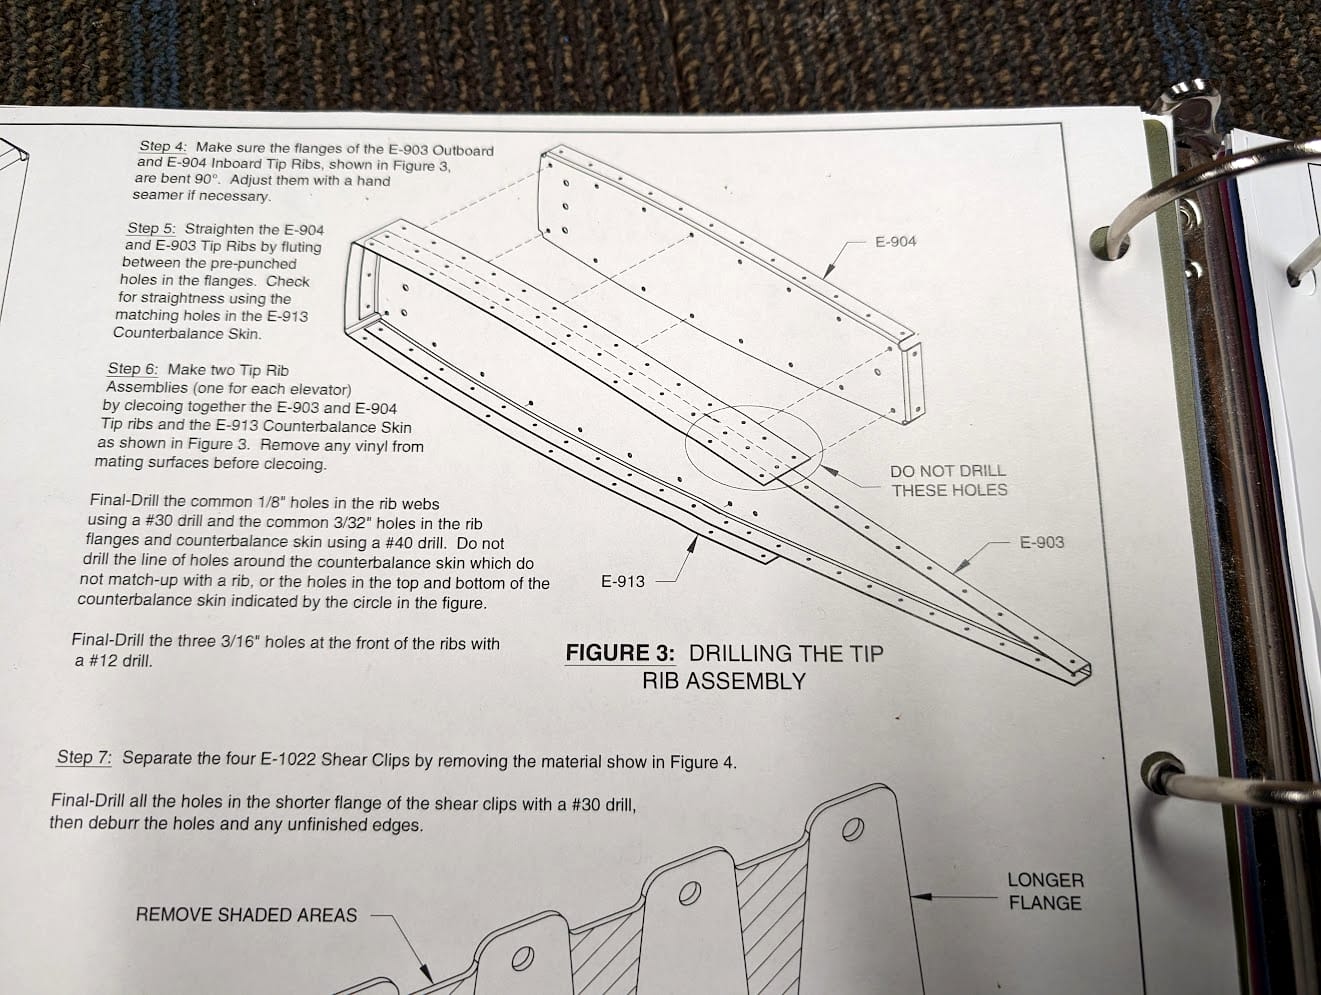
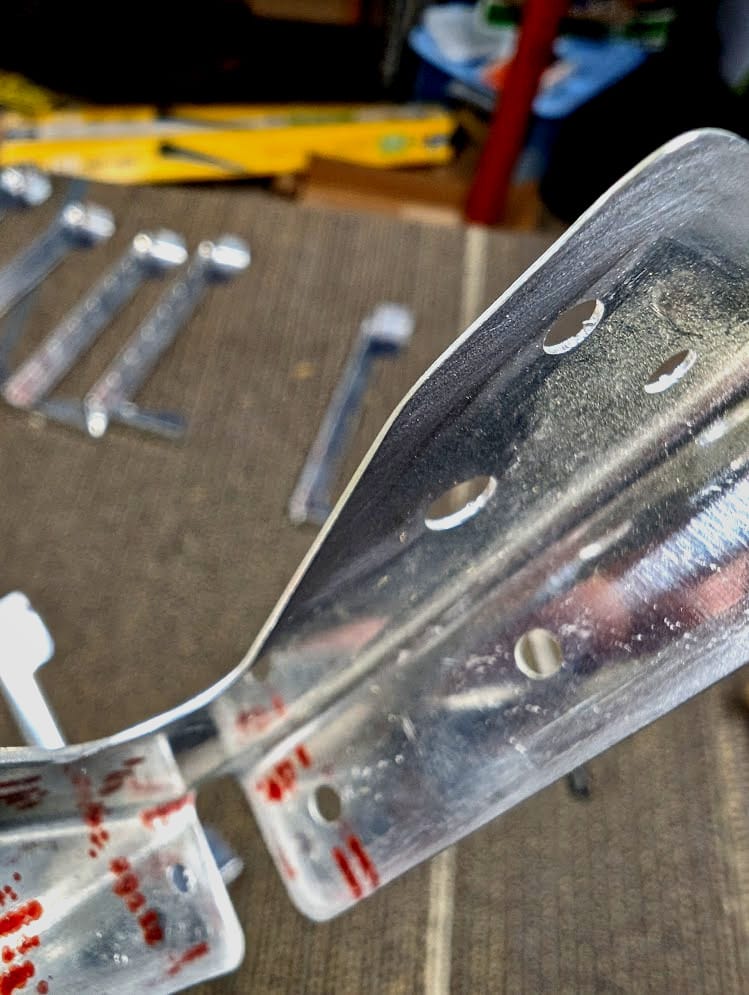
The fit was actually very very tight. So I had to coerce the fit a little because it really didn't want to line up just right. The match drilling will take out any remaining misalignment (which would be almost invisible).
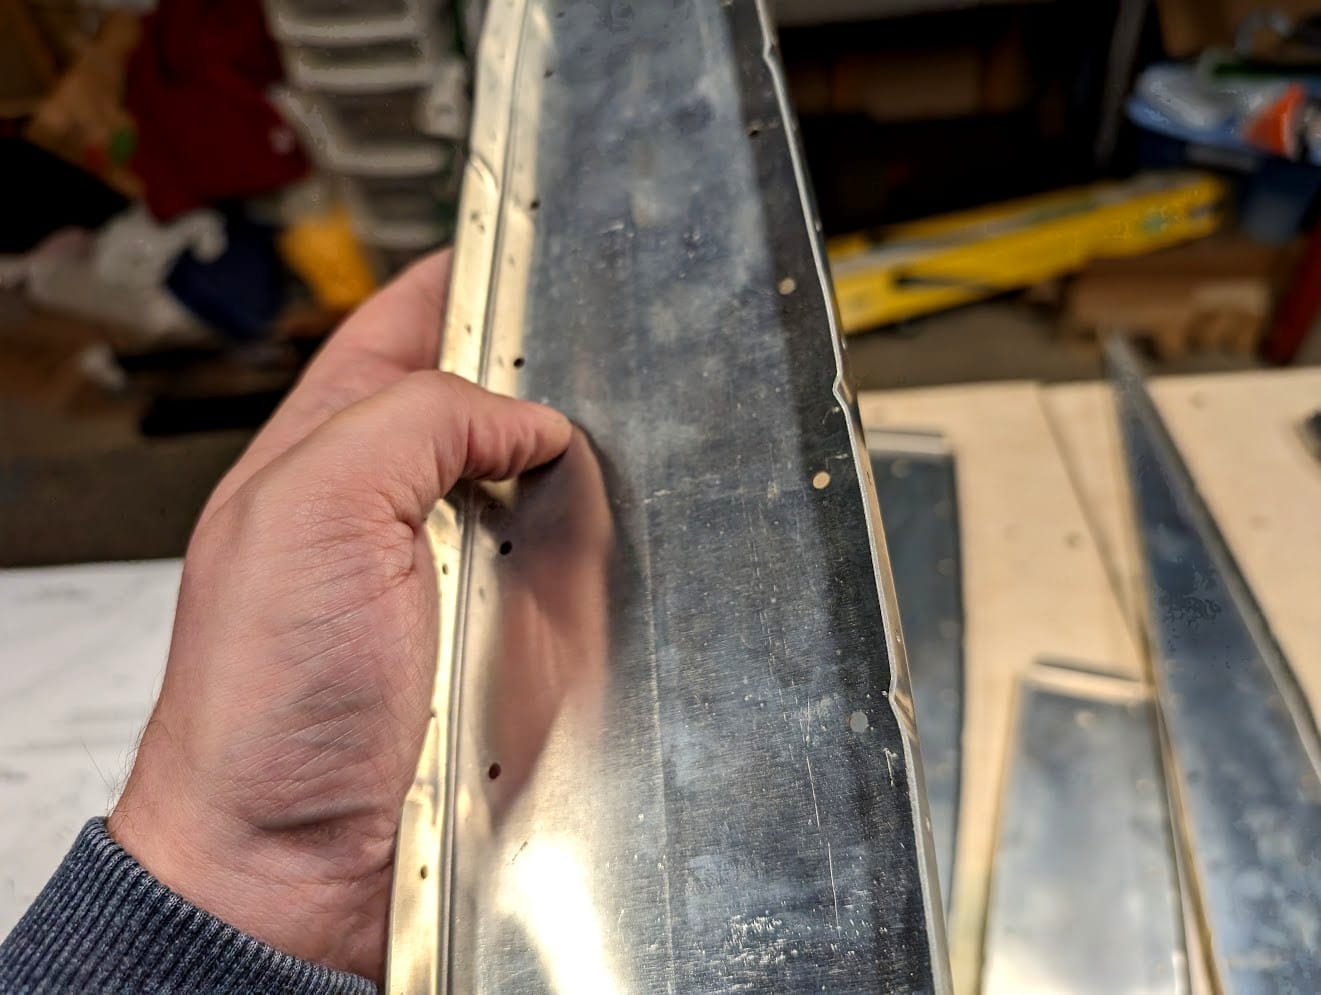
There you have it, my progress so far this year. It isn't a lot but it is still progress! Also, I messed up on my horizontal stabilizer. I was inspecting it and noticed a missing rivet.
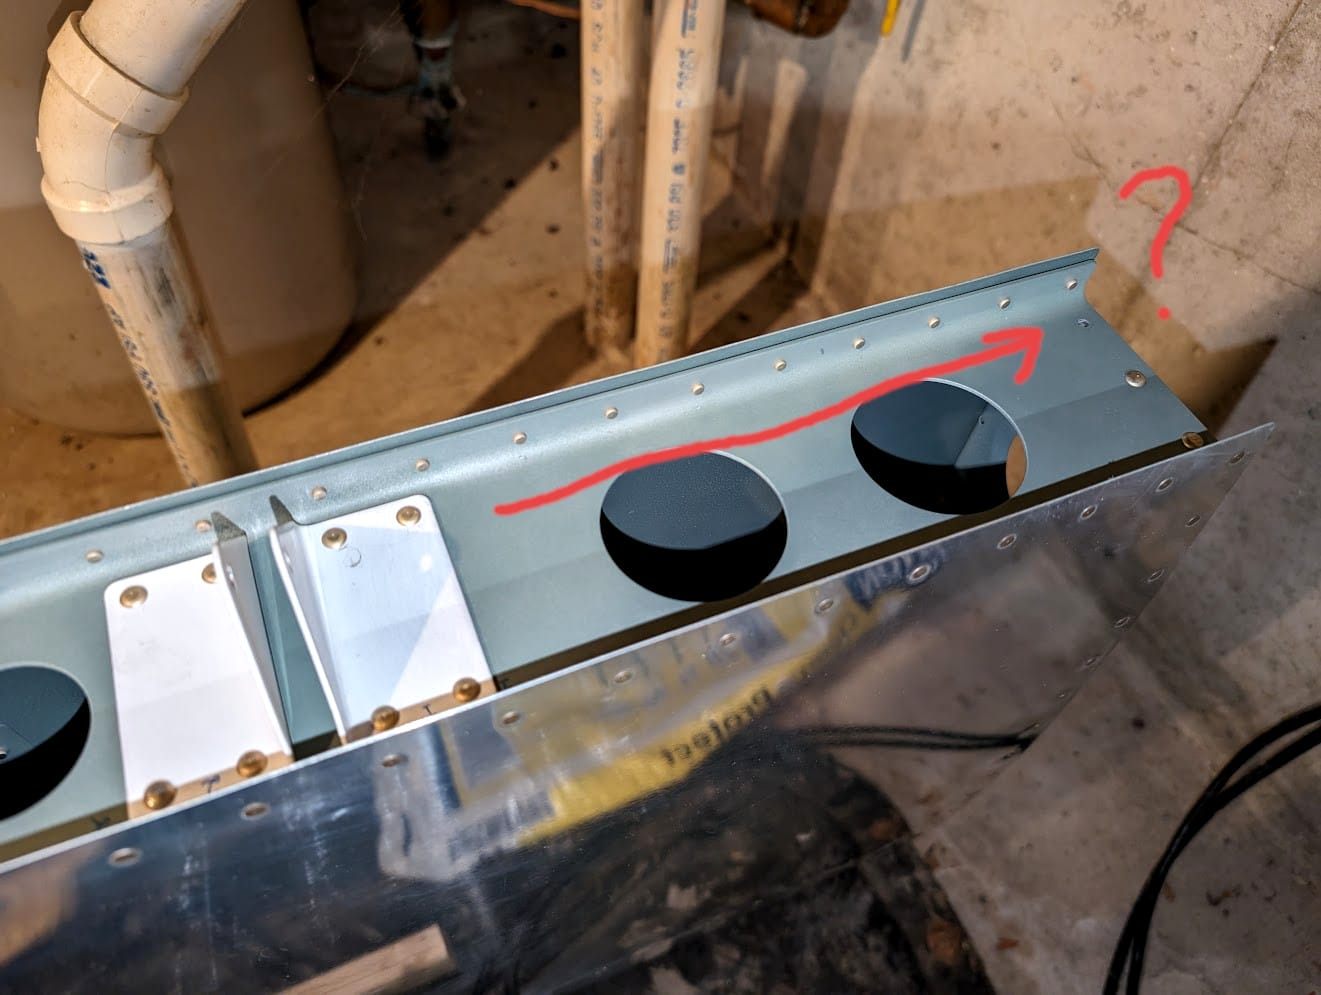
Oops. So at some point I'll have to put that rivet in. It is always worth inspecting parts now and again for things you might have missed. Winter here is coming to an end and I'm looking forward to flying more (we have a Winter Storm Warning as I type this). I hope y'all are staying safe and I thanks for stopping by!