Ups and Downs with Elevators


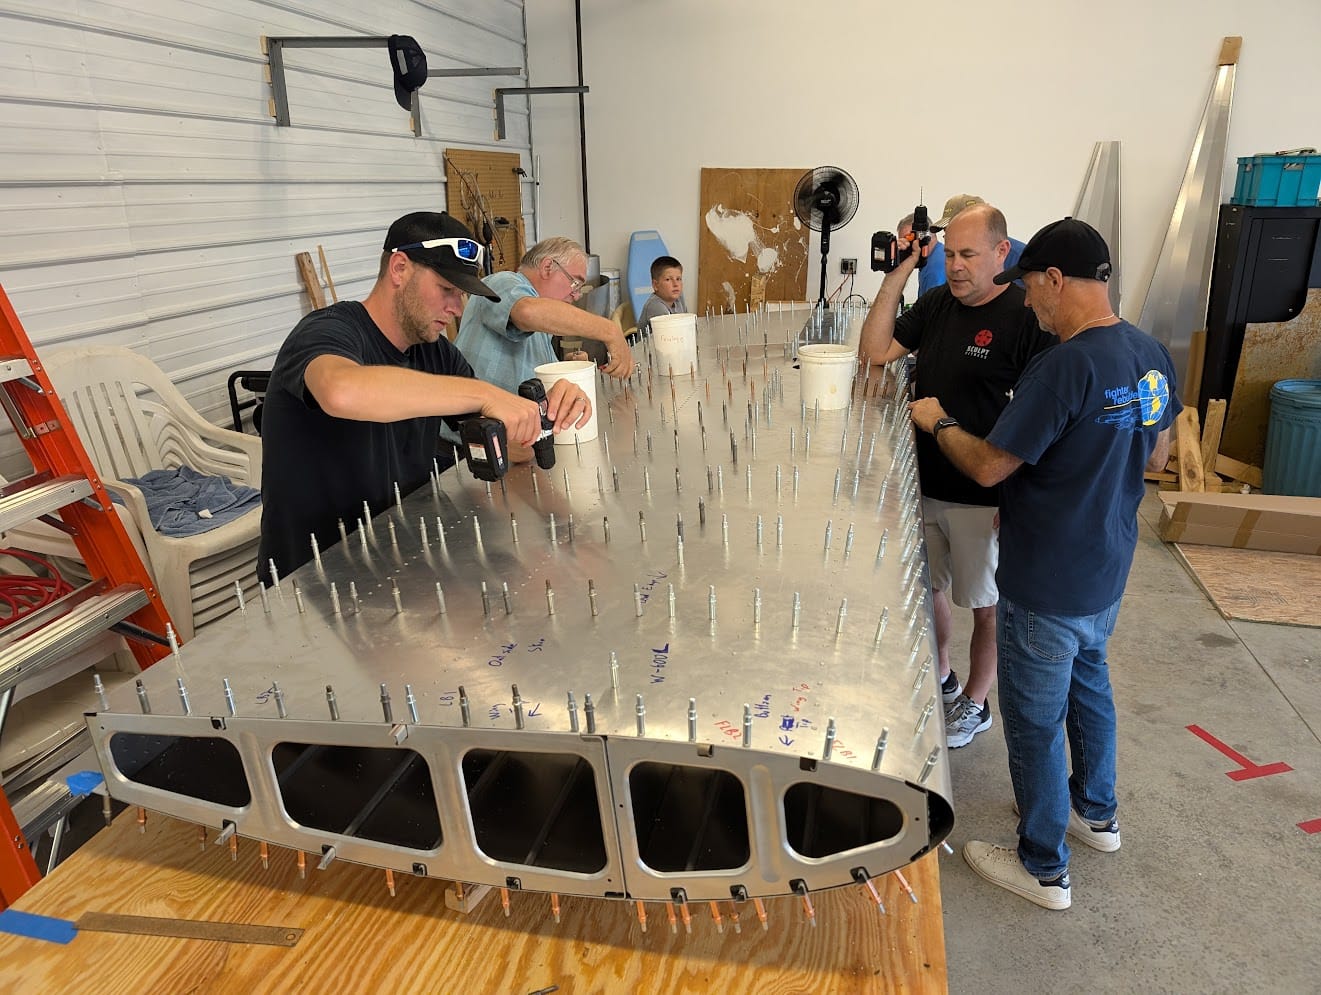
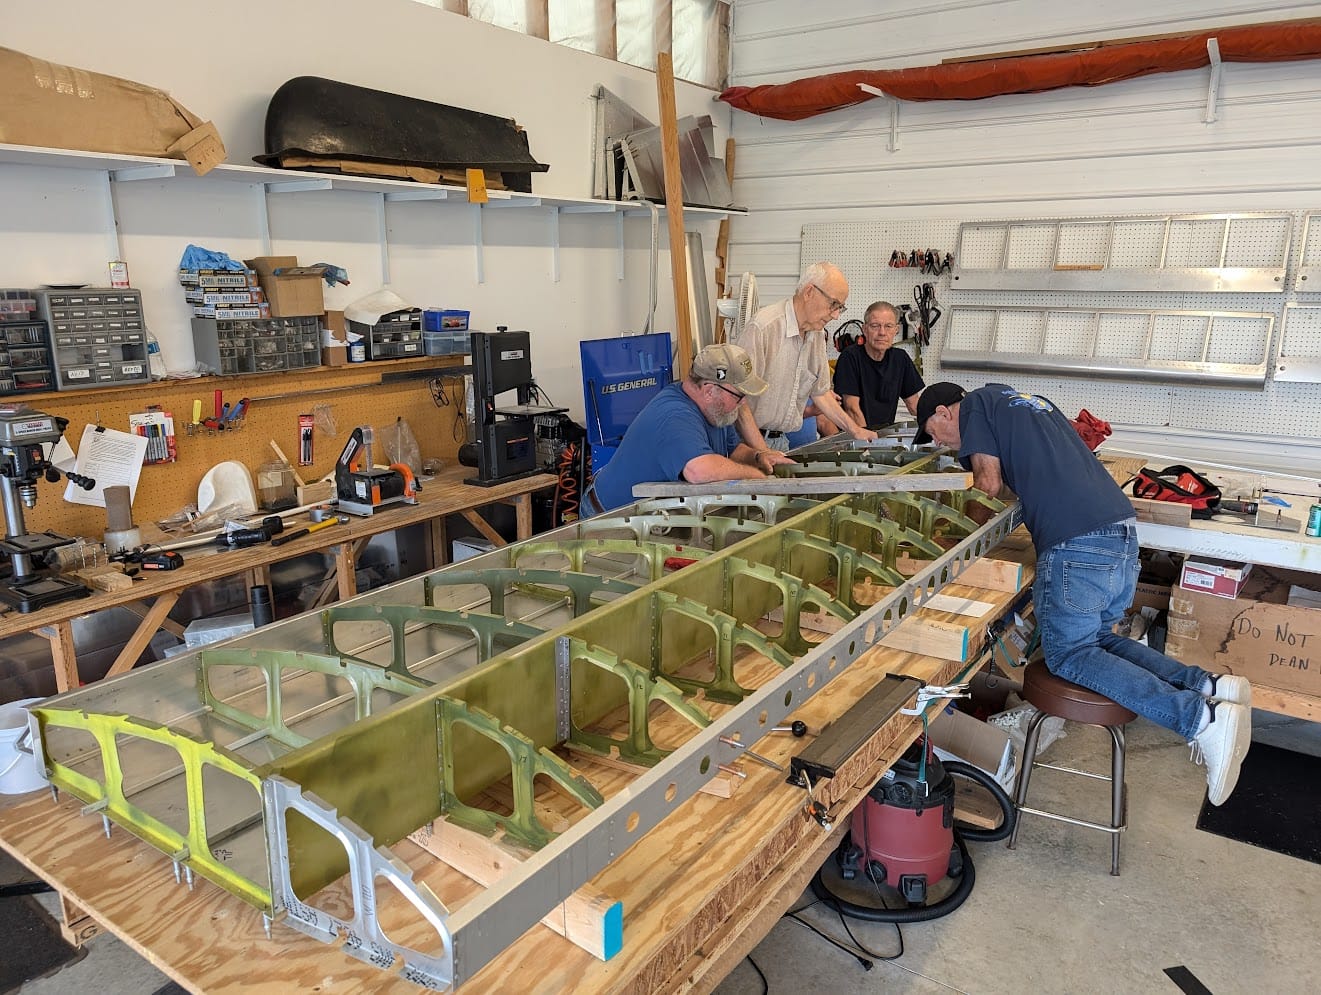
Hello everyone, and welcome to mid-August. I have been helping with my EAA chapter's build of a Murphy Rebel, we had a fly in at Brennand Airport (79C), there have been some young eagles rallies I've flown for, I went to Texas for work, Airventure 2024 happened in Oshkosh, my engine almost quit during a flight, and finally I've been working on the plane a little when I have the chance.
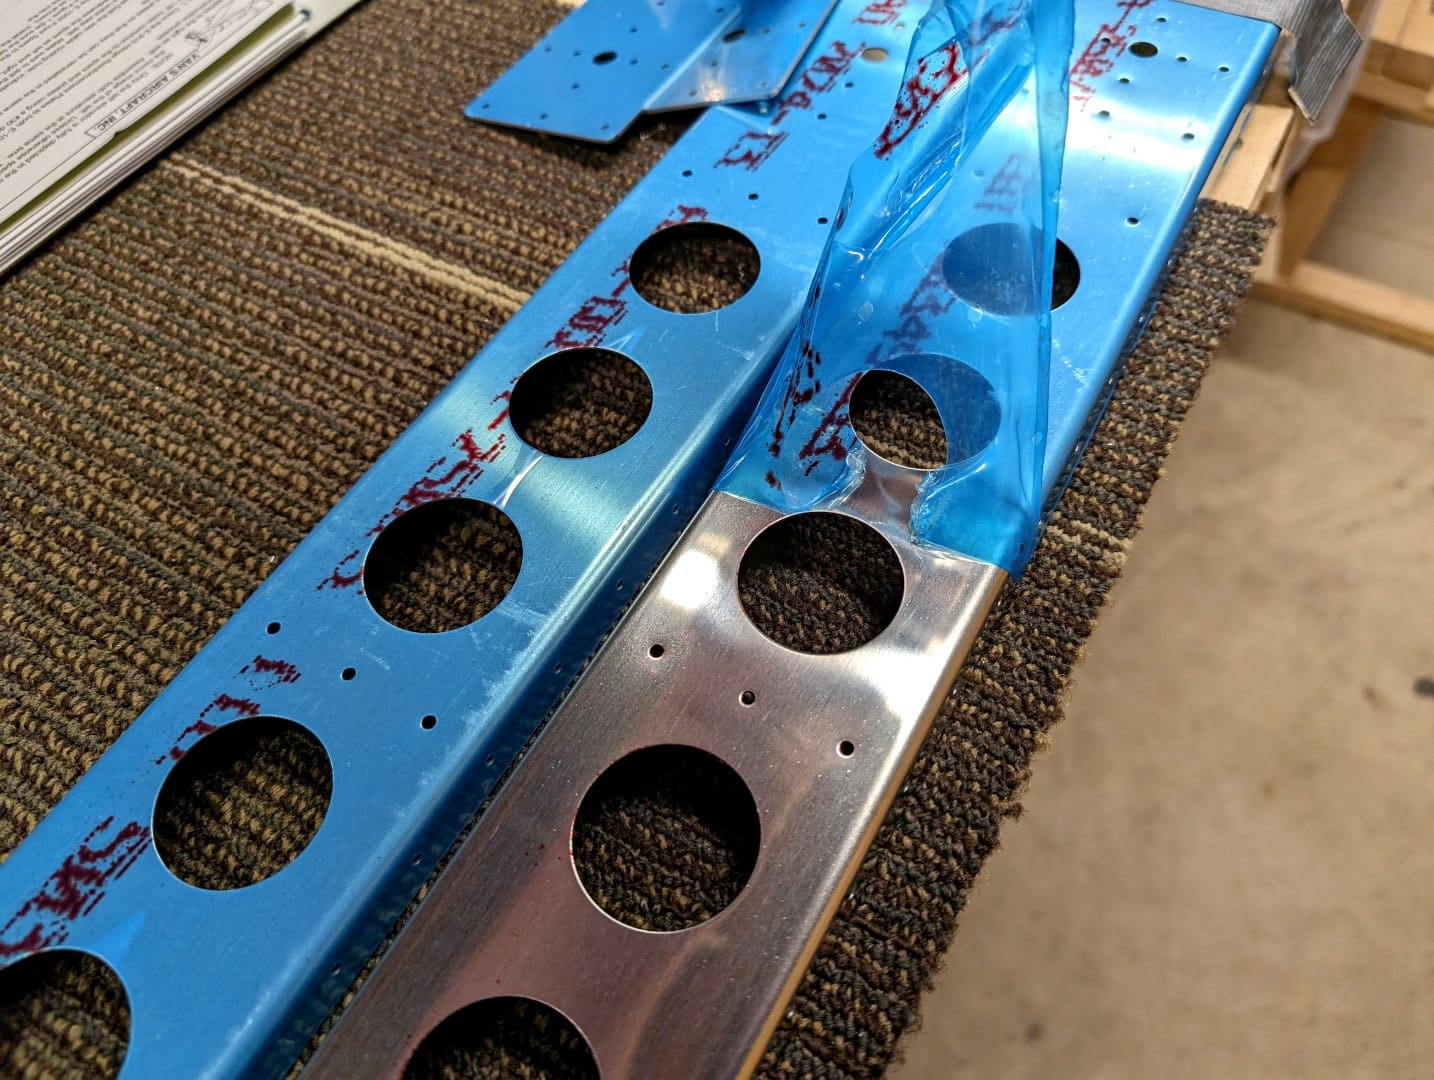
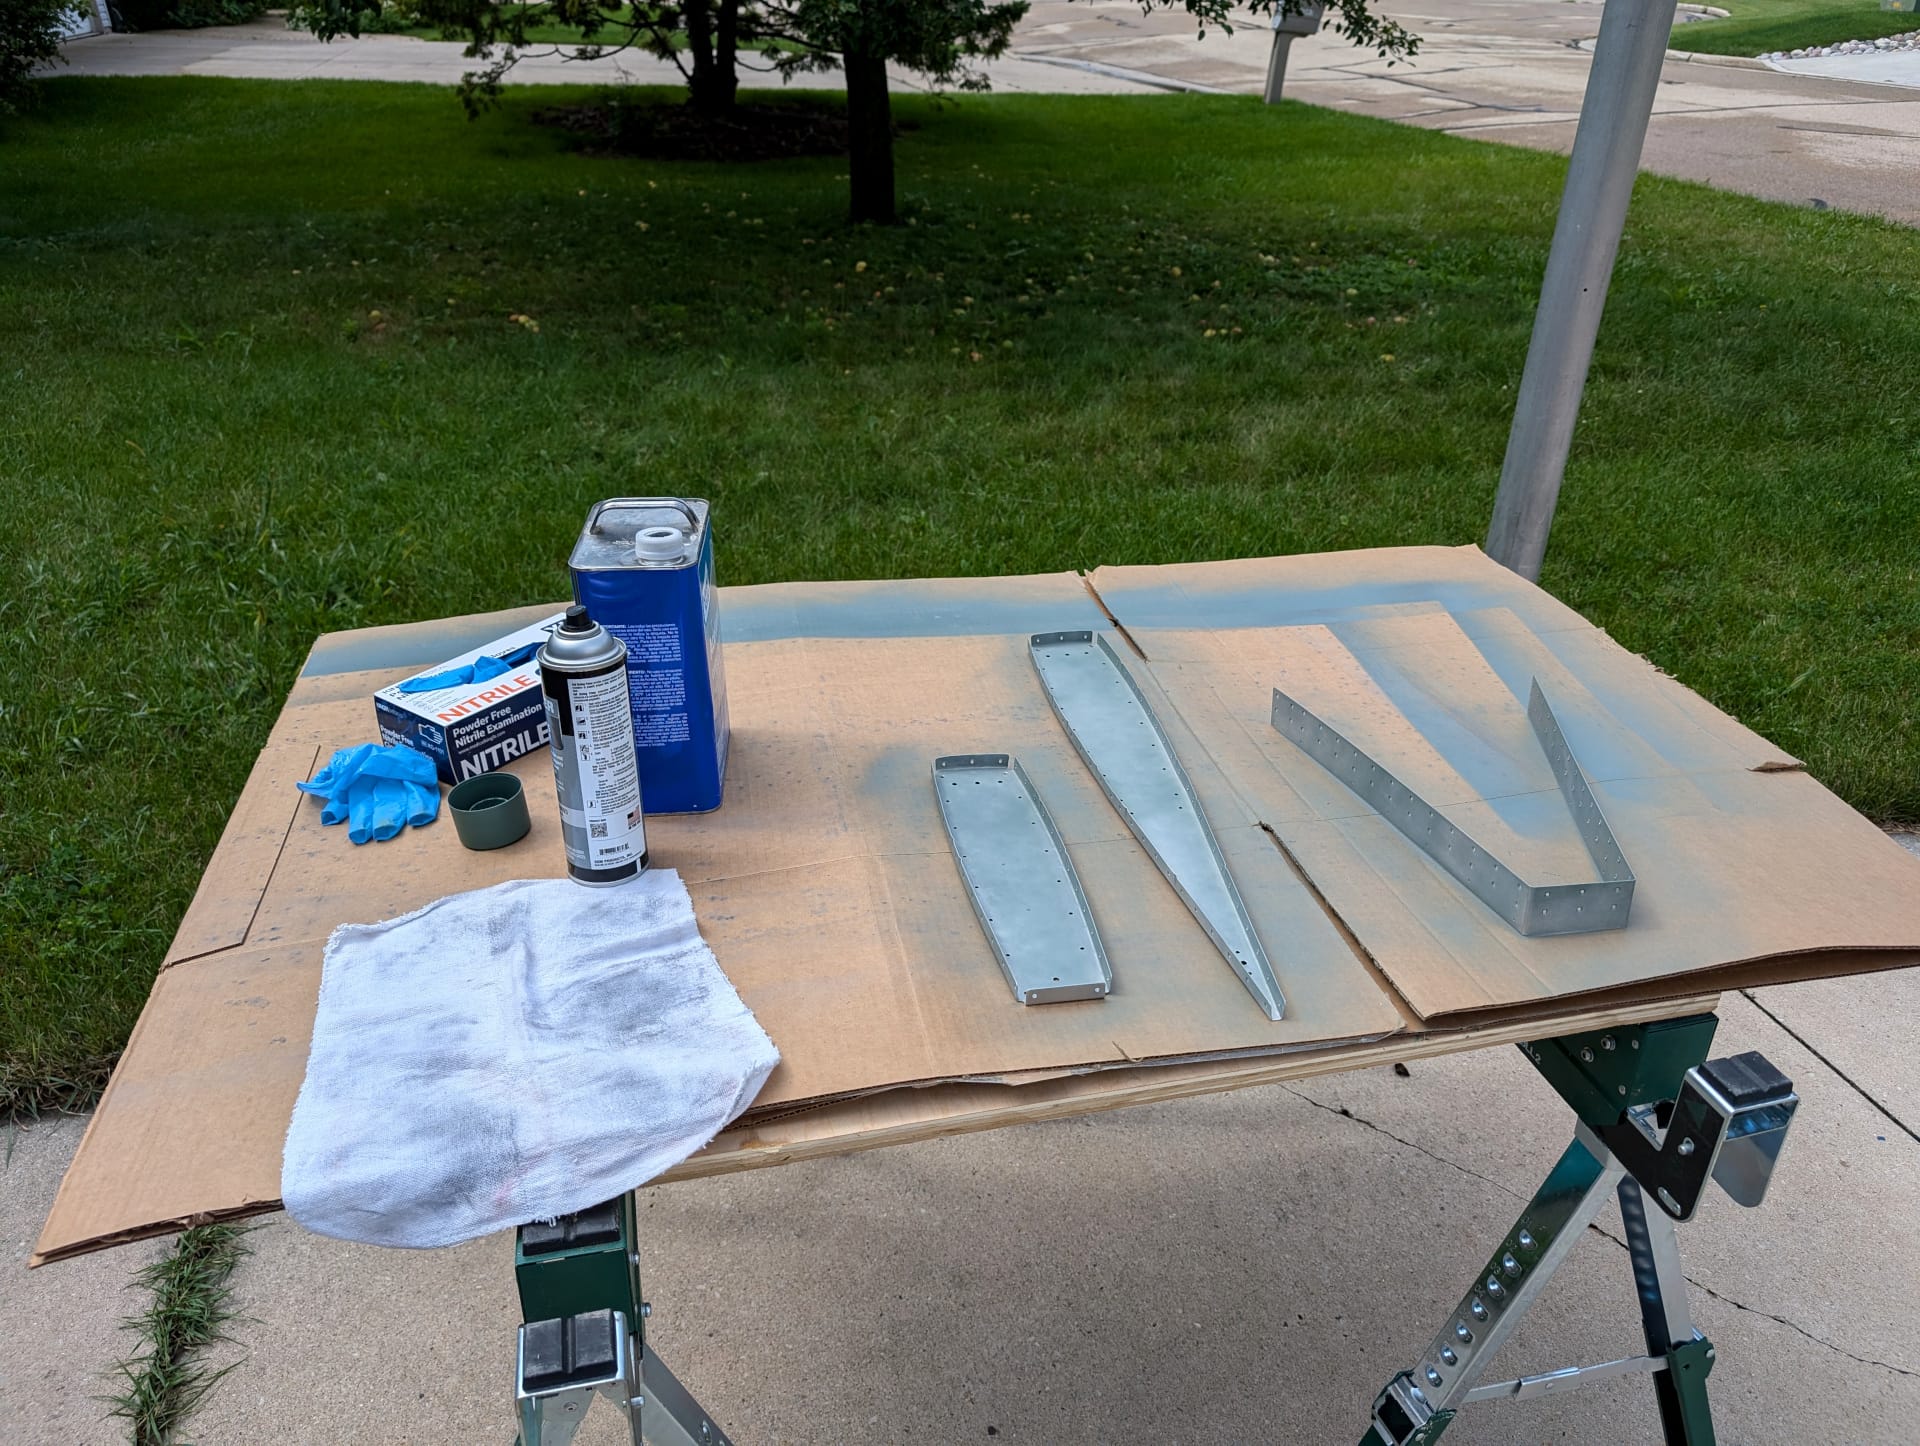
So last time we started on the elevators and I have continued that work. Starting off I got my laser cut part replacement for the front elevator spars so I pulled those out and began the process of deburring and getting the metal in nicer shape from rough stamped parts. Taking the edges off the metal, sanding away the tool marks from stamping, and generally making sure nothing can cut me.
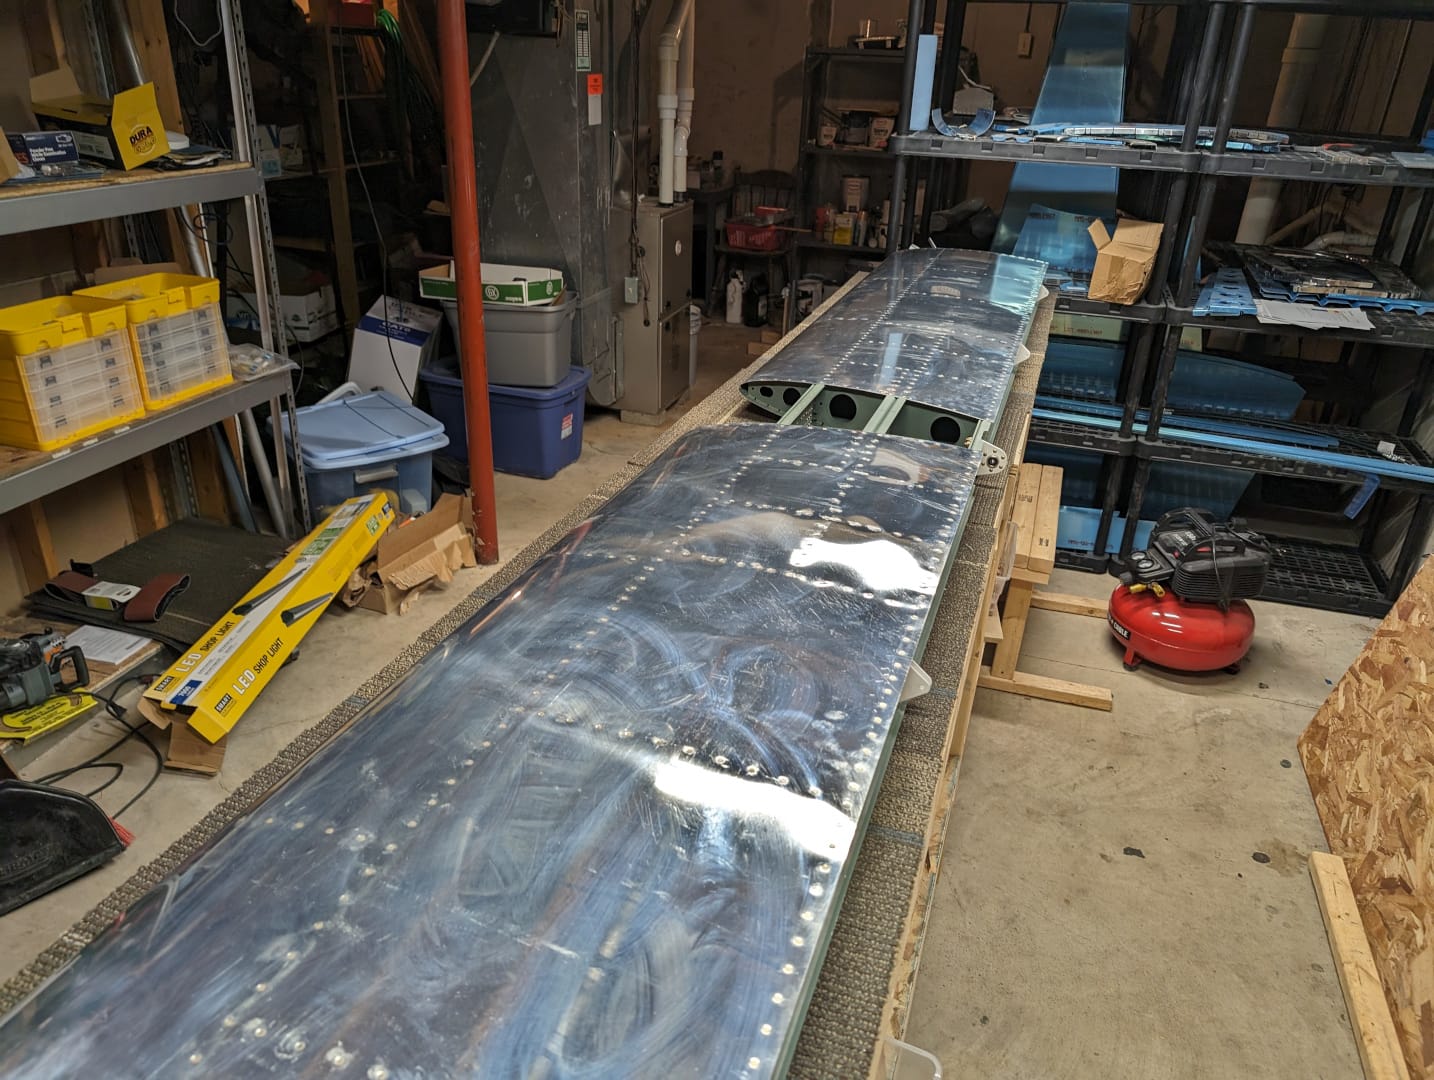
Now at this point I remembered that my horizontal stabilizer was missing a rivet. You may remember that from the end of the last blog post where I noticed it. I cleverly forgot about it for a while but then I got bored of sanding metal and decided to fix it up. So let's grab the stabilizer and give it a look.
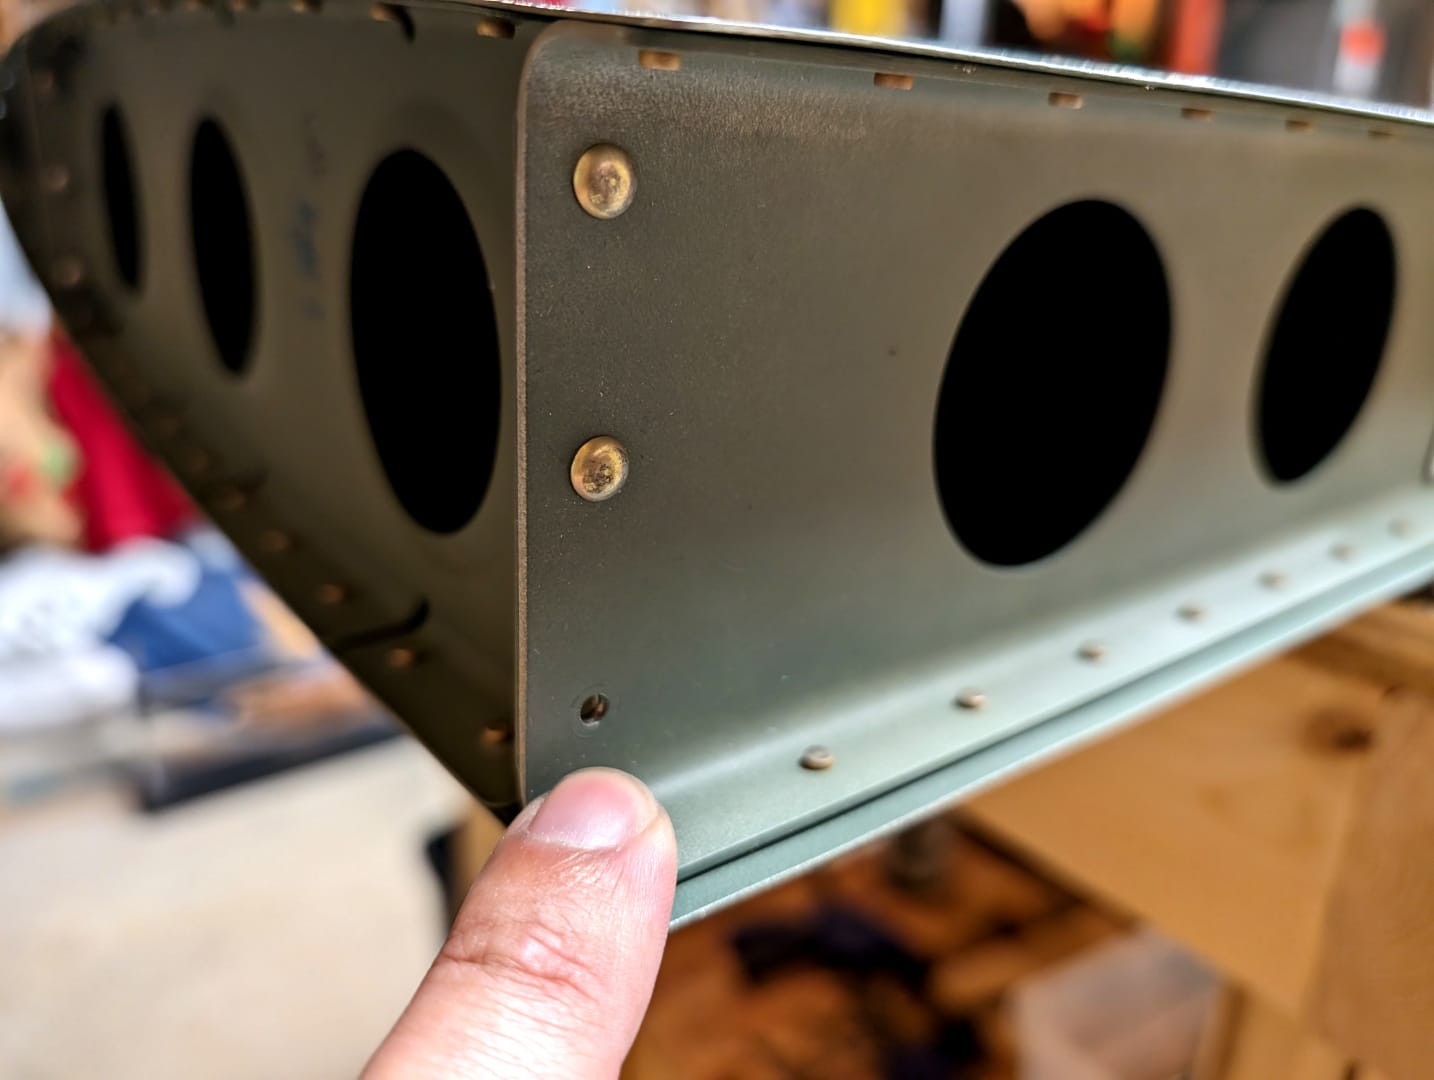
Yep, that is a missing rivet alright. Now since I have a five second memory about this sort of thing I forgot what size rivet that is, exactly. Lucky for me, it is still written down in the instructions and all I have to do it go find it. So off on a little investigation to the last chapter I went.
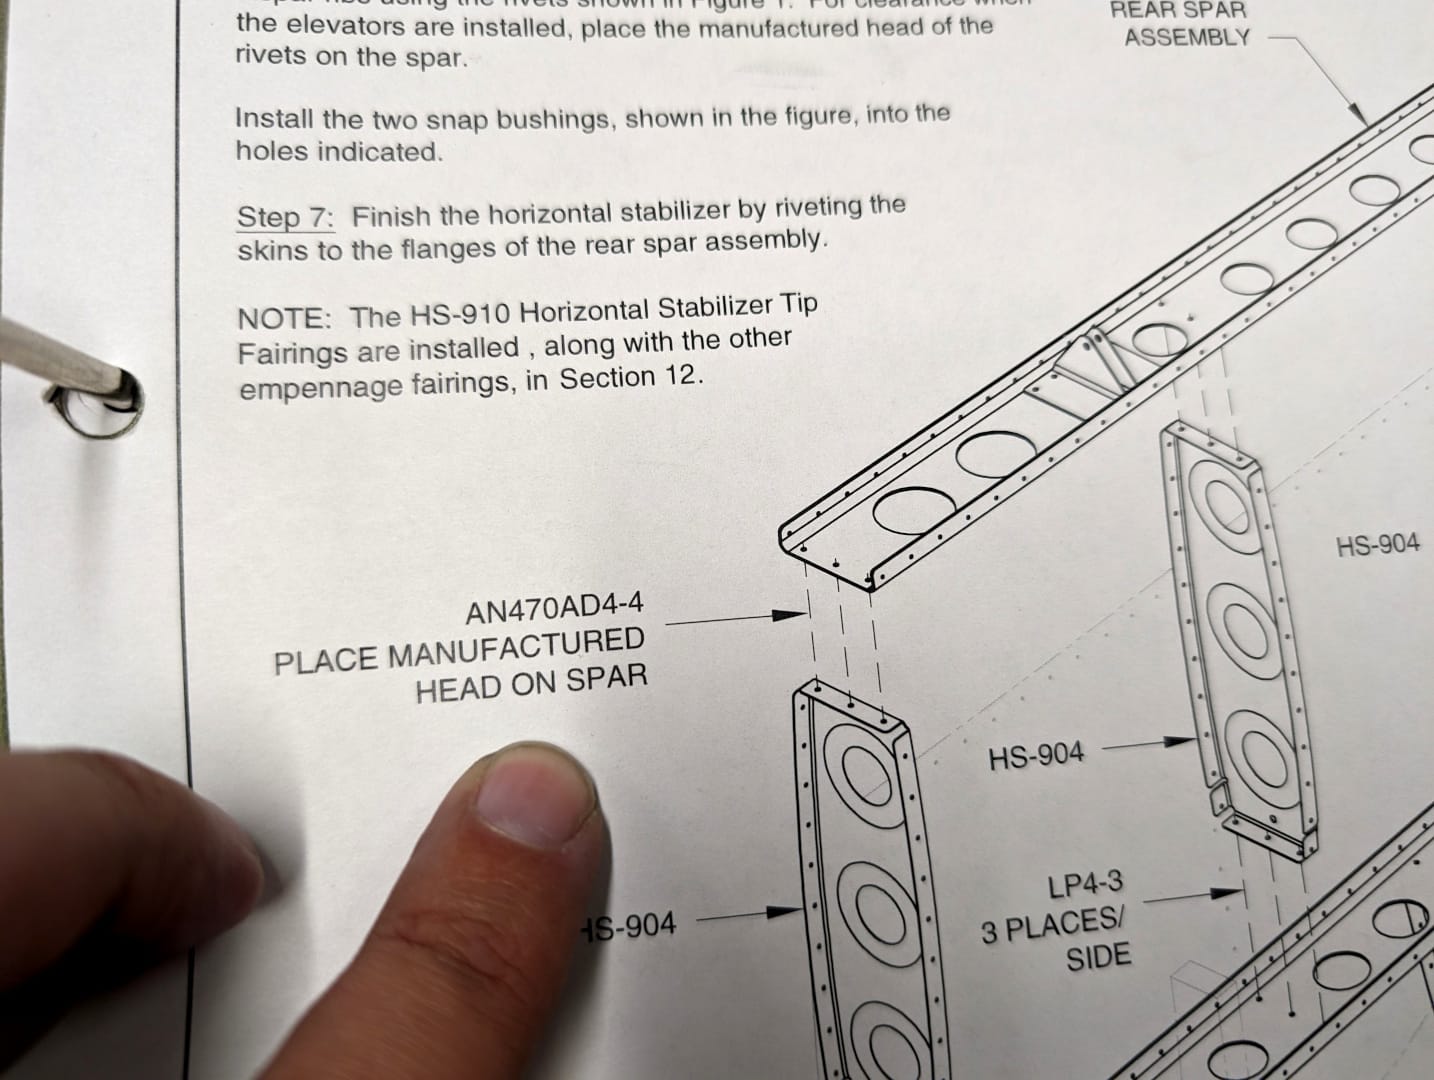
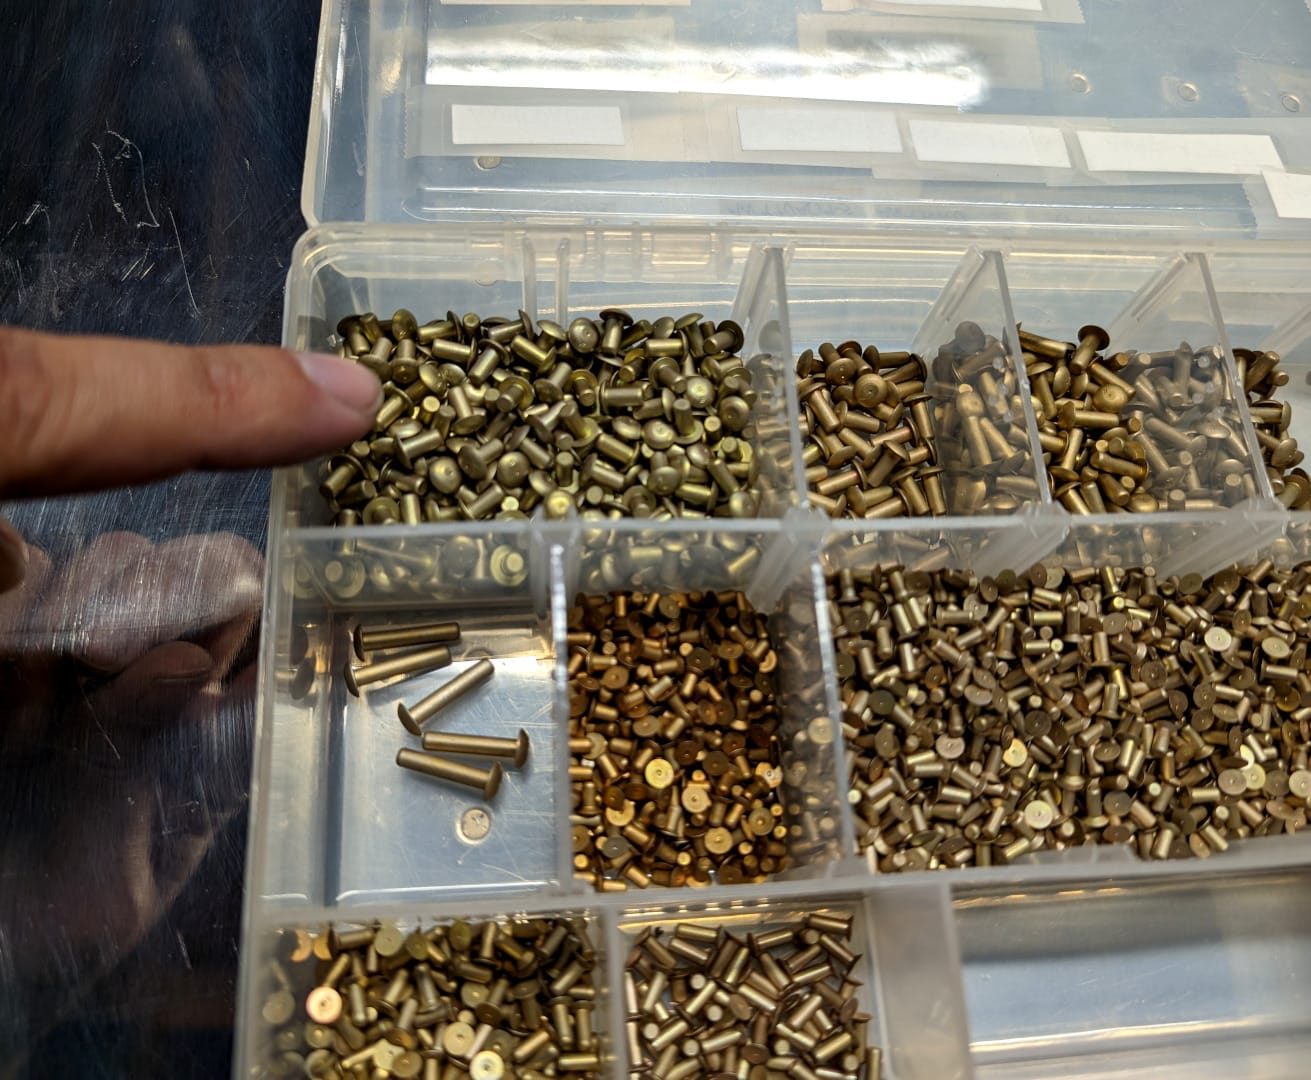
Ah yes, an AN470AD4-4. It rolls right off the tongue, doesn't it? Past me was very nice and all my rivets are sectioned out and labeled into little compartments so it took no time to get the rivet.
All this anticipation is probably killing you. I know it is killing me. A lot like the cliffhanger of a season finale, no one knows what I'm going to do with that rivet. Well here is a little secret: I'm going to put it in the rivet hole and use a pneumatic squeezer to set it. Don't believe me? Well take a look at this.
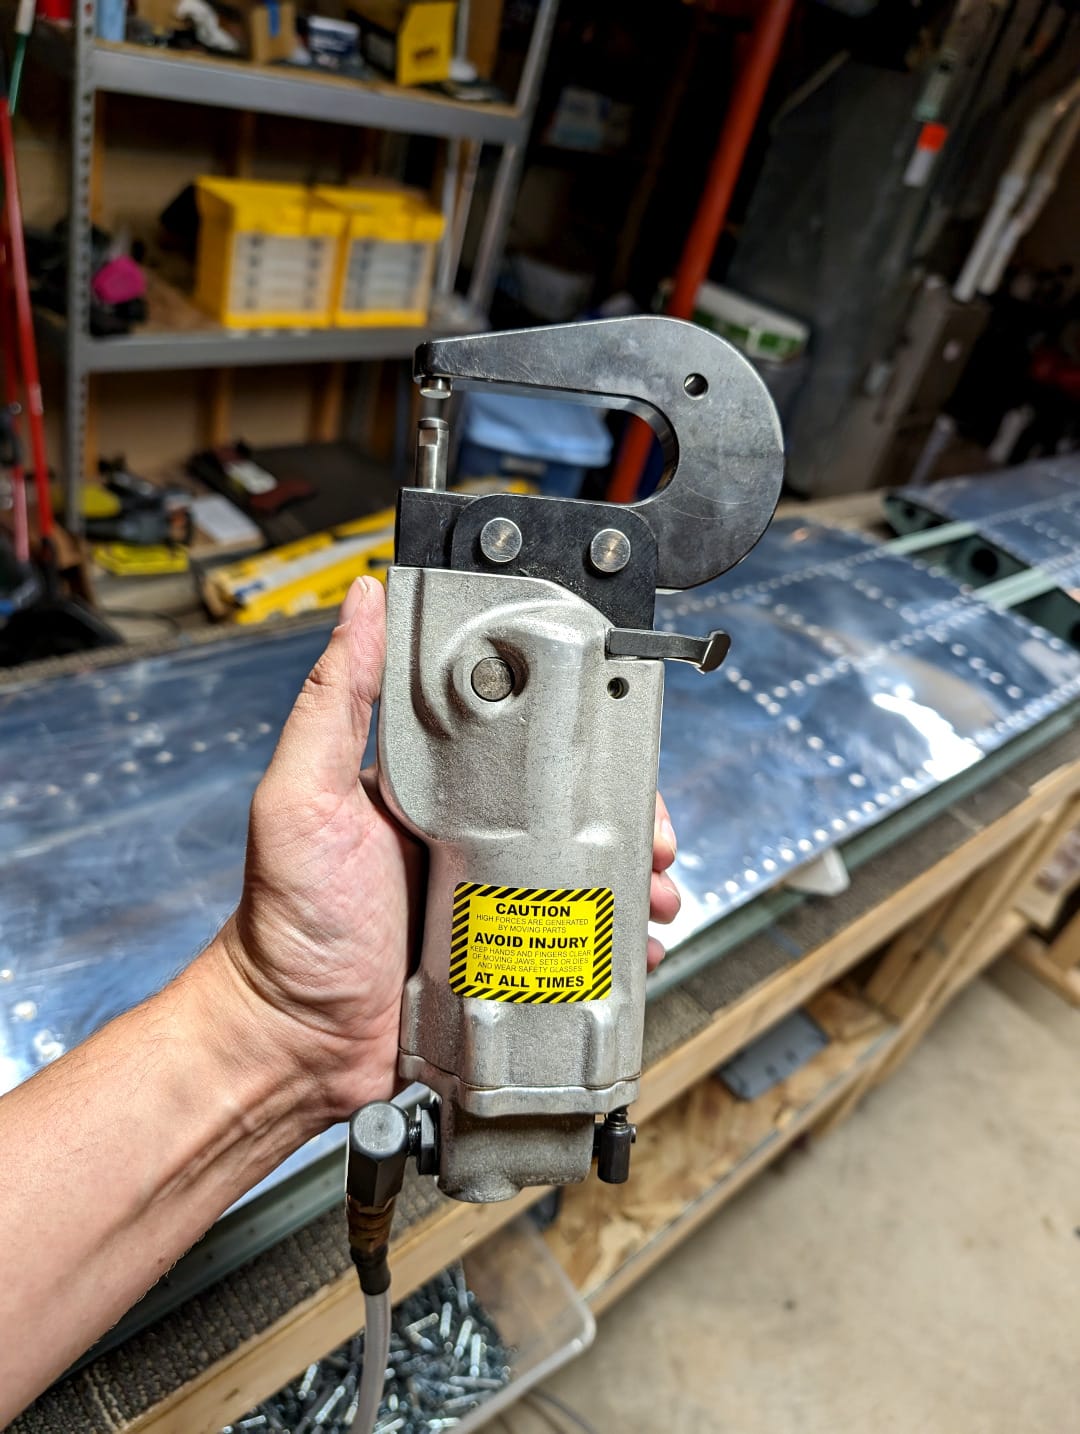
I bet you feel pretty silly now, don't you? After this I put the horizontal stabilizer back where it belongs, next to my water heater in the corner of my basement instead of on a plane and in the sky. Okay, so on that topic, let's talk about the elevator skins (ha ha, not related at all).
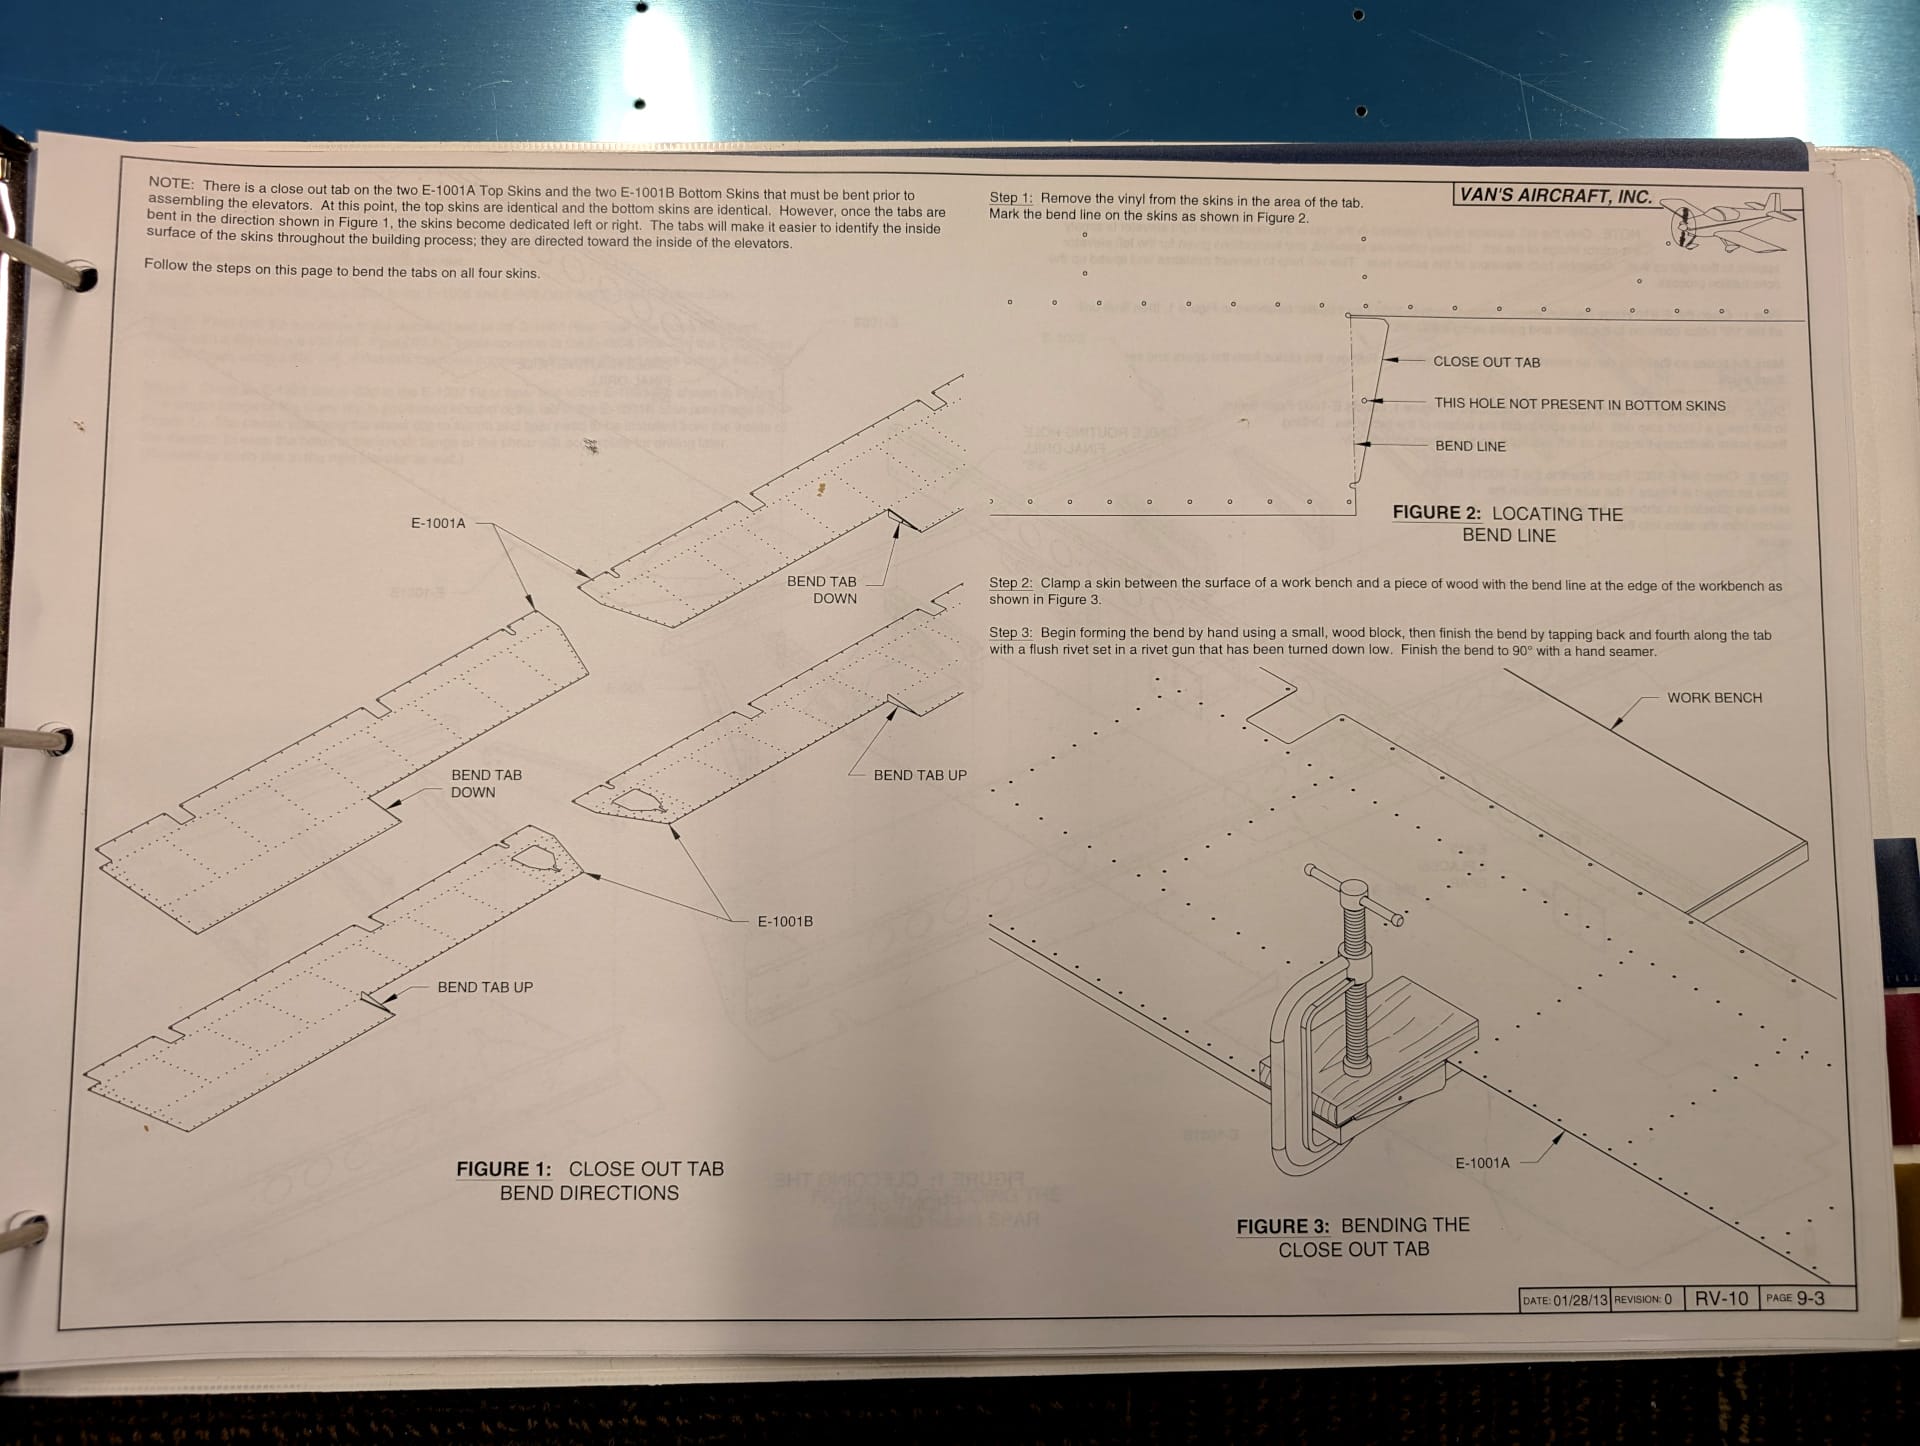
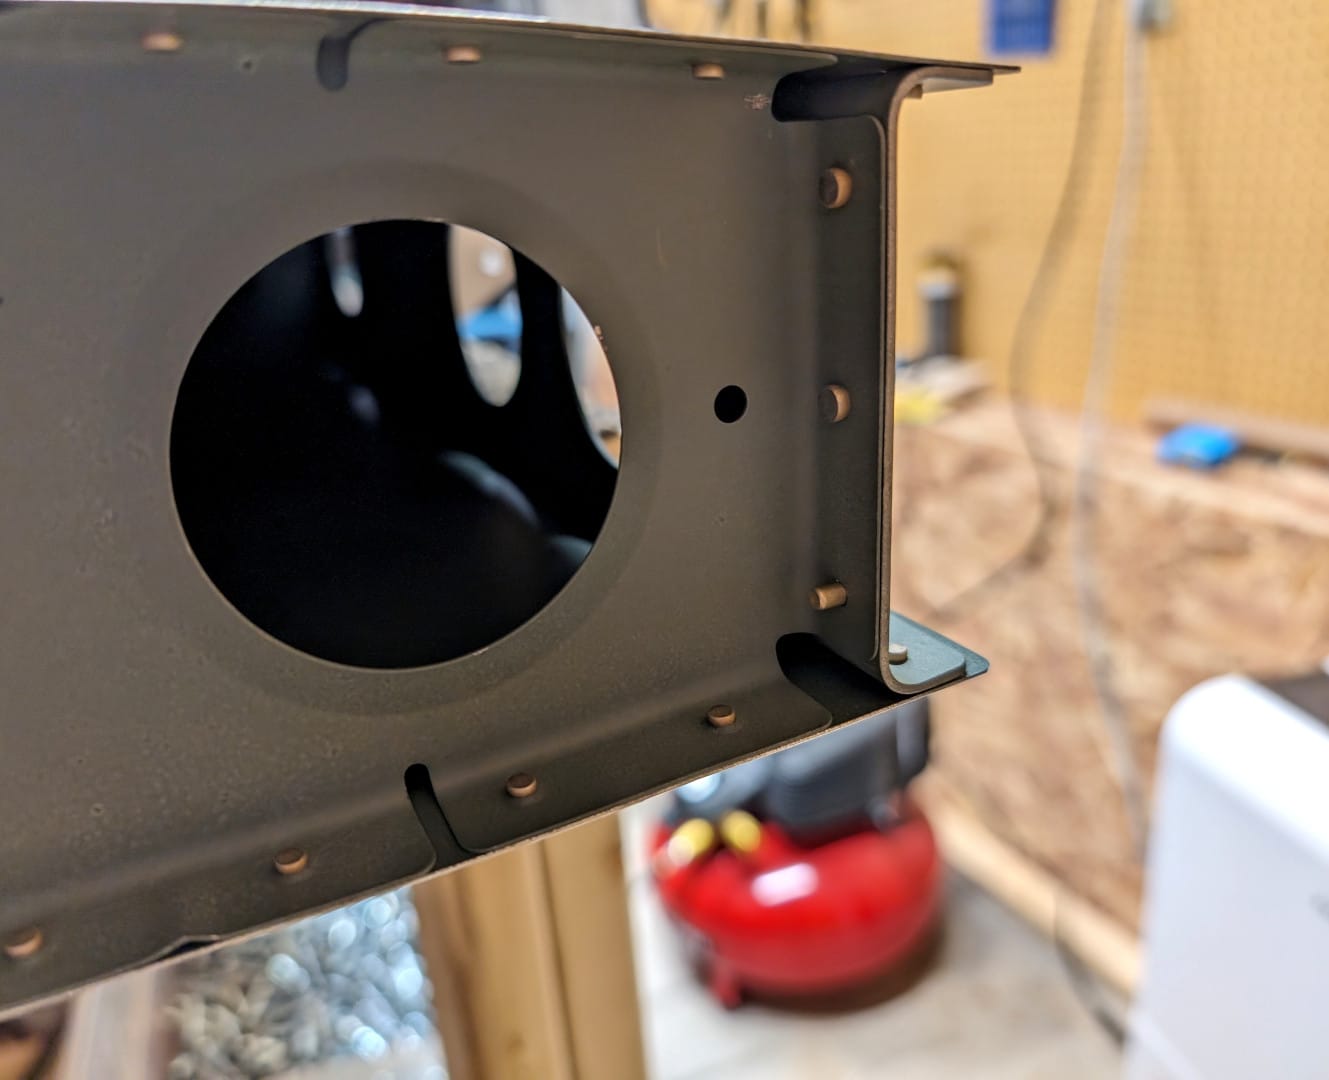
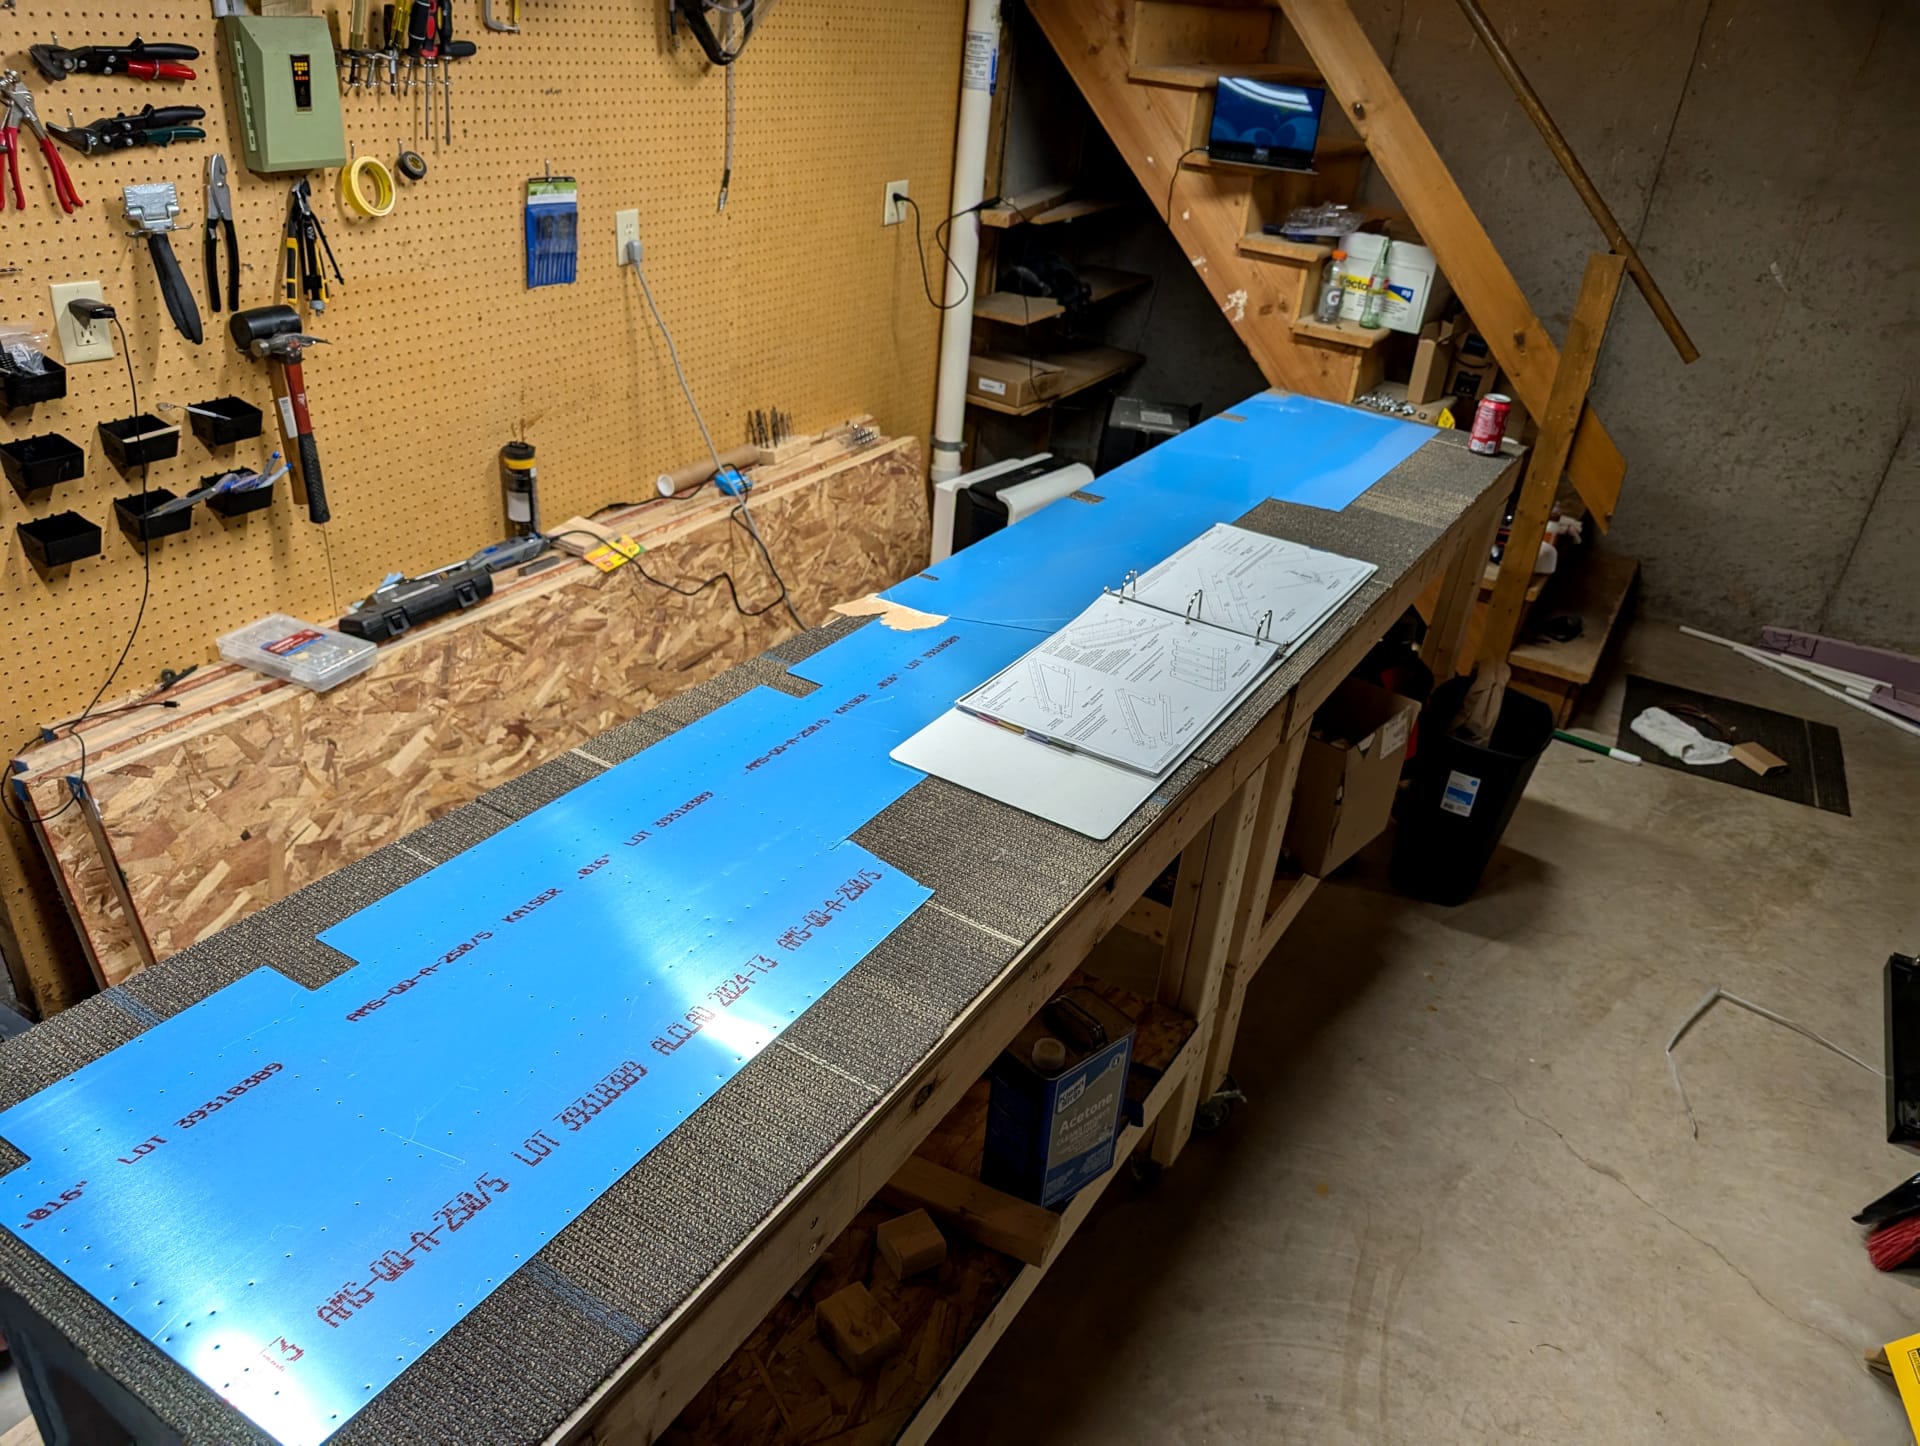
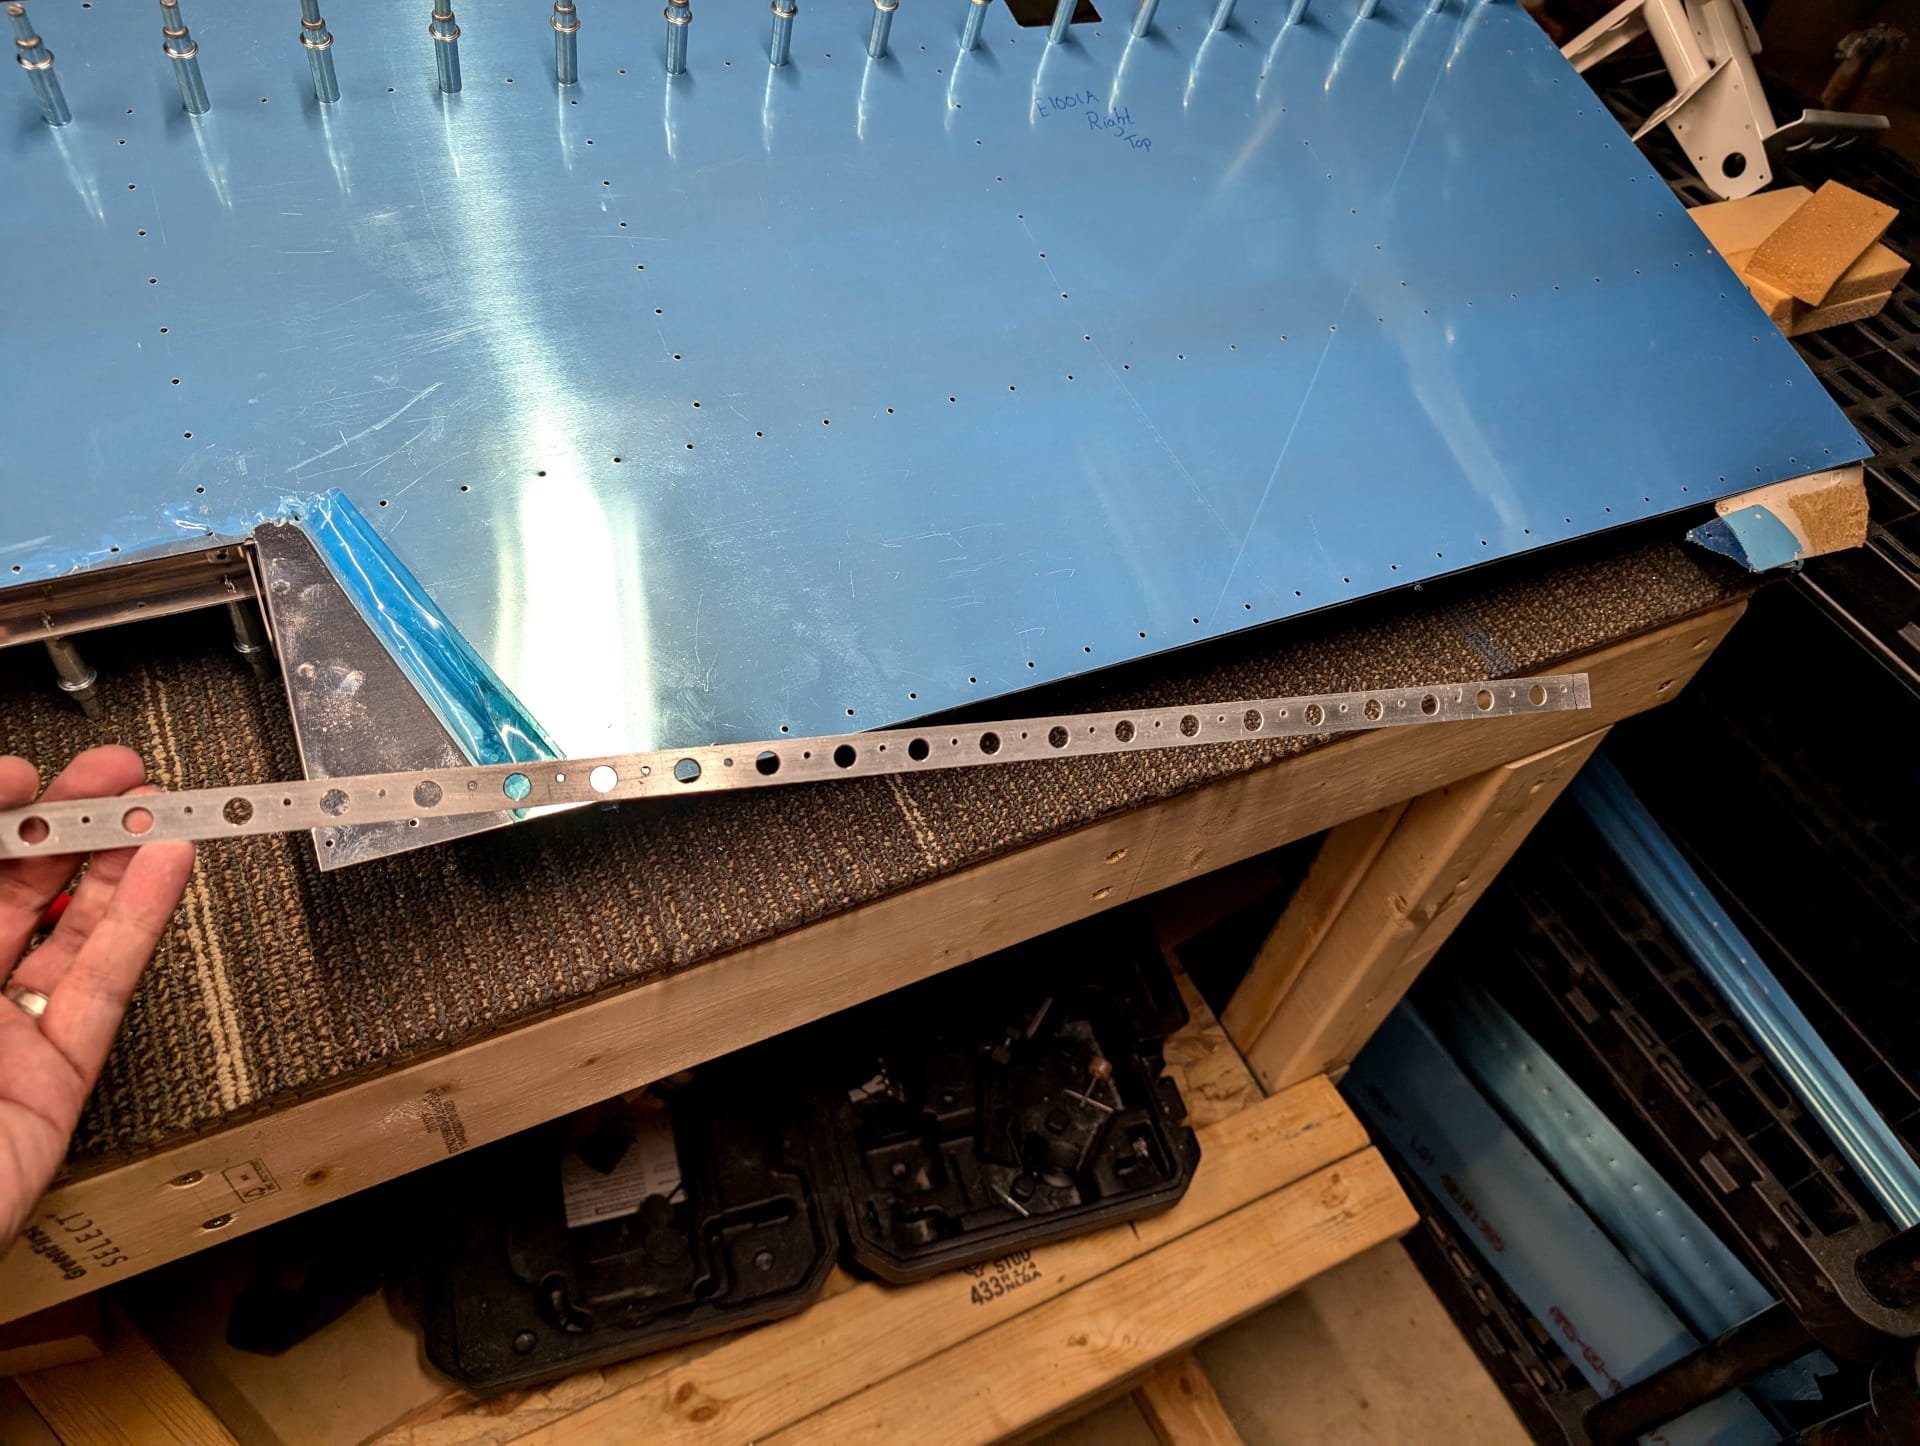
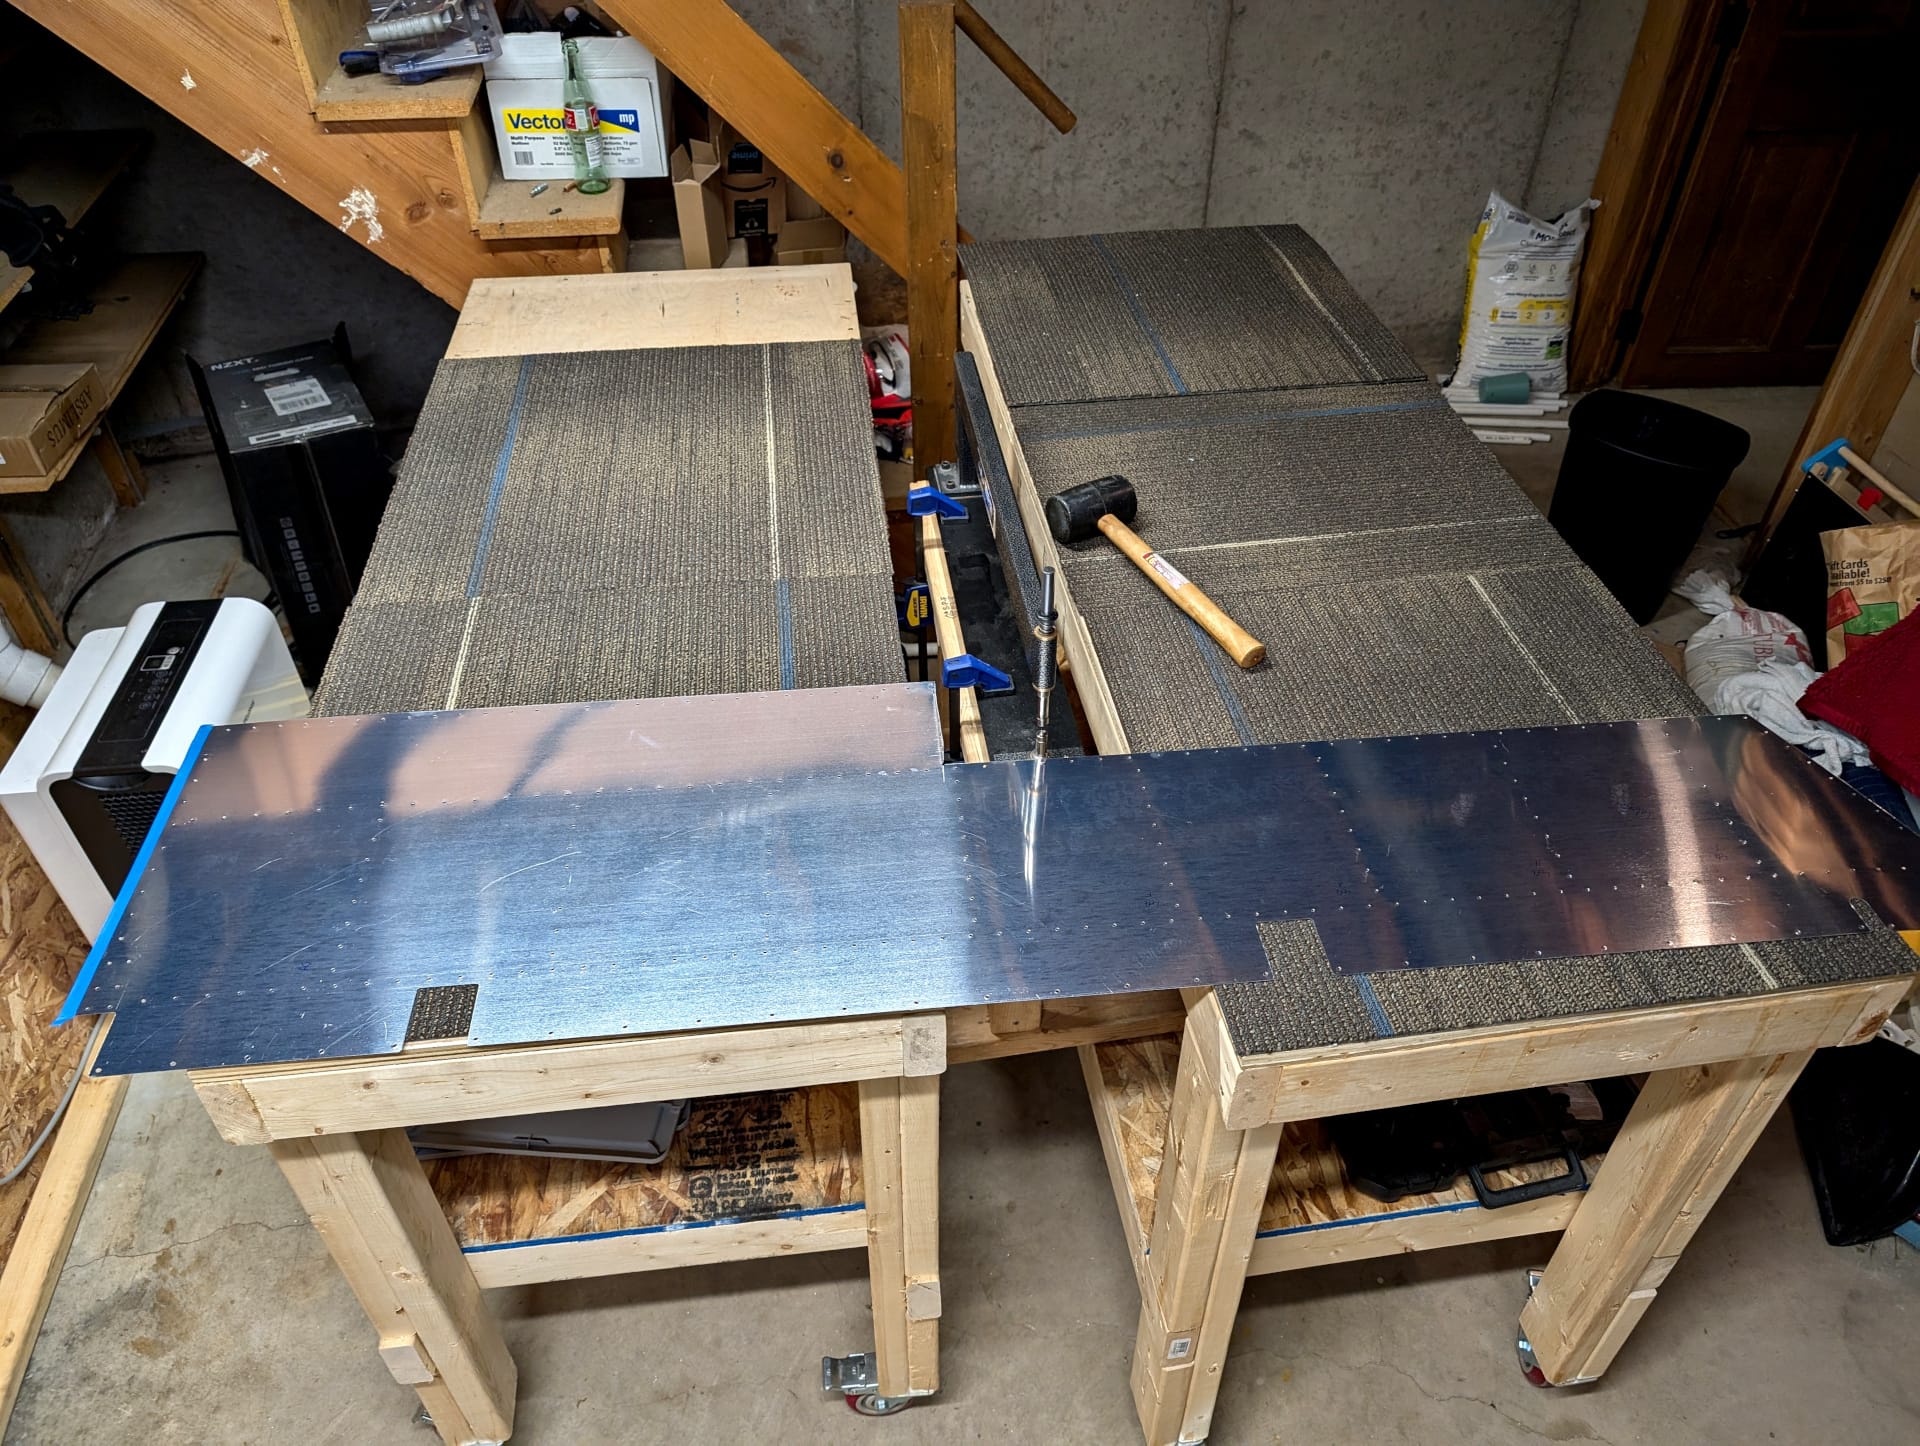
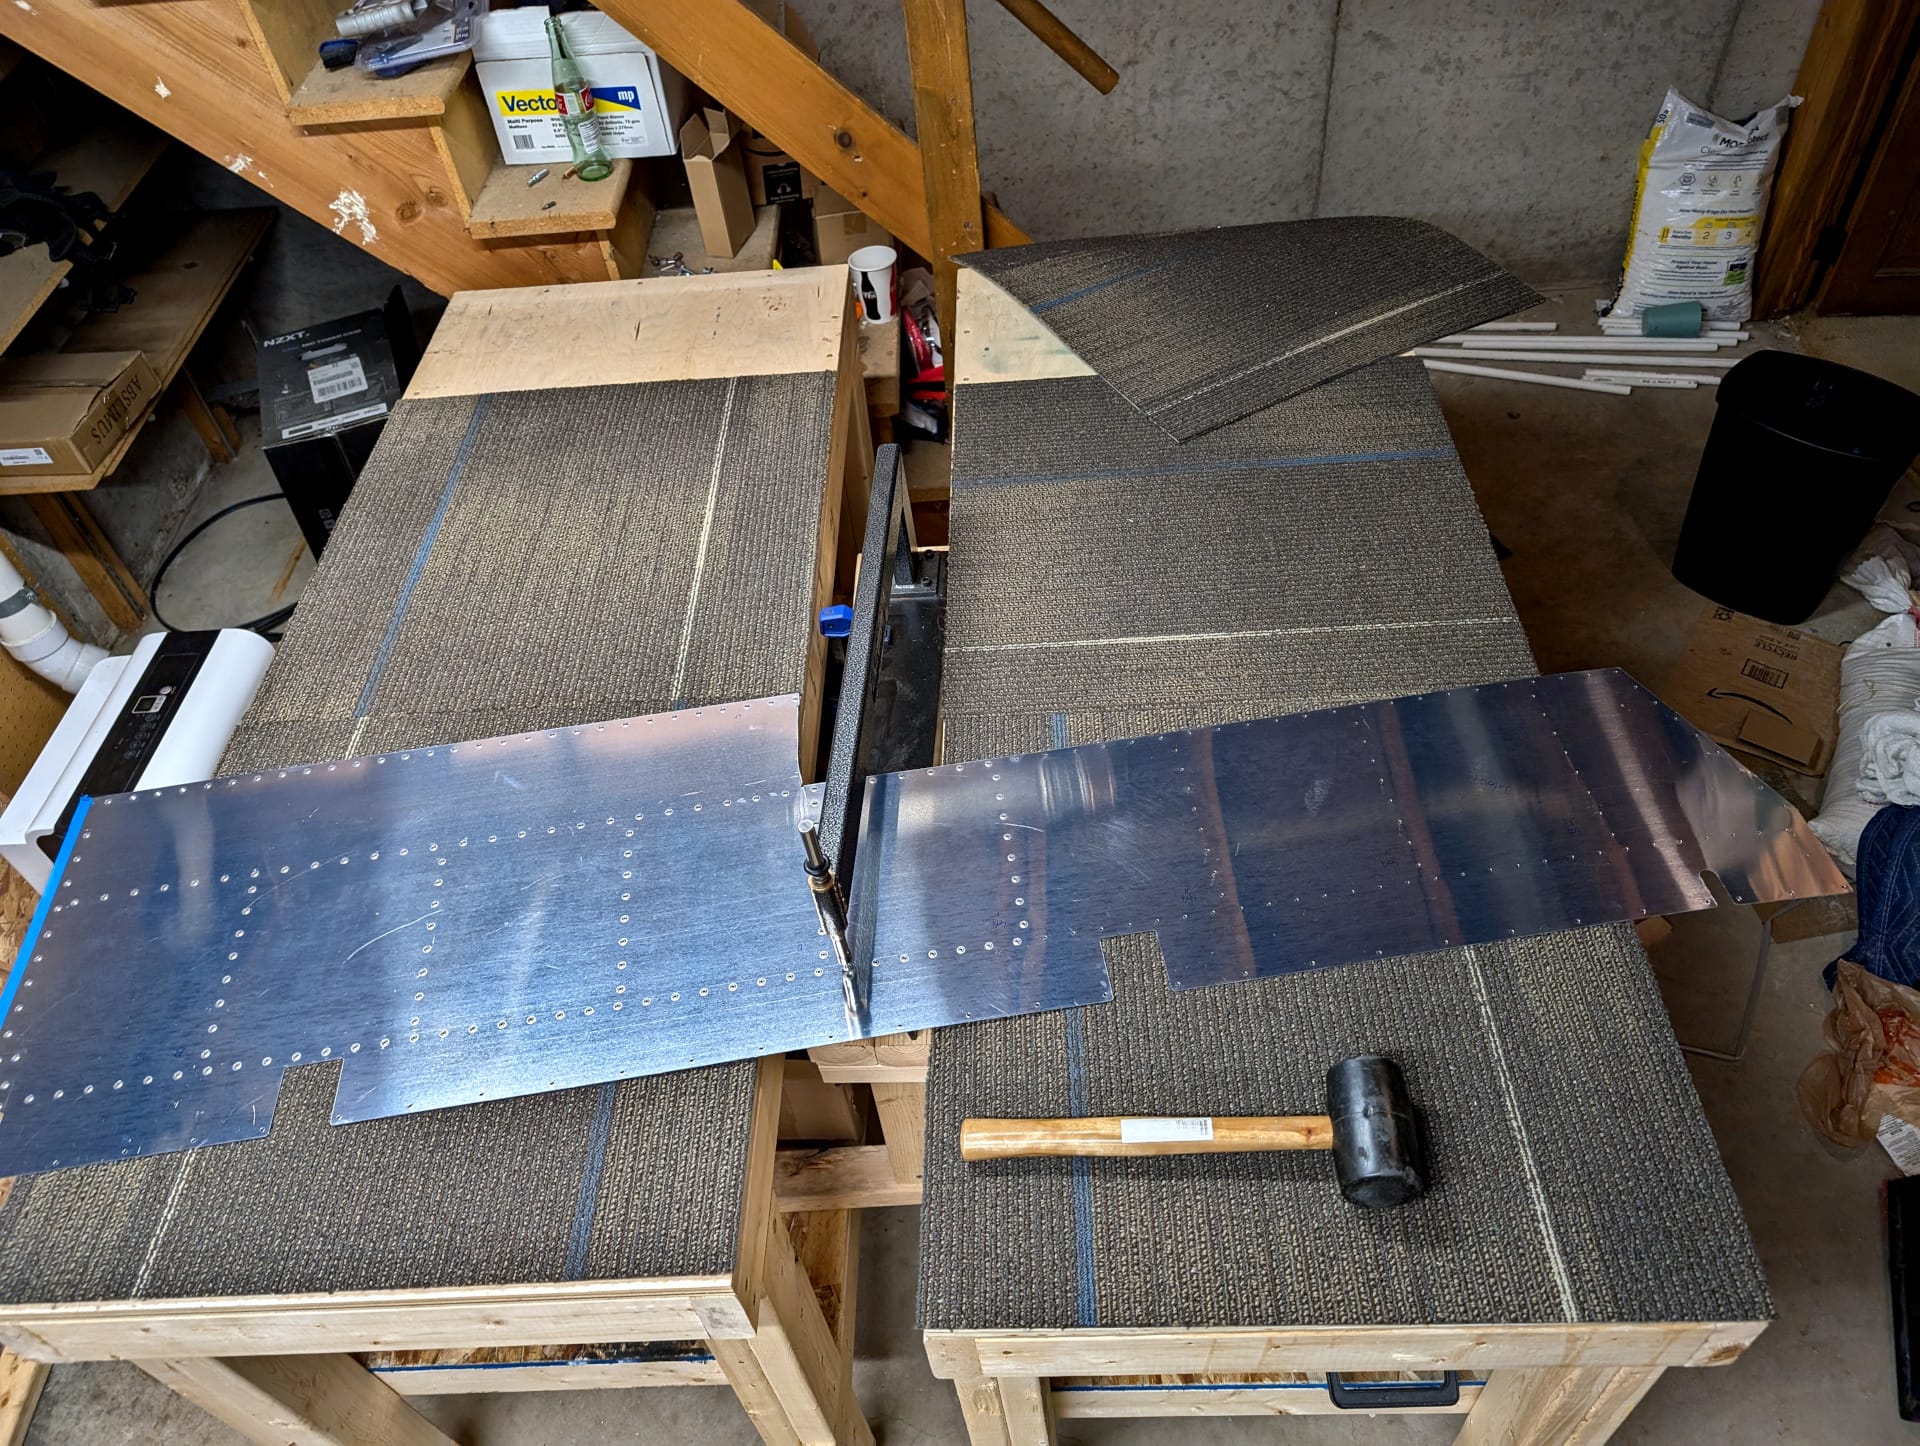
So the skins need a close-out tab bent up or down (depending on if they are on the right or left). The biggest risk here was me being stupid and making two left tops or something equally silly. I carefully laid out the skins, marked my plans, checked a few times, and it mostly went alright.
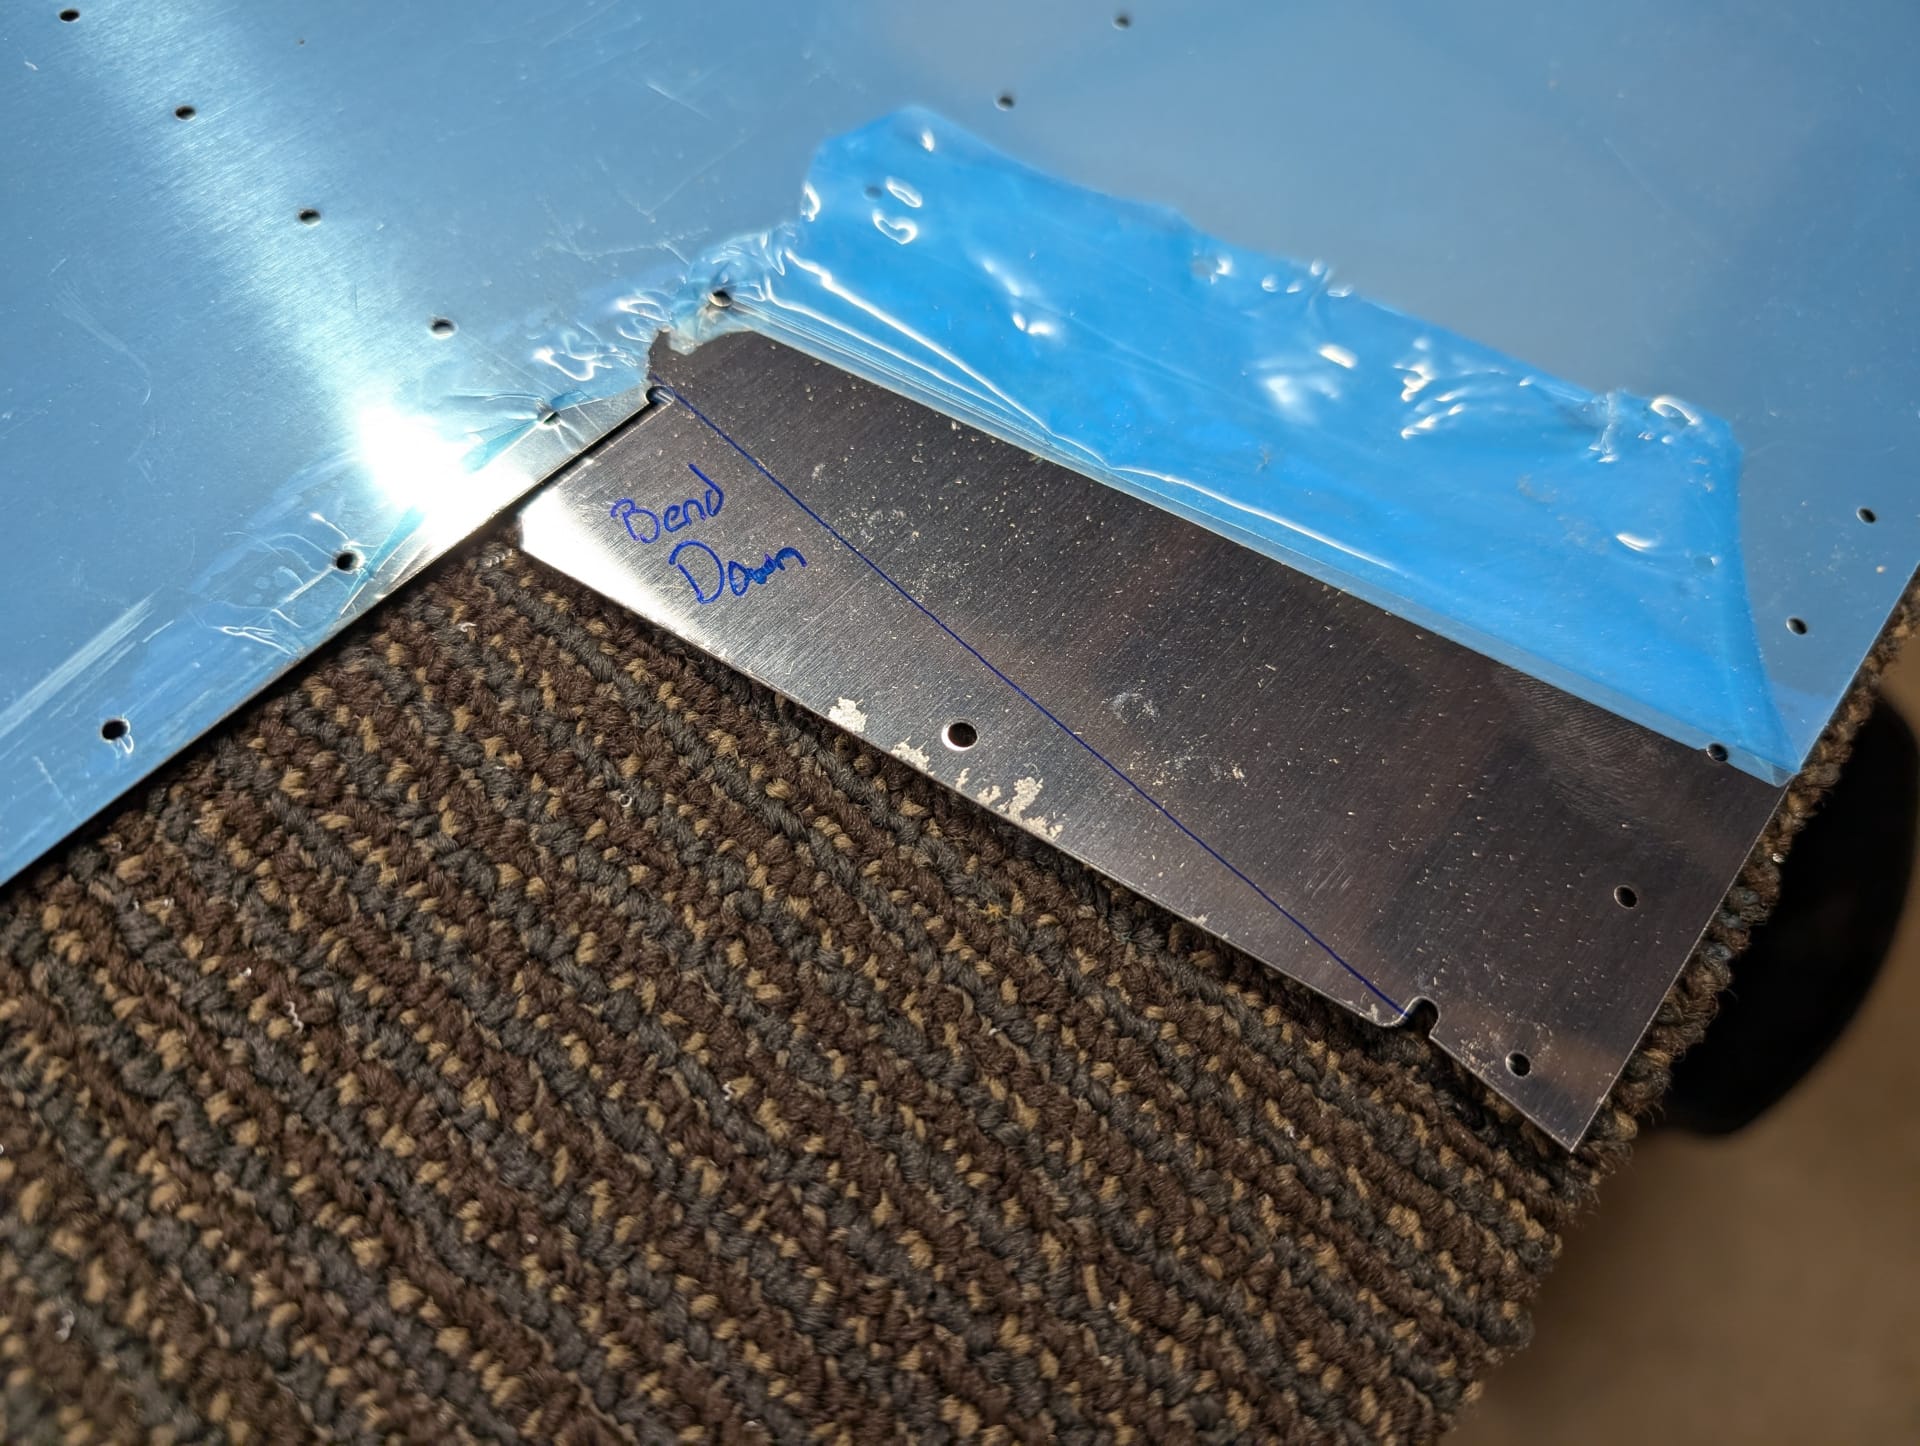
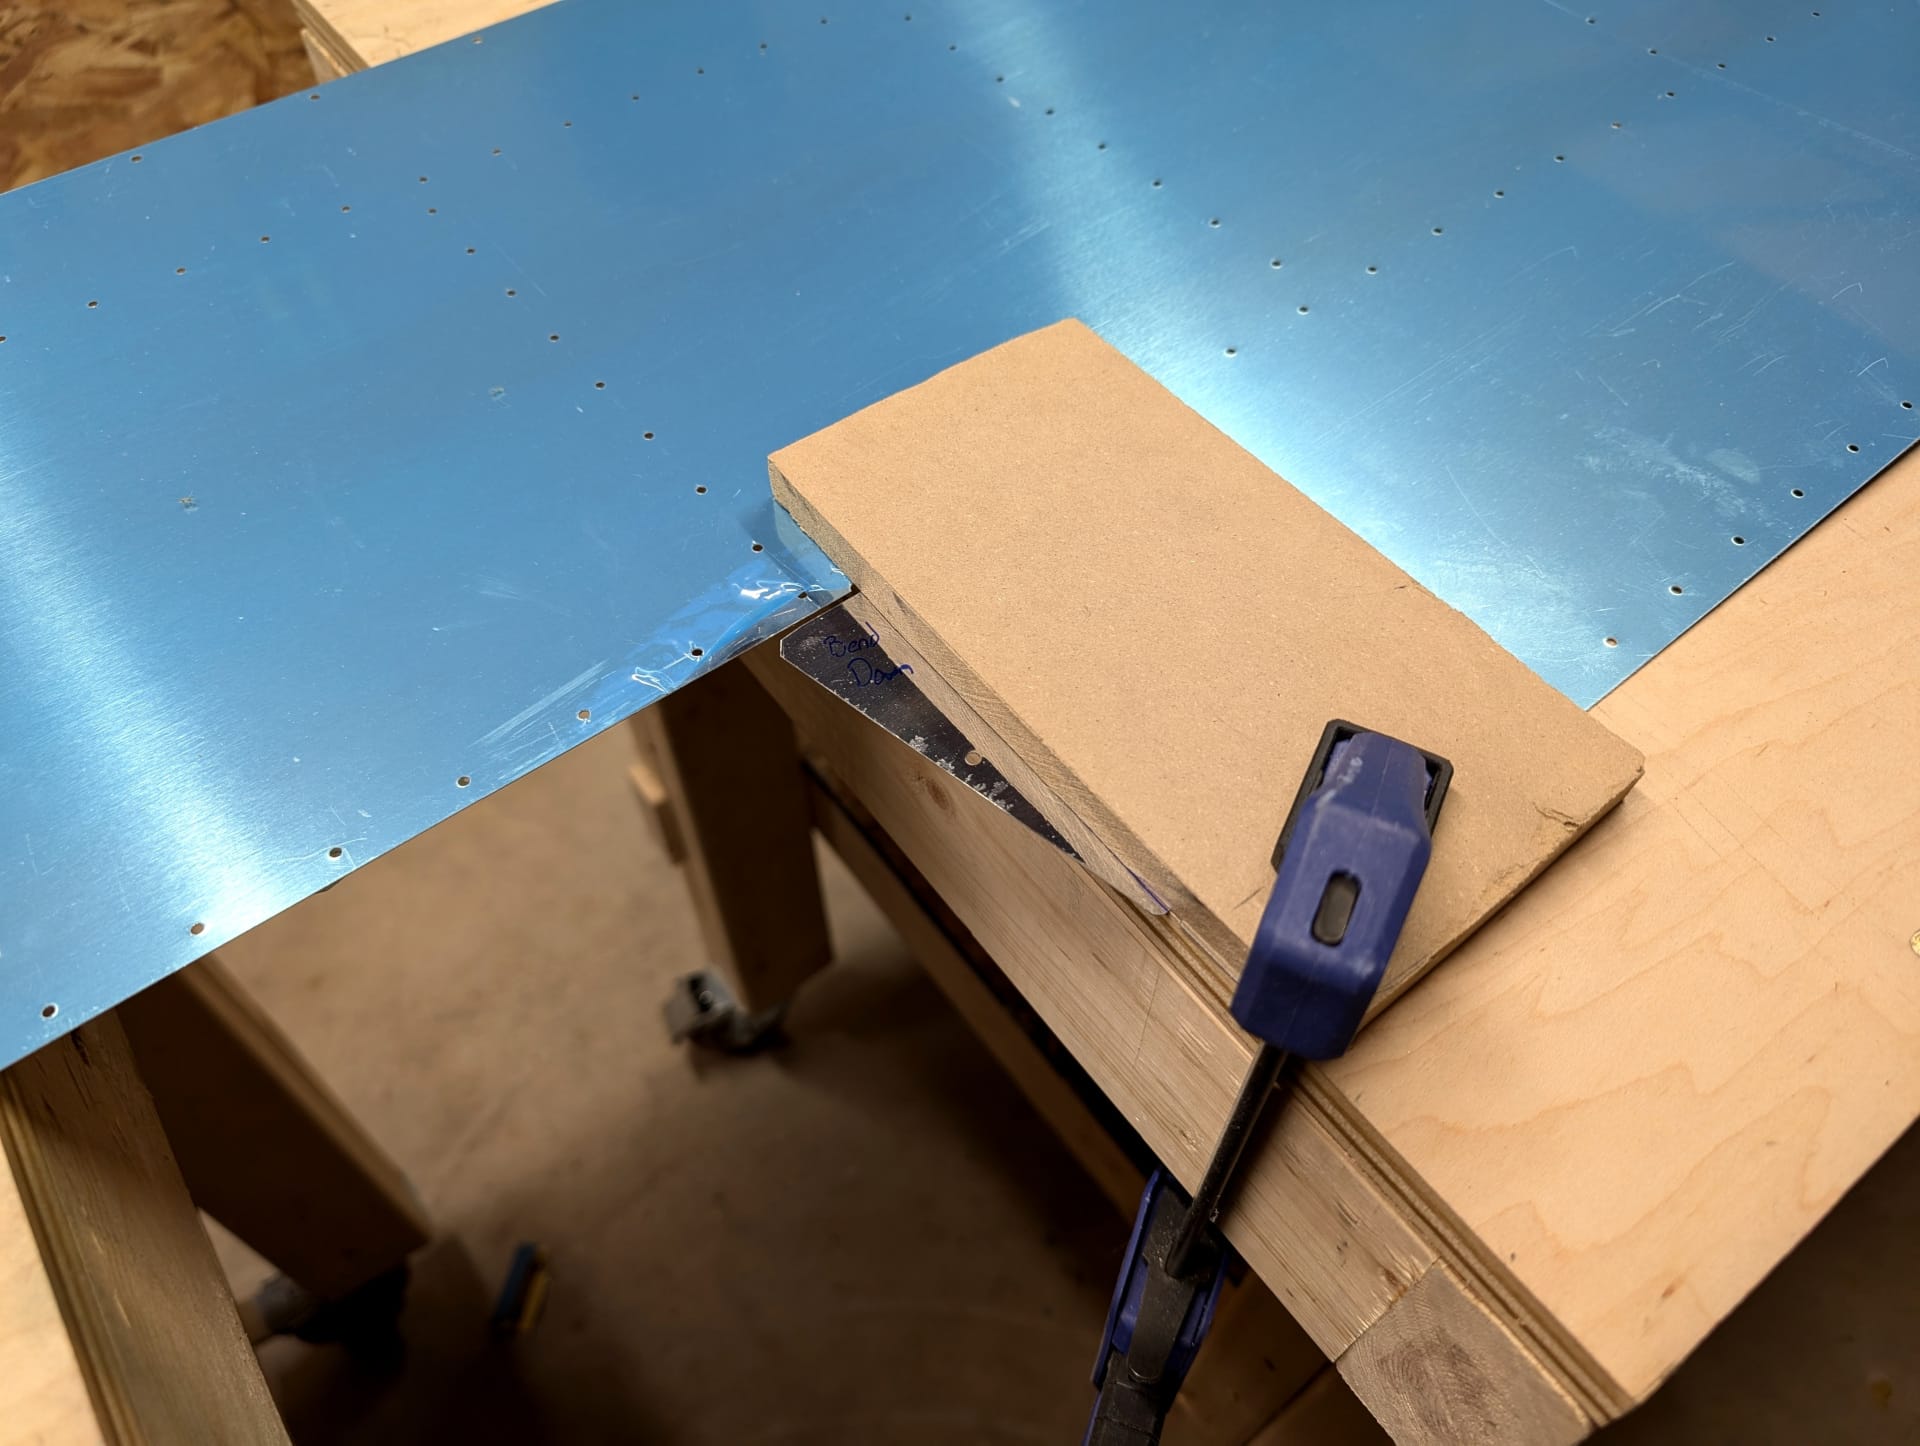
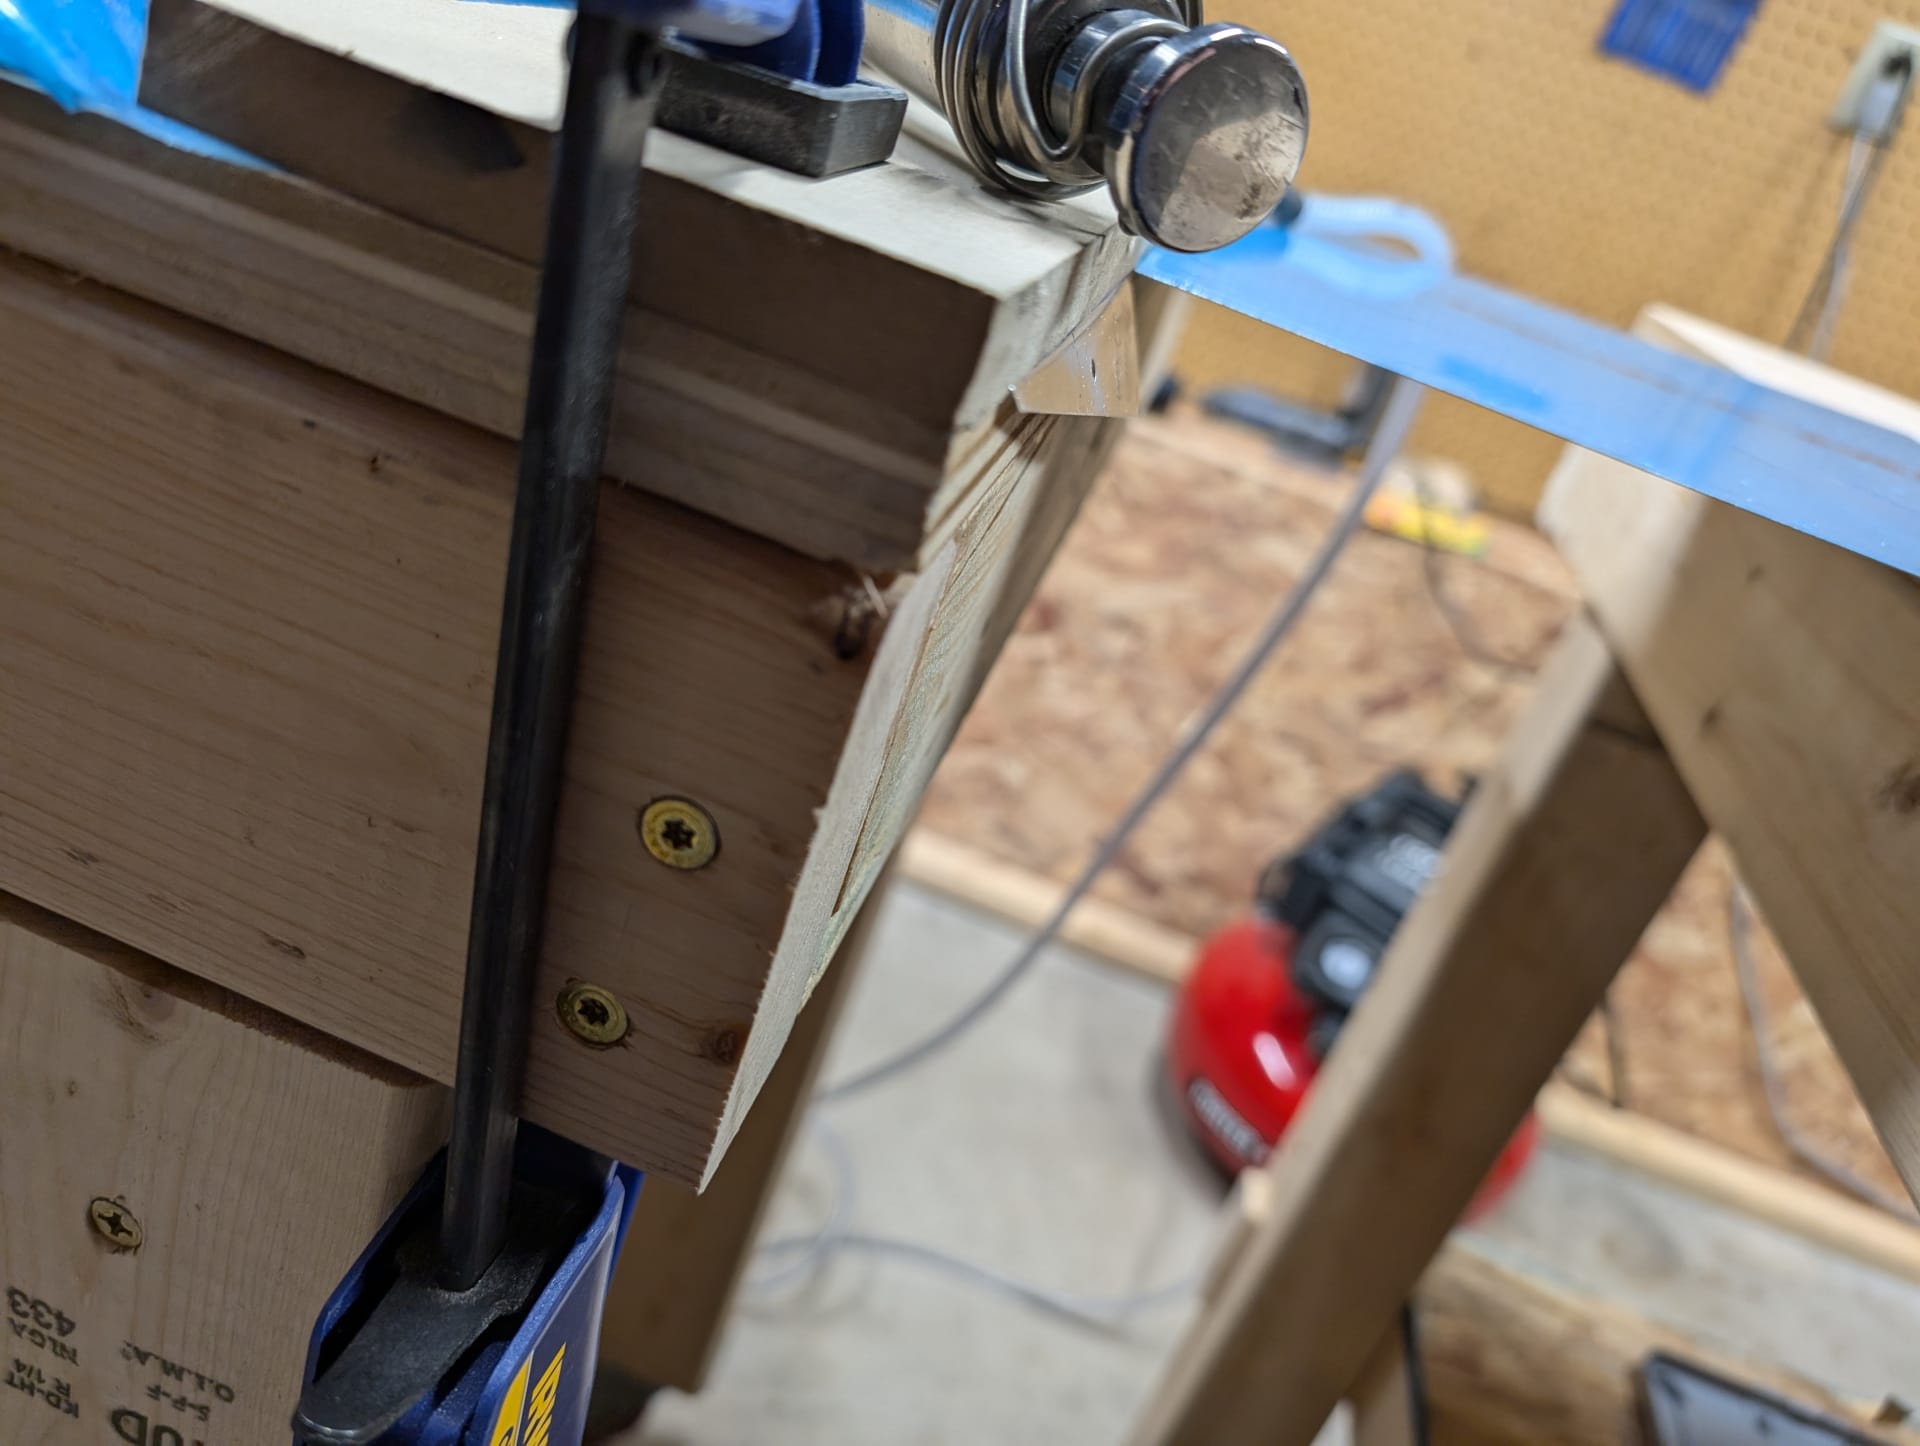
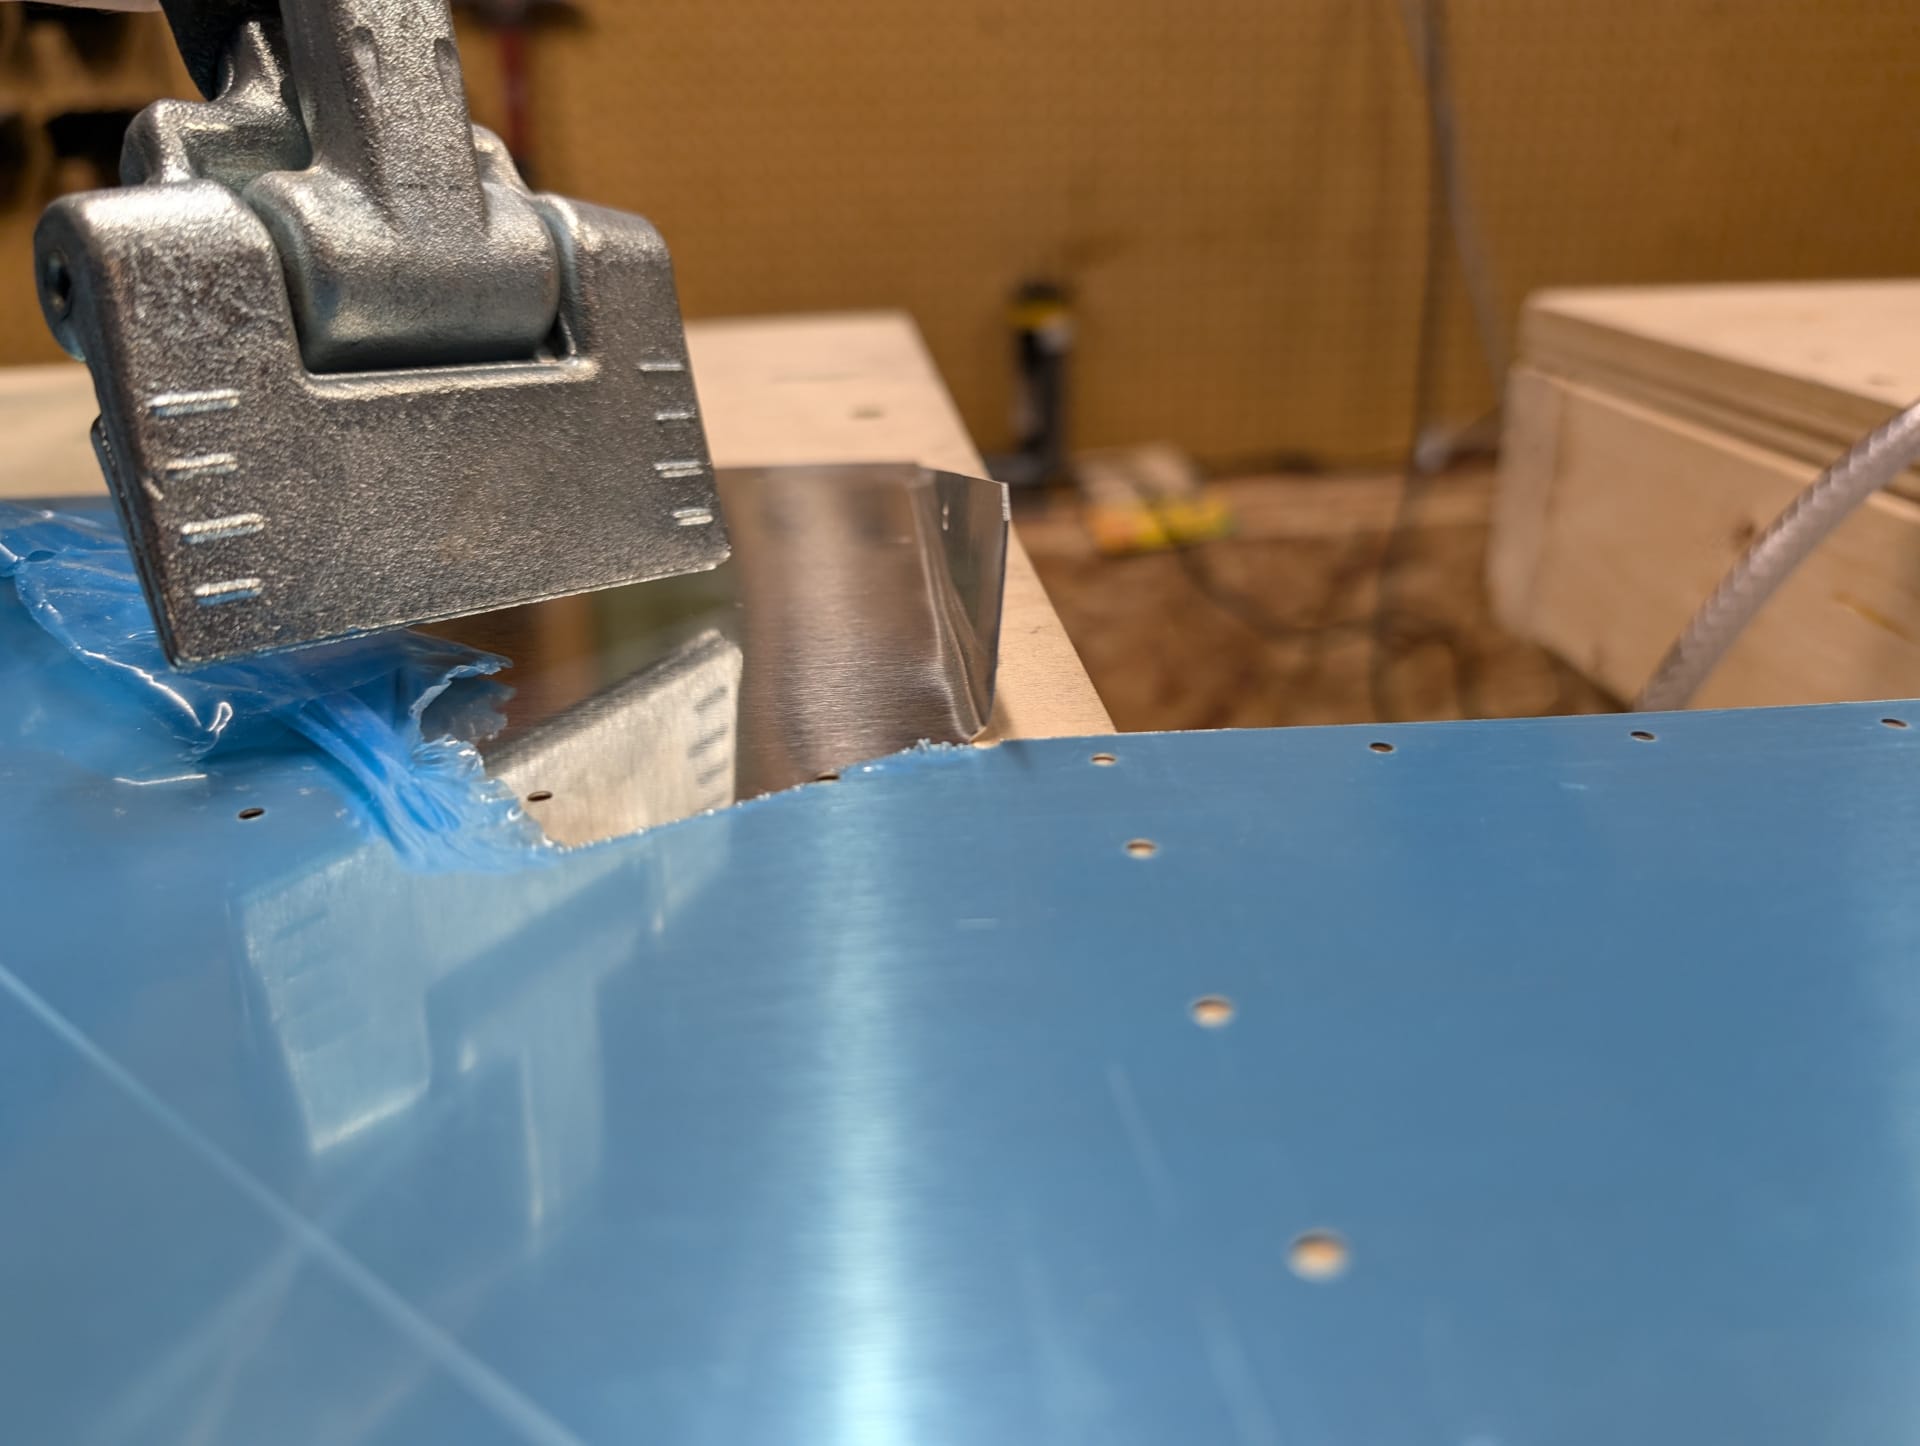
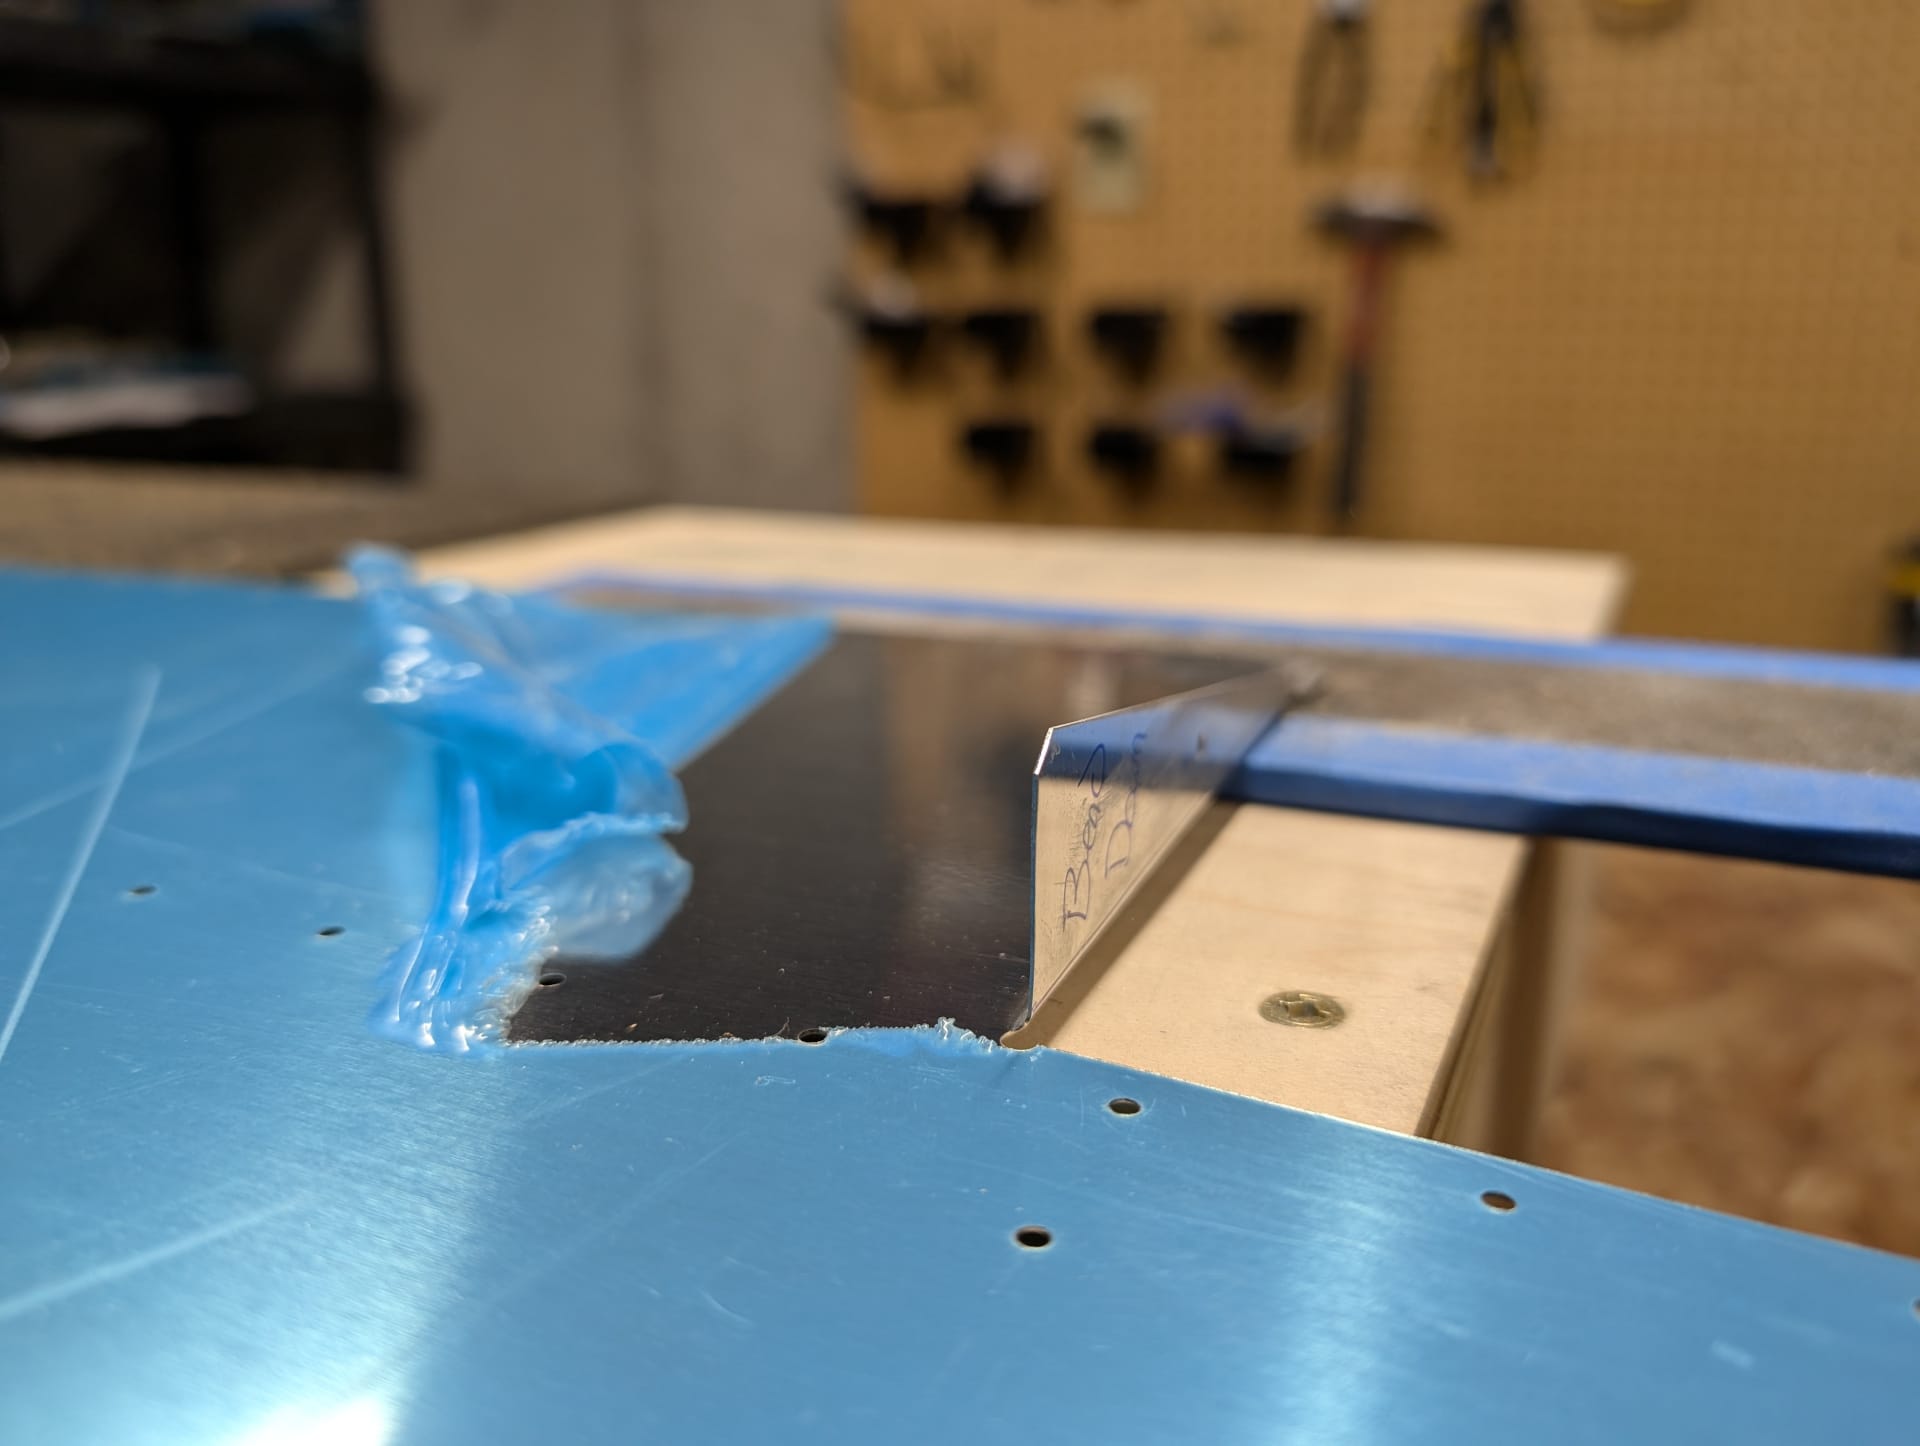
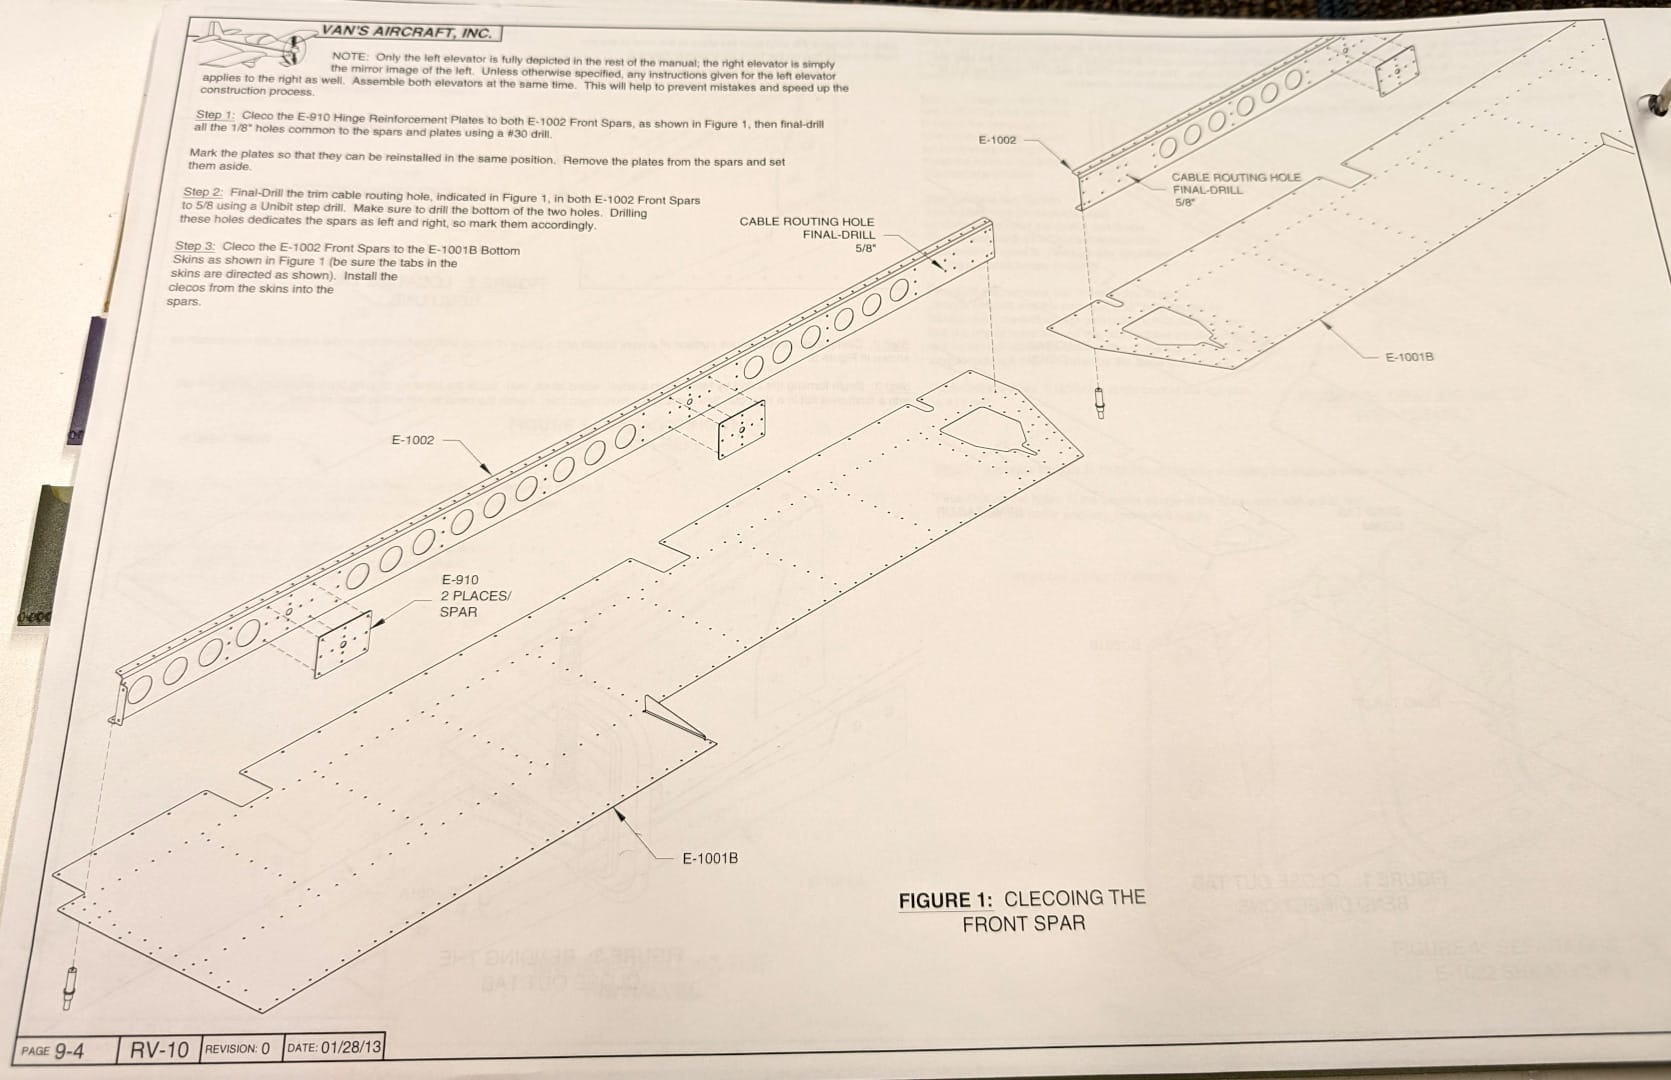
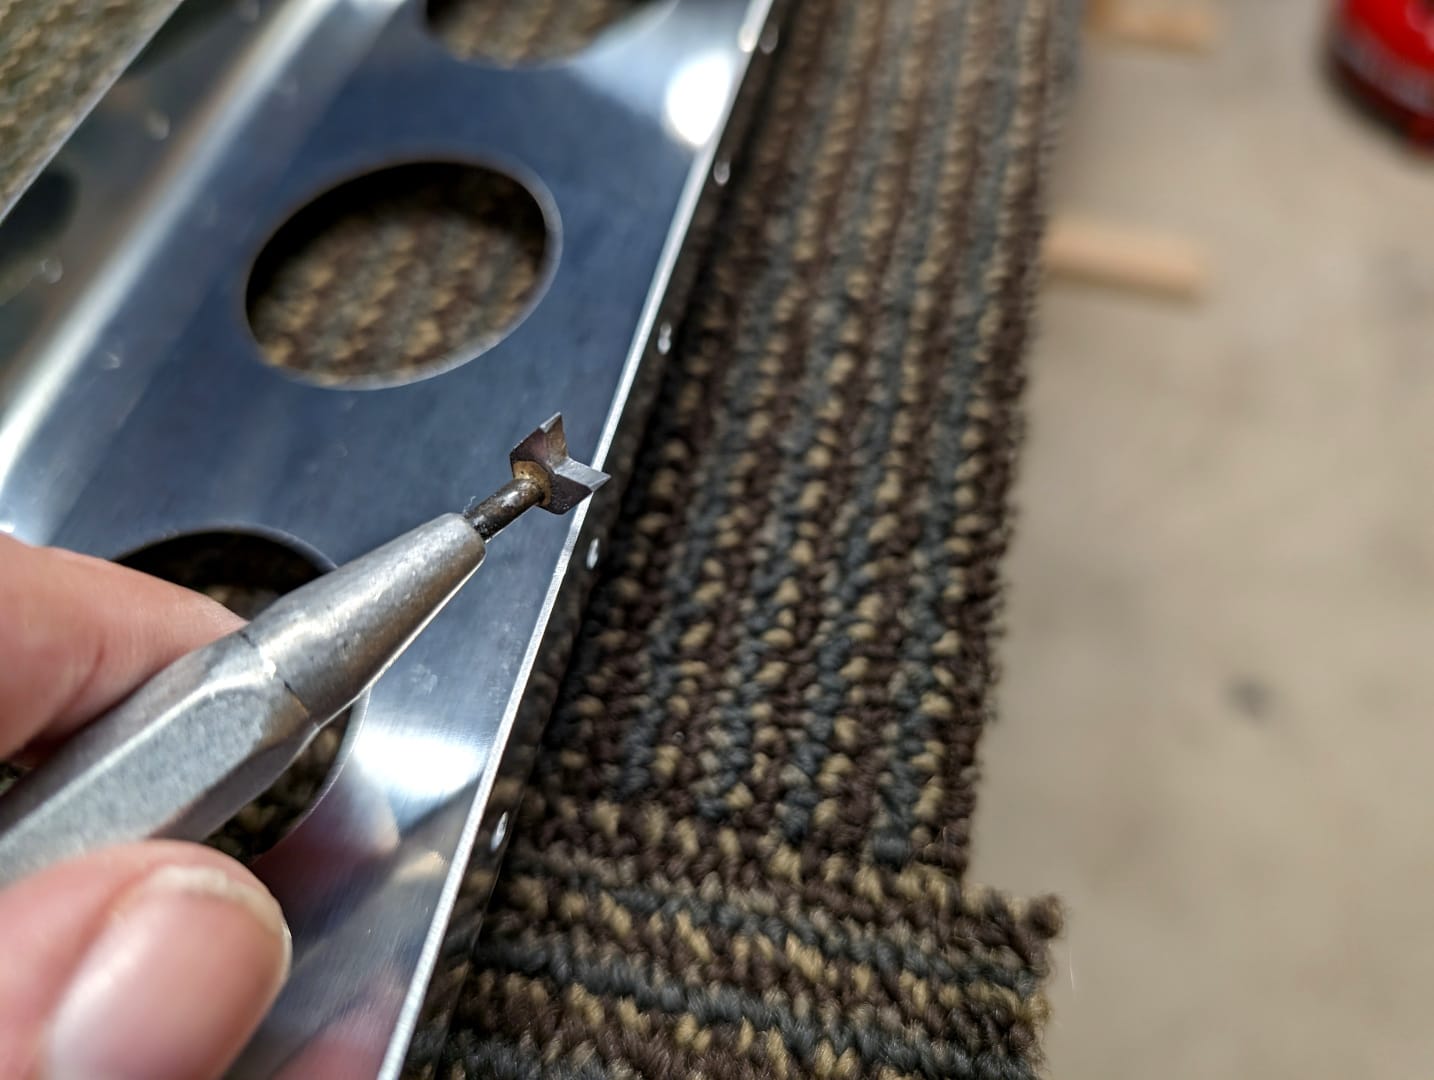
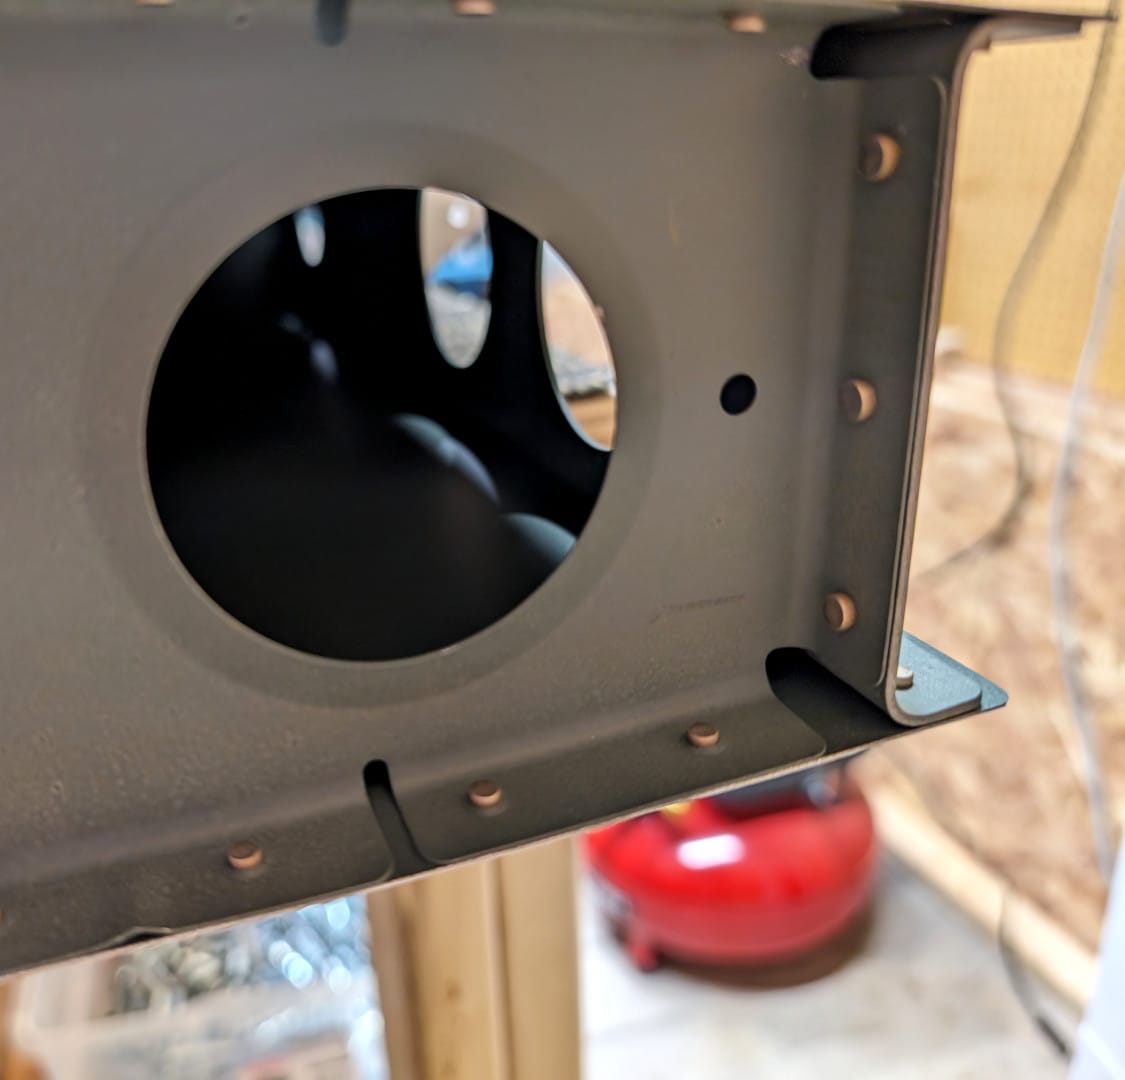
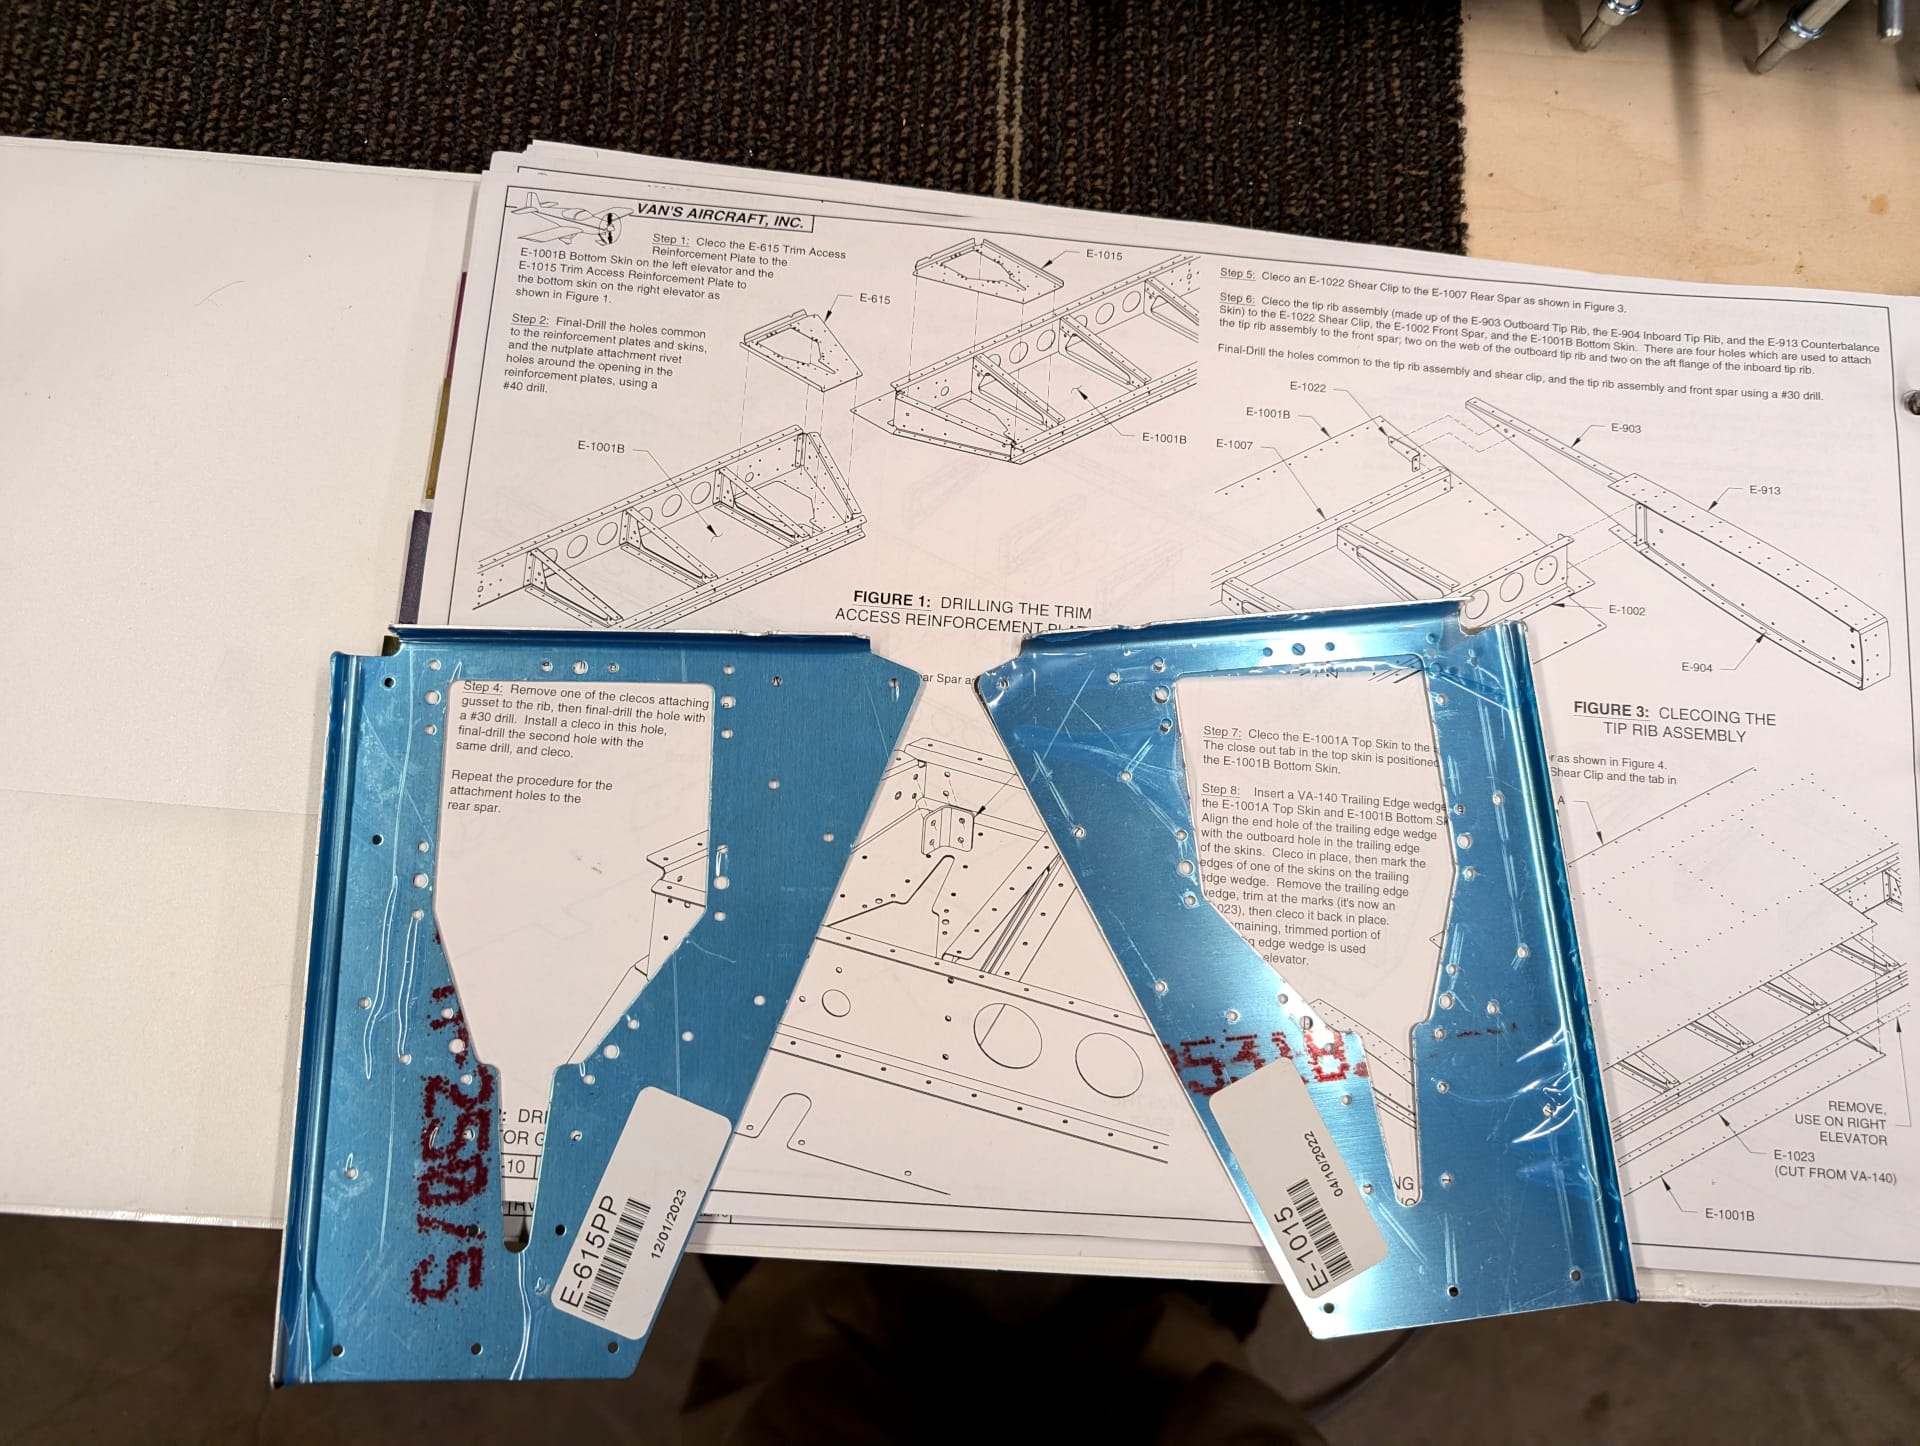
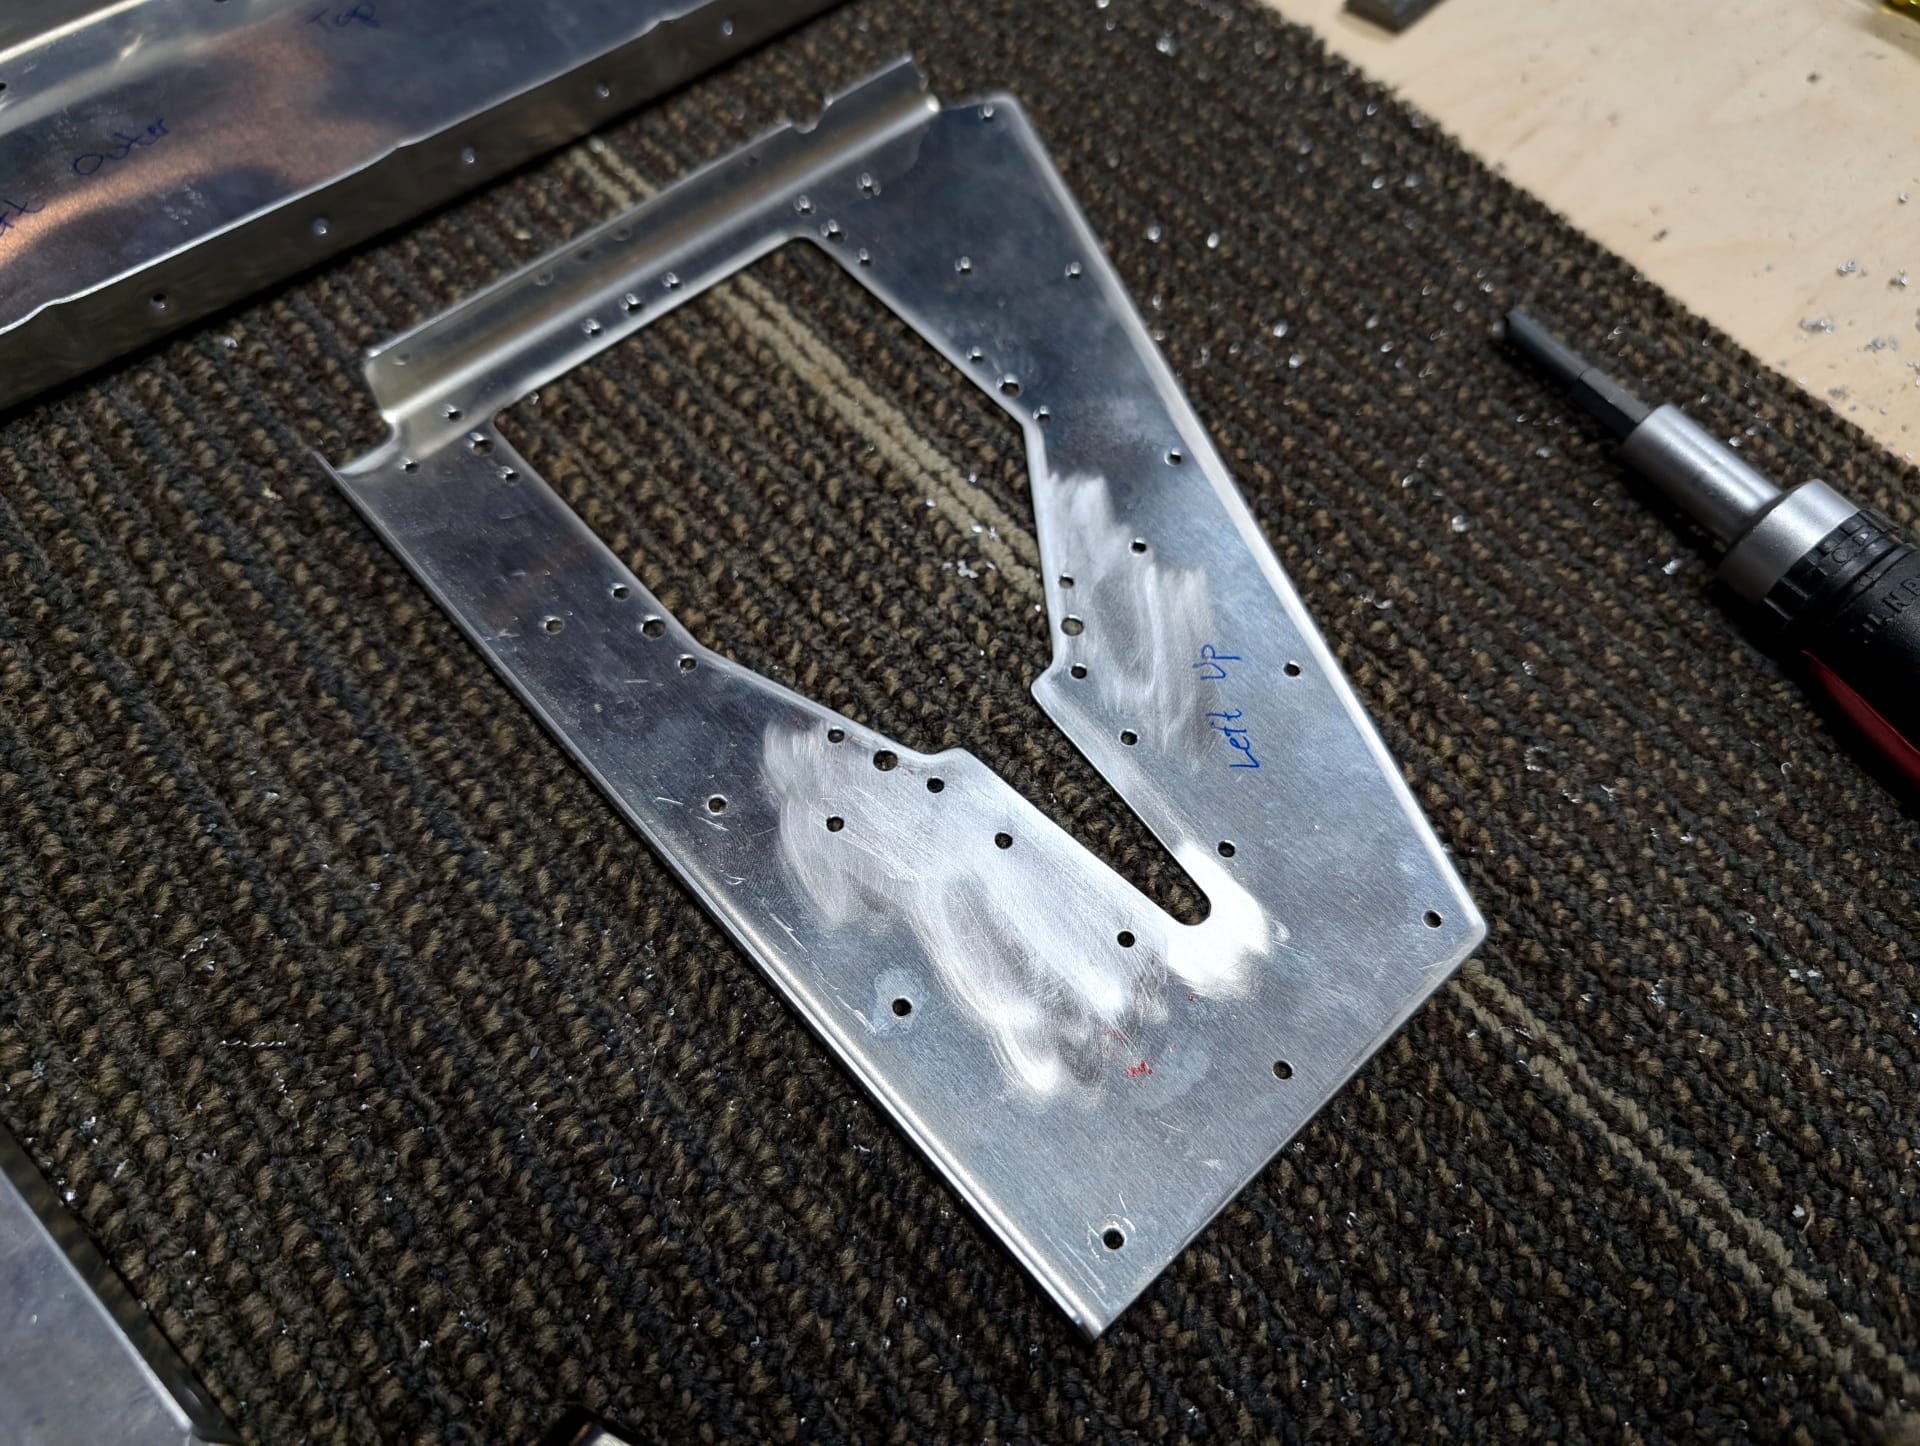
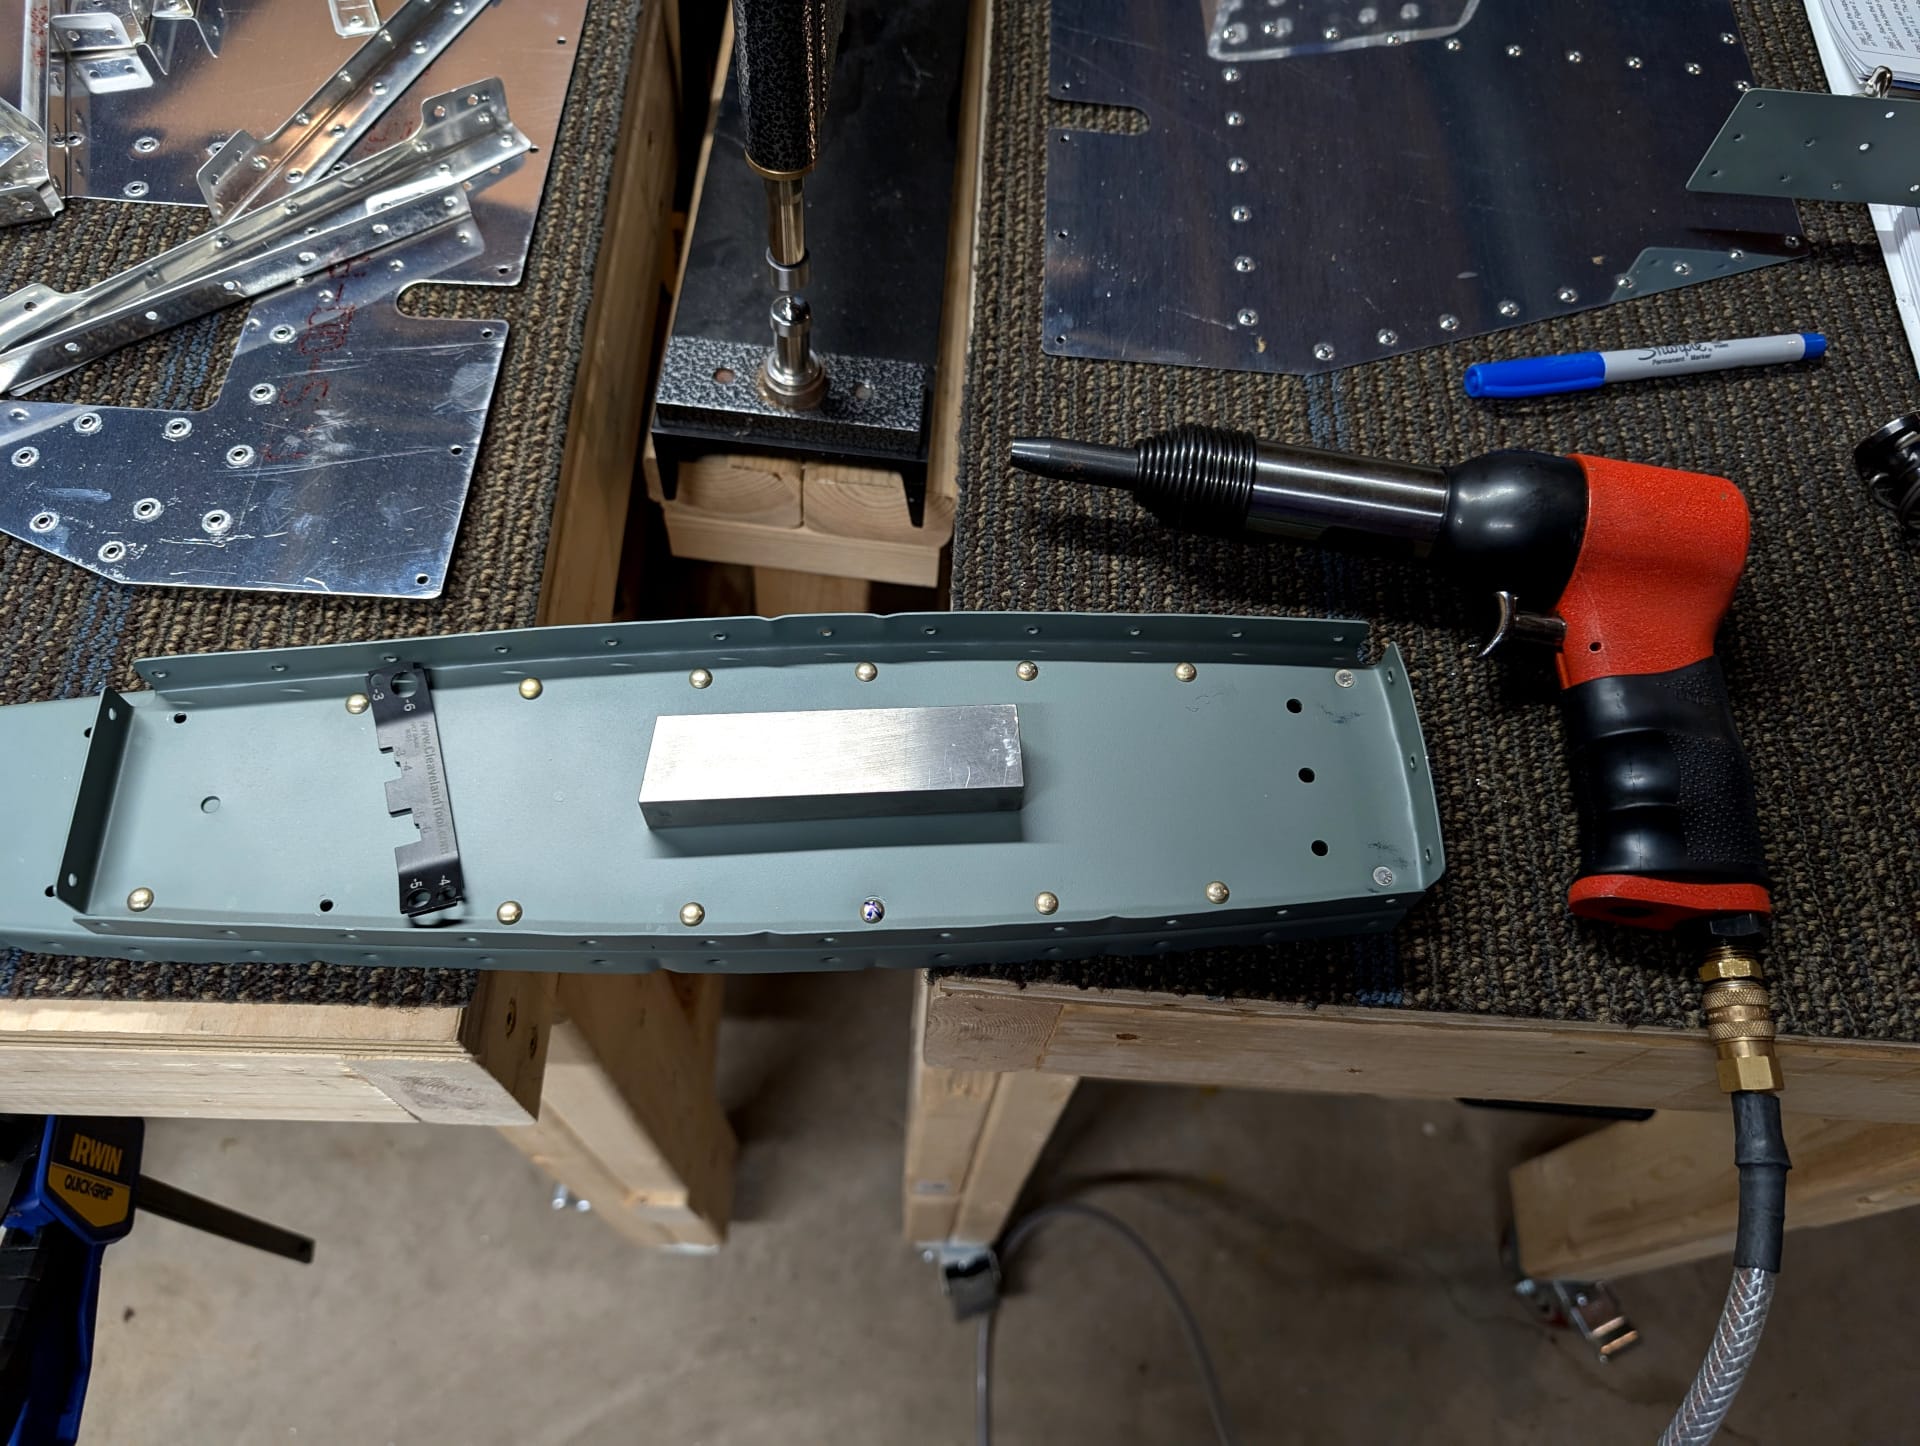
You can see that I used a few tools to help the process along (including a flush rivet set on low). The bends turned out pretty good for the most part. One was a bit too far in but it won't be noticeable in the end so I'm not worried about it. Next I decided to tackle the reinforcement plates for the front spar.
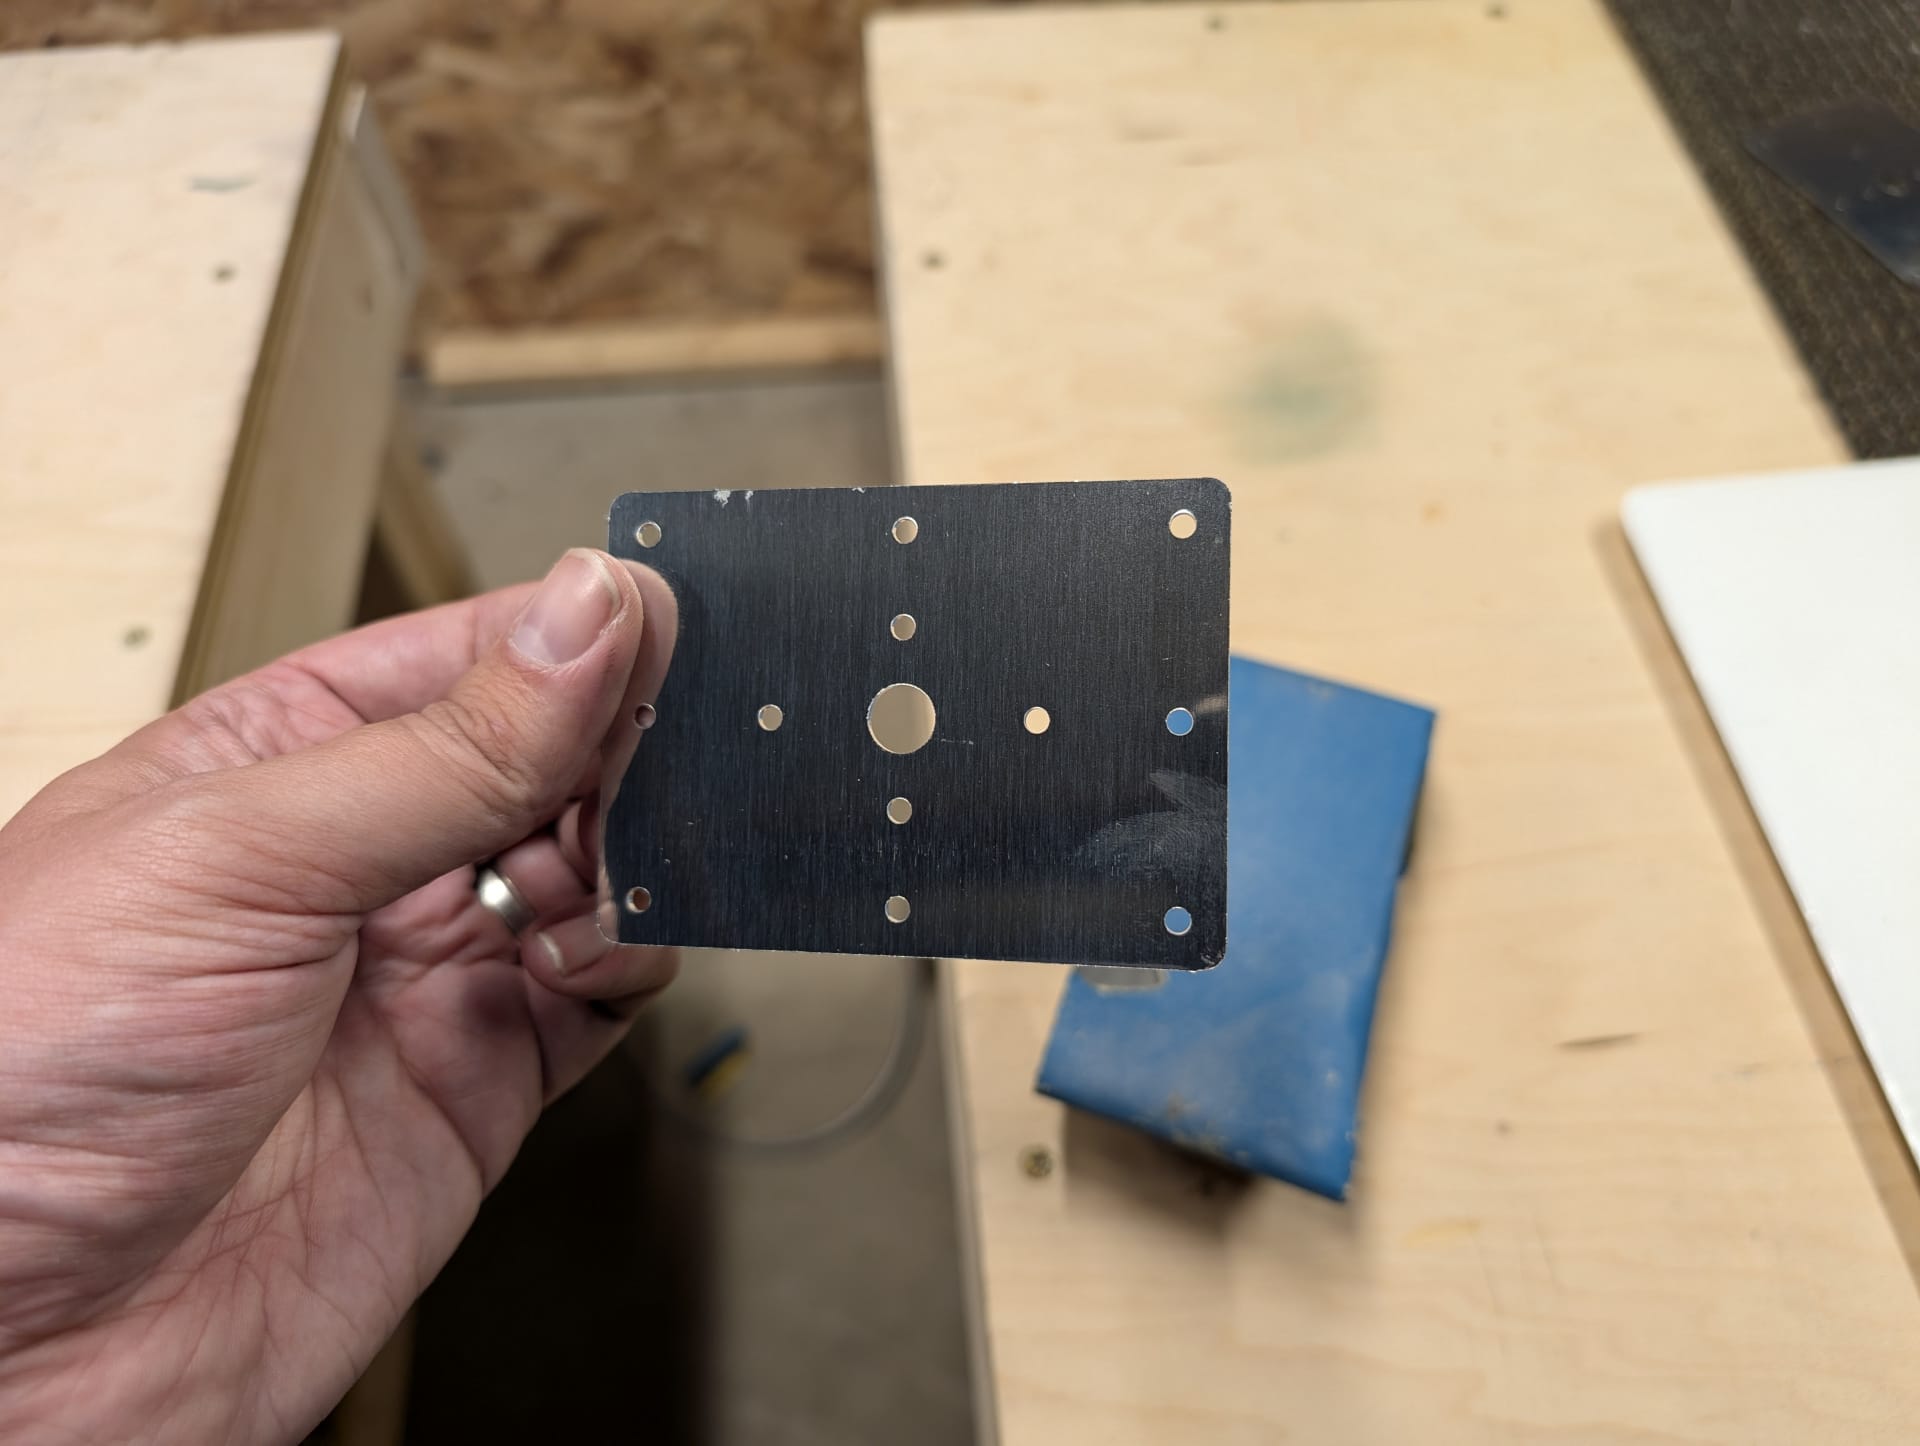
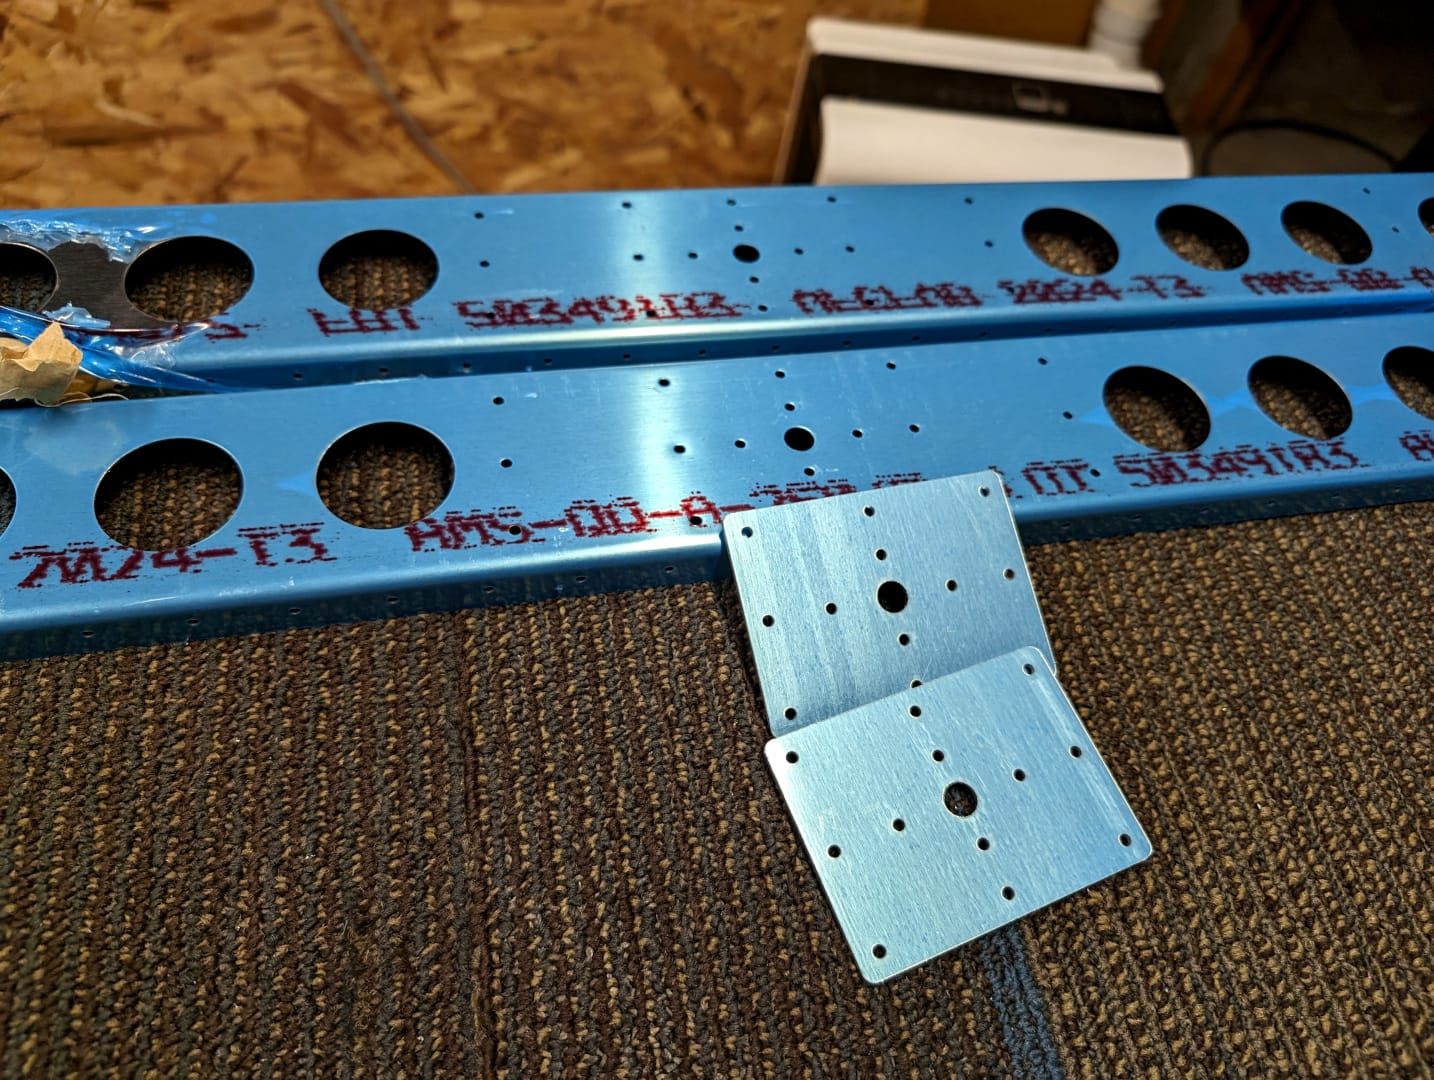
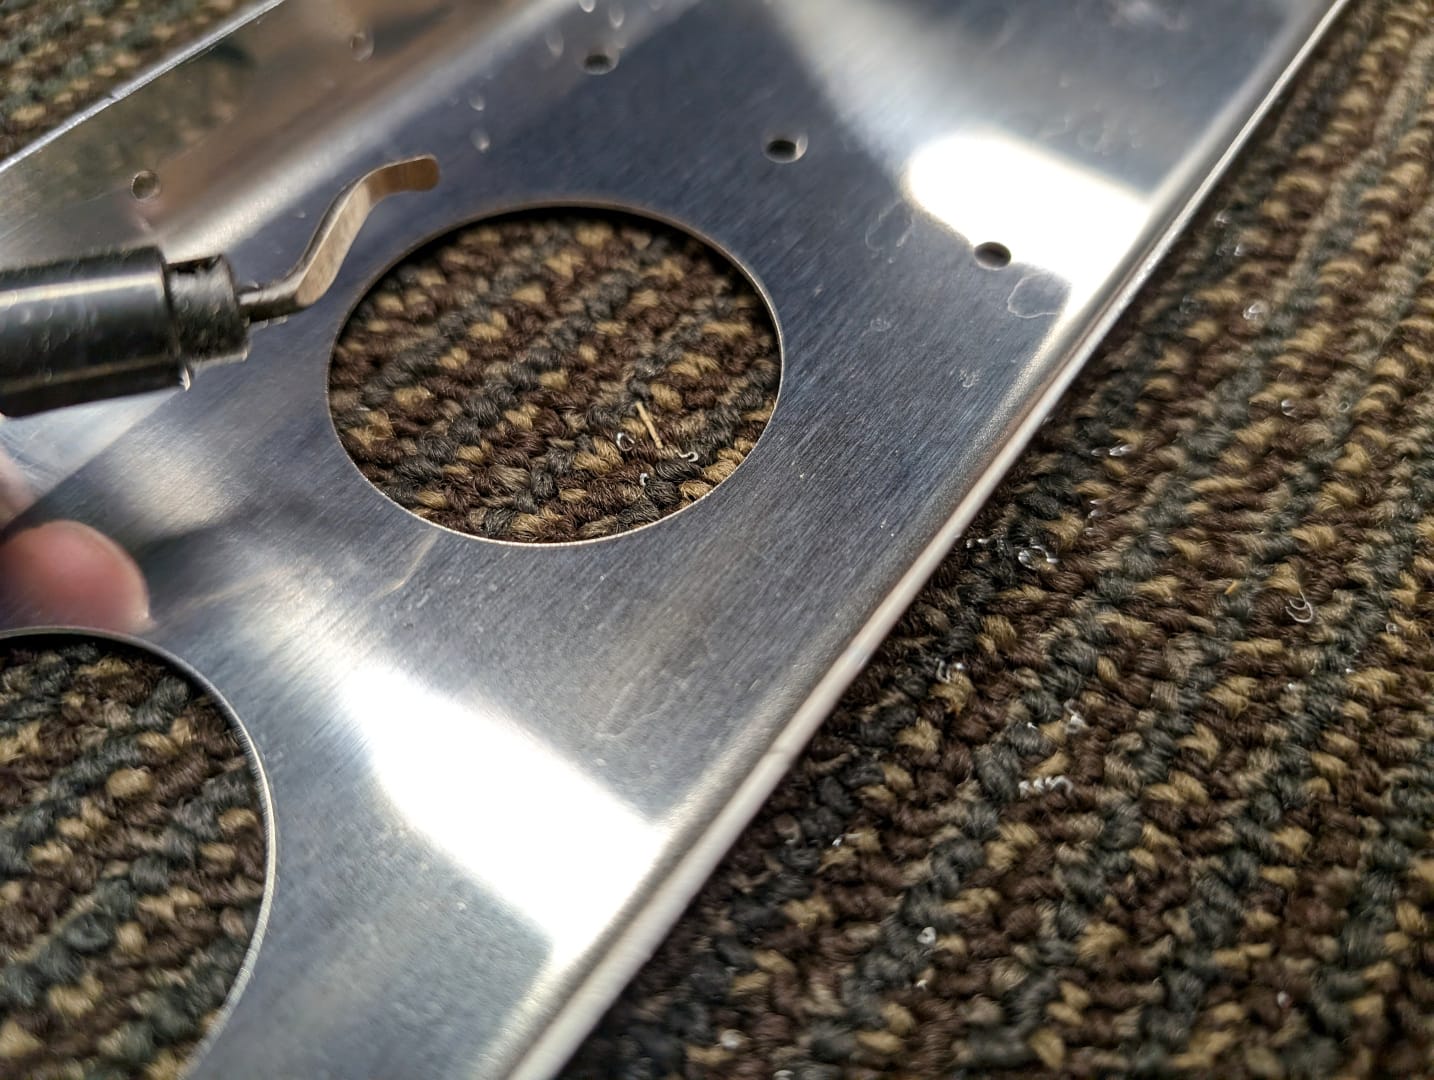
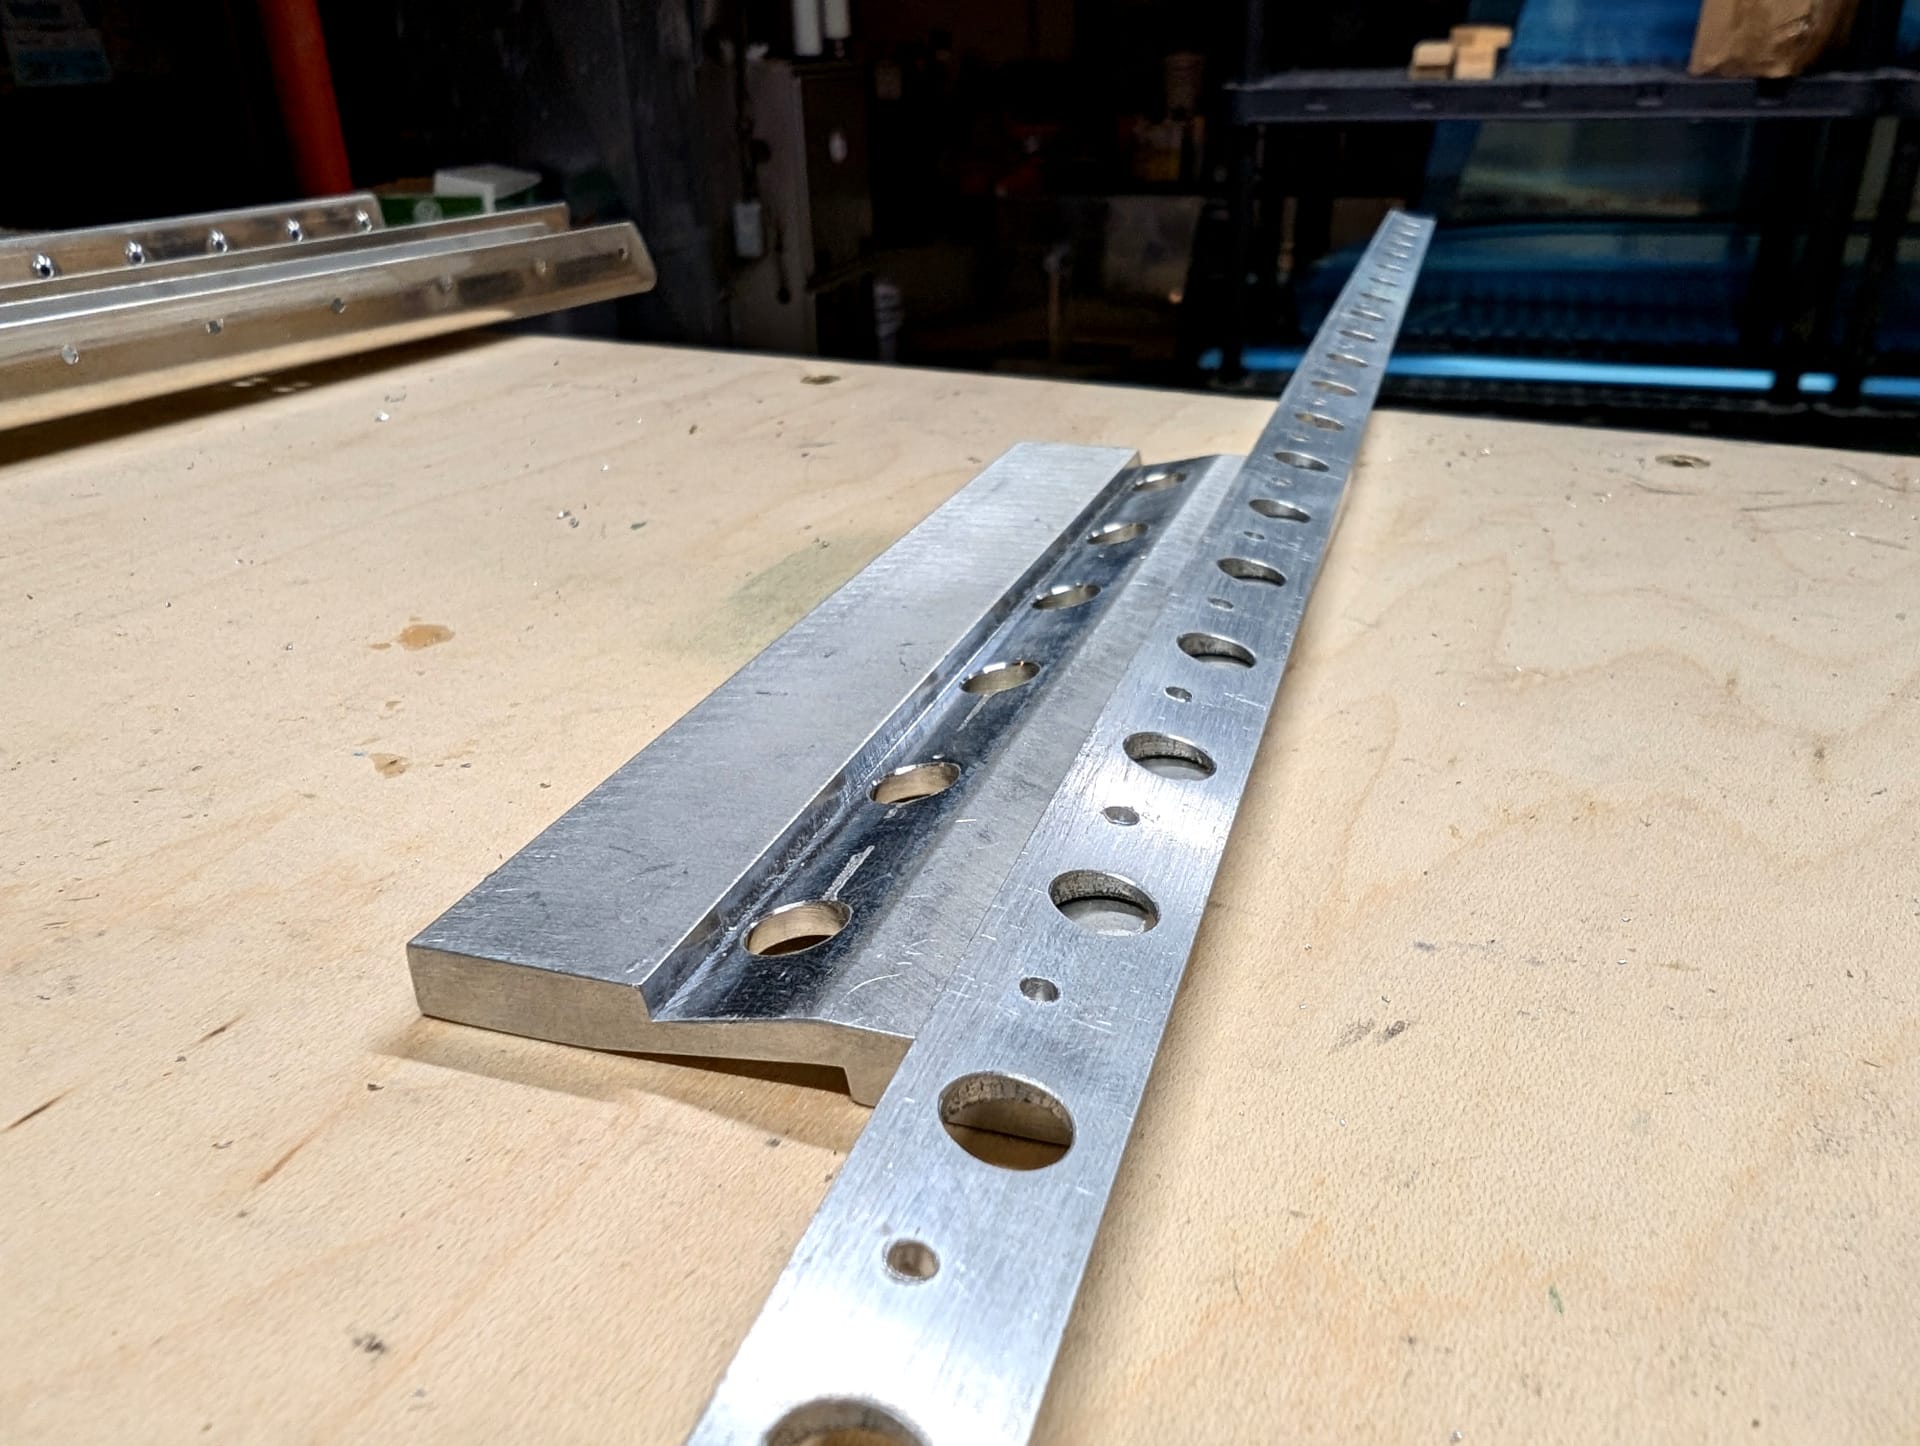
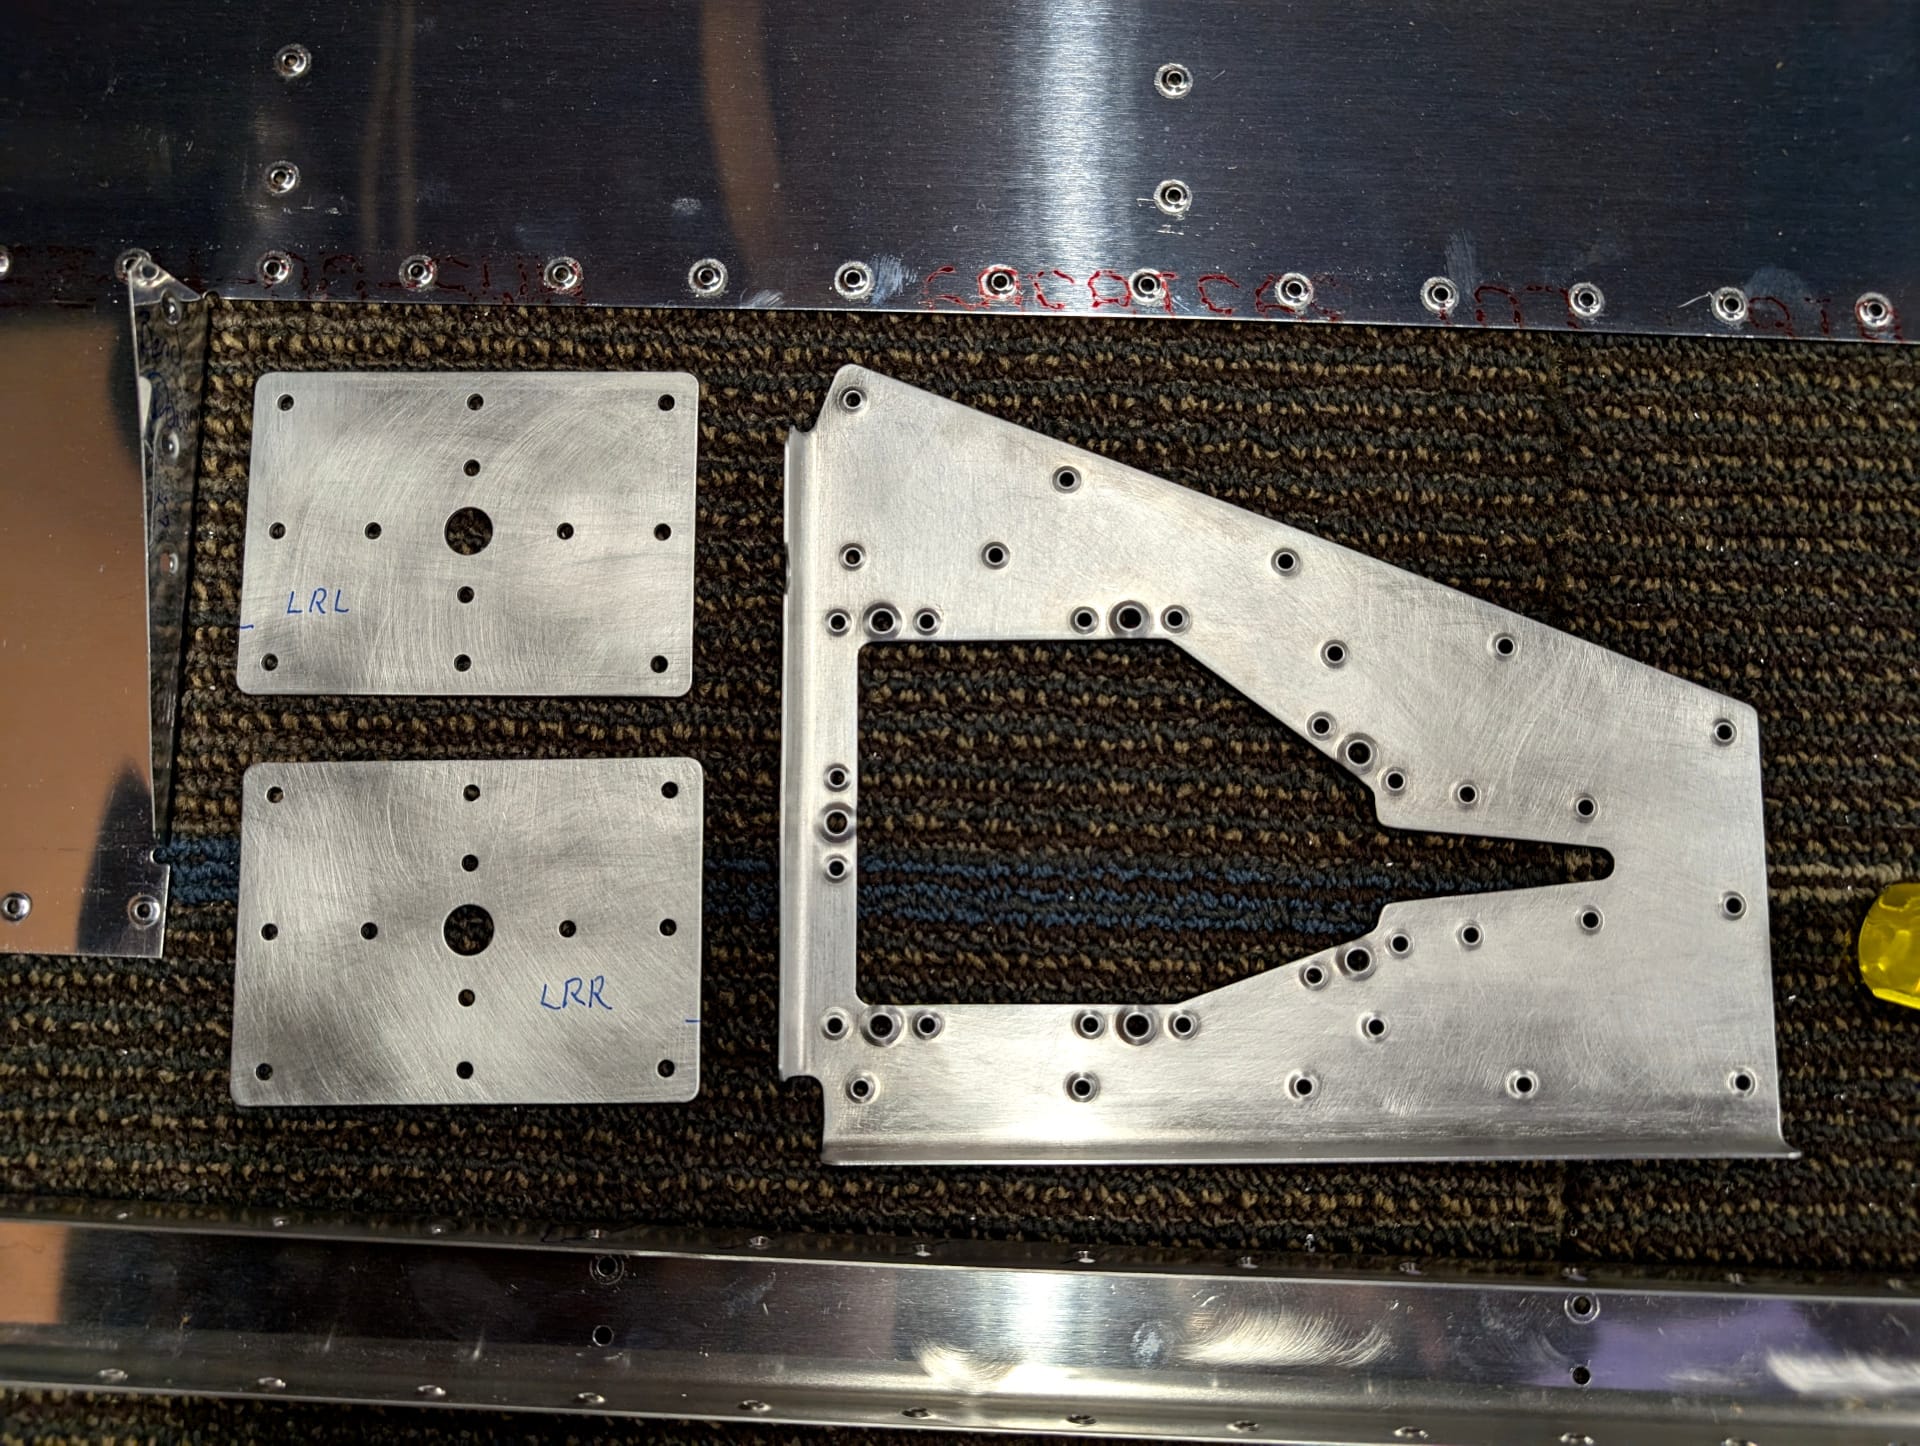
For some reference, here is the edge of a finished one and one I haven't worked on yet.

So I got the parts cleaned up and ready to go. Then put them on the spar to match drill the holes (make sure the holes line up). Van's kits are super good about having the holes line up nicely so usually I don't end up drilling much of anything when I do this, but I do it for every hole to prevent surprises and make sure things are where I expect.
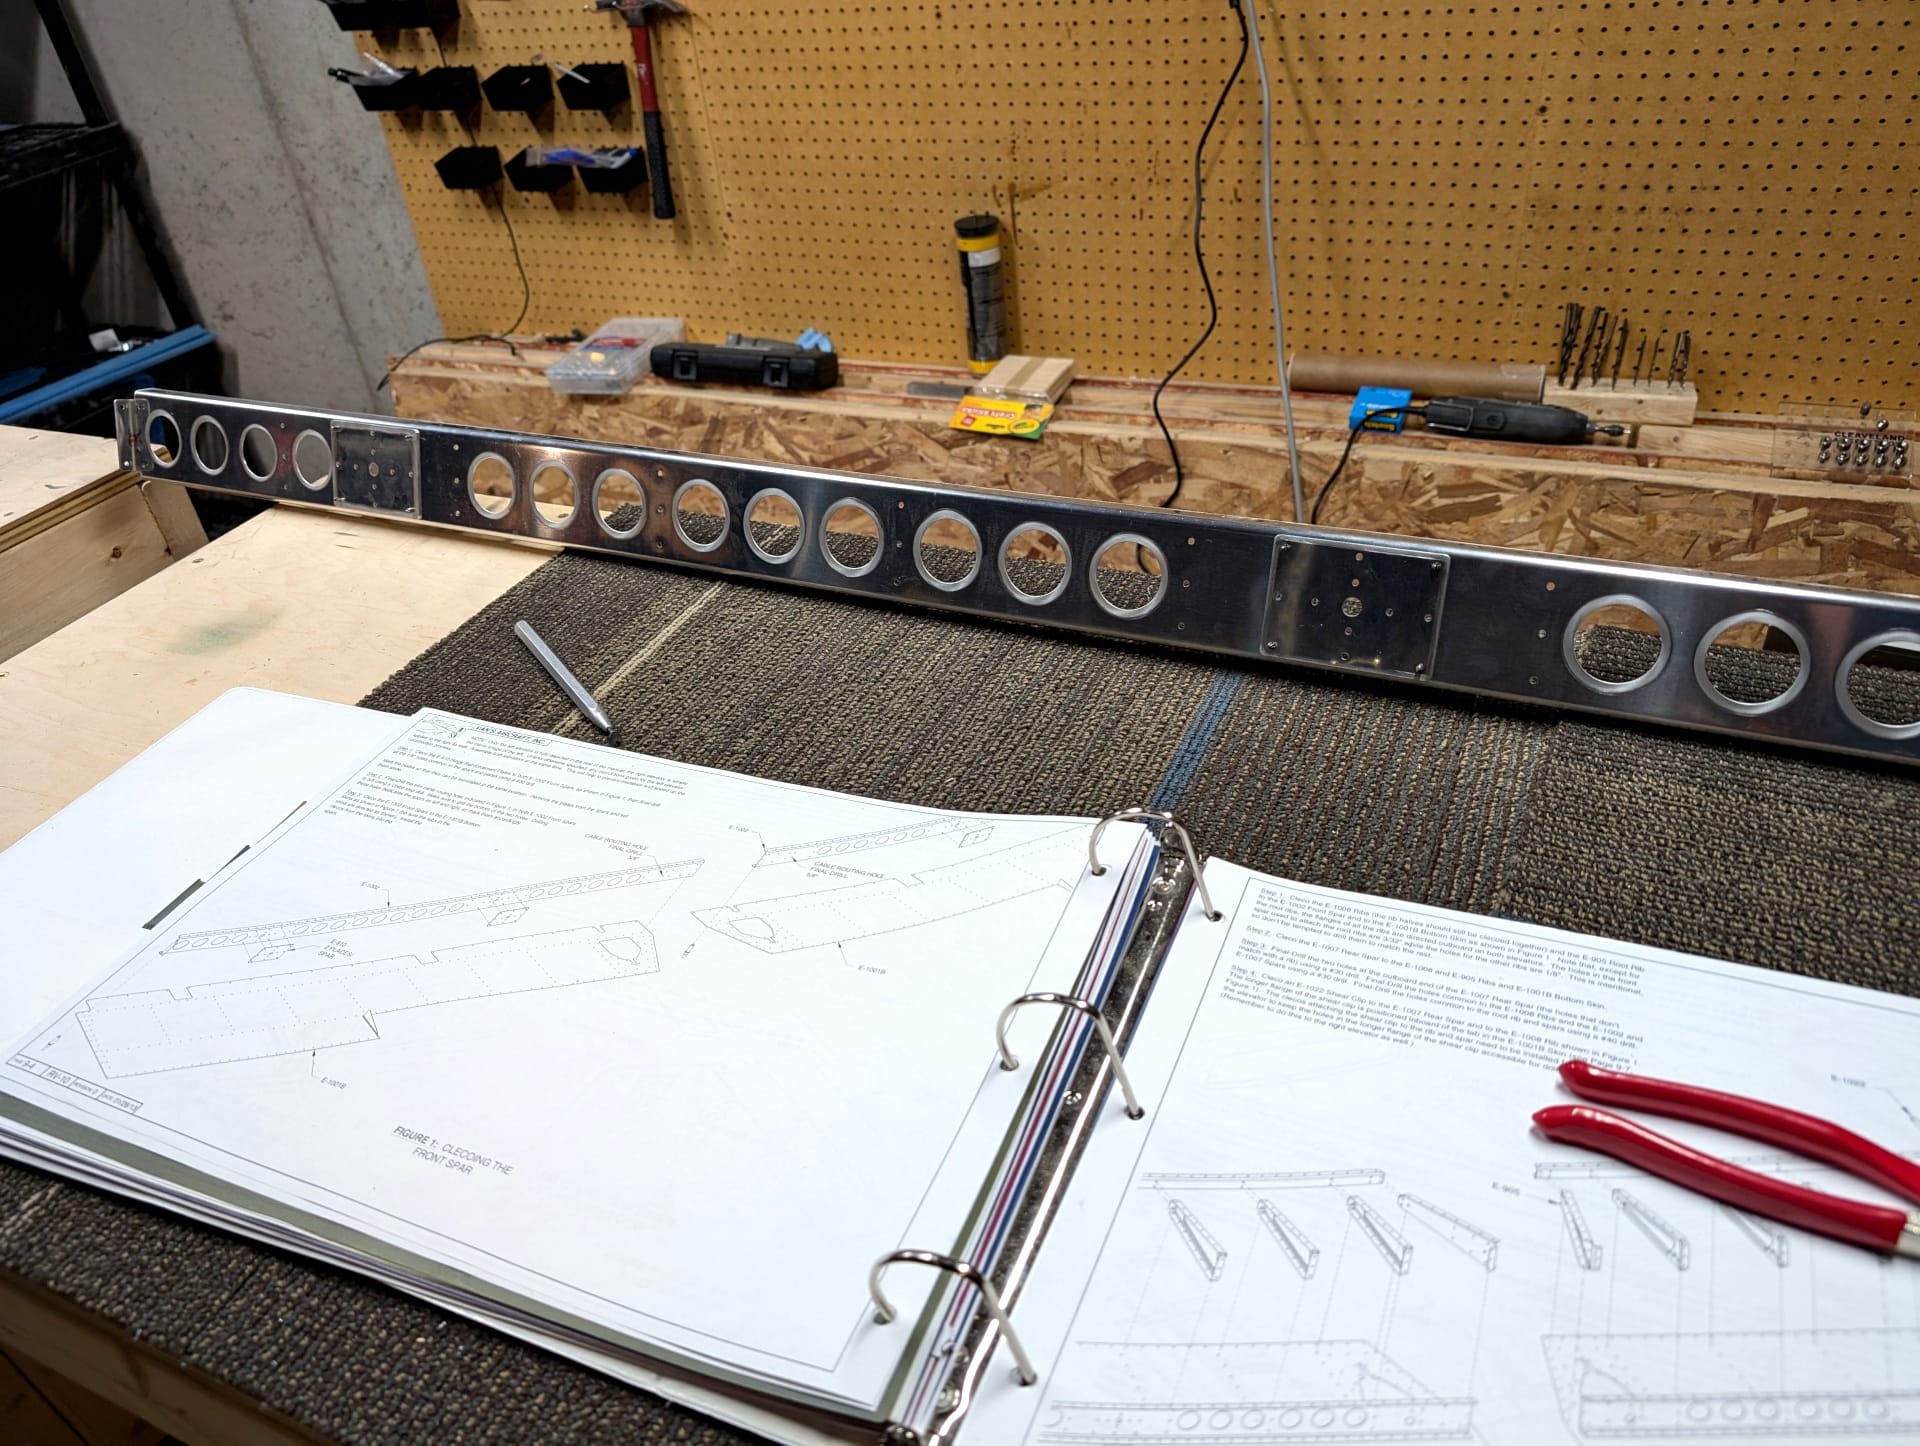
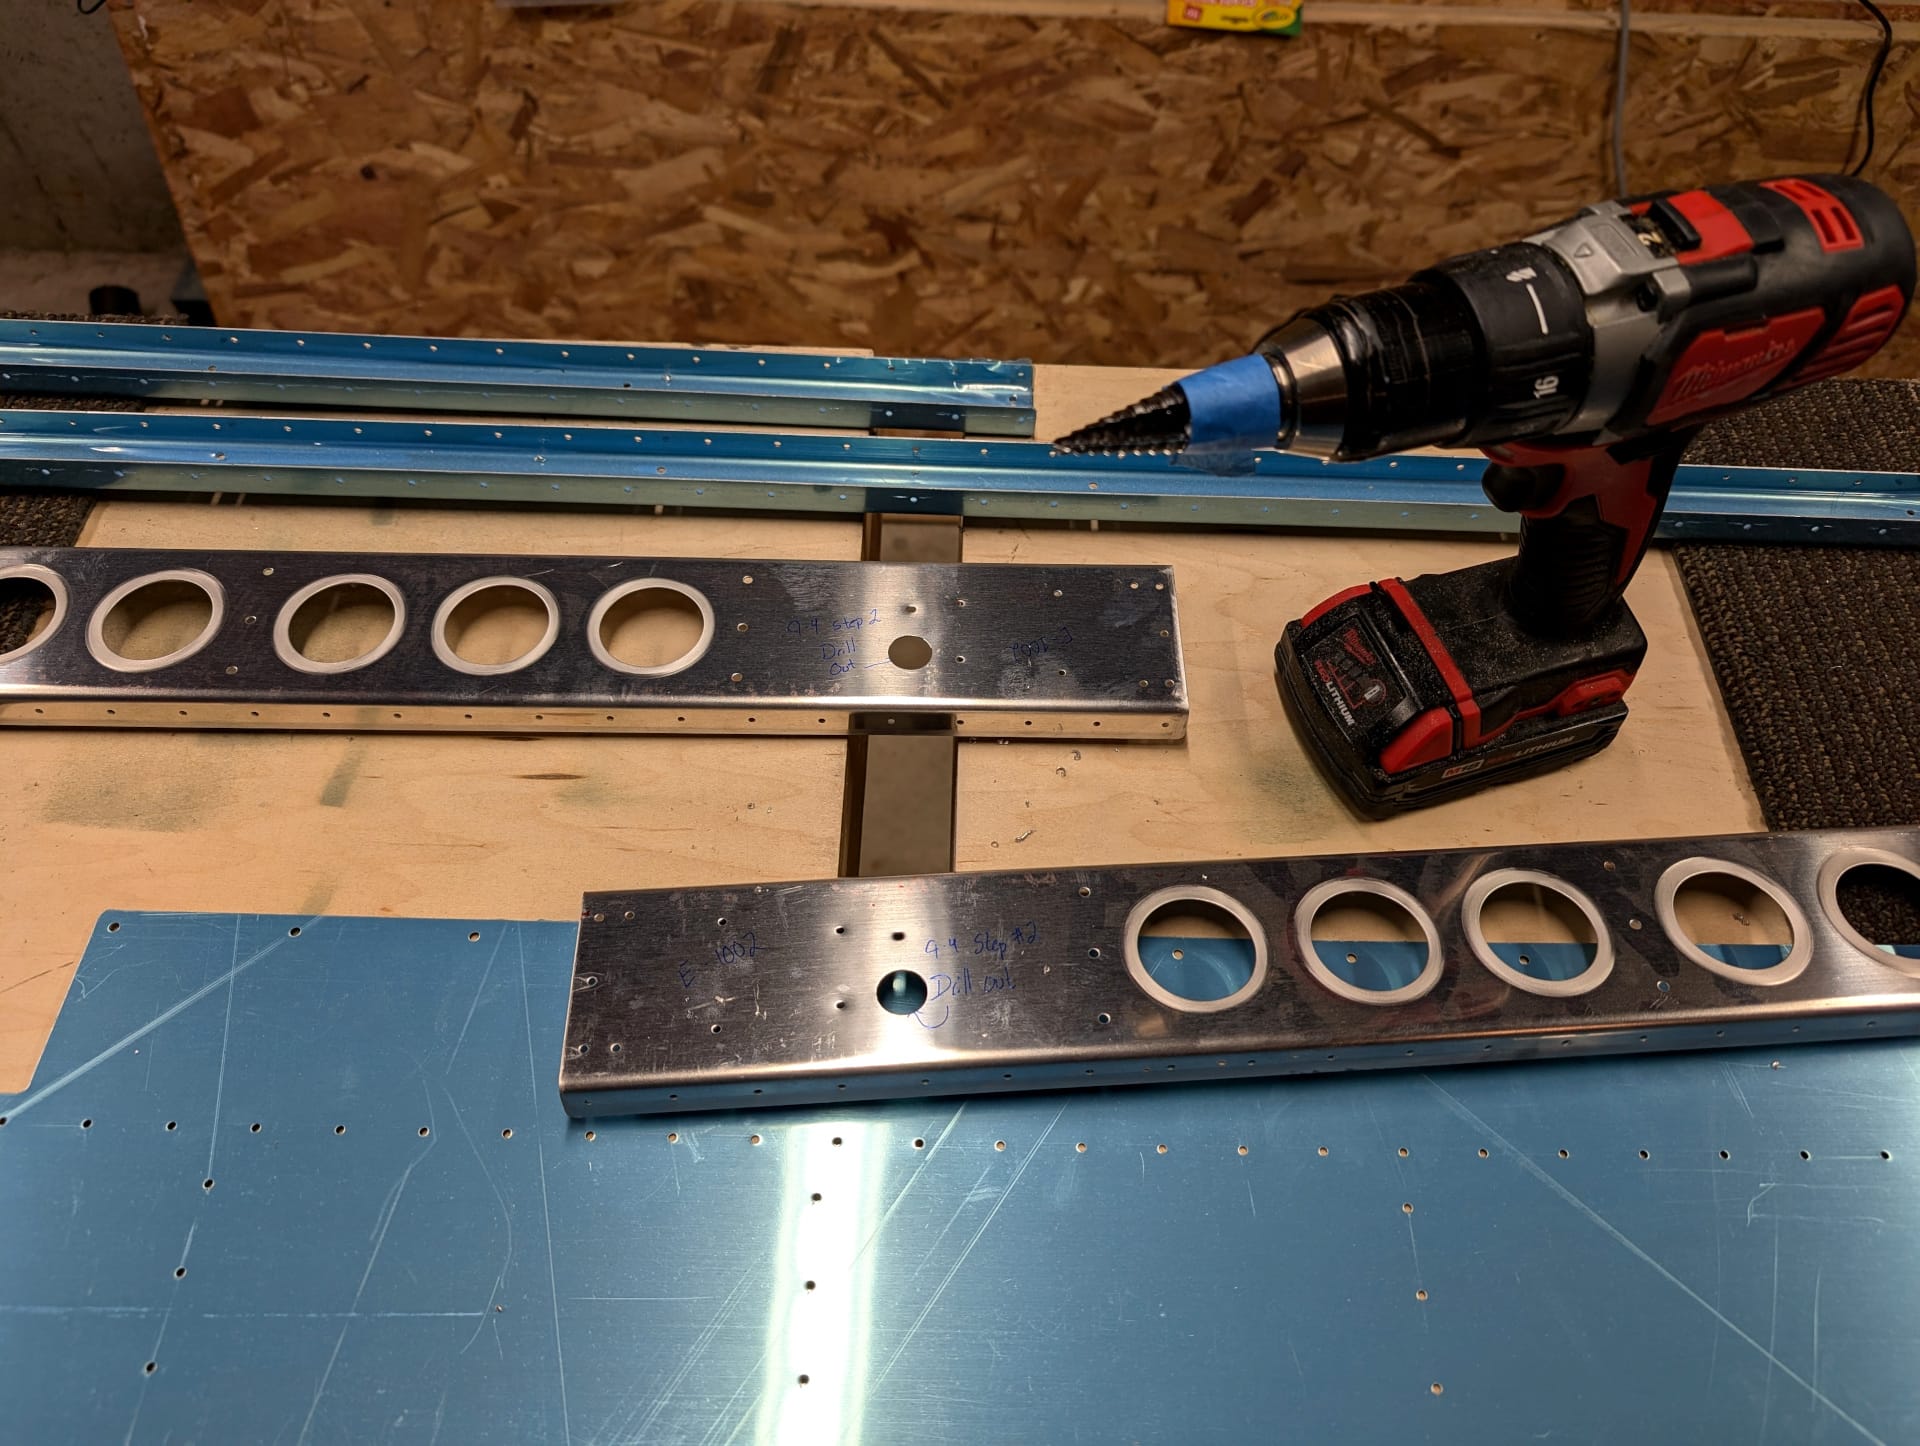
You know how you think you have a lot of tools but then it turns out you are missing one? I had this happen right at this part. The spars need a trim cable hole drilled up in size with a step bit but I searched high and low (even checked my order history) and I just don't have a step bit. So I ordered one and when it arrived it worked flawlessly.
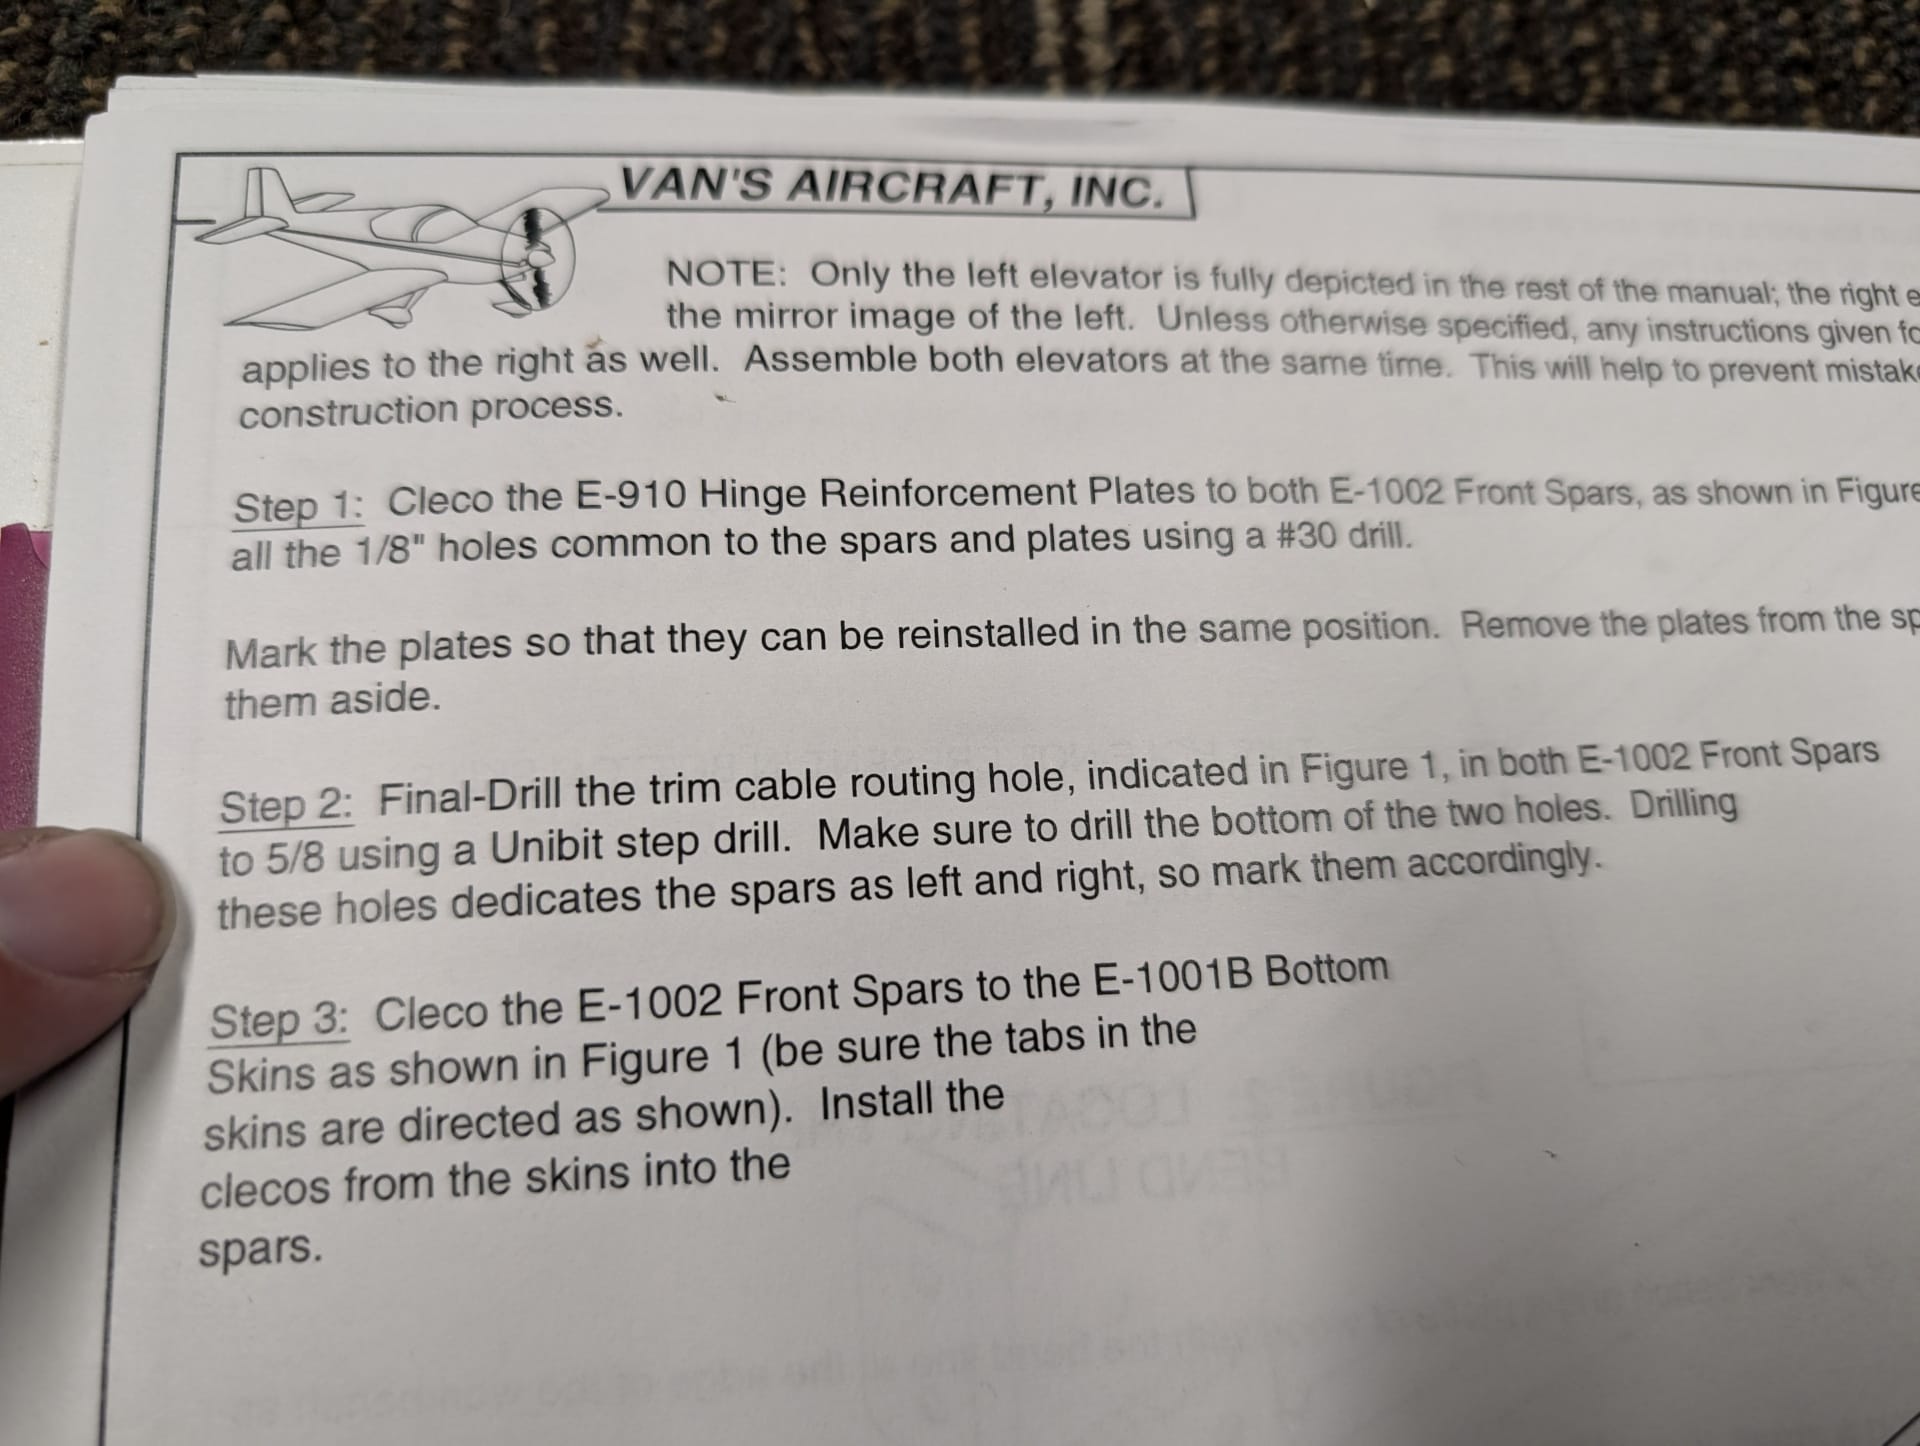
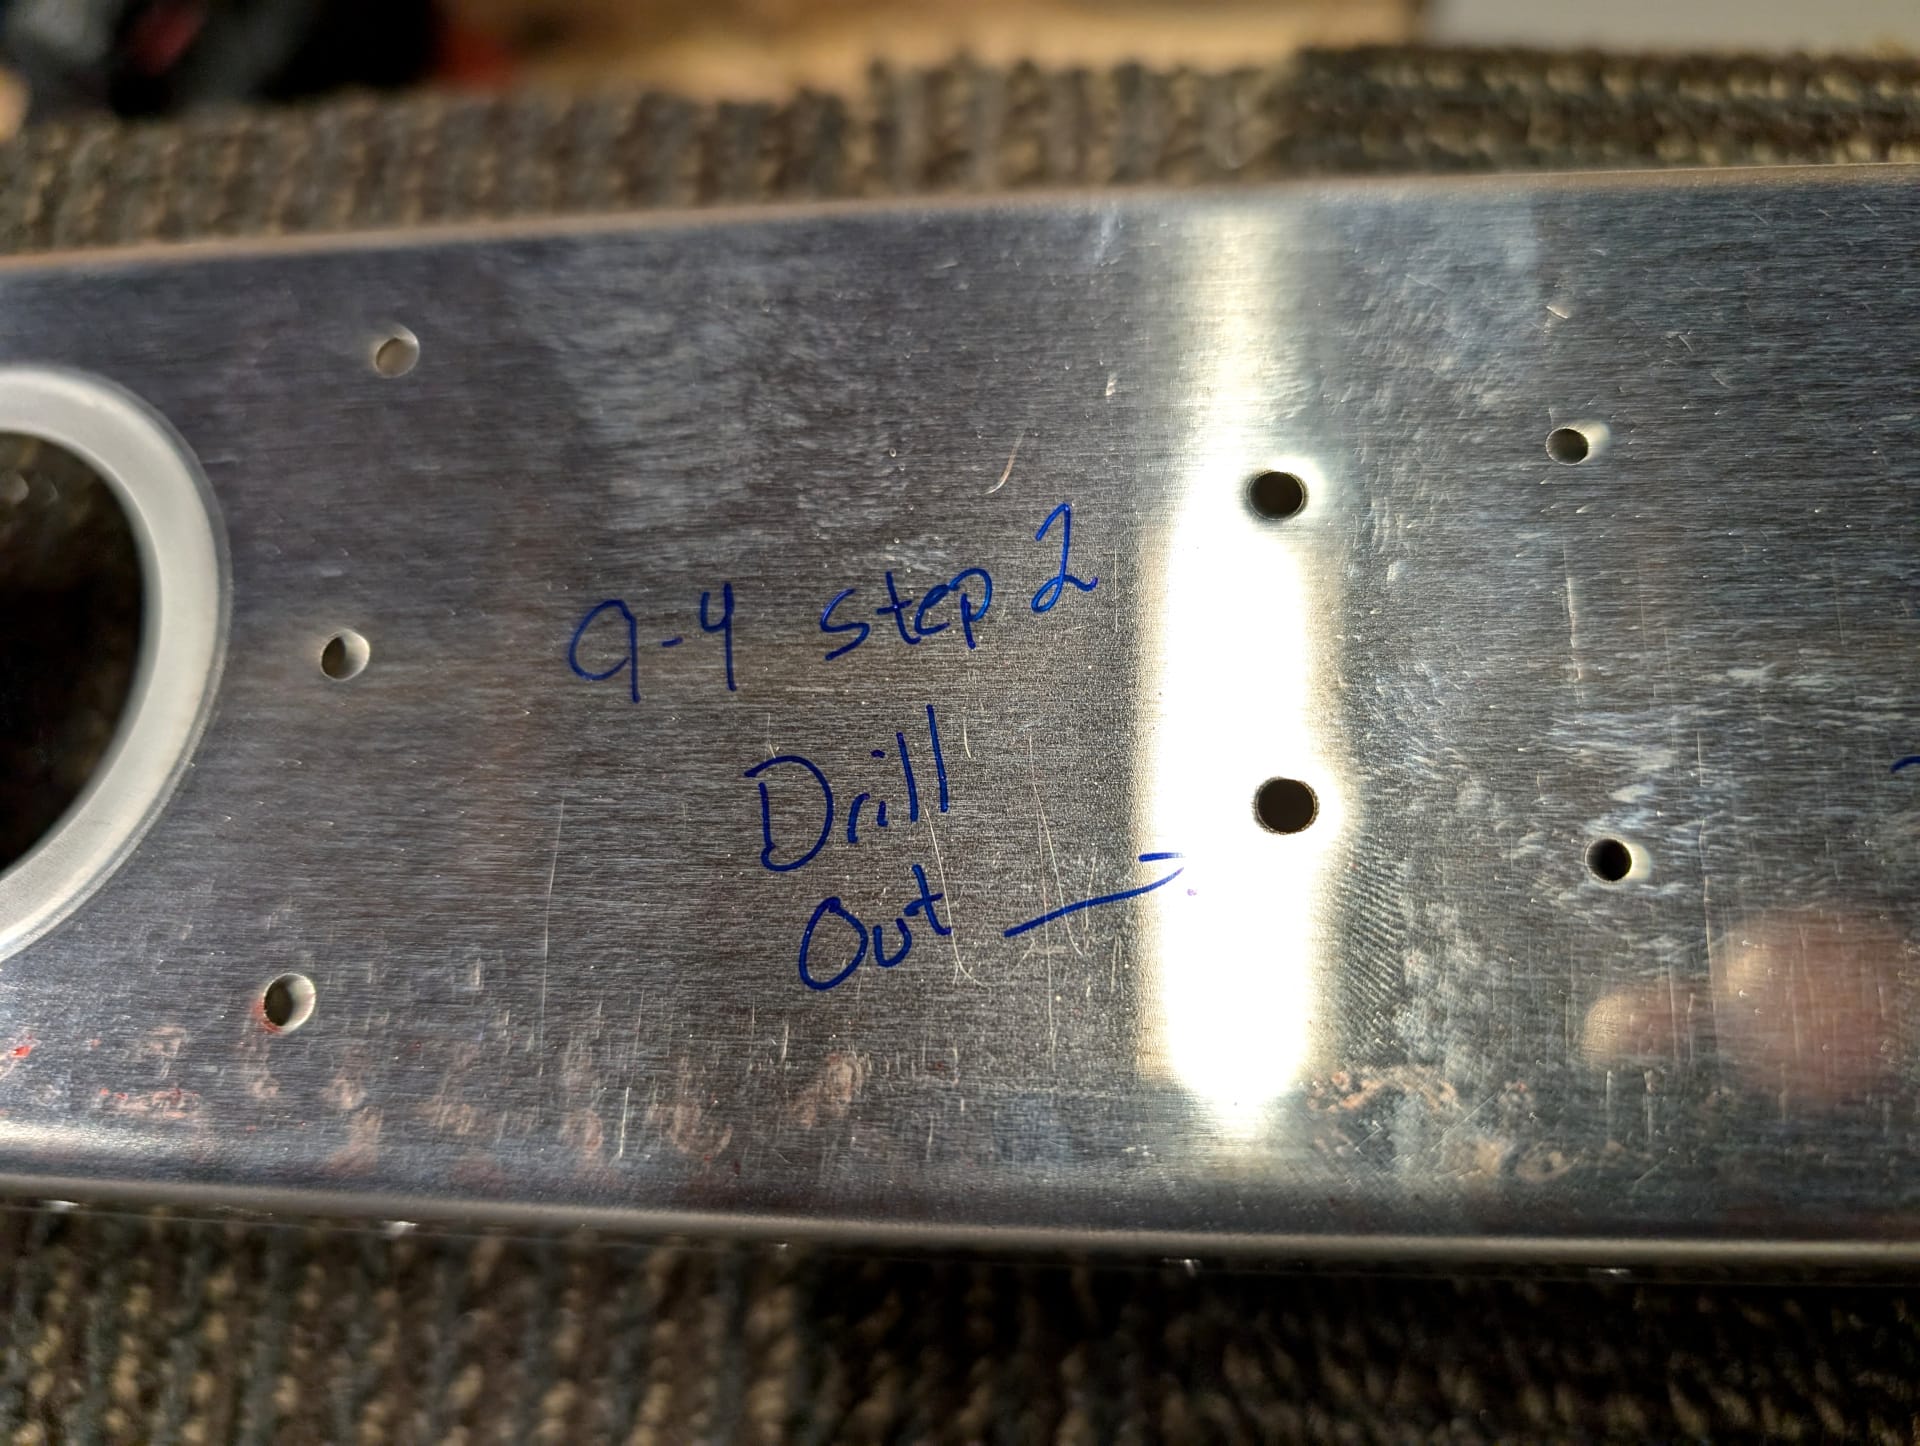
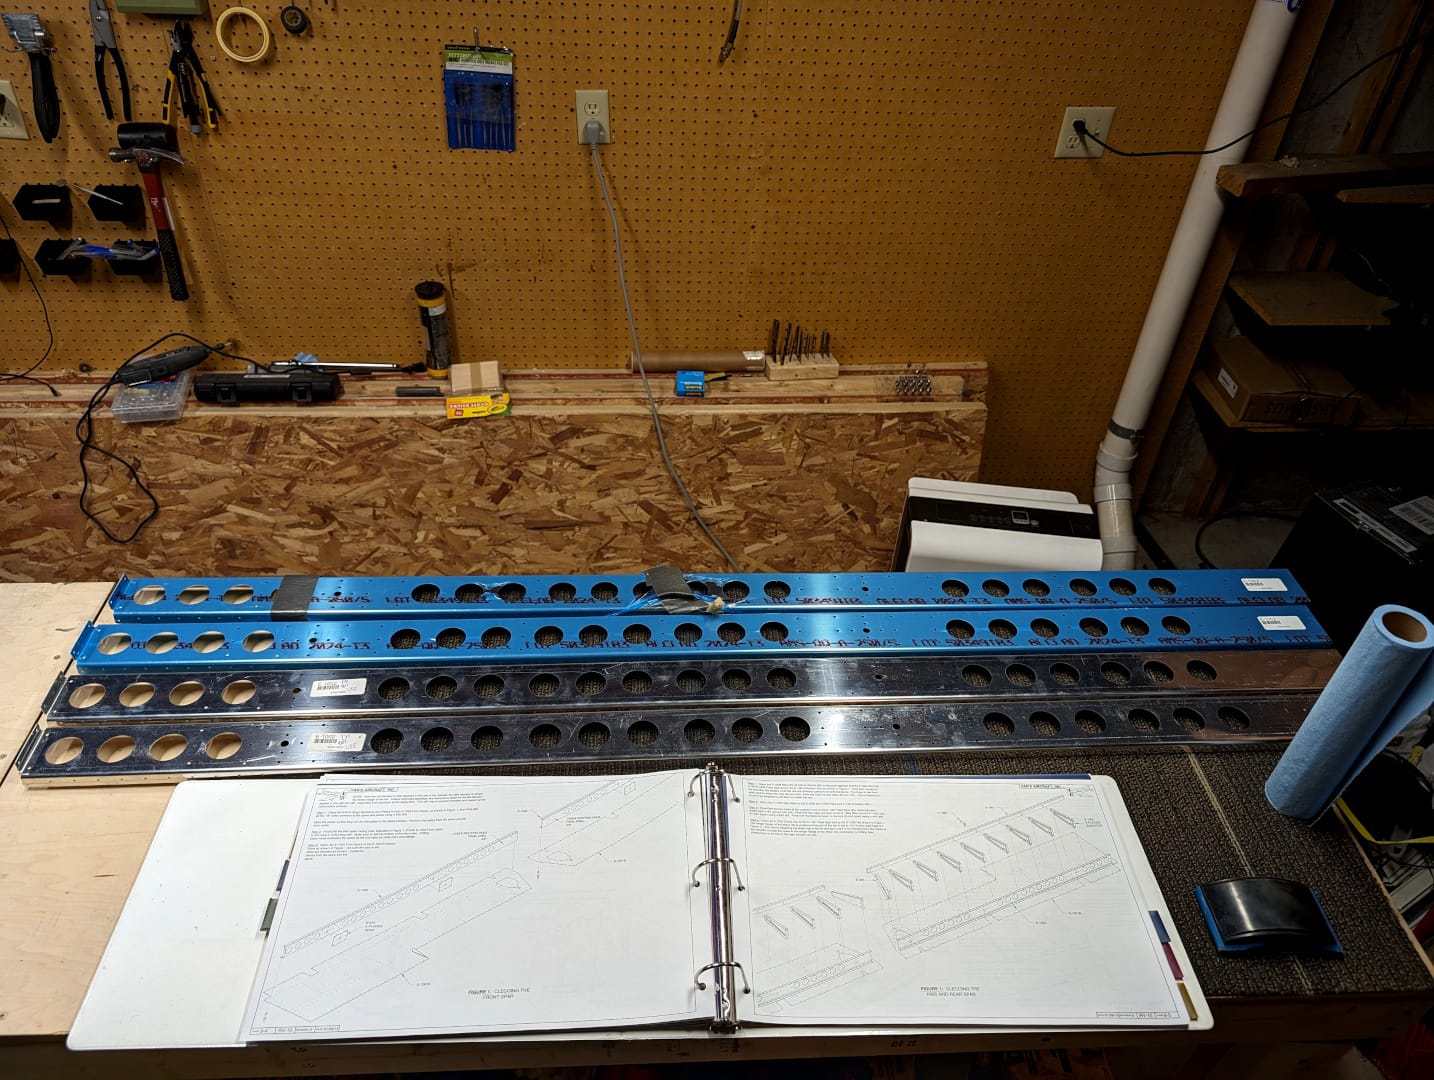
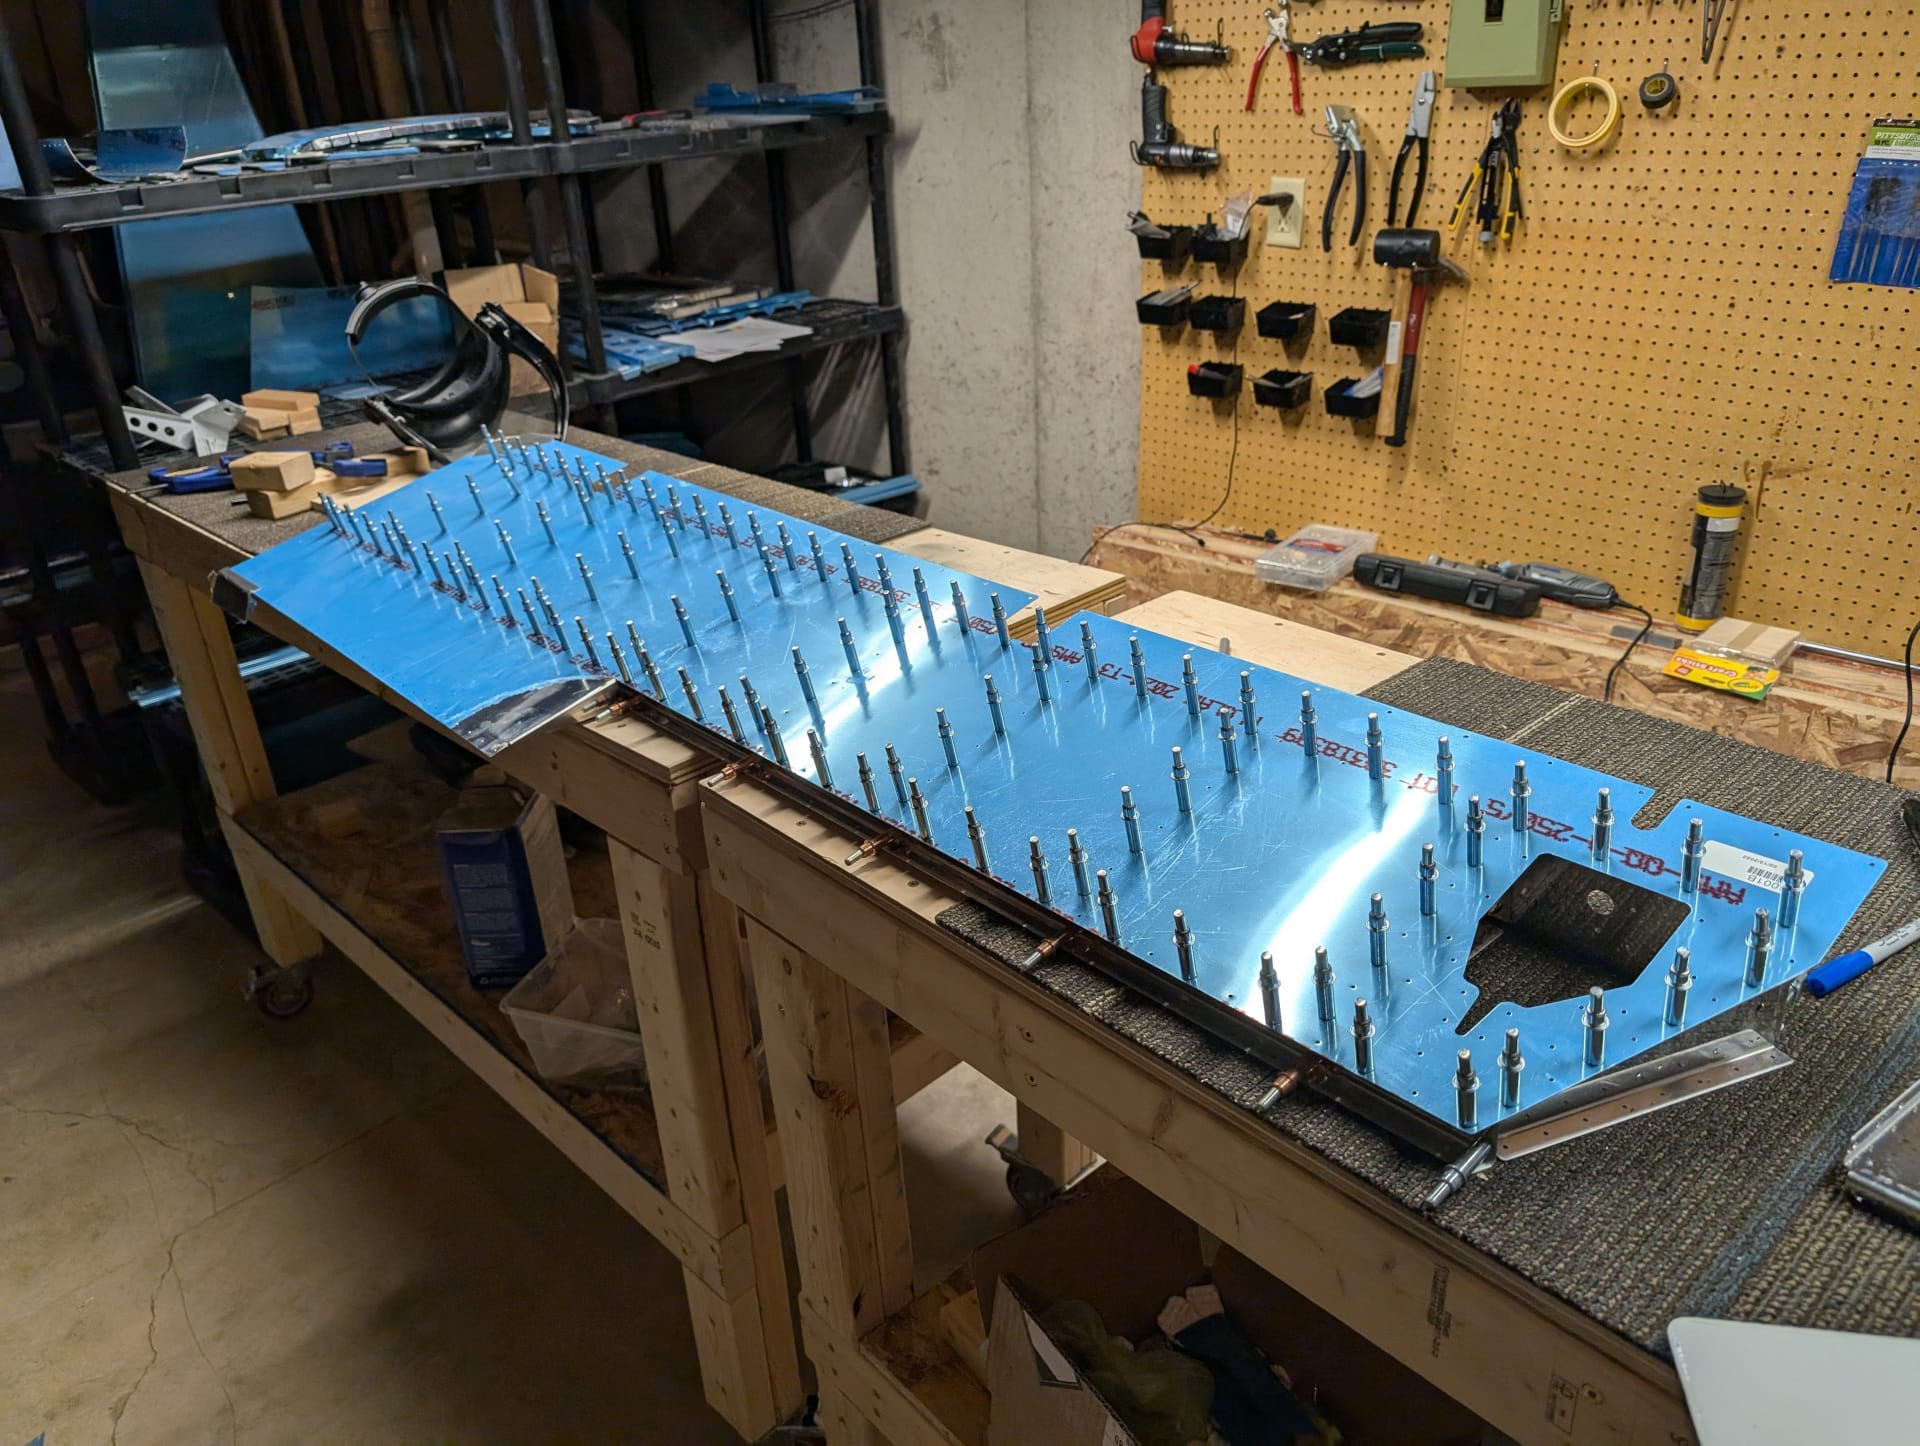
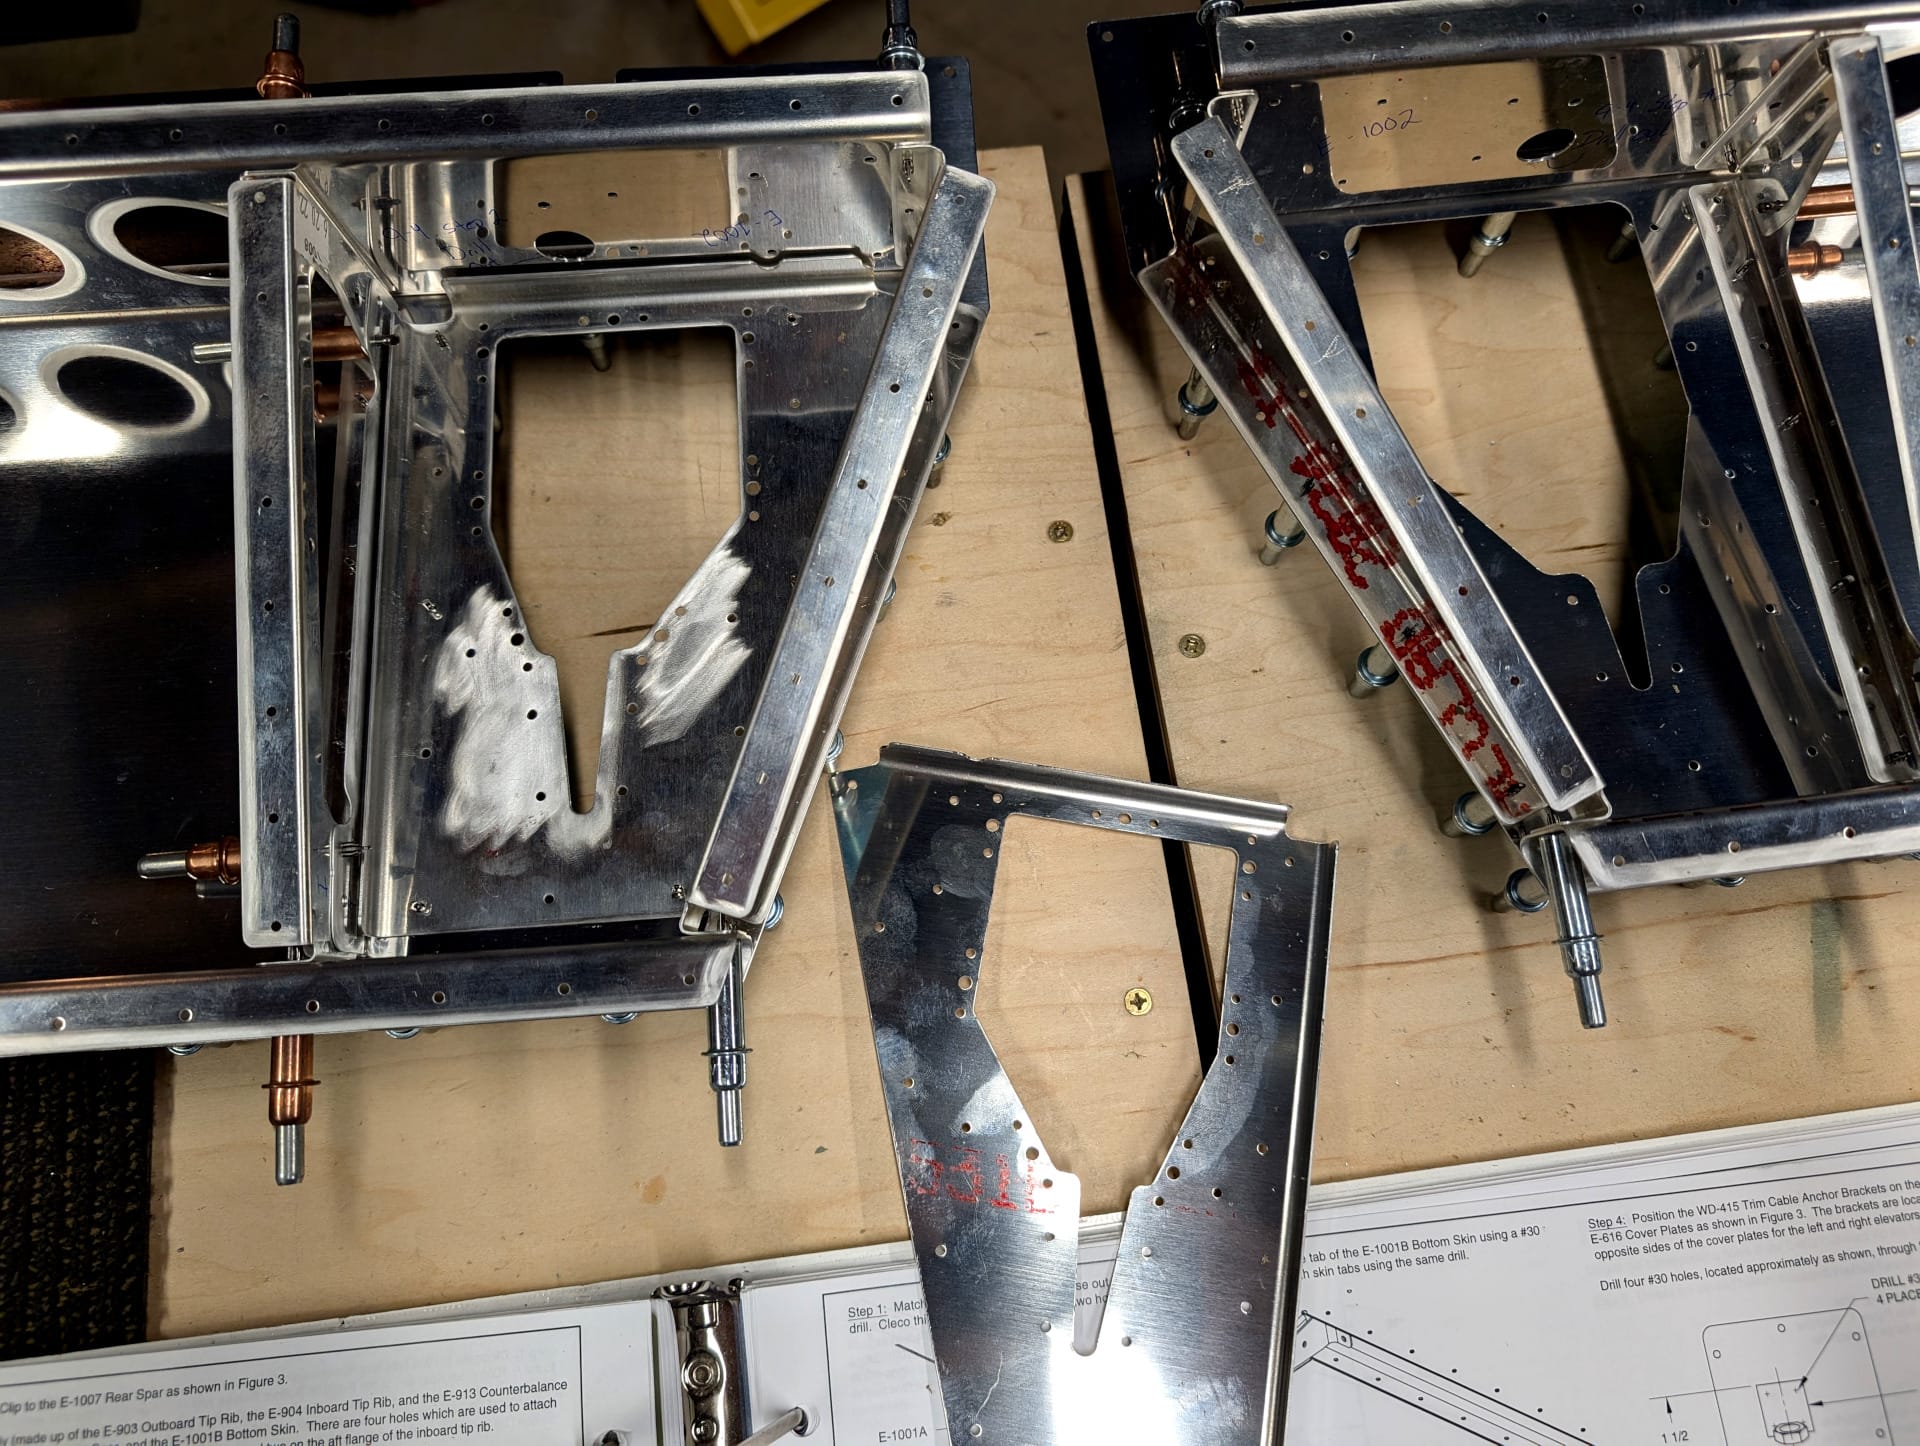
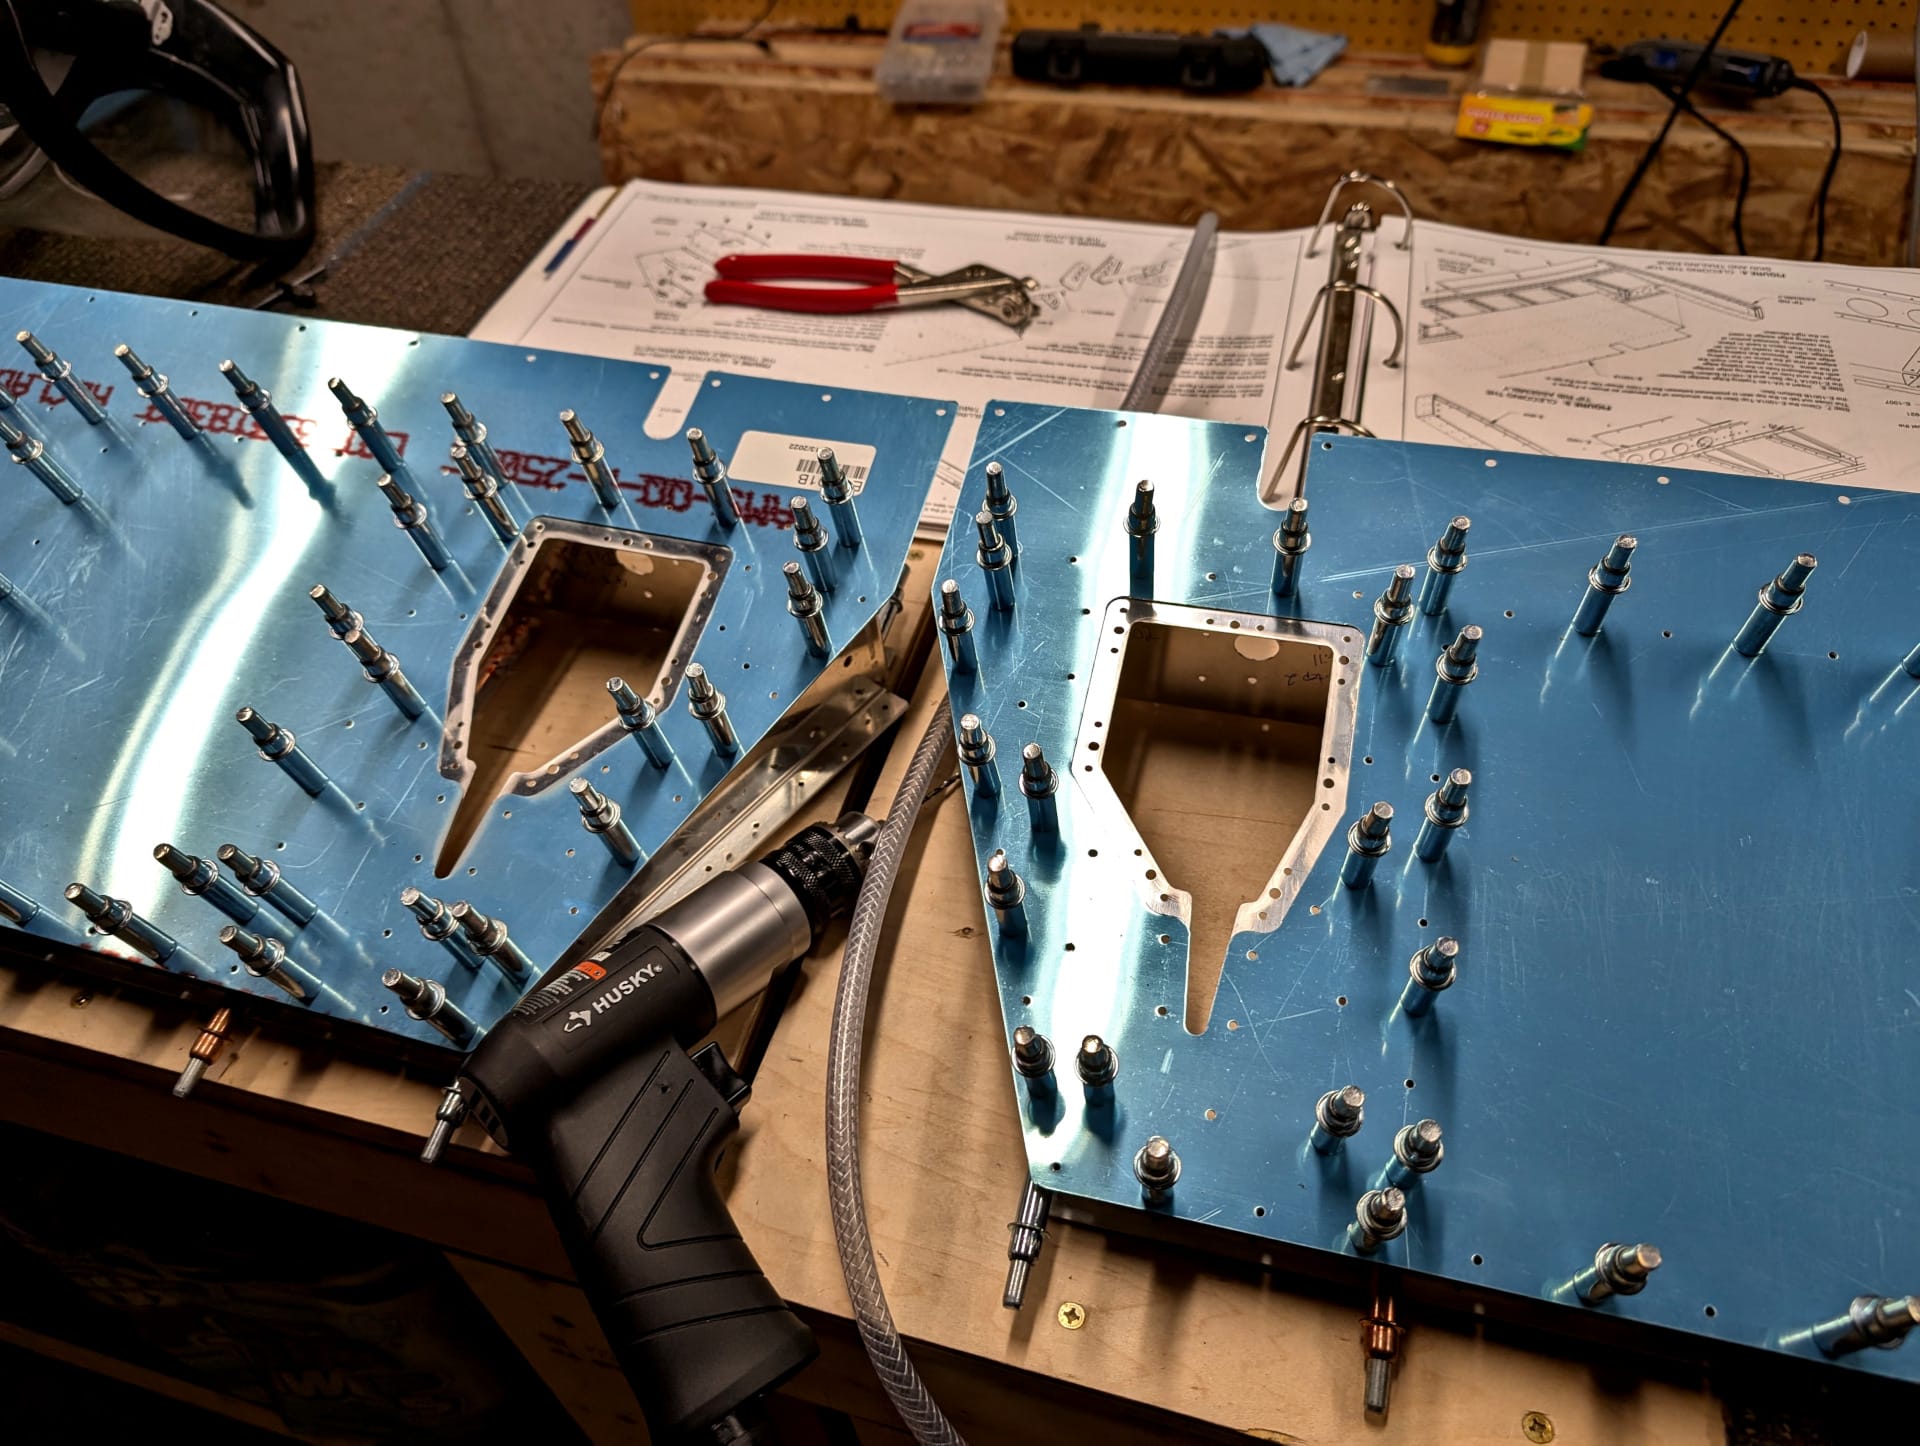
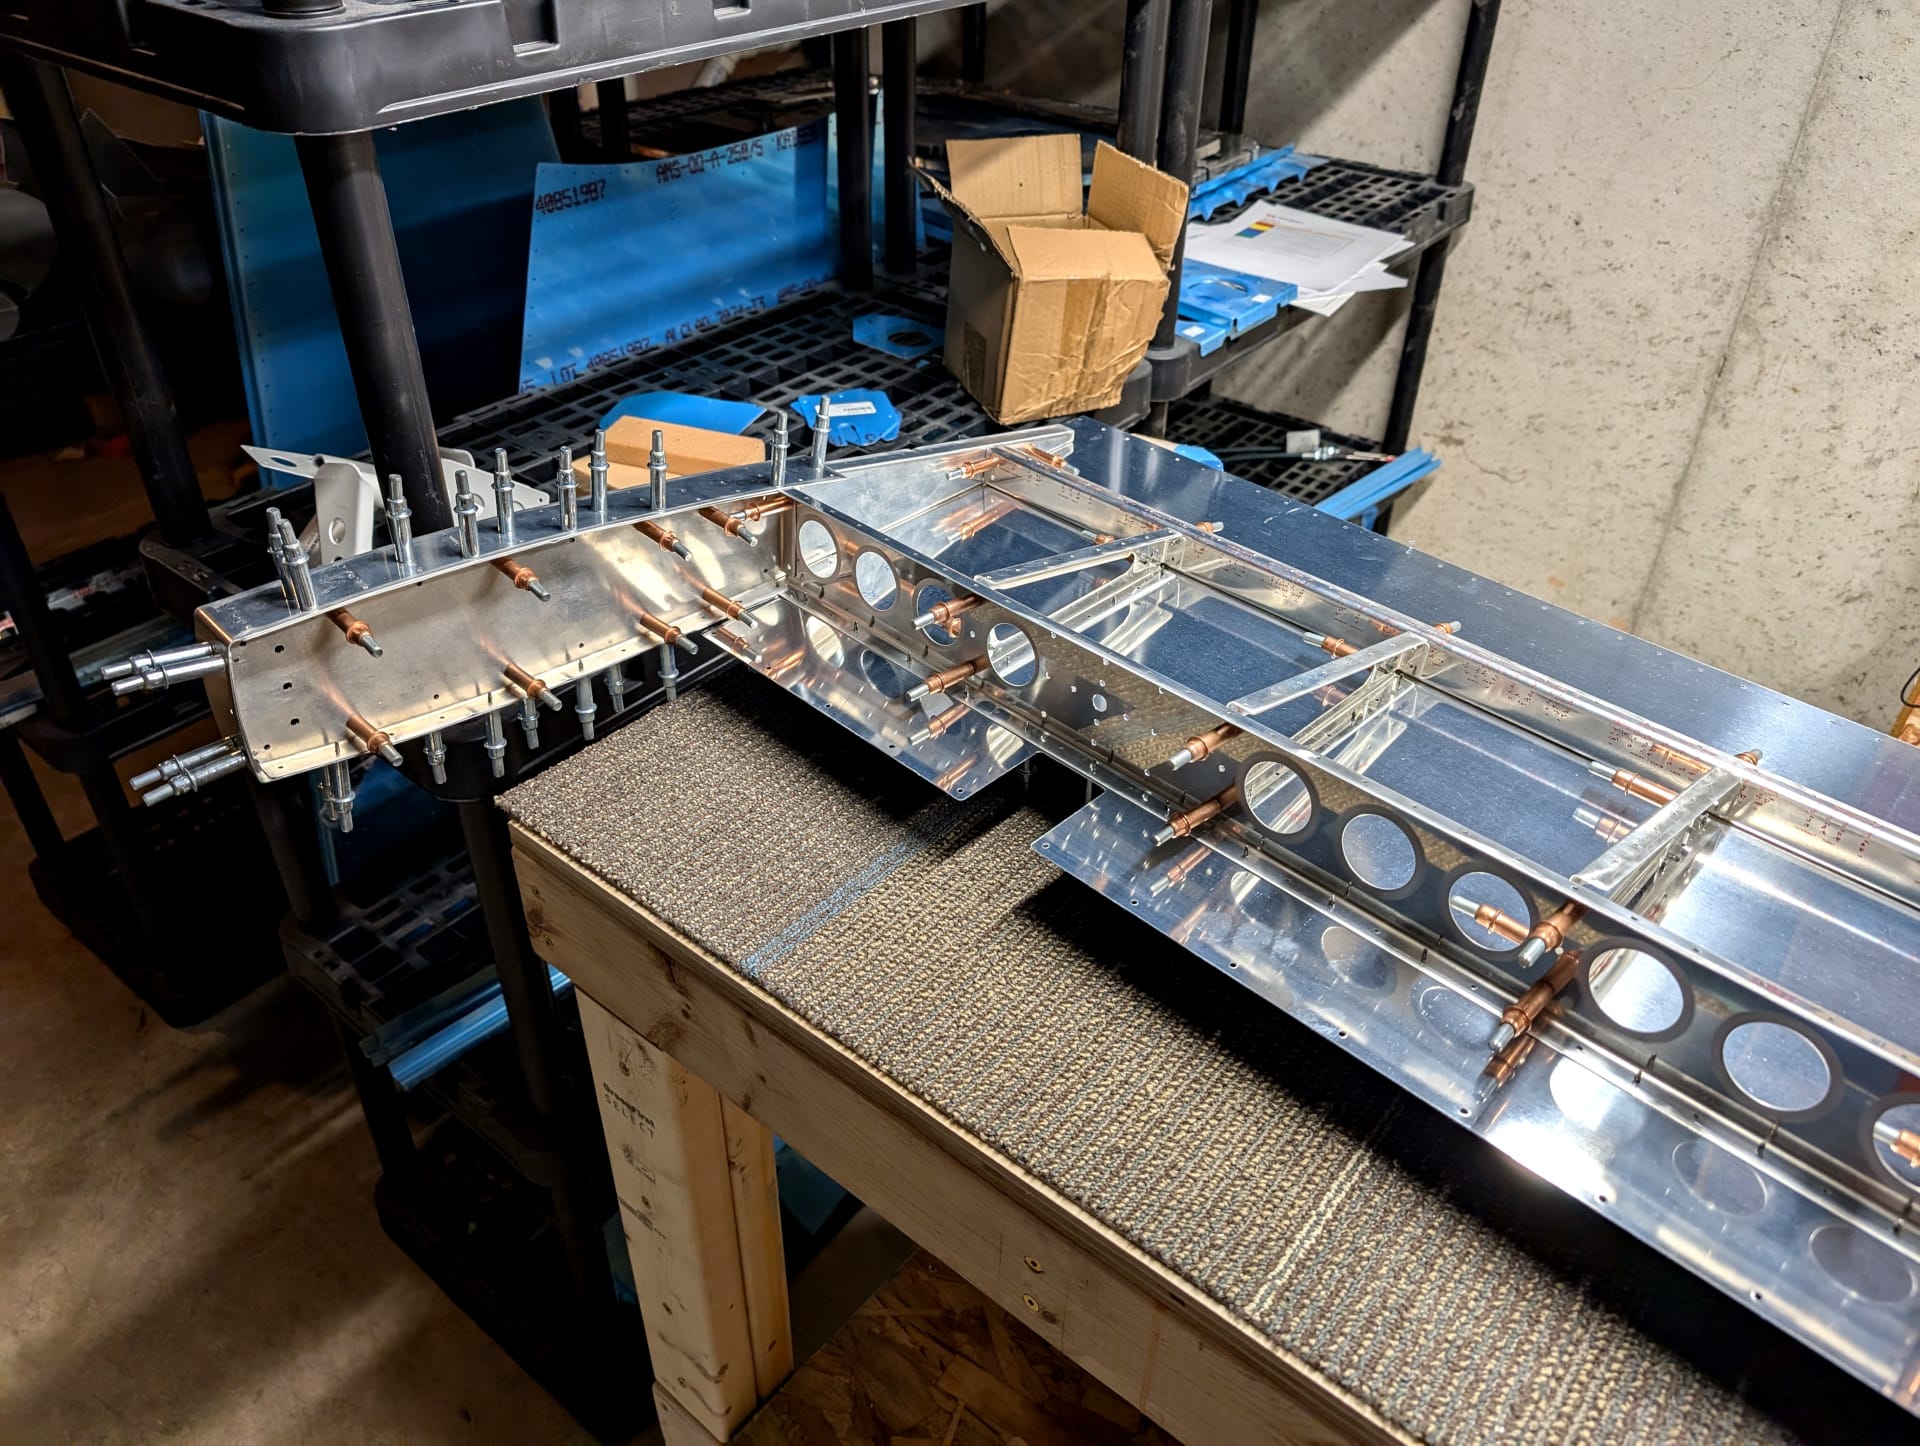
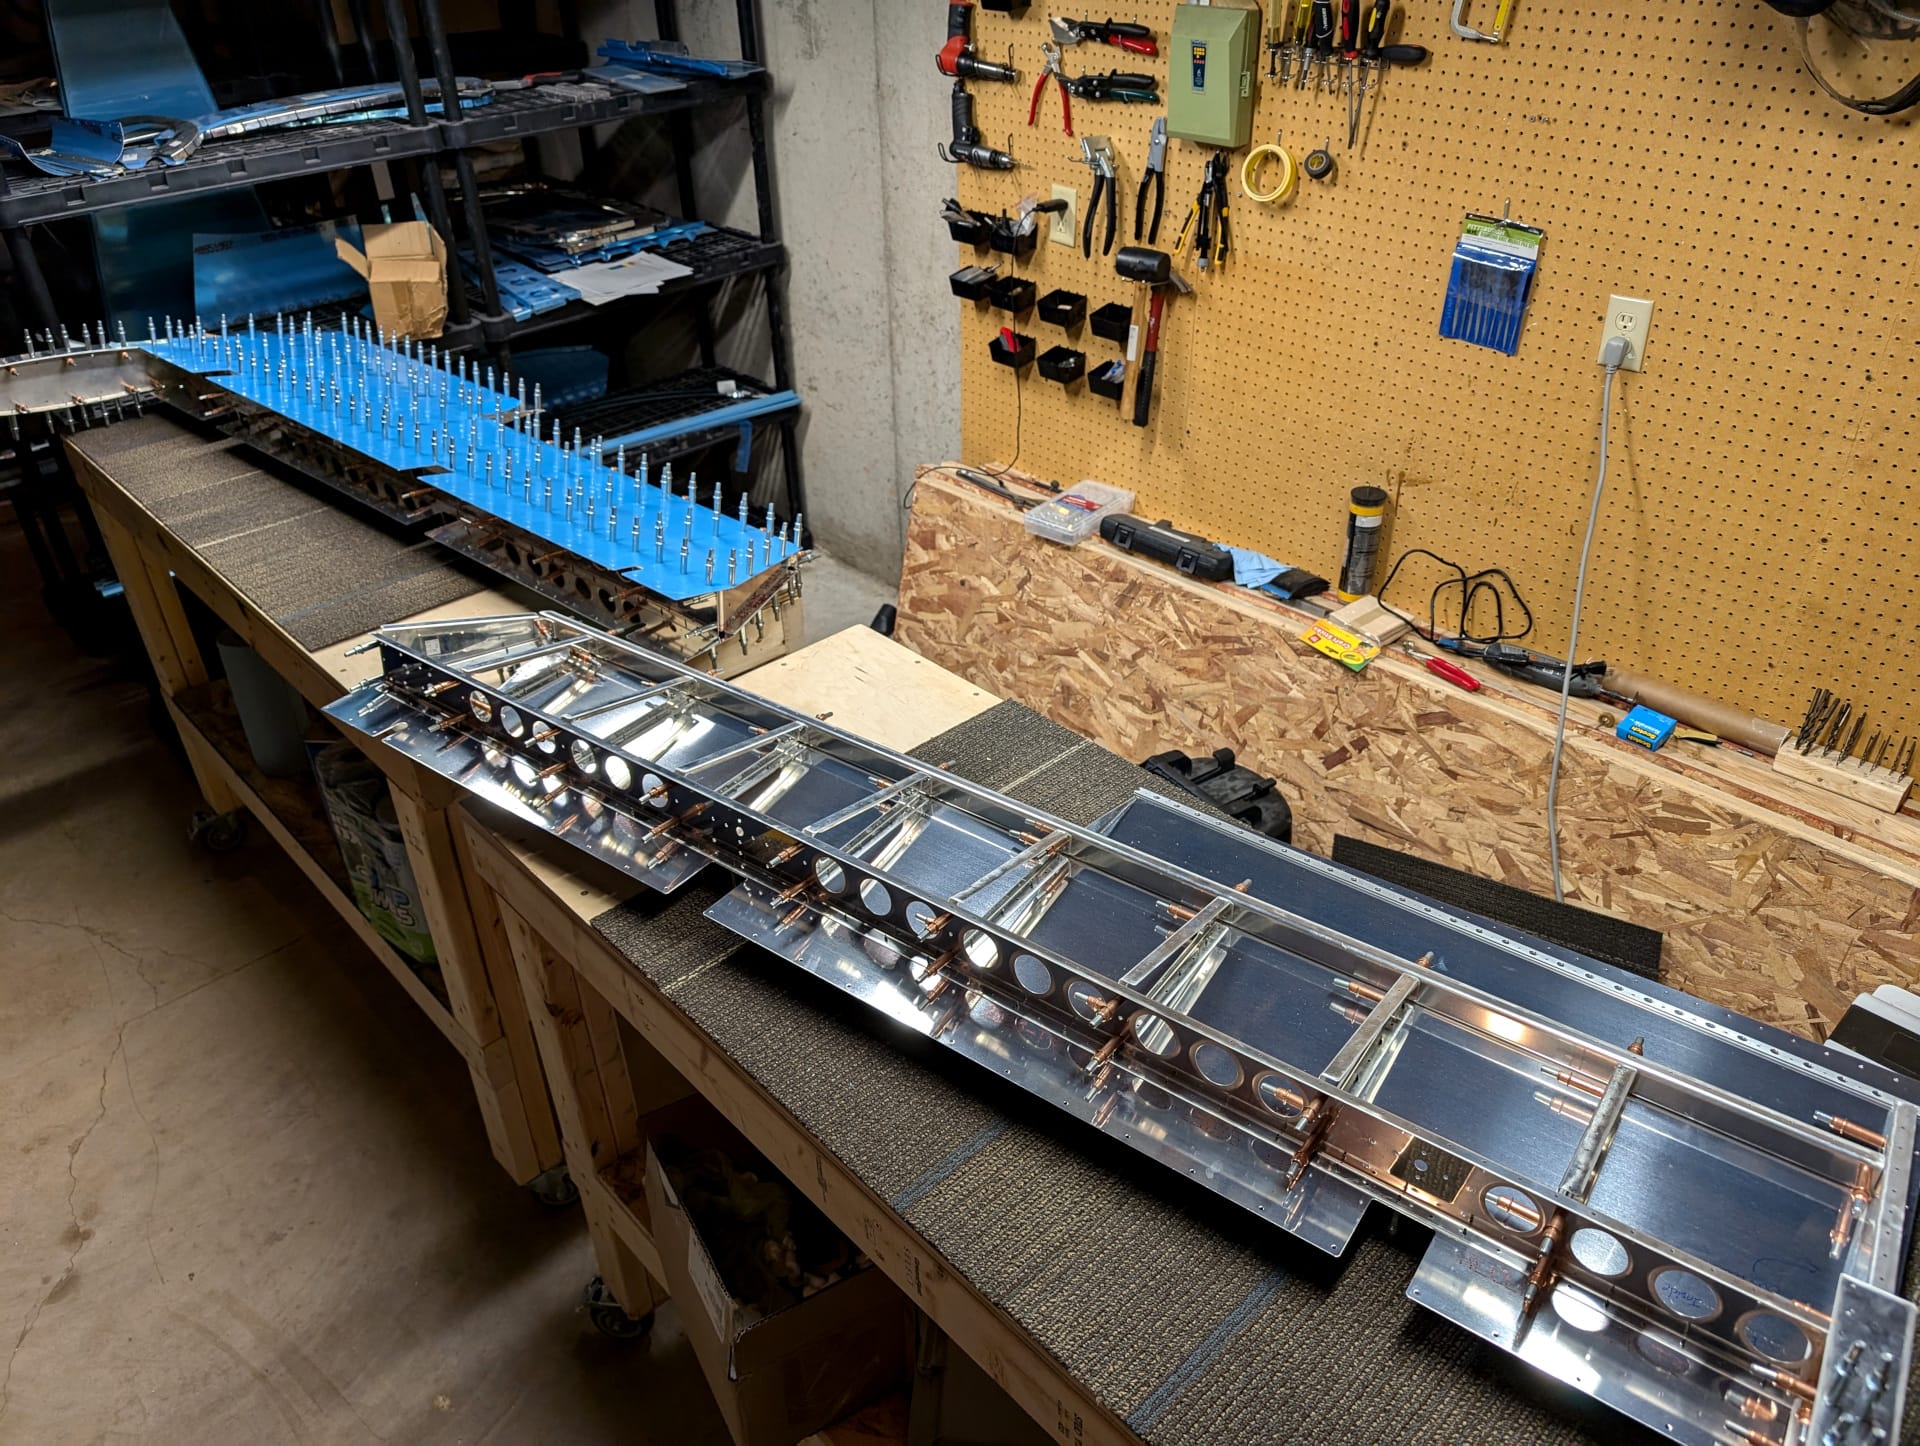
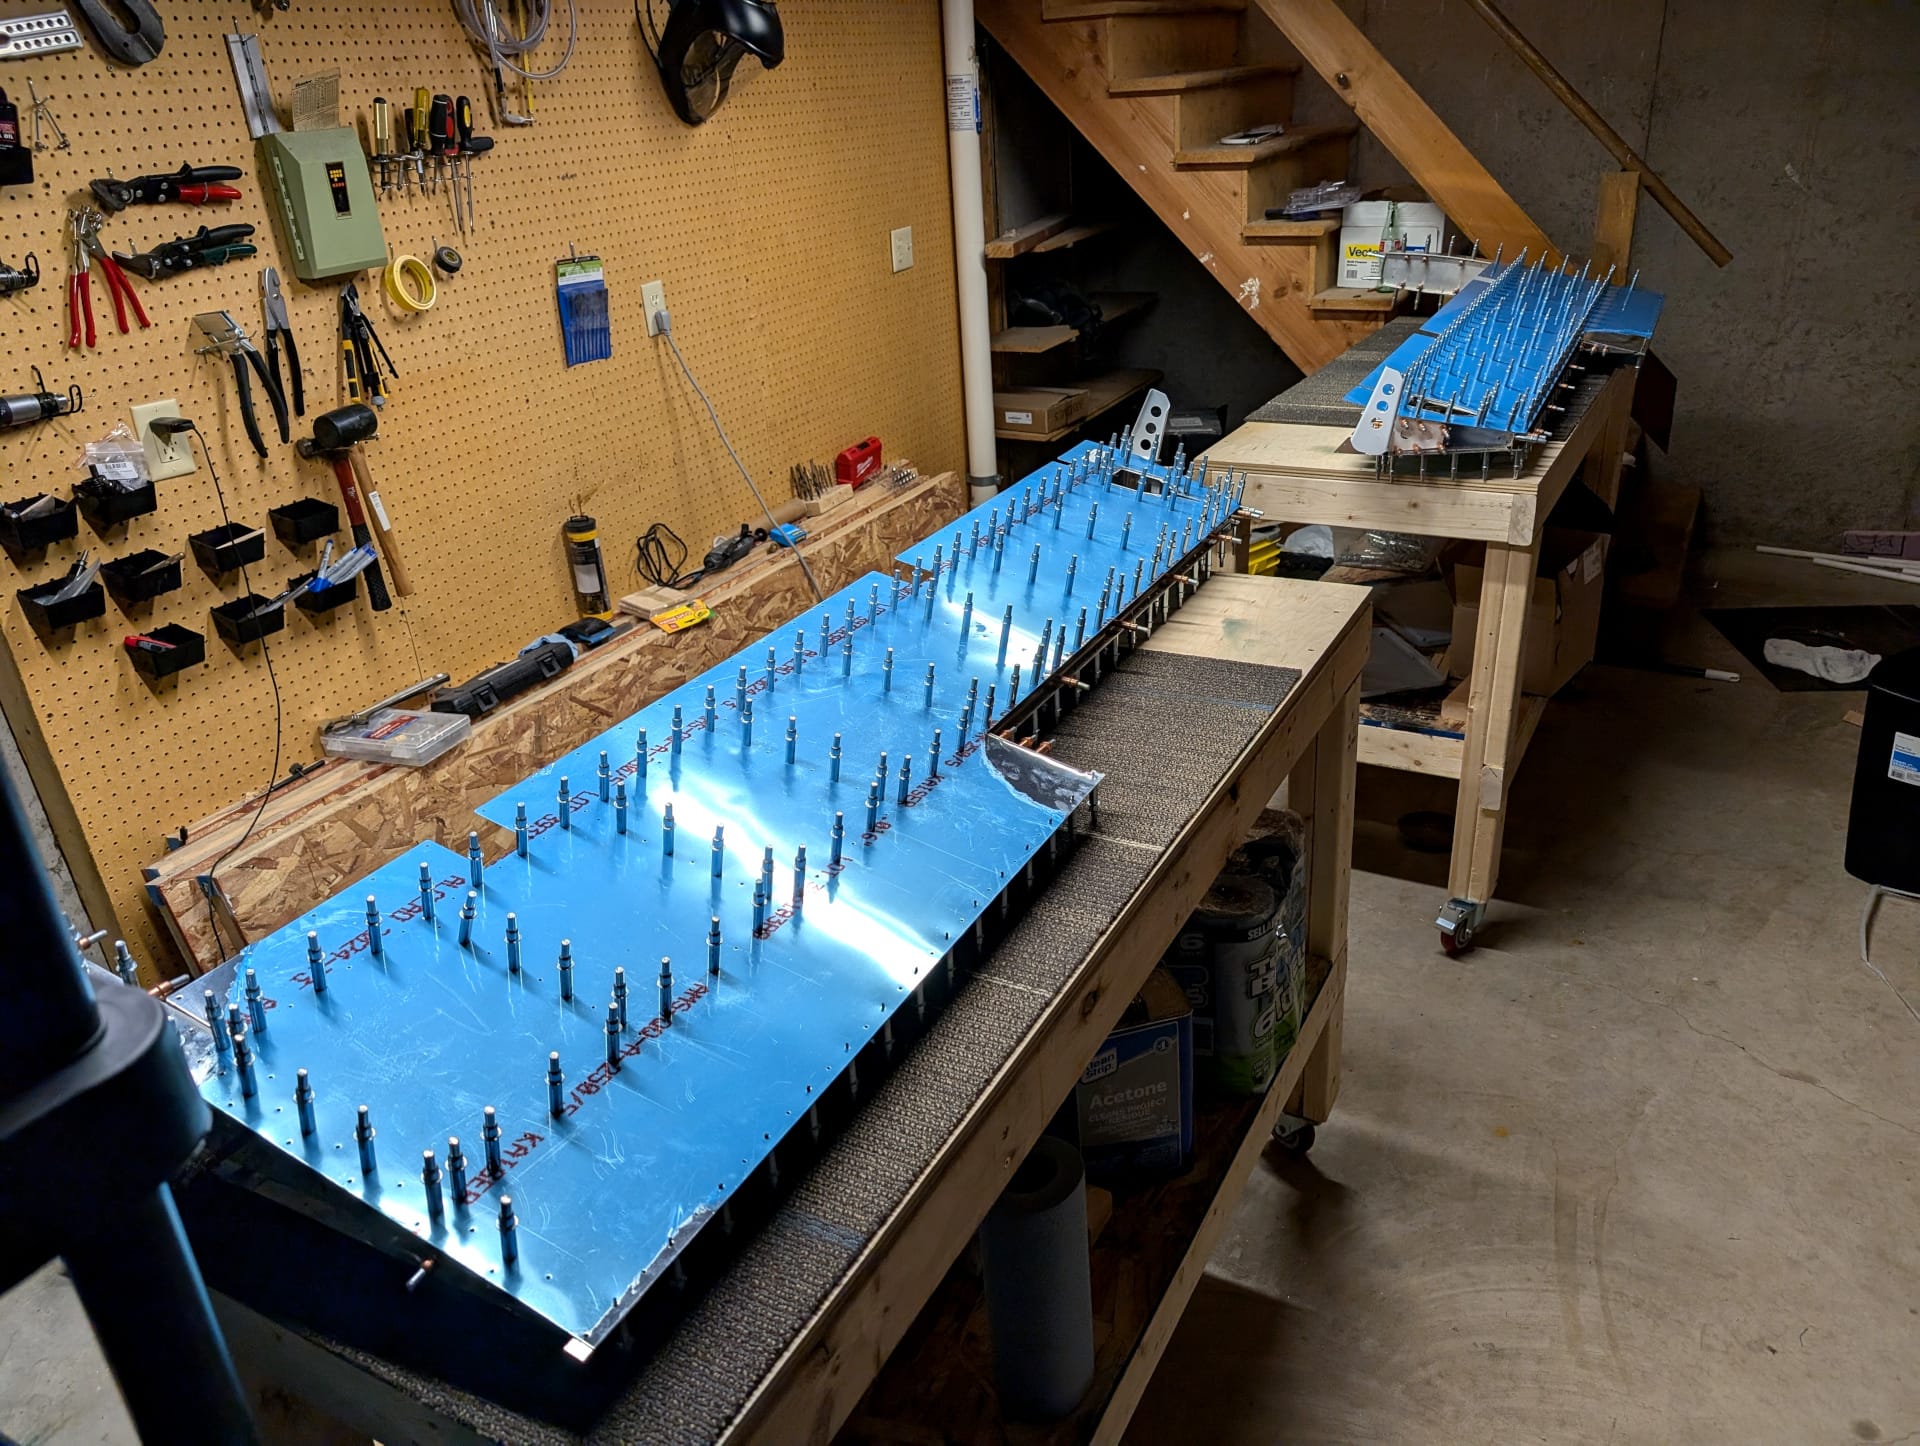
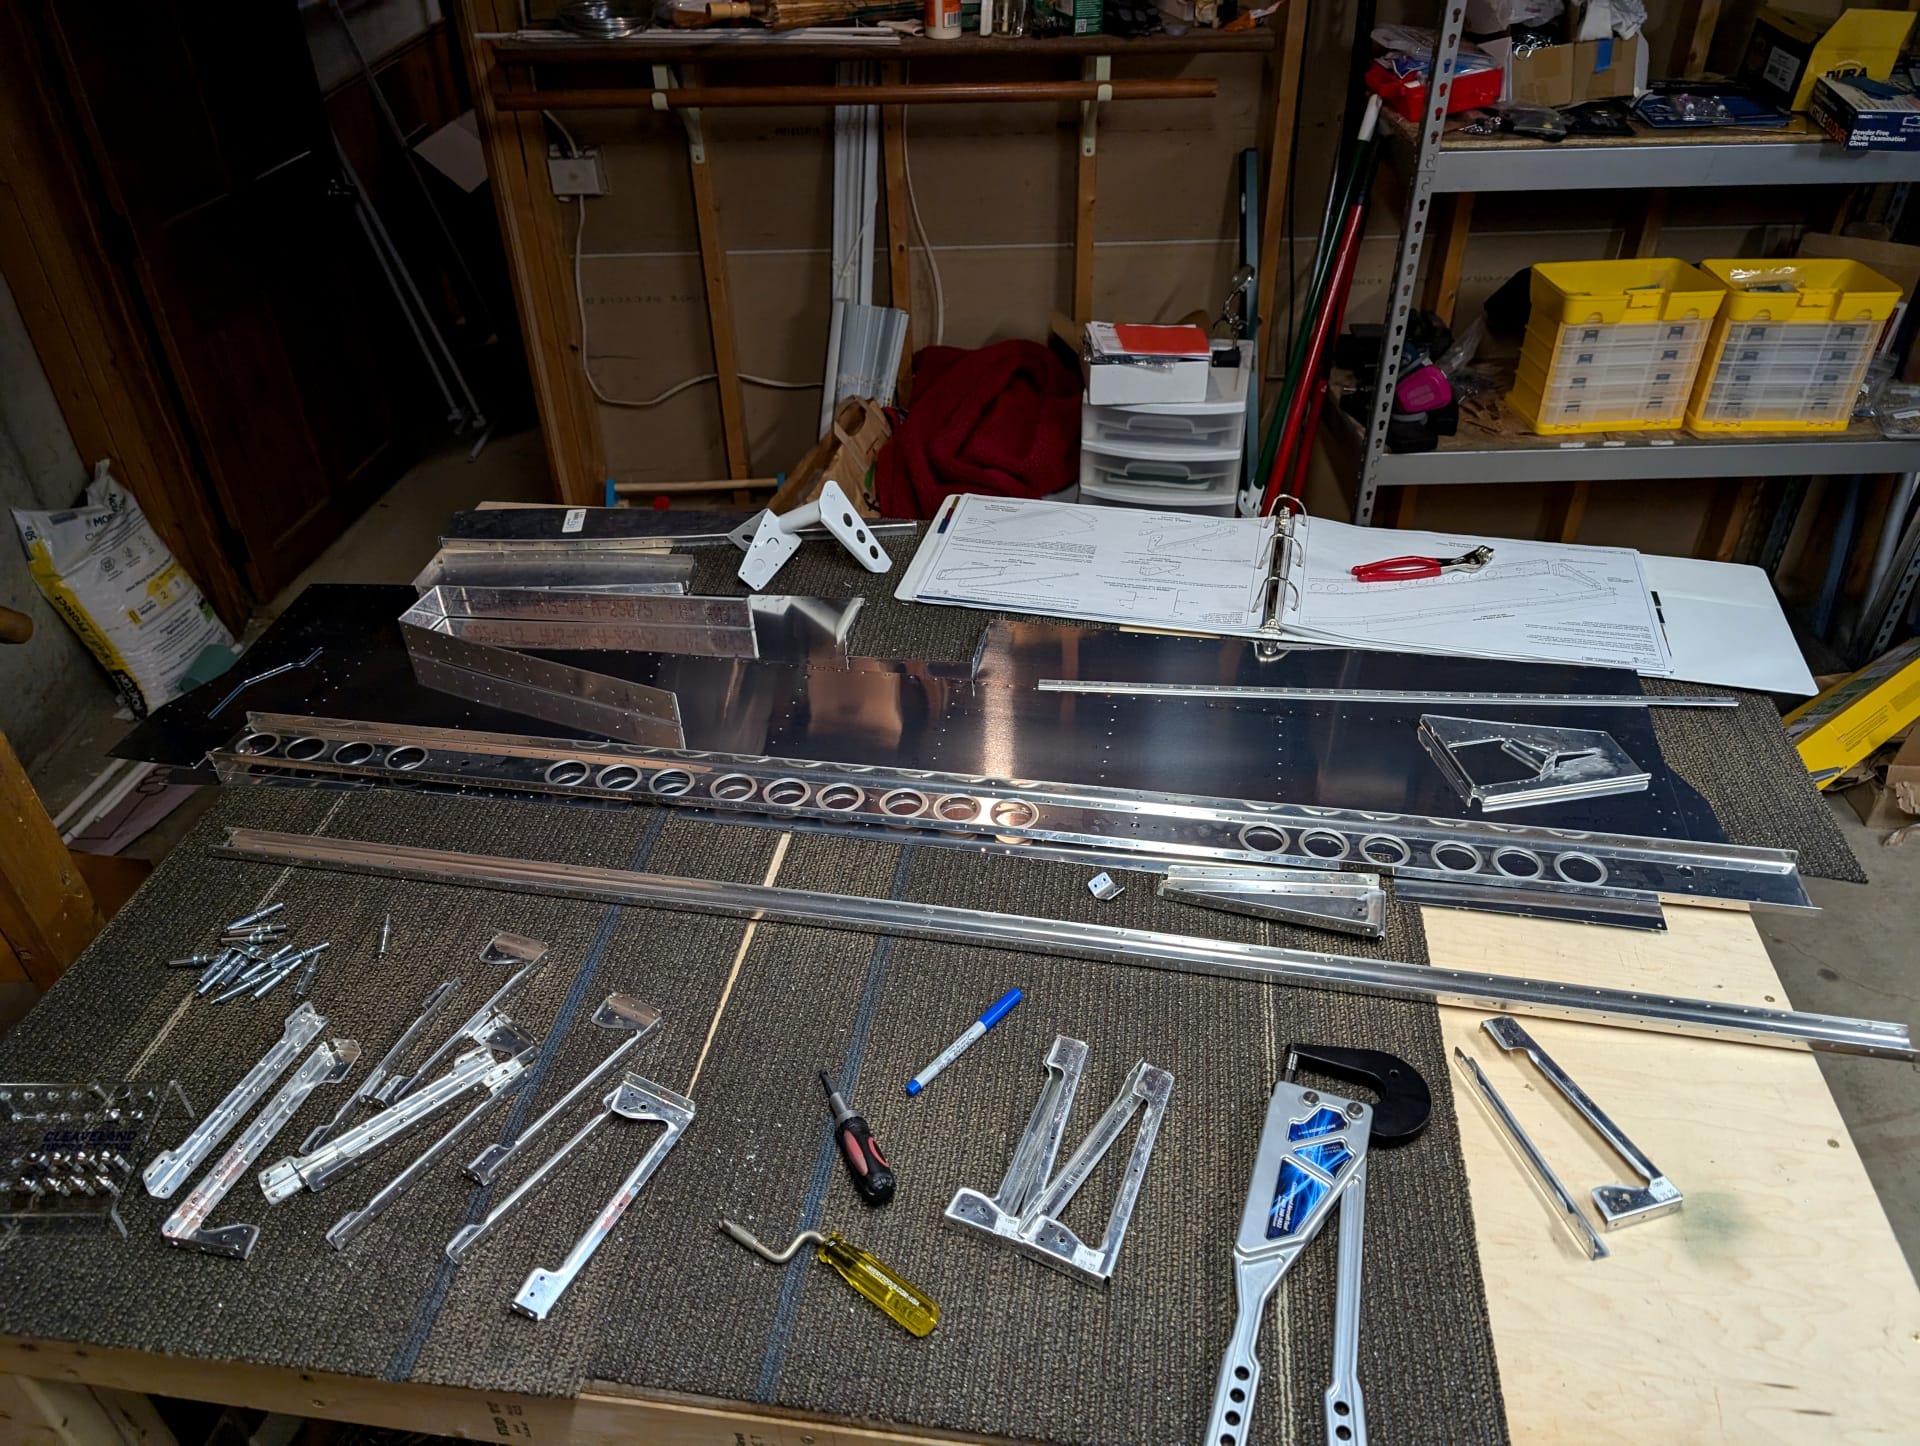
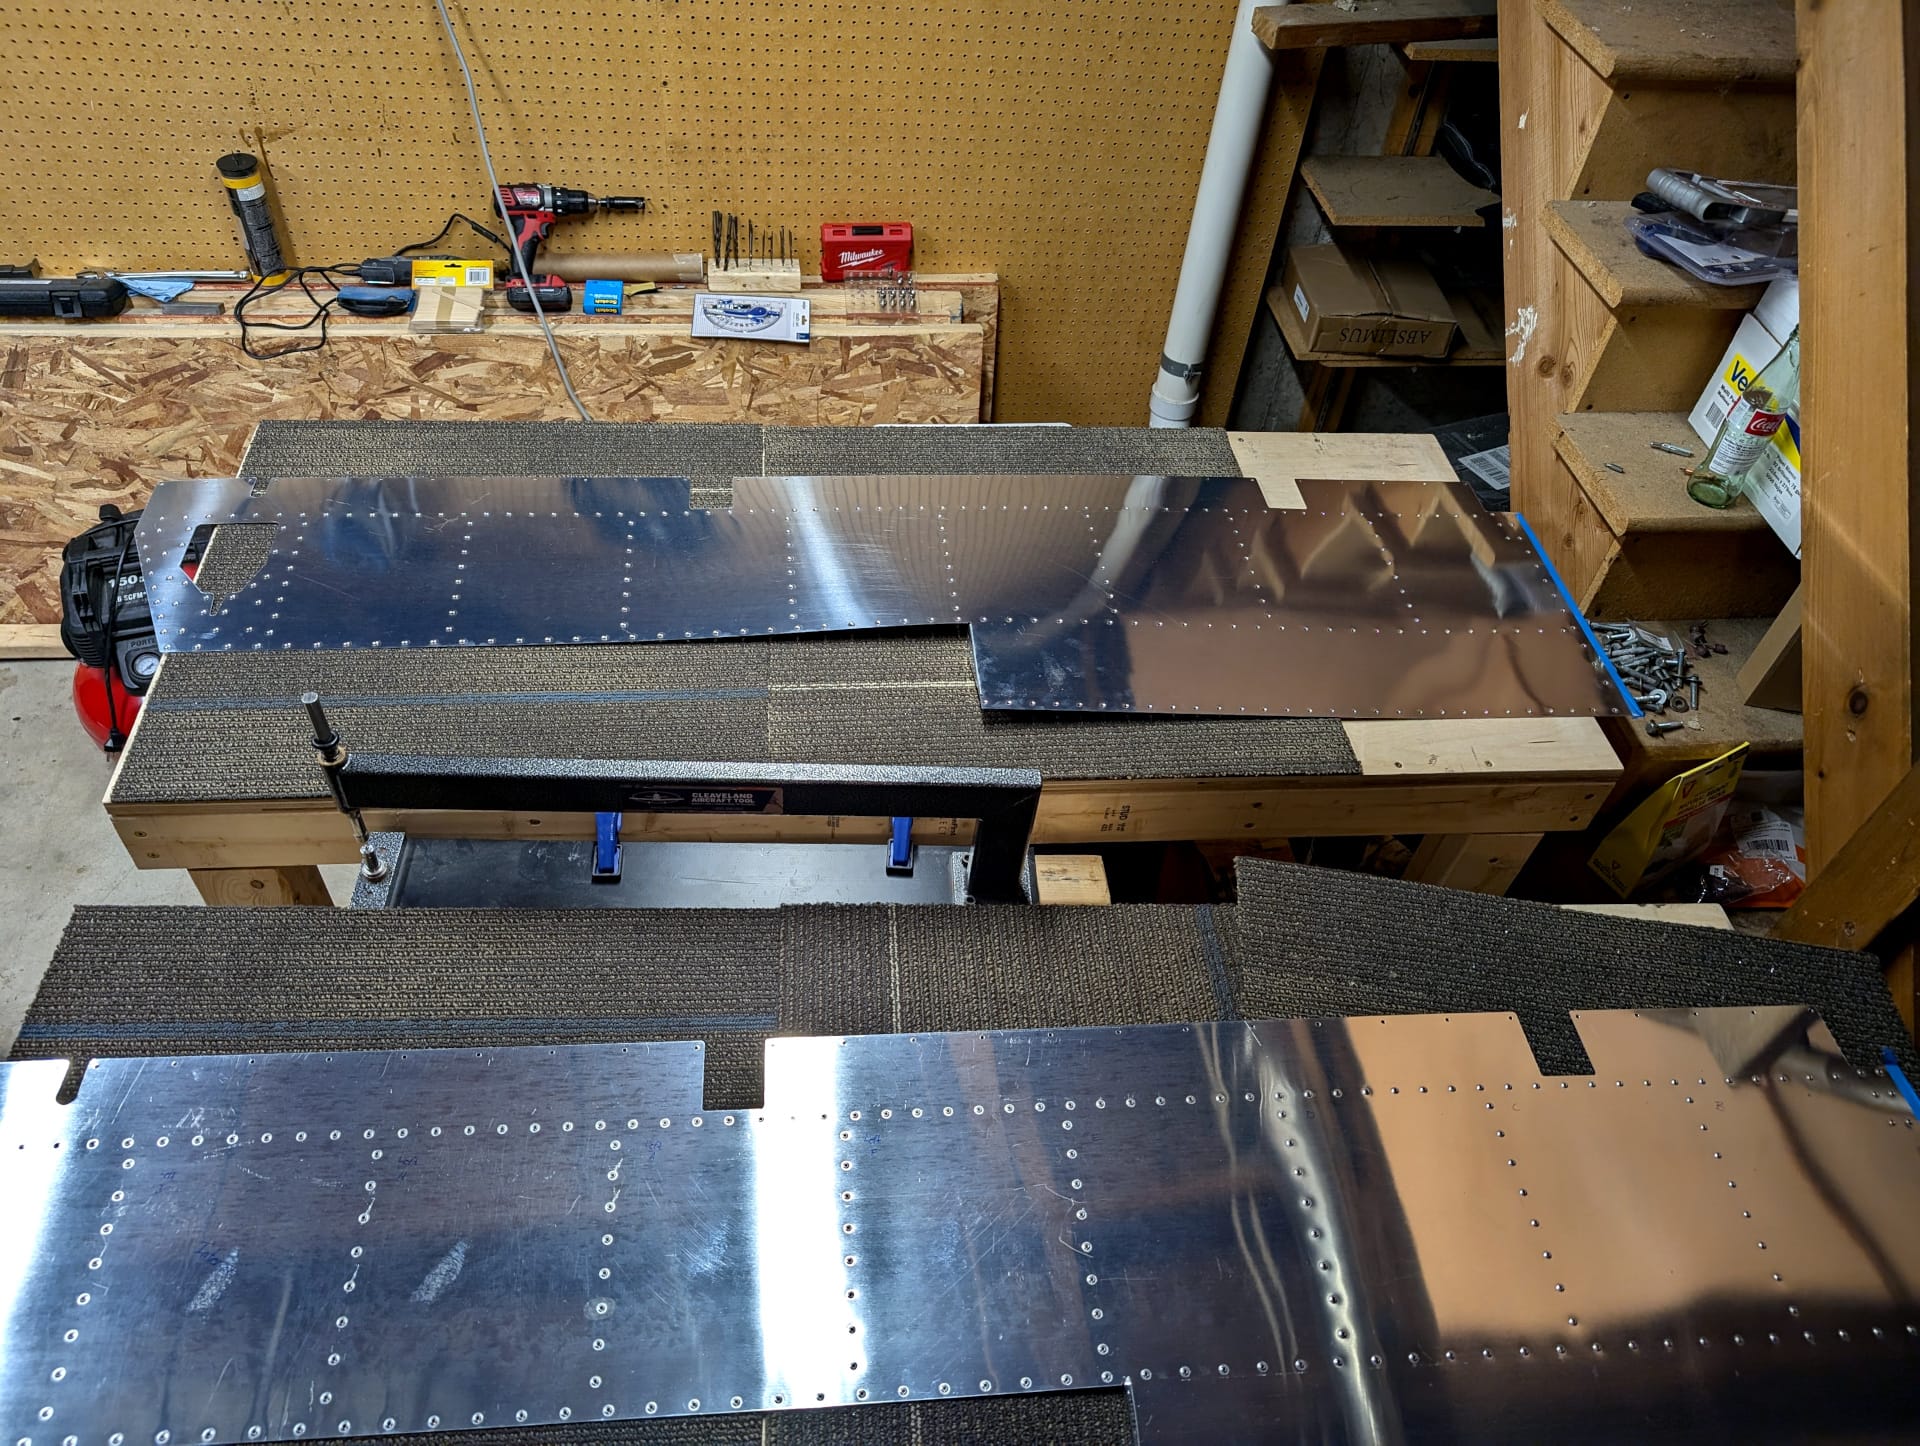
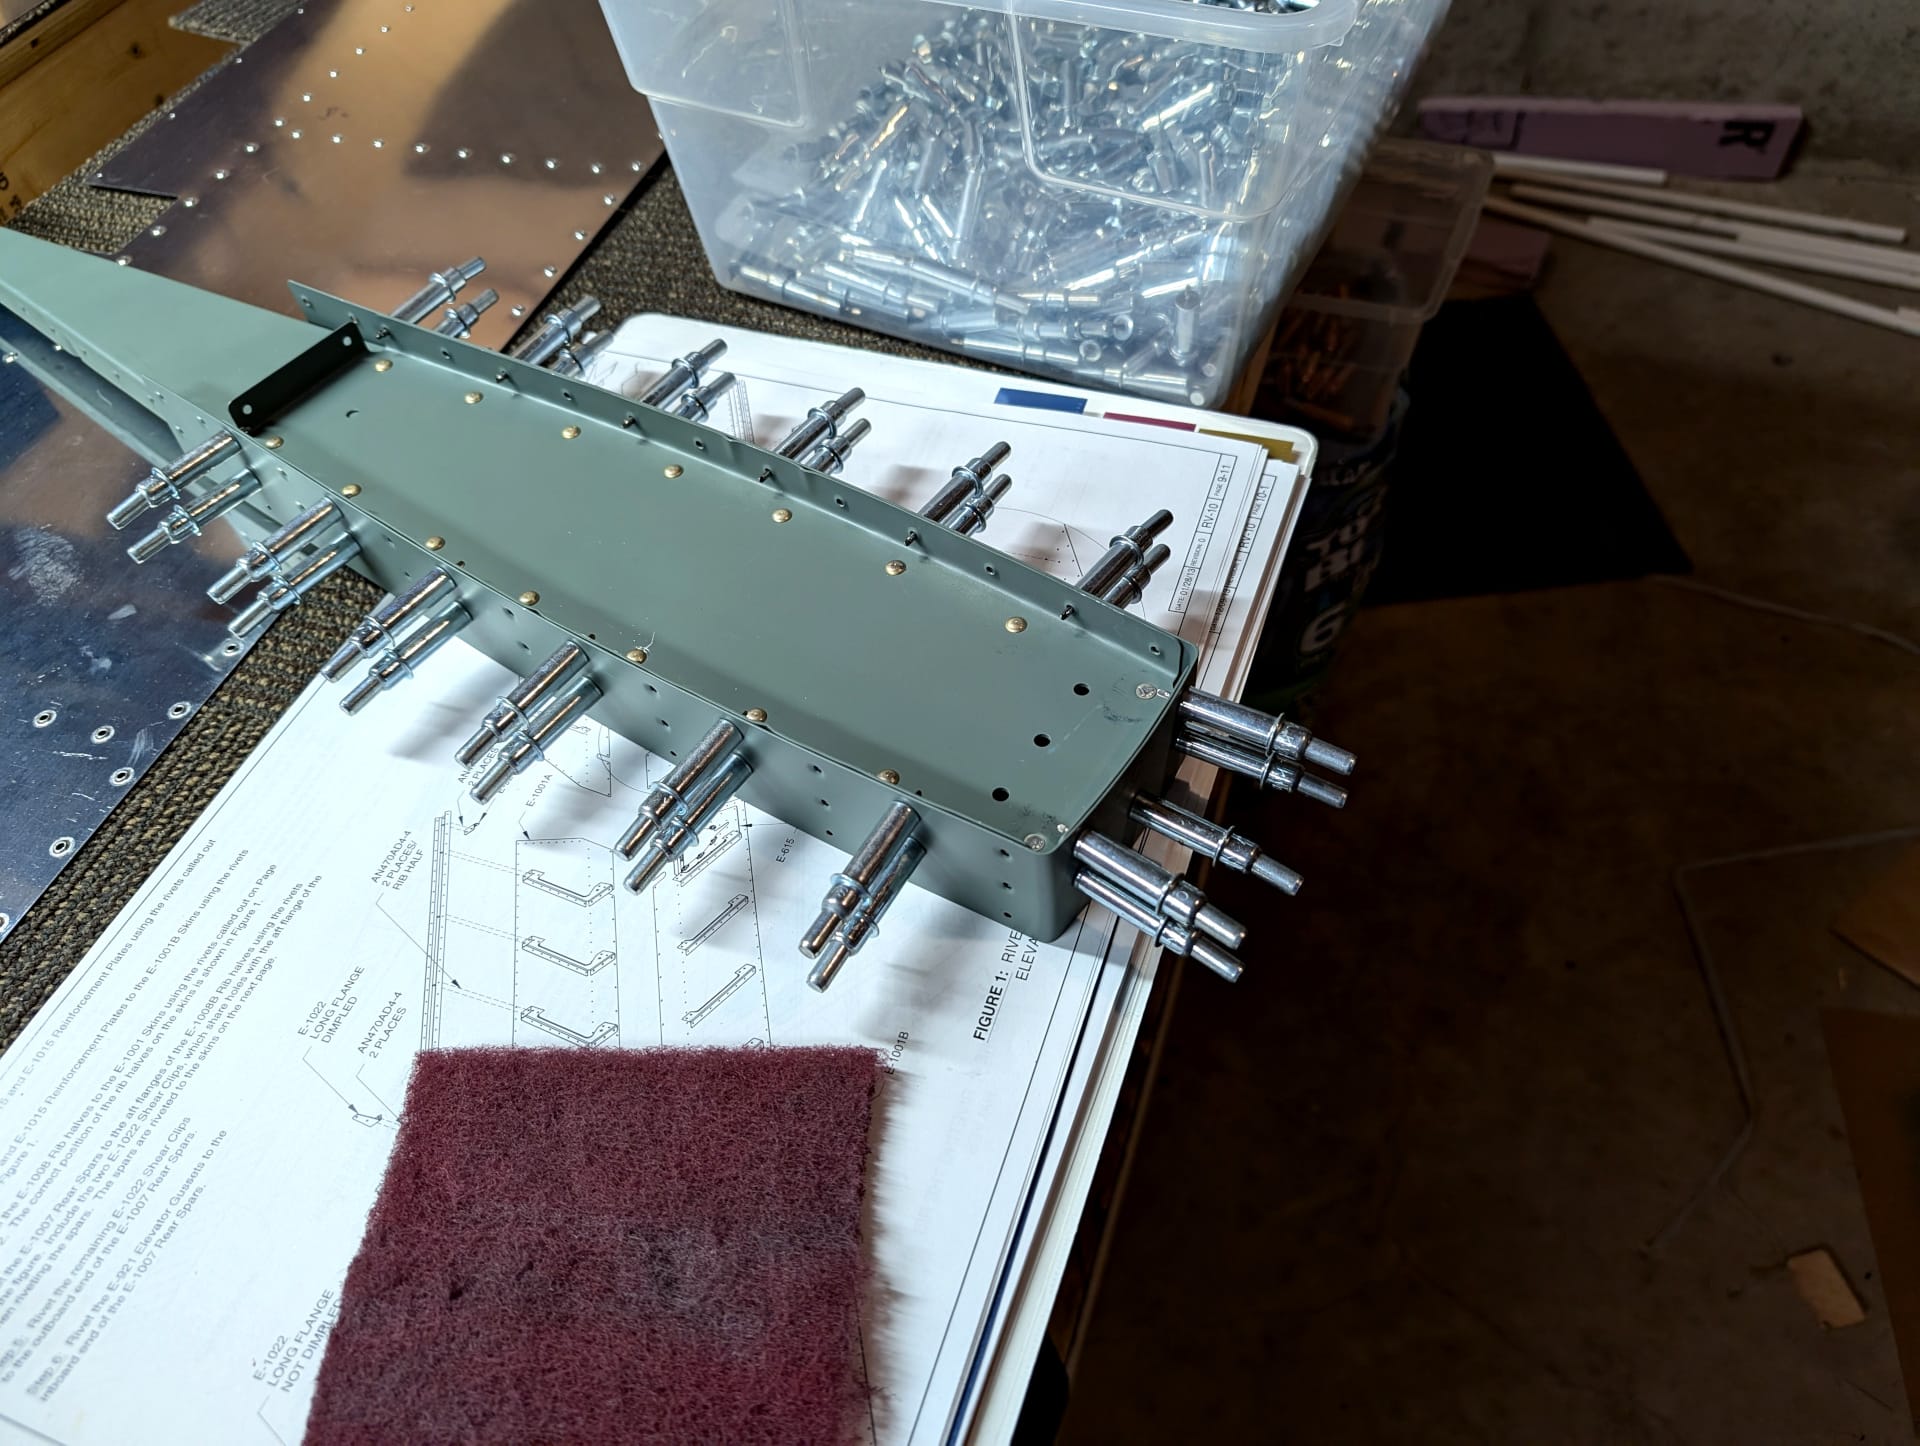
At this point the spars are dedicated left / right. I was very very careful to make sure I didn't drill them out identically like a goof and have to order a whole new spar. Now was a new exciting part though, where the skeleton could be assembled together with clecos to start and match drill everything to fit.

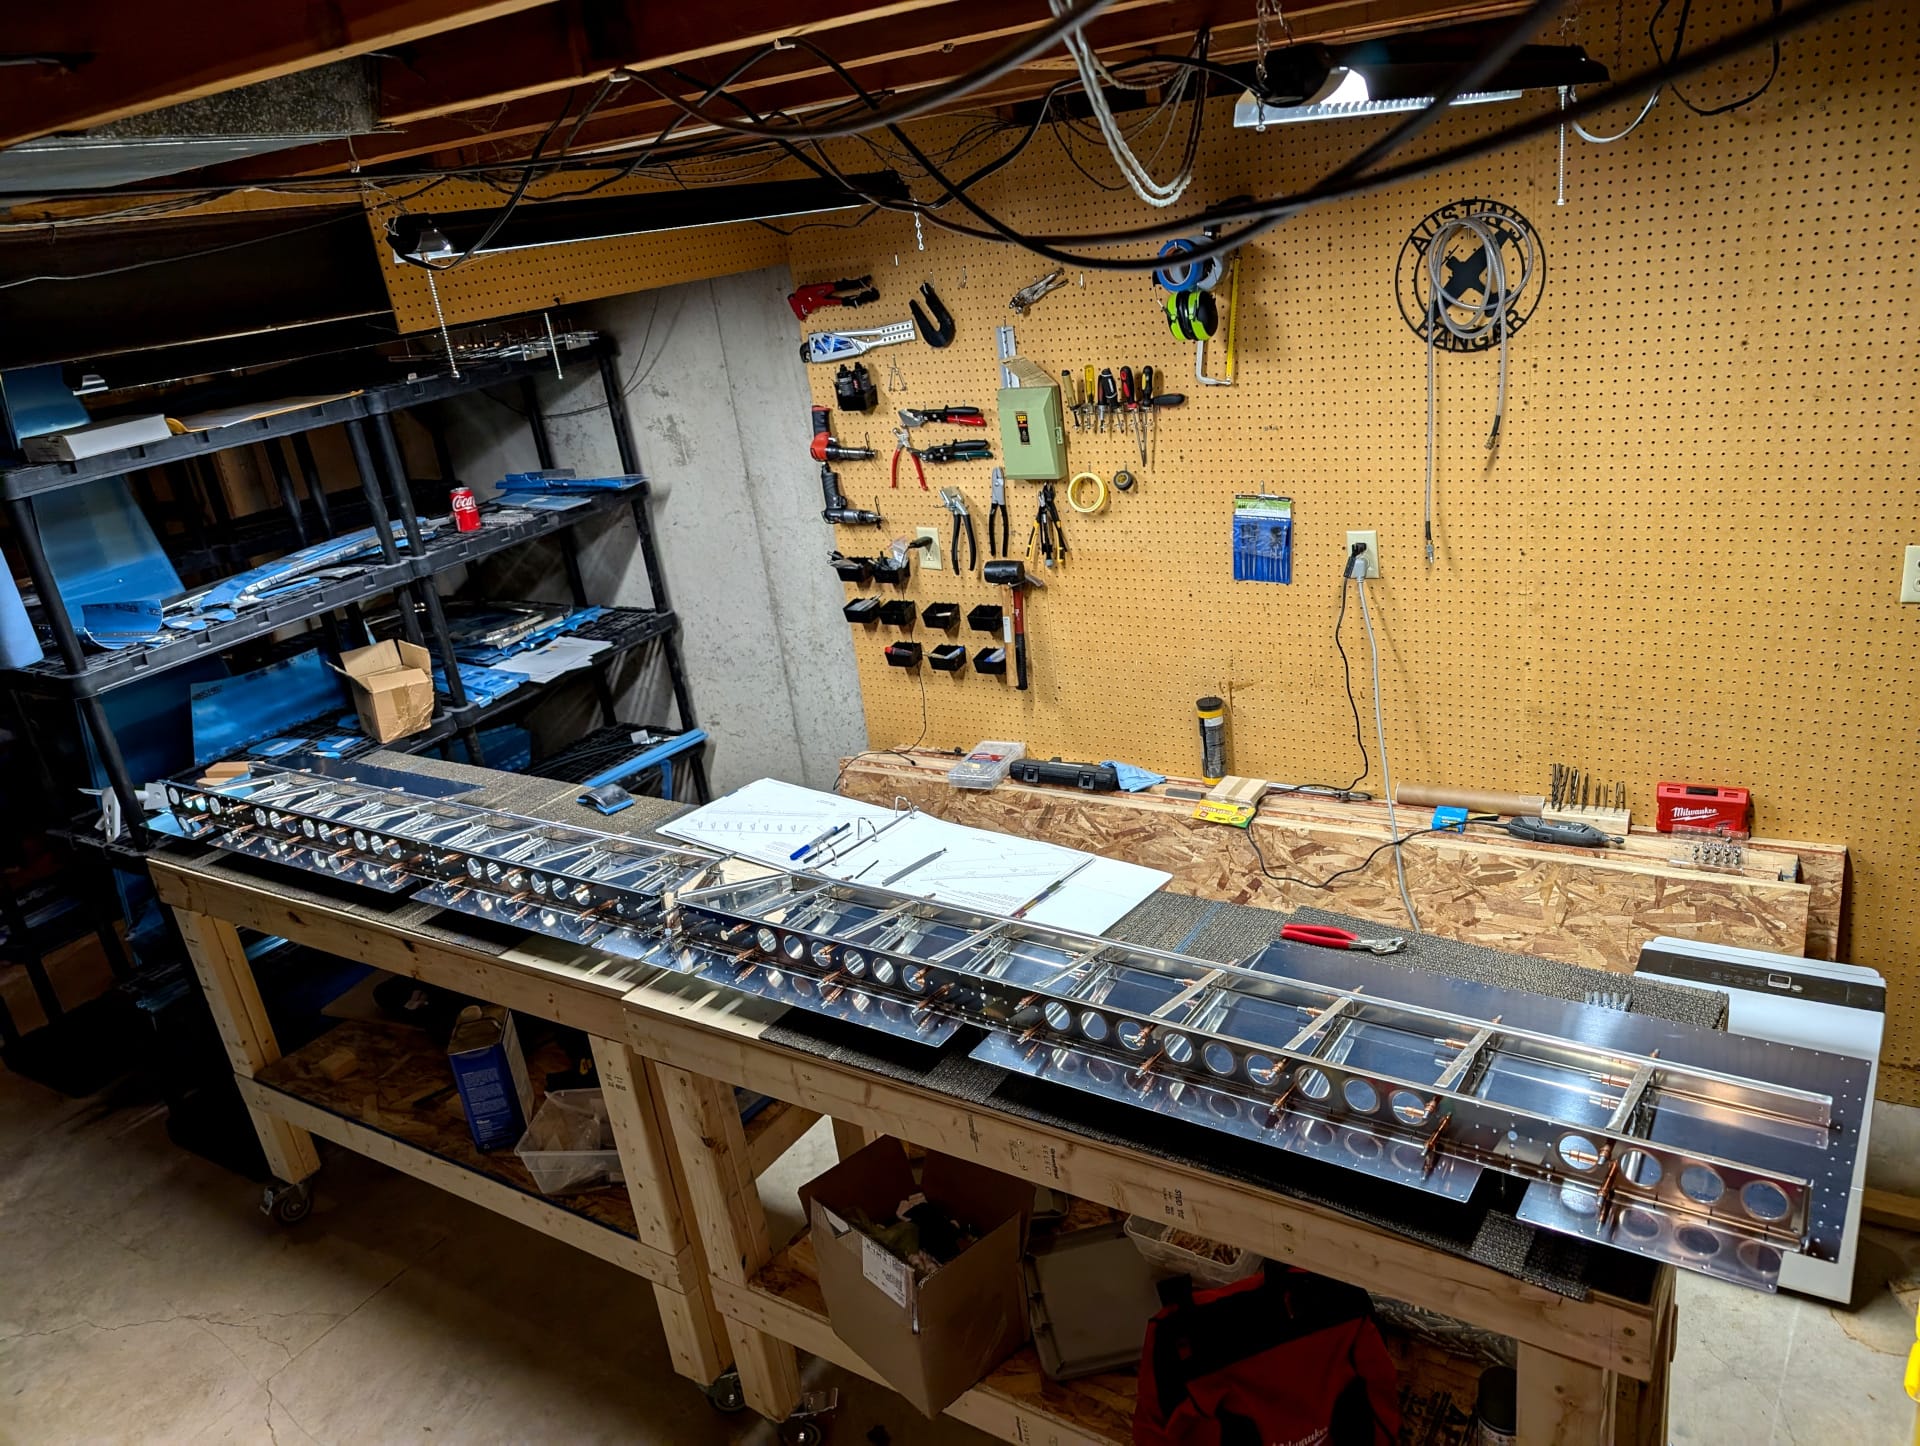
Everything I do here I have to do twice. It is a bit tedious but the instructions say to do it at the same time because it'll be faster and you'll make less mistakes. Coming up next are some trim inspection plate doublers that allow access to the trim wire in the elevator.
Now for my favorite part in this whole process. There is a small gusset that connects the inboard rib with the rear spar and it is the cutest little thing. Check this out.
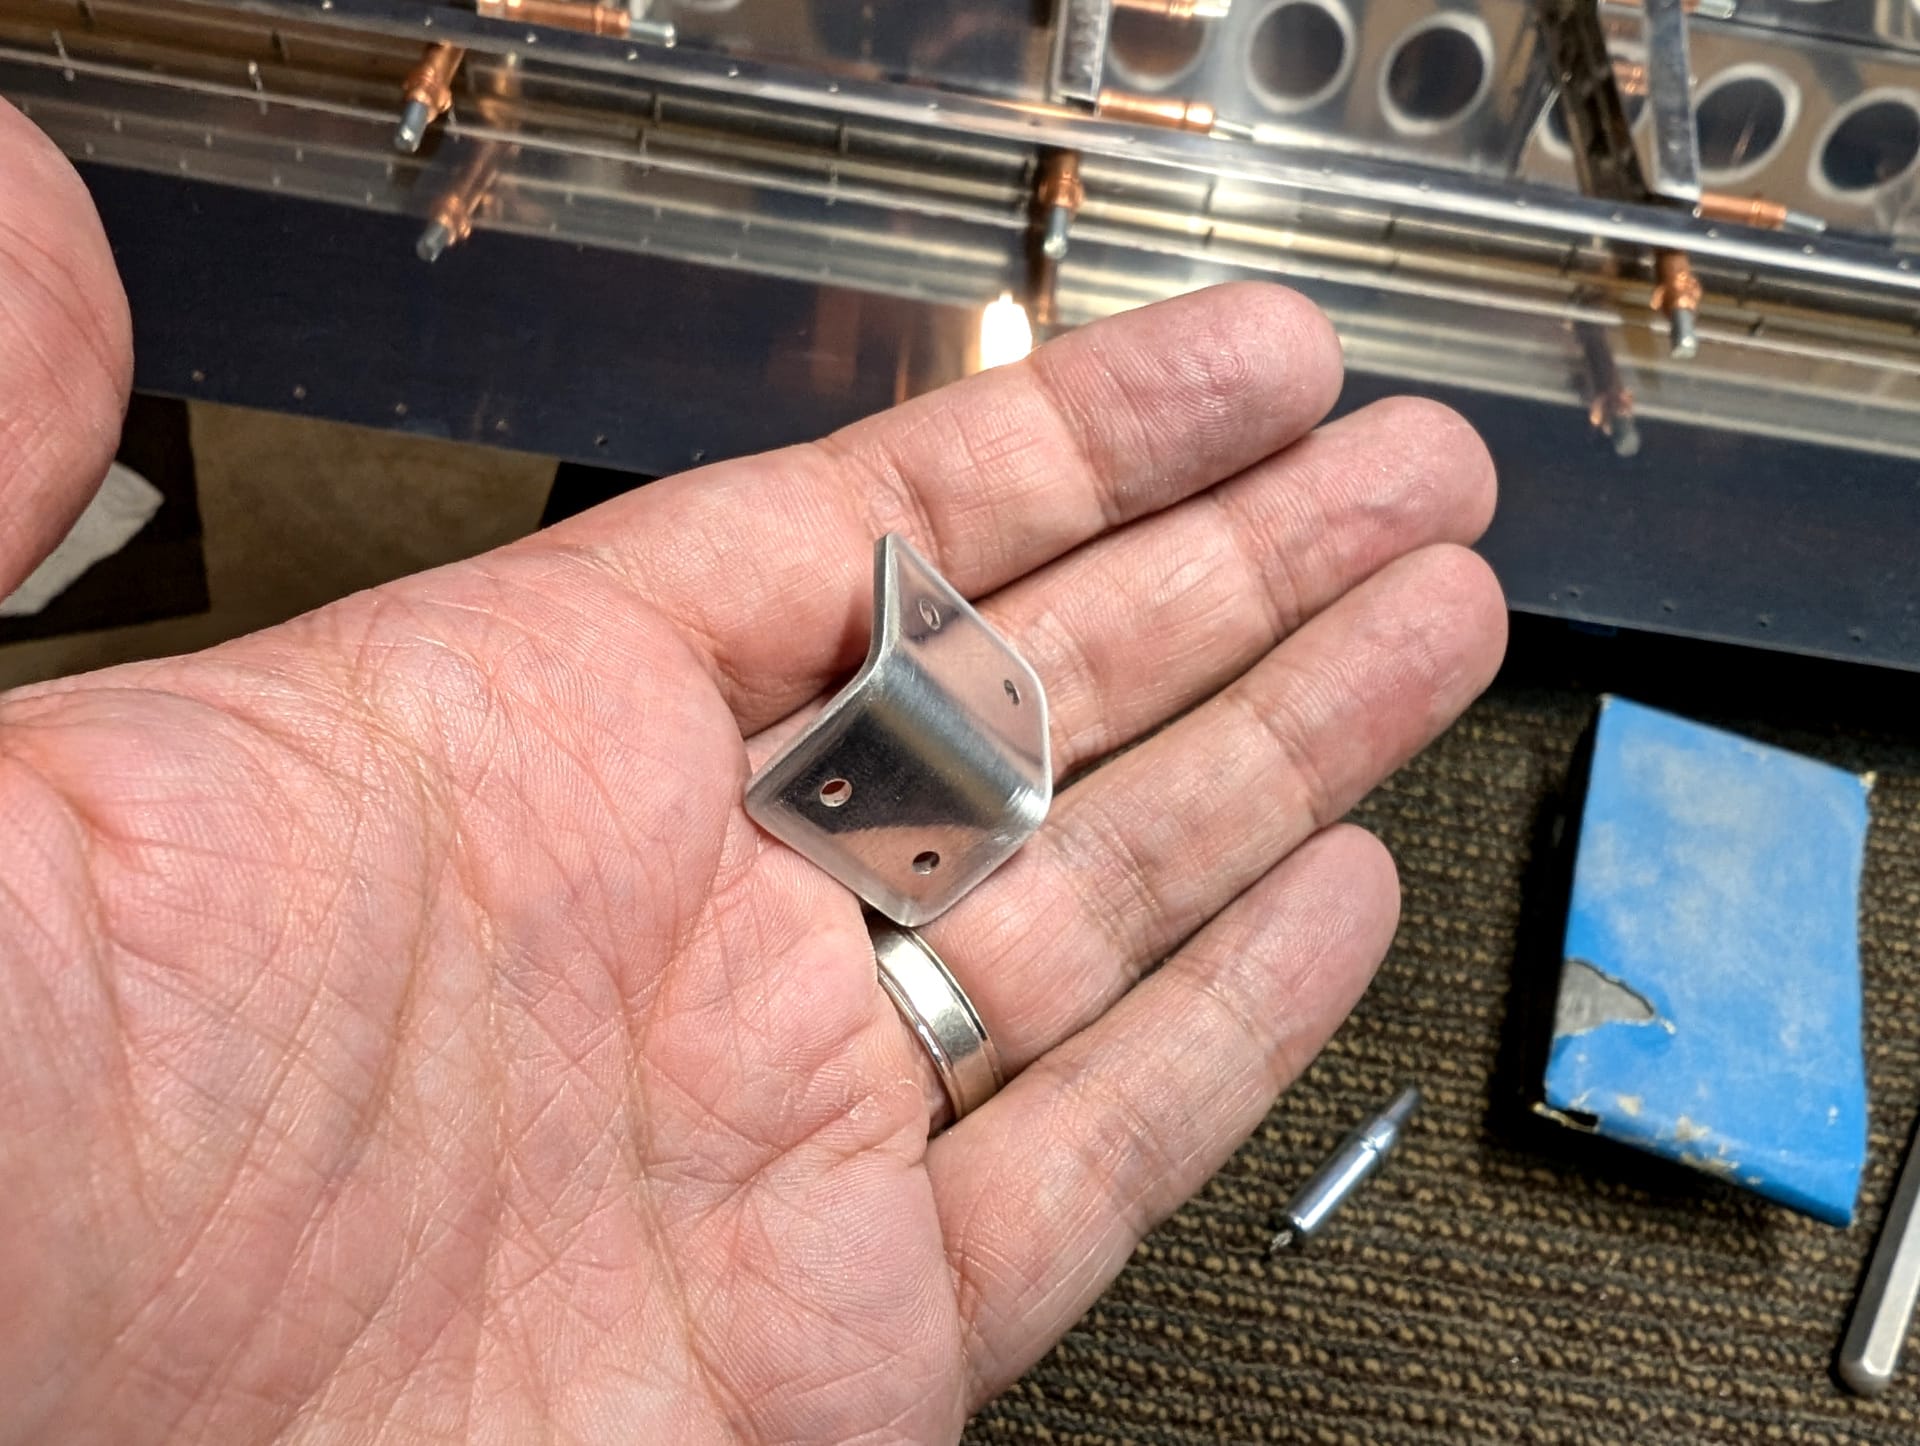
Couldn't you just die? I love this little thing and I have no reason to. It is just tickles my brain to have this tiny part that I have to dedicate the same level of care as any other part. It gets tucked in all cute.
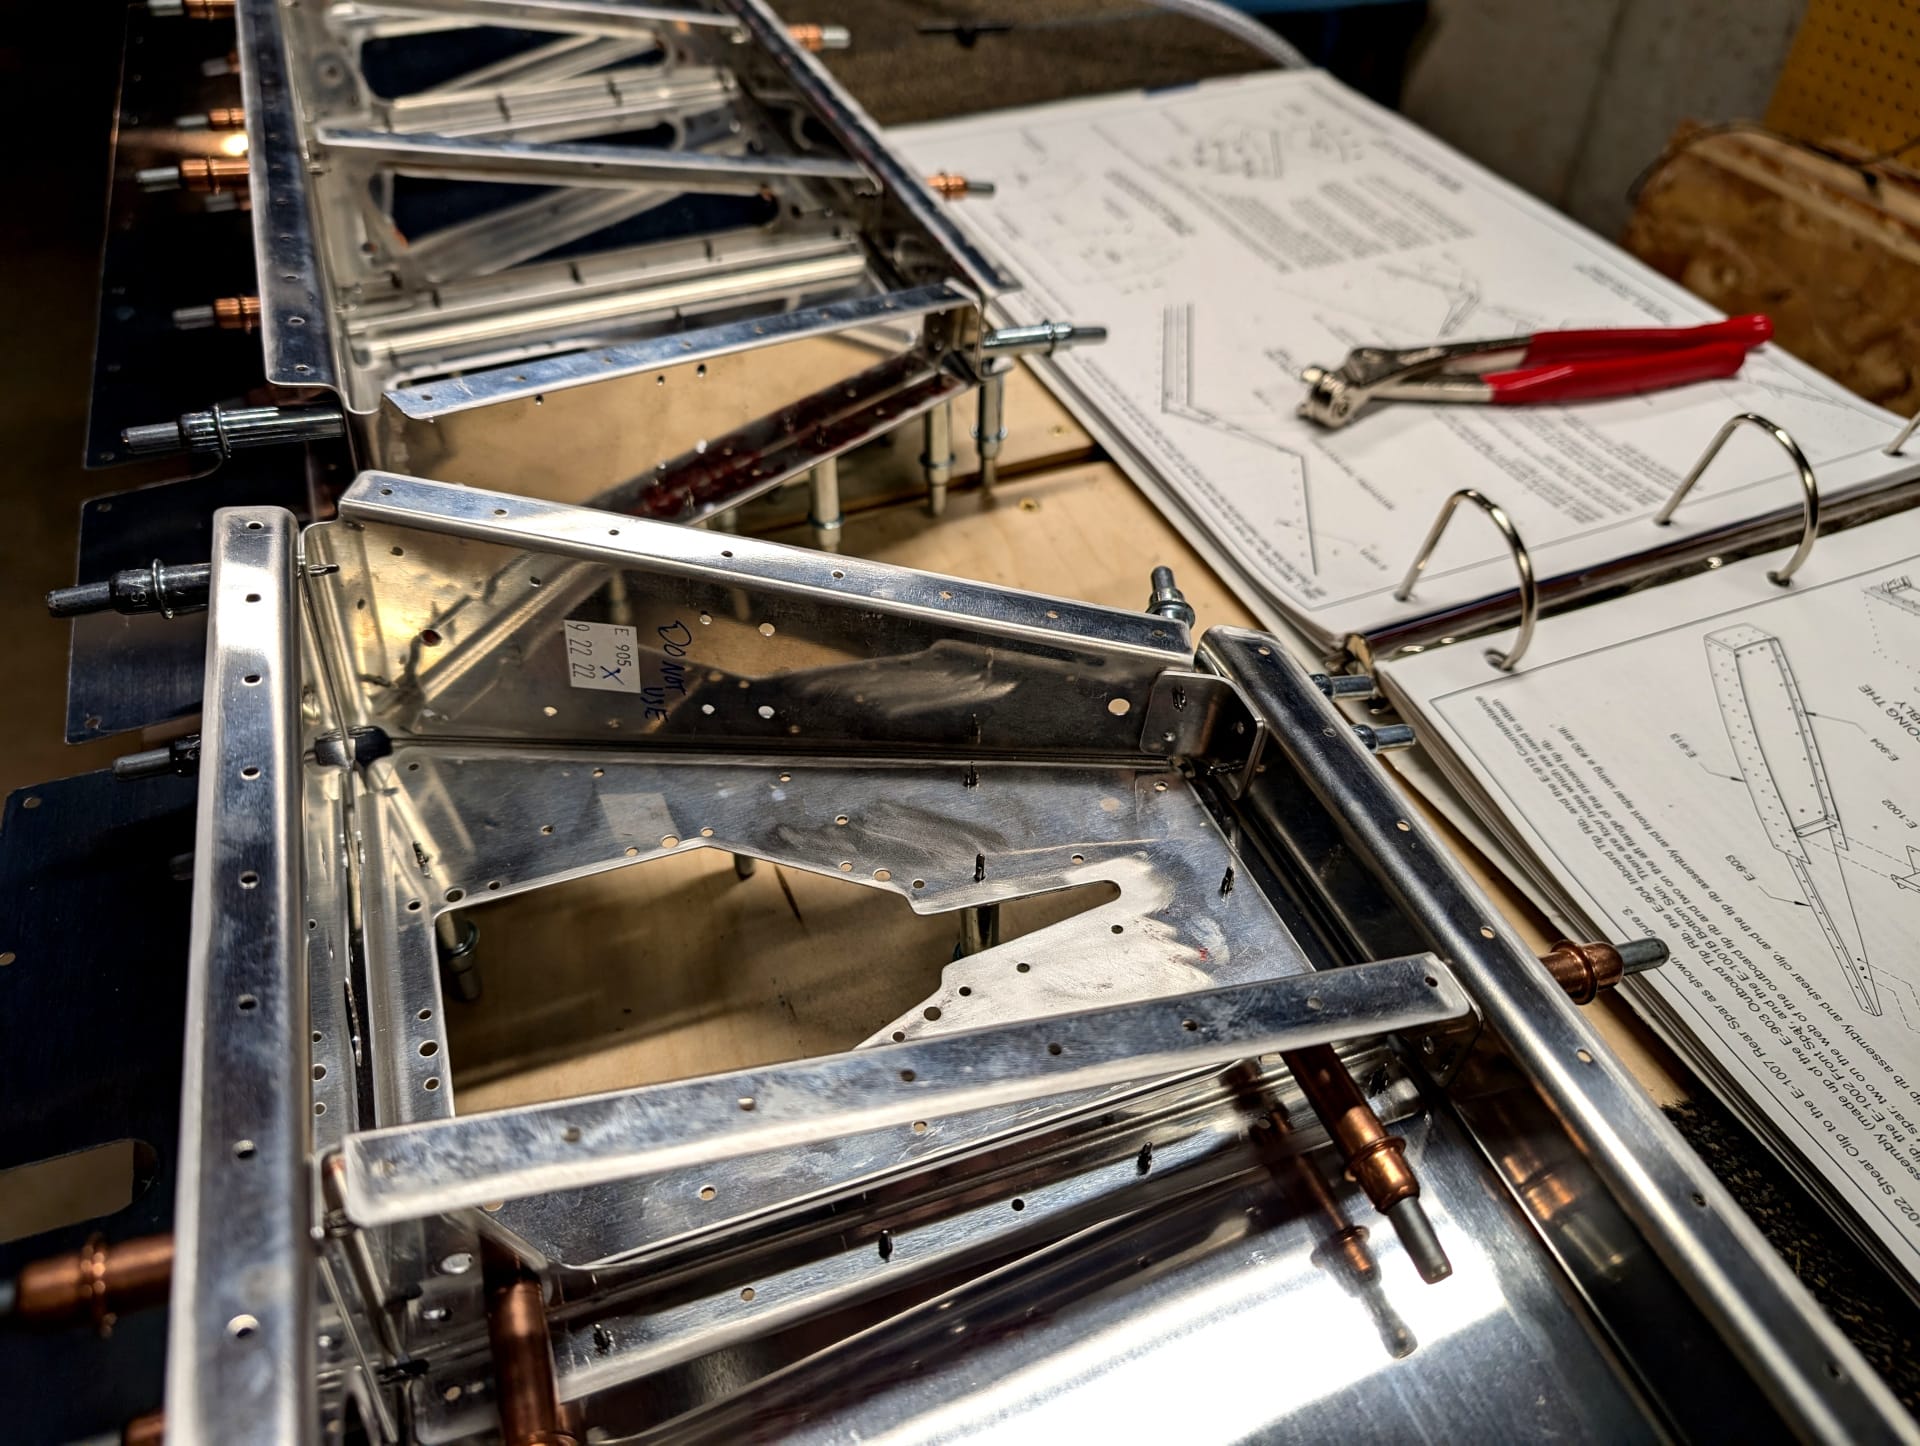
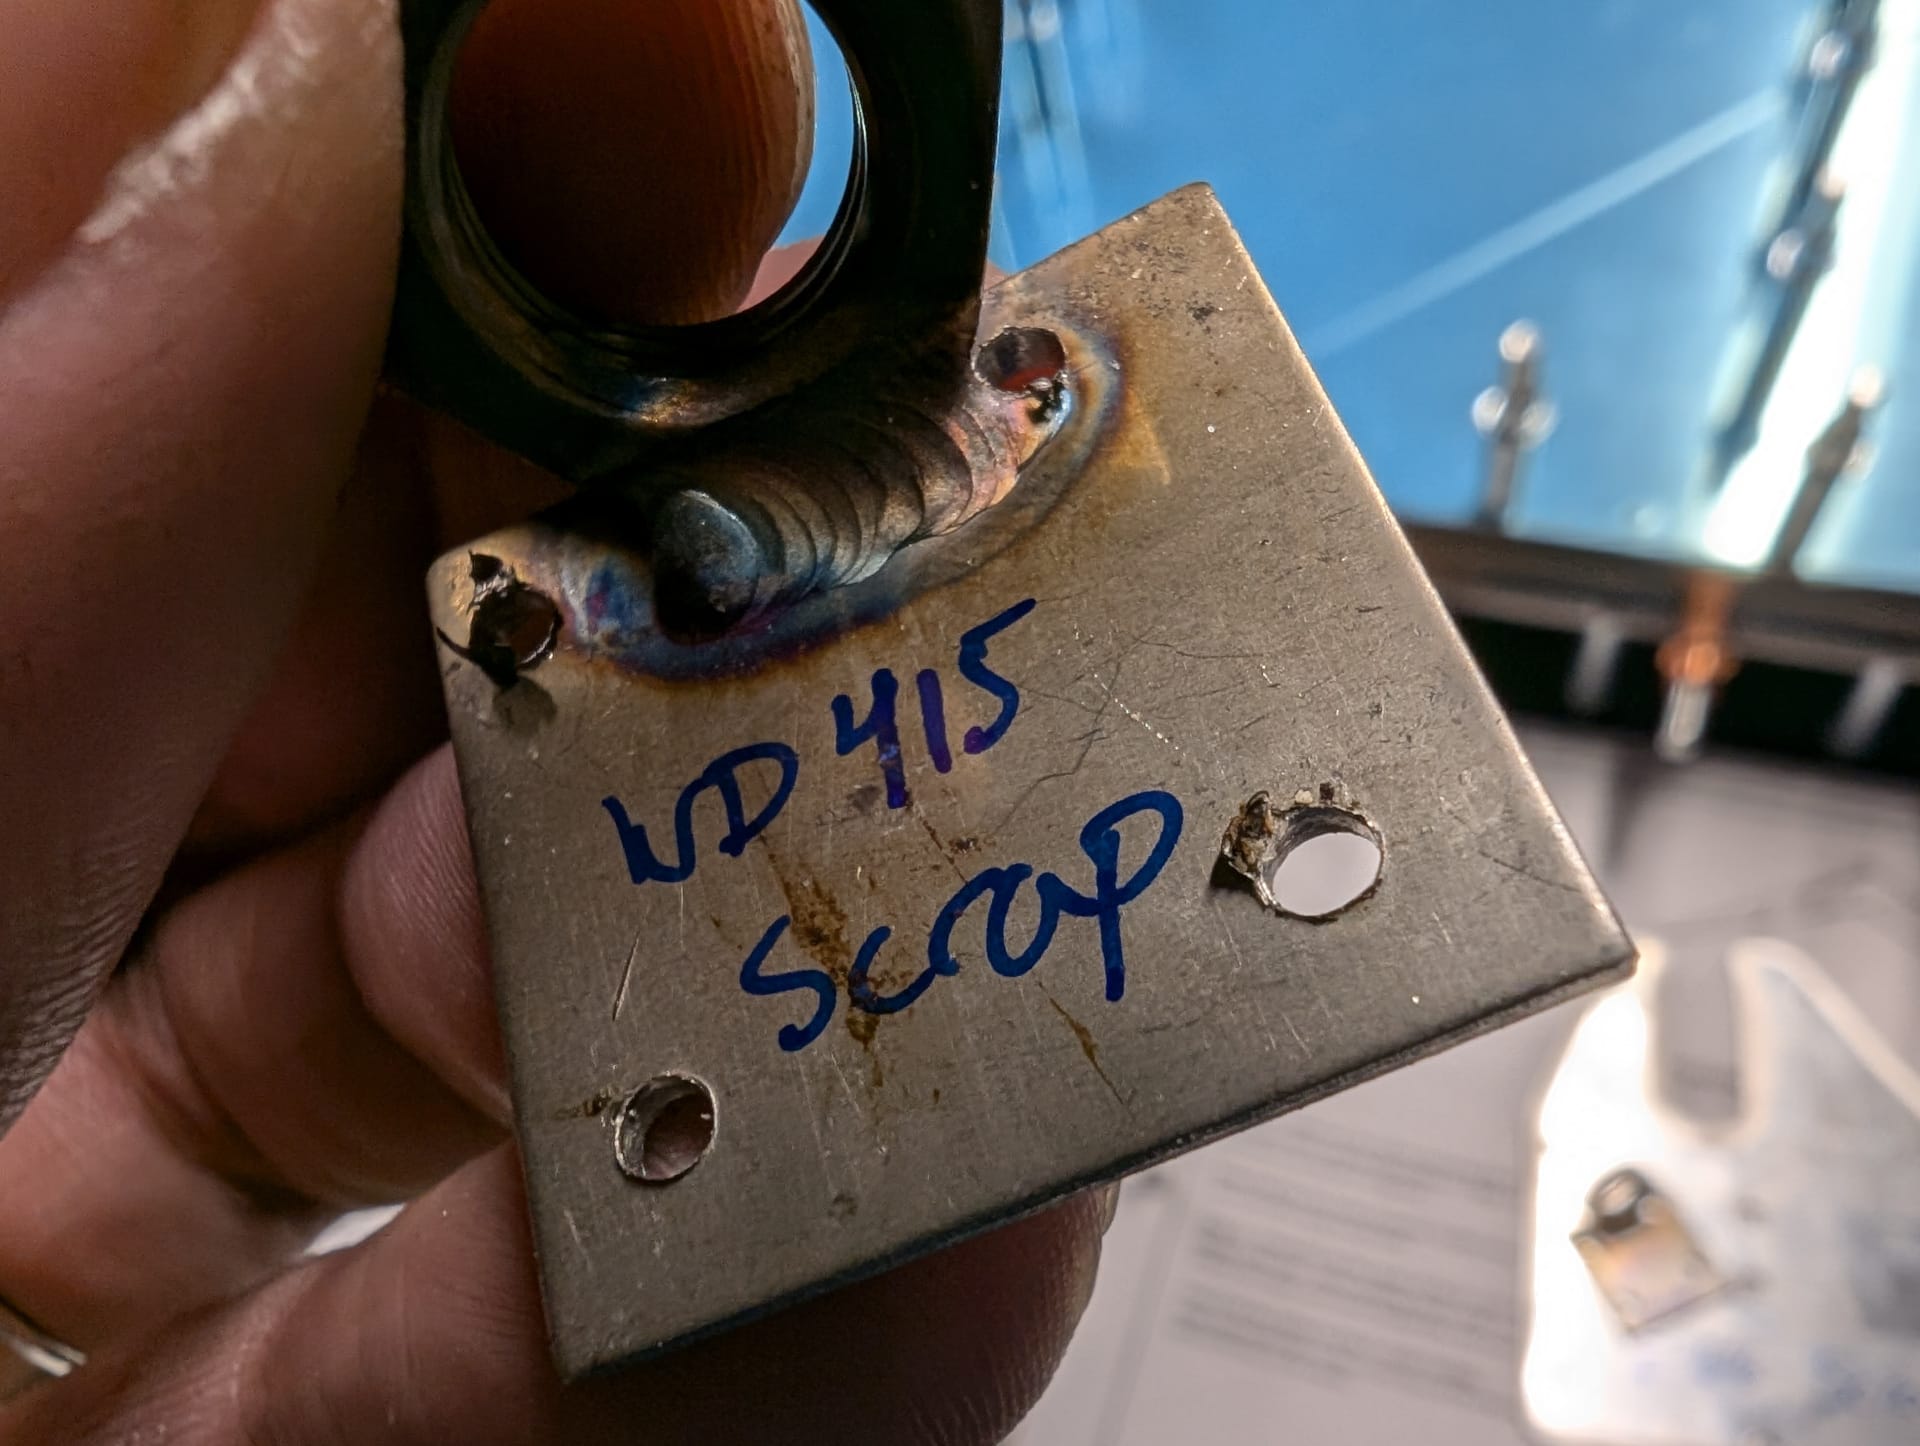
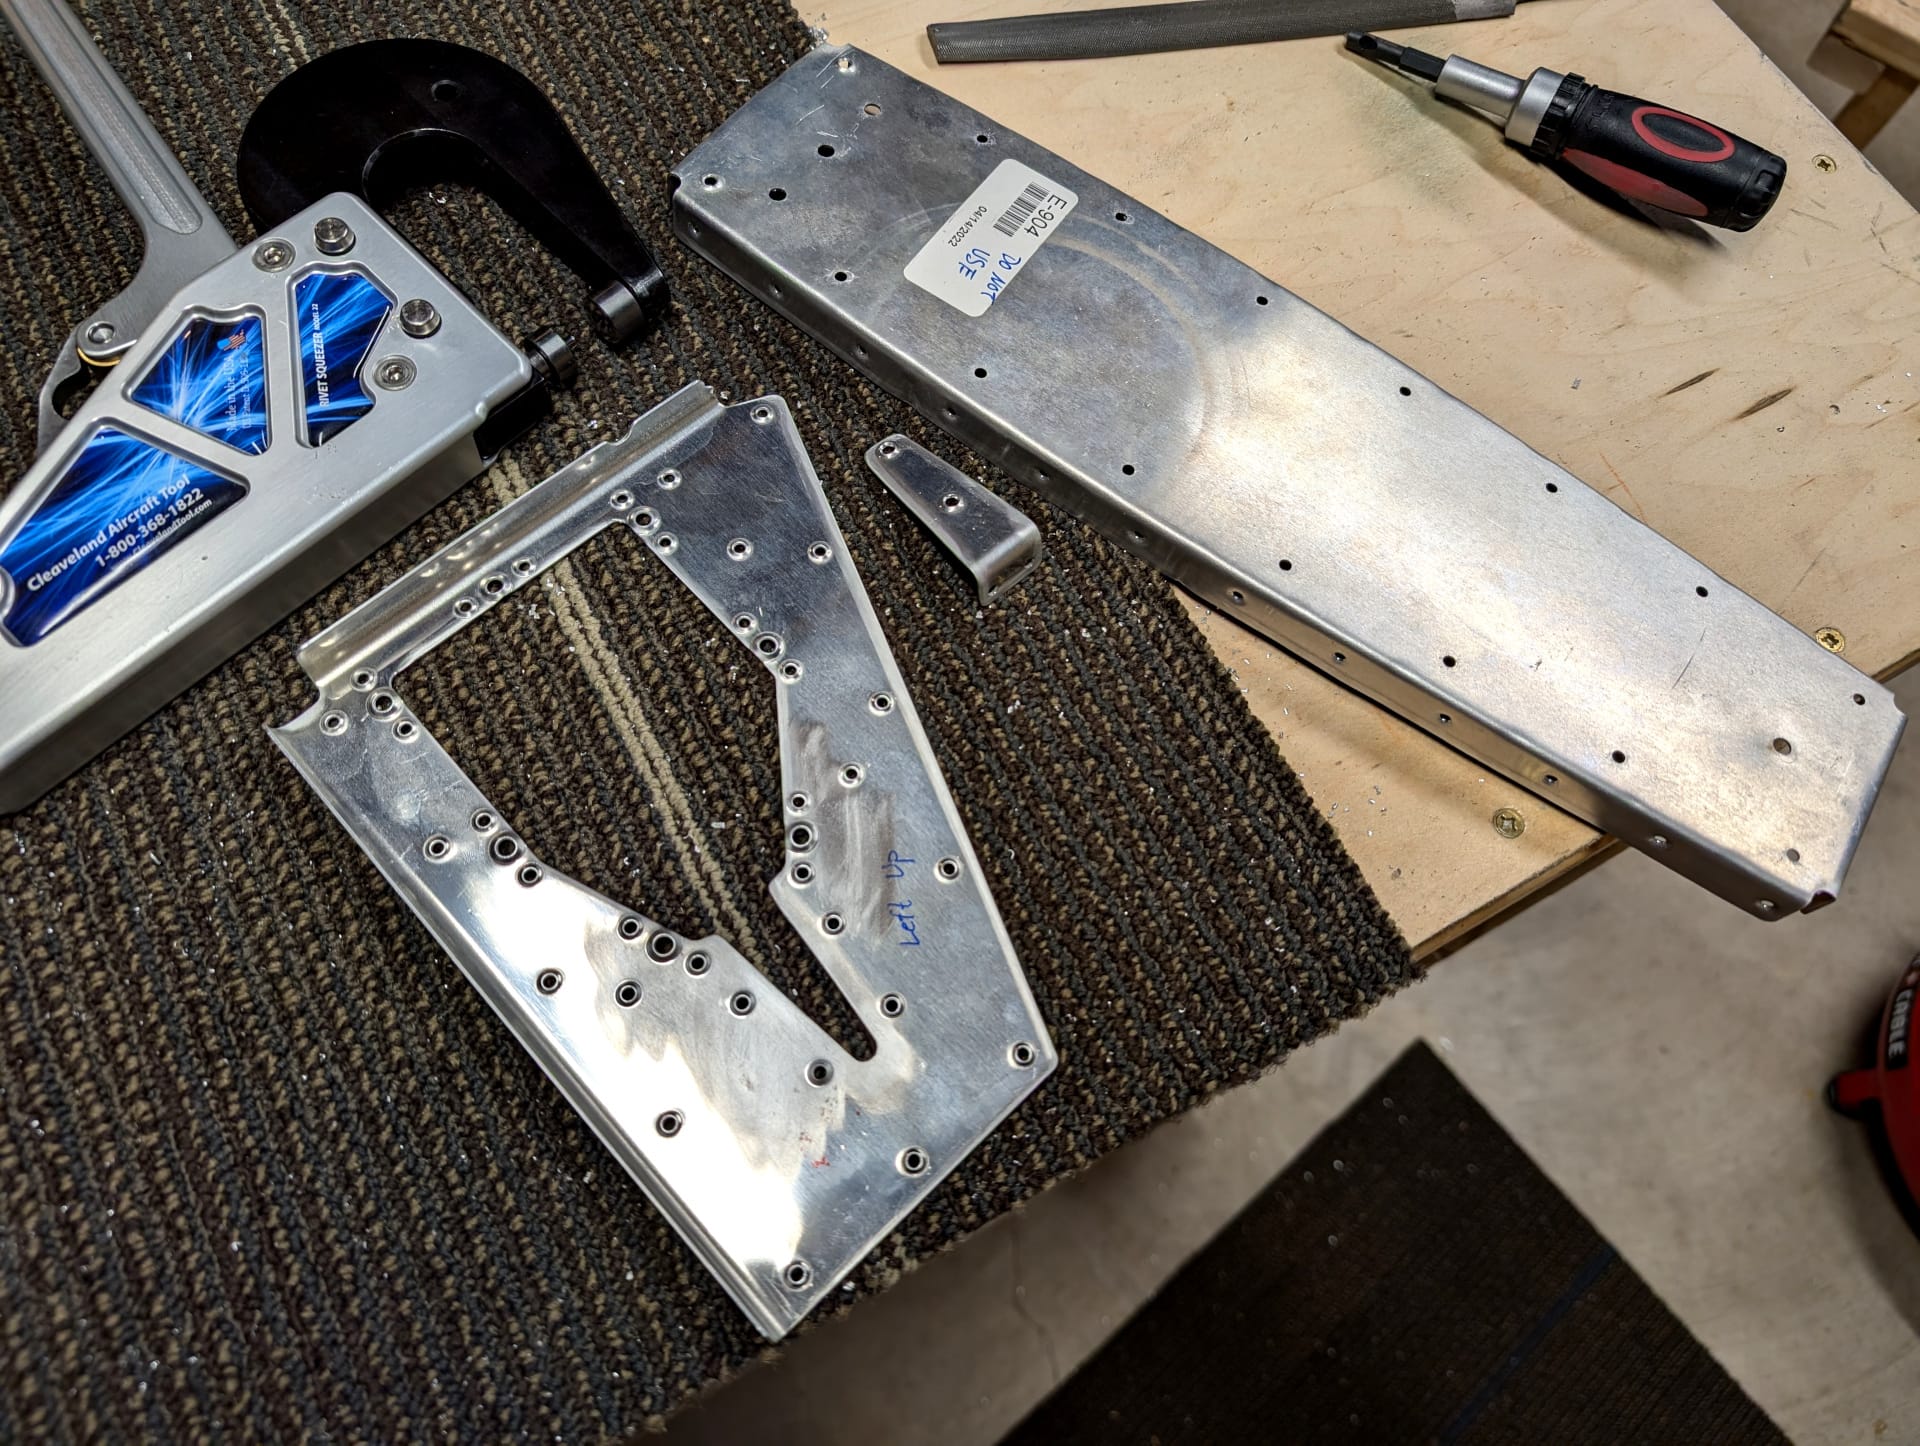
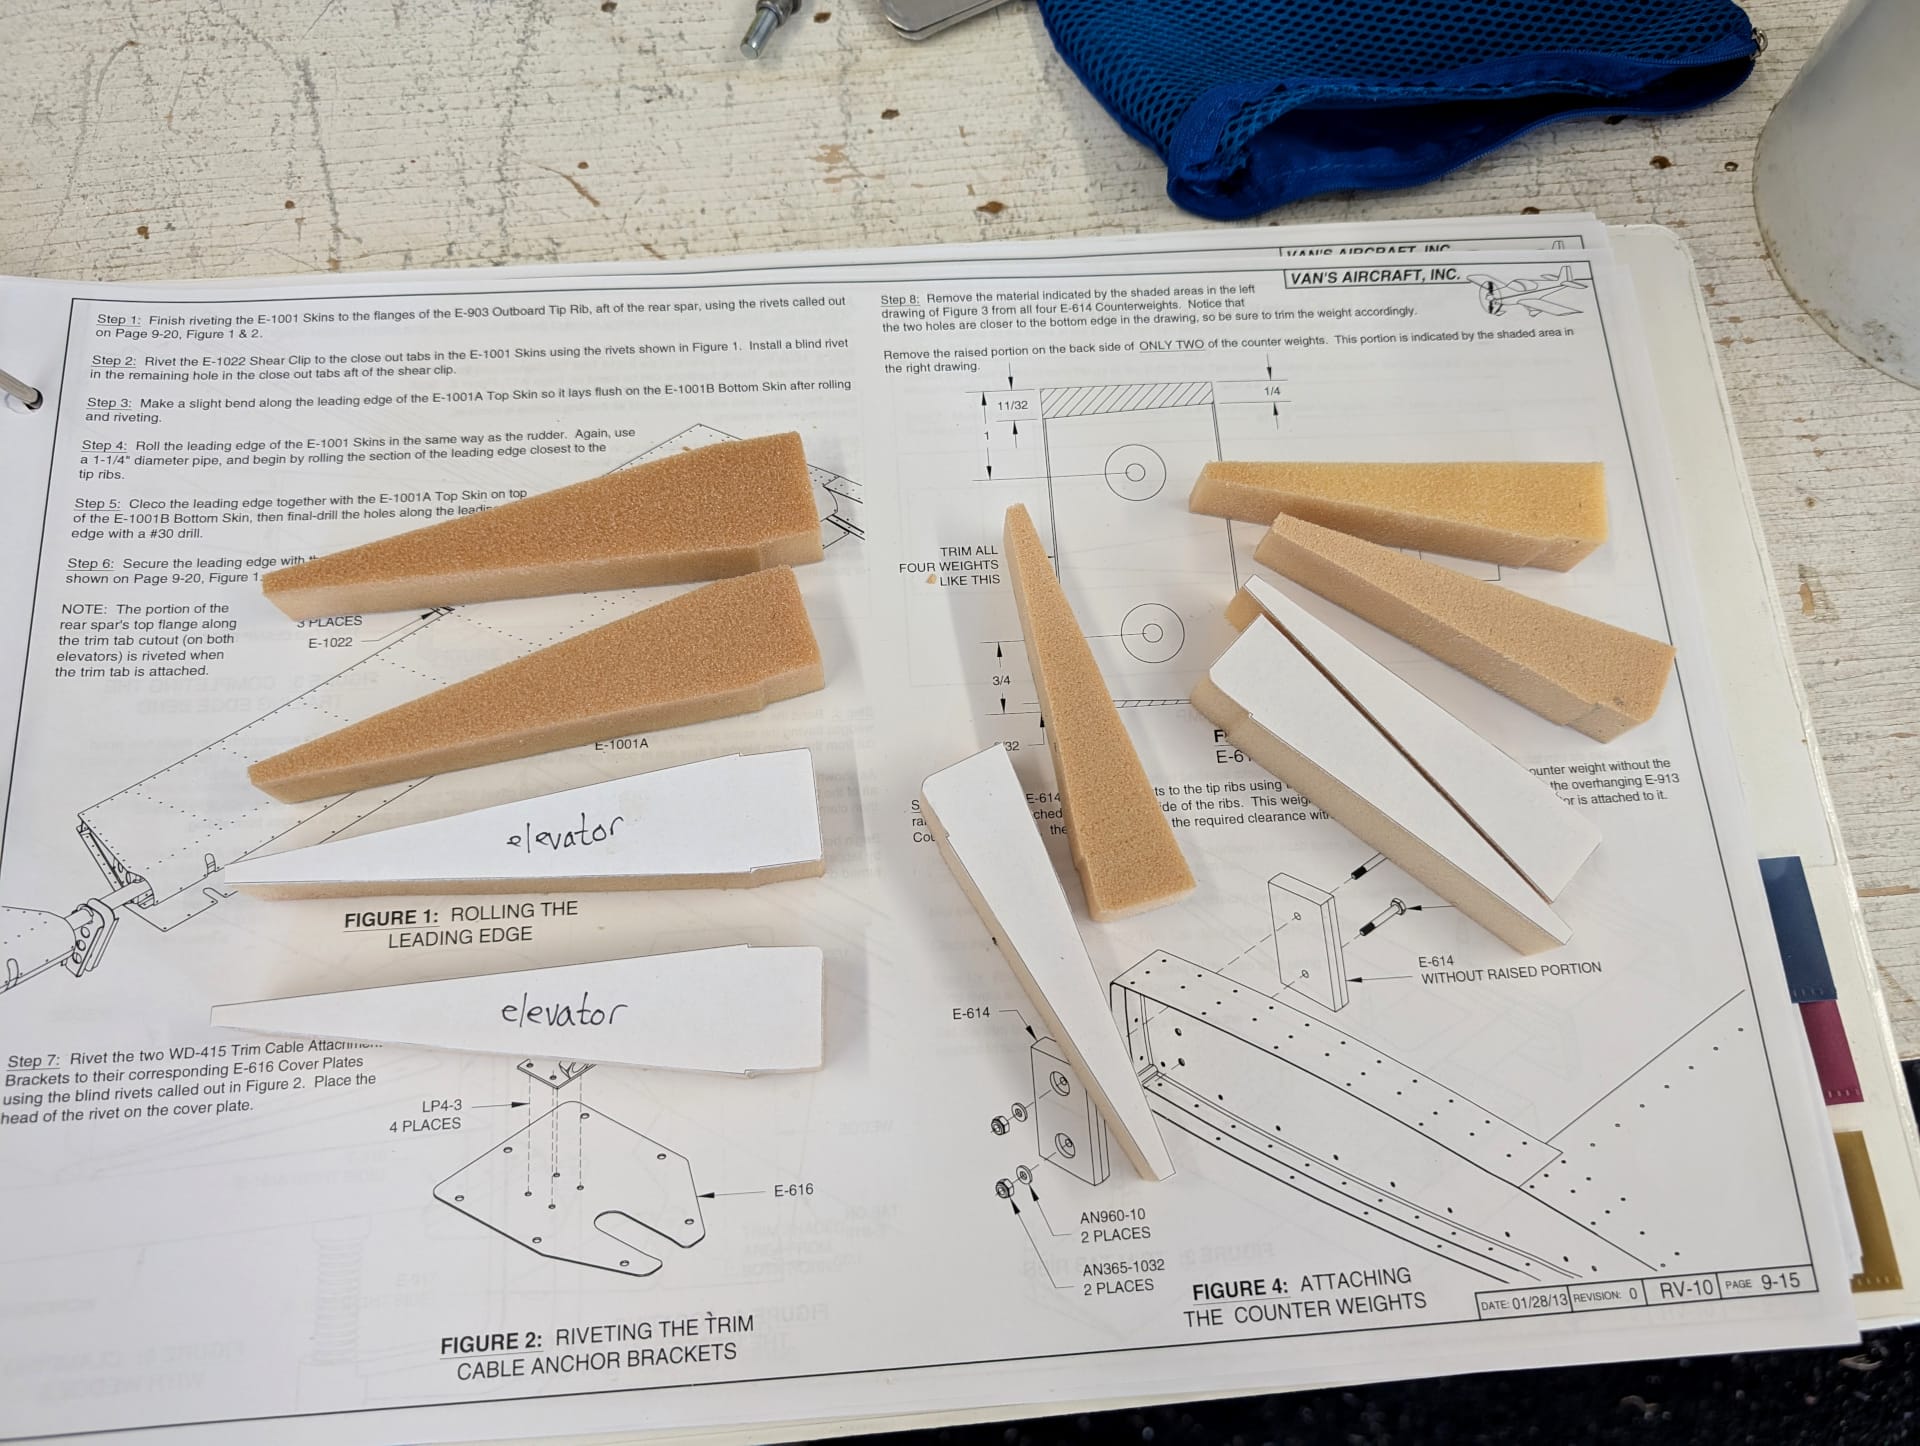
Disregard those "DO NOT USE" on the ribs. That was from when the whole LASER CUT PART fiasco that turned out to really not be that big of a deal once Van's put in a lot more testing. I'll clean off the words so that makes it okay to use (refer to SL-00091 REV 1). But seriously, there was an entire engineering study done and it is fine. Time to get the counter-balance on.
That thing is wild looking without context, and I won't provide any. Just LOOK at it. Next steps are the trailing edge wedge and to put the skins on.

You'd think after I did the horizontal stabilizer and ordered more silver clecos that I'd be good to go for this and not run out. I got very close to running out of silver clecos again though. At this point I assume there is actual no amount of clecos that are enough and you should always just get more and more.
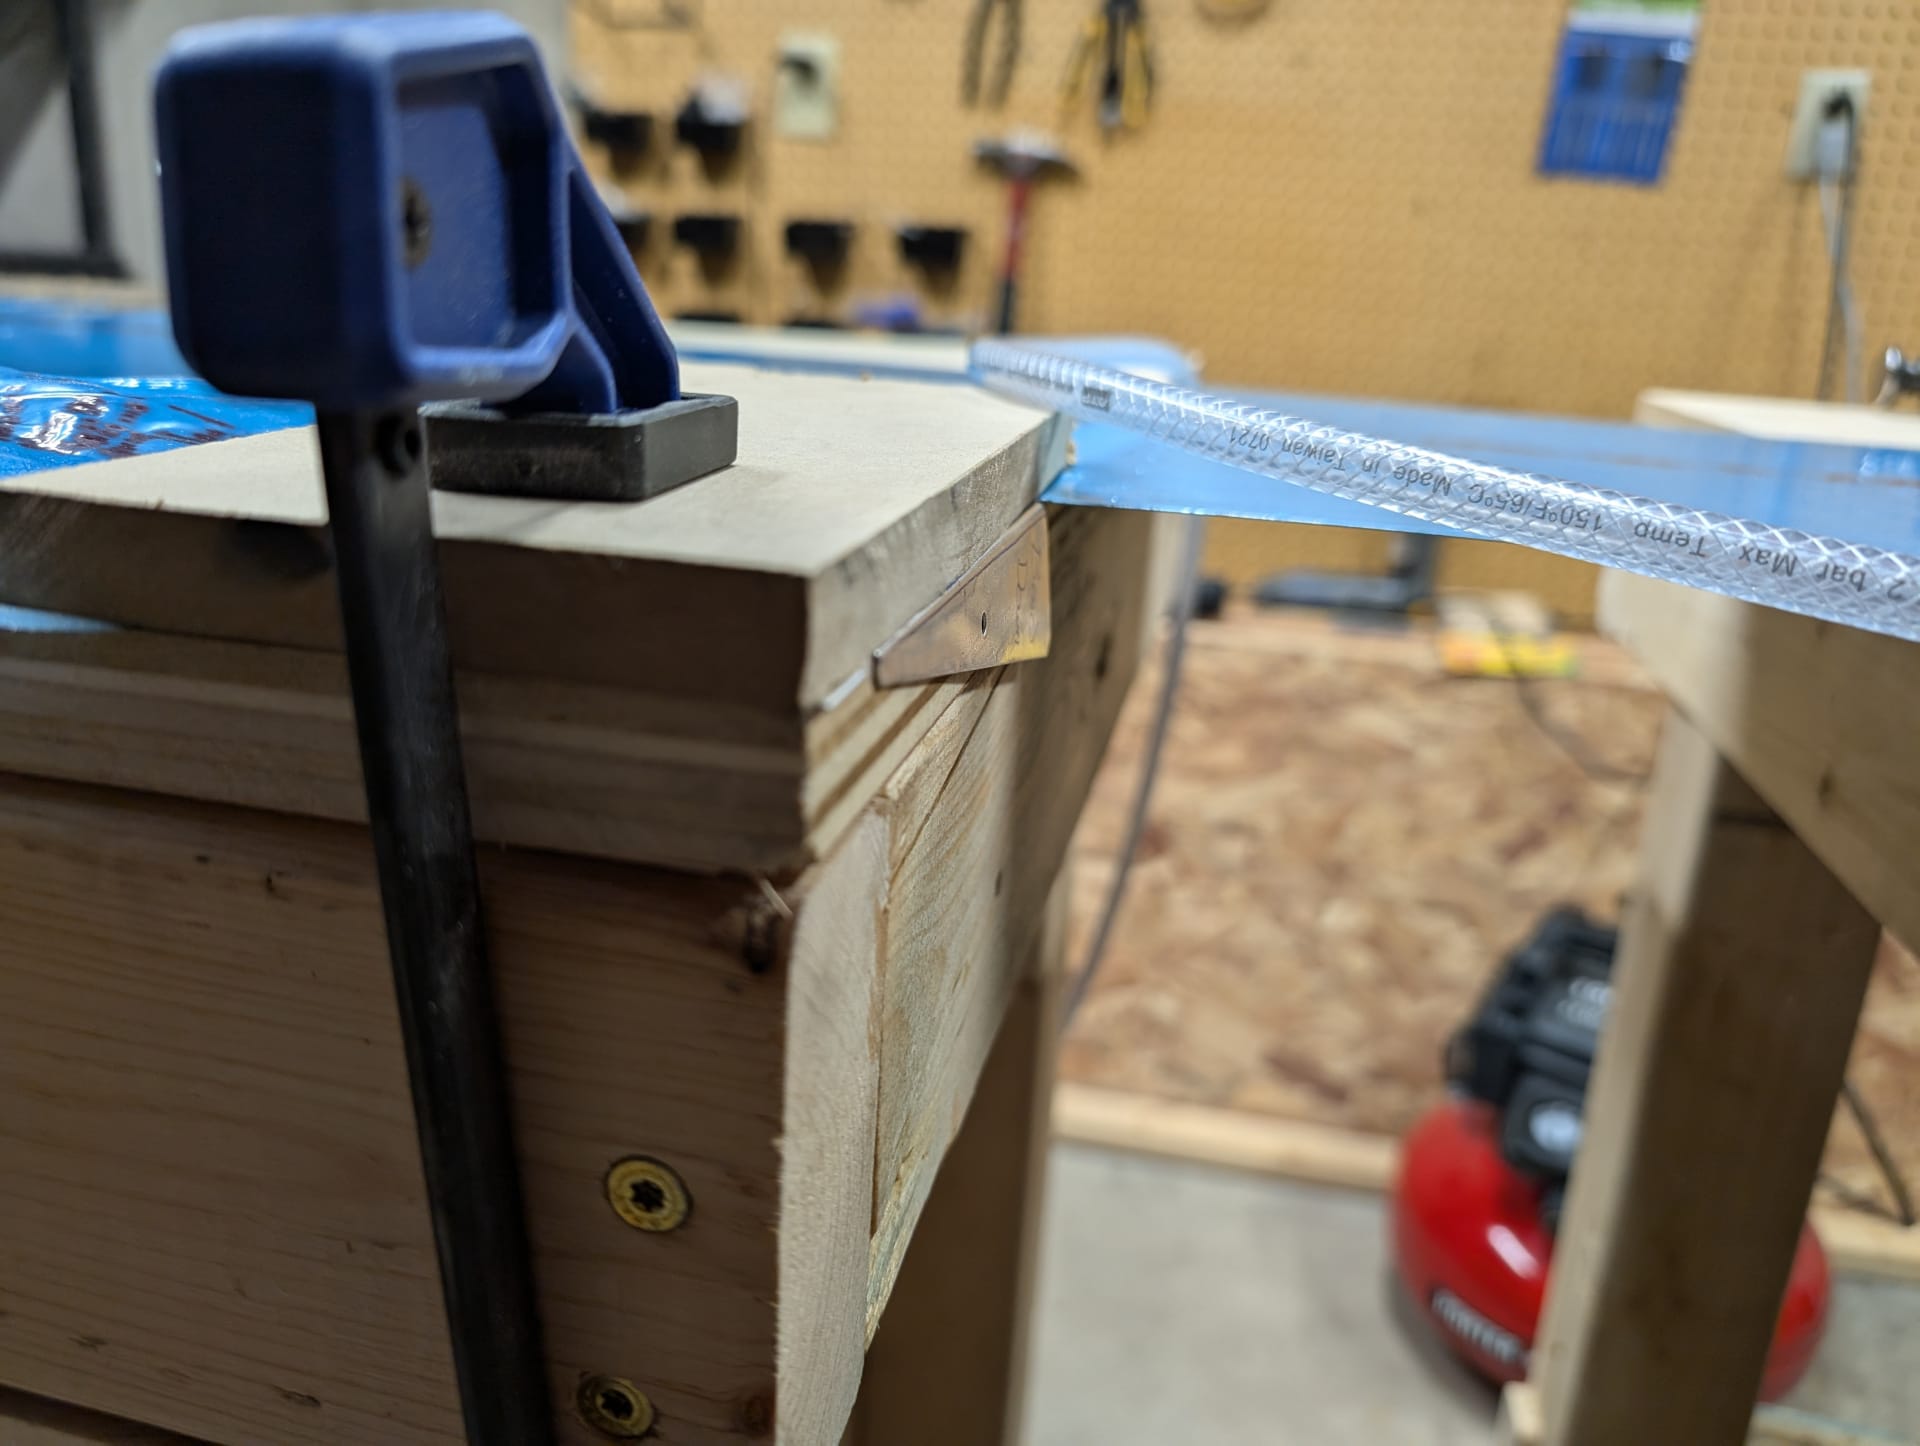
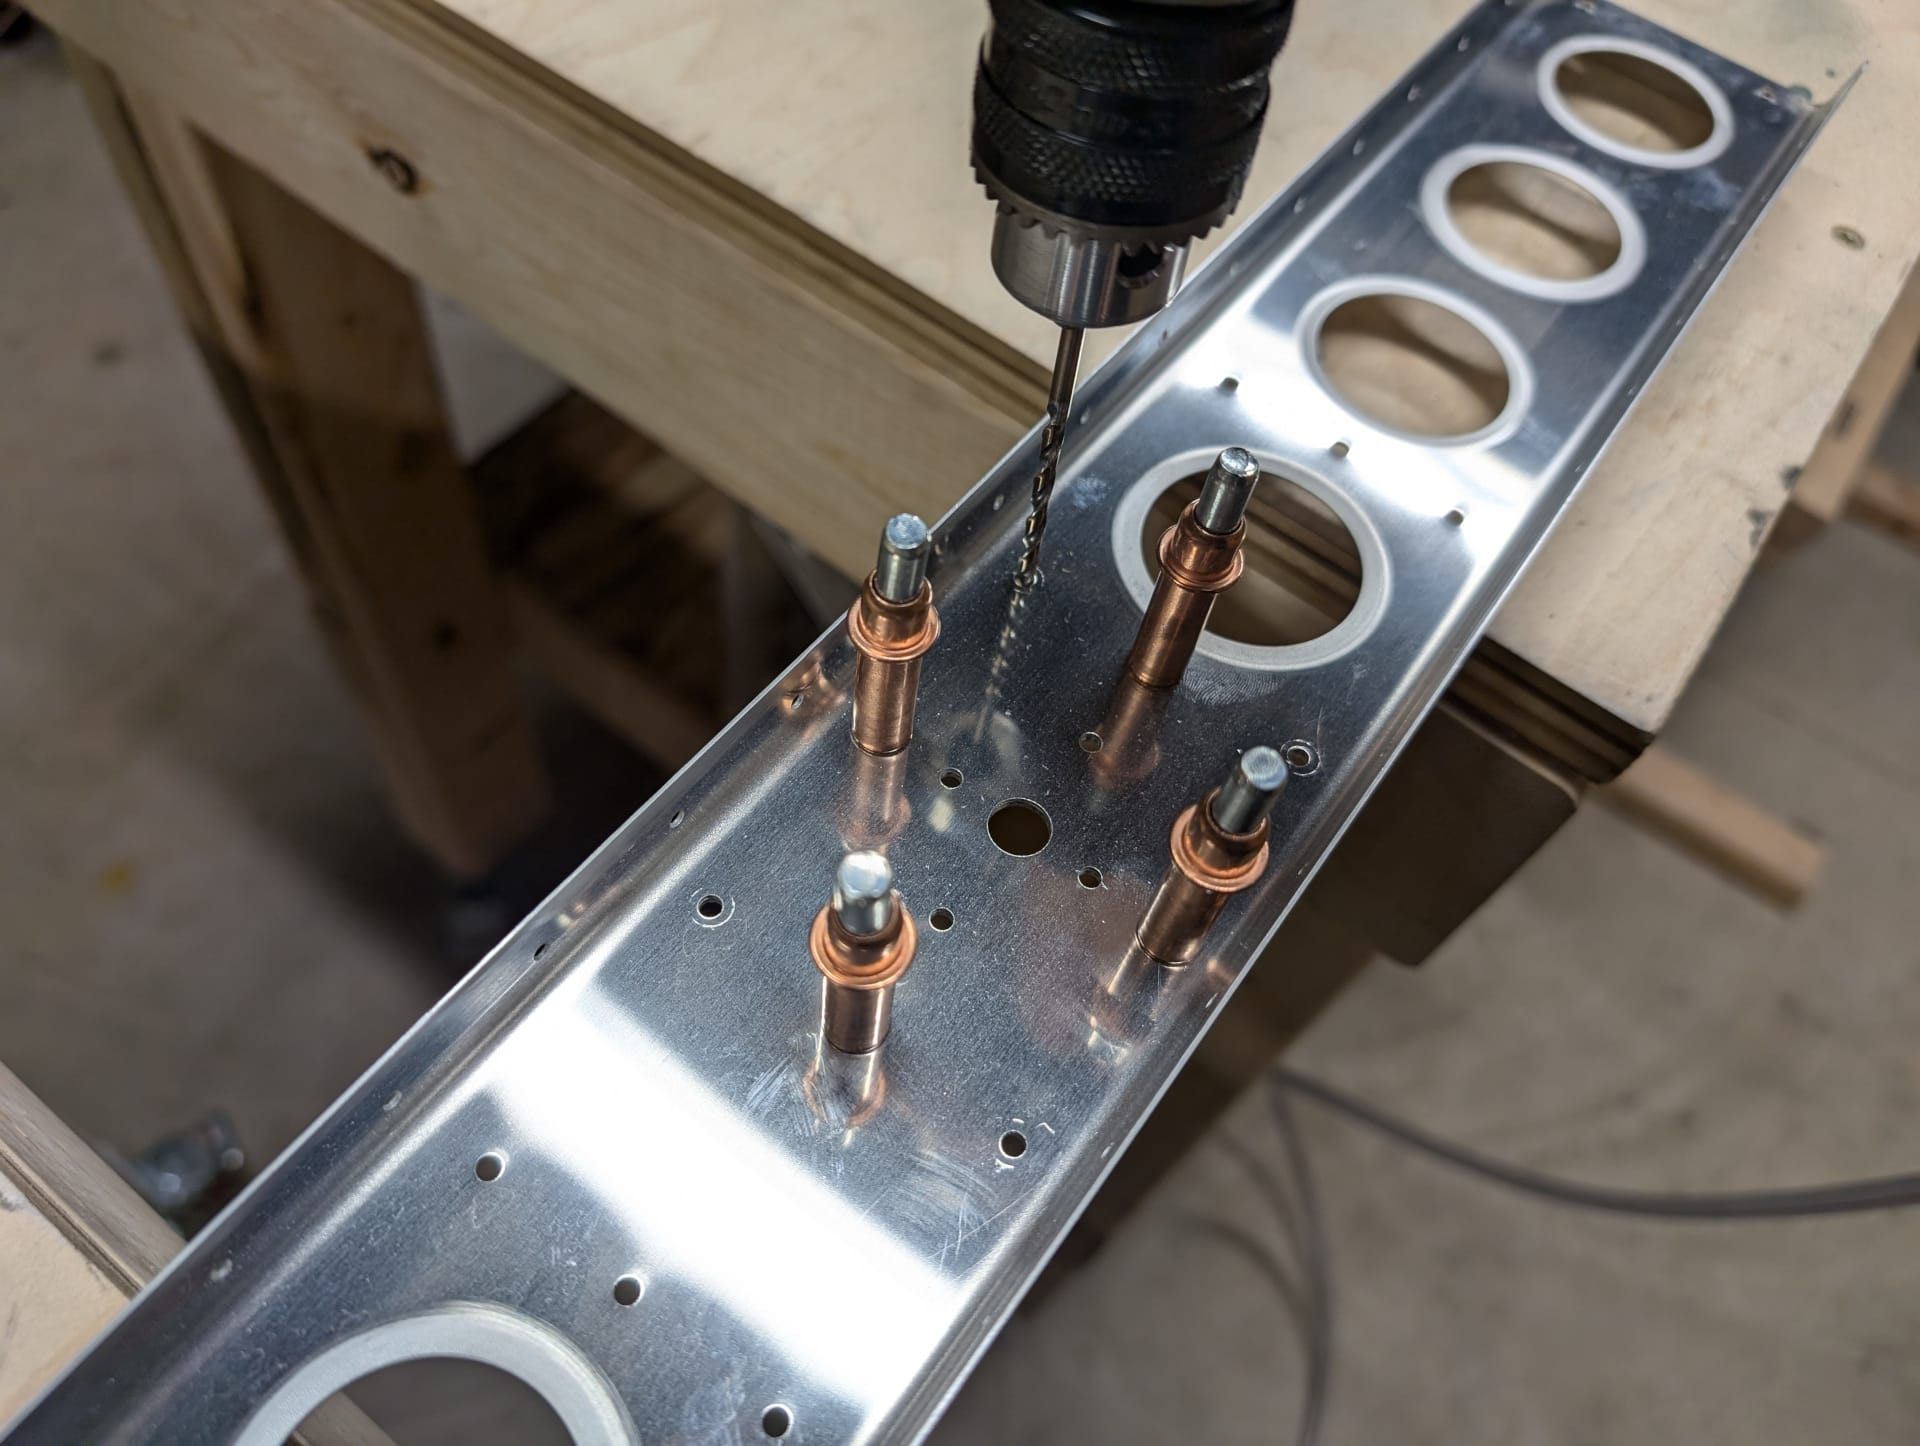
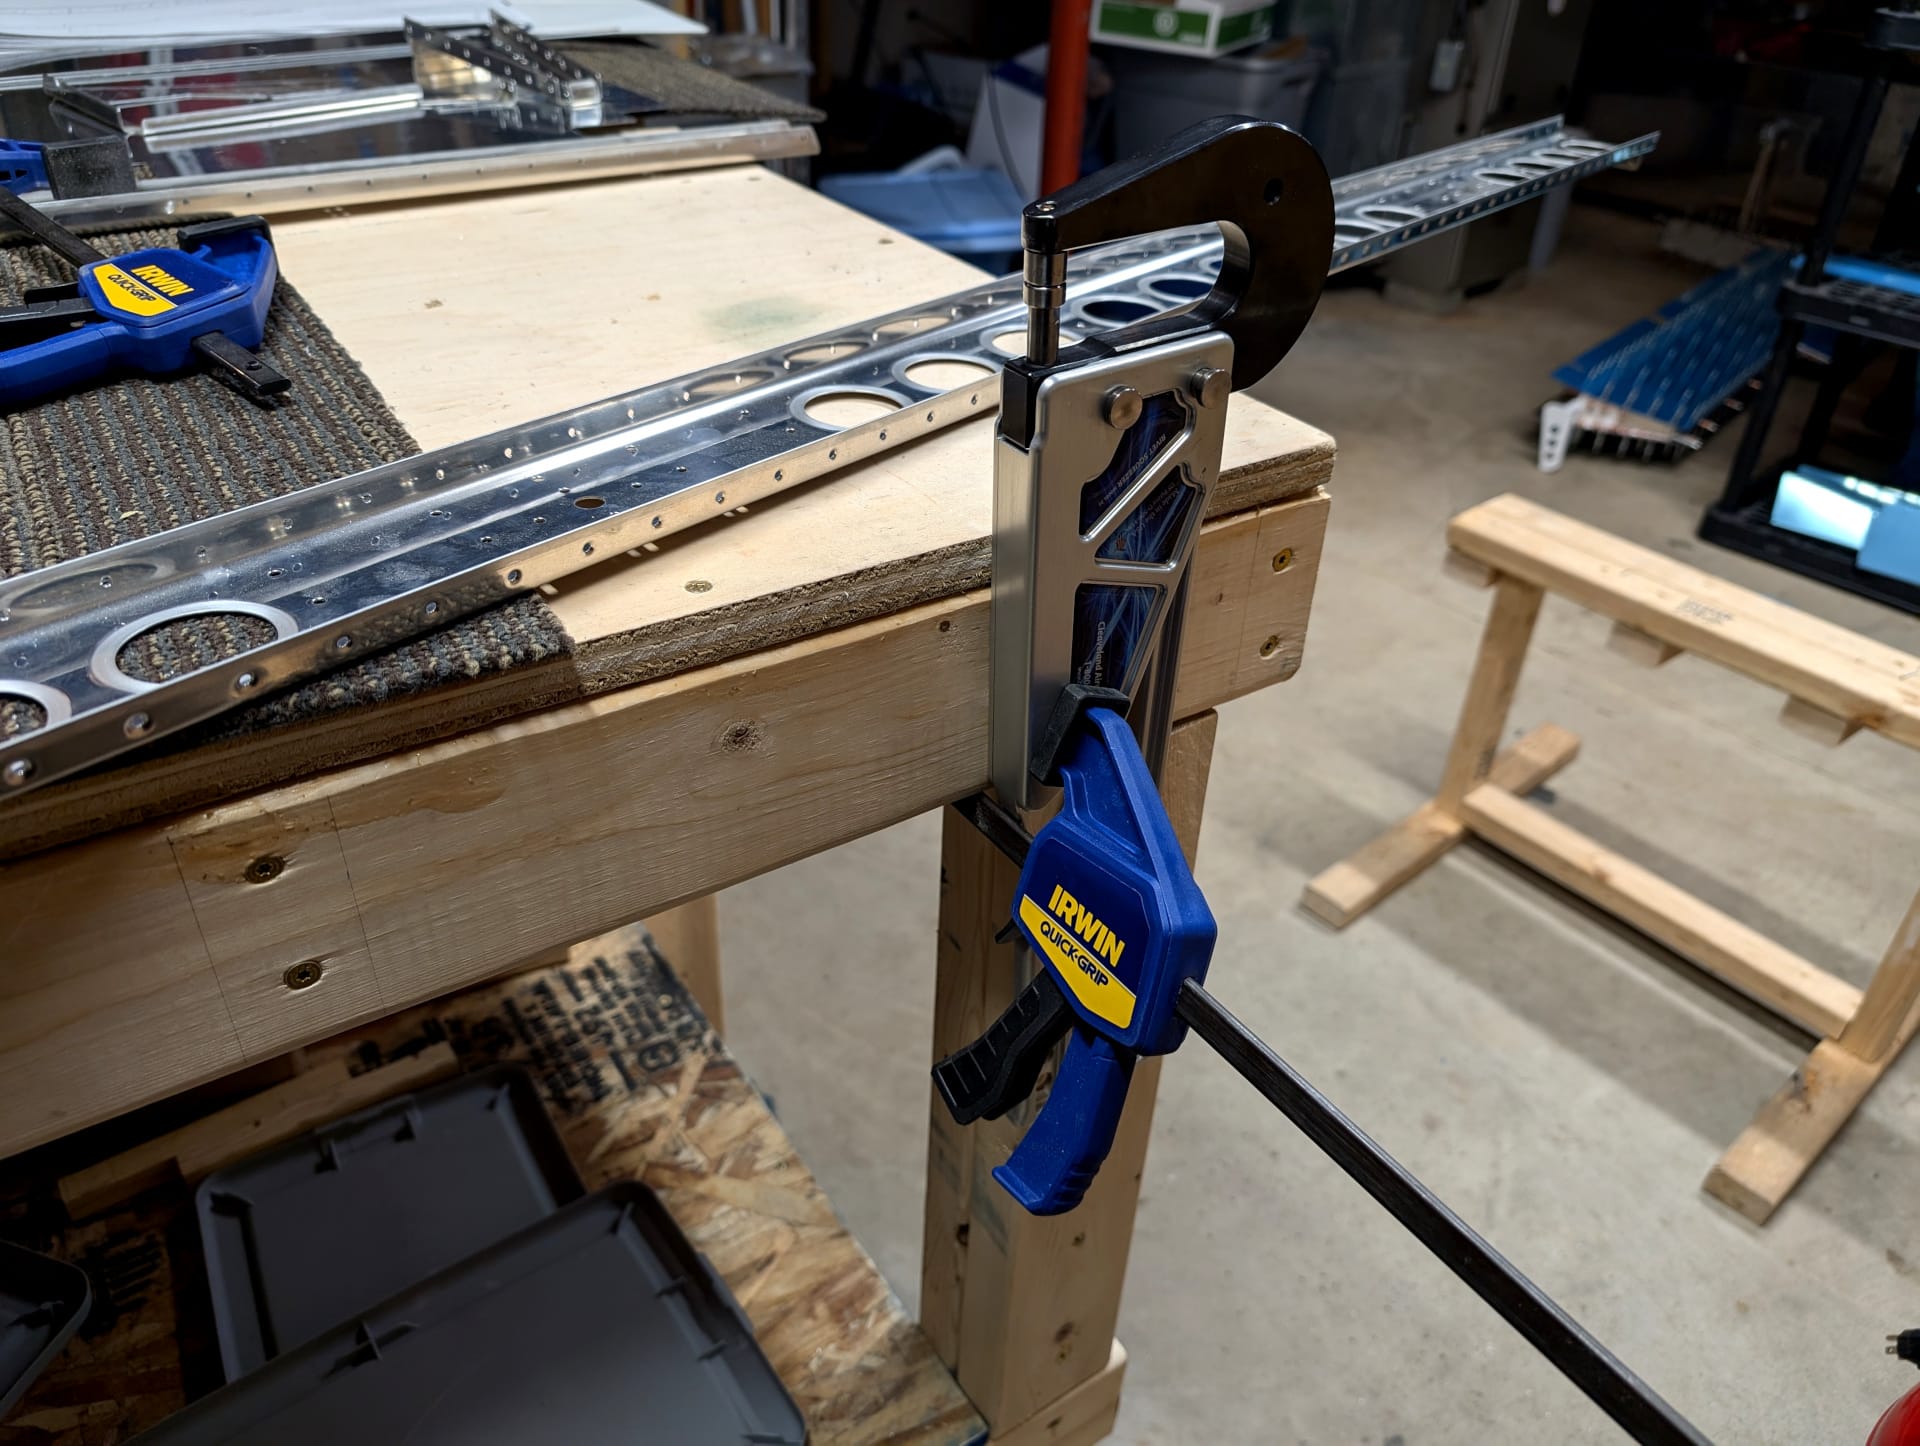
Remember those tabs I bent up/down on the skins? Time to drill them together with the clips I made in the last blog post.
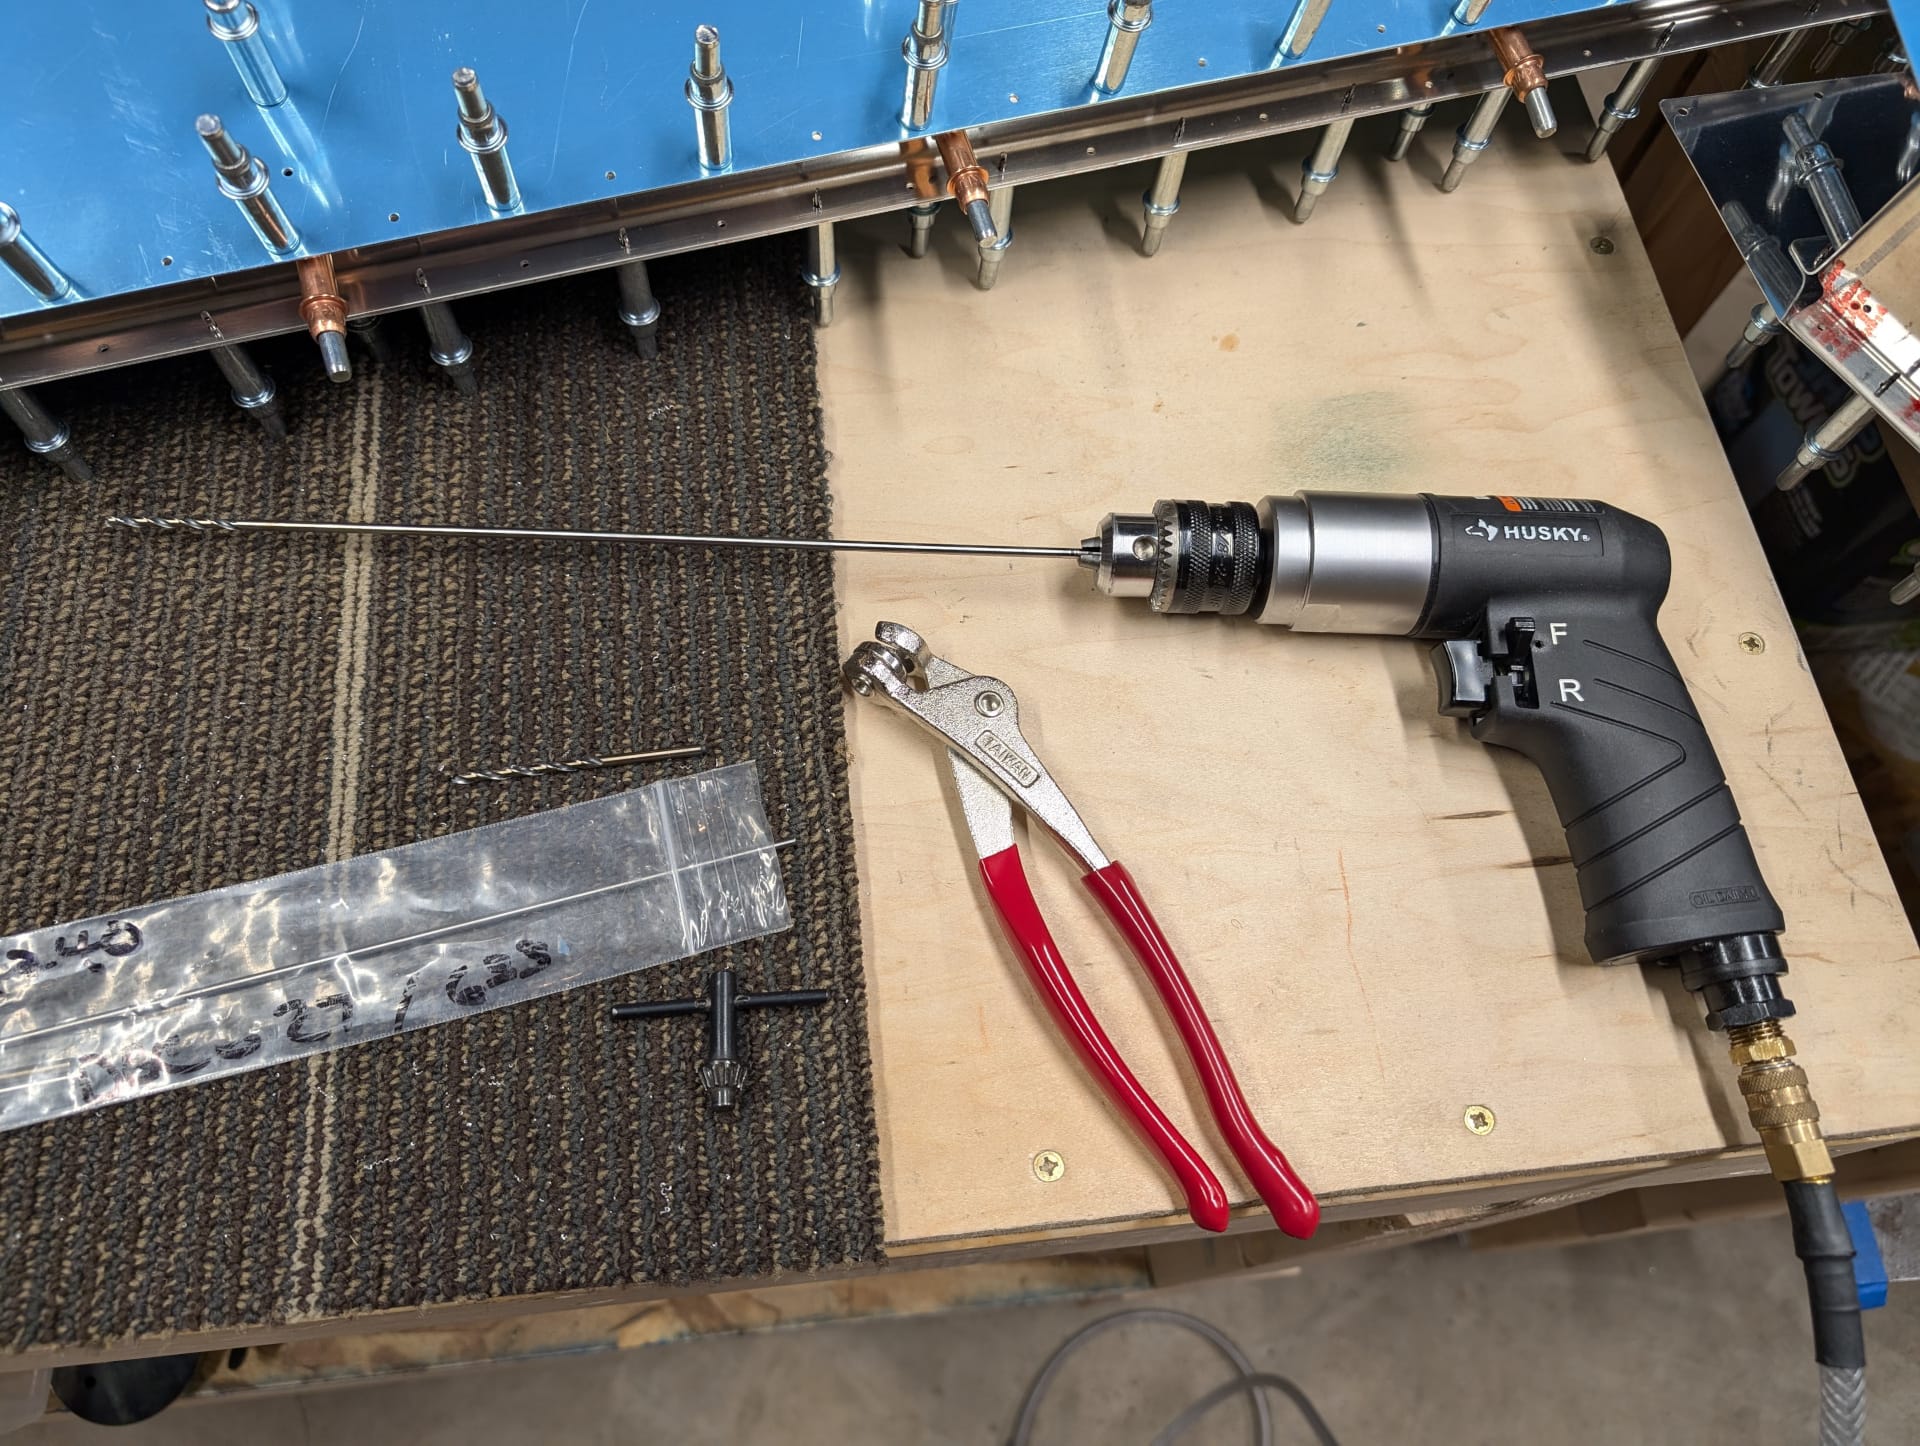
I used a long bit here because it was too hard to maneuver the drill that close to the spar otherwise. It worked without any issue this way and I'd recommend it if you don't like the clearance.
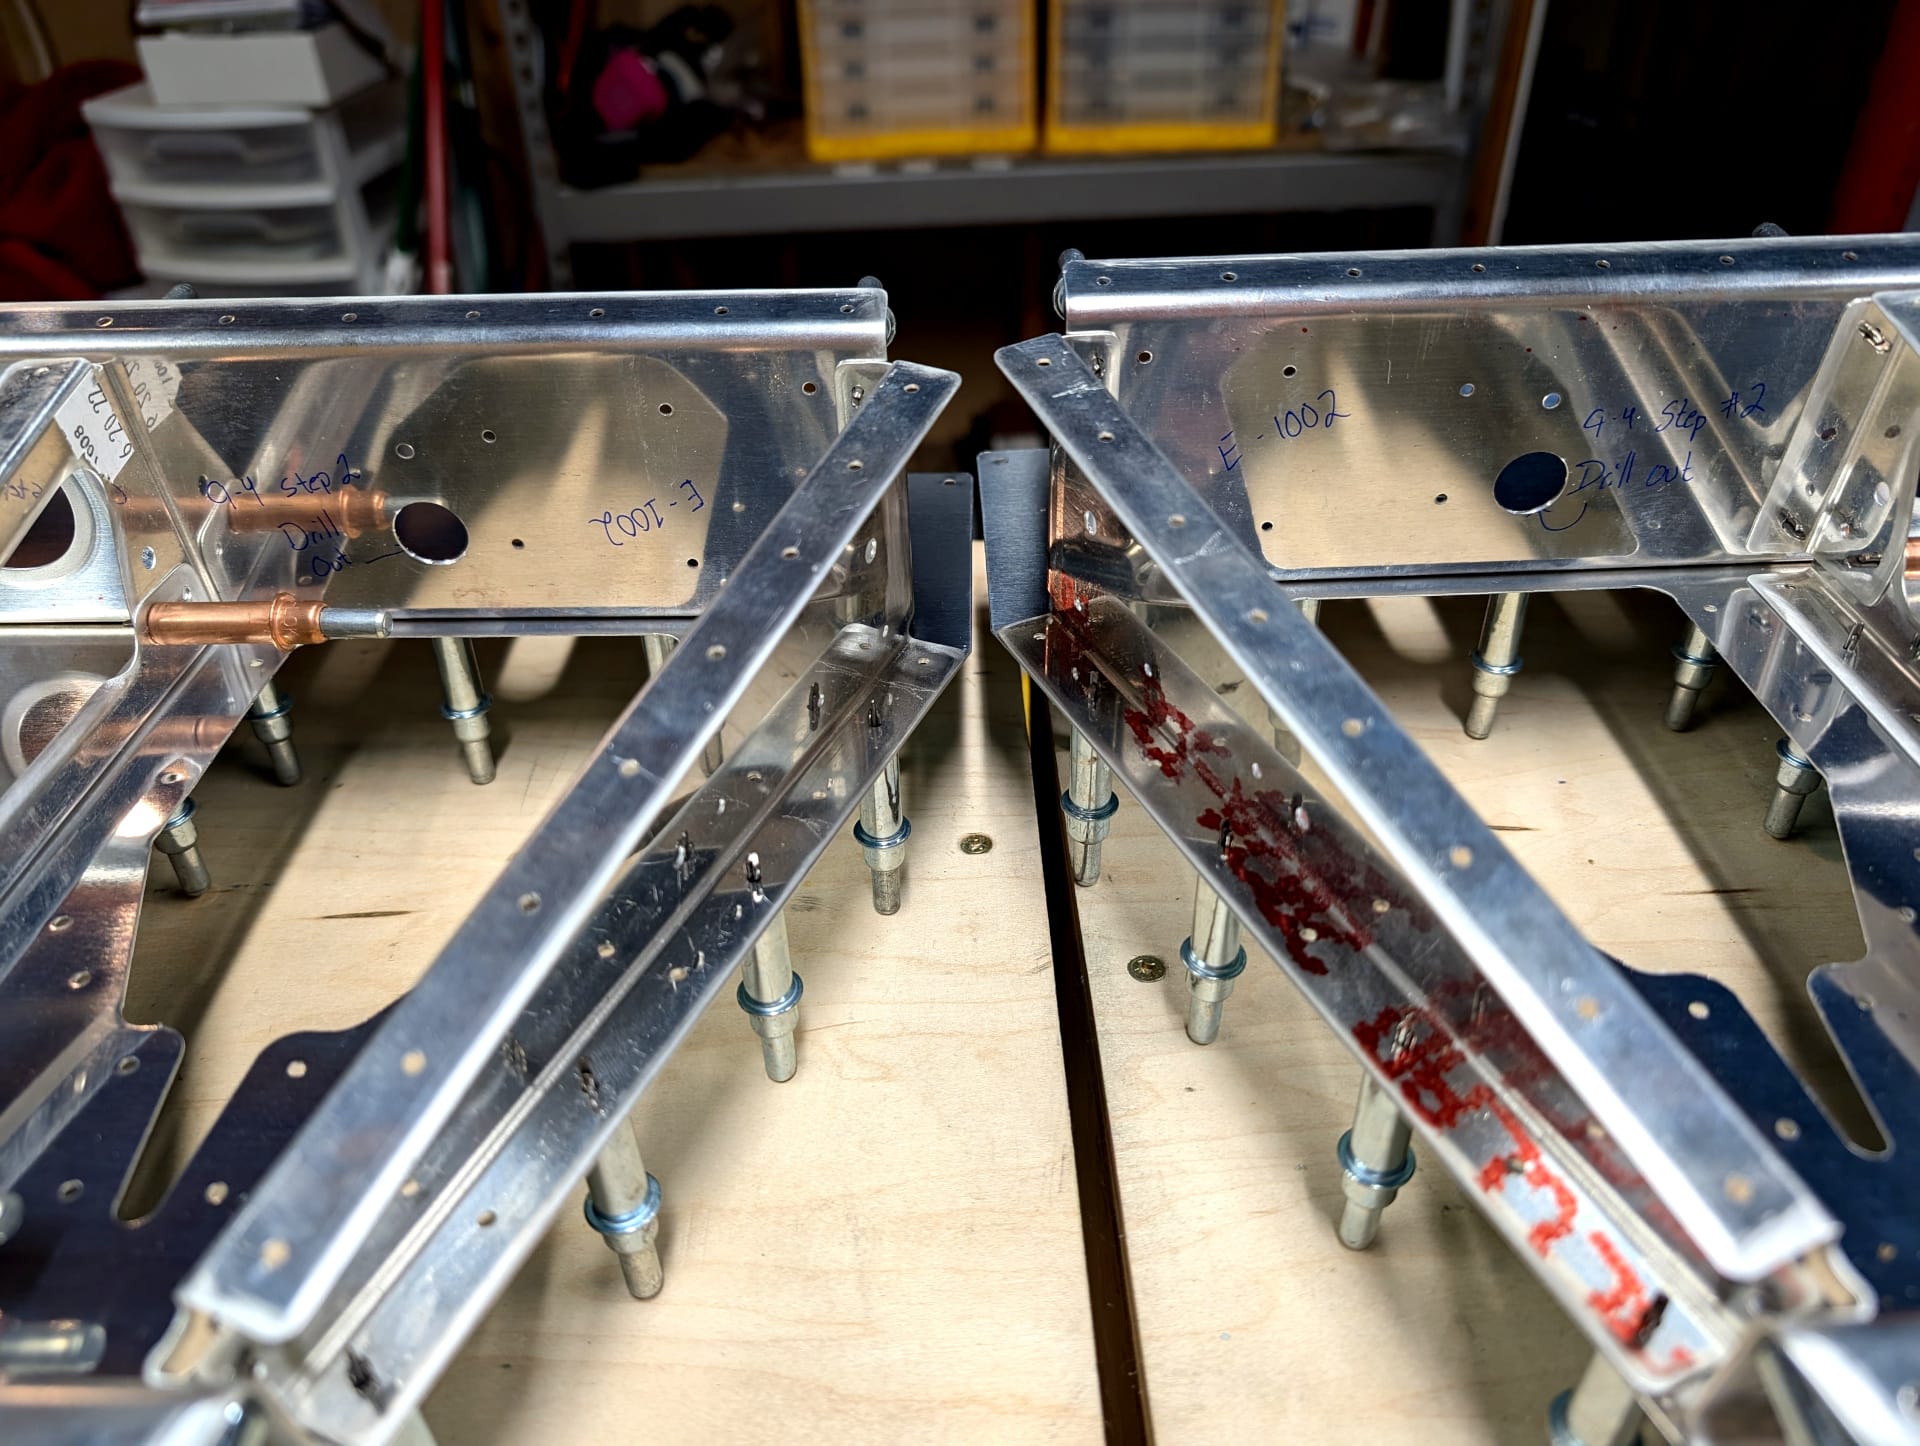
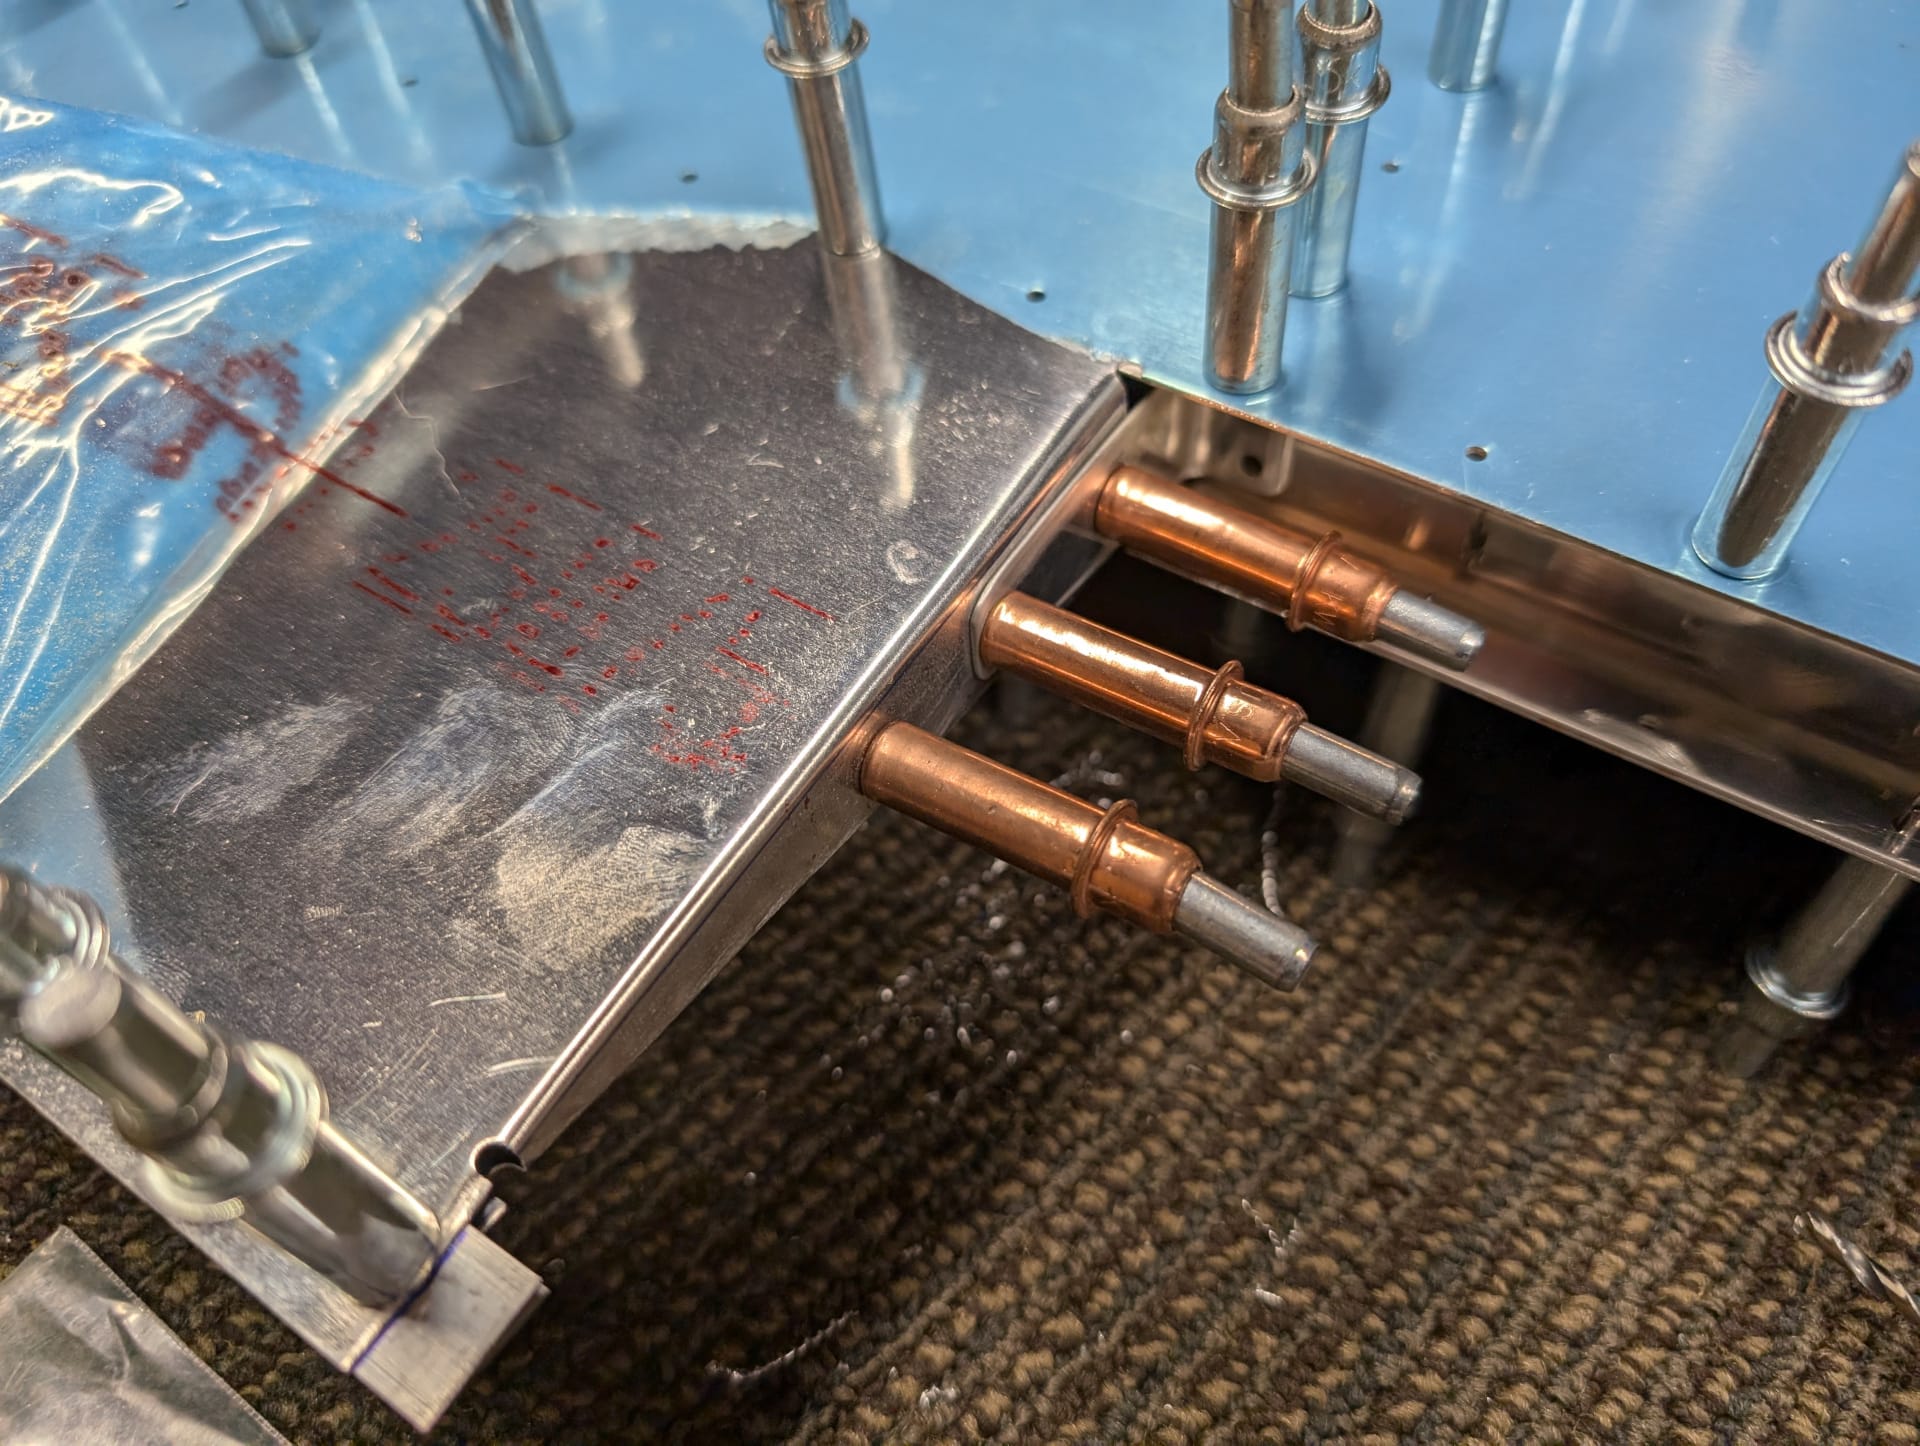
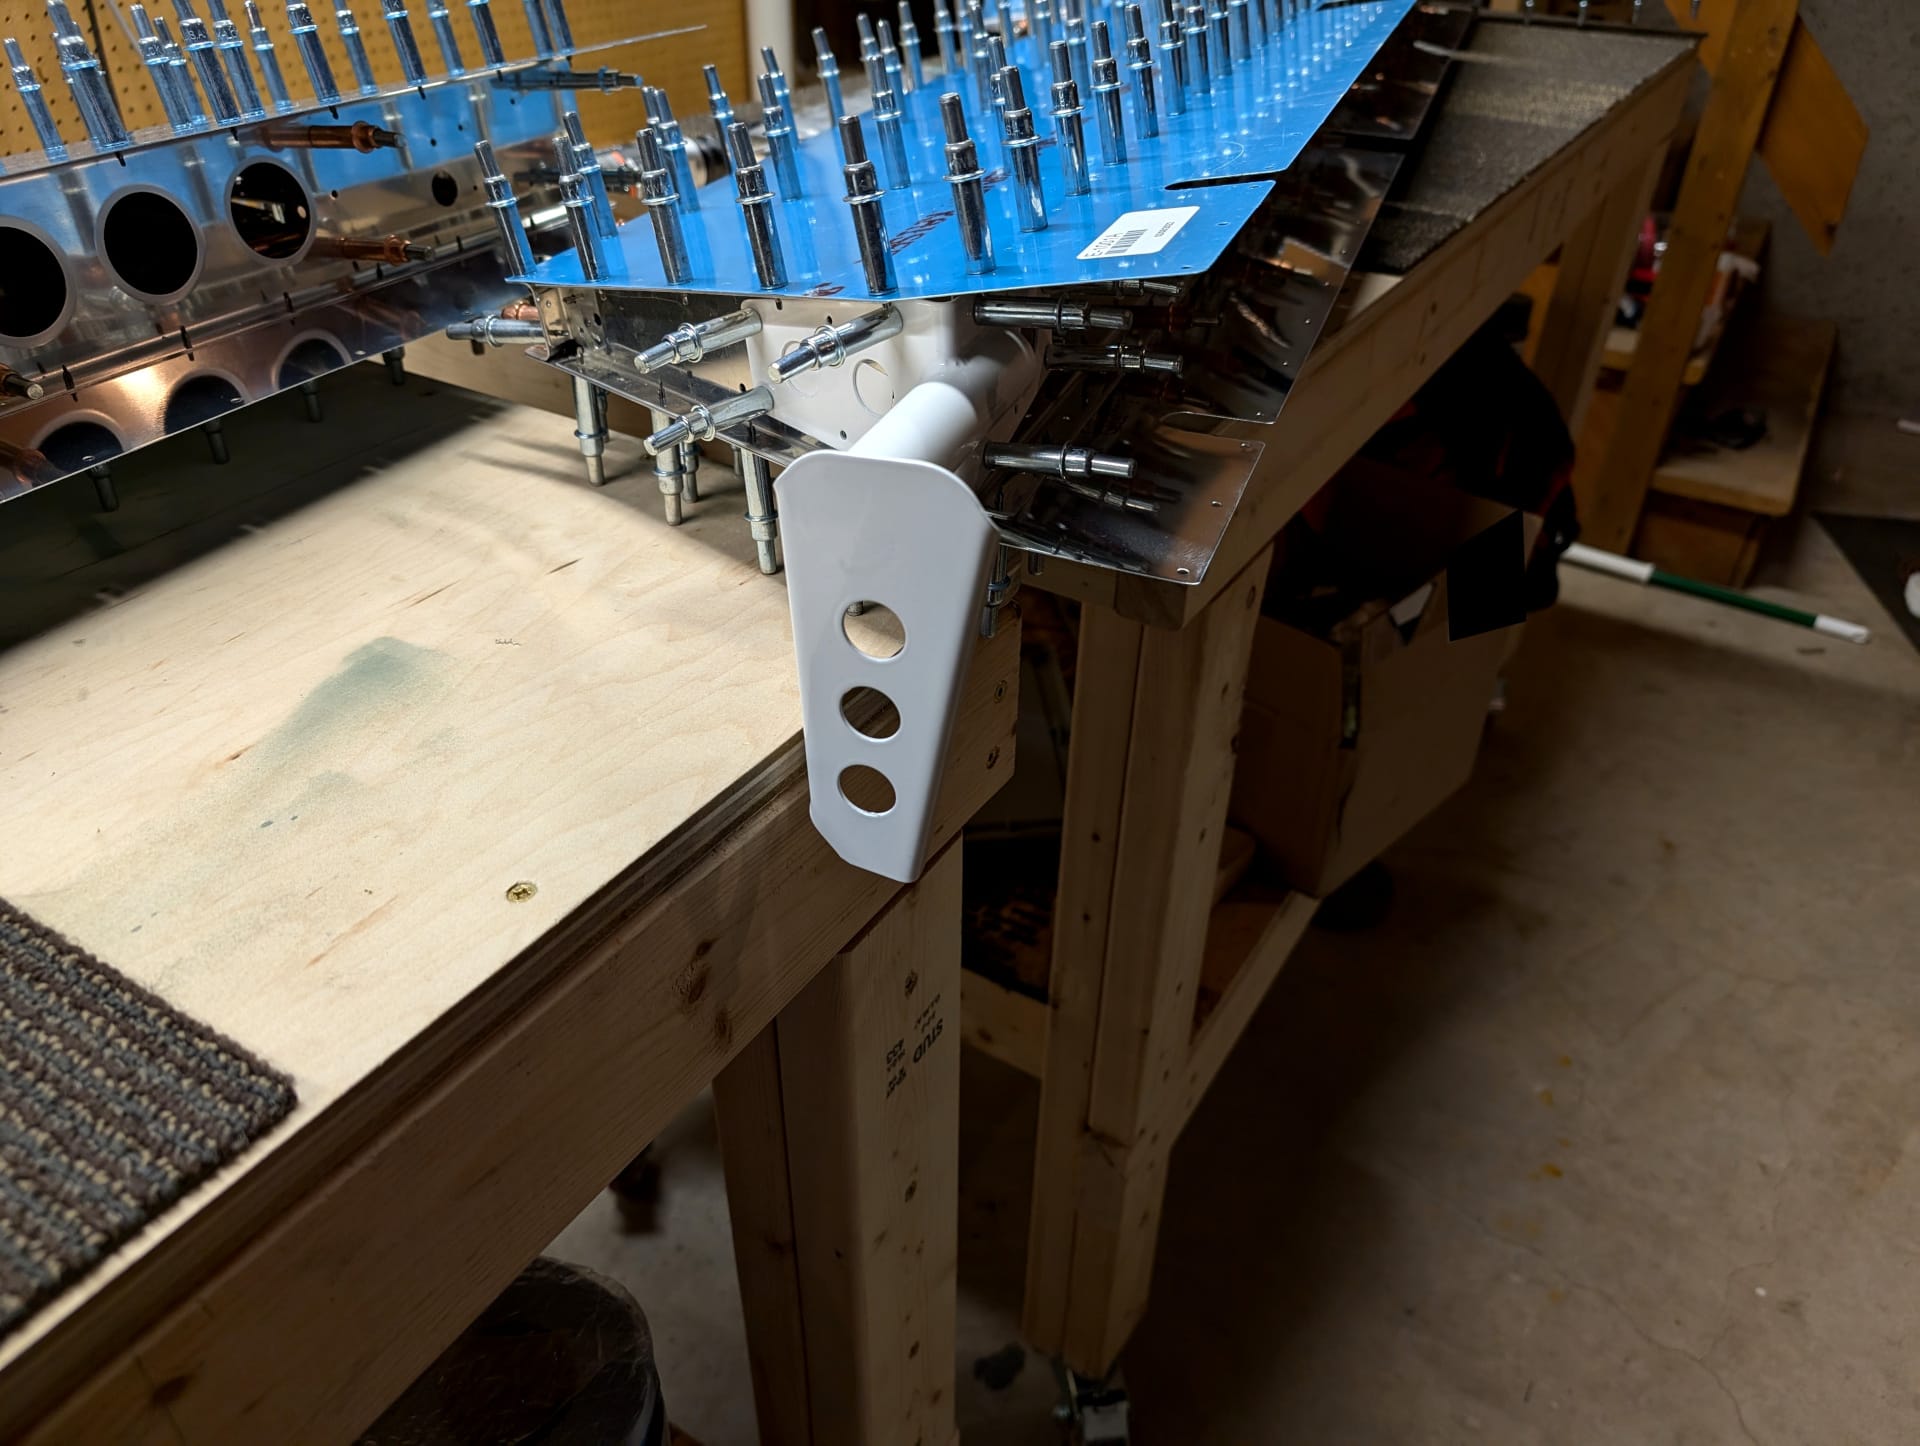
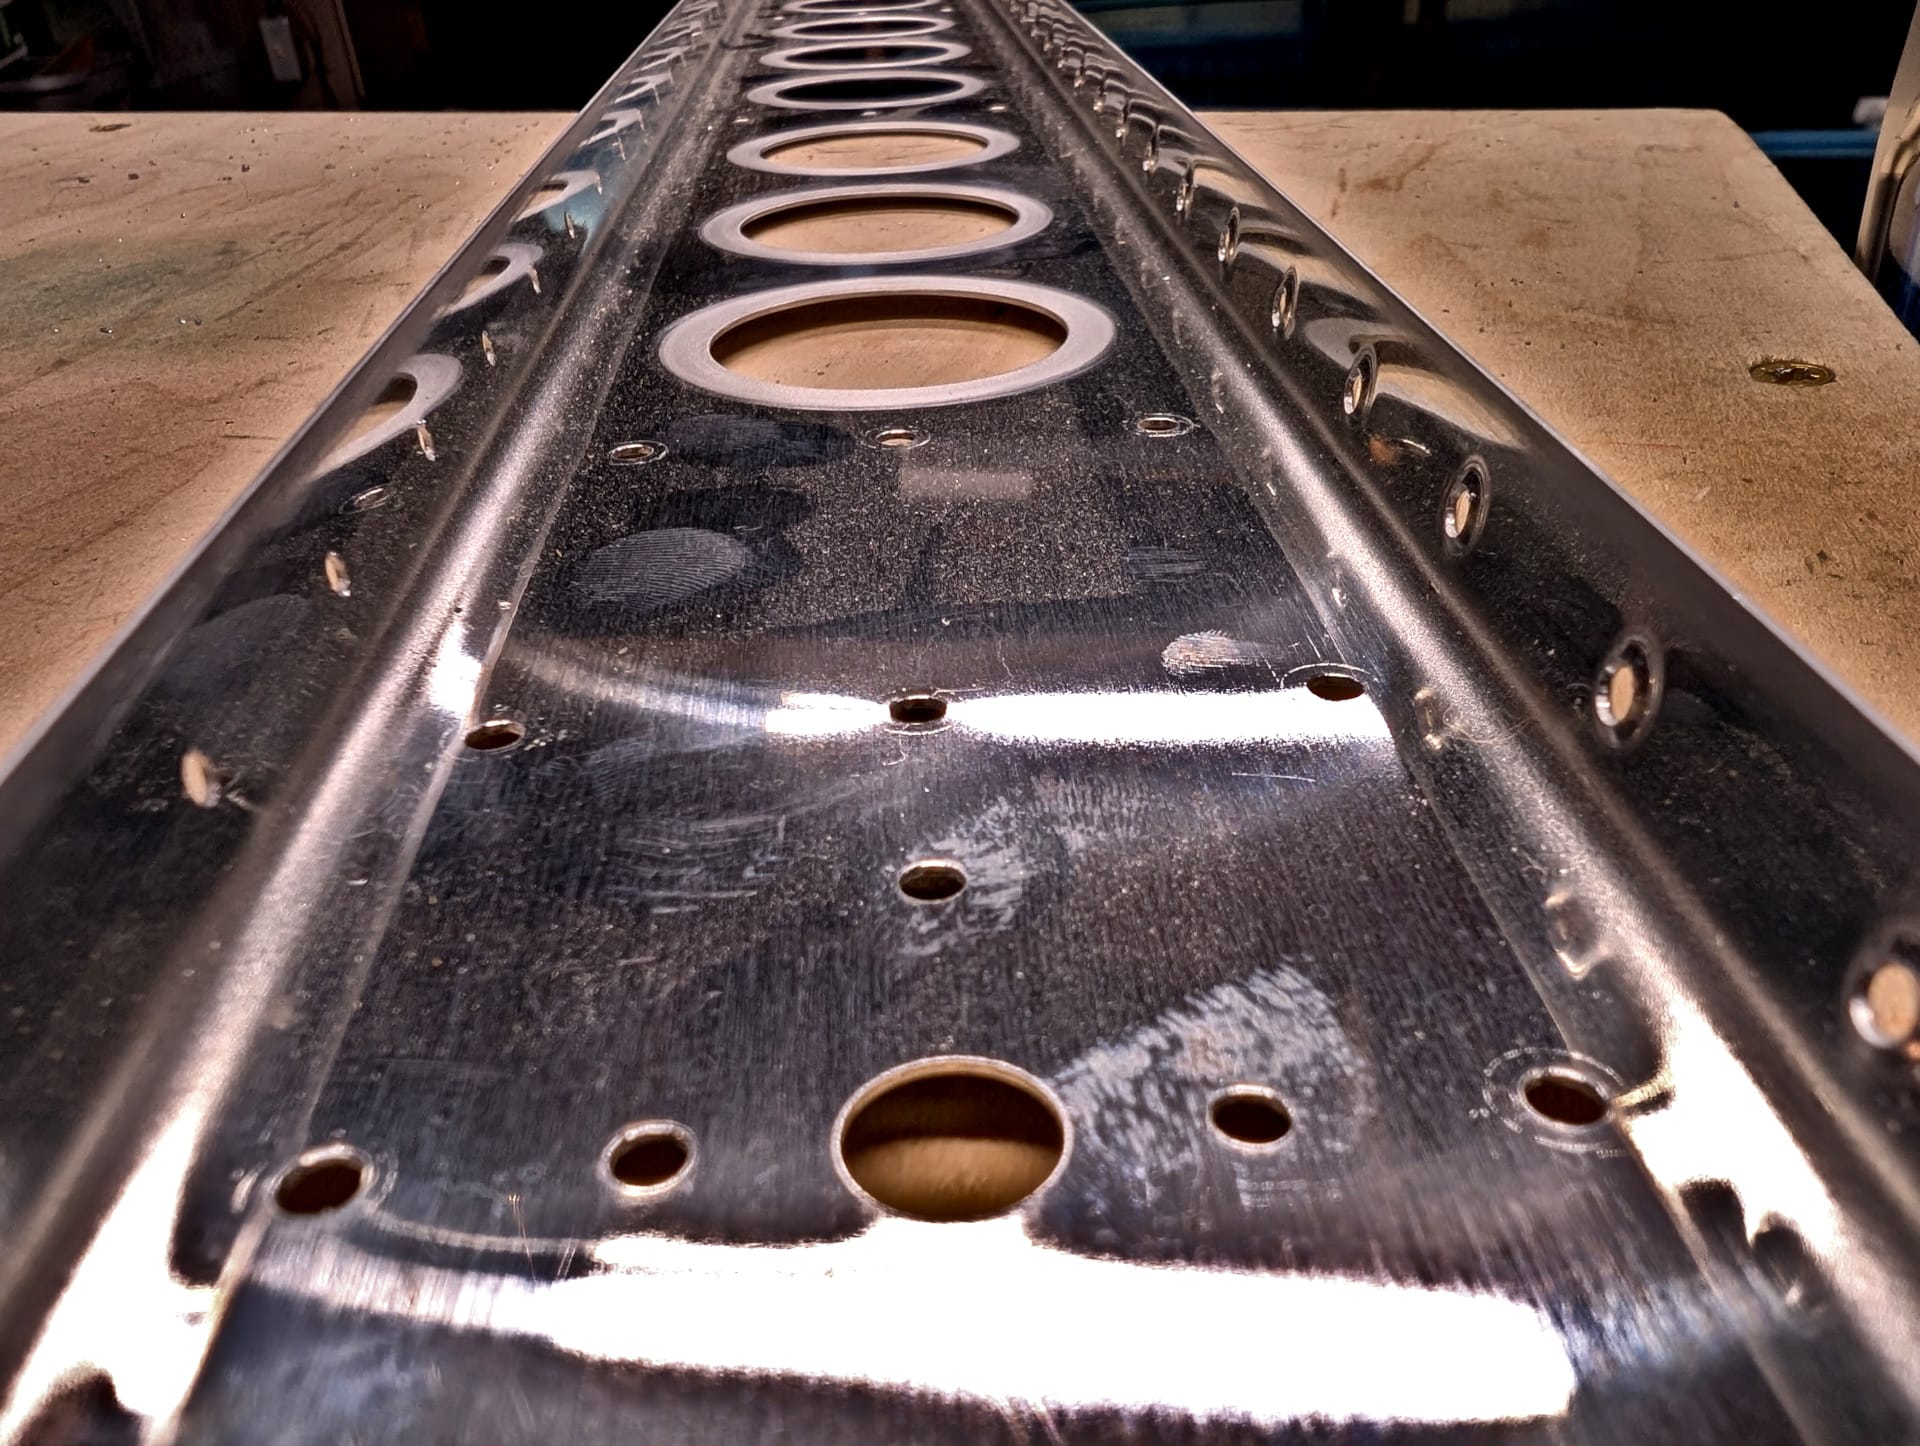
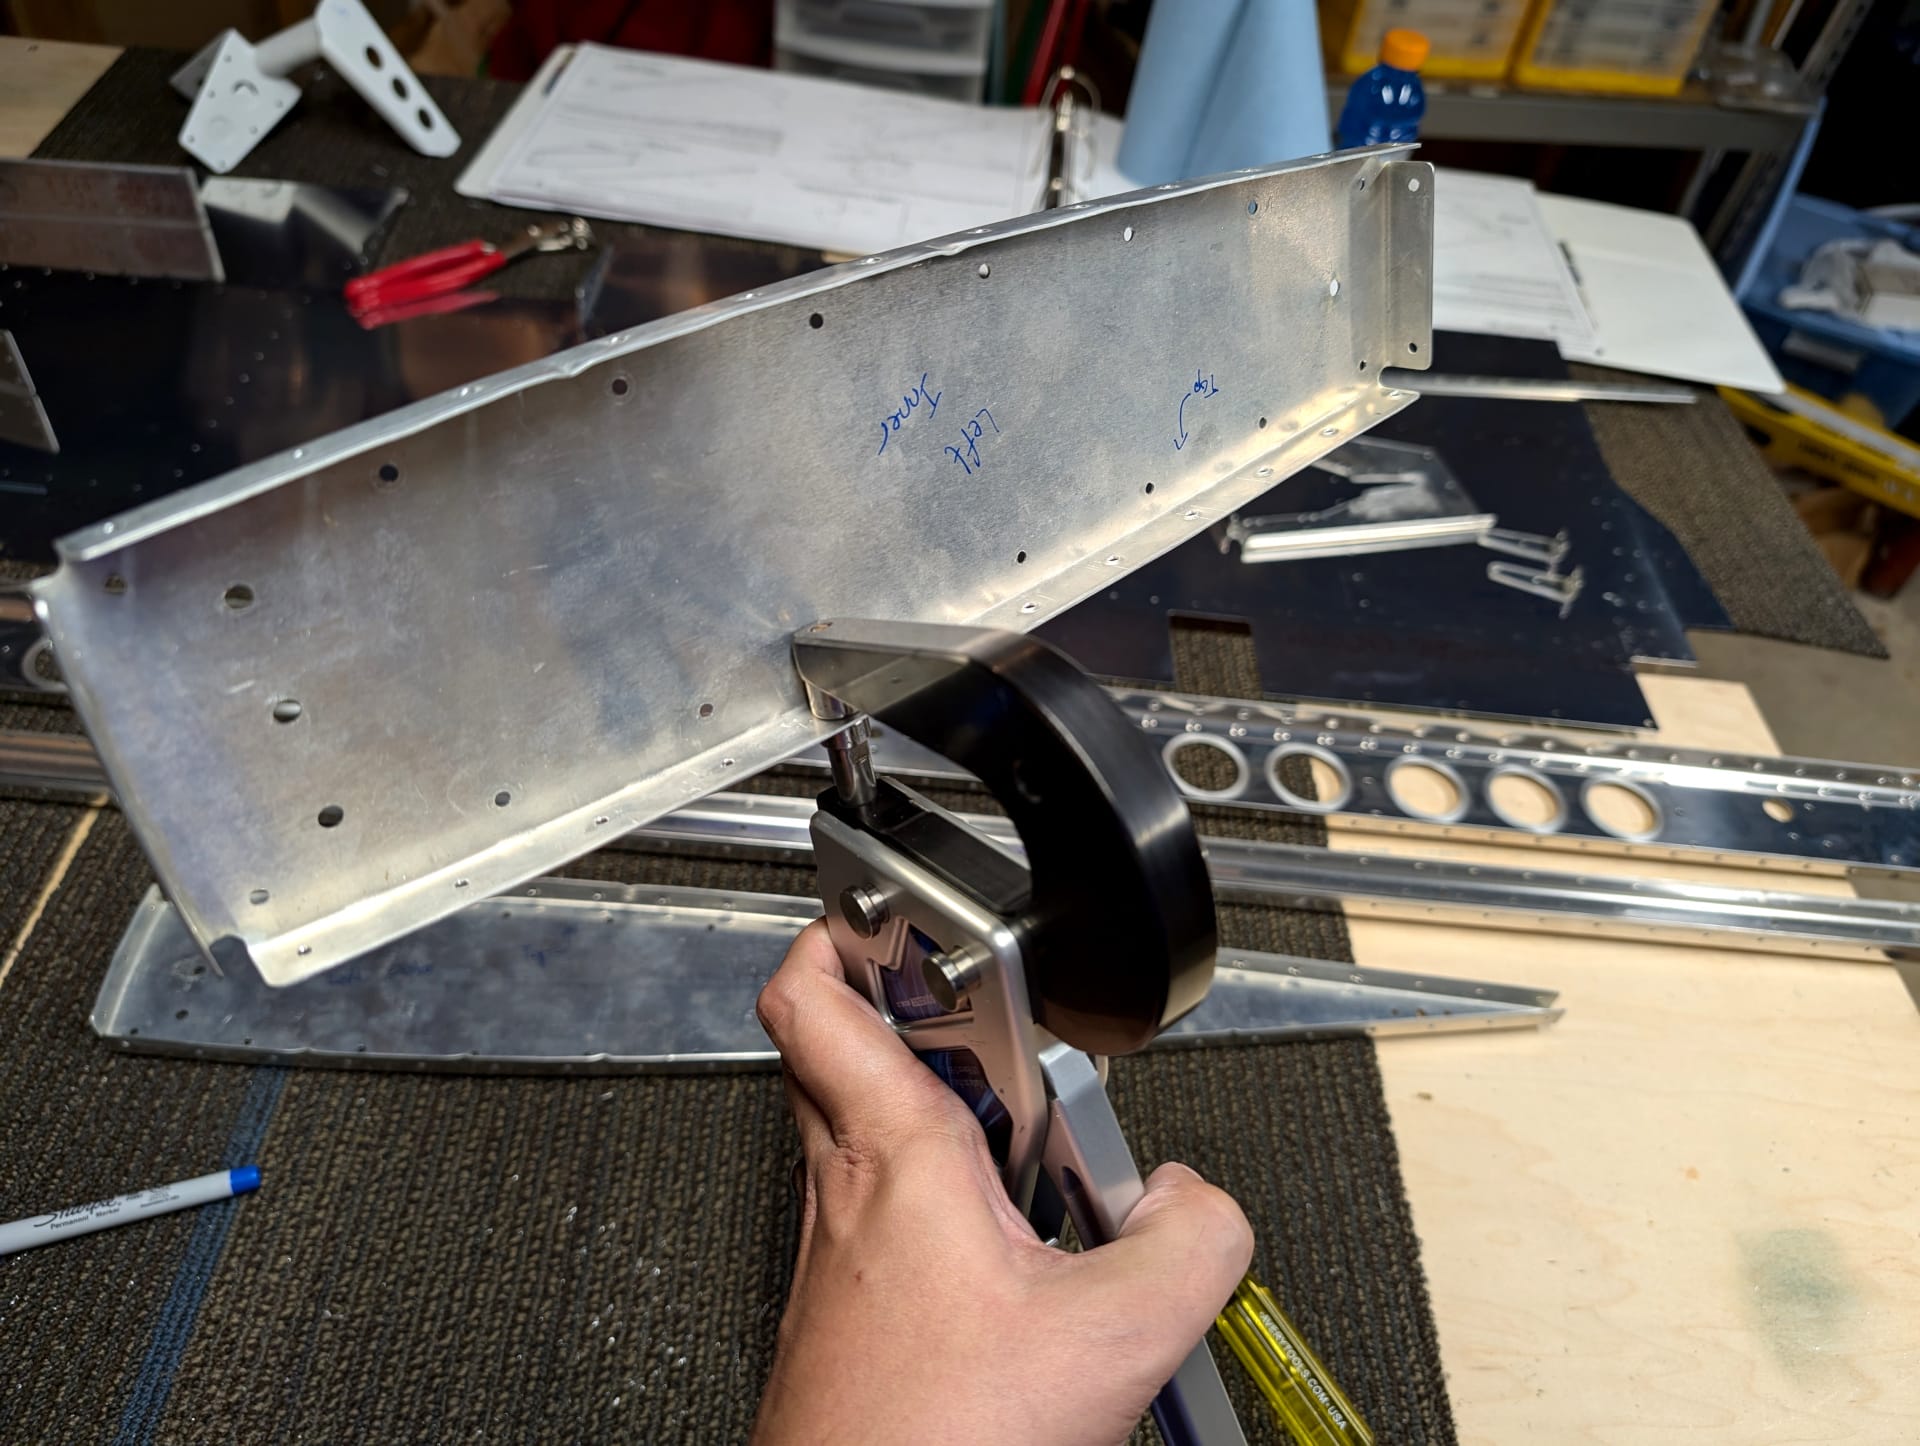
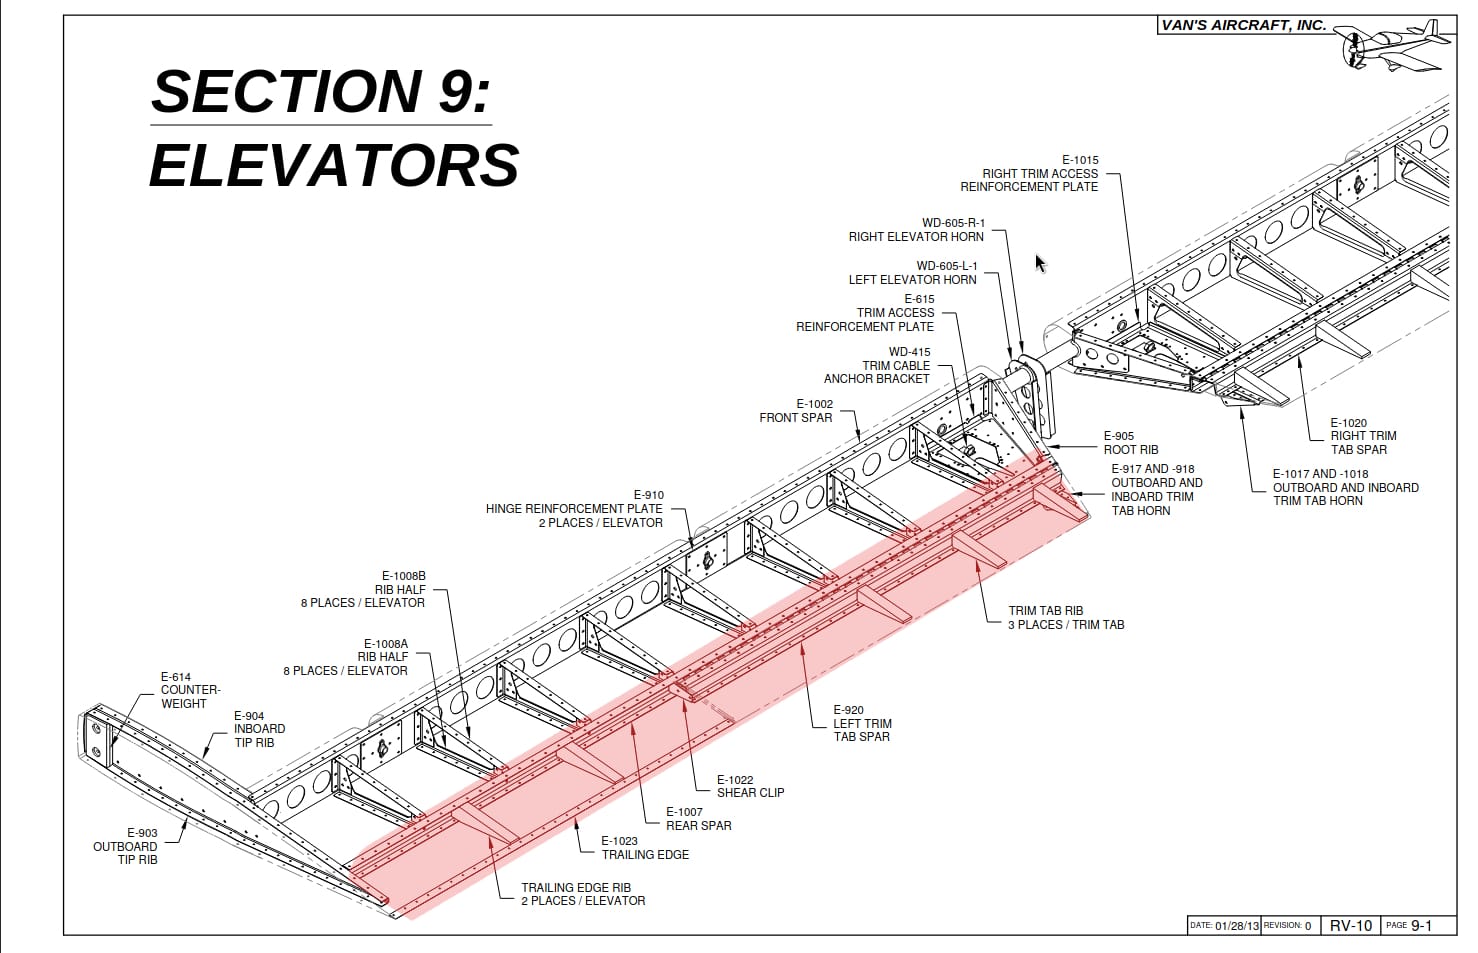
Perhaps at this point you're wondering how you actually move the elevators up and down. Well wonder no more, there are control horns that attach to the spar which will allow you to move the whole assembly up and down when you move the stick back and forward in the front.
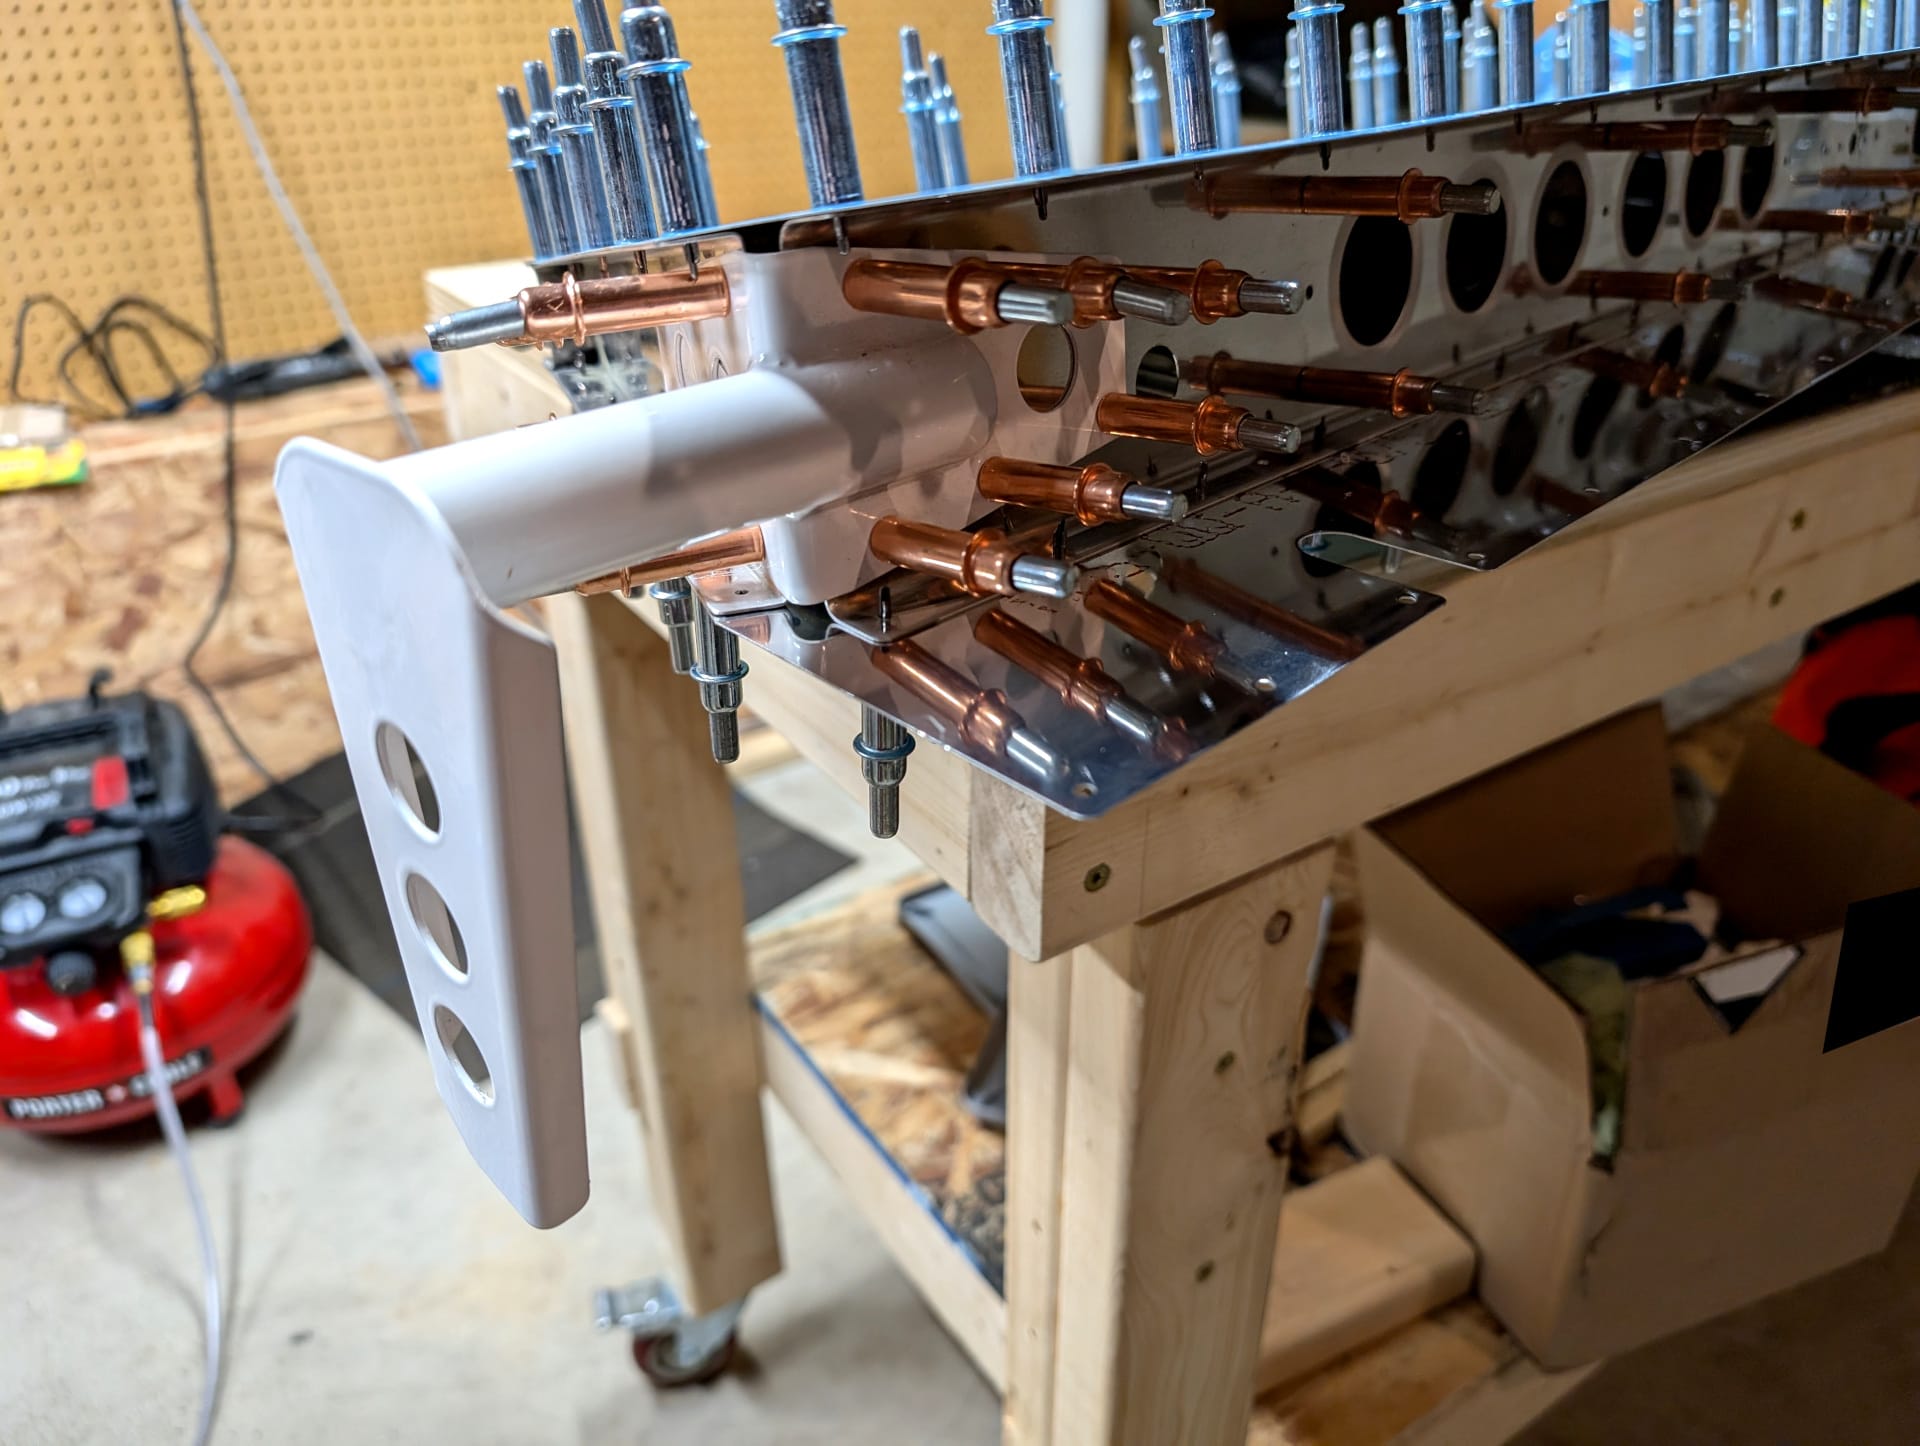
Notice that the clecos above changed color? That is because I had to upsize the holes (per the instructions) from a #40 to a #30. In fact, I've been match drilling every hole on these things and it is very time consuming and boring work. If you want to build a plane please make sure you want to build the plane as it can be very tedious.
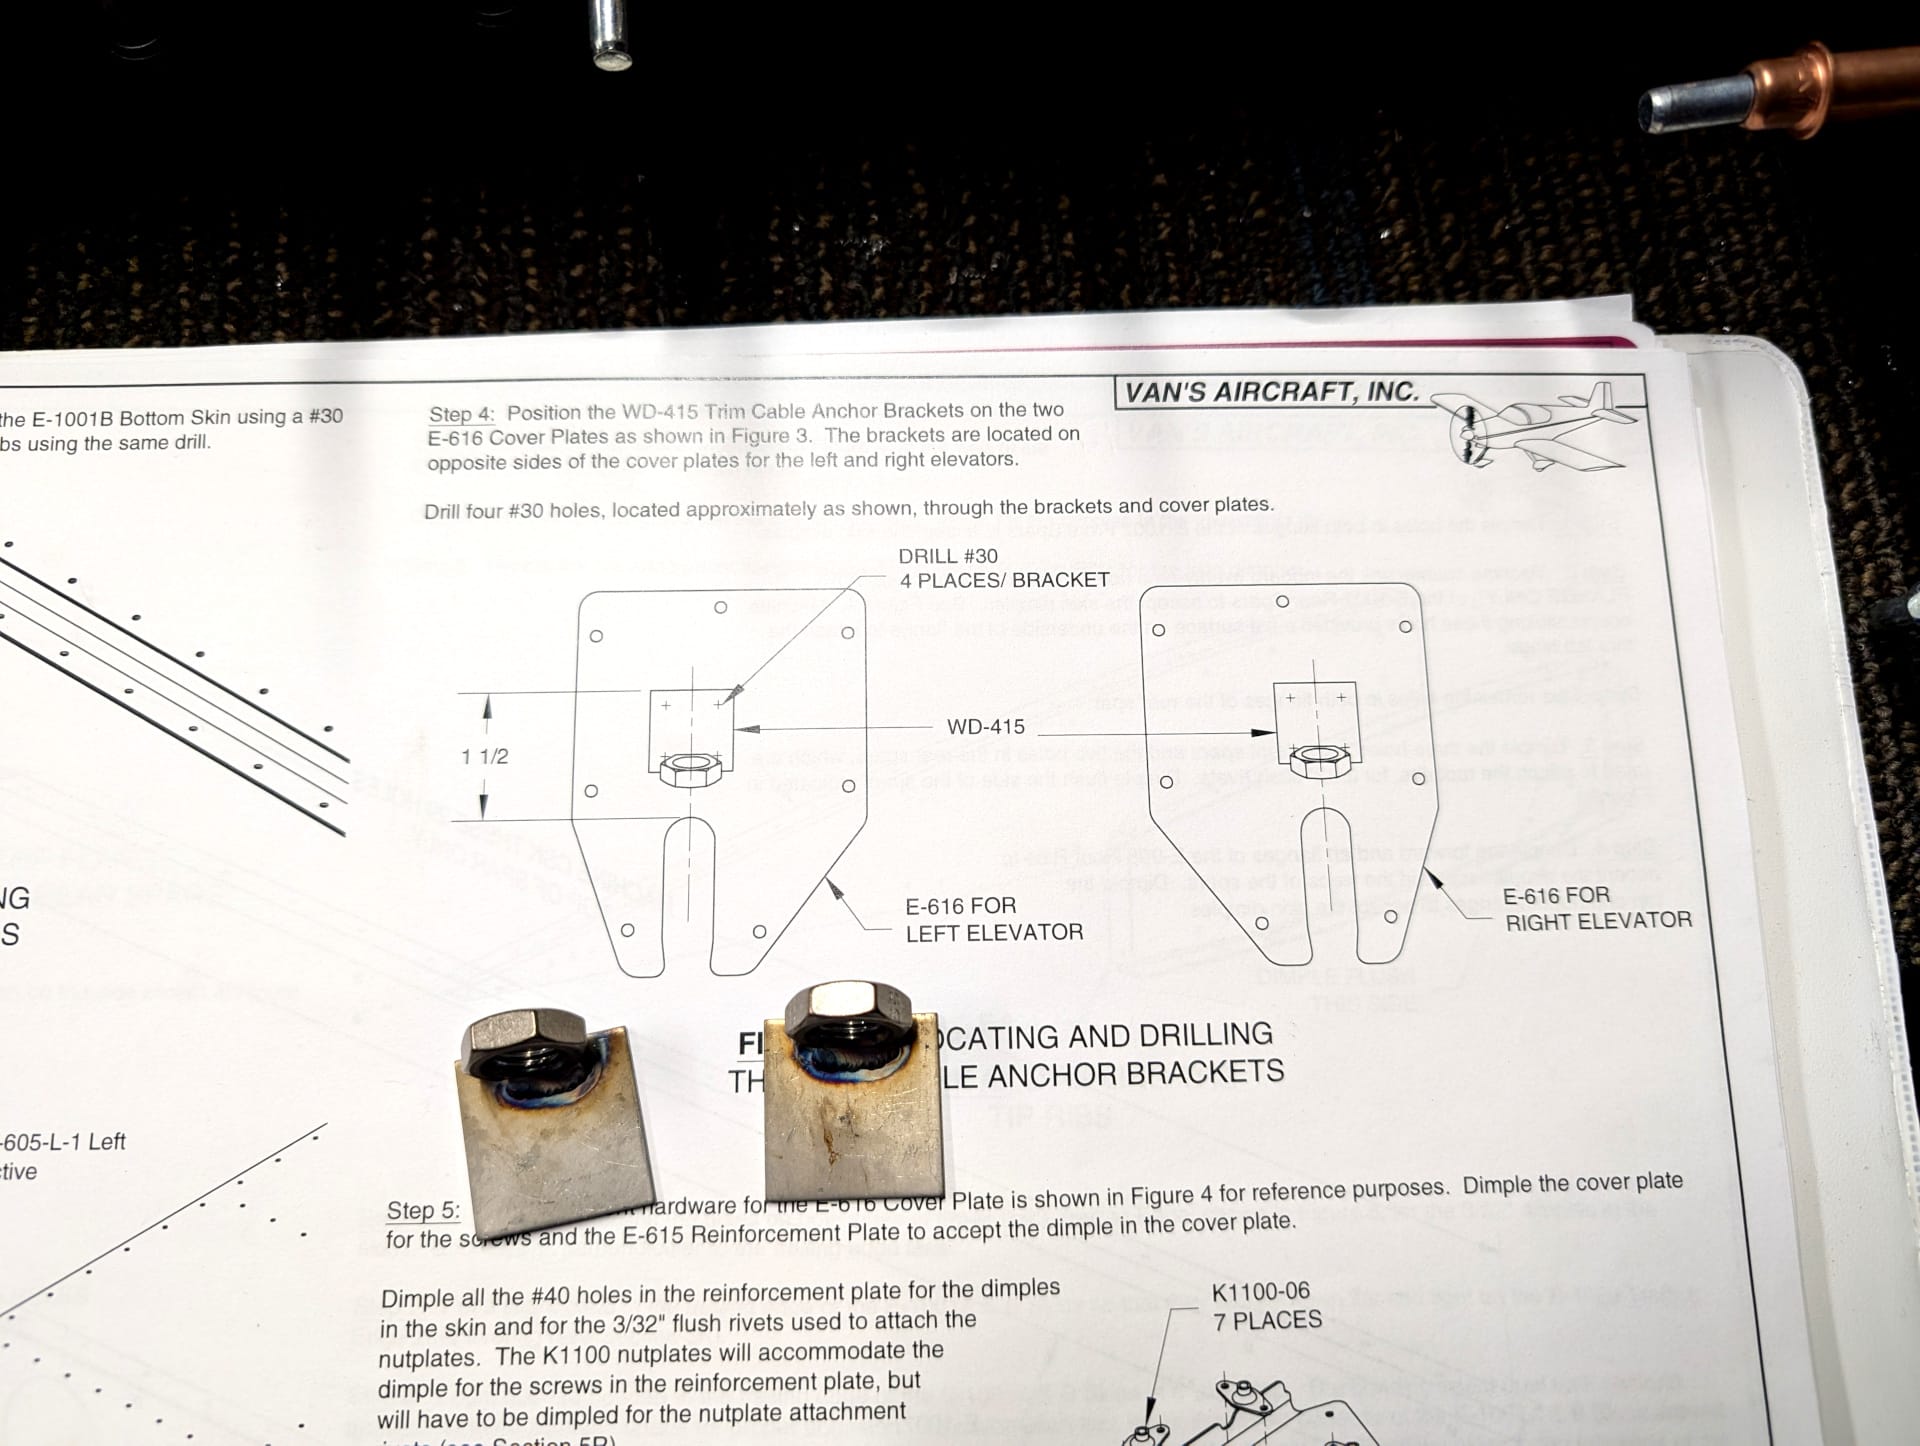
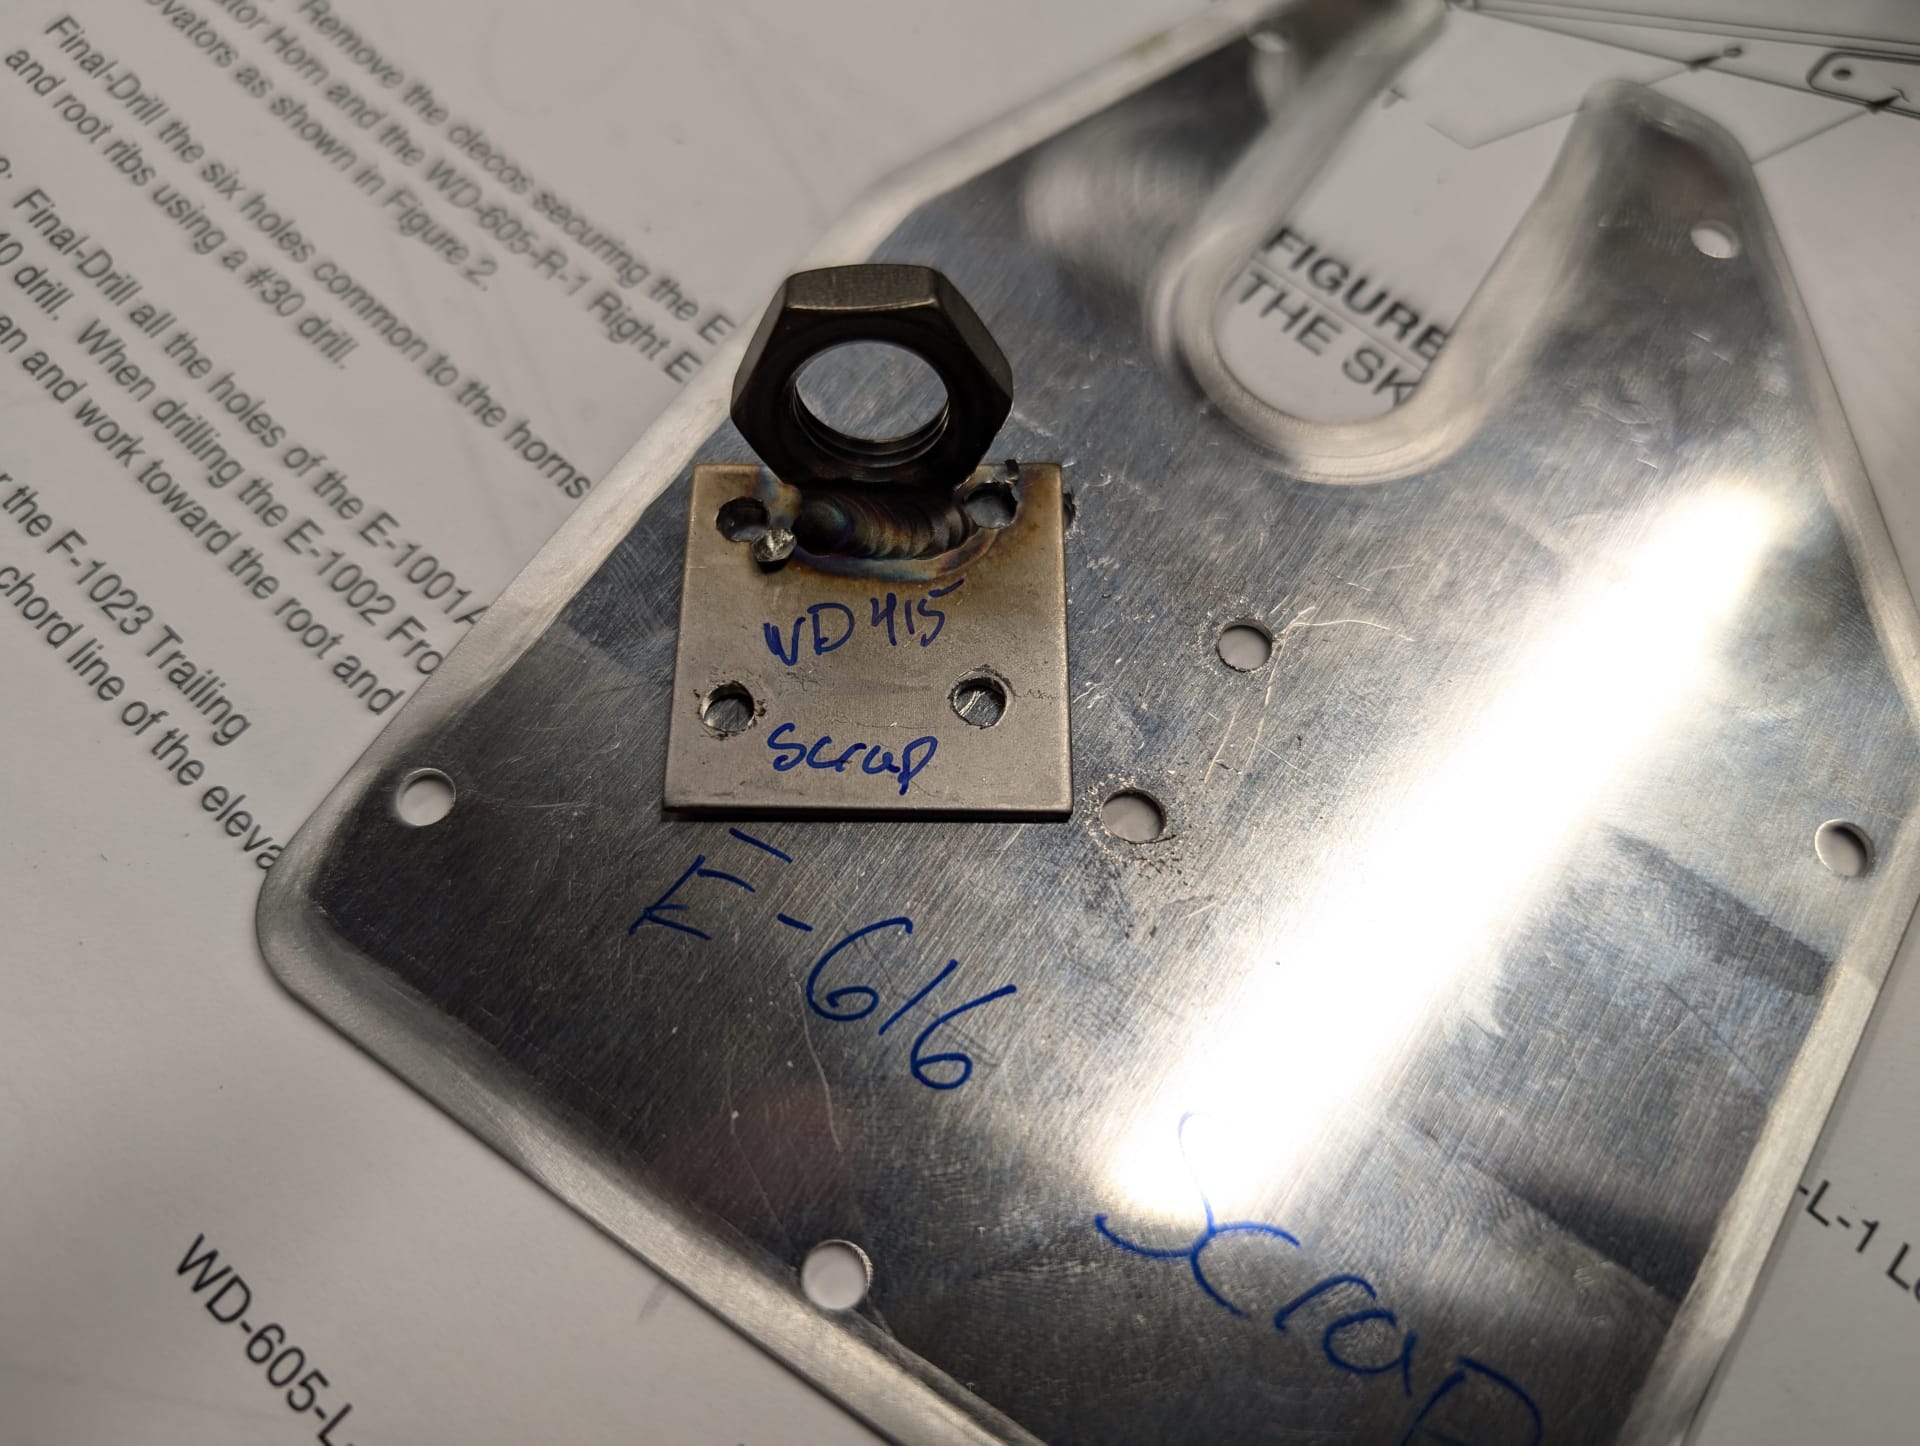
Now let's talk about something I tried to do that failed miserably. The trim inspection plates have a guide part that the wire runs through and you have to drill holes to attach the plate to the other plate. I planned out where I thought the holes should go (no real guidance on that) and tapped things together and drilled but... the tape let go, the holes were in bad places, and everything was generally miserable.

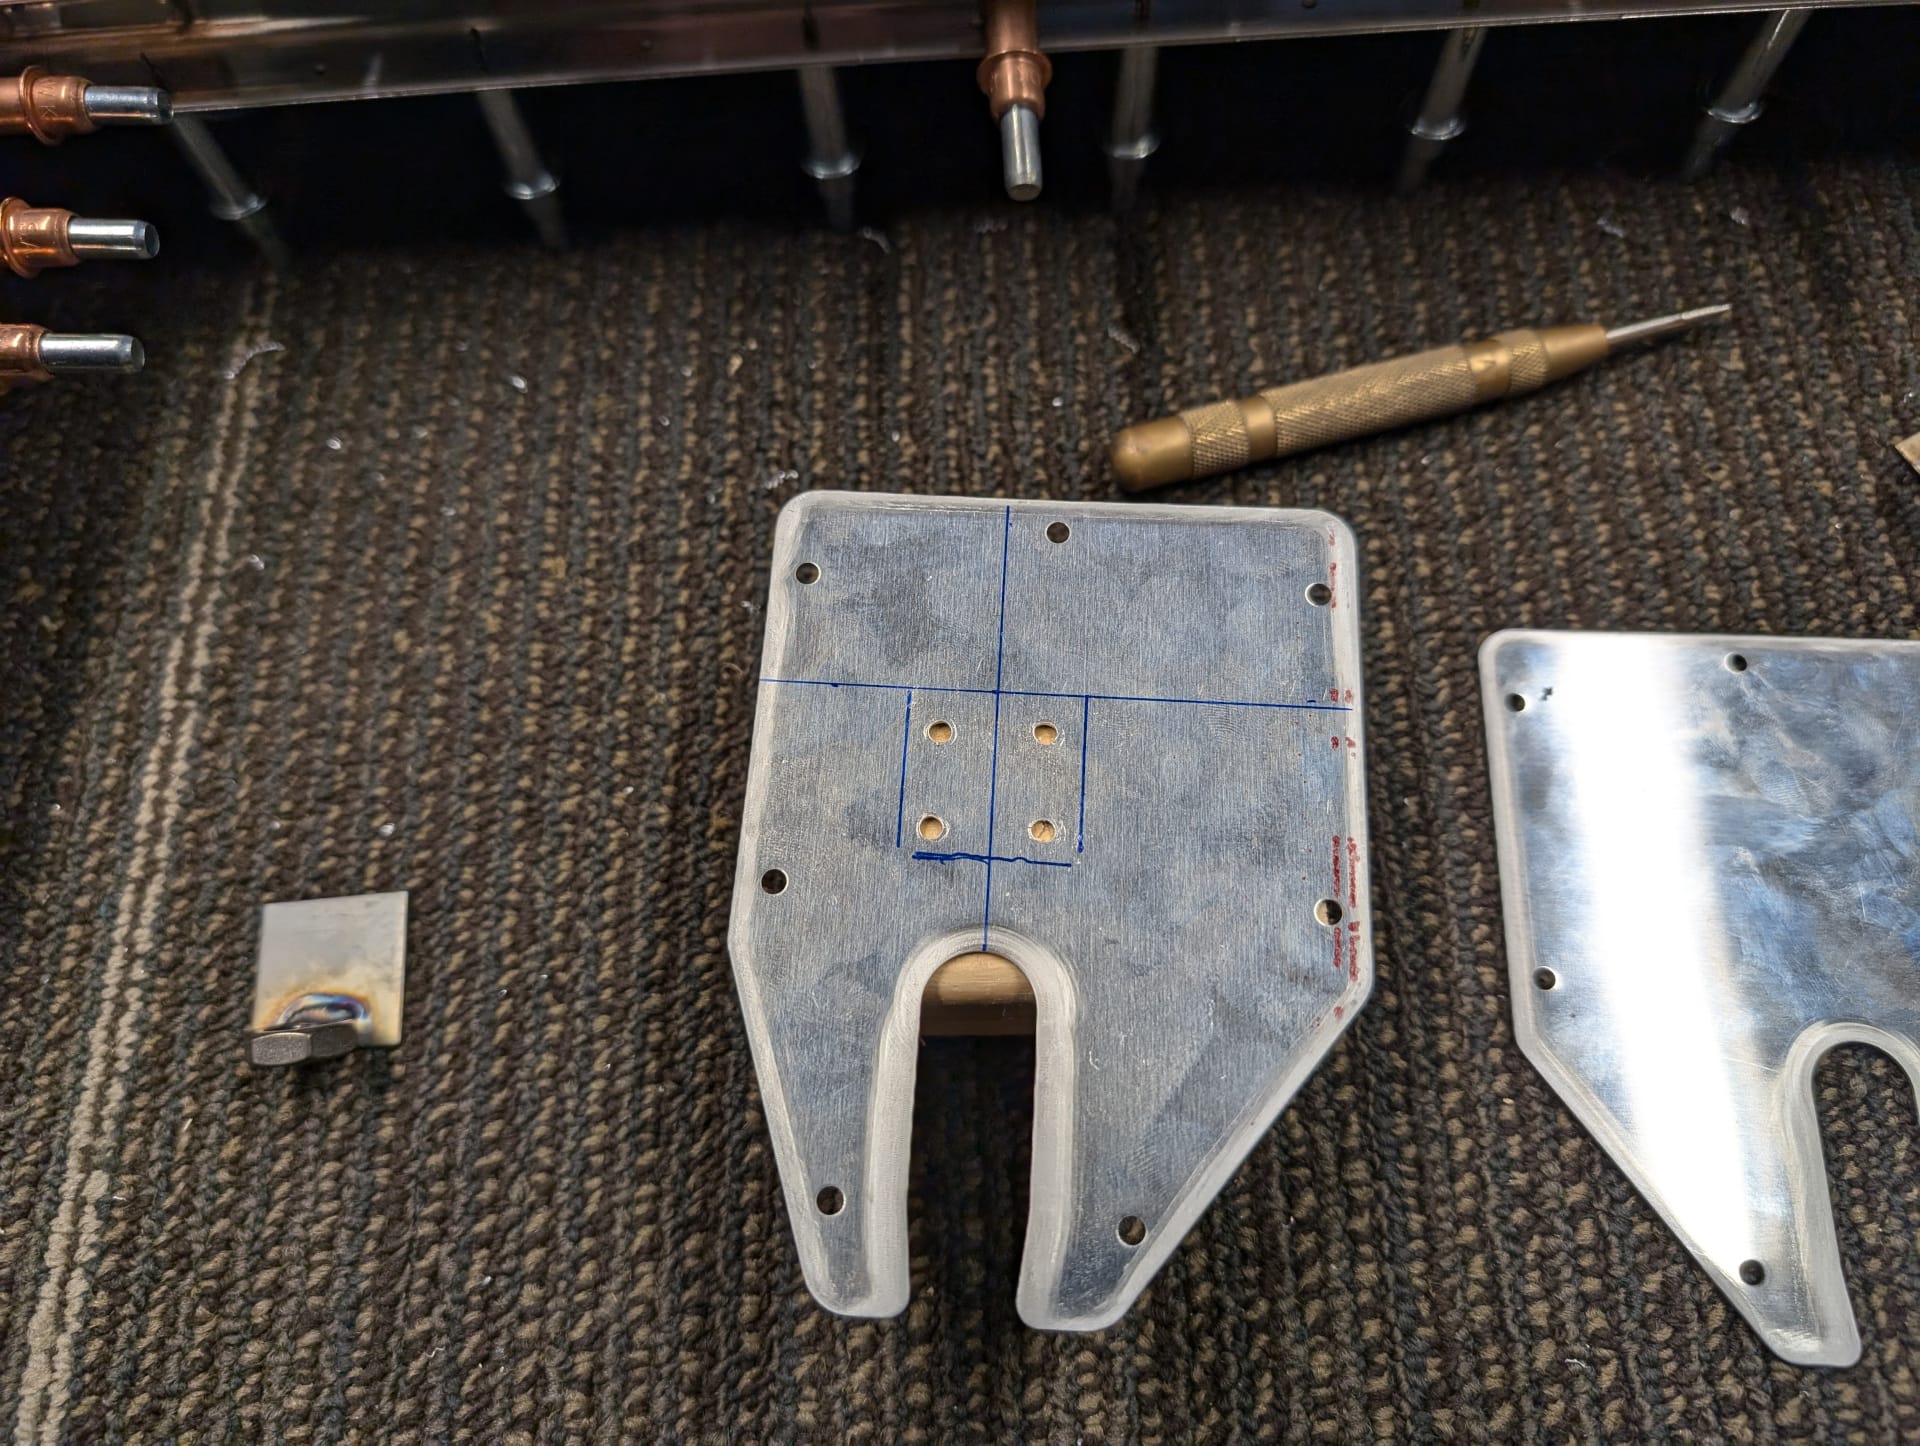

Not learning my lesson the first time I did it twice and it failed exactly the same way the second time too. So next time I have some ideas to make it go better: Mark the holes on the thick part first, drill those with a drill press. Then match drill to the plate without worrying about tape and all that nonsense because you are doing pilot holes. Then updrill everything to #30 once you have it figured out. It was a learning experience though so not a total loss.
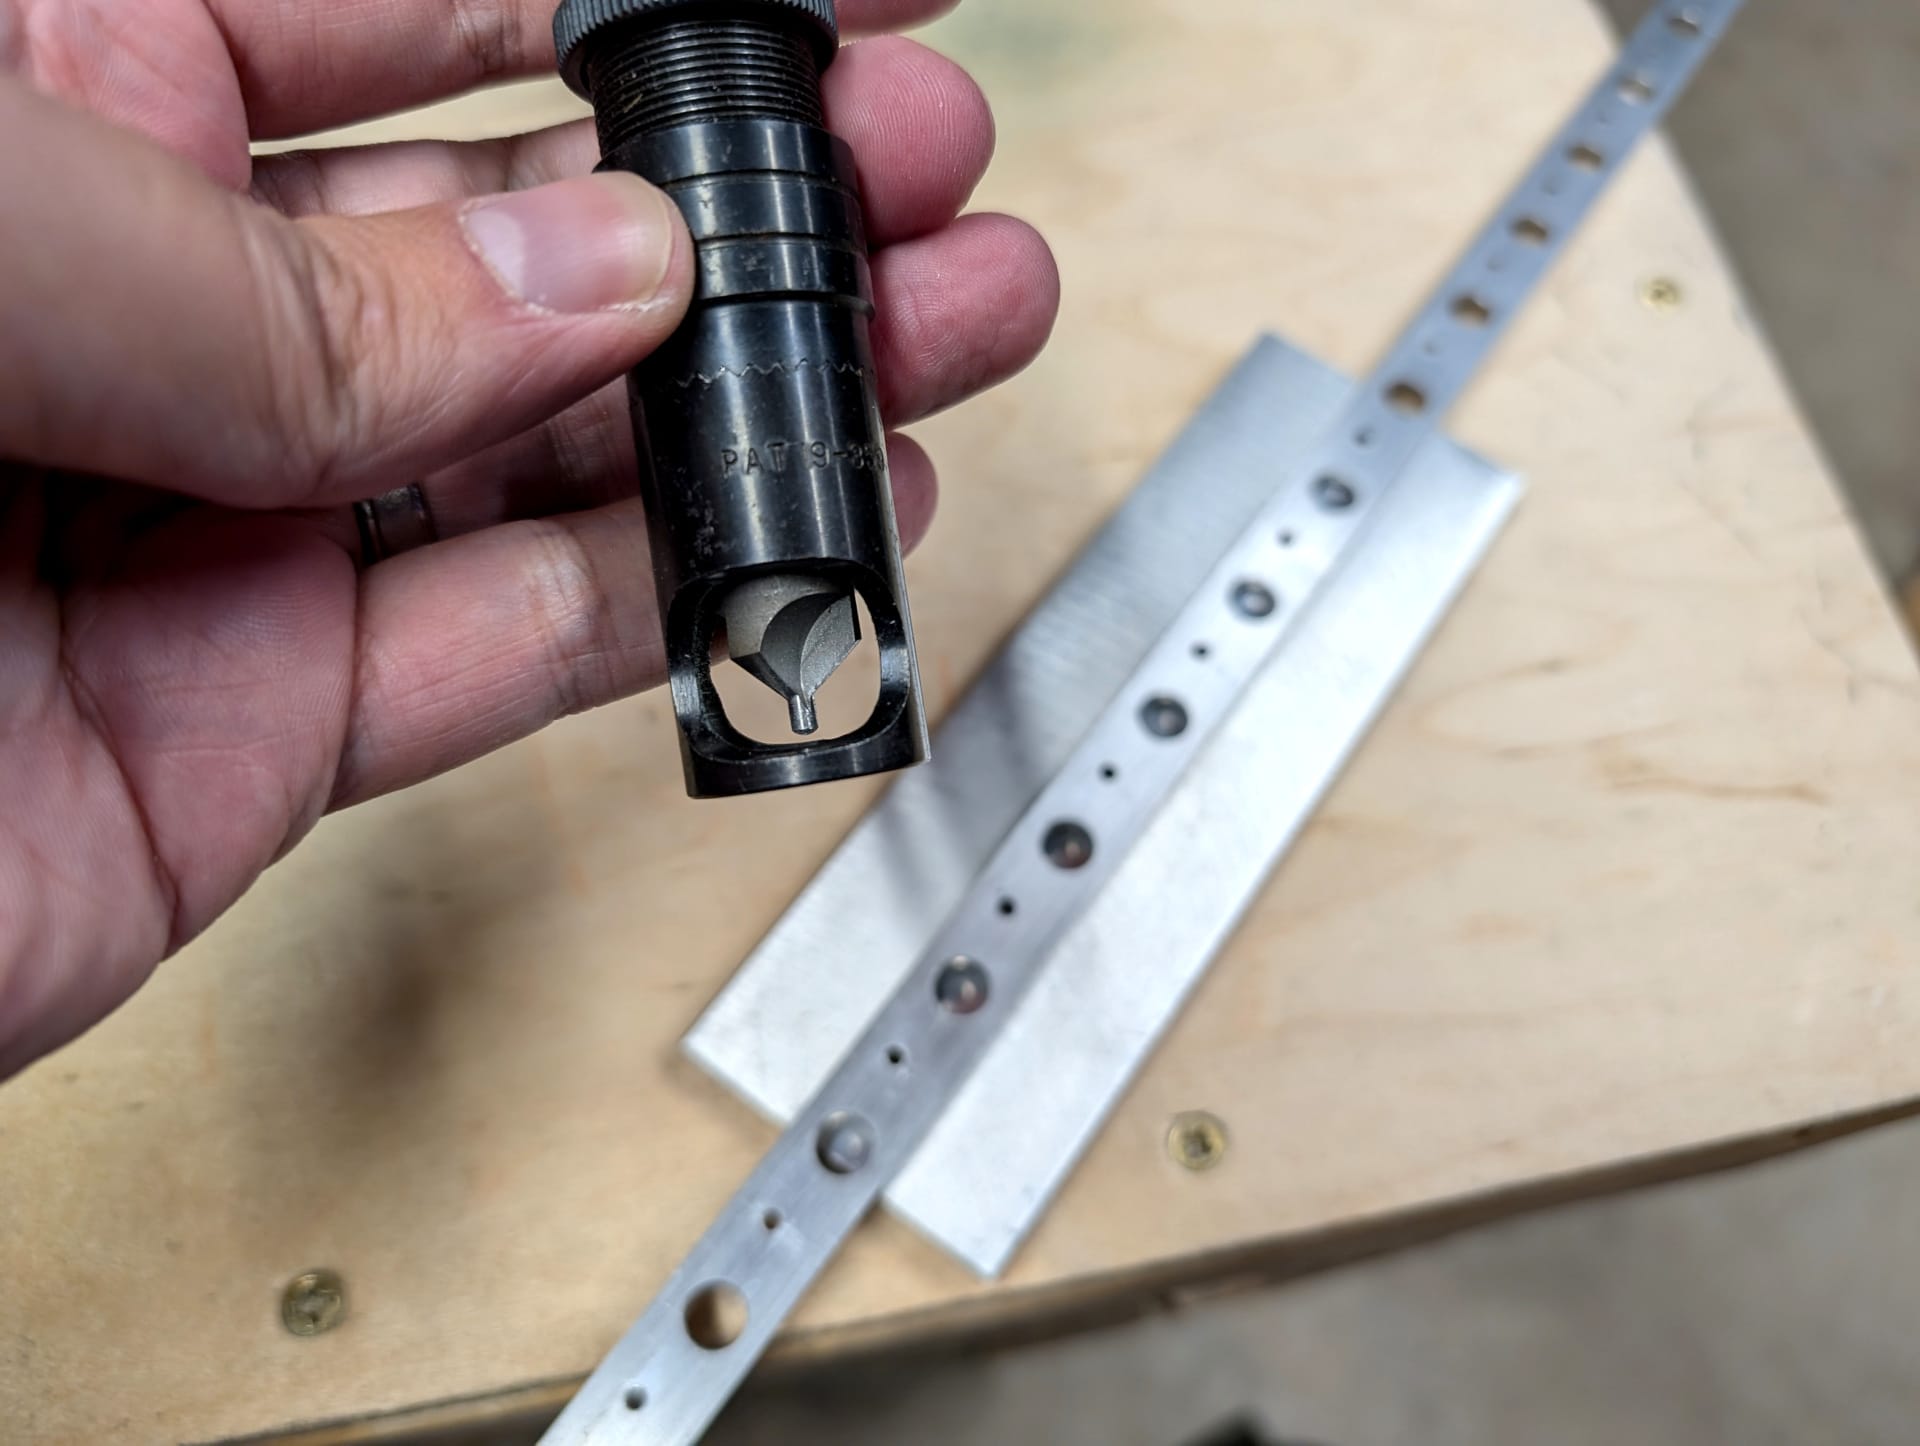
The RV-10 has flush rivets on the skins. That means all the skins, ribs, and spars need dimples or countersink cuts in order to accept the countersunk rivets. So let's get dimpling.

The trailing edge wedge is kind of cool because it gets double flush riveted. It needs a countersink cut on both sides. I have a cool jig to make that easier for me.
Okay, back to dimpling.
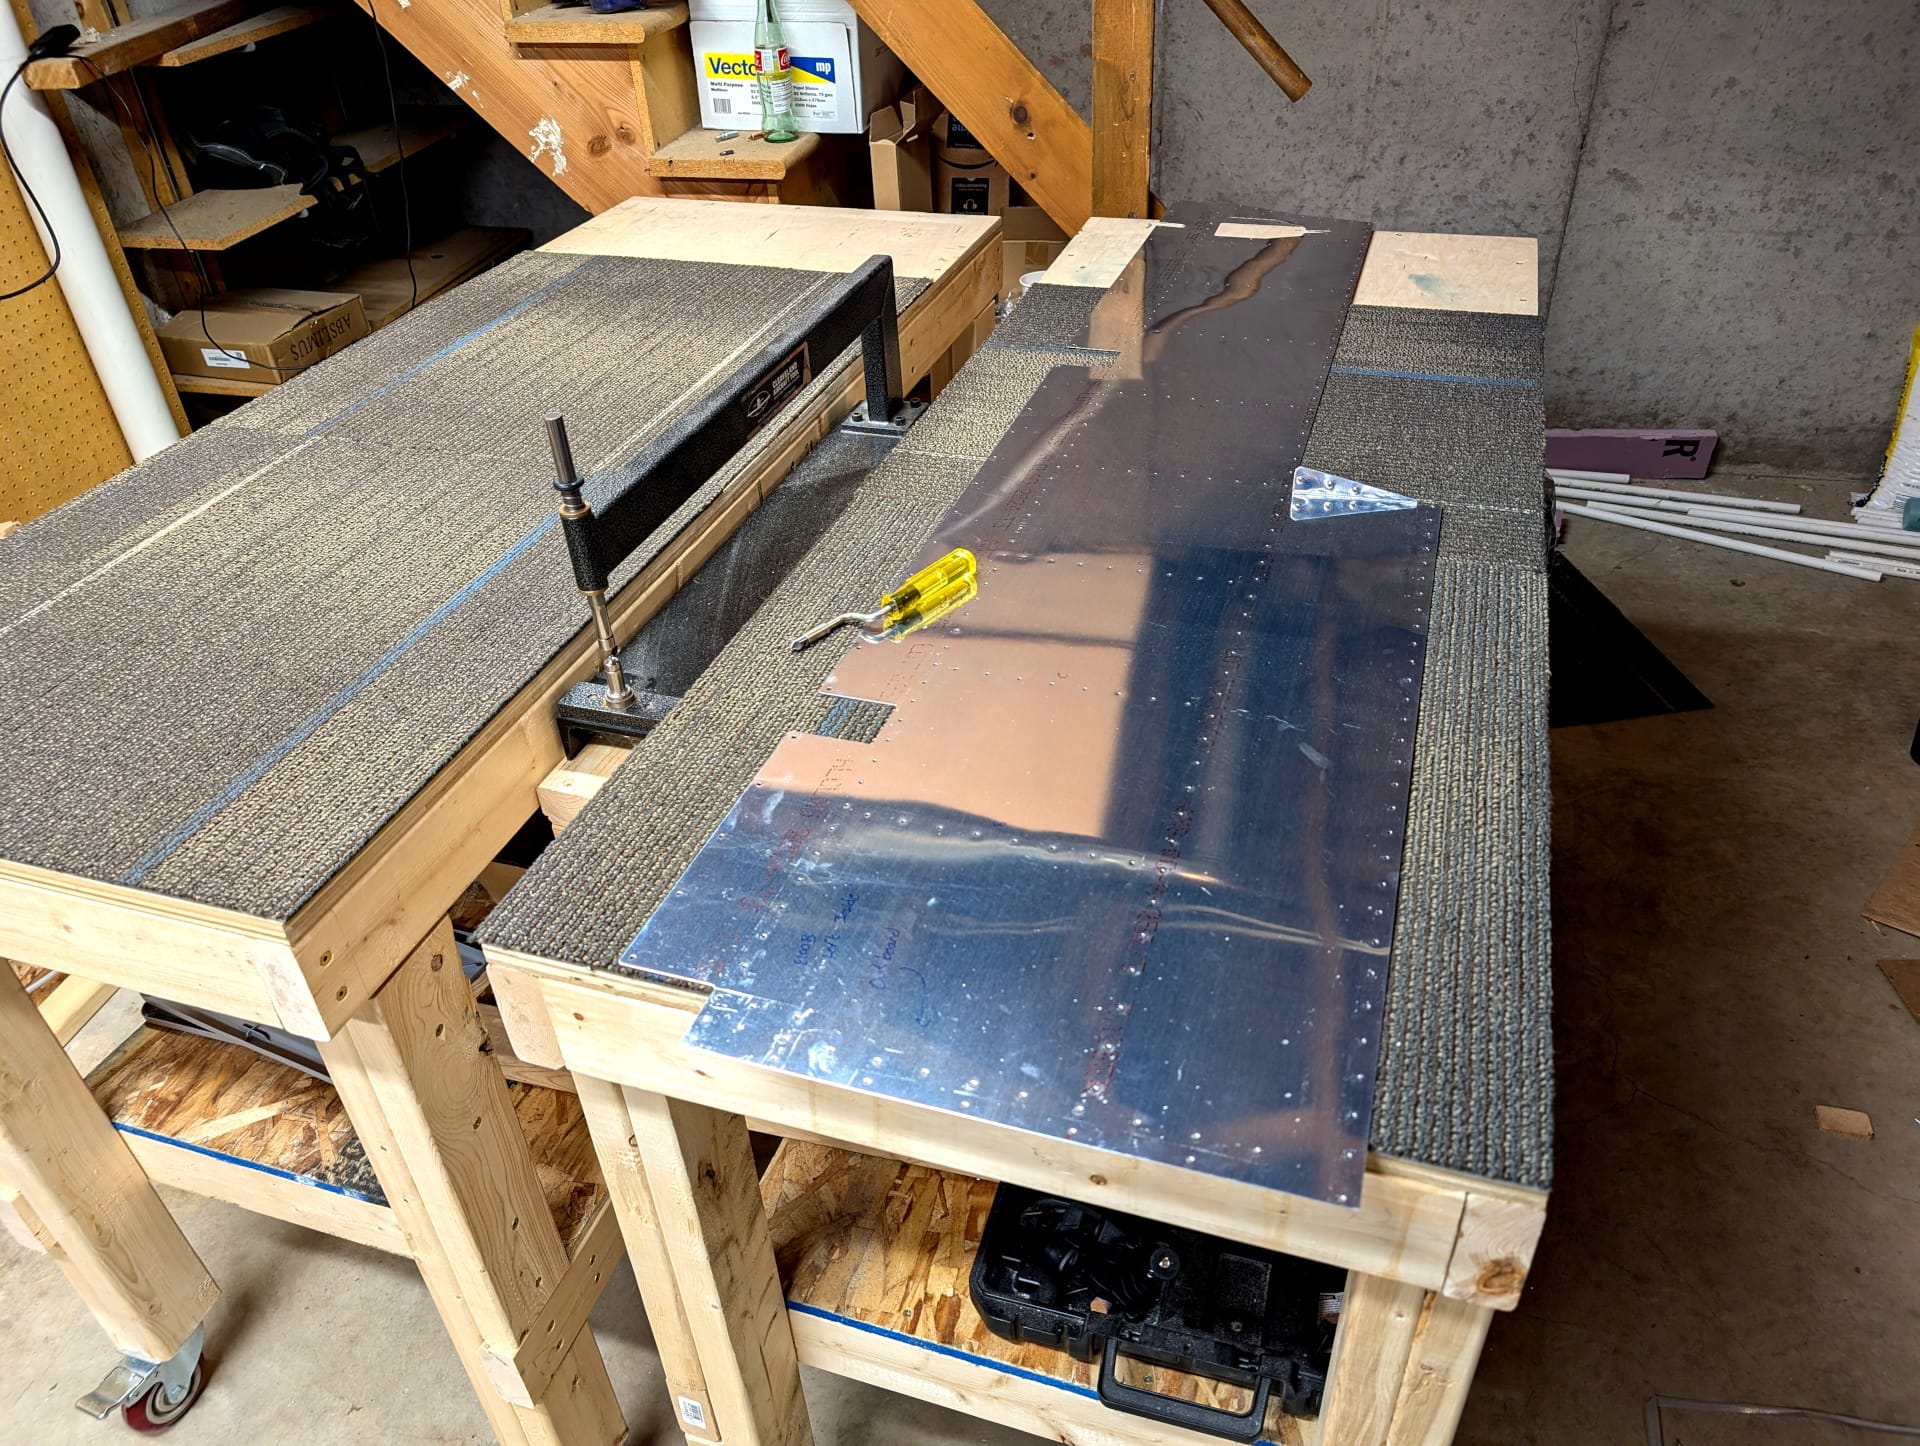
Now the skins are special. They are too big to dimple with my little hand squeezer so I pulled out my c-frame with special mount I build so it sits nicely between the work benches and I set out on dimpling all the holes (I had to debur them all first, front and back, ugh).

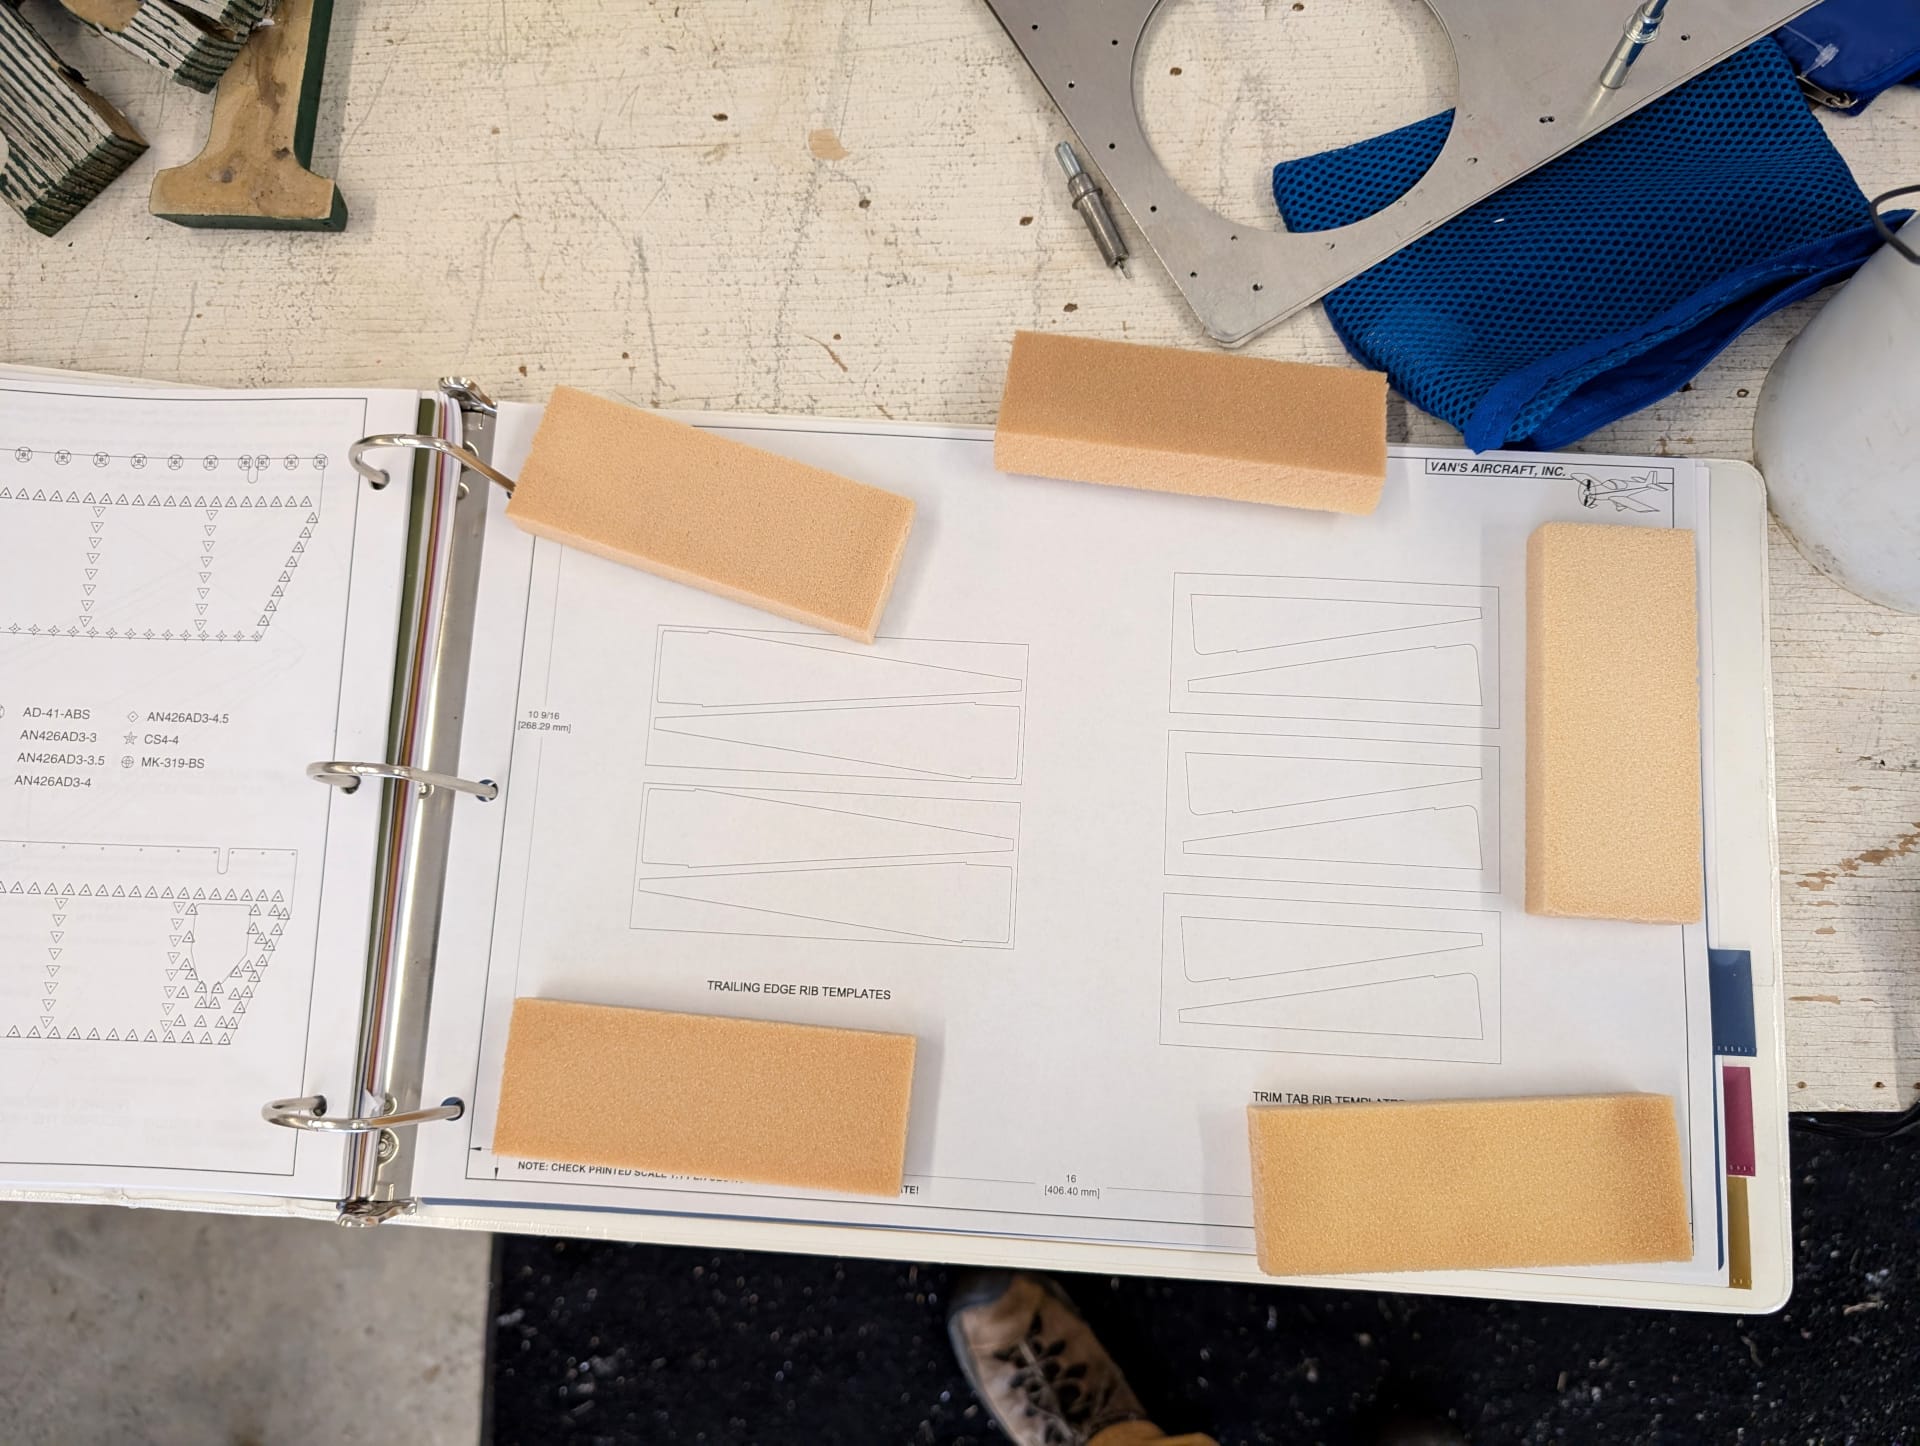
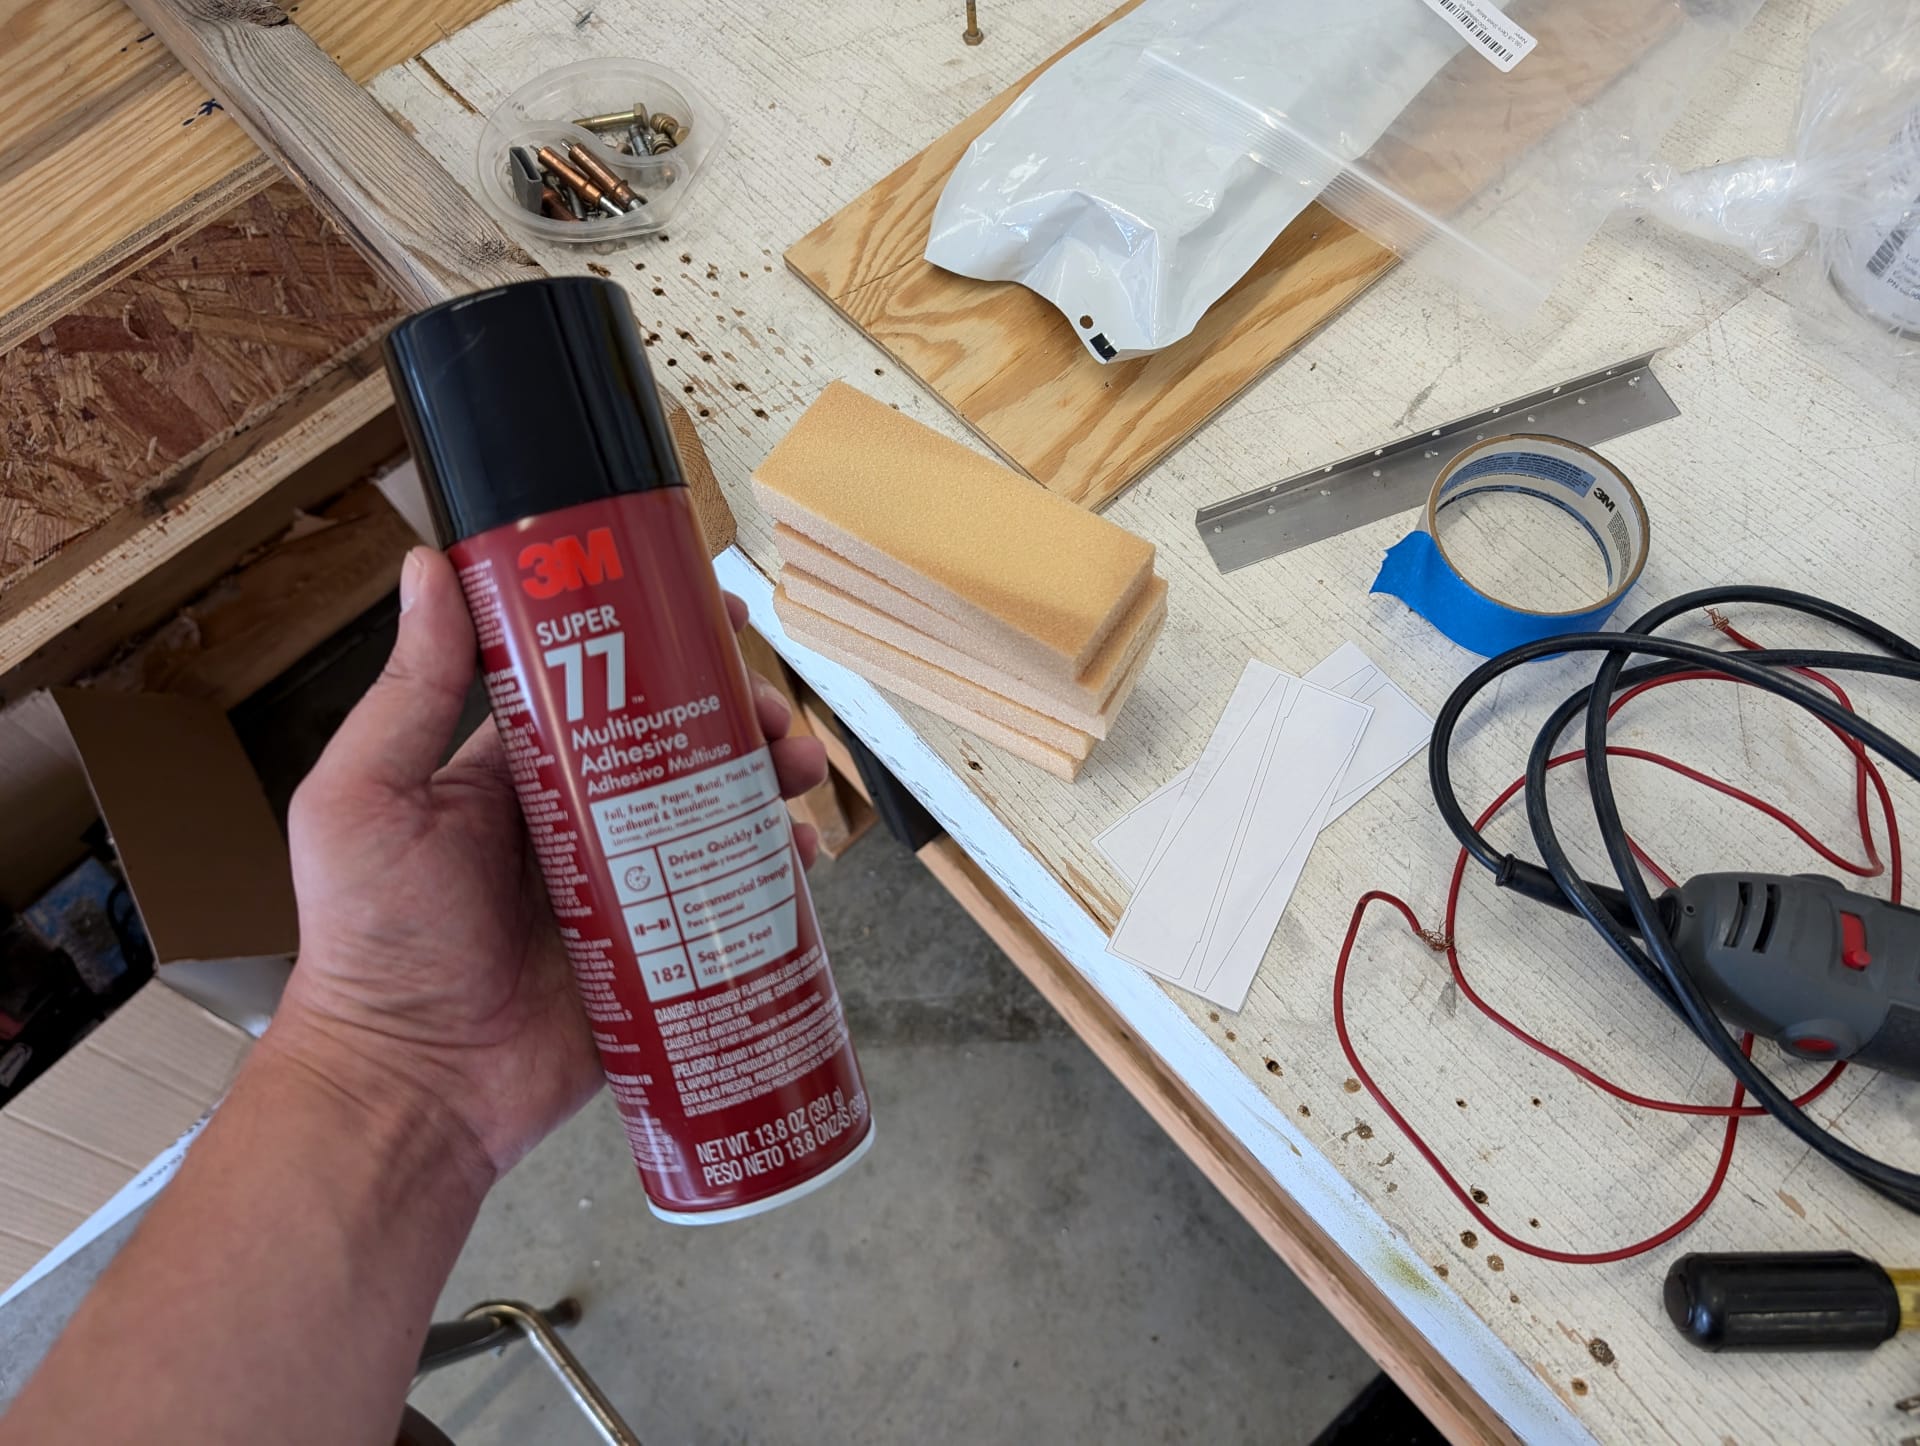
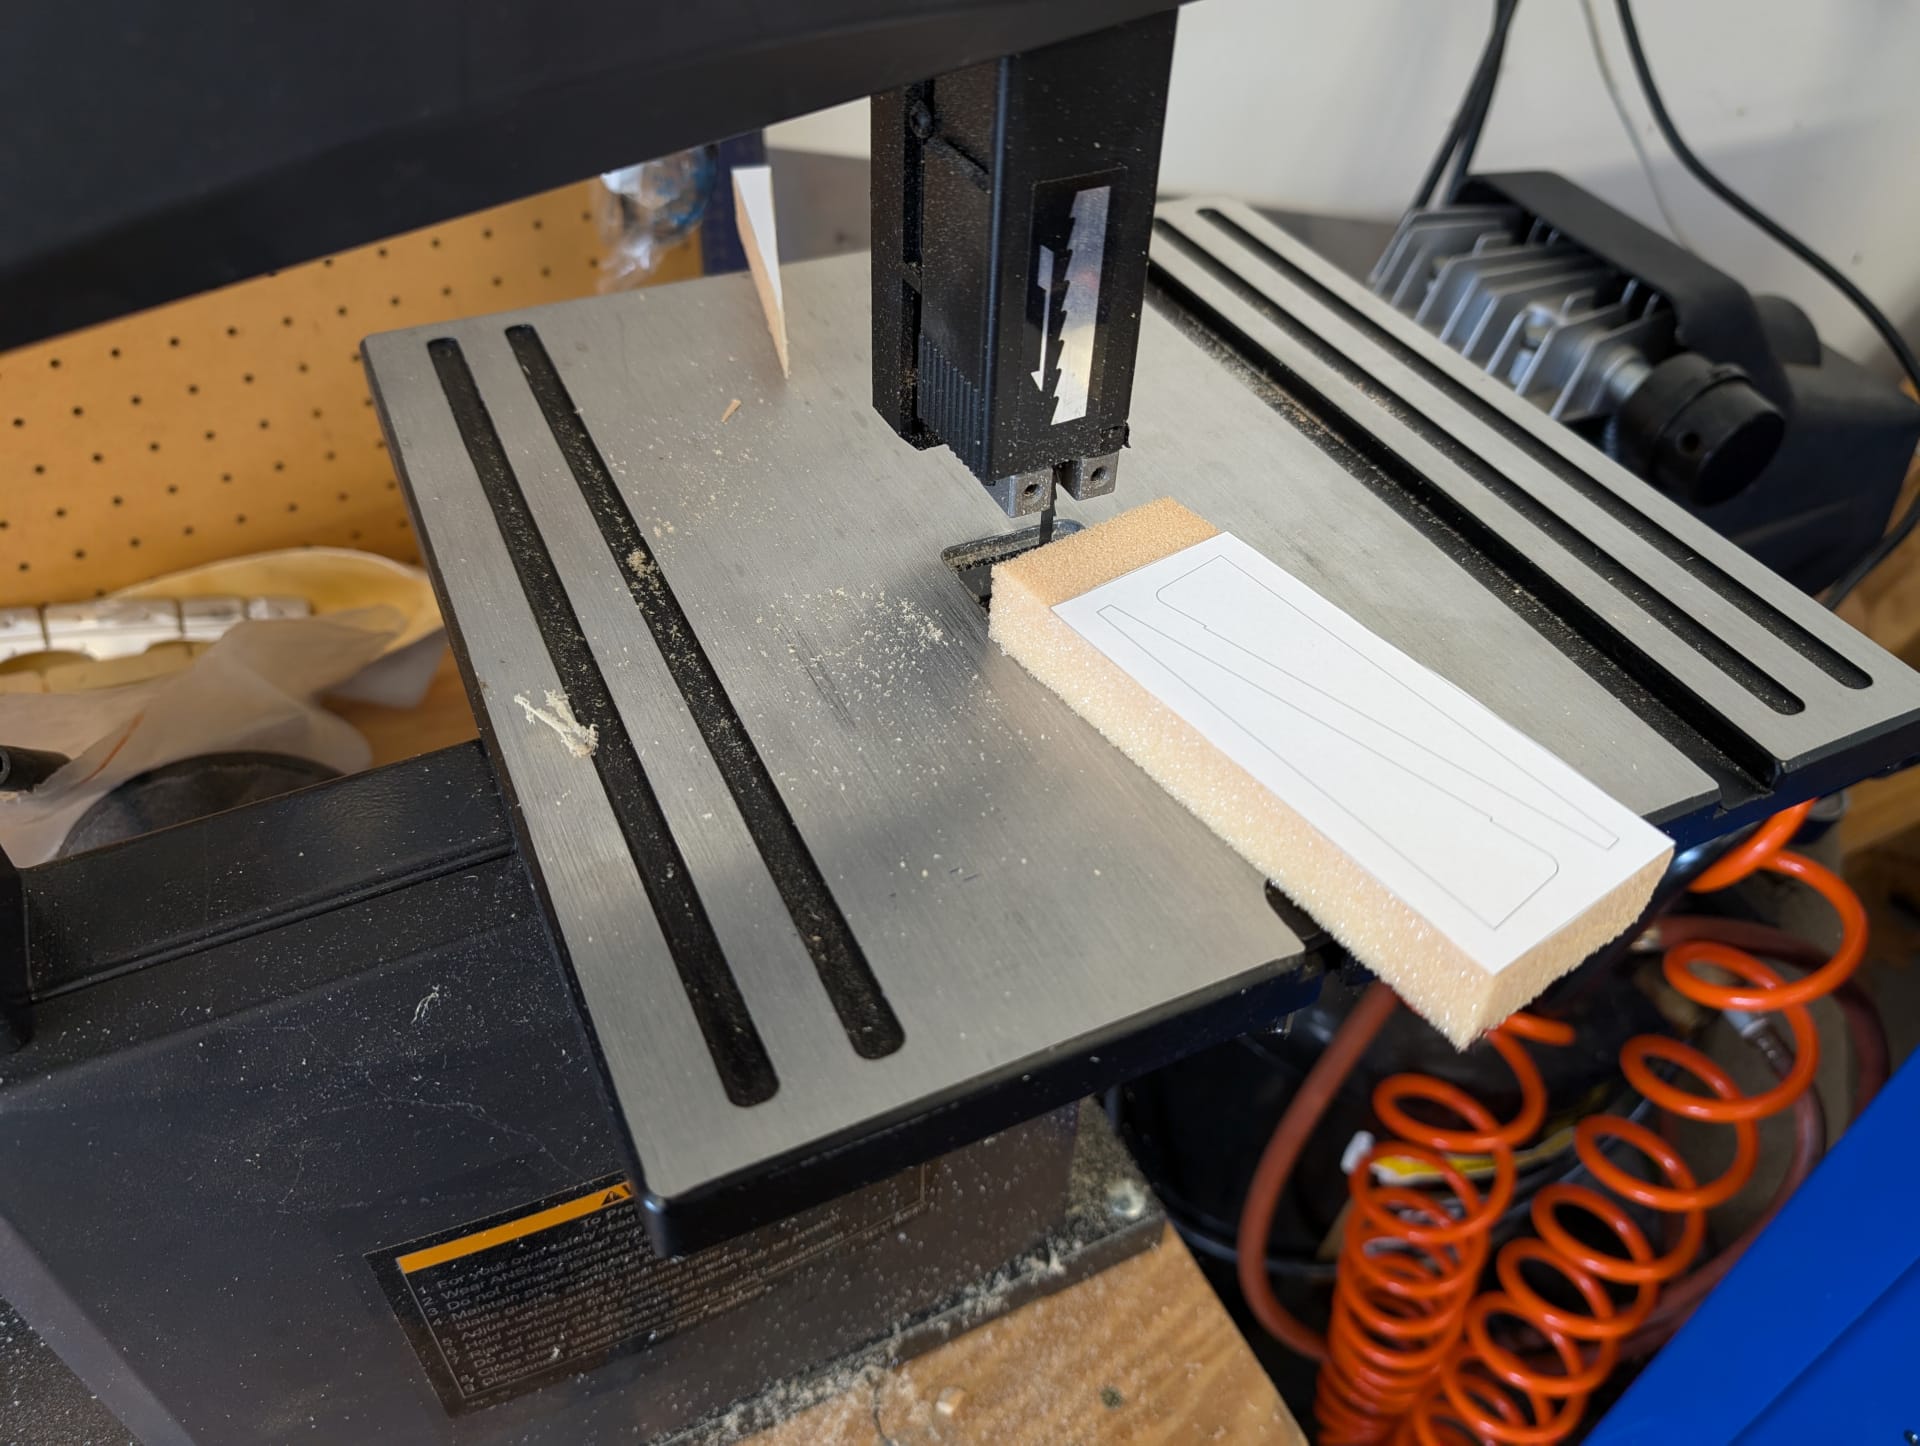
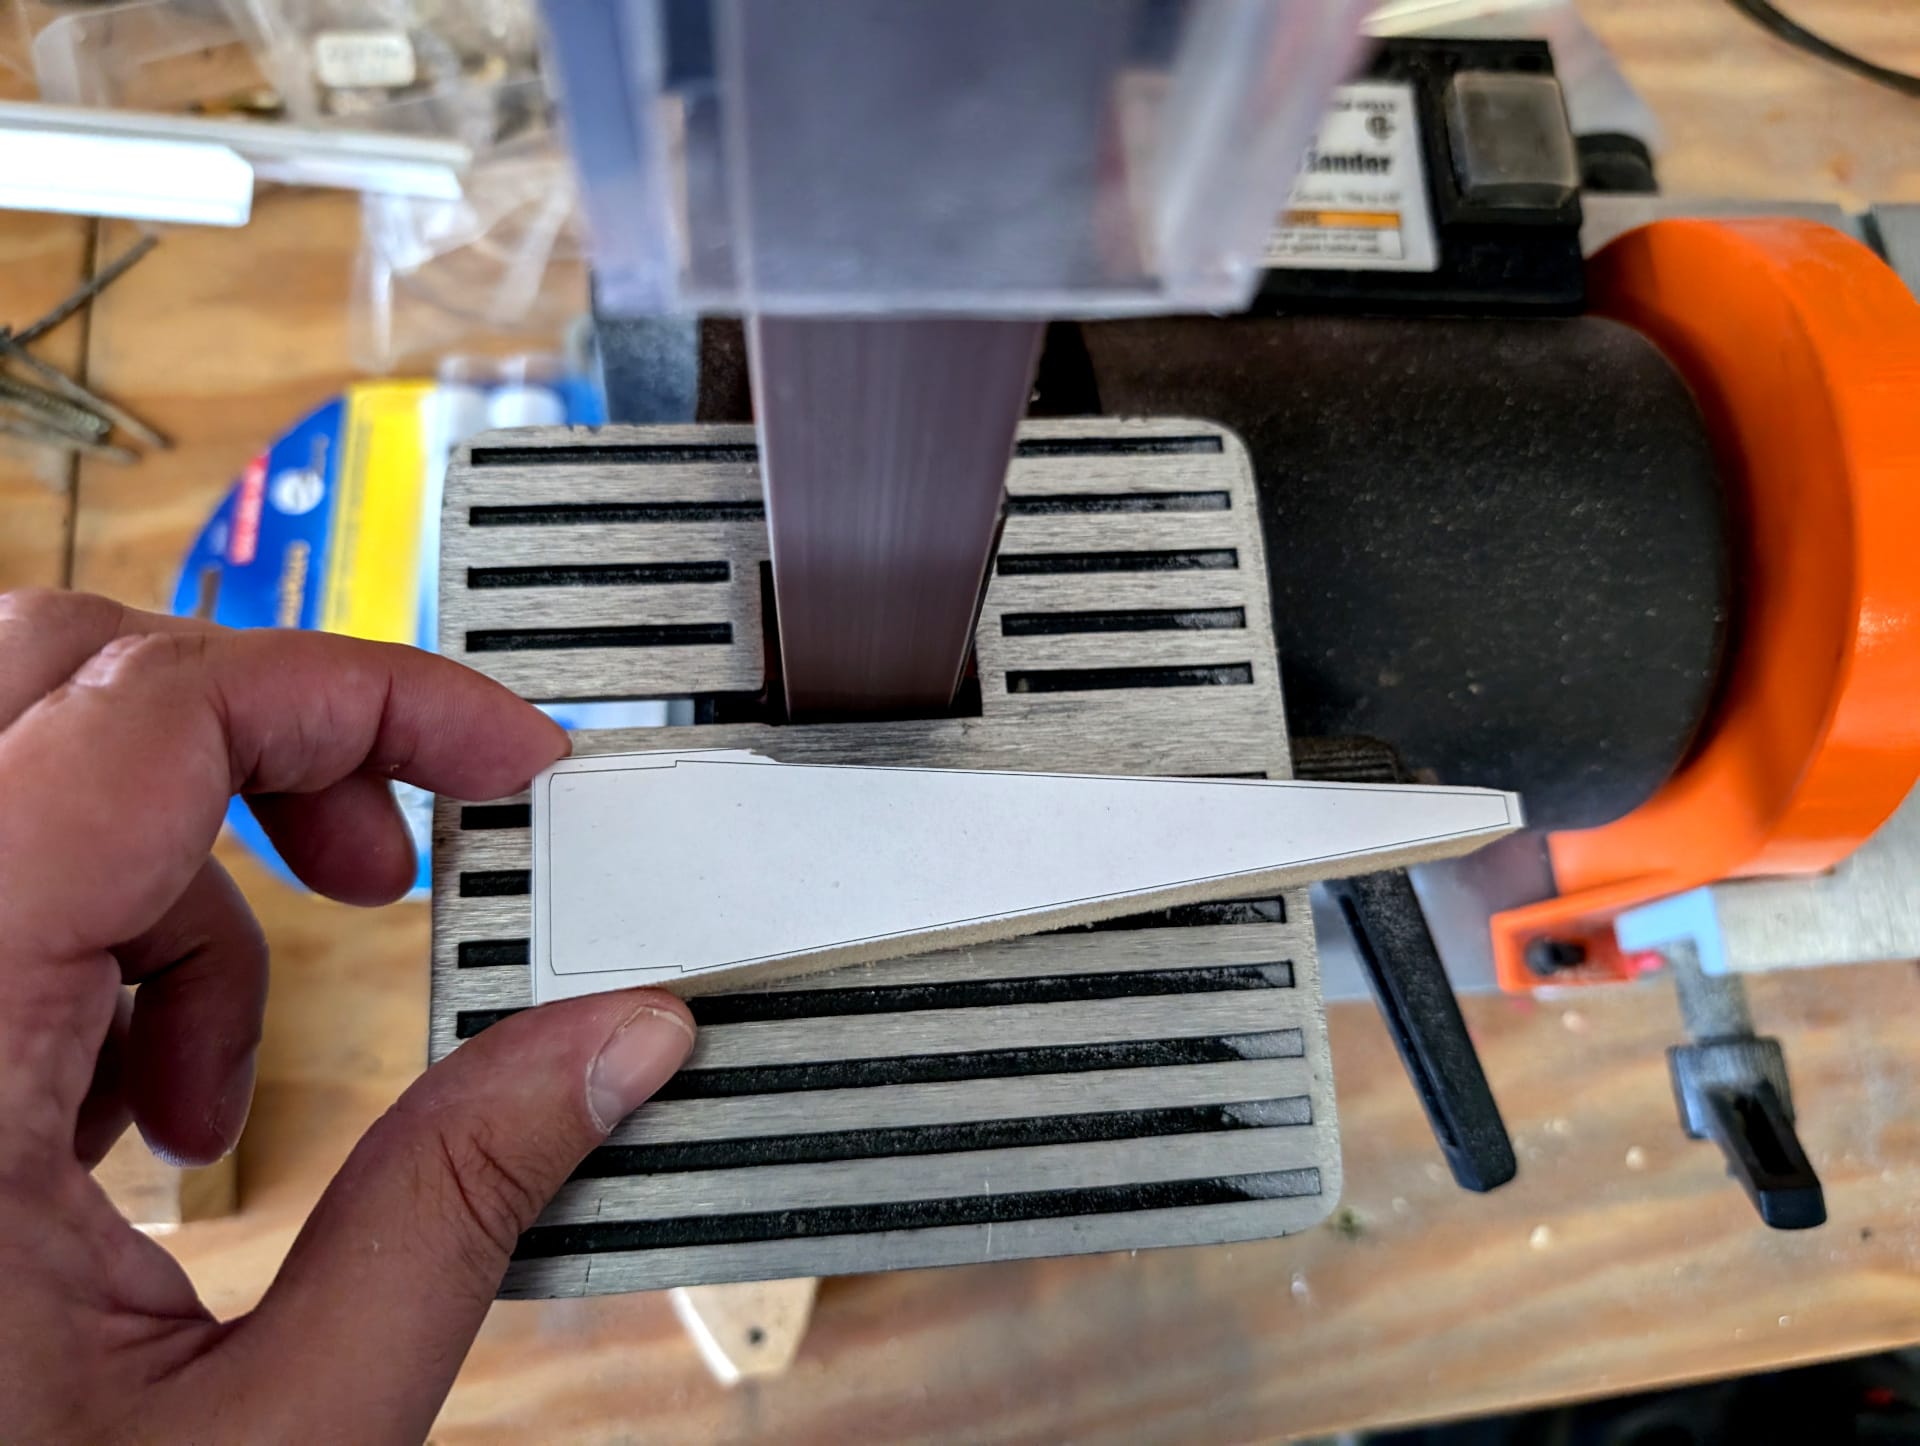
This takes longer than you think it does. At this point I wanted to make the foam ribs that go in the trailing edge so I went to the hardware store and got some spray adhesive so I could make the foam to shape. This was messy but easy to do.
I was waiting on another tool I ordered as well. The tip ribs didn't come dimpled and the clearance was much too tight for anything I had. So I set upon the internet to hear how others had solved this problem and it turns out you can buy pliers with dimple dies welded on that will fit in that space. So I ordered the pliers and I can confirm they work as advertised.
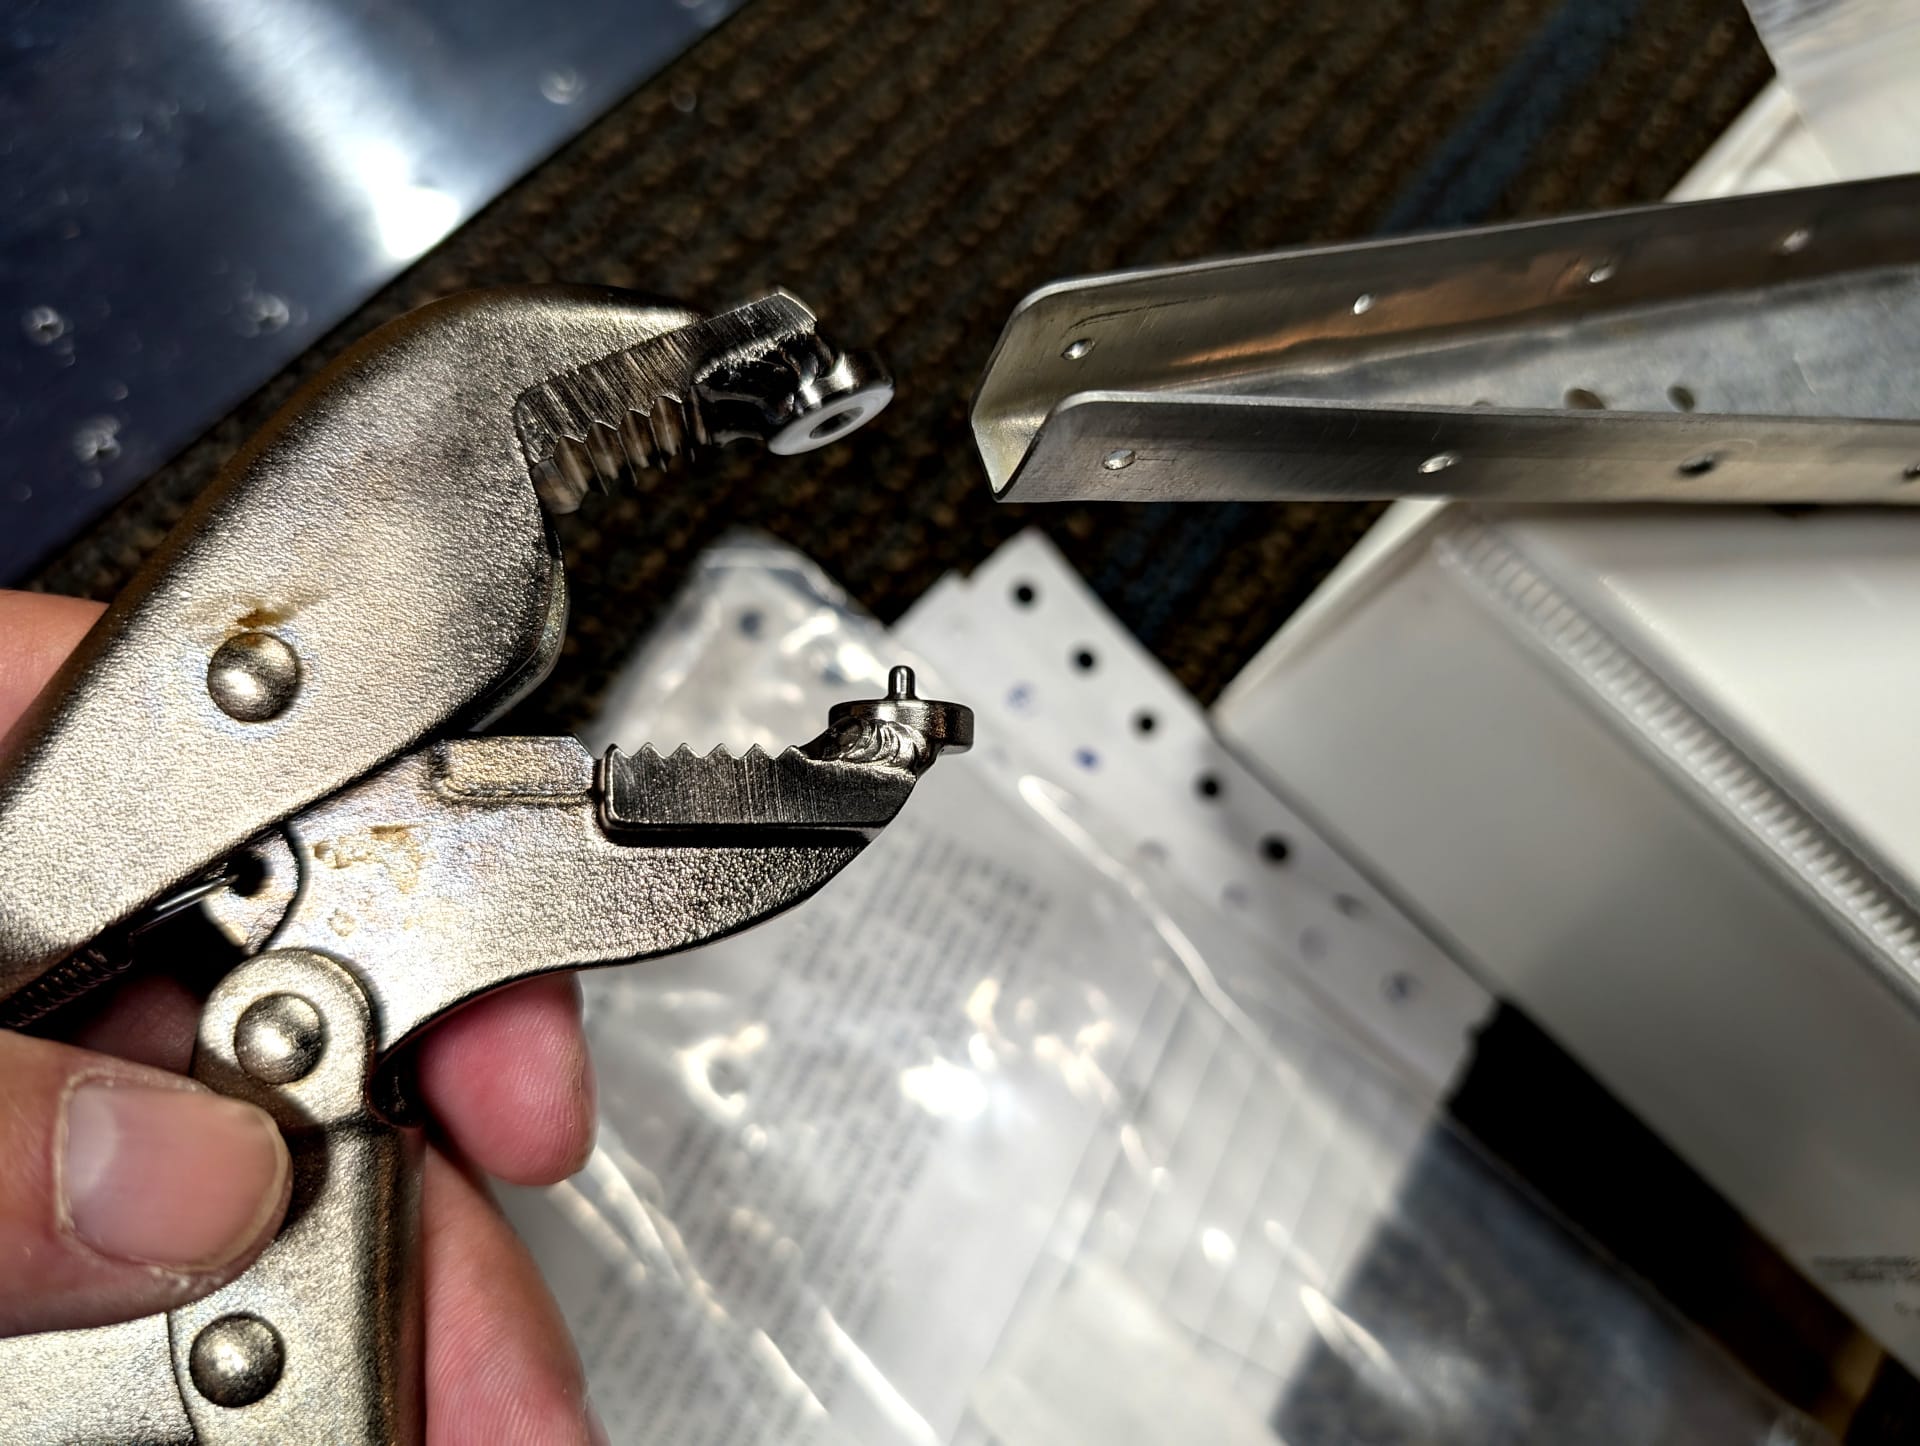
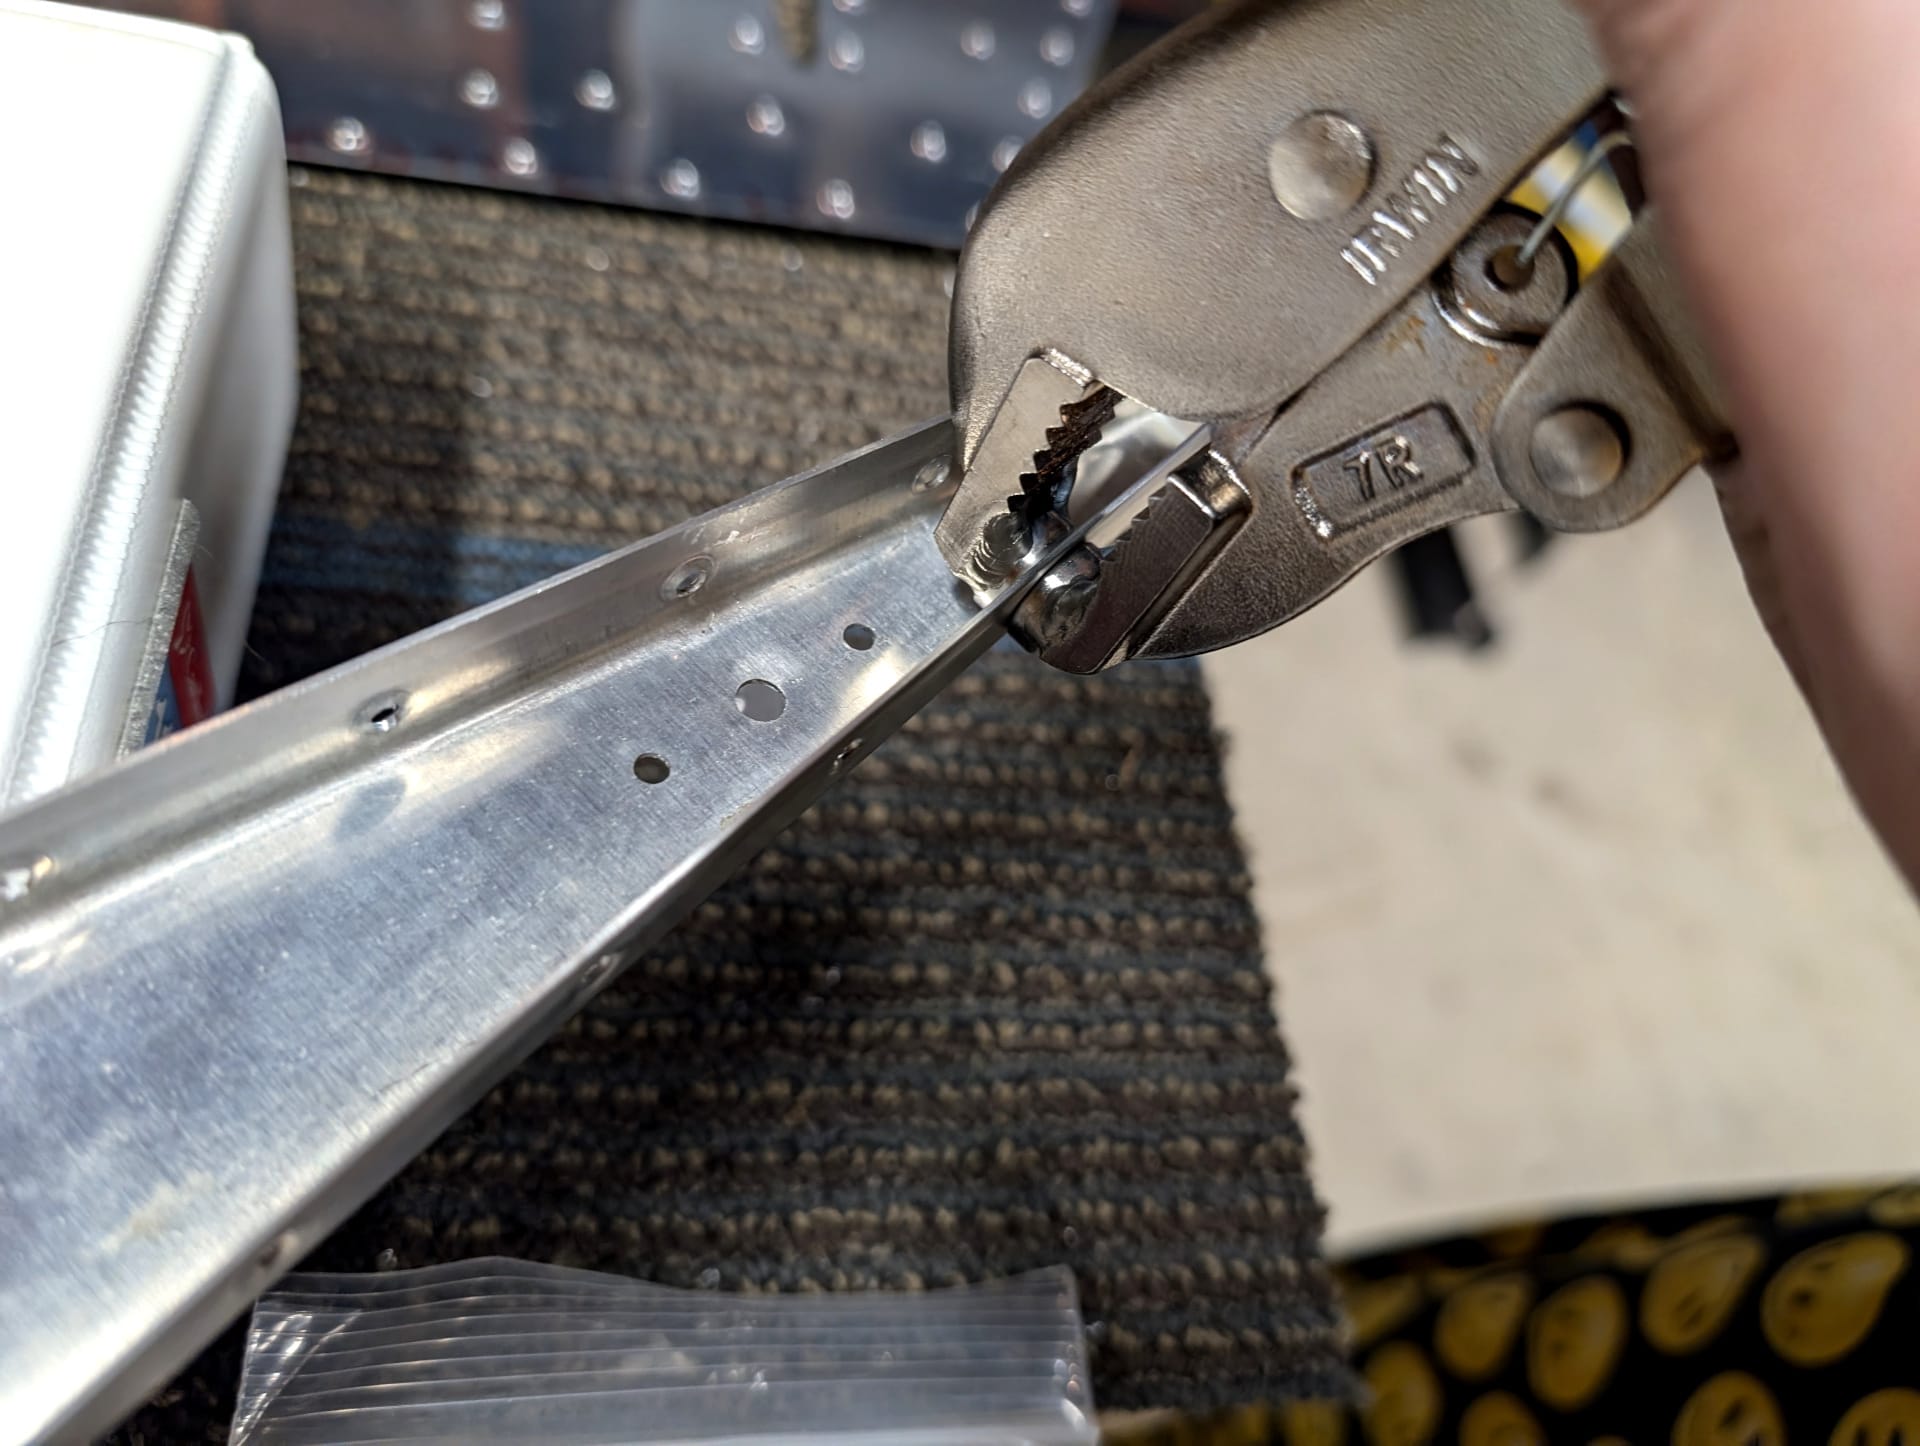
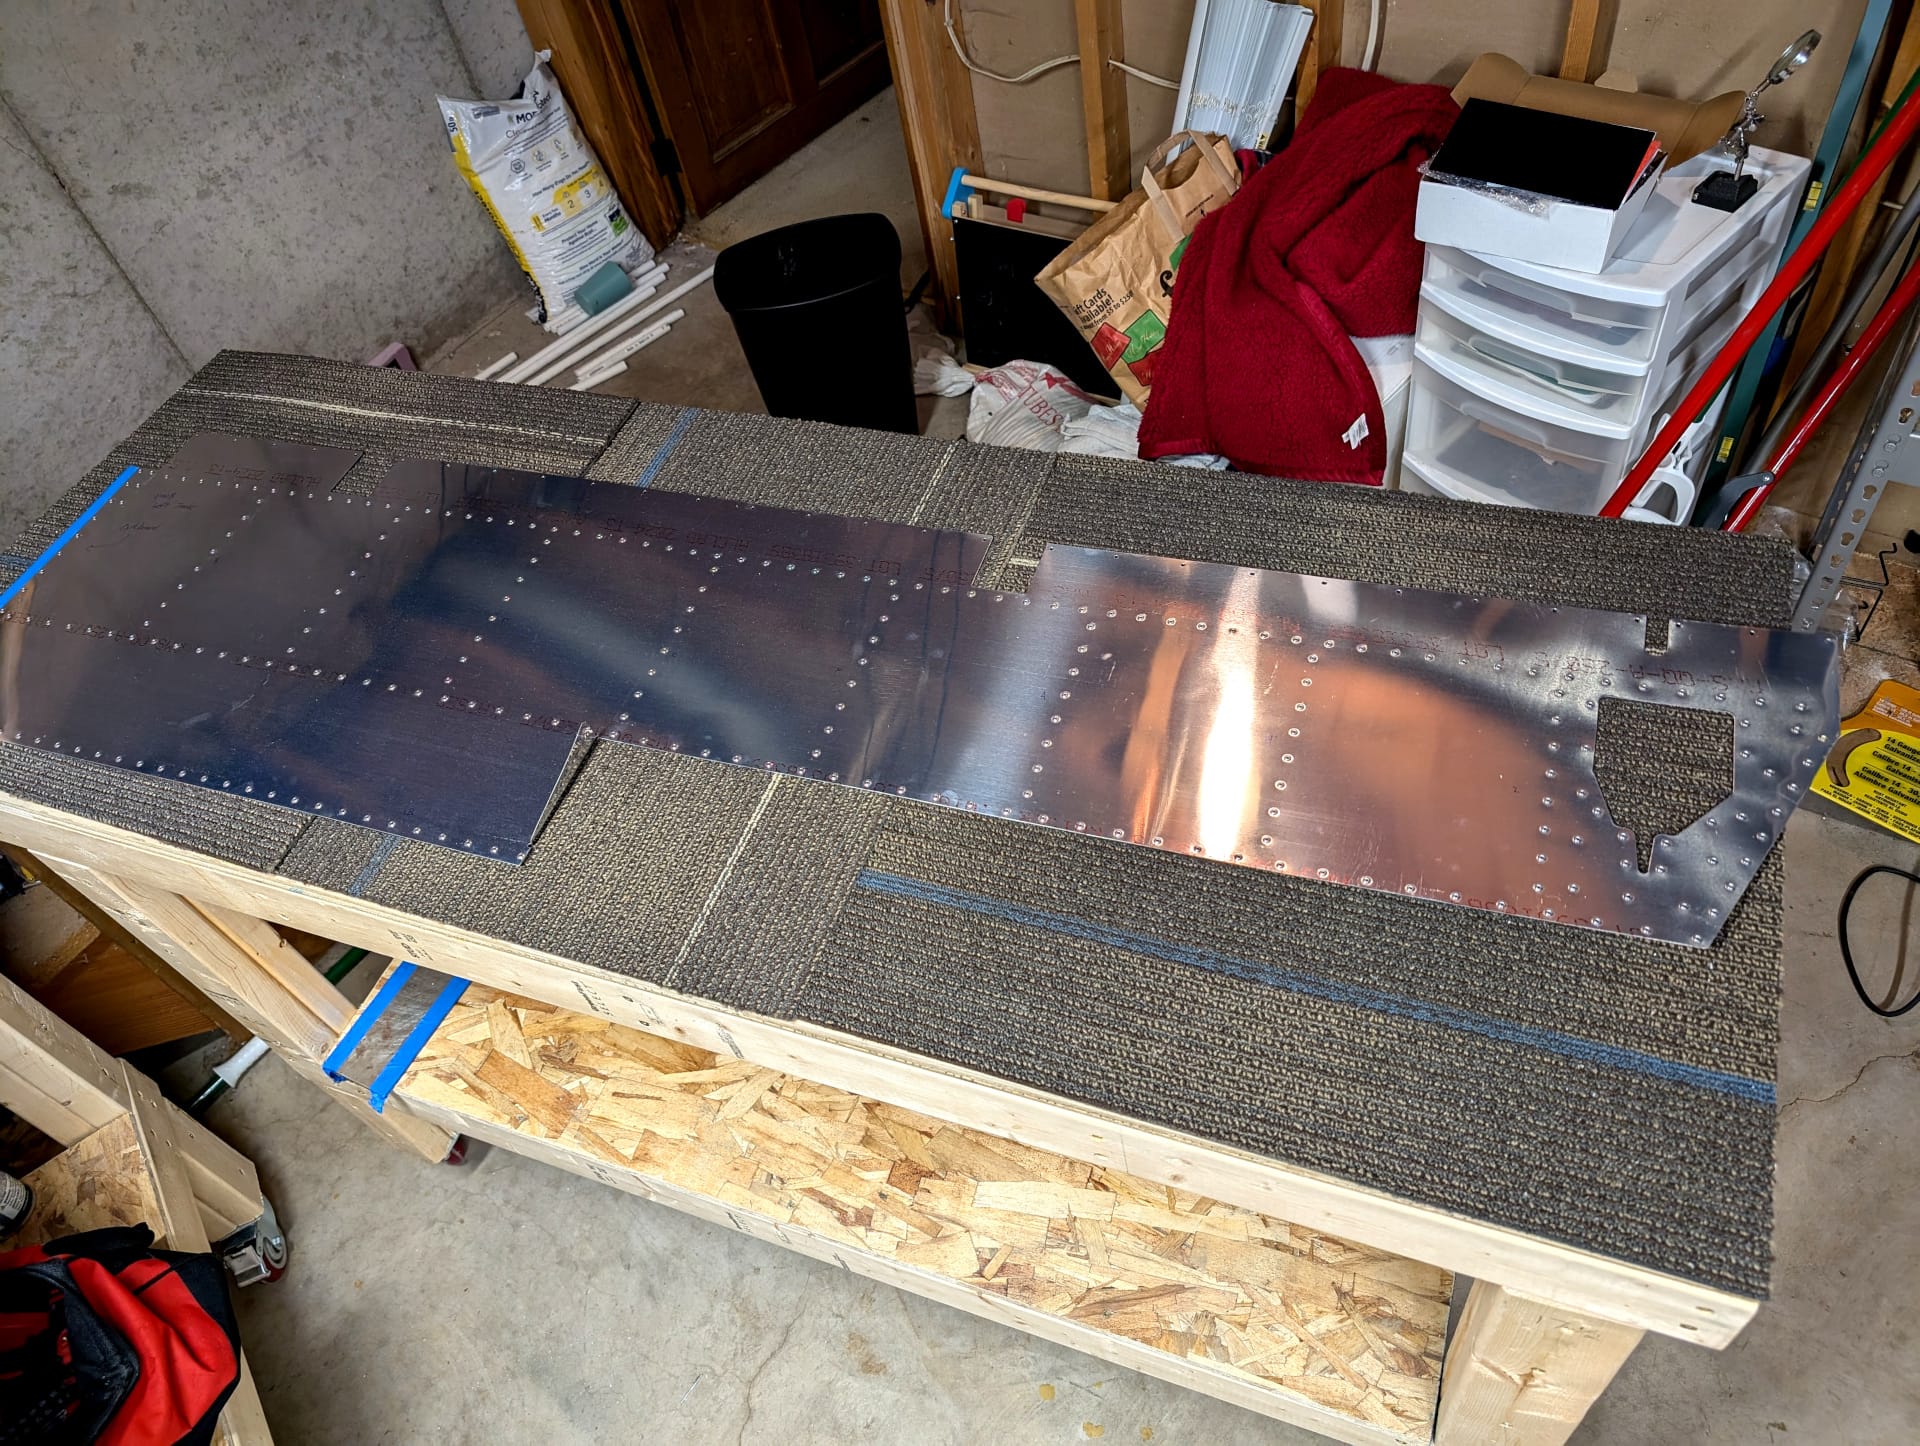
They also look scary, which is a big bonus. Enough goofing around though, the other skin needs to be dimpled. For some reason I forgot that isn't a 15 minute job though and it took me much longer to debur all the holes and dimple them.
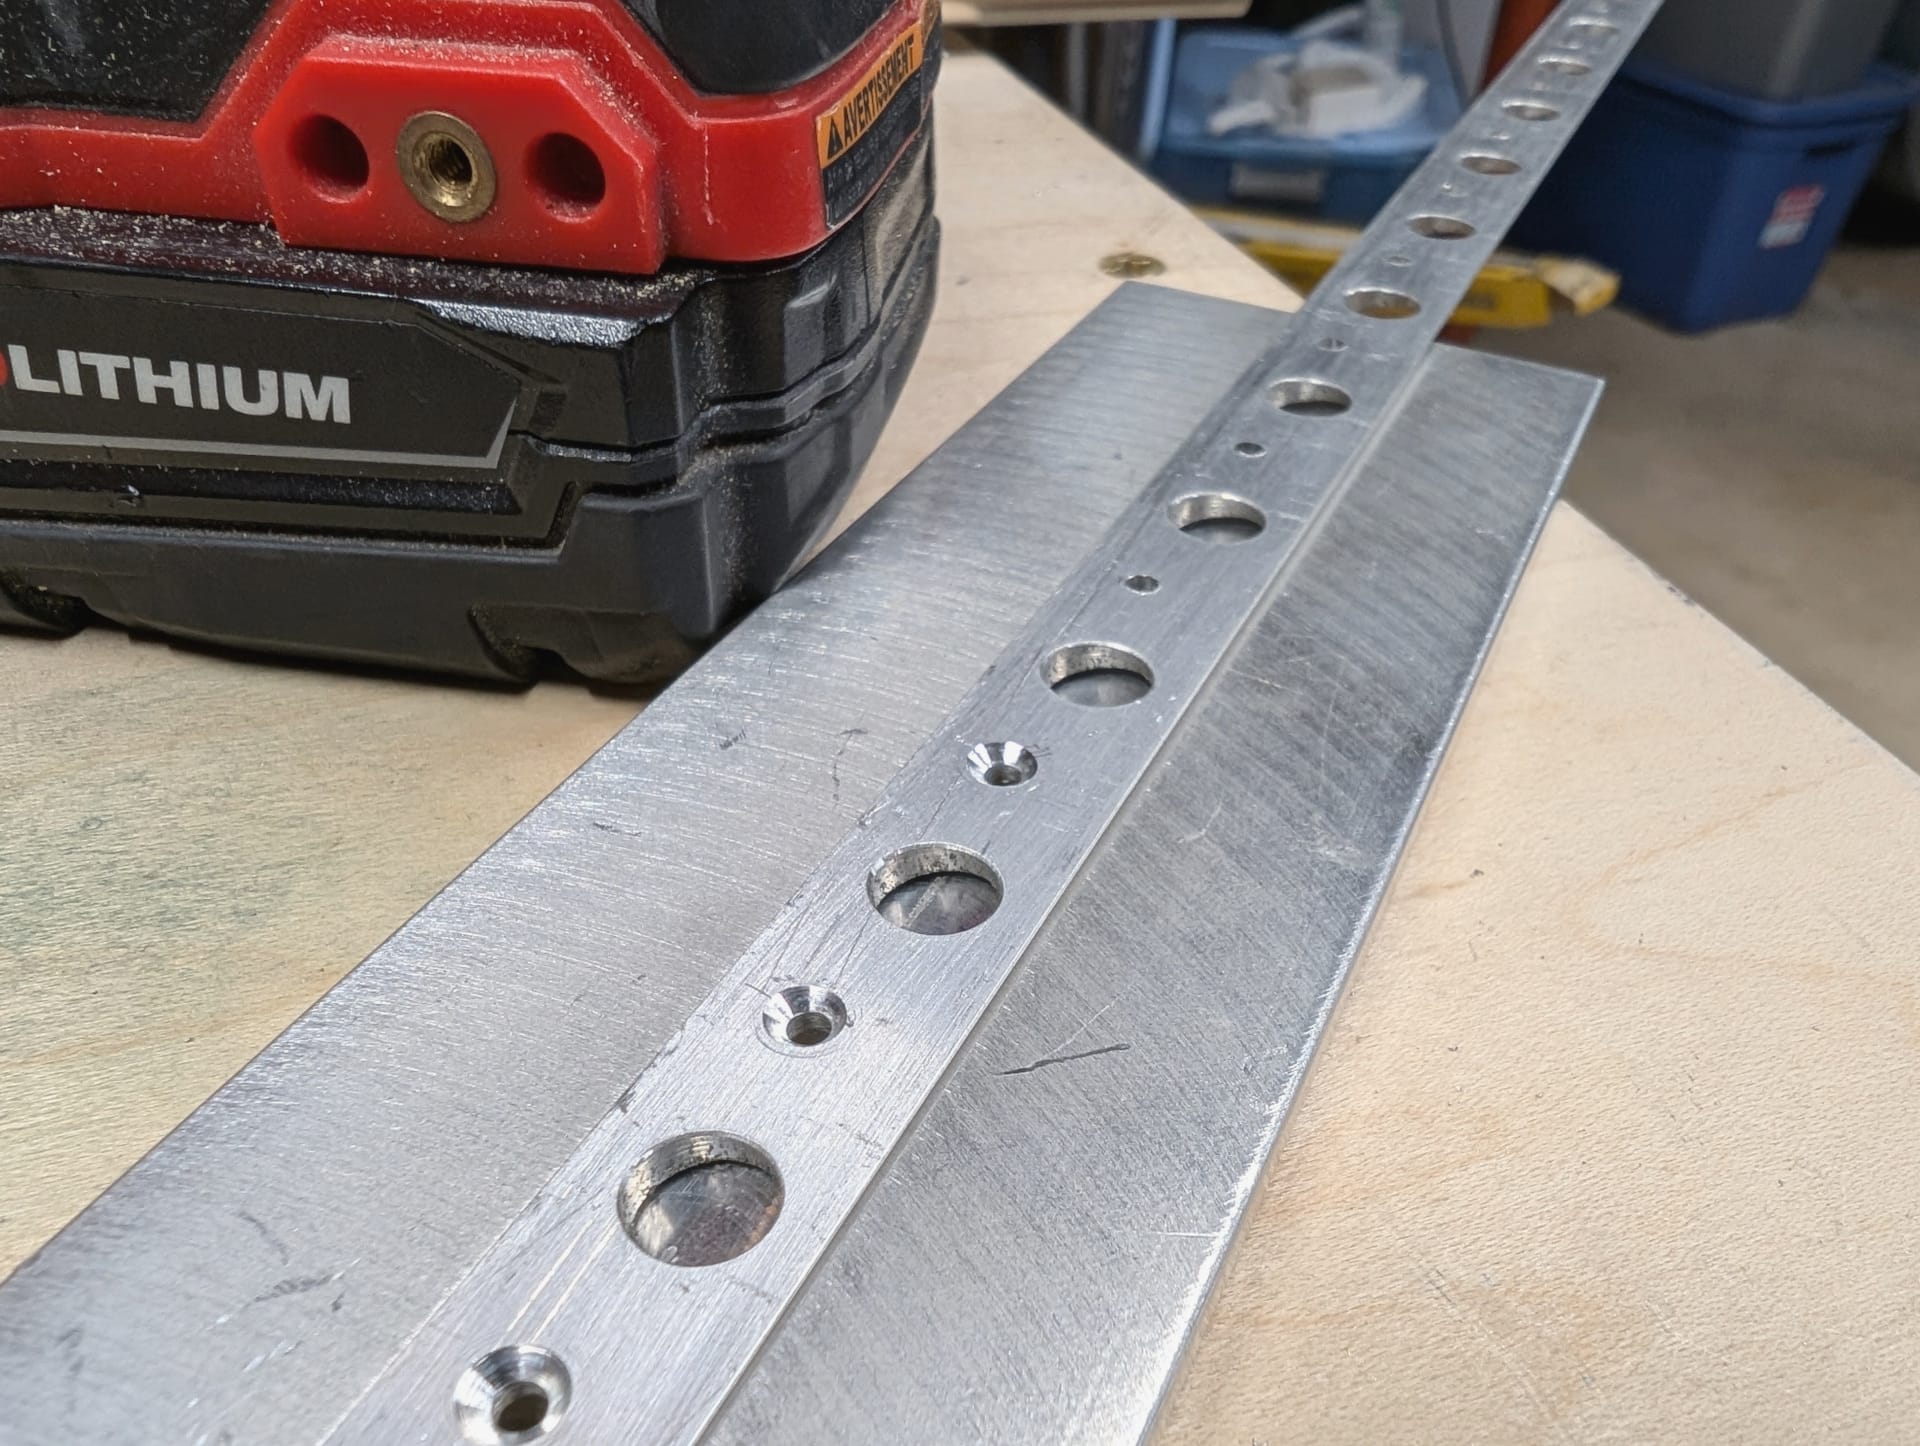
Something a bit unusual now is that I have to countersink the inboard 29 holes, on the top only, of the back spar. This is so the inside is flush instead of dimpled when I go to attach the trim tab. The material is kind of thin though, so the holes are very easy to blow through and make bigger. Luckily these holes will be on the interior so I think it isn't too big of a deal. There will be metal on top and bottom like a metal sandwich.

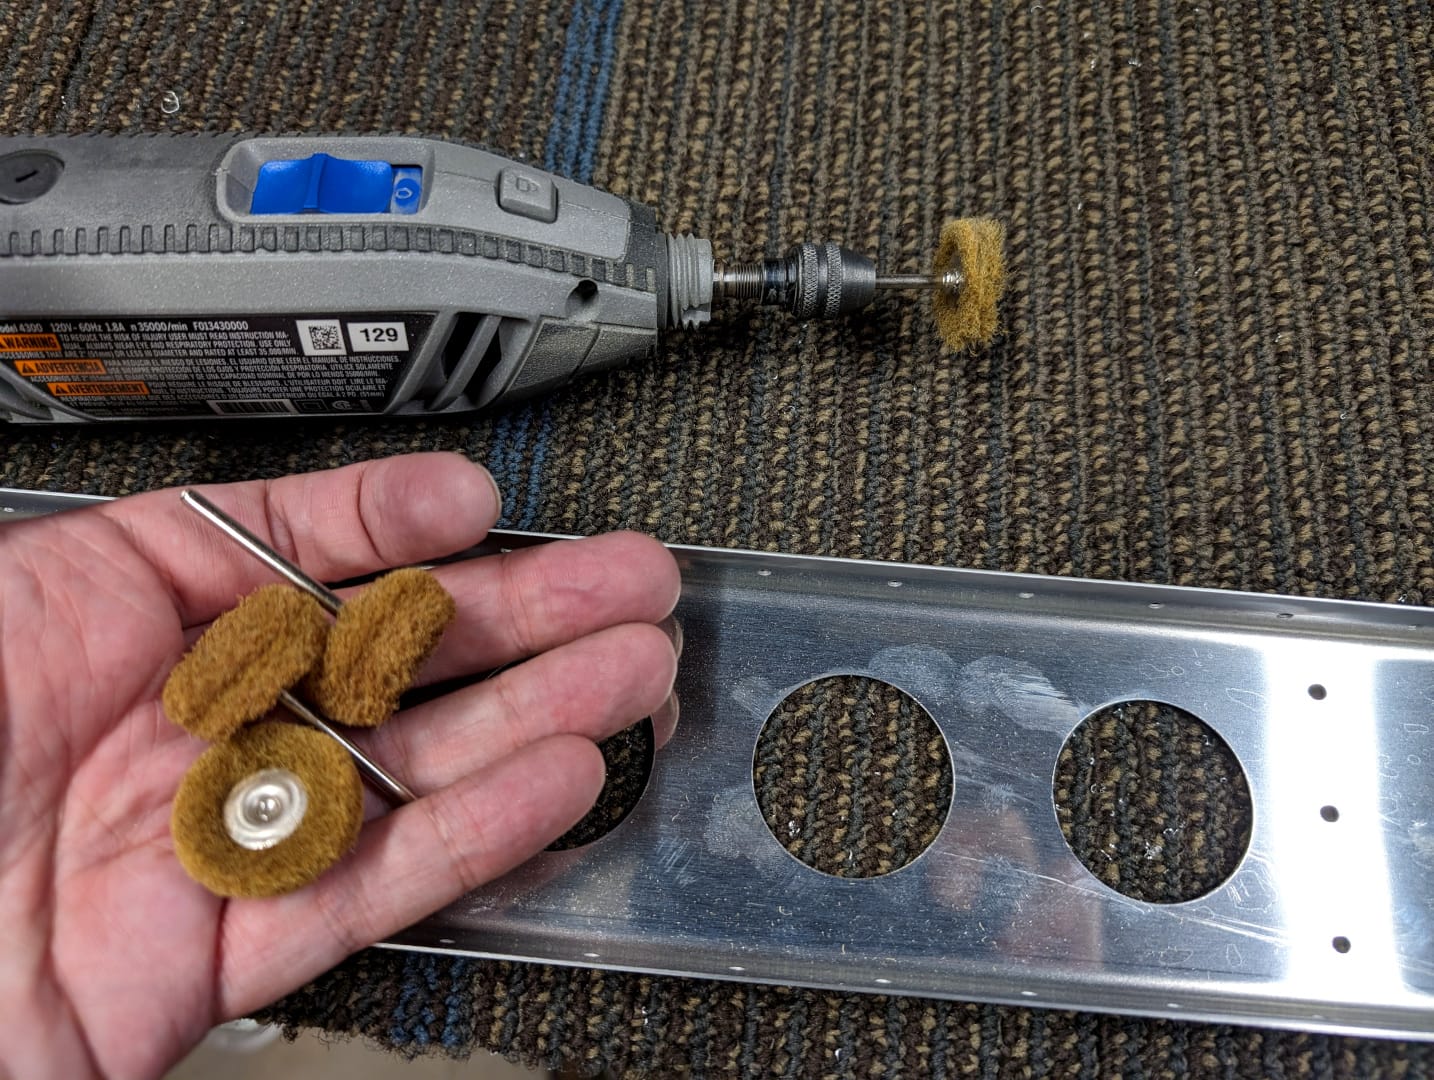
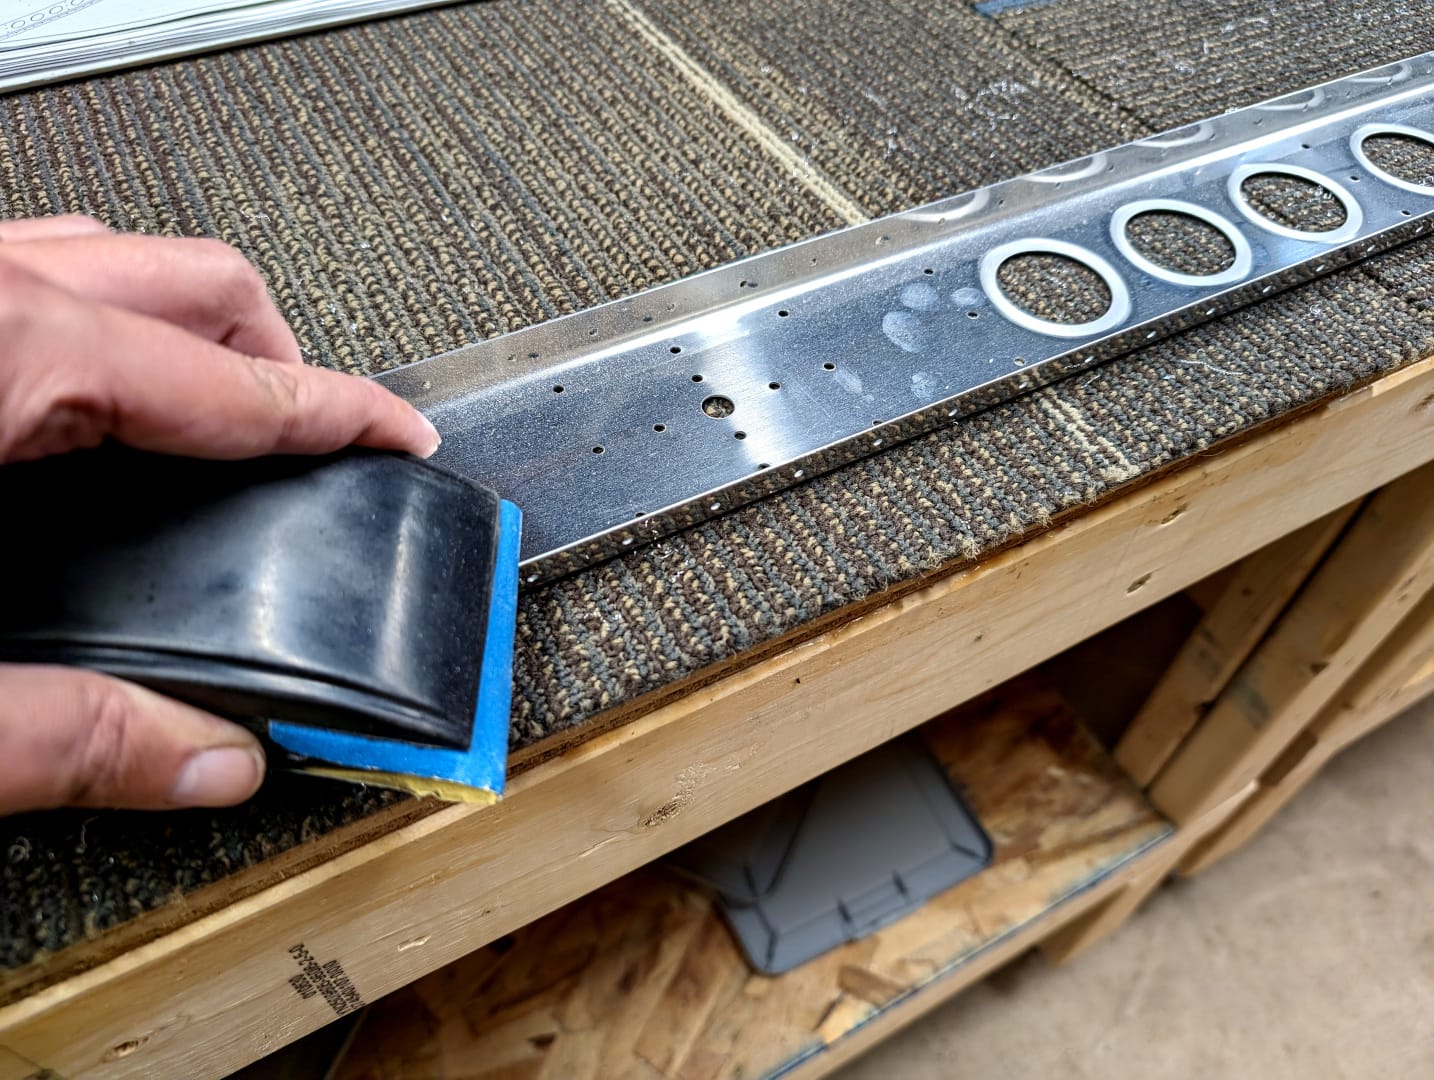
Ready for the next boring step? Scuffing the metal to prime it. Literally just scratching it the best you can so the primer has more surface area to work on. SCUFF SCUFF SCUFF.
I wanted to assemble the tip rib assembly at this point though. So much work to have nothing feel like it is done. So I scuffed the three parts up nice and good and then primed them in-between rain showers.
Taking the parts inside I then followed the instructions for connecting them together. The flanges were too big for me to use a squeezer on the web so I had to use the rivet gun. Around the outside was all flush rivets but the squeezer fit there without issue. The fit was so tight that I had to work front to back, and keep rotating the part to make sure I was making a nice fit. Yet another thing that took three times longer than I would have expected.

So much rambling from me, but progress is being made. I update more frequently as I work on the plane on my mastodon account, but never fear I will eventually post the work here with some more colorful commentary as I have a lot more characters to play with.
I've been enjoying flying around the state as well. Check it out:
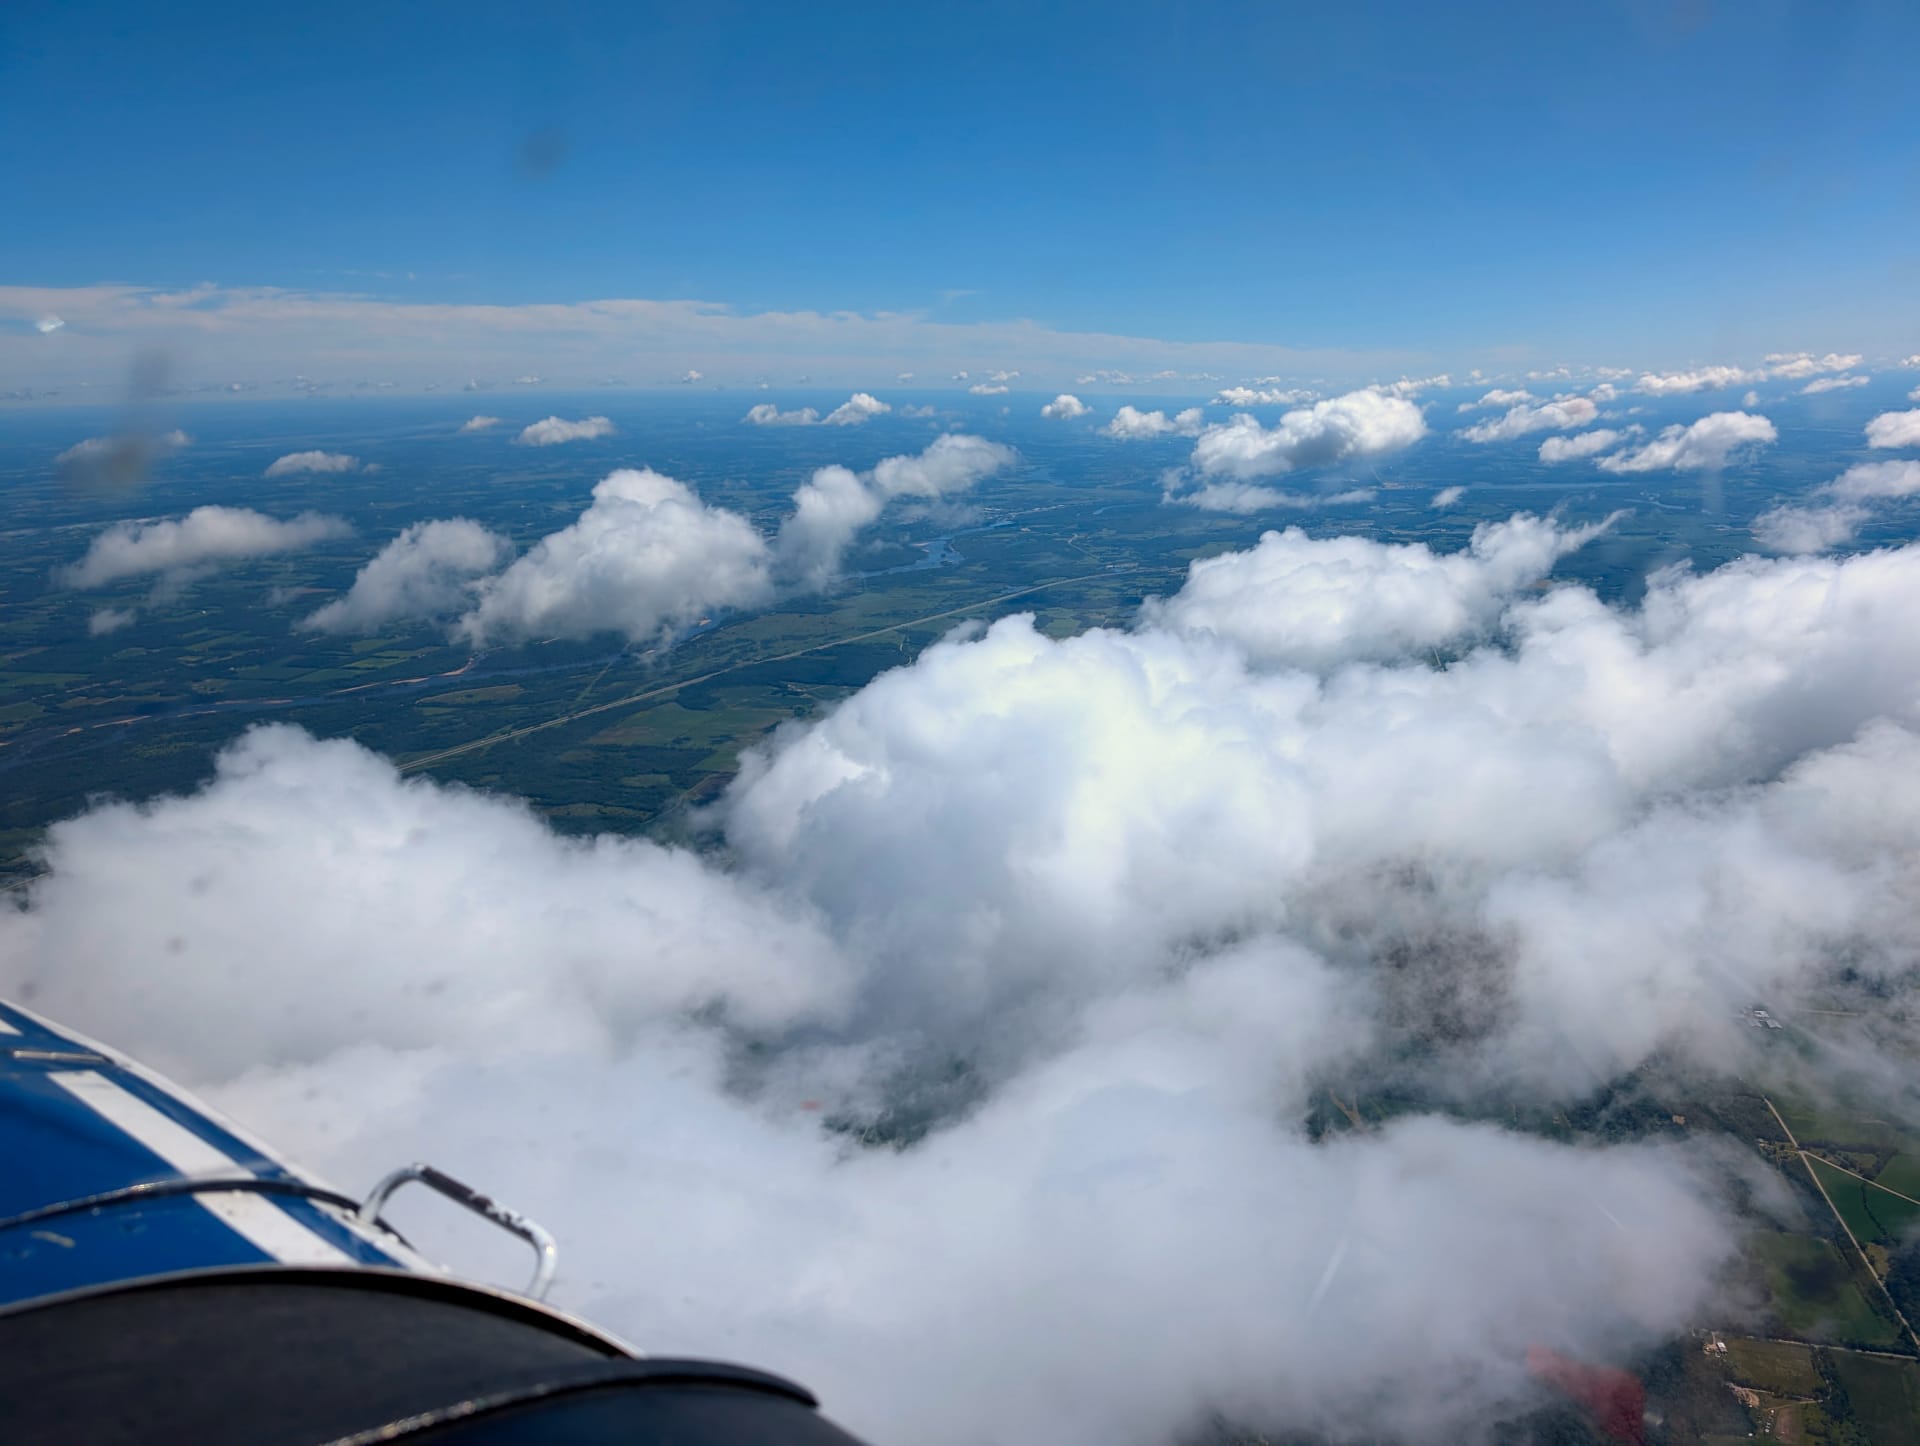
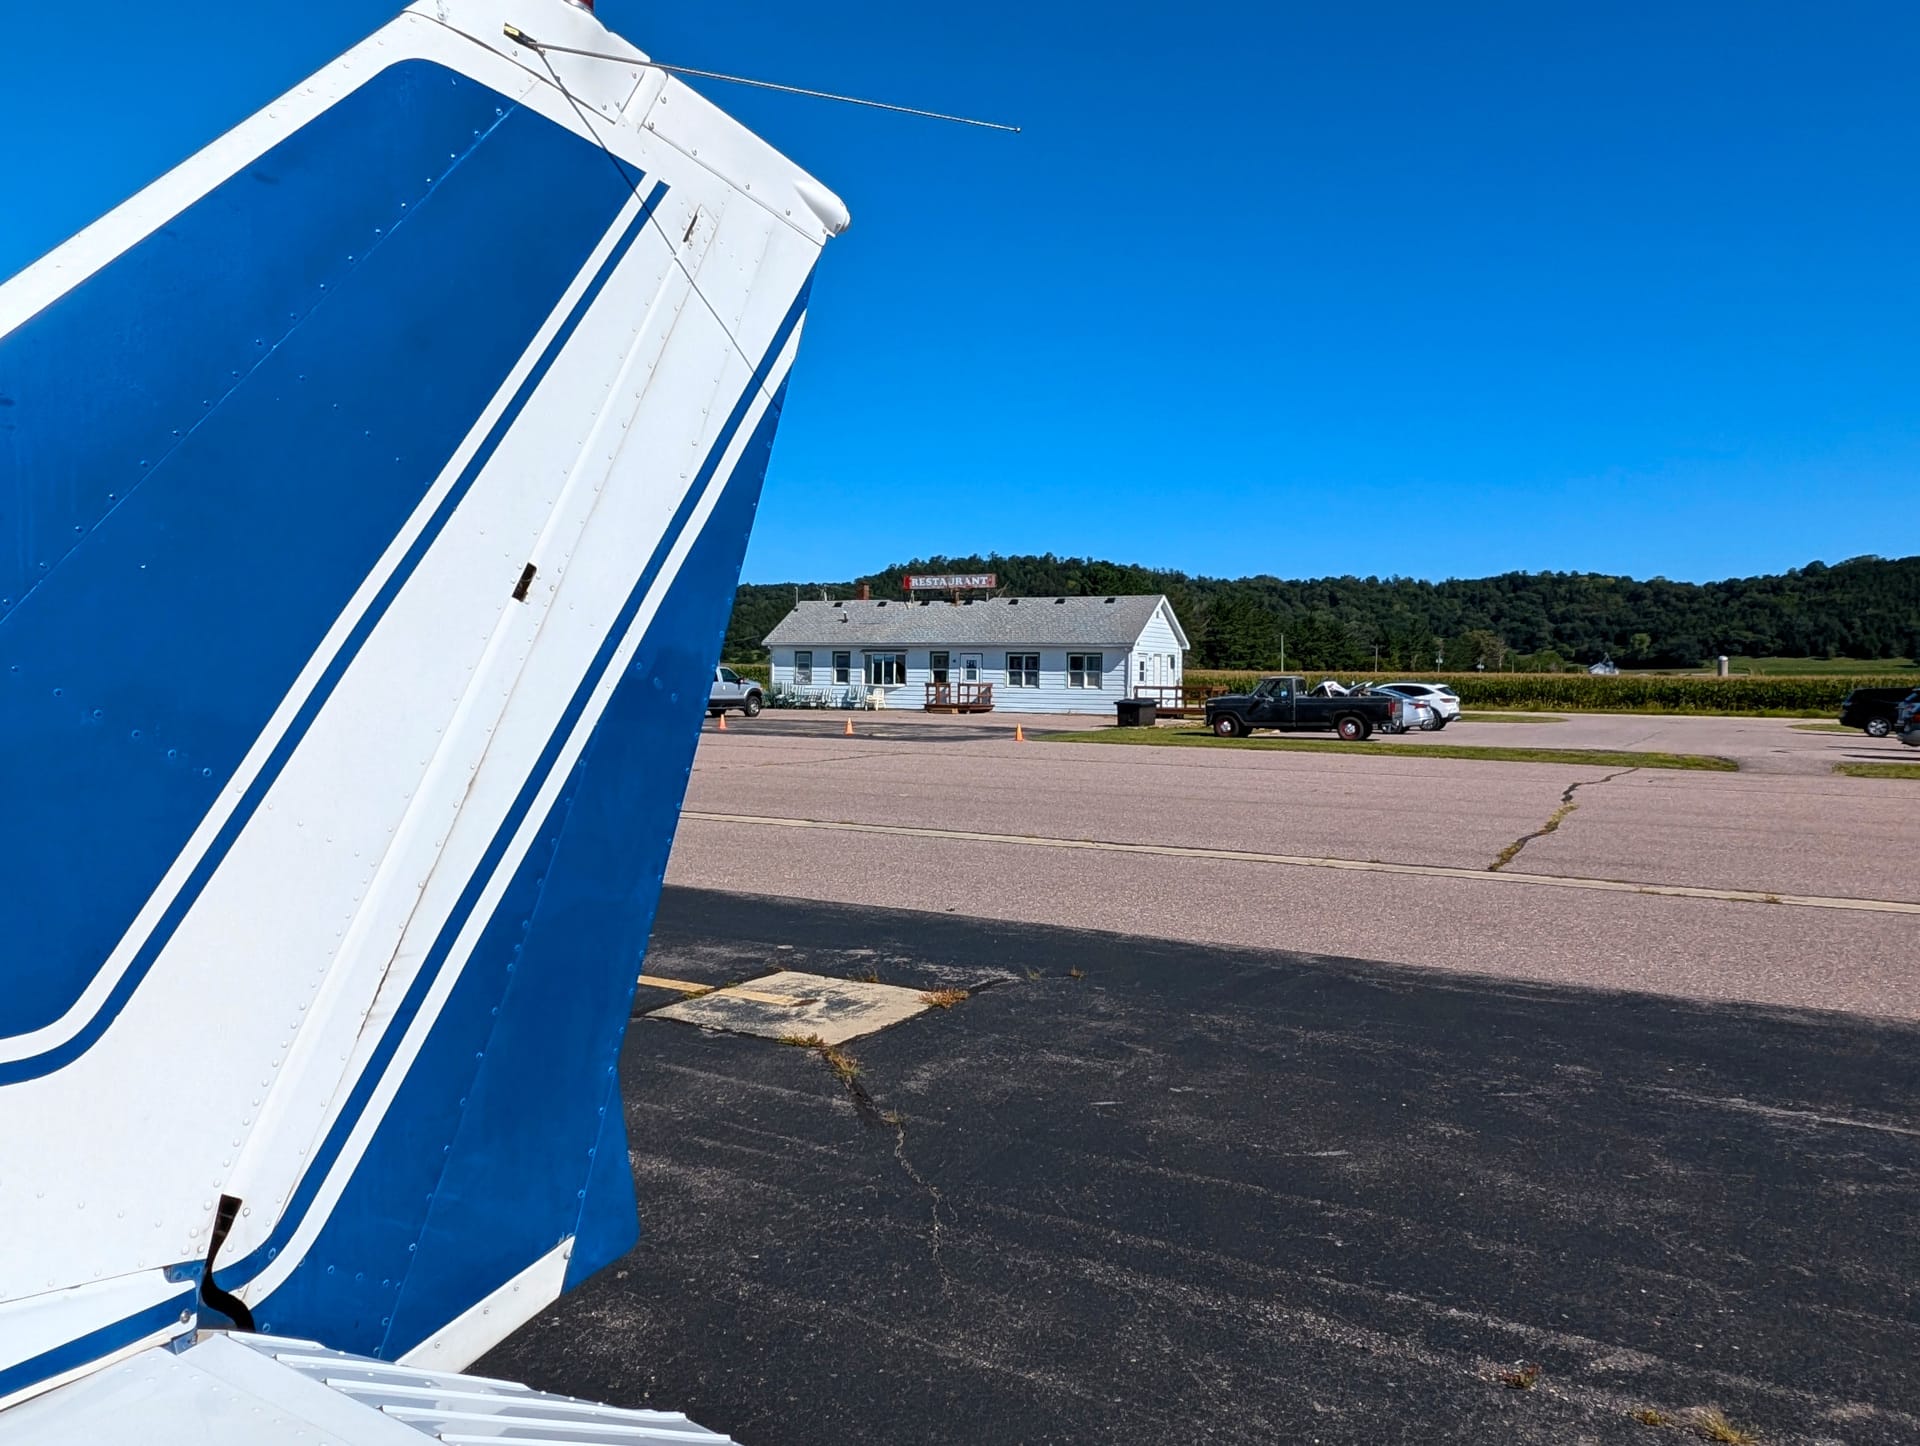
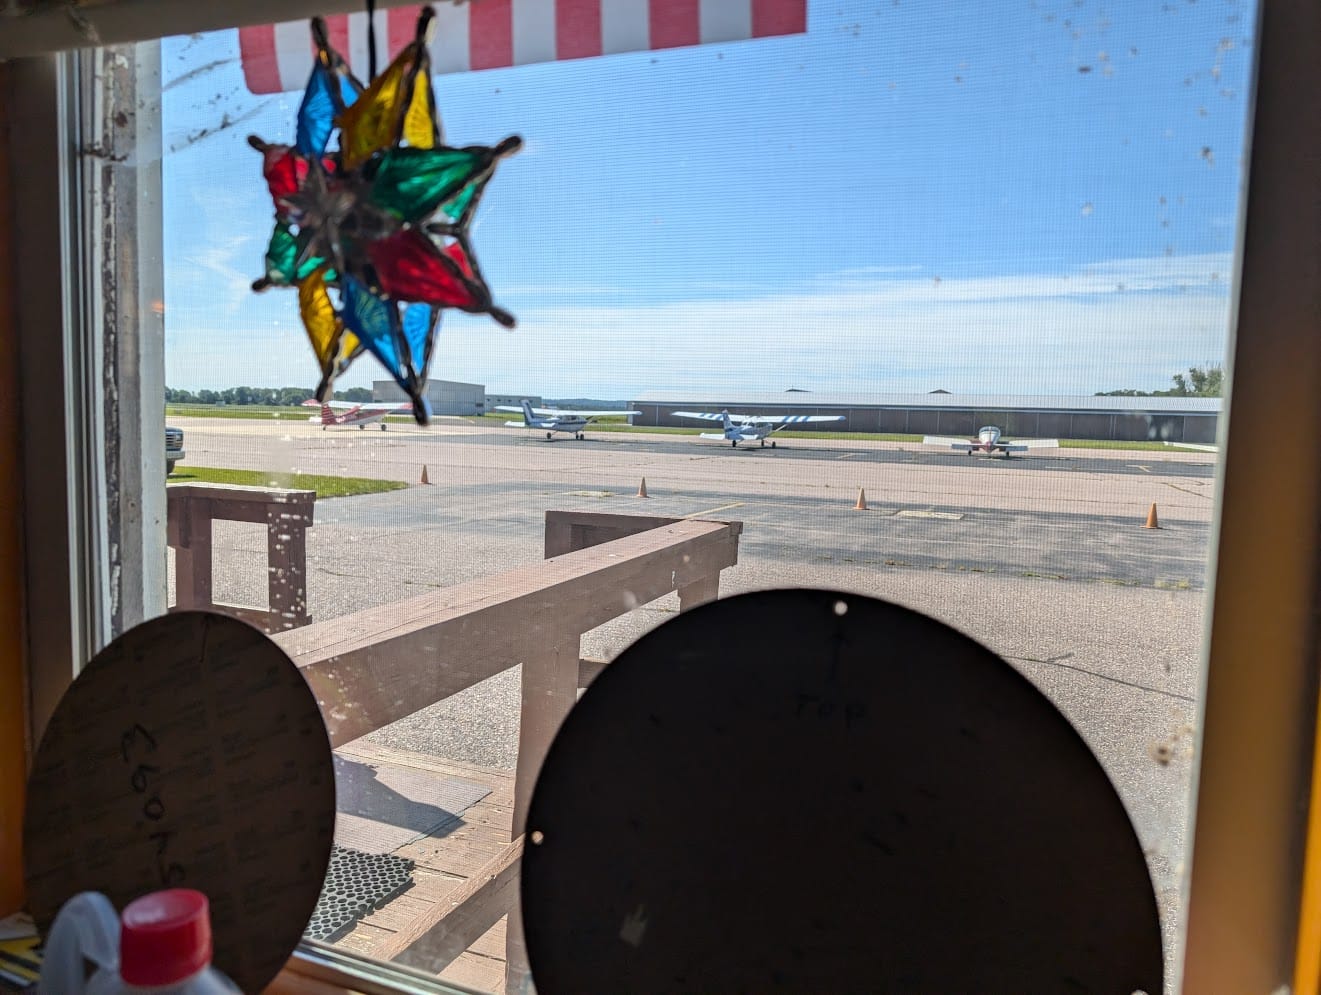

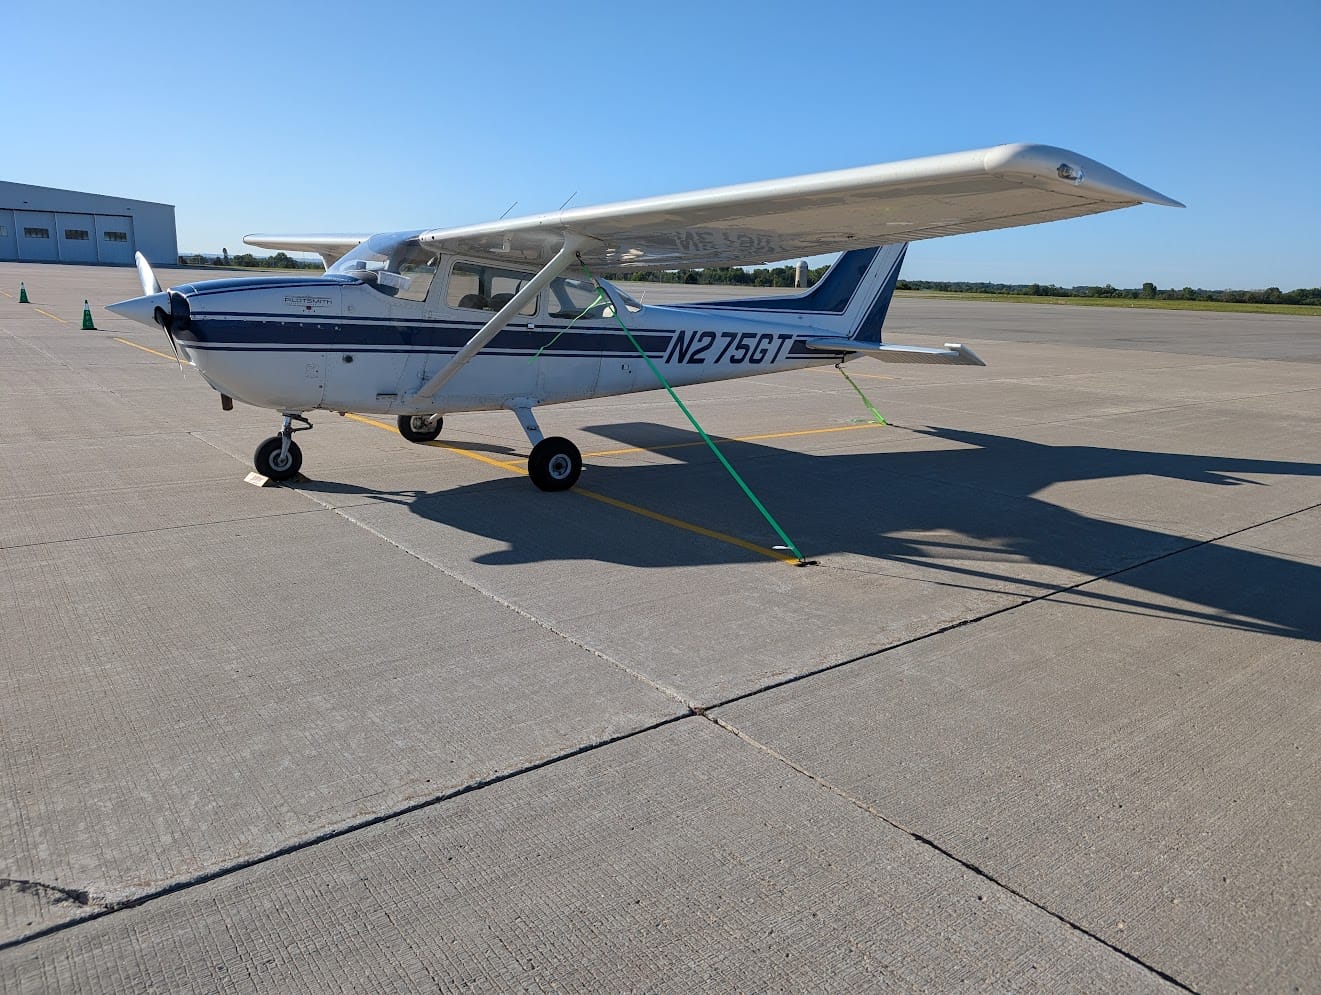
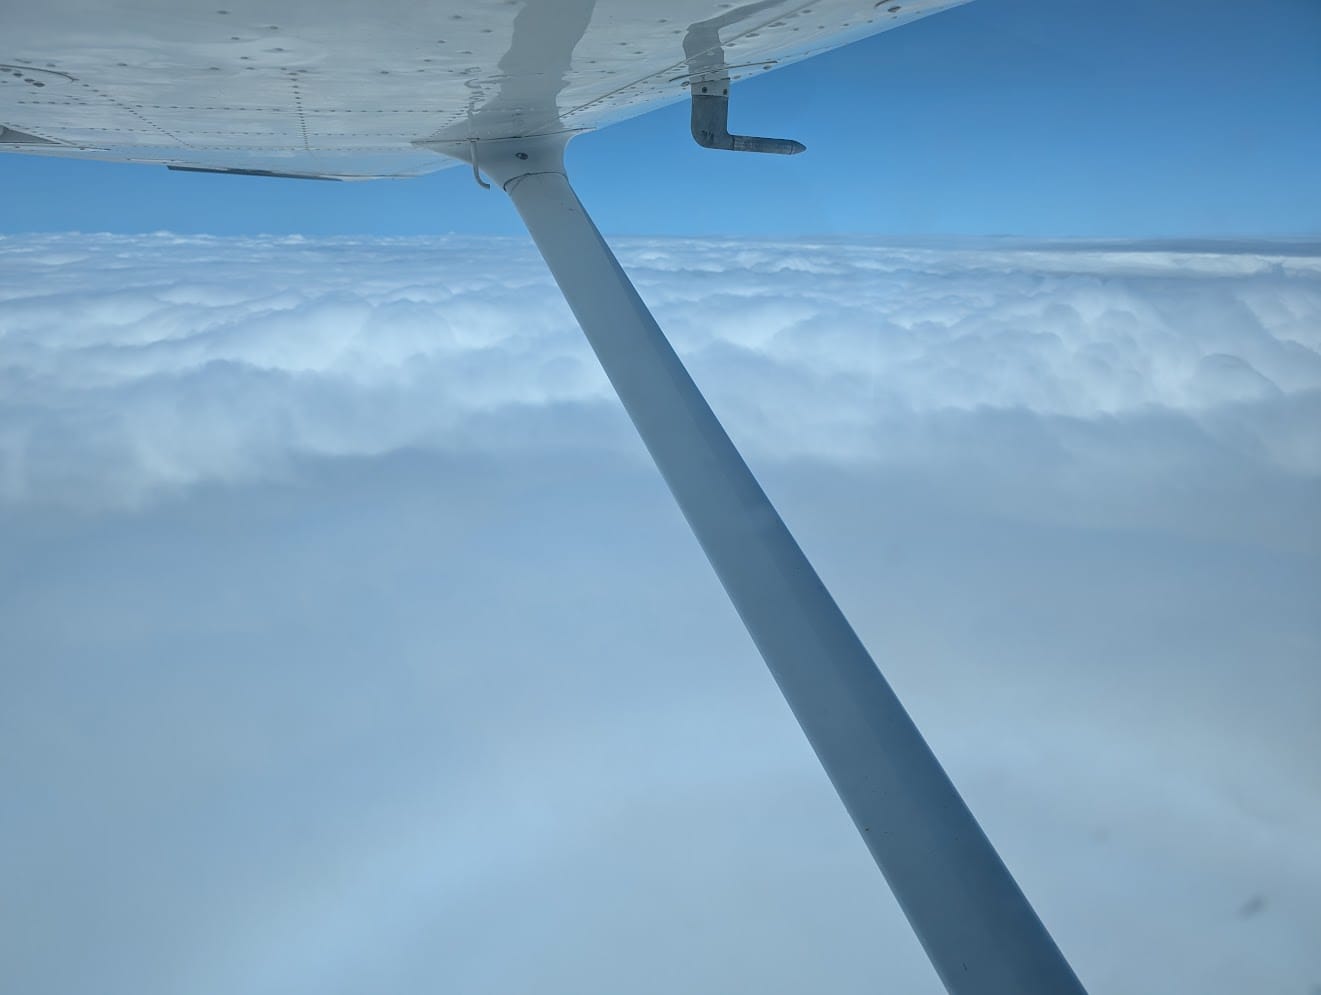
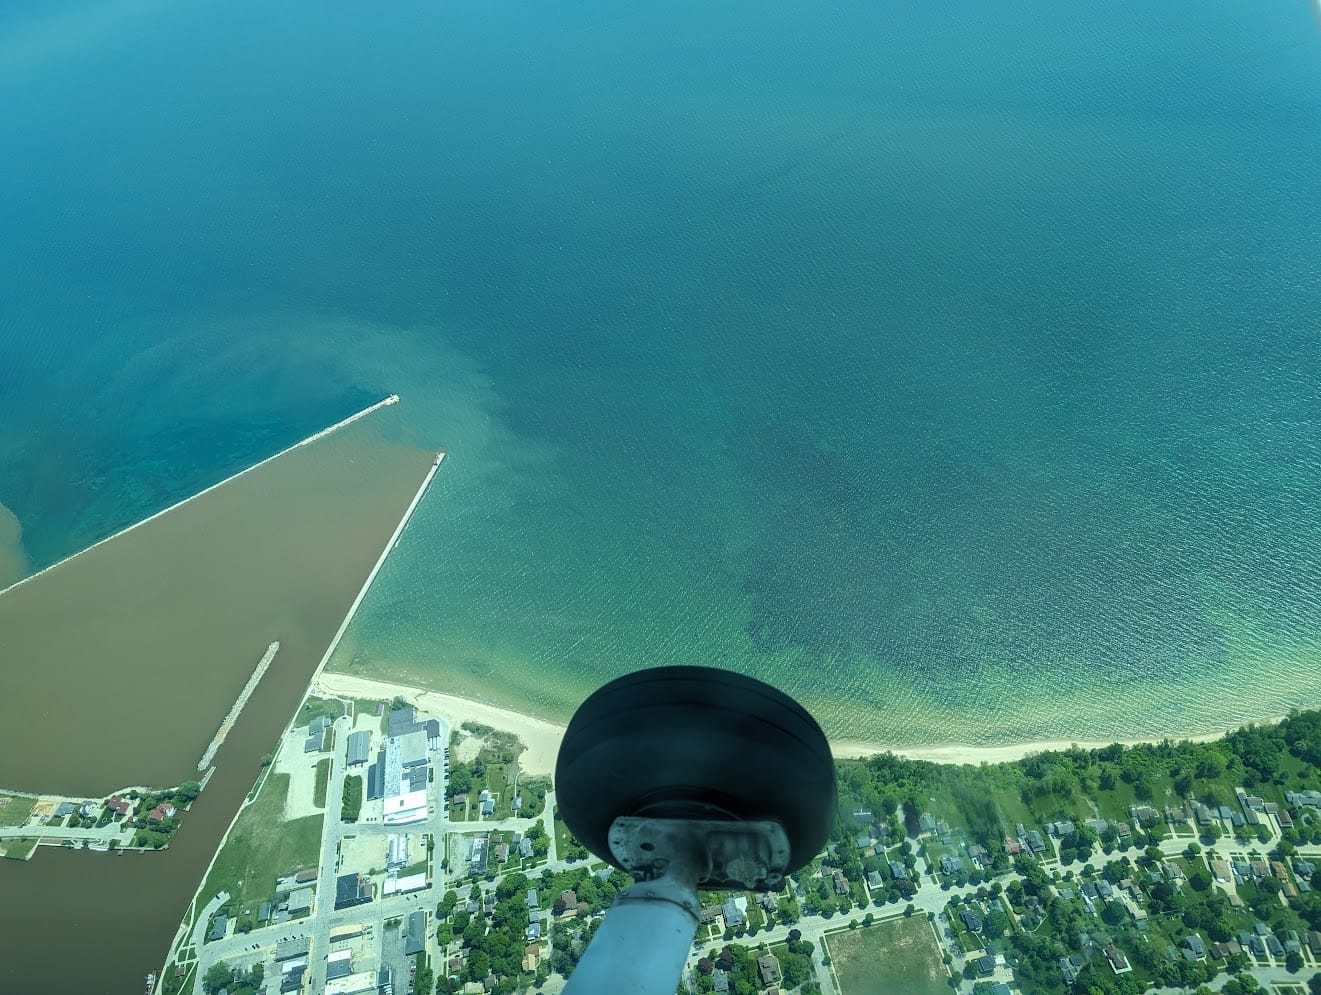
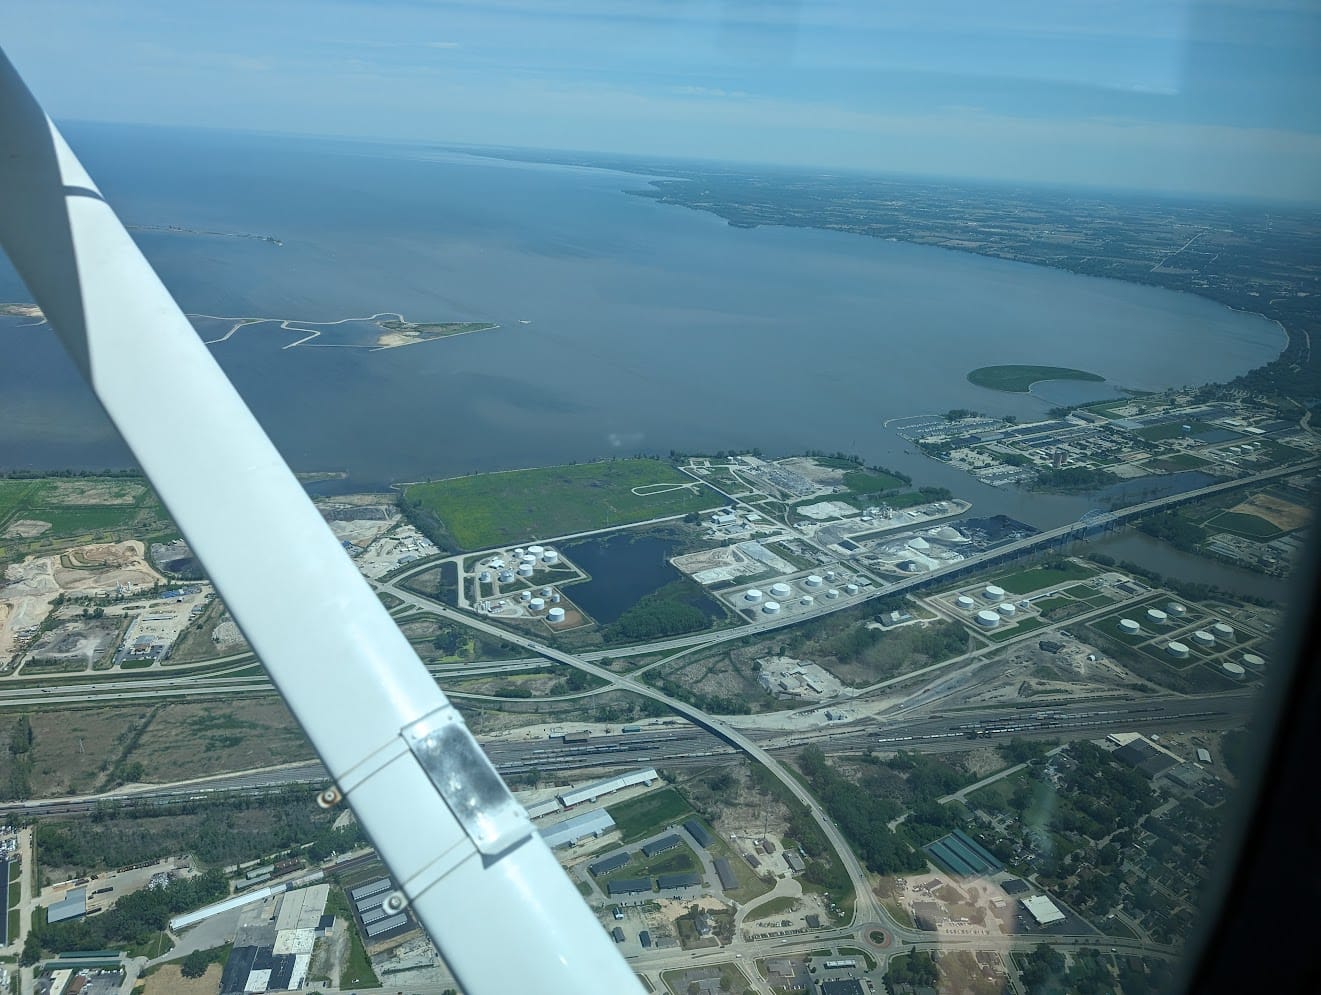

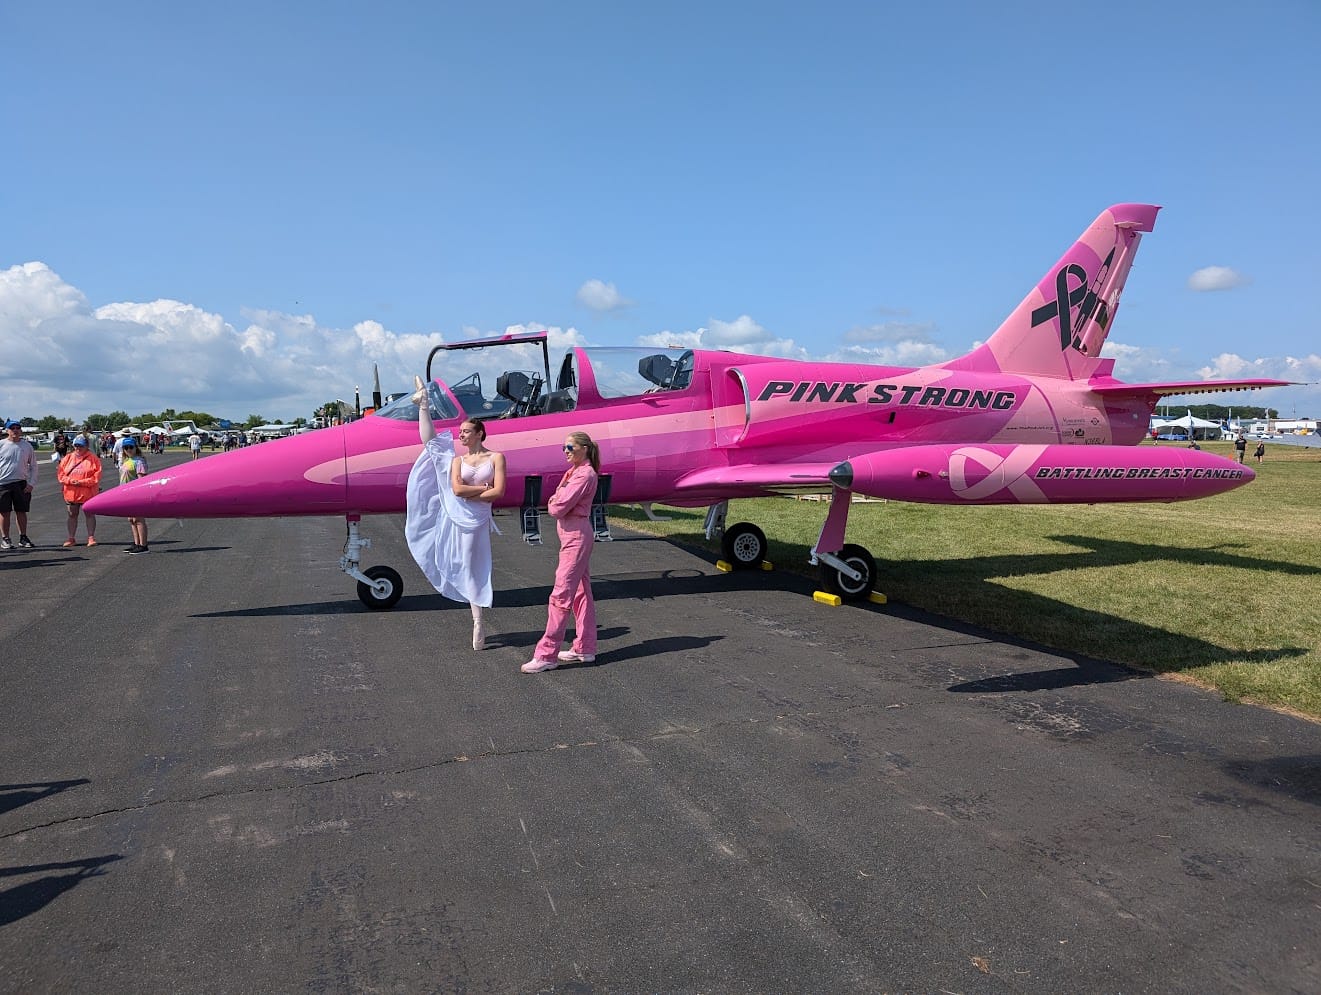
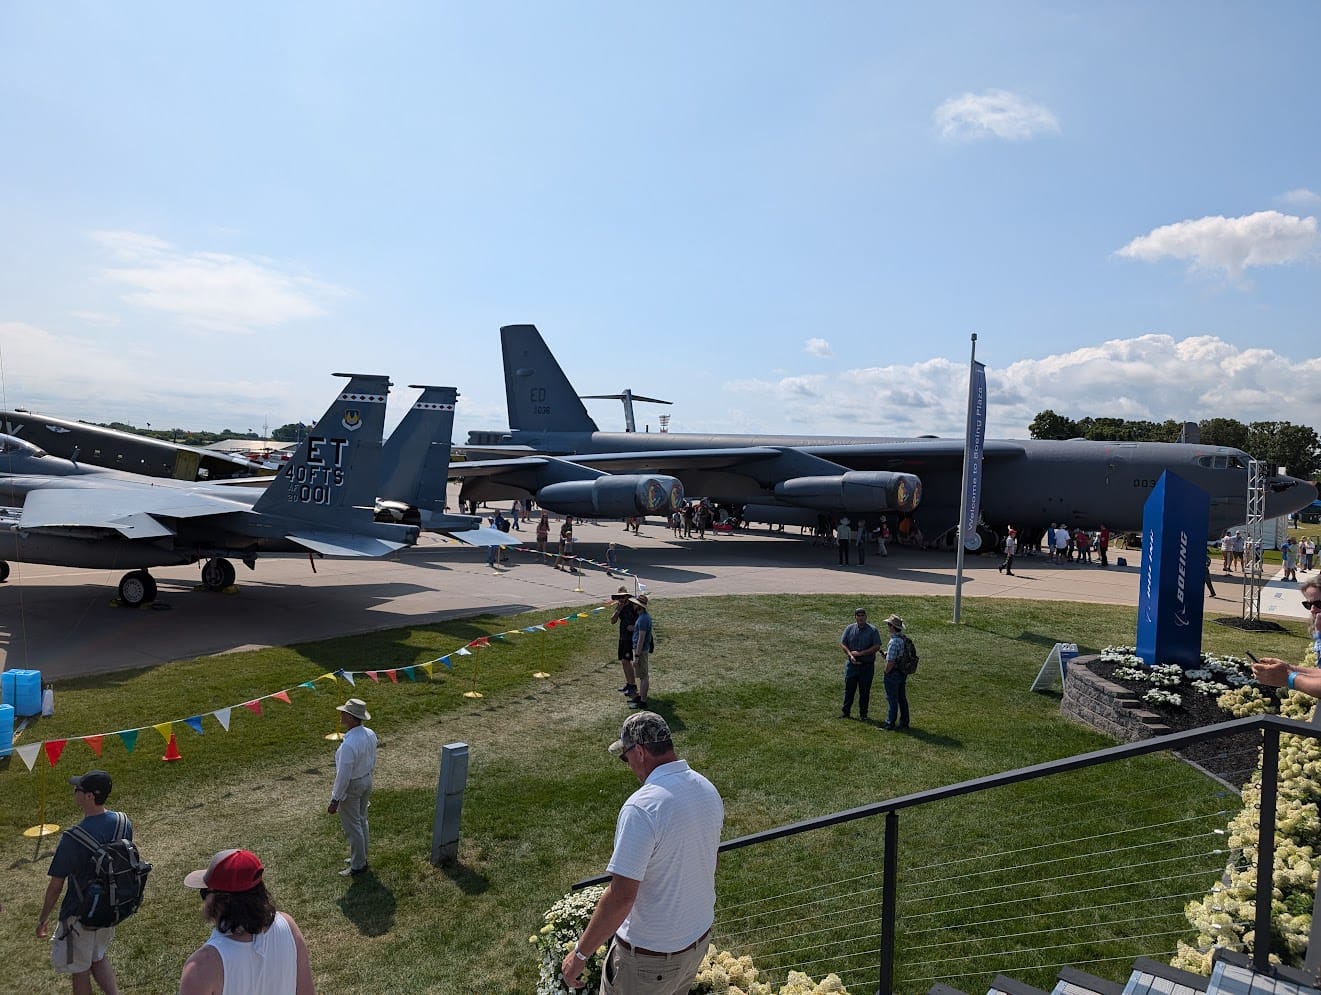
I got to participate in Airventure, Young Eagles, building with my EAA chapter, and 79C having a fly-in.
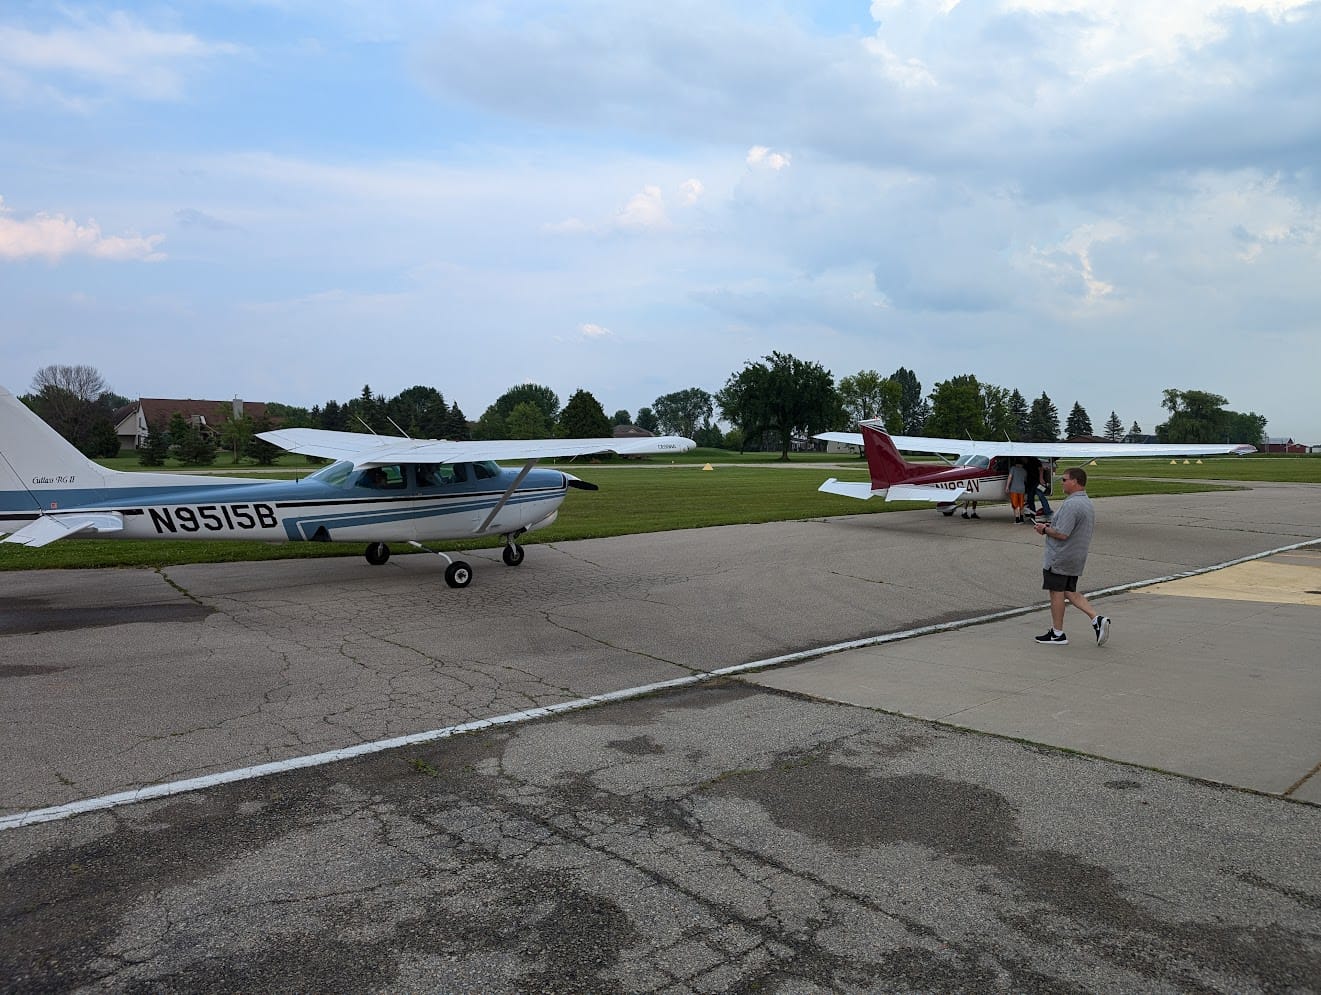

It has been a fun year so far although very busy. The future looks busy too but I'll keep on trucking and experiencing aviation. Enjoy this selfie (or don't, I'm not your dad):