The Priming Has Begun
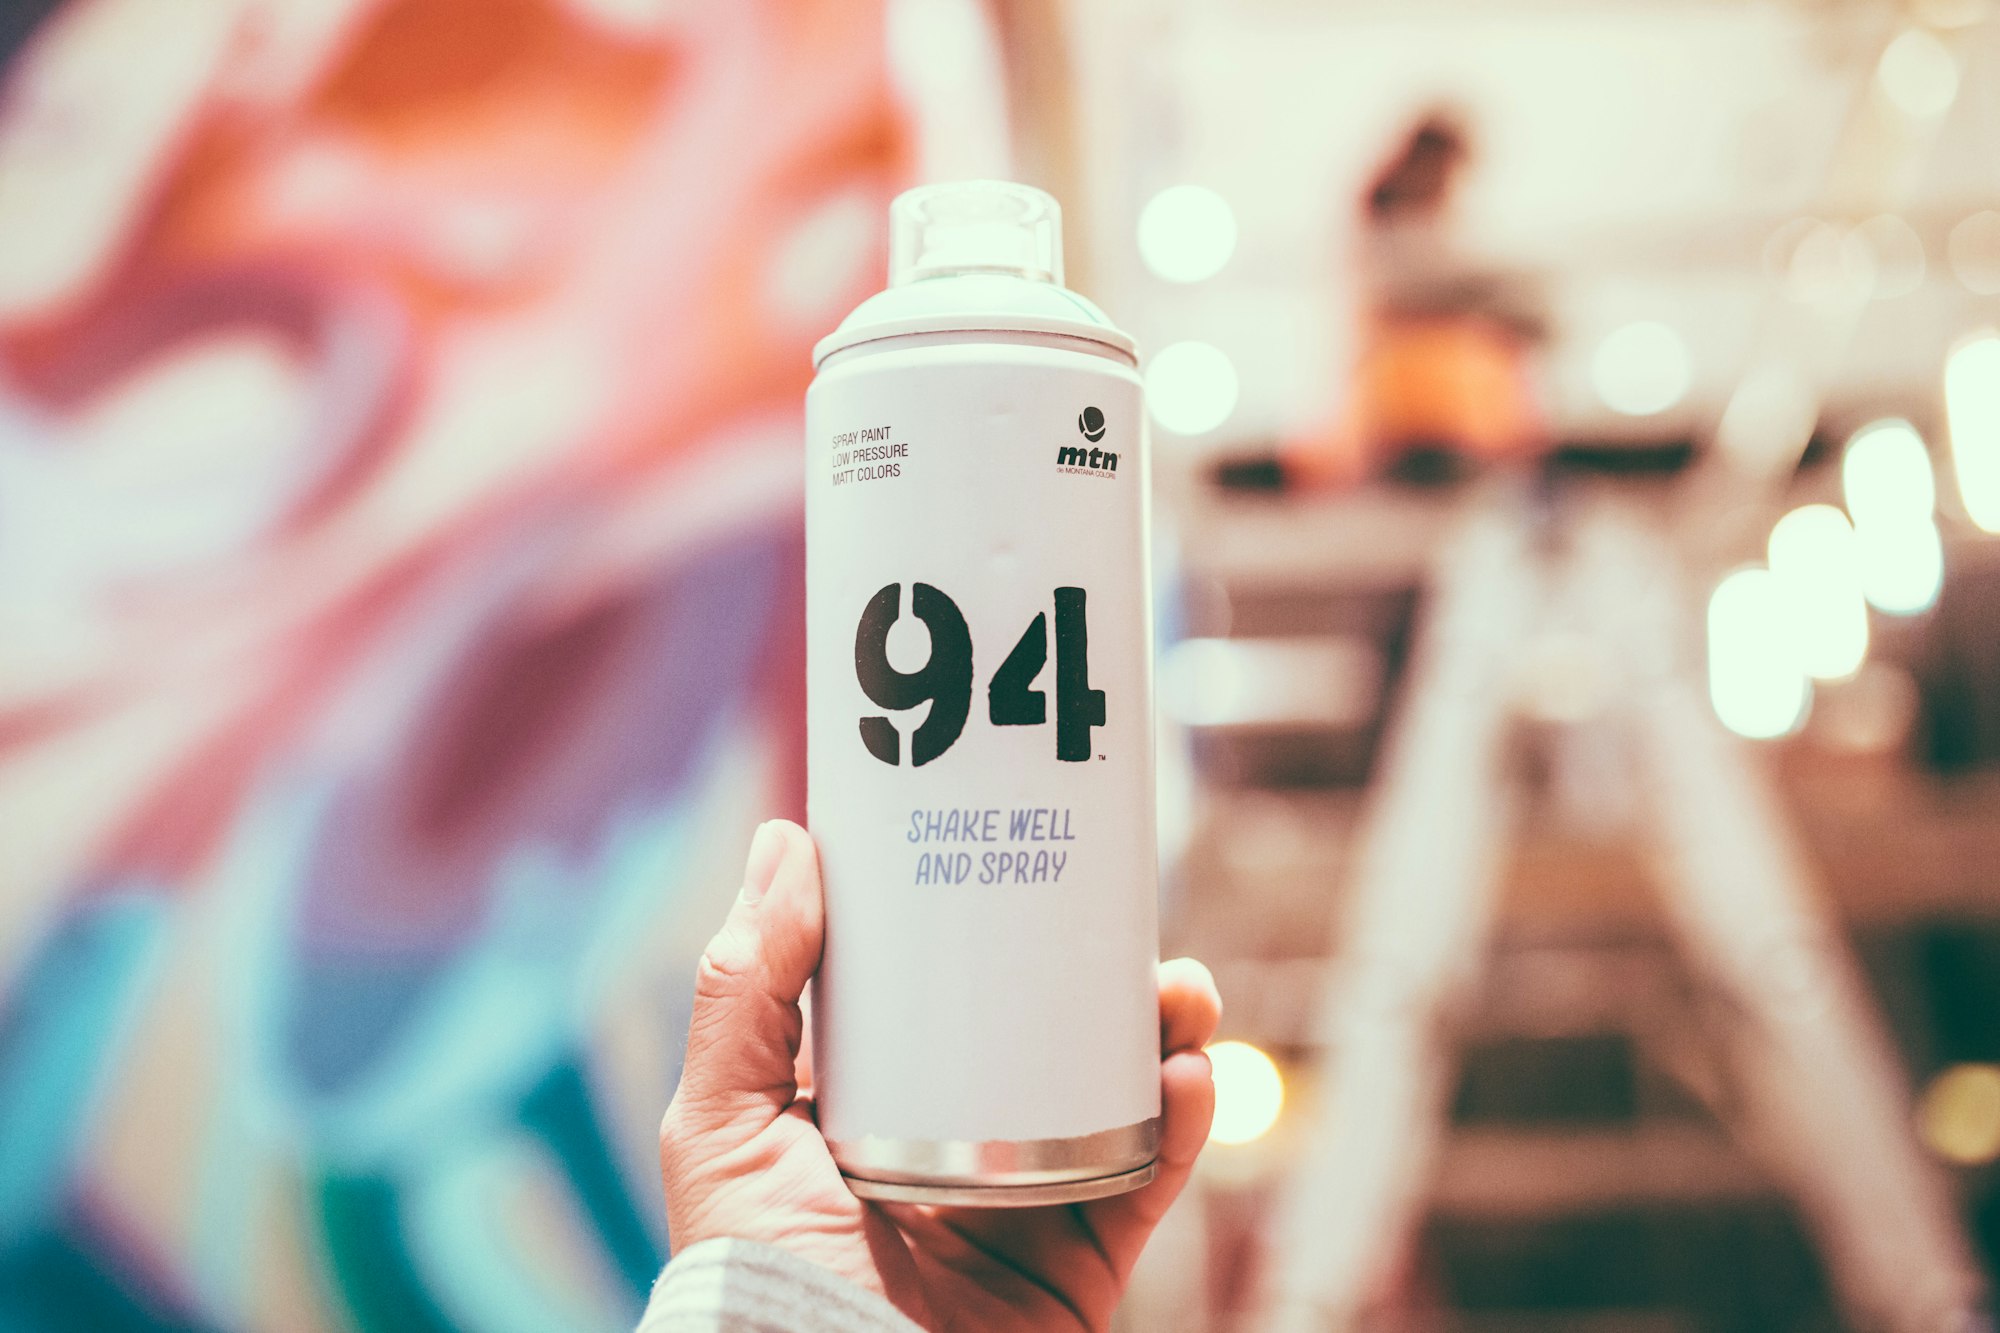
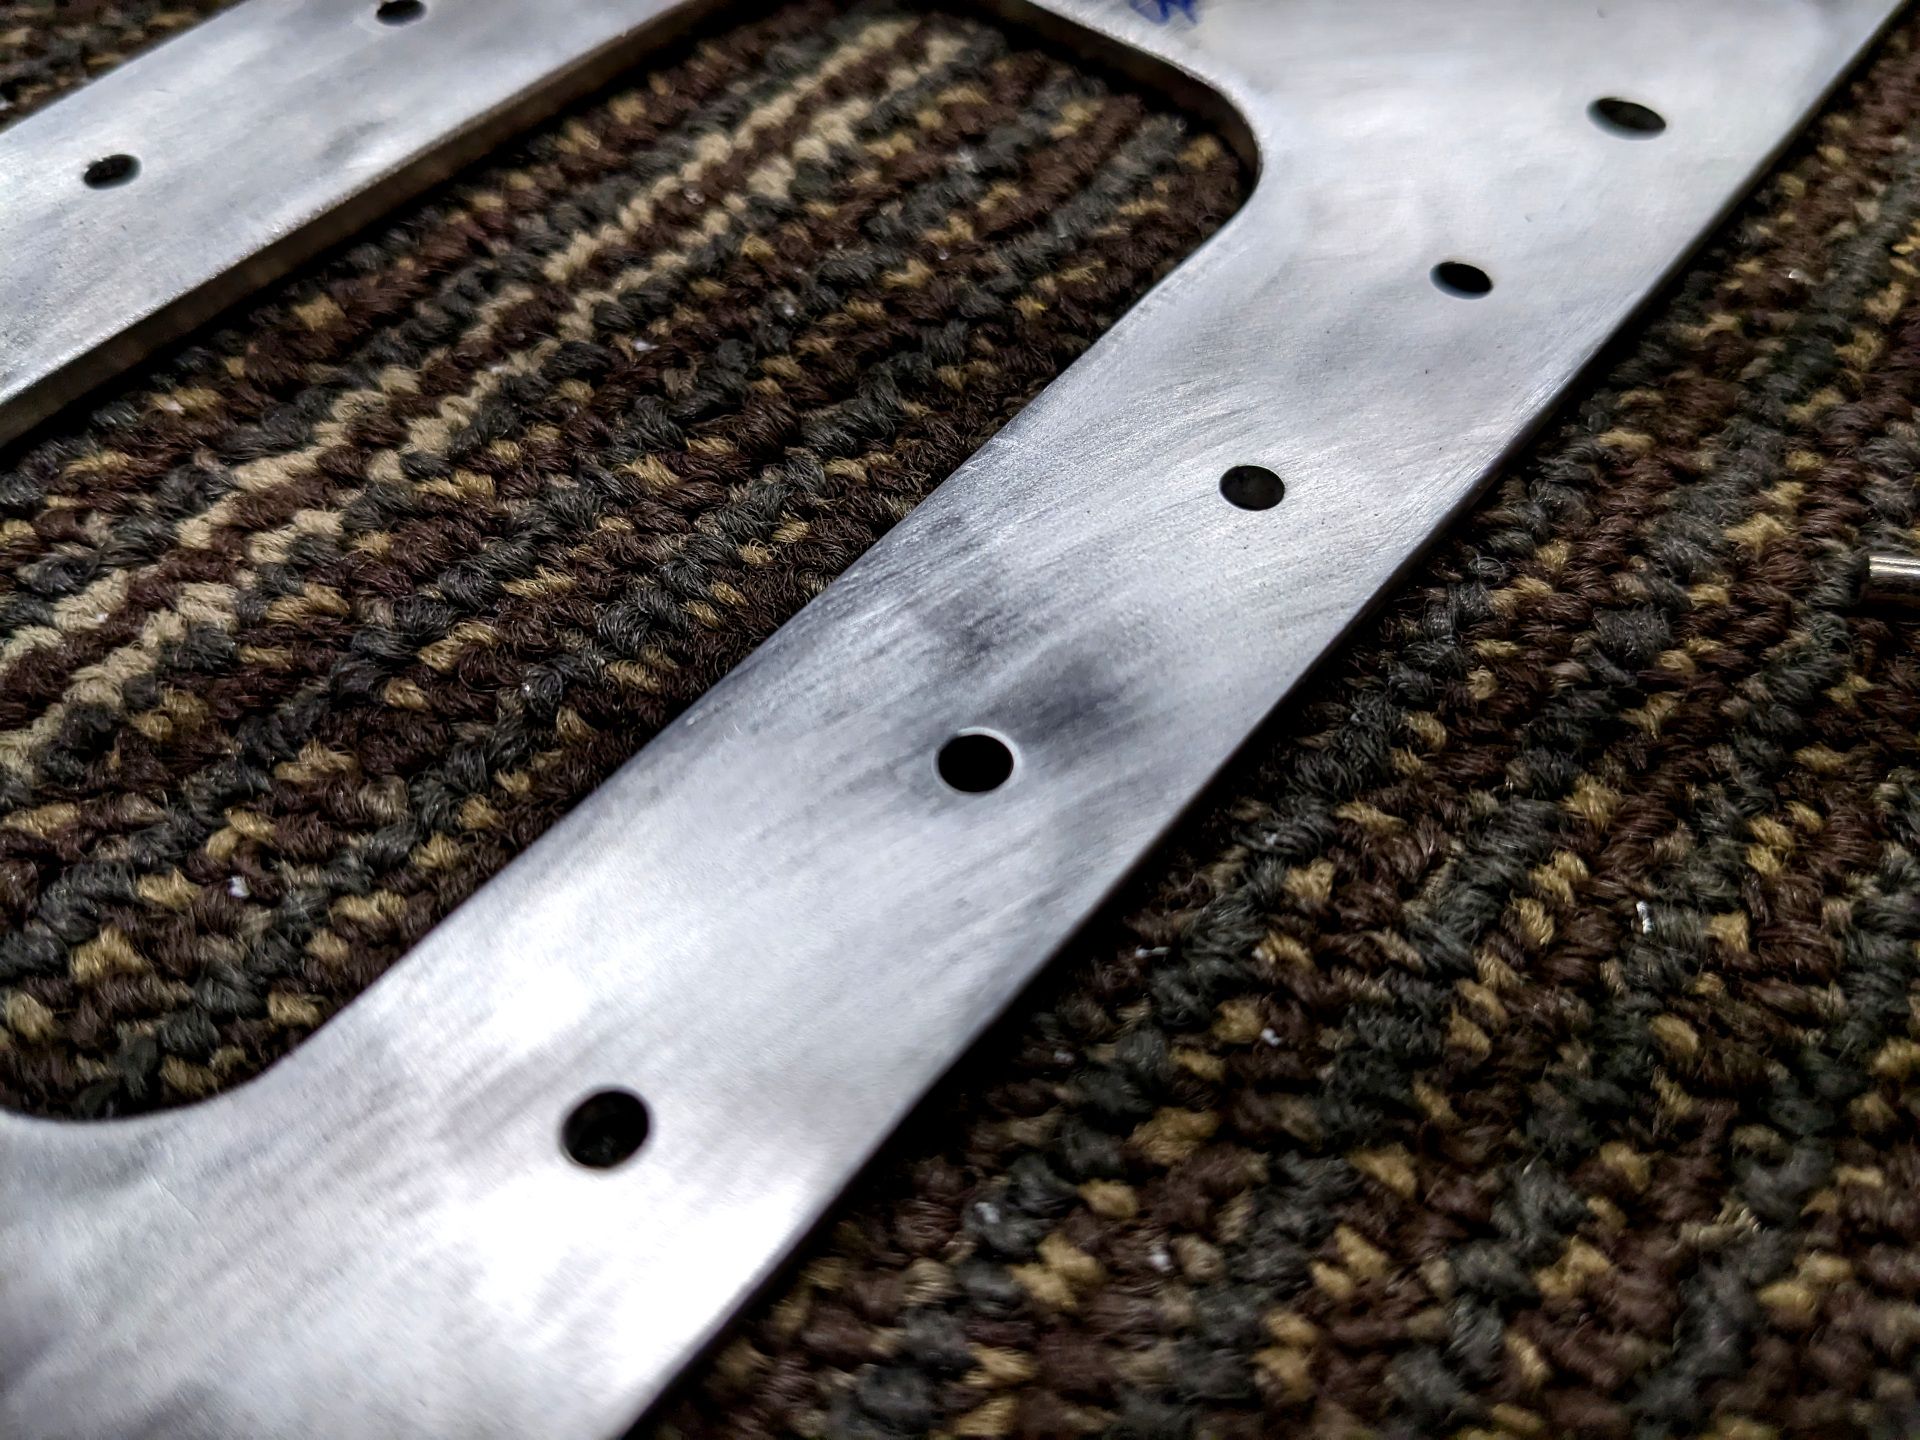
Before I could start priming, I had to go back over all my parts and clean up scratches and any other oddities that I may have missed. This is a lot like a final inspection before painting and some of my parts really needed some love. Since I have a tiny buffing wheel for my dremel I decided to go over pretty much every scuff just to make sure I knew how deep they all were. That lead to the spar looking like this.
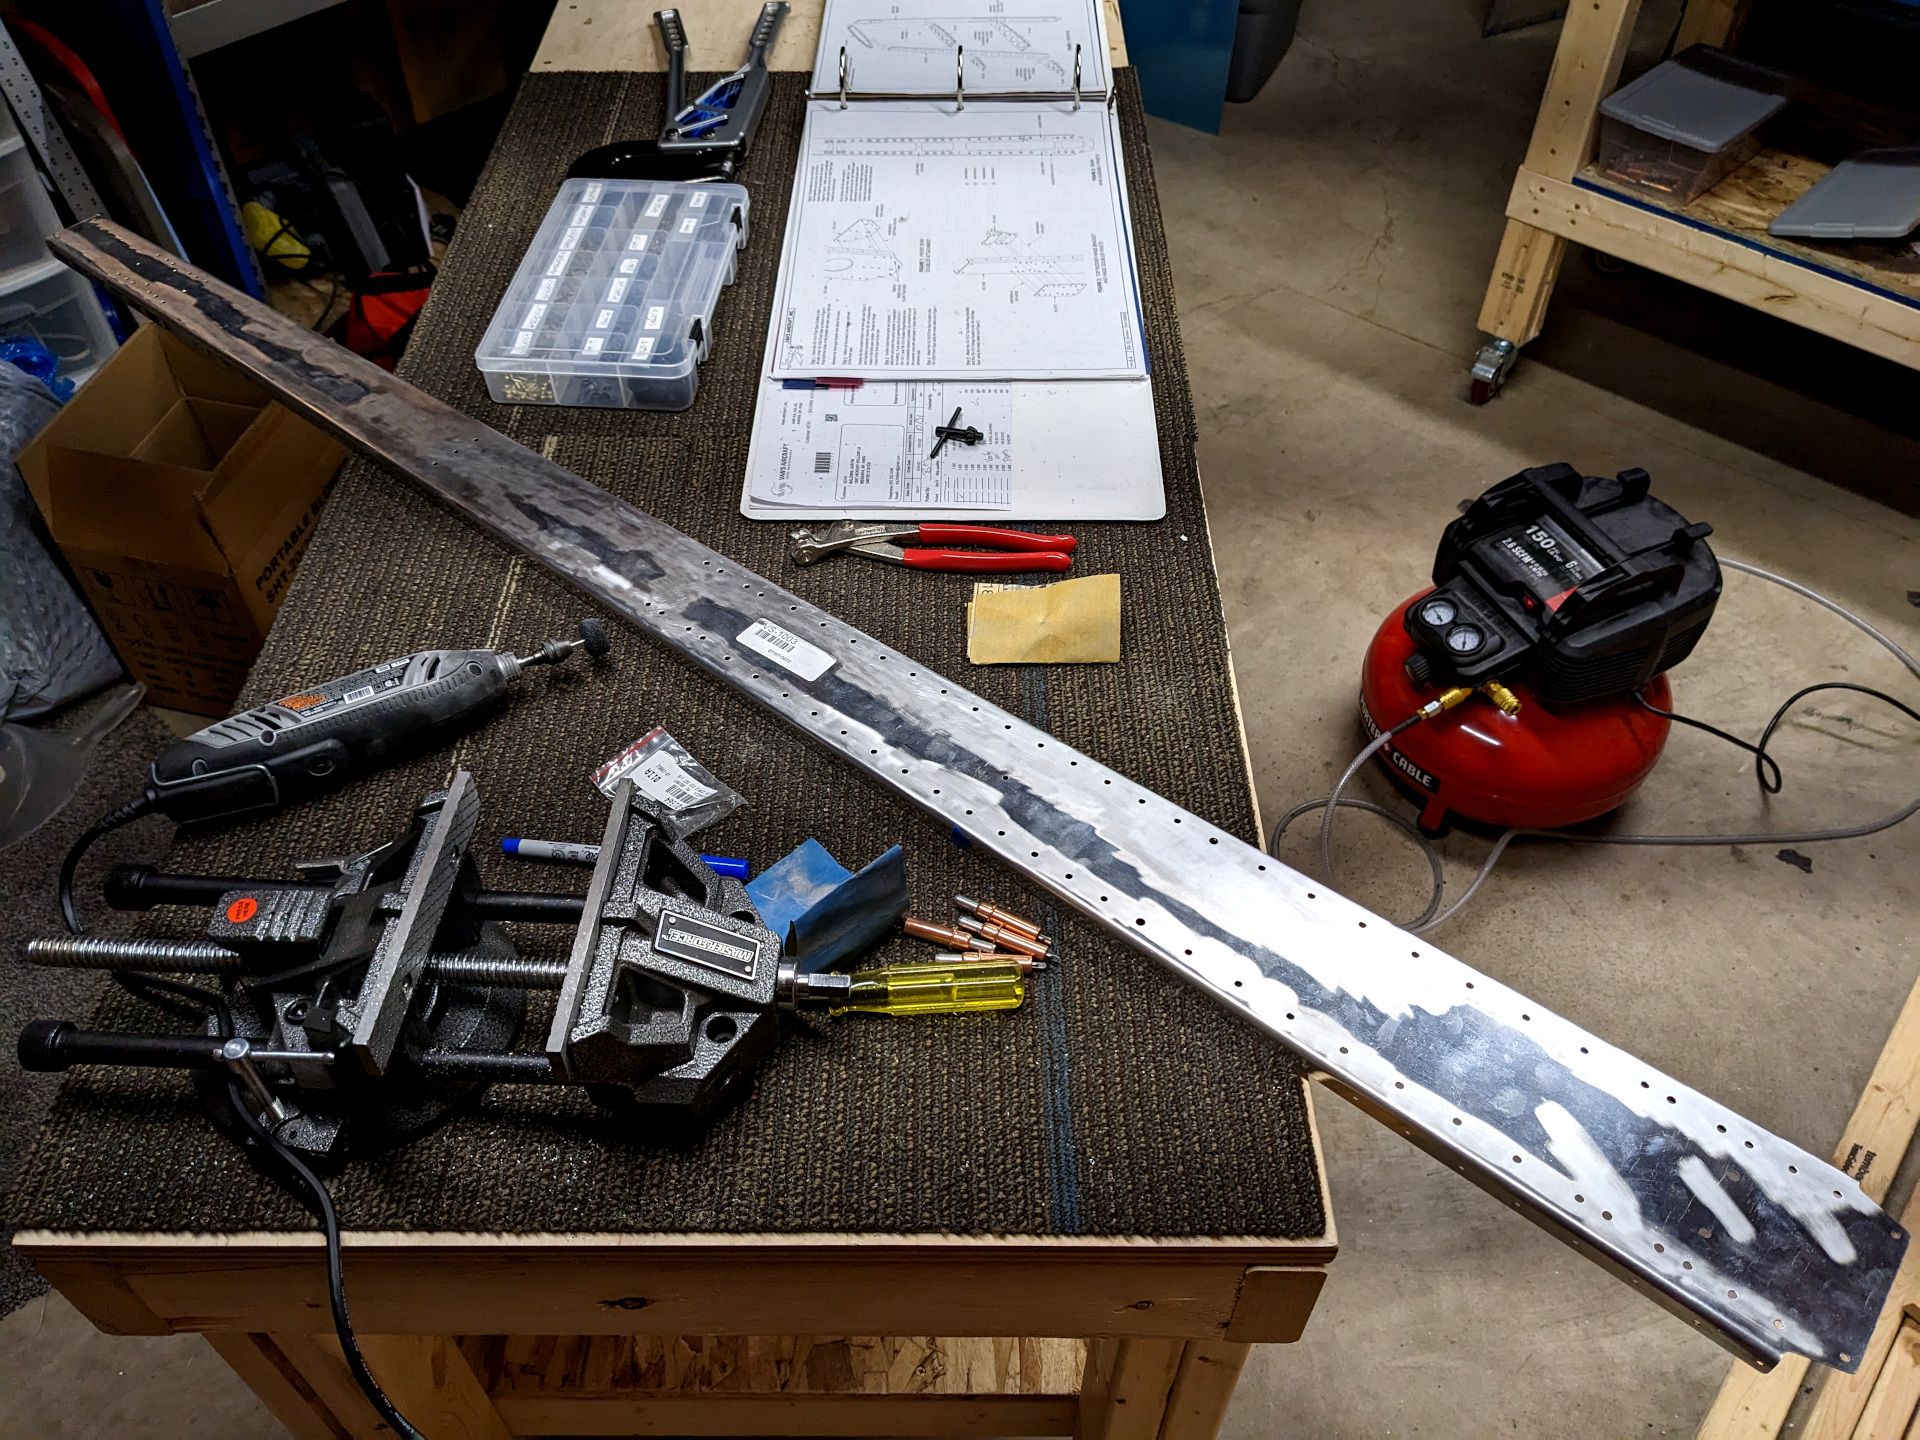
It was a time consuming process to give everything a detailed once over but I feel a lot better about them not cracking in the future now that I've made sure to clean up all the faces and flanges.
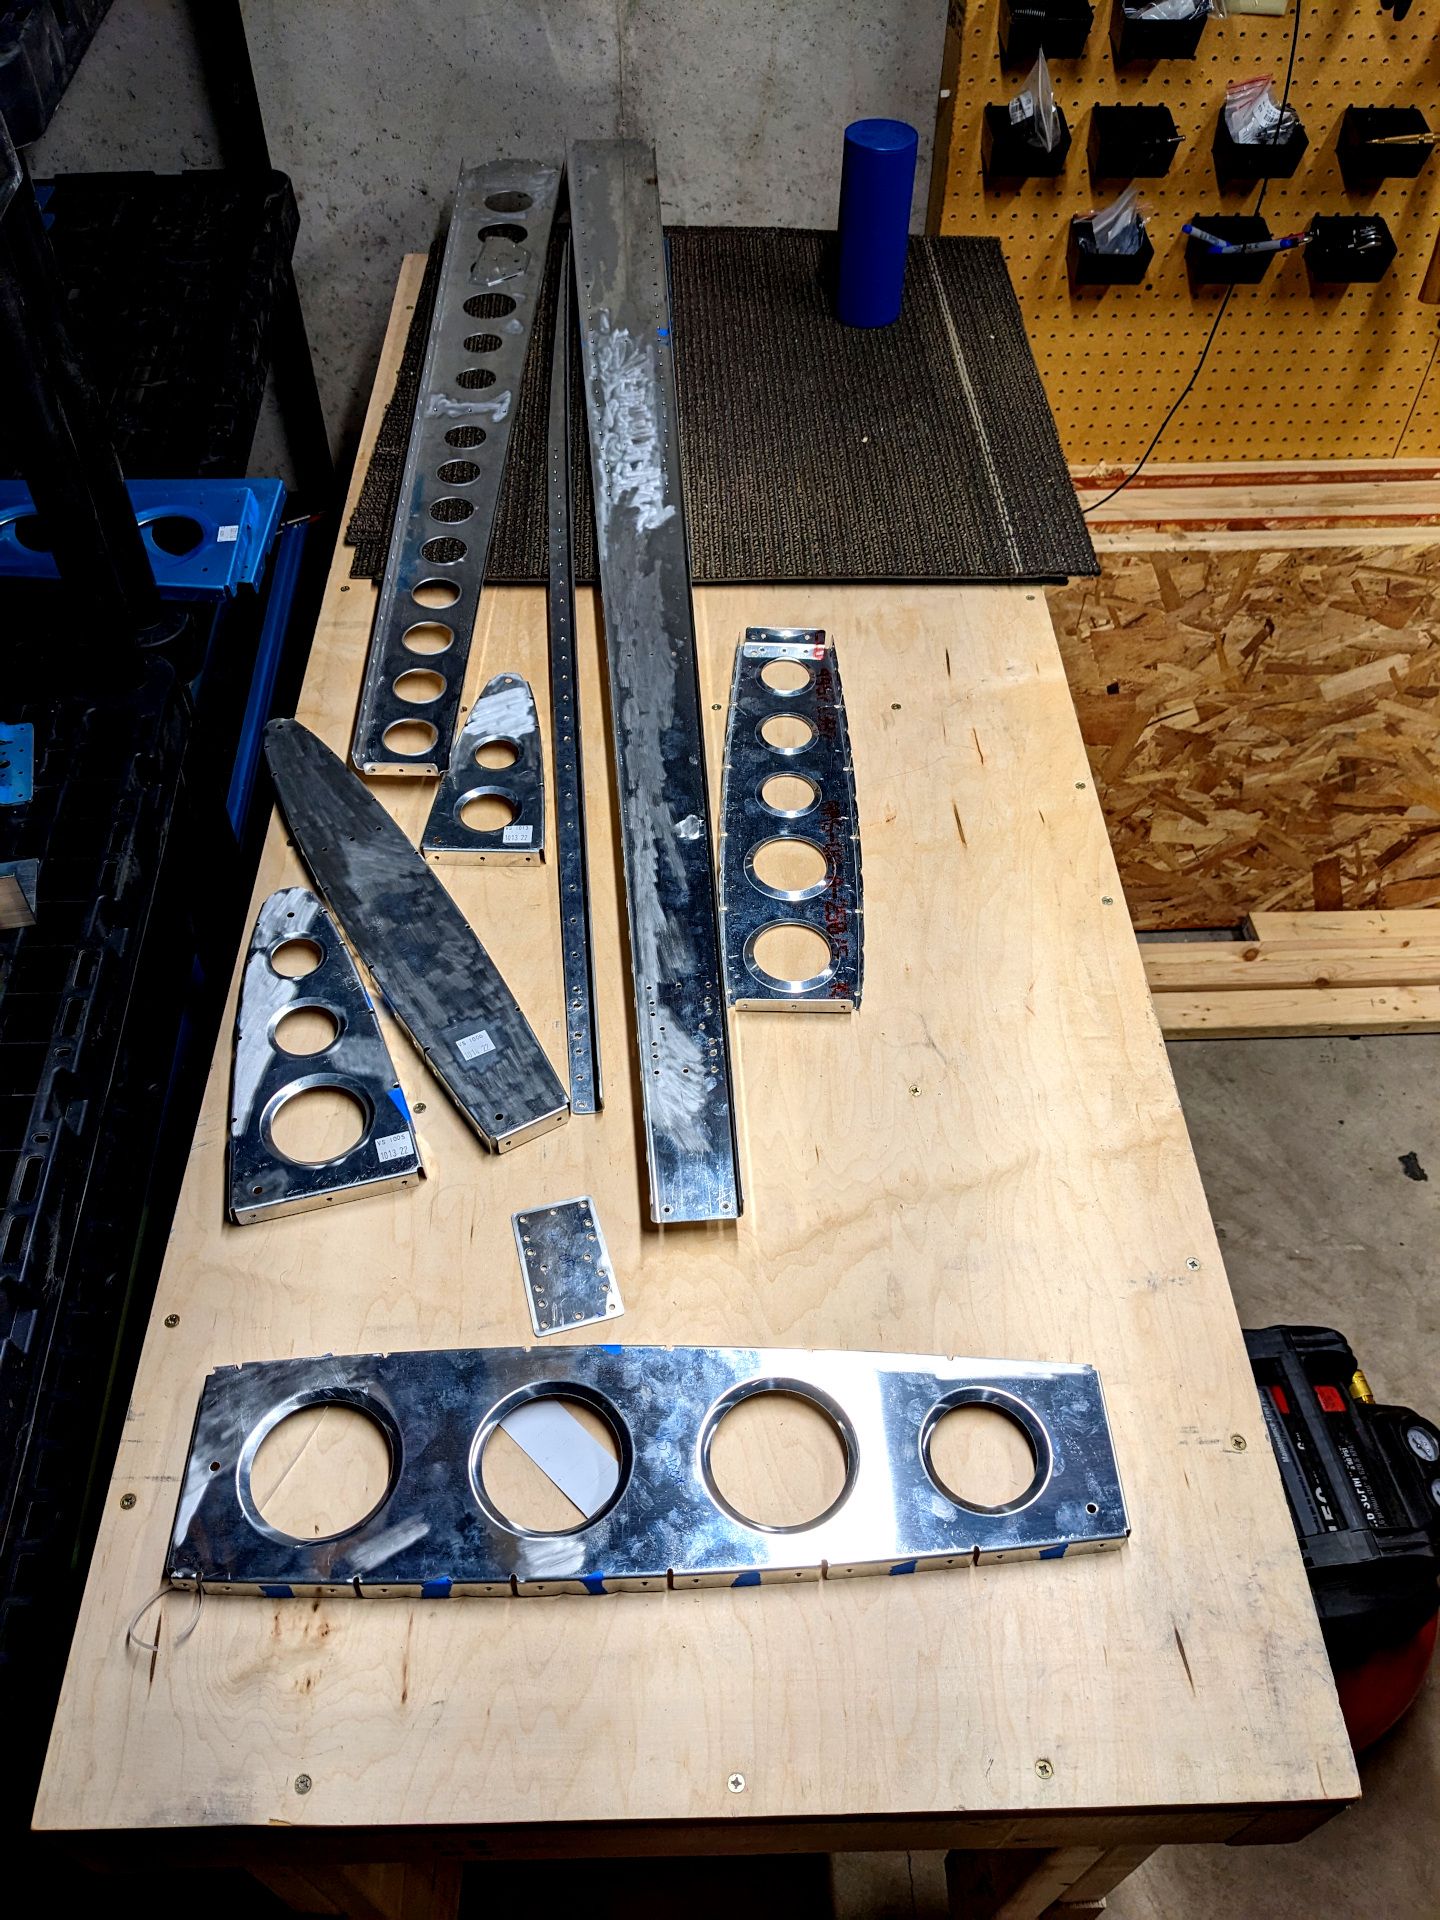
Somehow I managed to save the hardest for last. One of my spar doublers had some deep scratches and weird file marks (because I hadn't yet purchased my smaller nice files). So I spent quote a bit of time on sanding out tons of my own mistakes and getting it up to a decent quality.
Before:
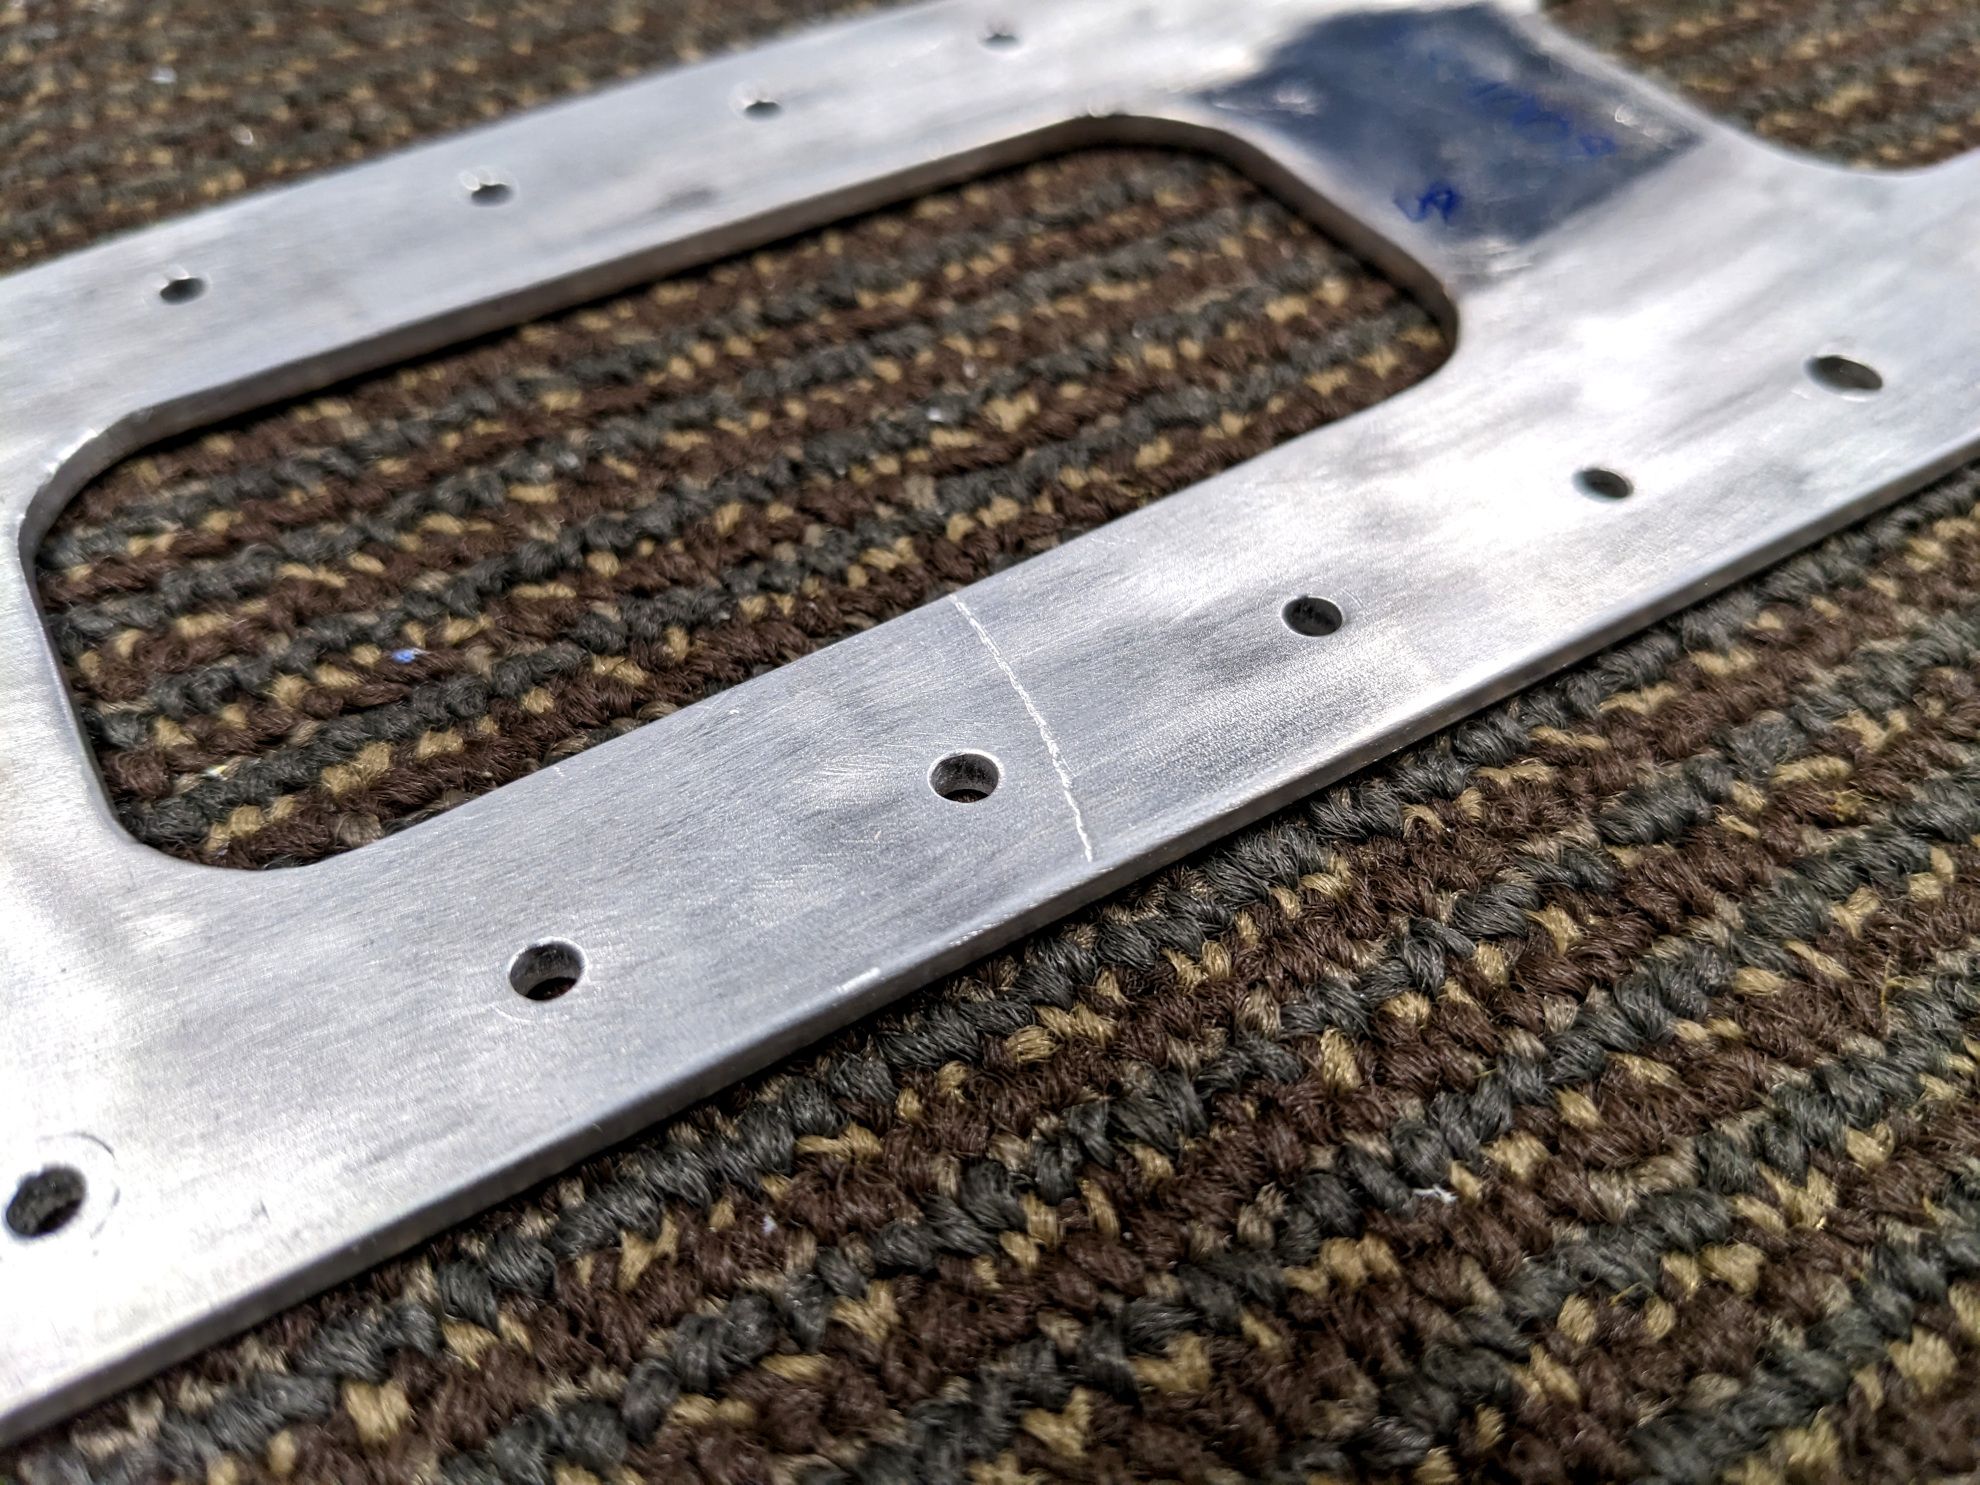
After:
Okay, so finally after cleaning and inspecting the parts a few times, I have to actually finish my paint booth. I don't know why but I put it off over and over and I think I was just nervous about priming the parts. I had taken classes on metal working so I had more confidence in that but I have never used a spray paint before (wouldn't my parents be proud I was a boring teenager). It was now time to get in there and finish up the booth. First stop, adding the intake filters.
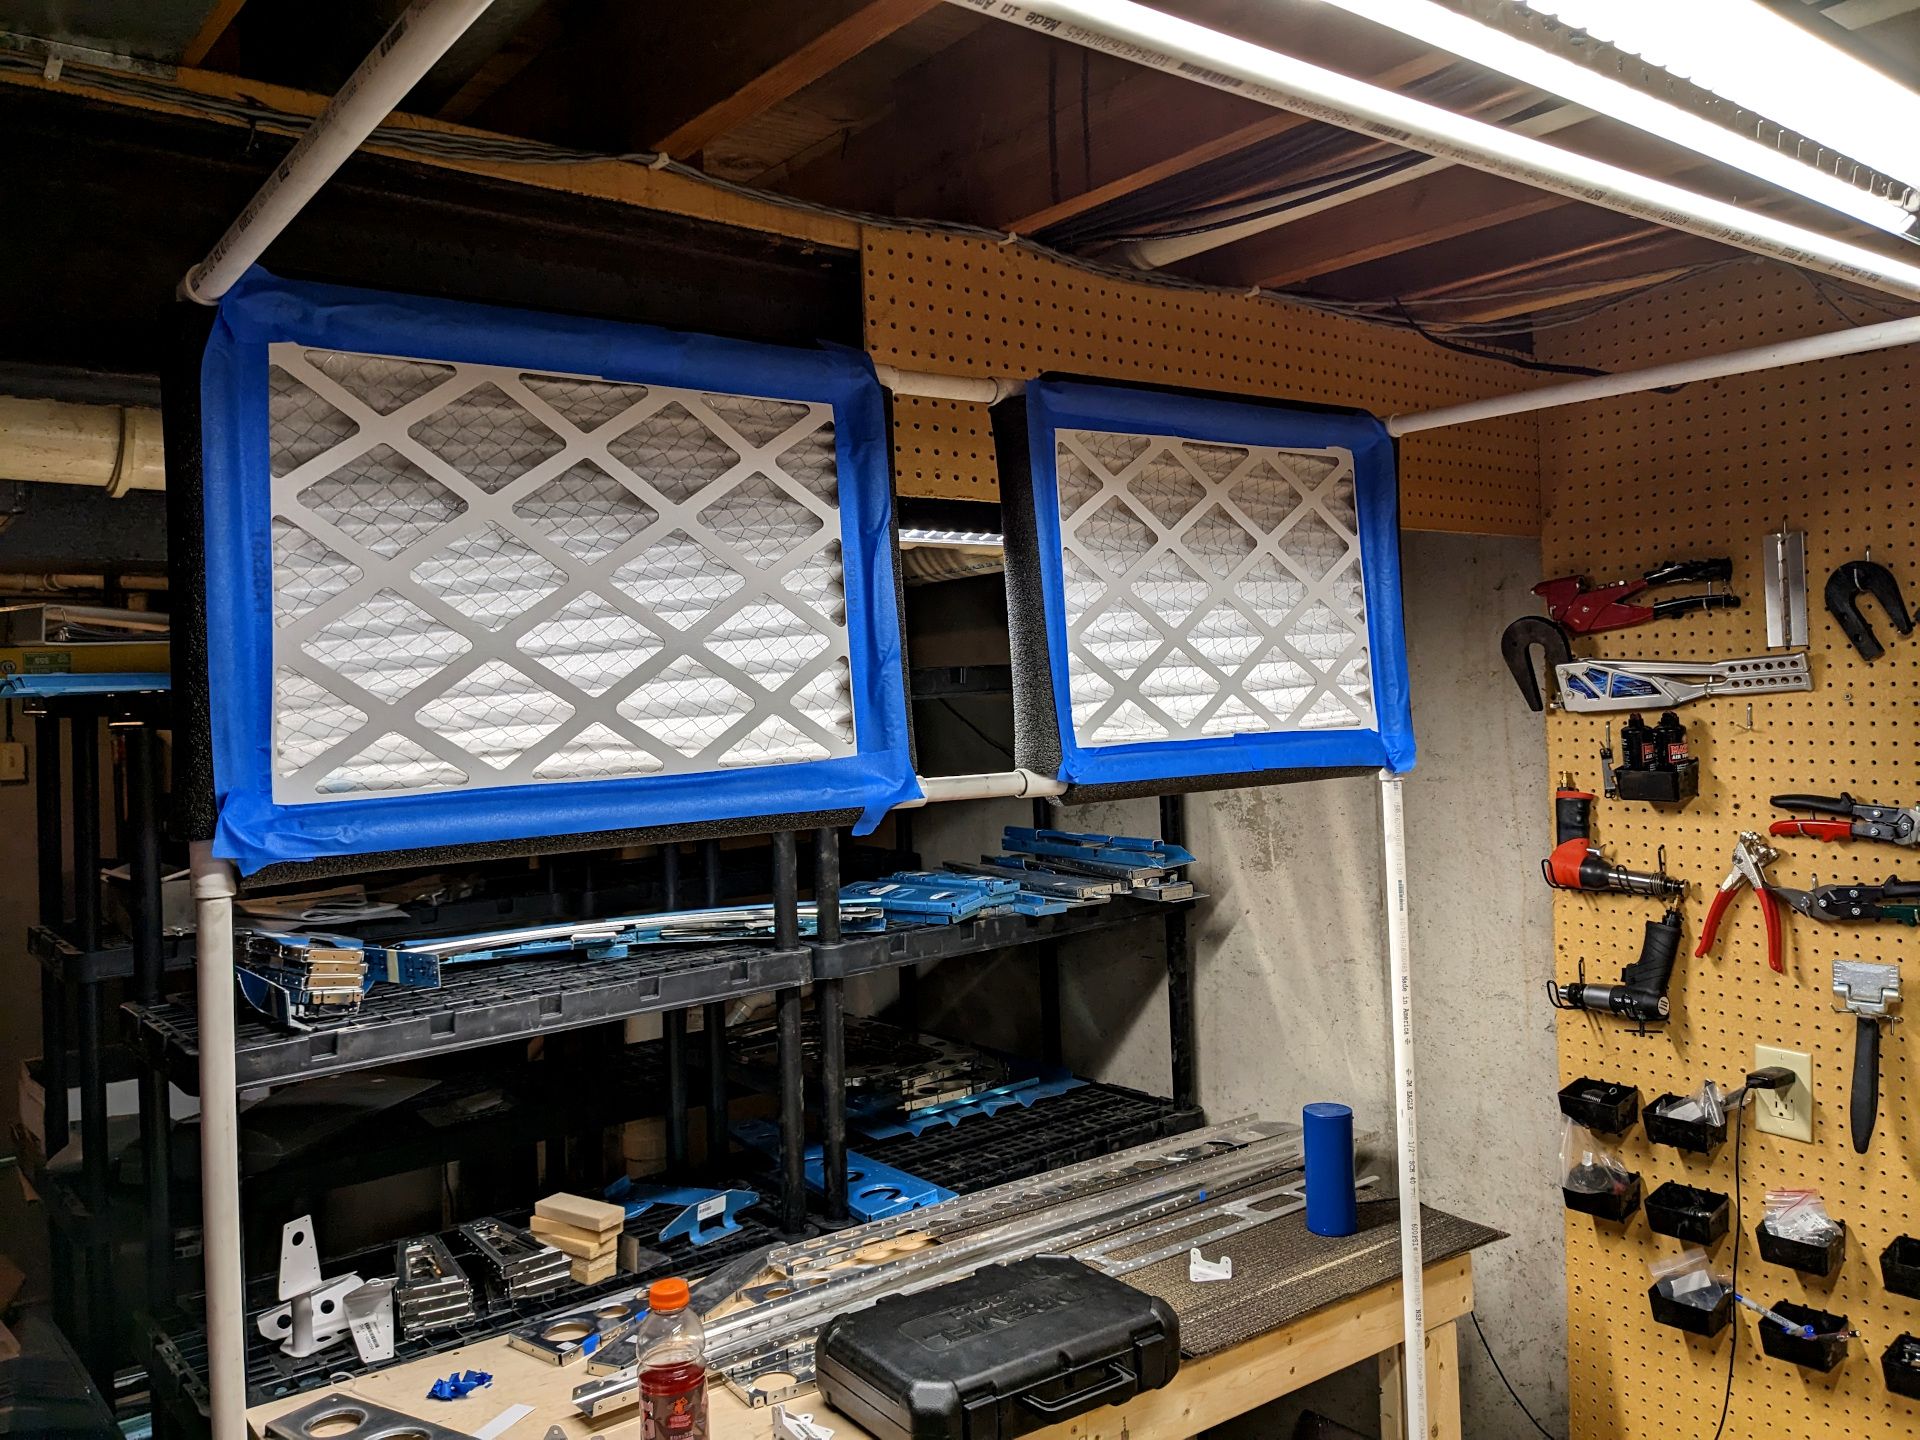
I had some small pipe insulation foam that left a nice pocket for the filters to sit in. Then to improve the seal and prevent things from going anywhere I decided to tape around the edges. The intake filters are to prevent dust and stuff from getting into the primer. It isn't a huge deal since these are internal parts but I may do other finishing paint some day so having these is good.
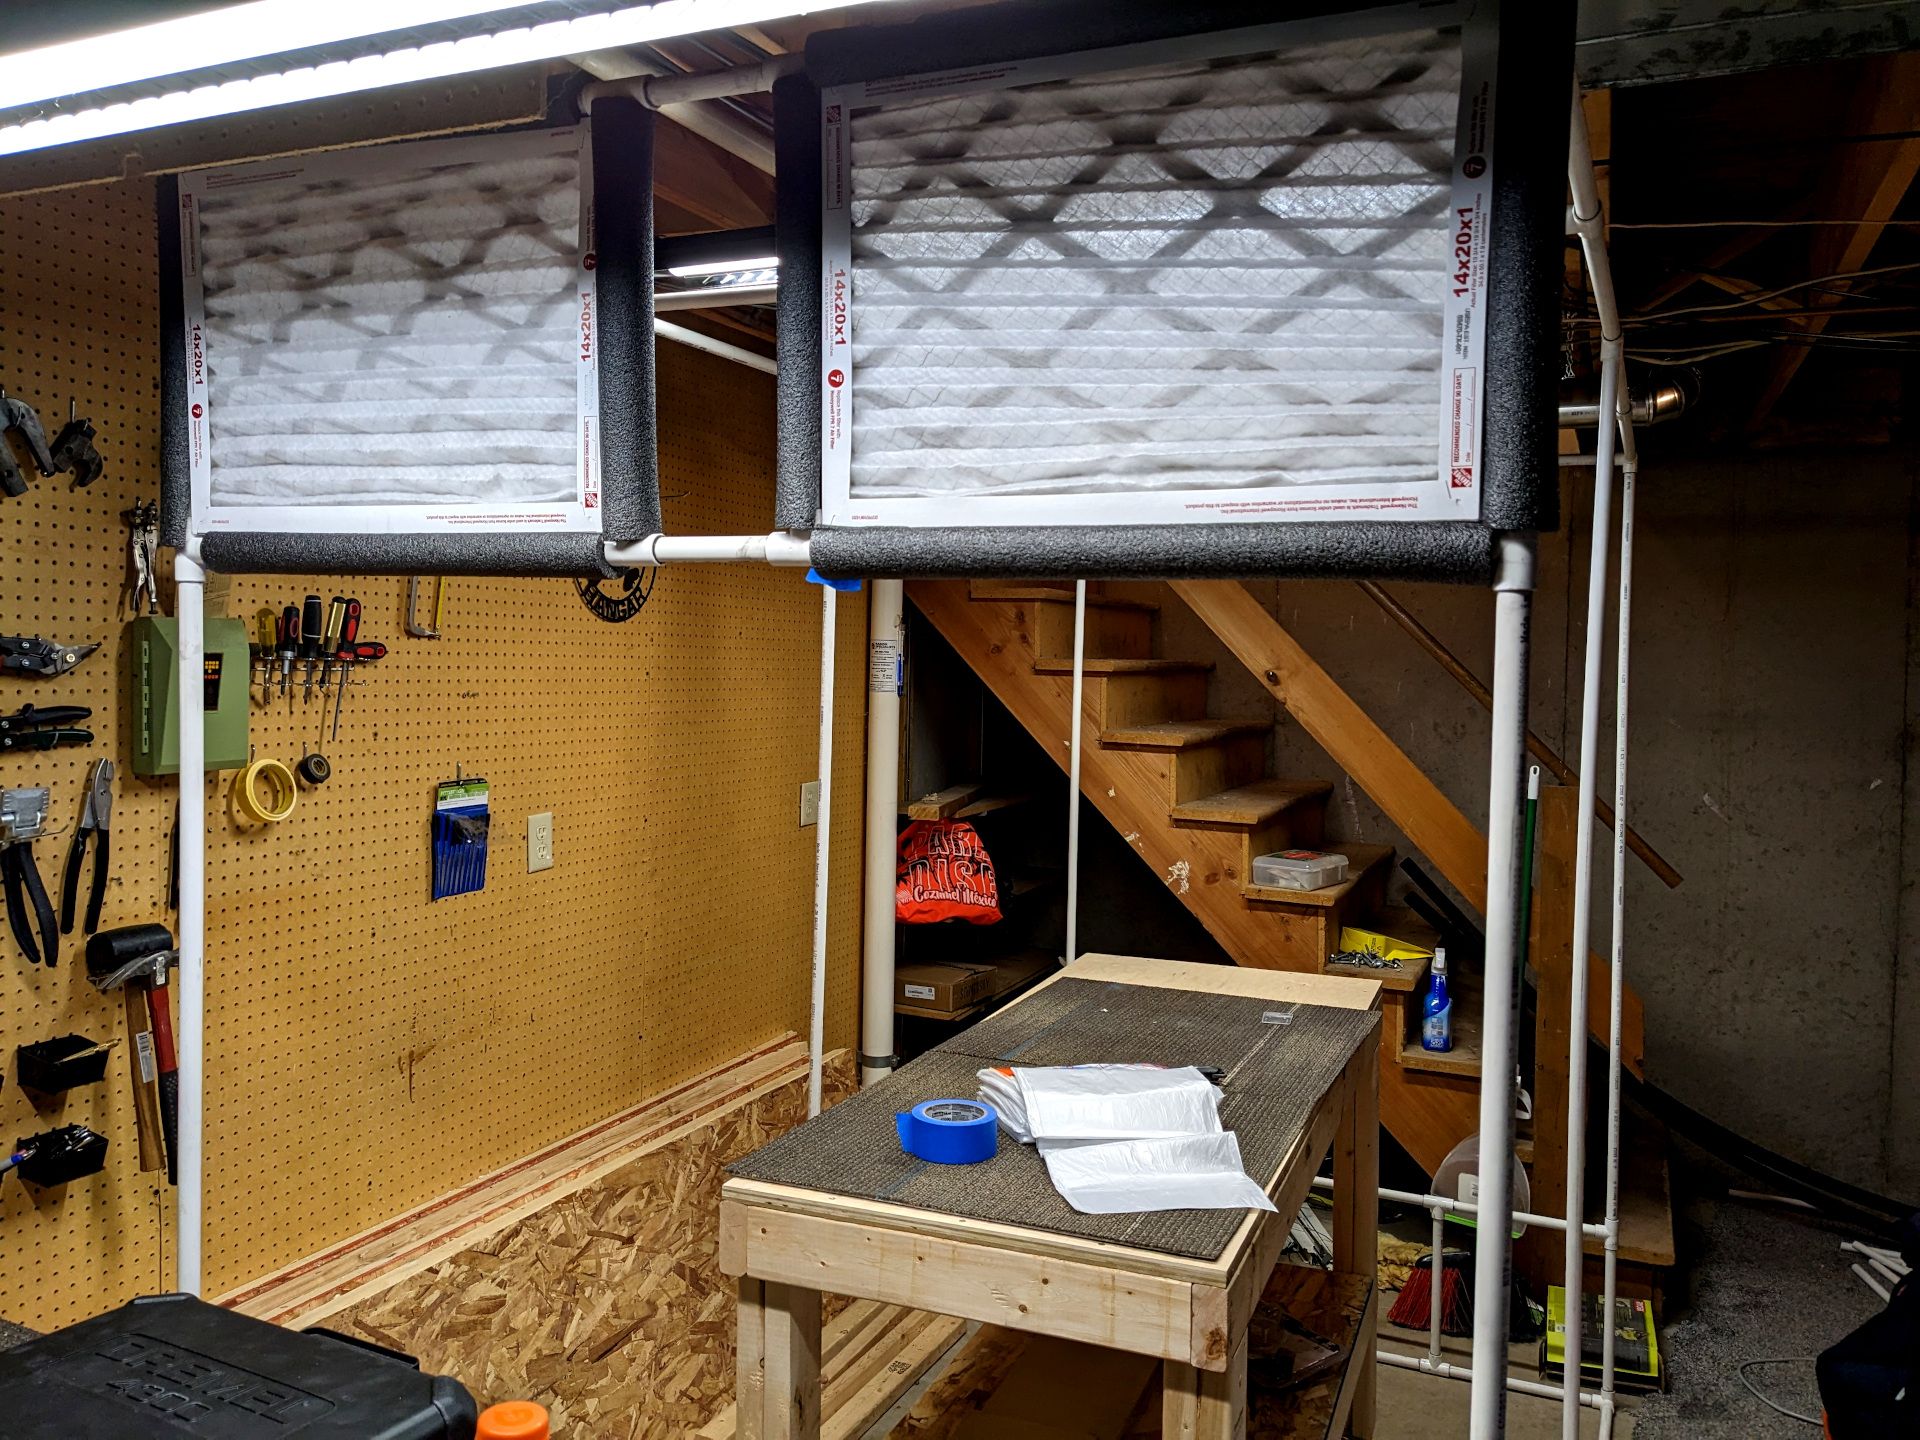
Now it was time to get the plastic out and spend a while figuring out how to tape it all together. This was all guesswork on my part. I had 10 9'x14' sheets that I got for cheap on Amazon so I only ended up using three.
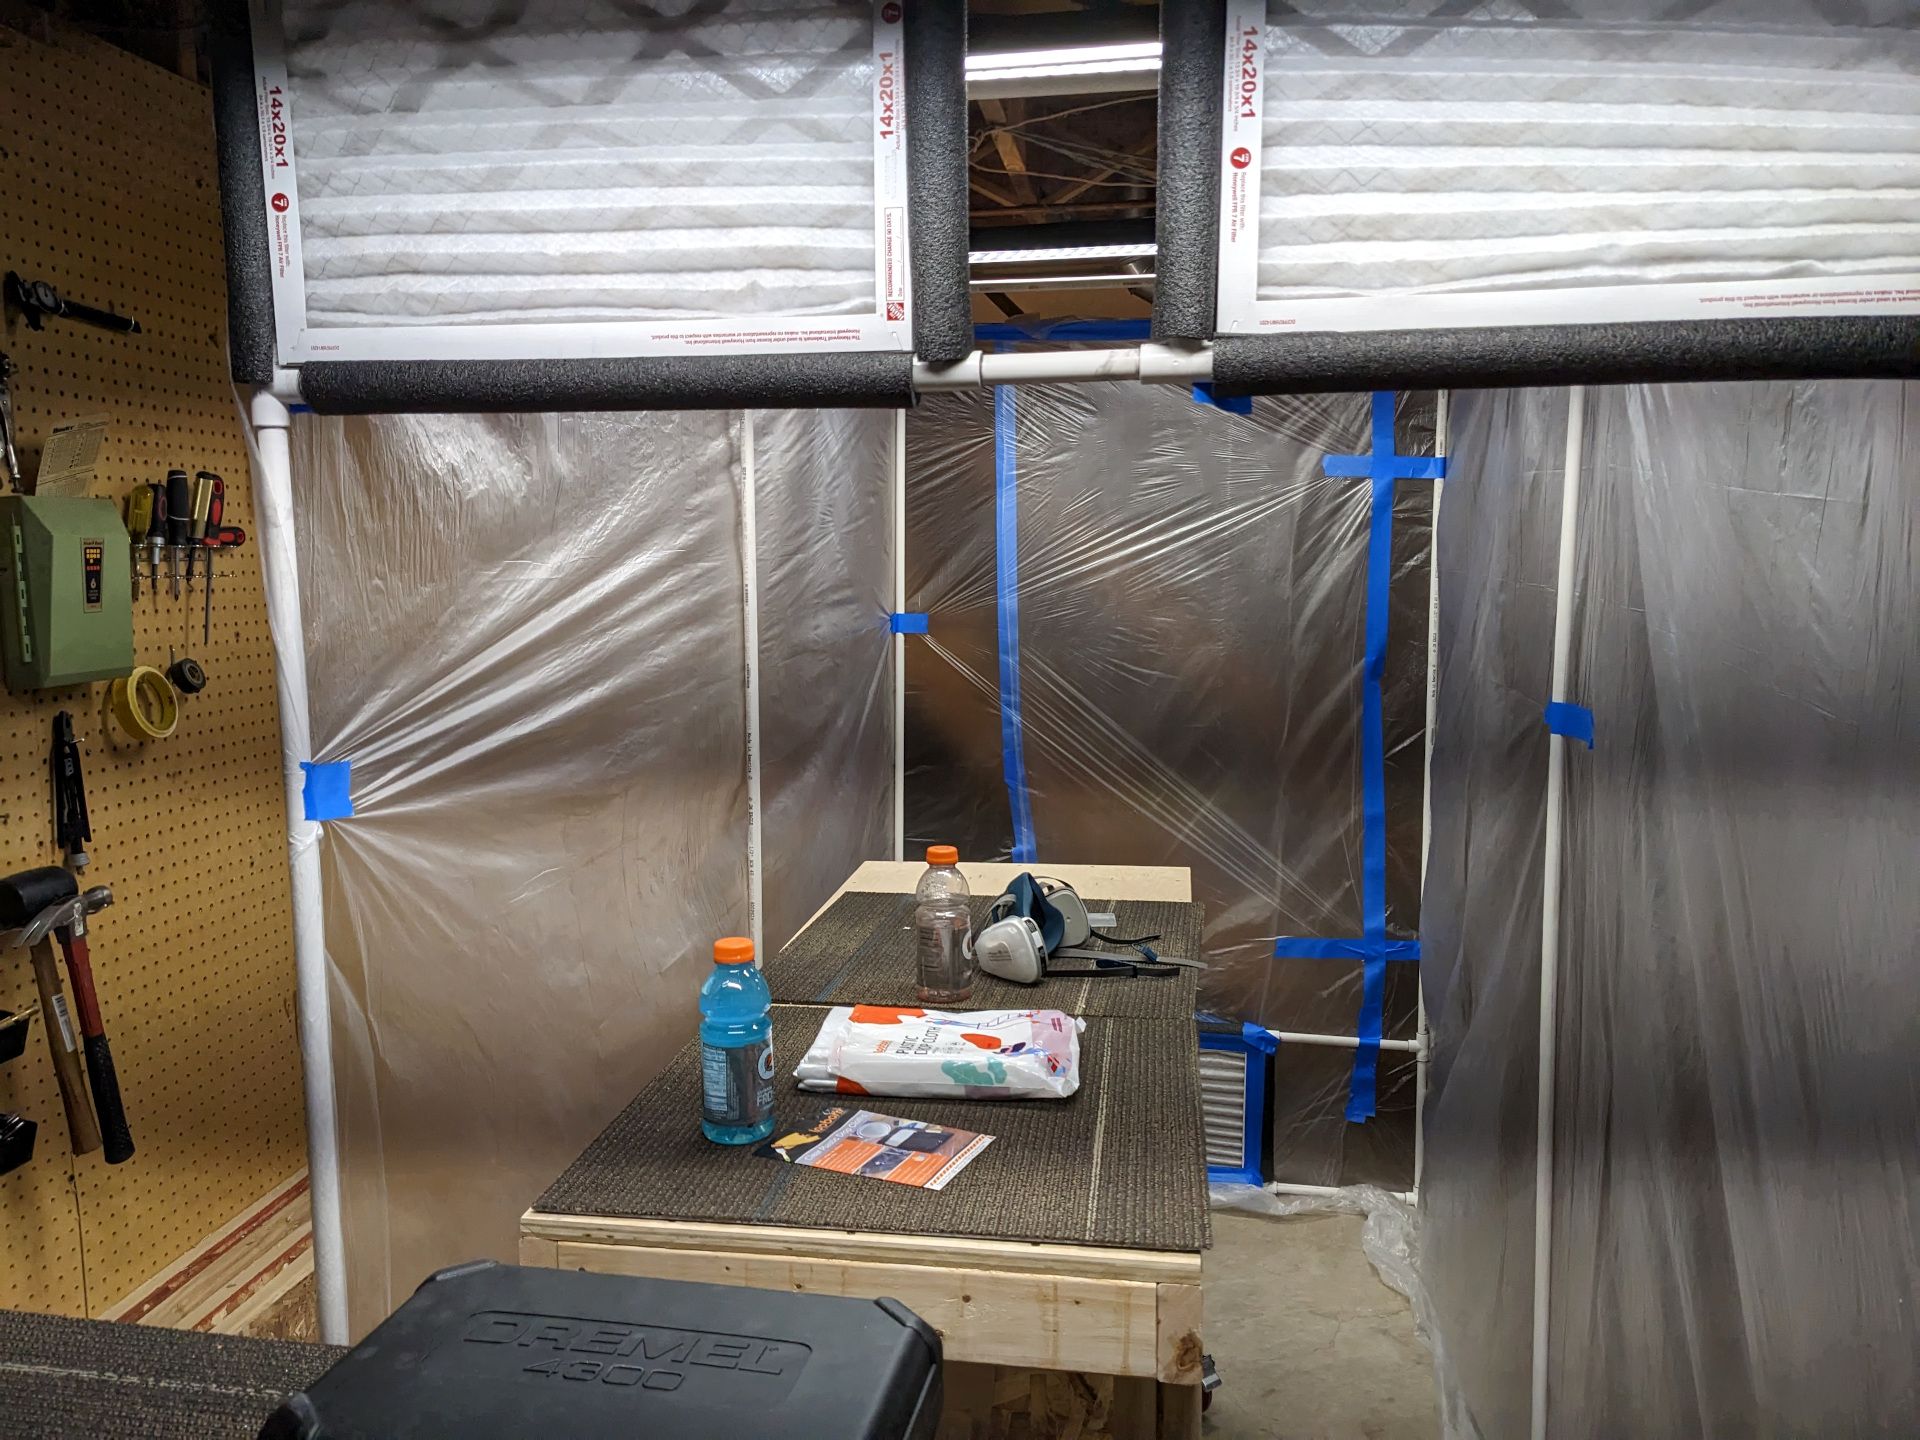
After that picture I installed the top plastic and front. My shop lights are LEDs so I don't have to worry about them getting too hot and melting the plastic. Behind the exhaust filter there is a reducer that goes to my exhaust fan system. I cleverly didn't take a picture of it but you'll have to believe me that it is there (and made of cardboard).
Now, the main event. I put on my gloves and respirator and decided to try priming my first part.
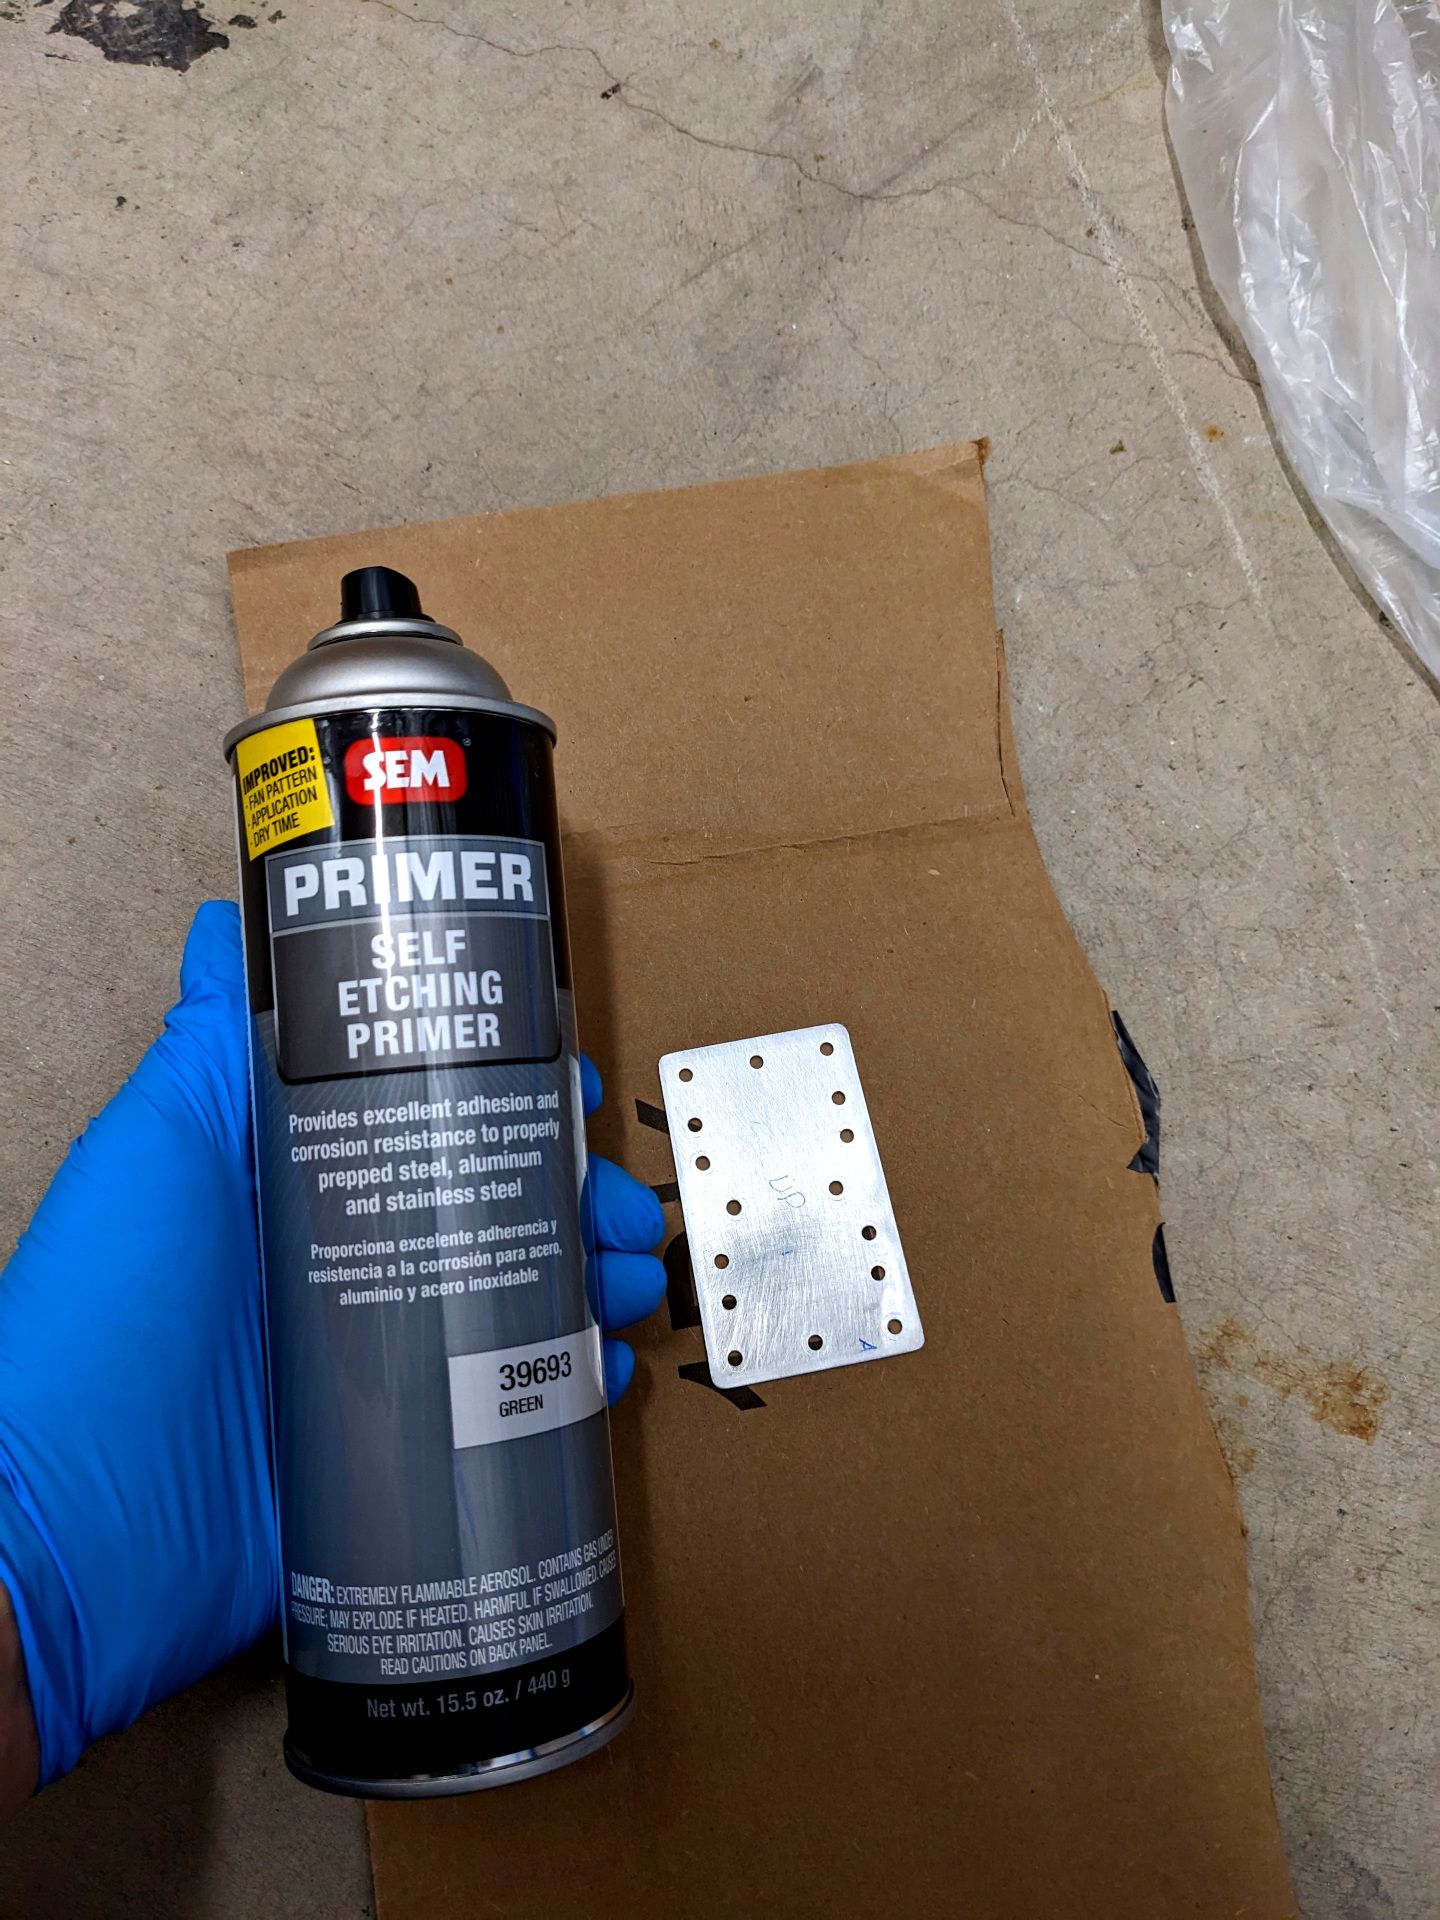
I put on three coats of the primer, about five minutes between each coat. It looks quite nice. Unfortunately my picture of it looks like trash because of weird lighting and I didn't bother taking more. The sharpie writing also still shows through my three coats of primer which is a plus. I was wondering how I was going to remember which way was up. After that small confidence boost I started doing a bigger part I scuffed up.
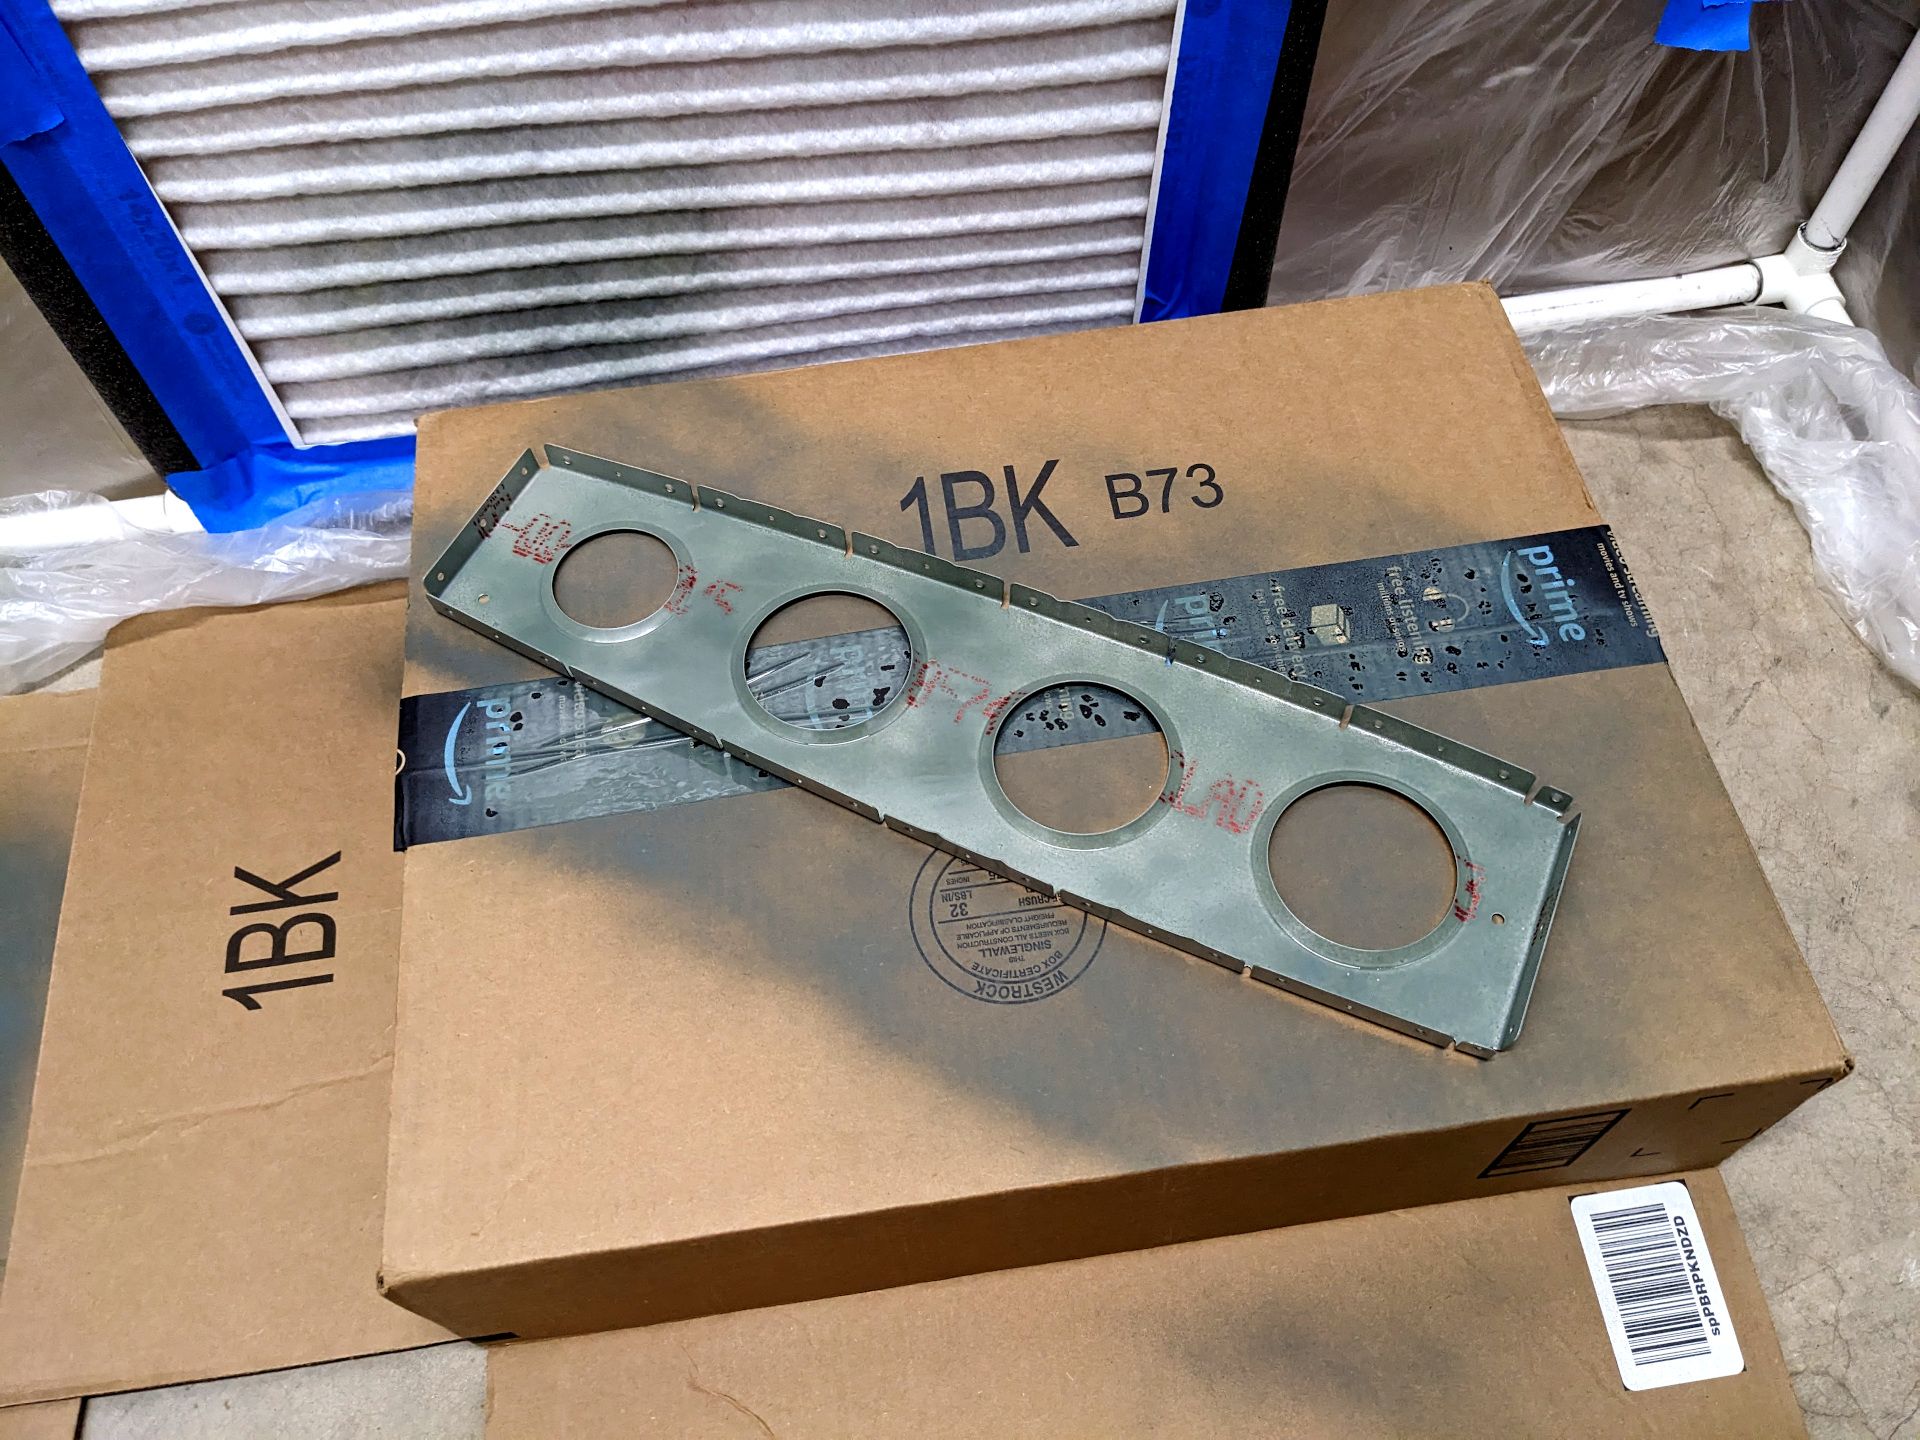
And there it is after the first coat. There are some odd angles so I'm using it as a test part to kind of figure out how I'm going to spray everything. I have since put more coats on it and it is drying right now but looks pretty good. I may have to do another pass on the flanges, though.
So that is where everything stands at the moment. I might build a PVC frame and run picture wire through it so I can hang the parts in the middle of the booth. This would let me put a coat on both sides (and spin the parts) which would make things go a bit faster probably.
Anyway, thanks for stopping by! I hope to get more painting done this week and start riveting parts together.
