Such Cute Little Dimples


With every step we are getting closer to priming and riveting! First though, all the match drilling has to happen. This is to ensure things line up and can actually be riveted together.
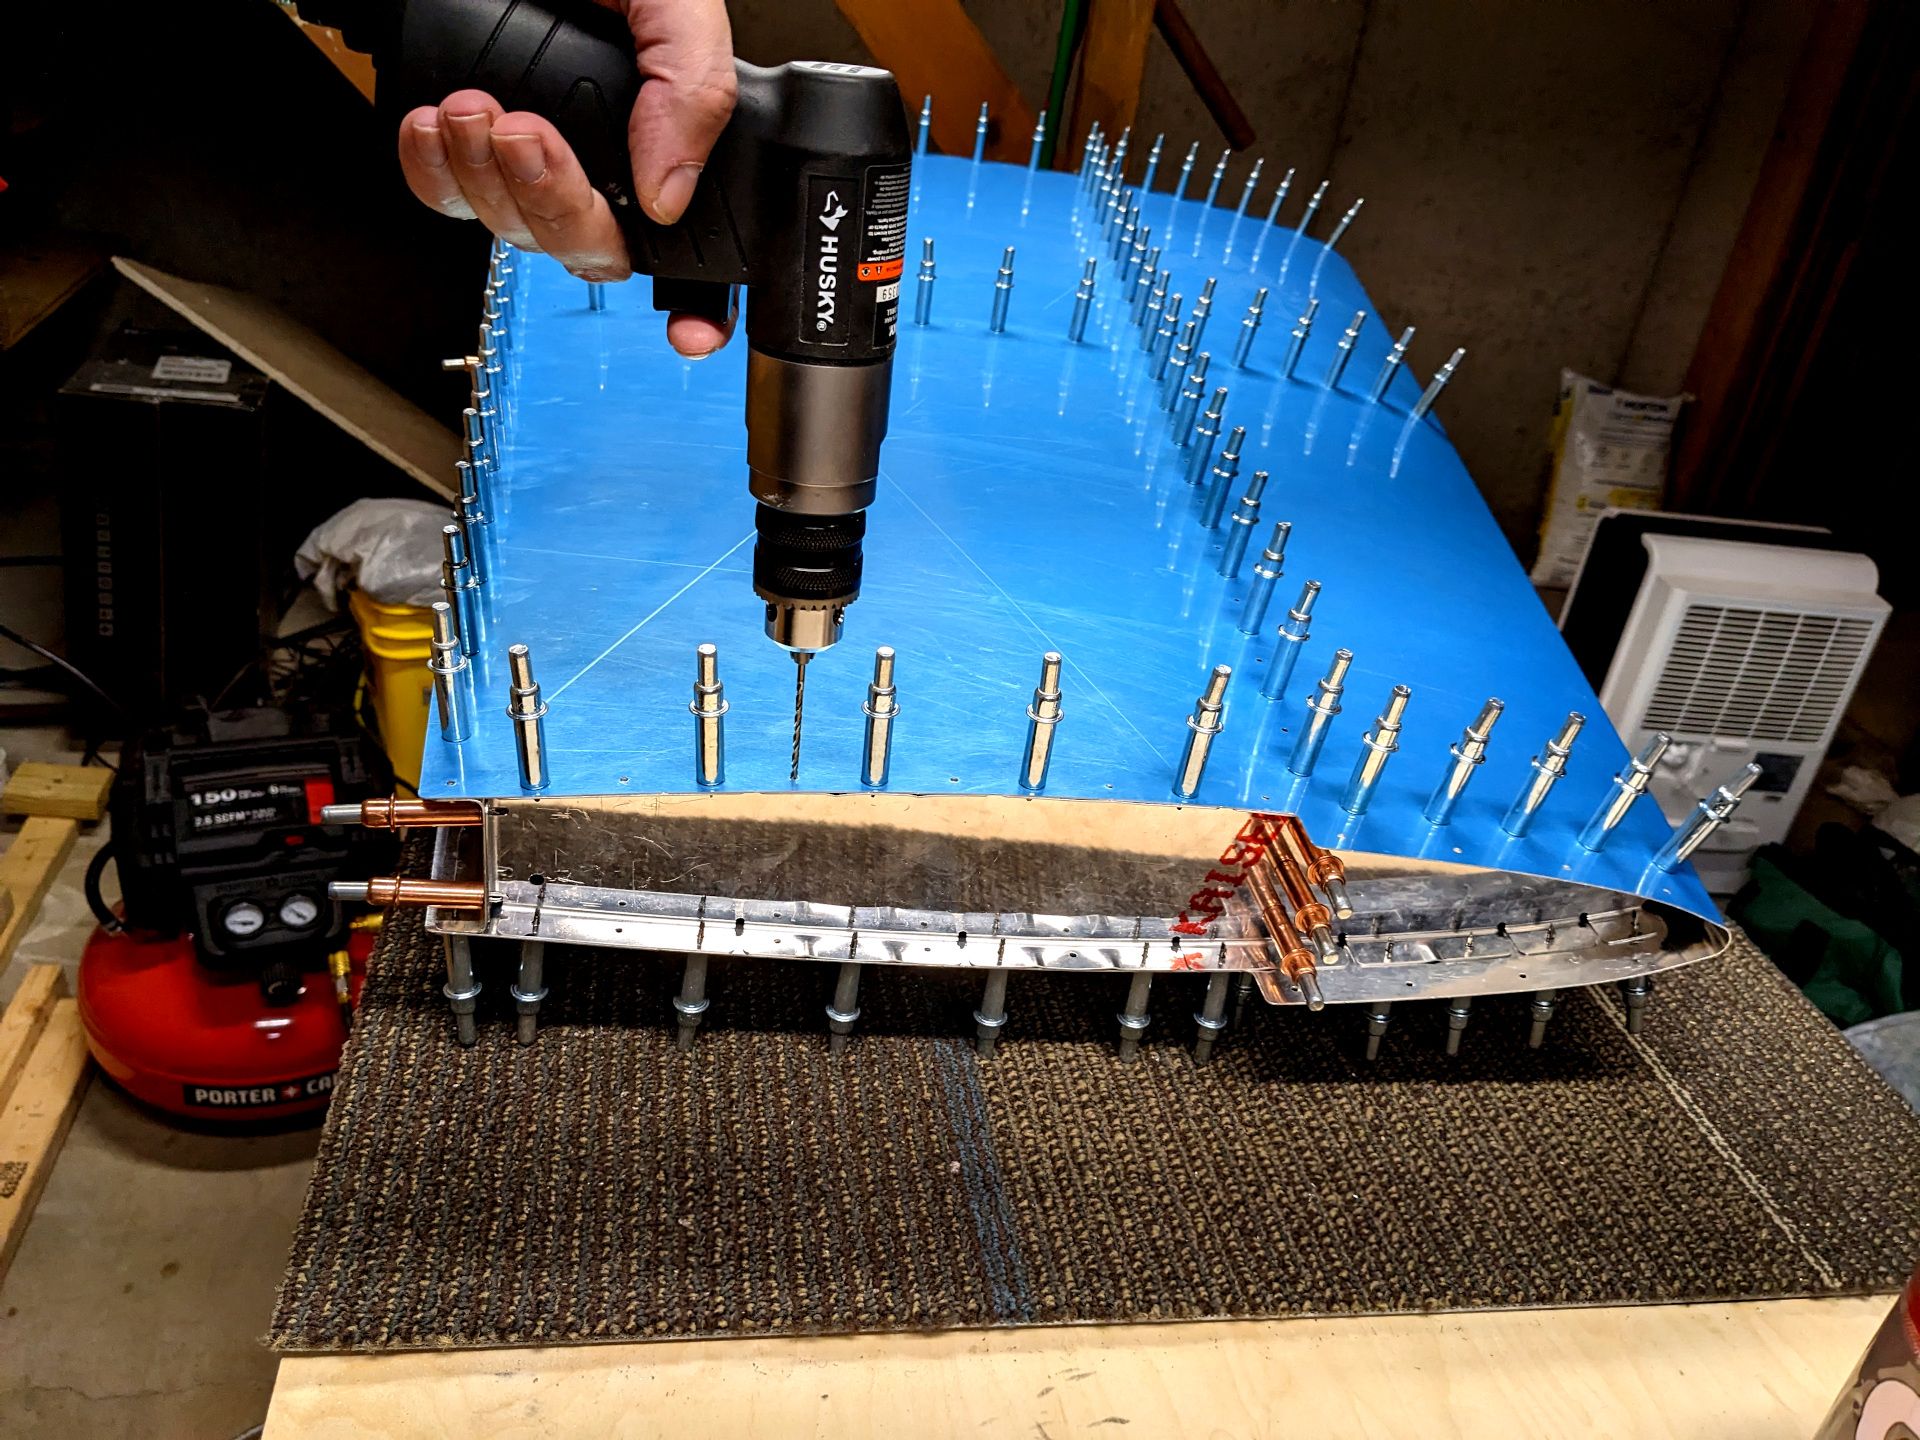
This requires drilling each and every hole, then swapping all the clecos and again going through every hole. It is tedious and time consuming but that seems to be the name of the game when building a plane. The real challenge here was swapping the celcos around using only a hand plier. I definitely should have gotten a pneumatic one because my hand hurts now.
Eventually the deed is done. Not pictured here is to now deburr EVERY hole I just drilled. Next I want to make sure I don't dimple the wrong holes. The holes have to be dimpled at 100 degrees (the angle, not the temperature) in order for the rivets to sit flush with the surface and thus reduce drag. Speaking of drag, it would be a real drag to dimple the wrong holes. So I covered the holes with painter's tape.
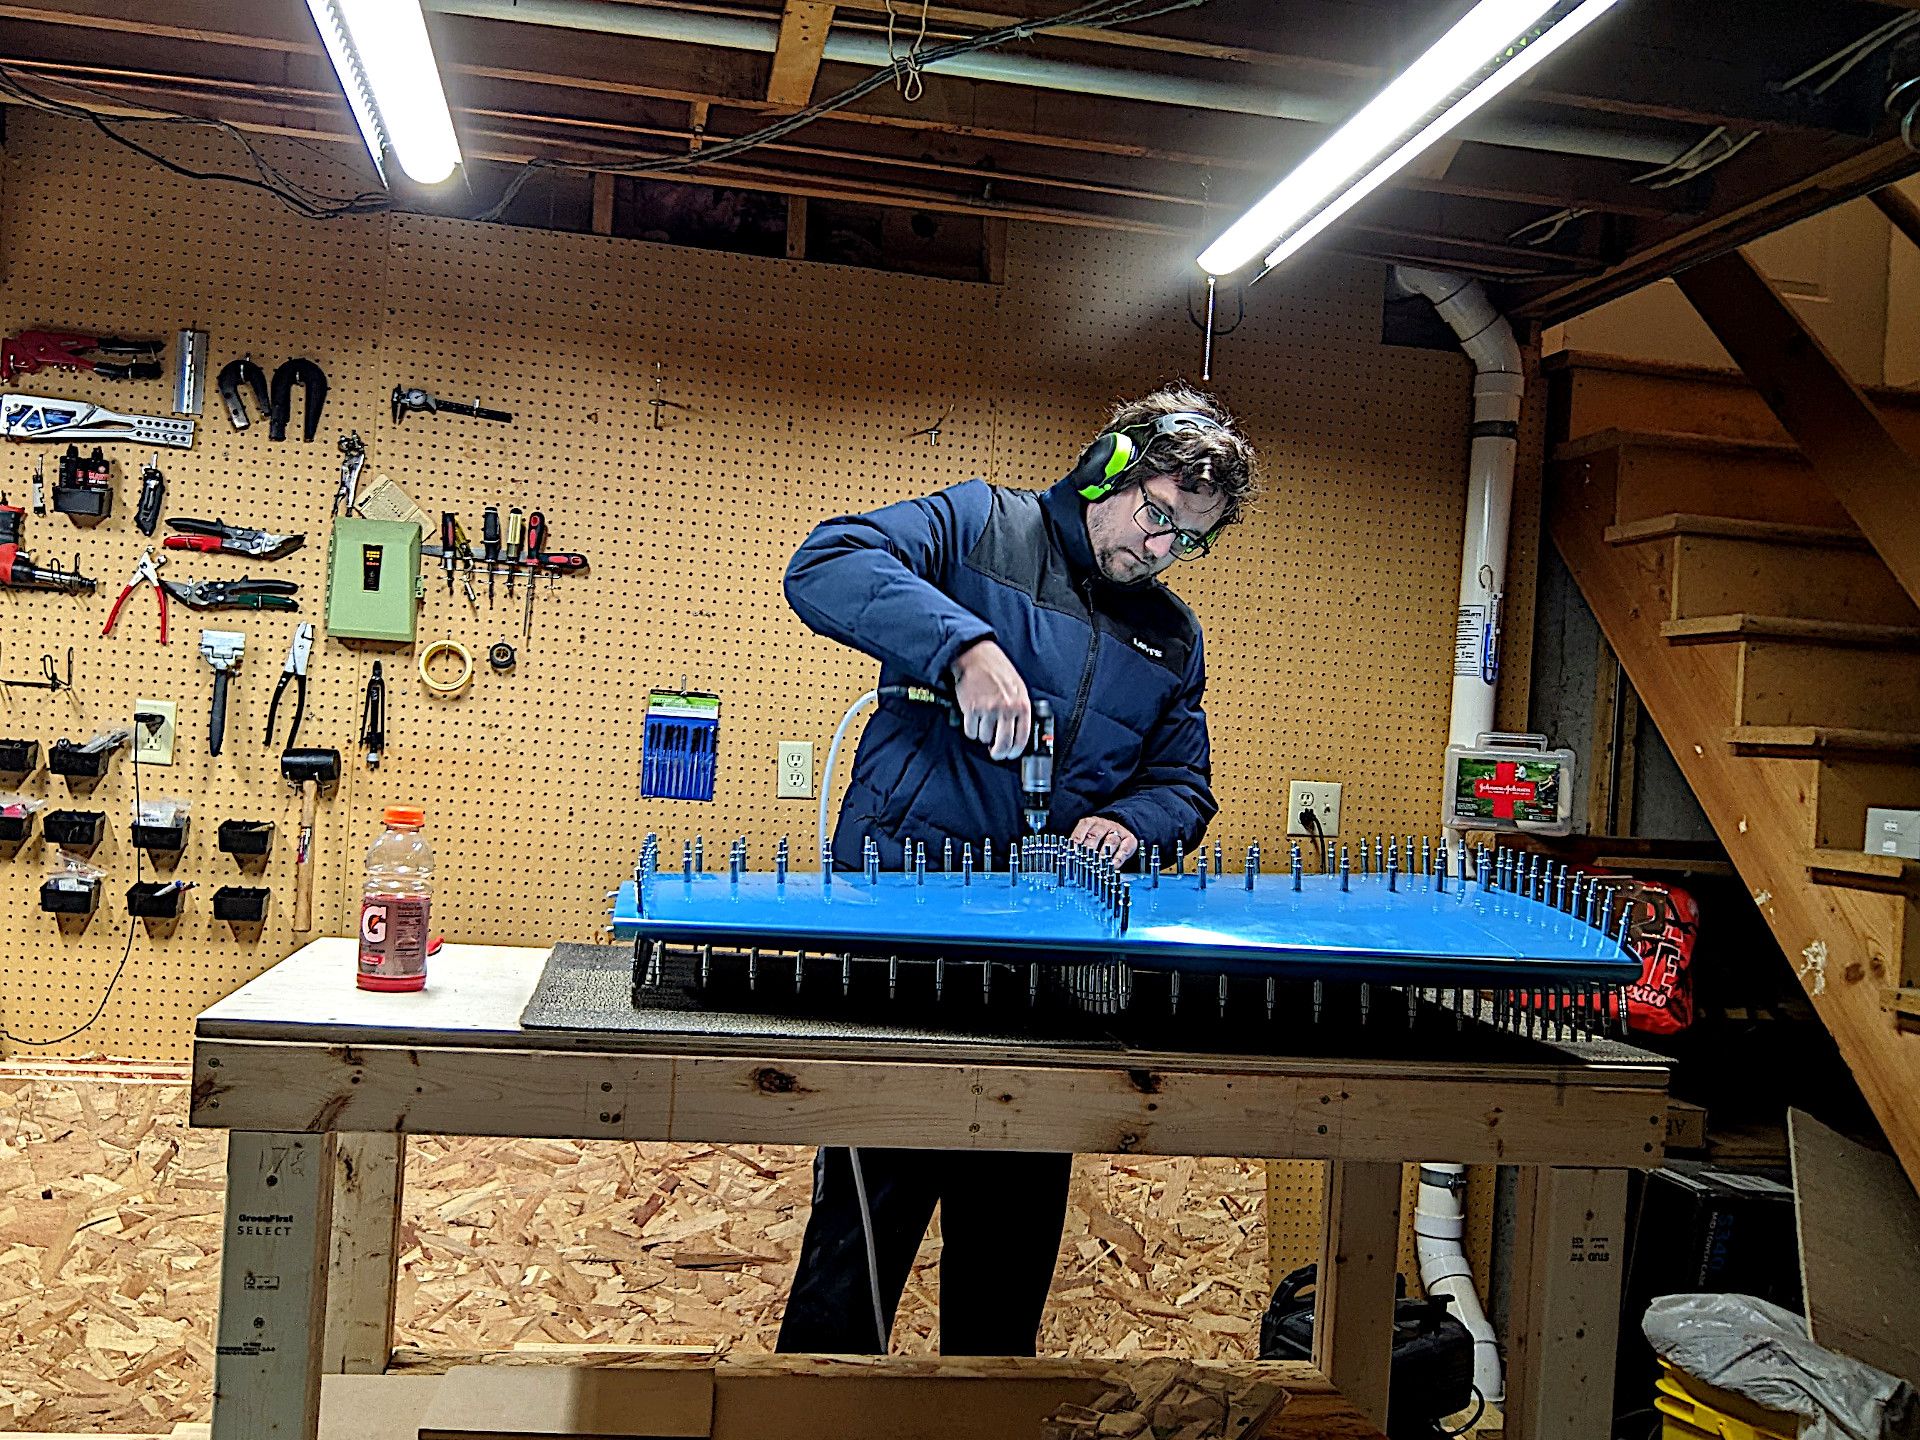
Now to introduce the big boys of dimpling! I have a c-frame that I smack with a rubber mallet and a hand squeezer that I squeeze by hand (if you can believe it). I just insert the correct dimple dies and go to town.
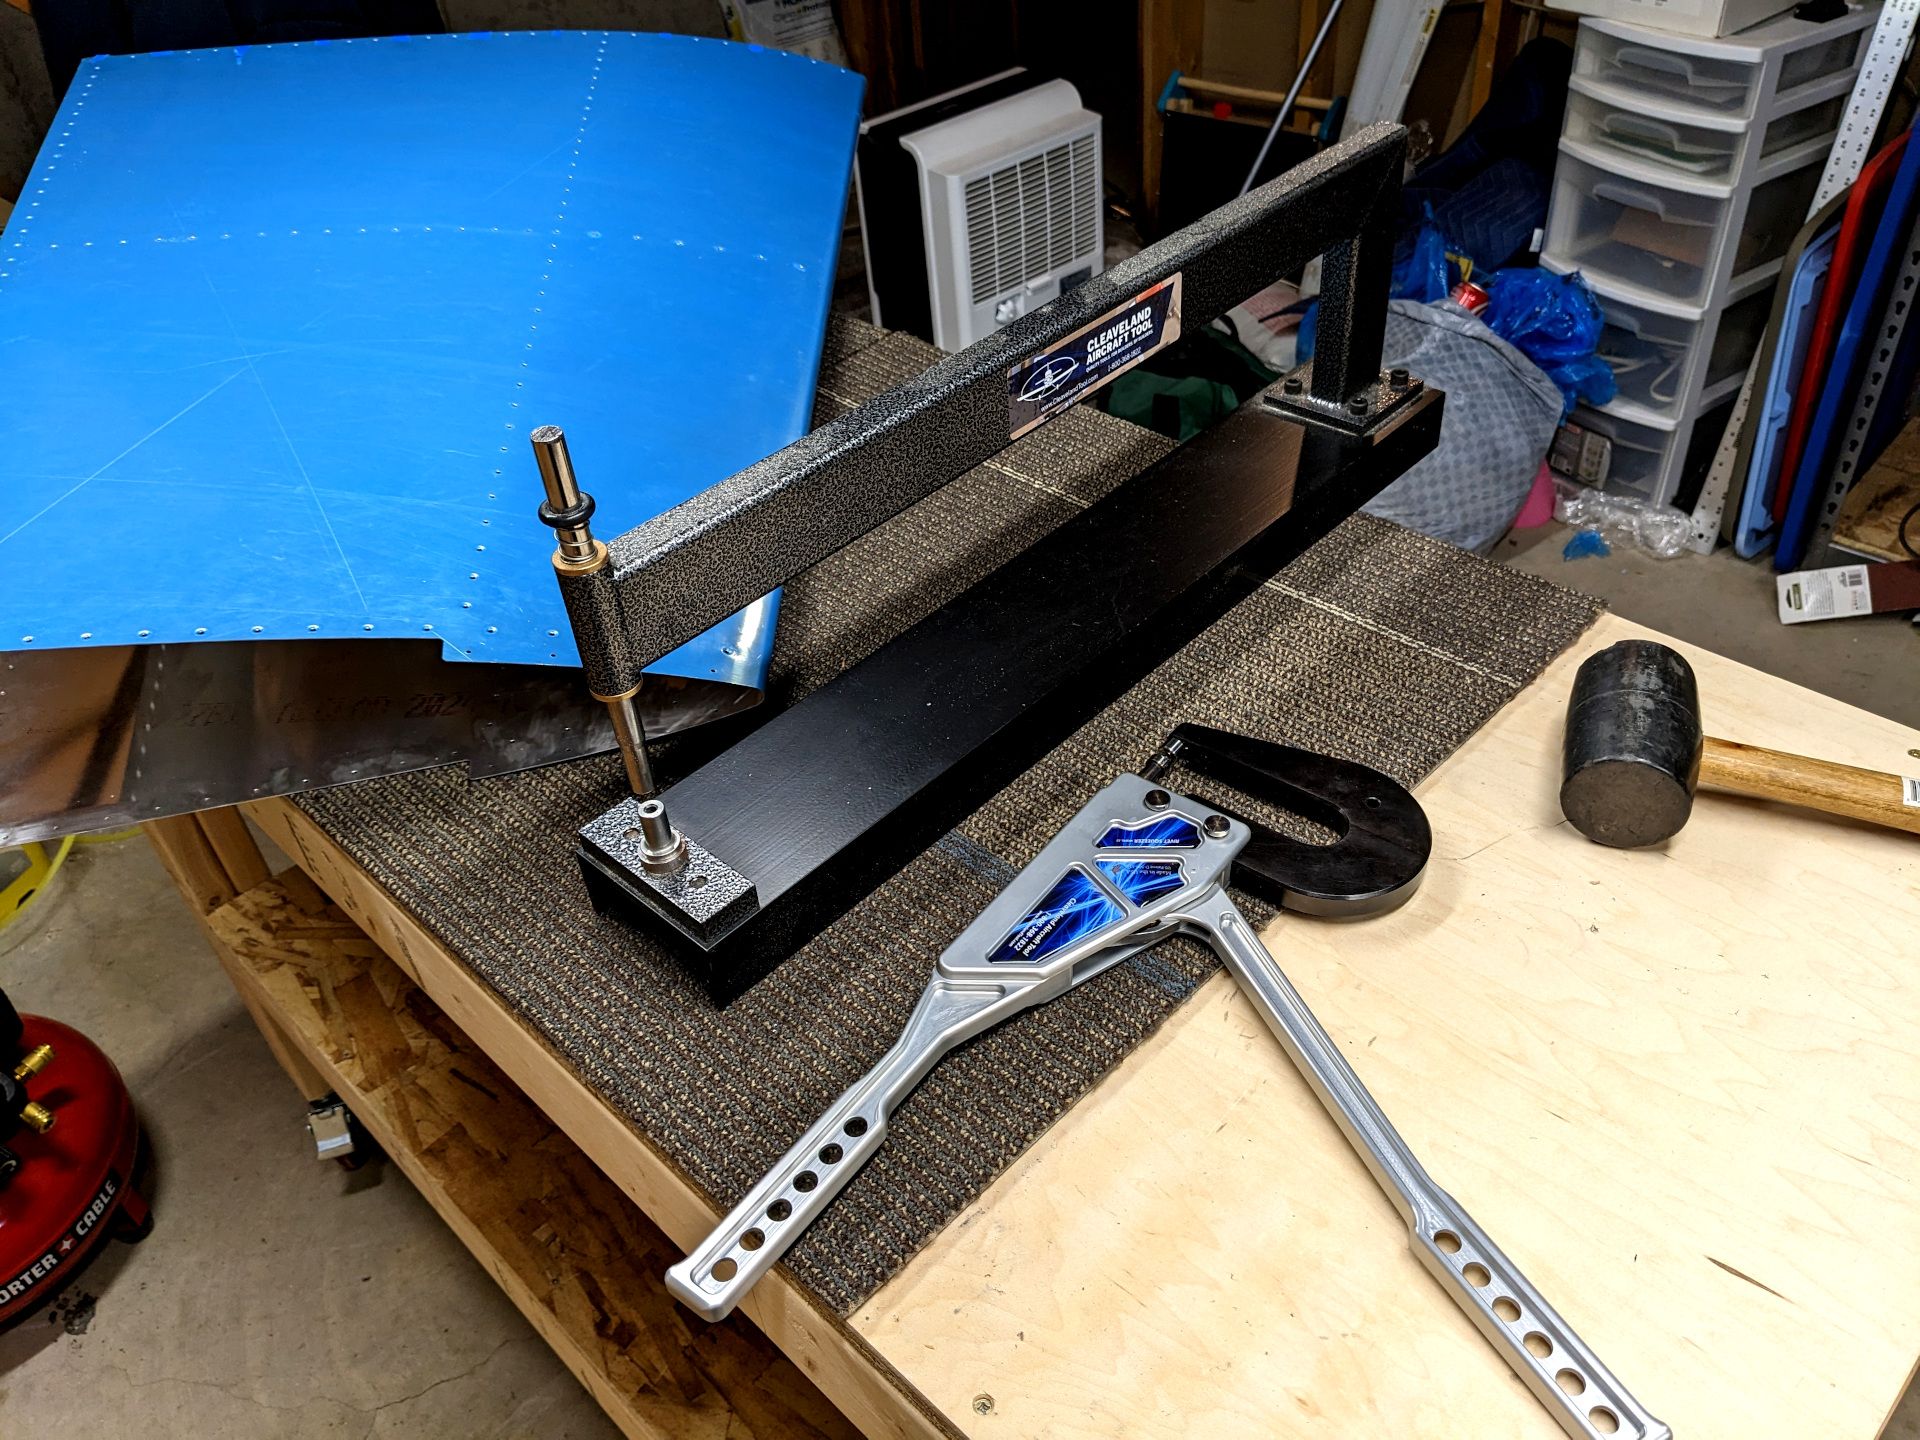
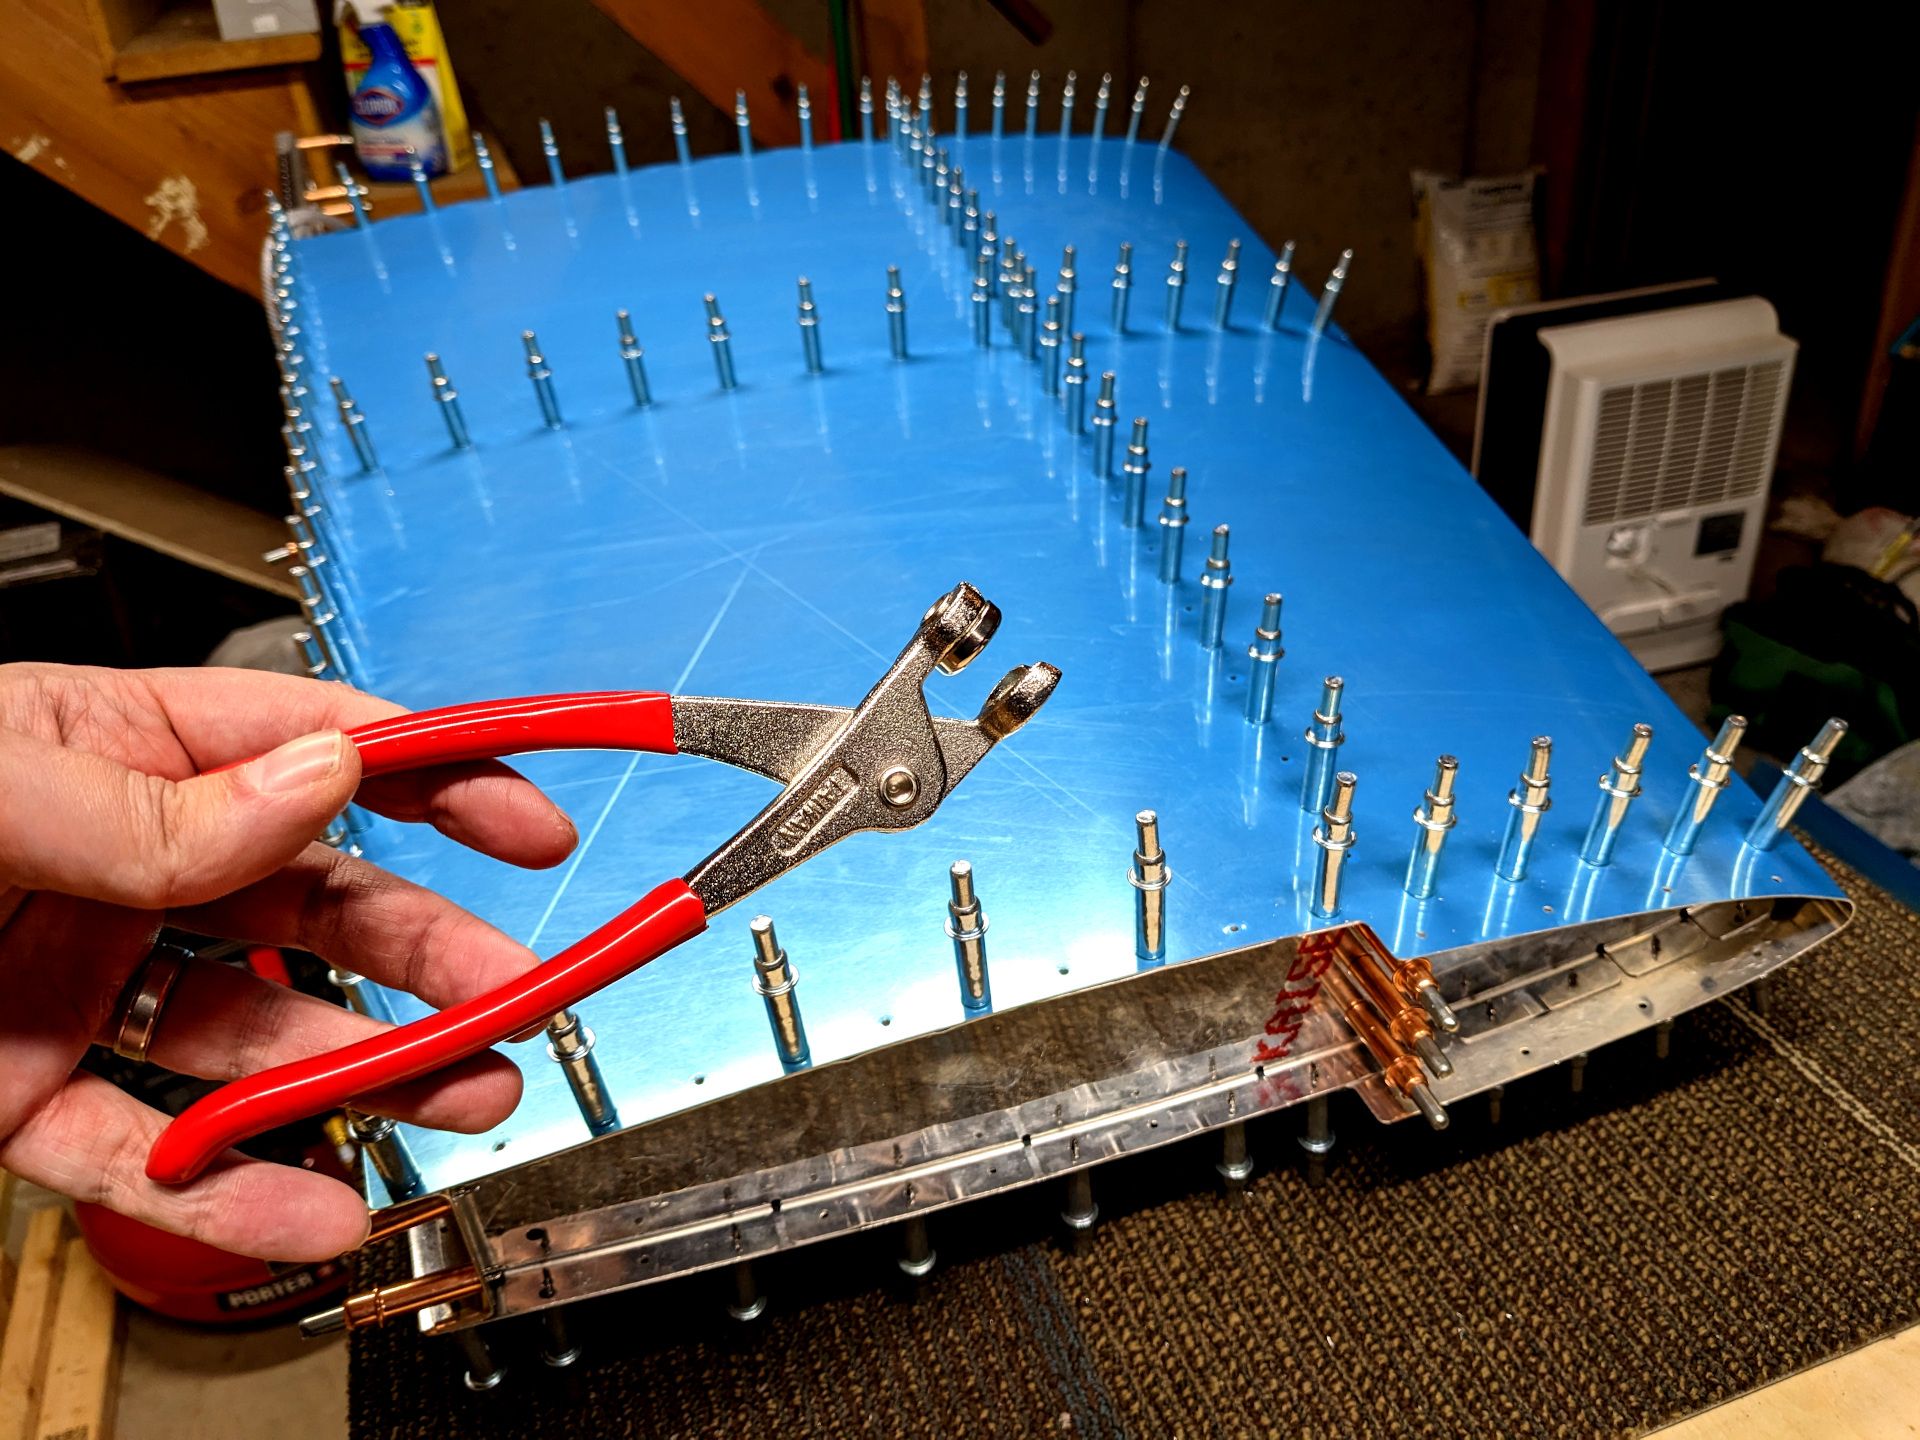
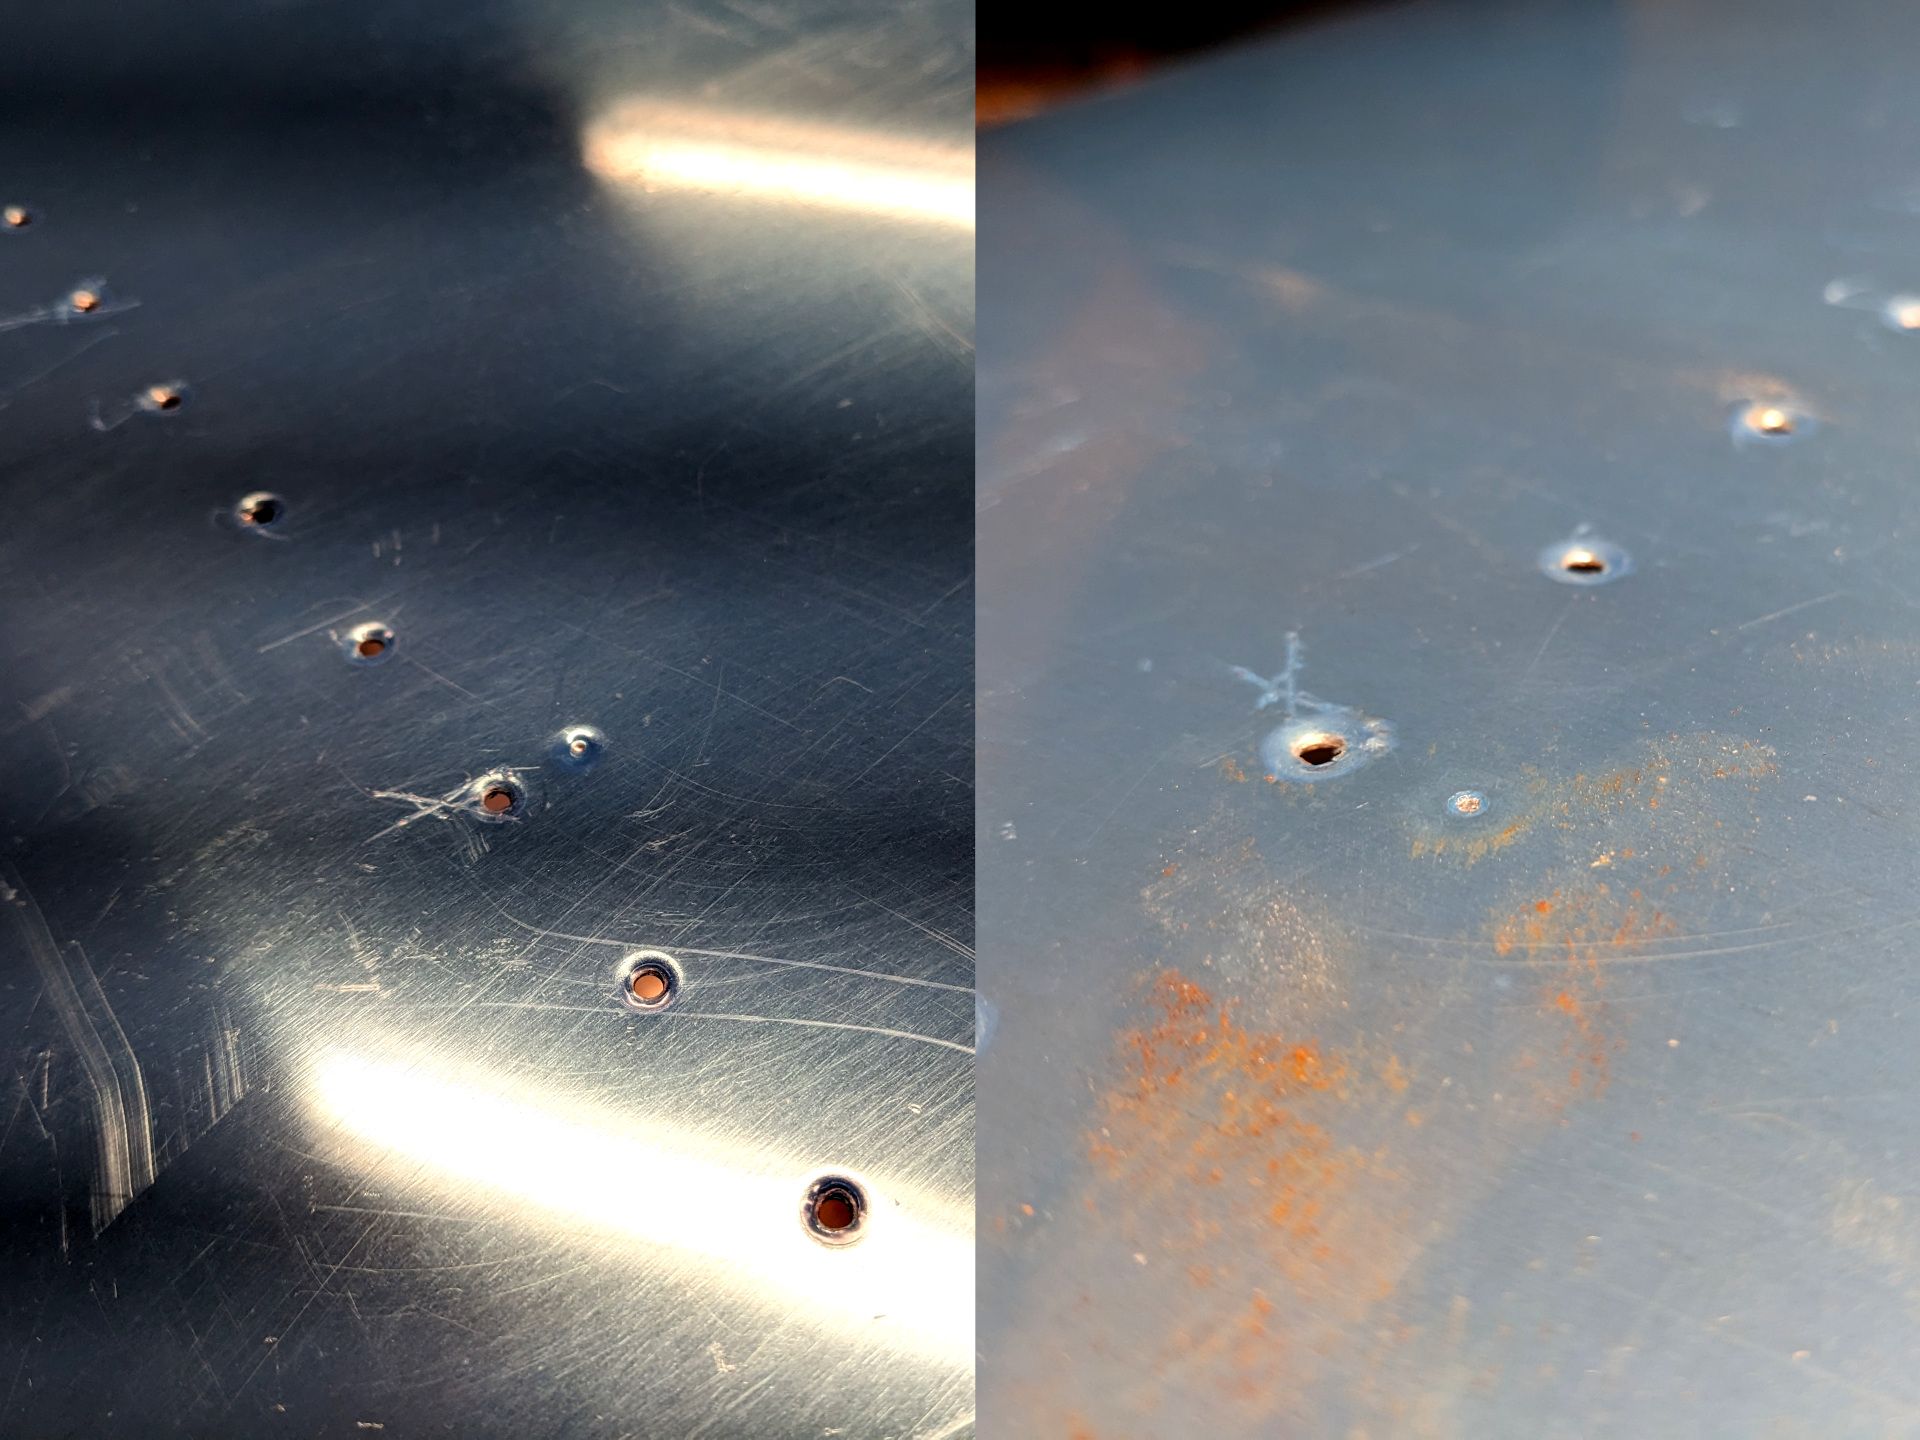
This process isn't super fast but you want to make sure to not go super fast. I had the hole jump off the c-frame and WHAM, I put a dimple exactly where I didn't want a dimple. Lucky enough, it didn't pierce the skin though. I fixed this with my back rivet plate (just a steel plate) and a steel hammer. To protect the aluminum I put painter's tape over it again. After a few smacks, the dimple was gone.
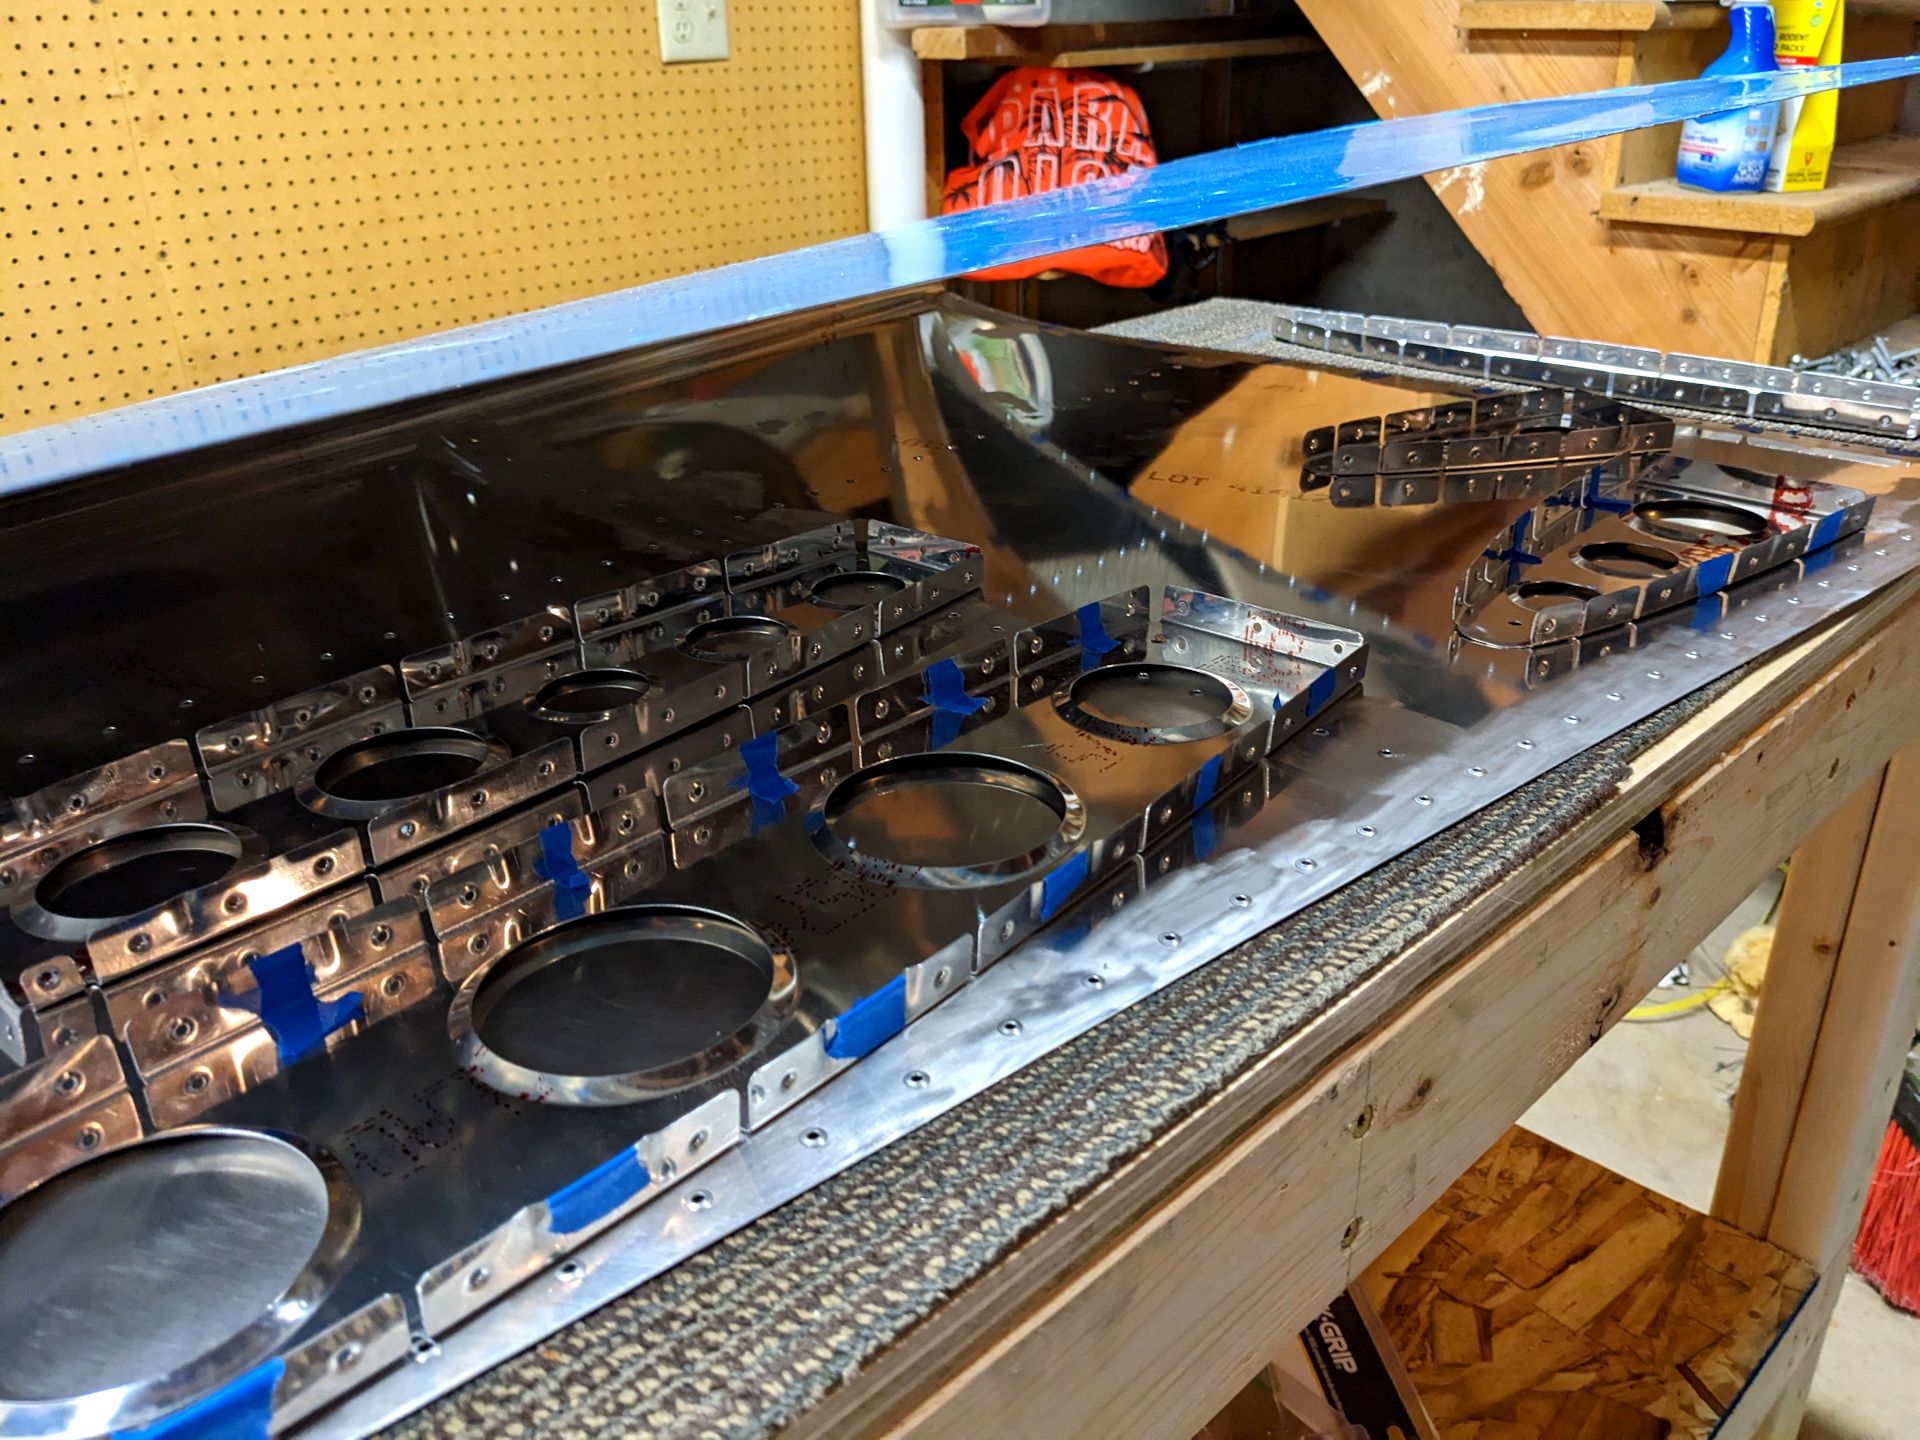
Okay, with the skin all wrapped up, again I taped off parts of the skeleton where I didn't want dimples (to match the skin) and got ready to do some more dimpling. All of this dimpling was done with the hand squeezer because I like having a bit more control.

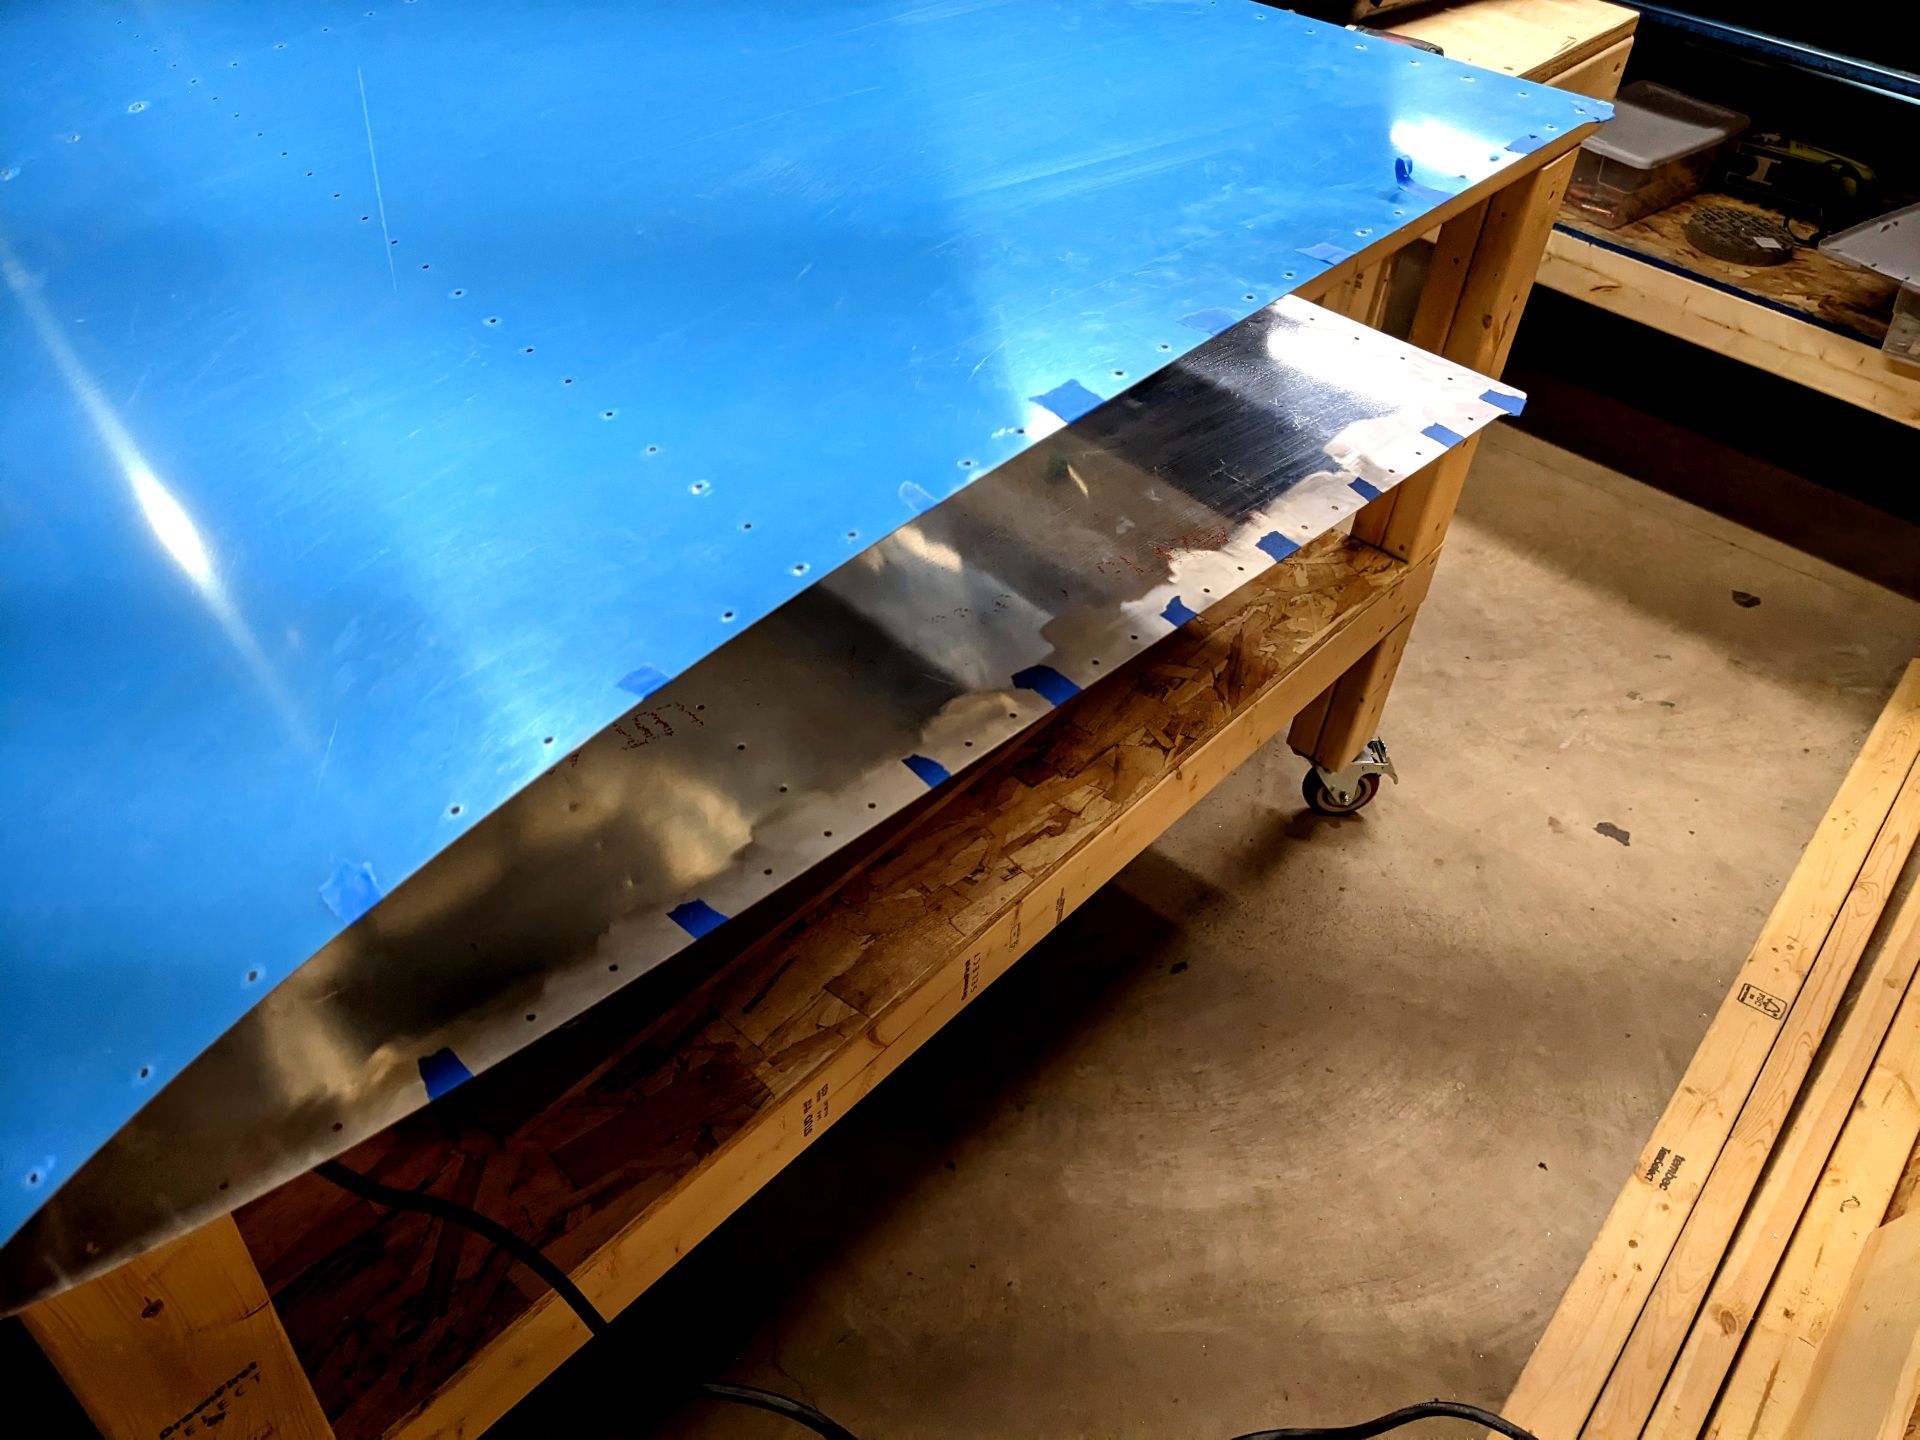
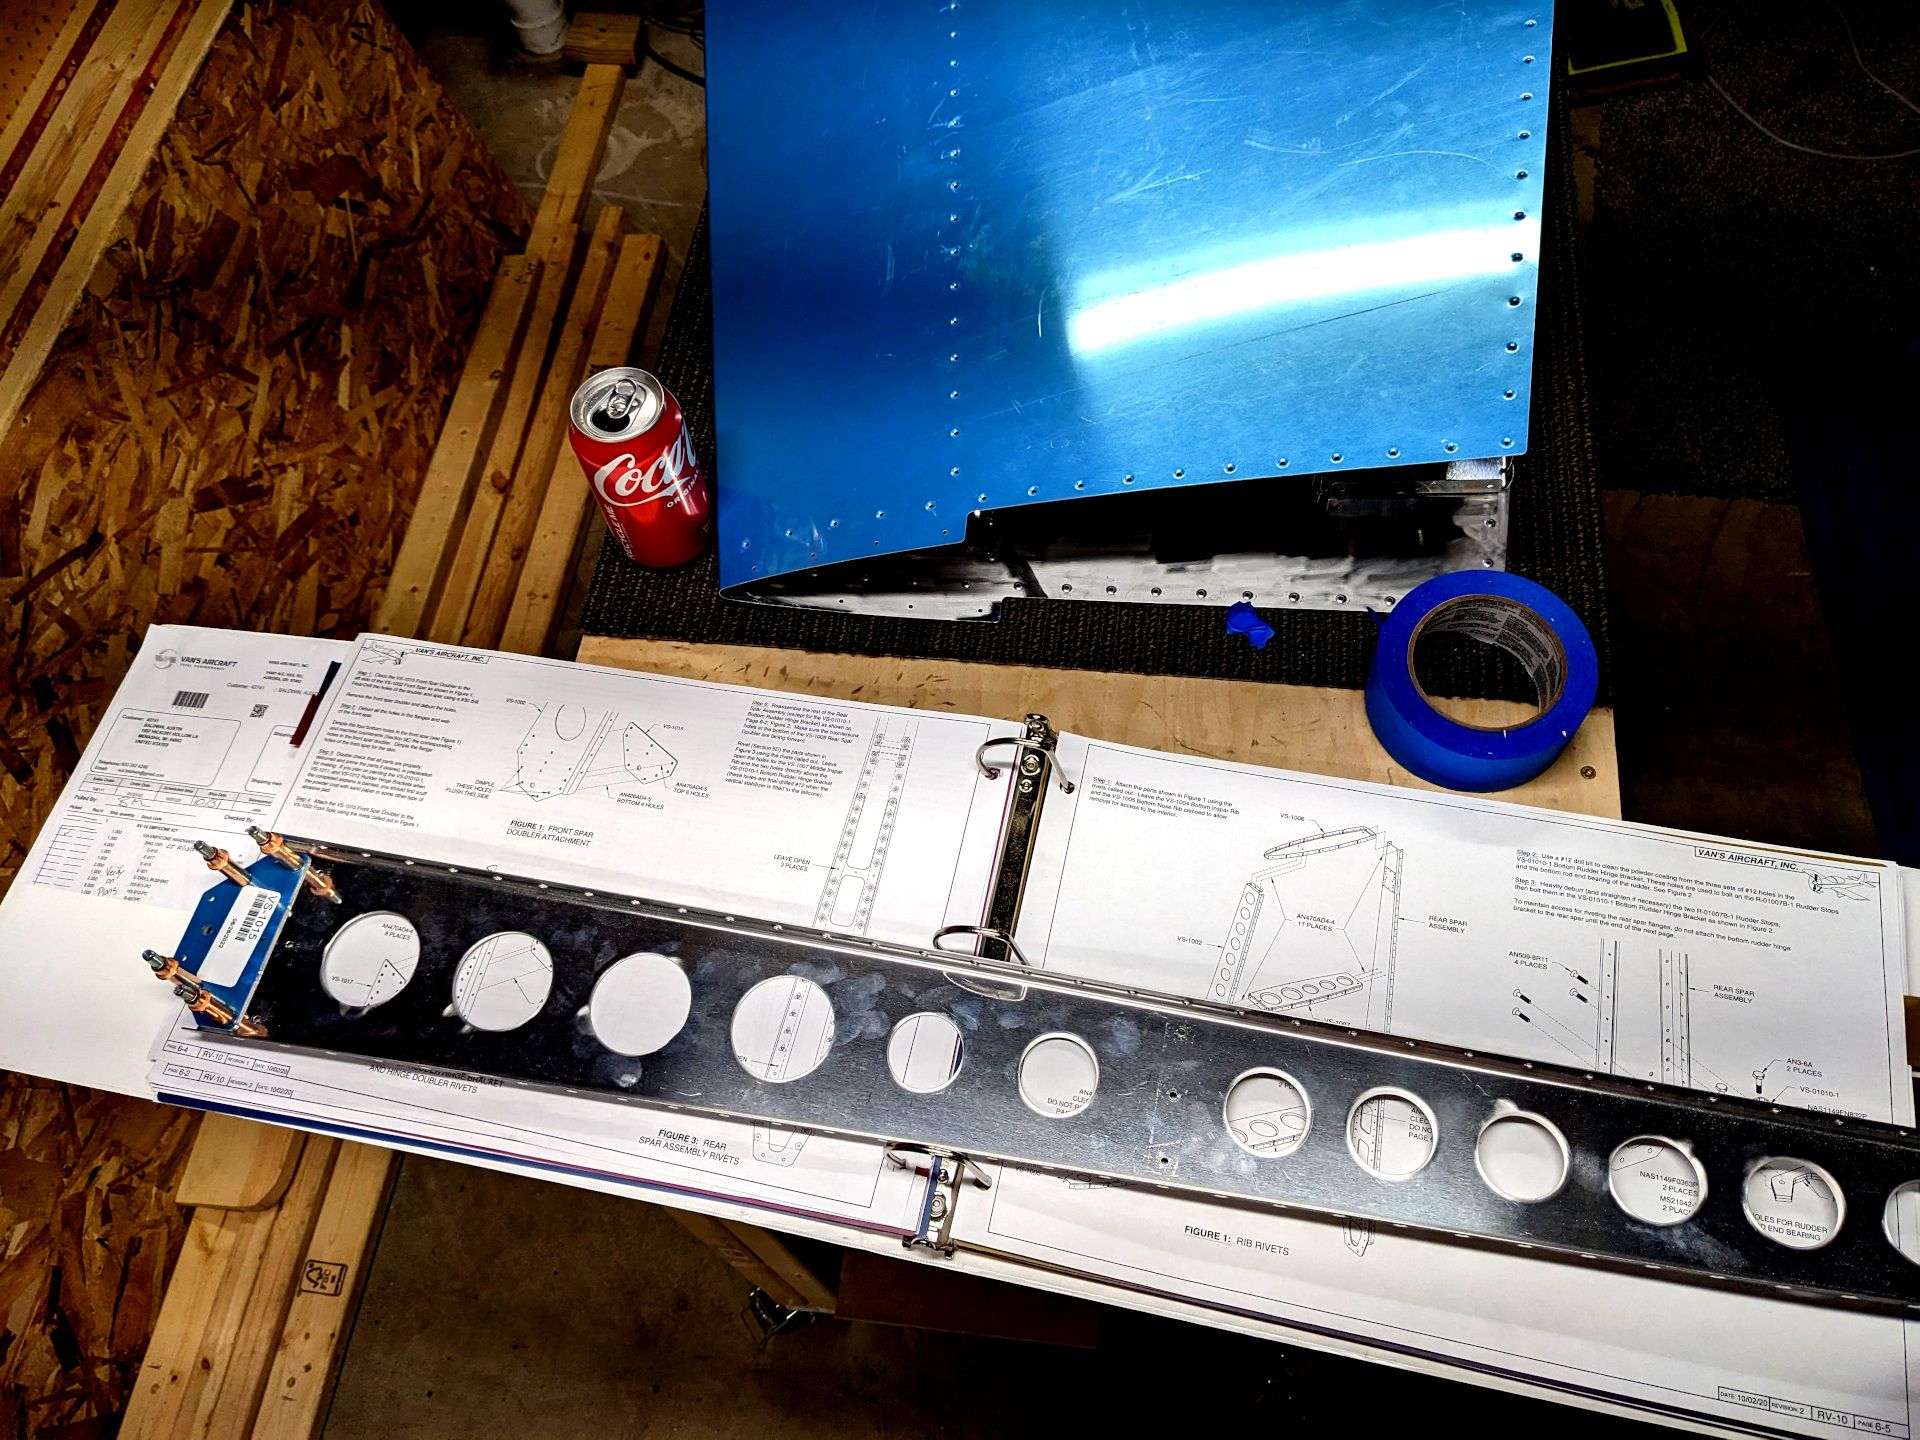
And finally we enter the home stretch. Only thing left to do now is add a spar doubler to the front spar of the vertical stabilizer (again, requiring us to drill out the holes and deburr and so on). Then priming and joining can start!
My biggest recommendation for all of this is to put on good music and just zone out. Definitely don't be in a rush because you'll make silly mistakes. Coming up soon is building the paint booth as I finally decided on a method and purchased the PVC pipe for the frame.
I hope everyone has a happy holiday season and stays warm (unless you are in the southern hemisphere, then stay cool).