So Much Sanding

I've managed a few things since last time but the one I want to complain about is edge finishing the aluminum. However, let's go chronologically to explain how I got to hating sanding in the first place [wavy flashback effects].
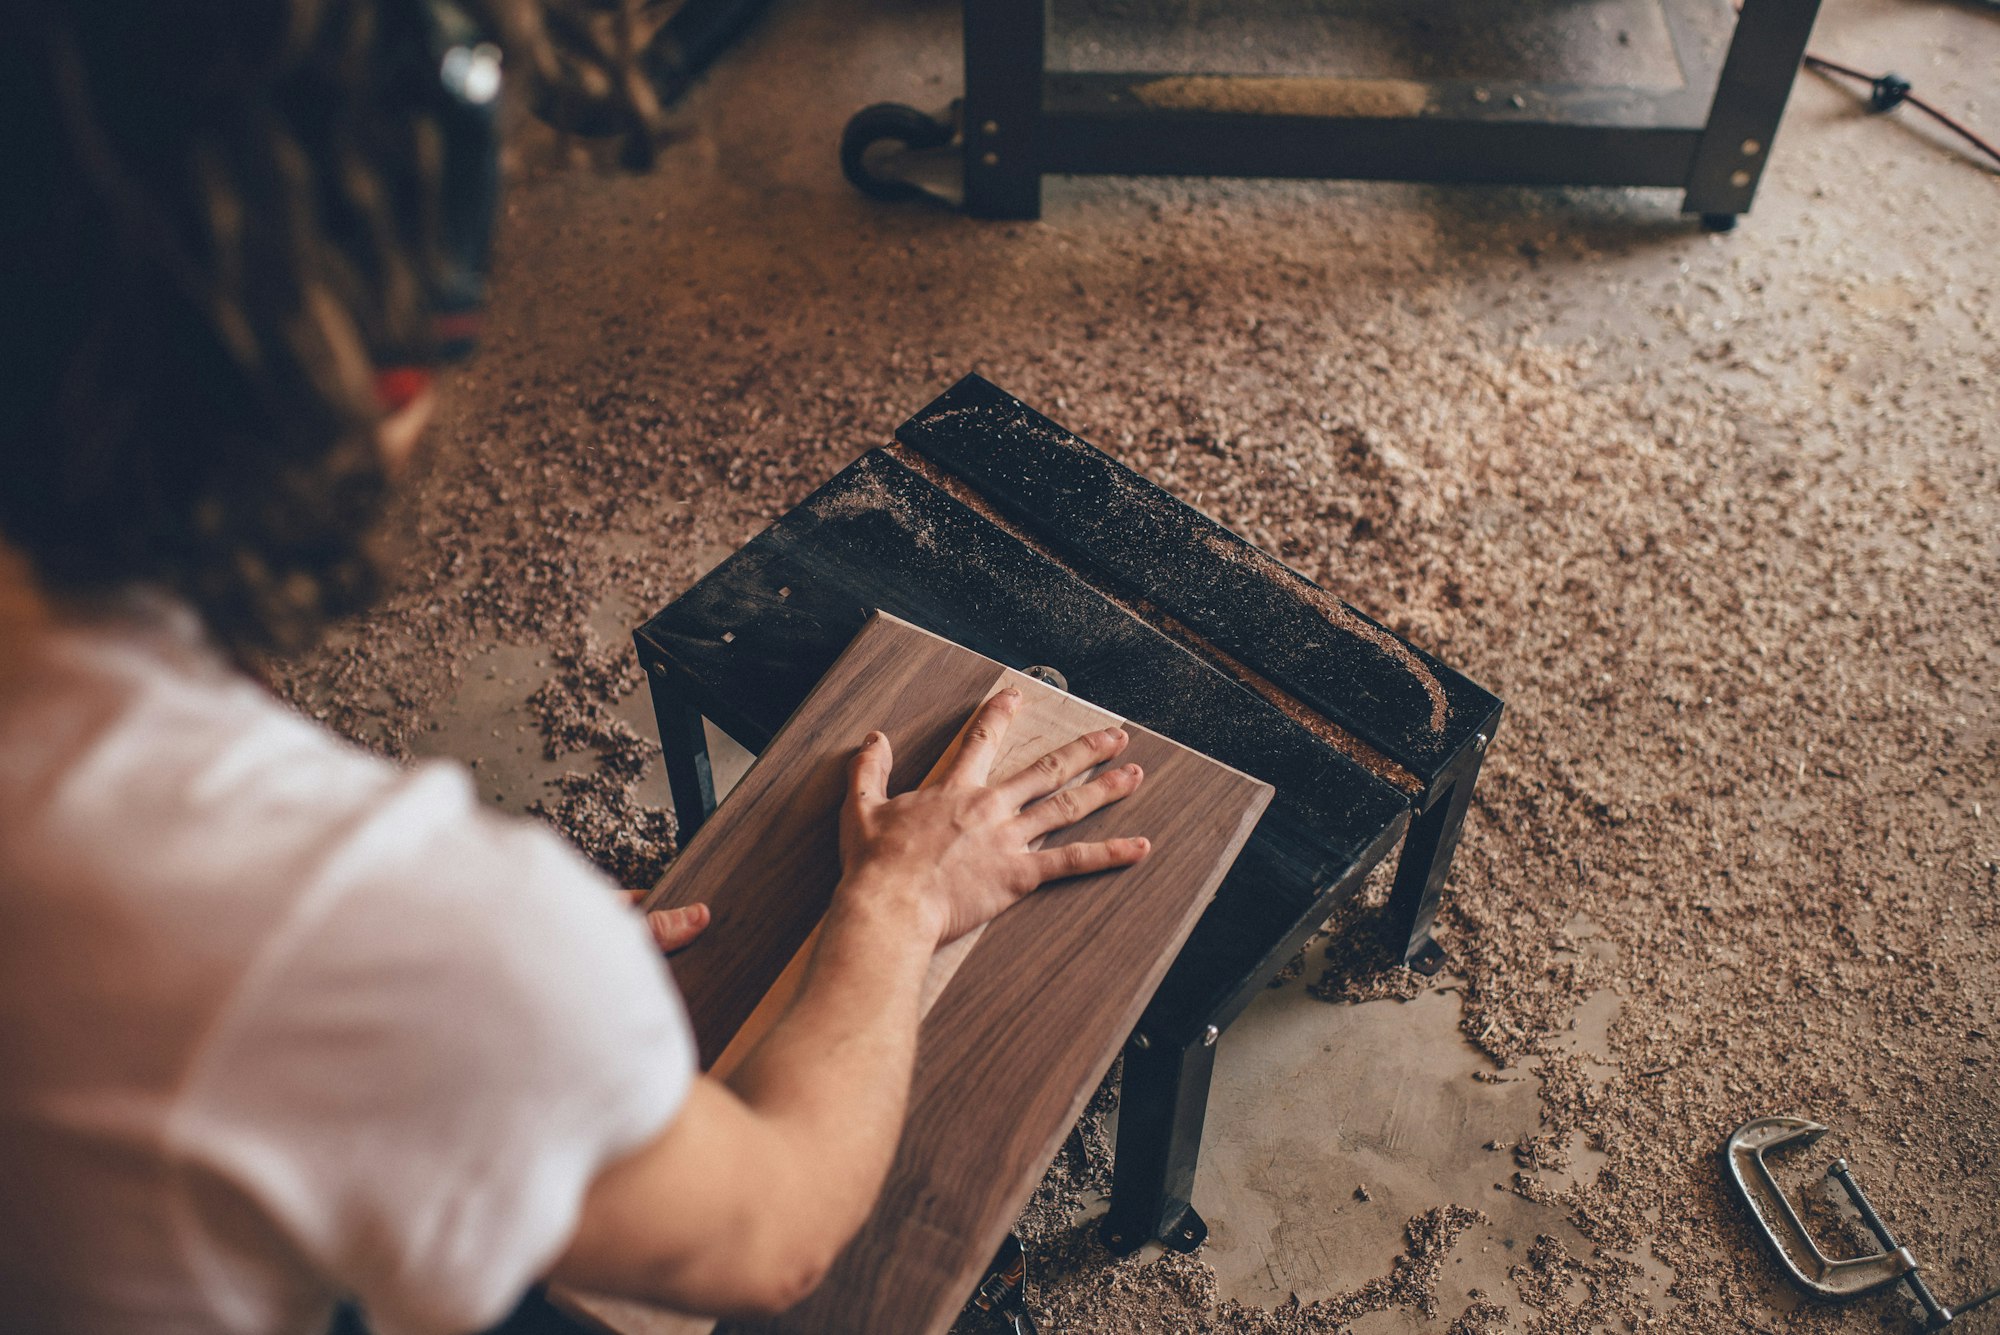
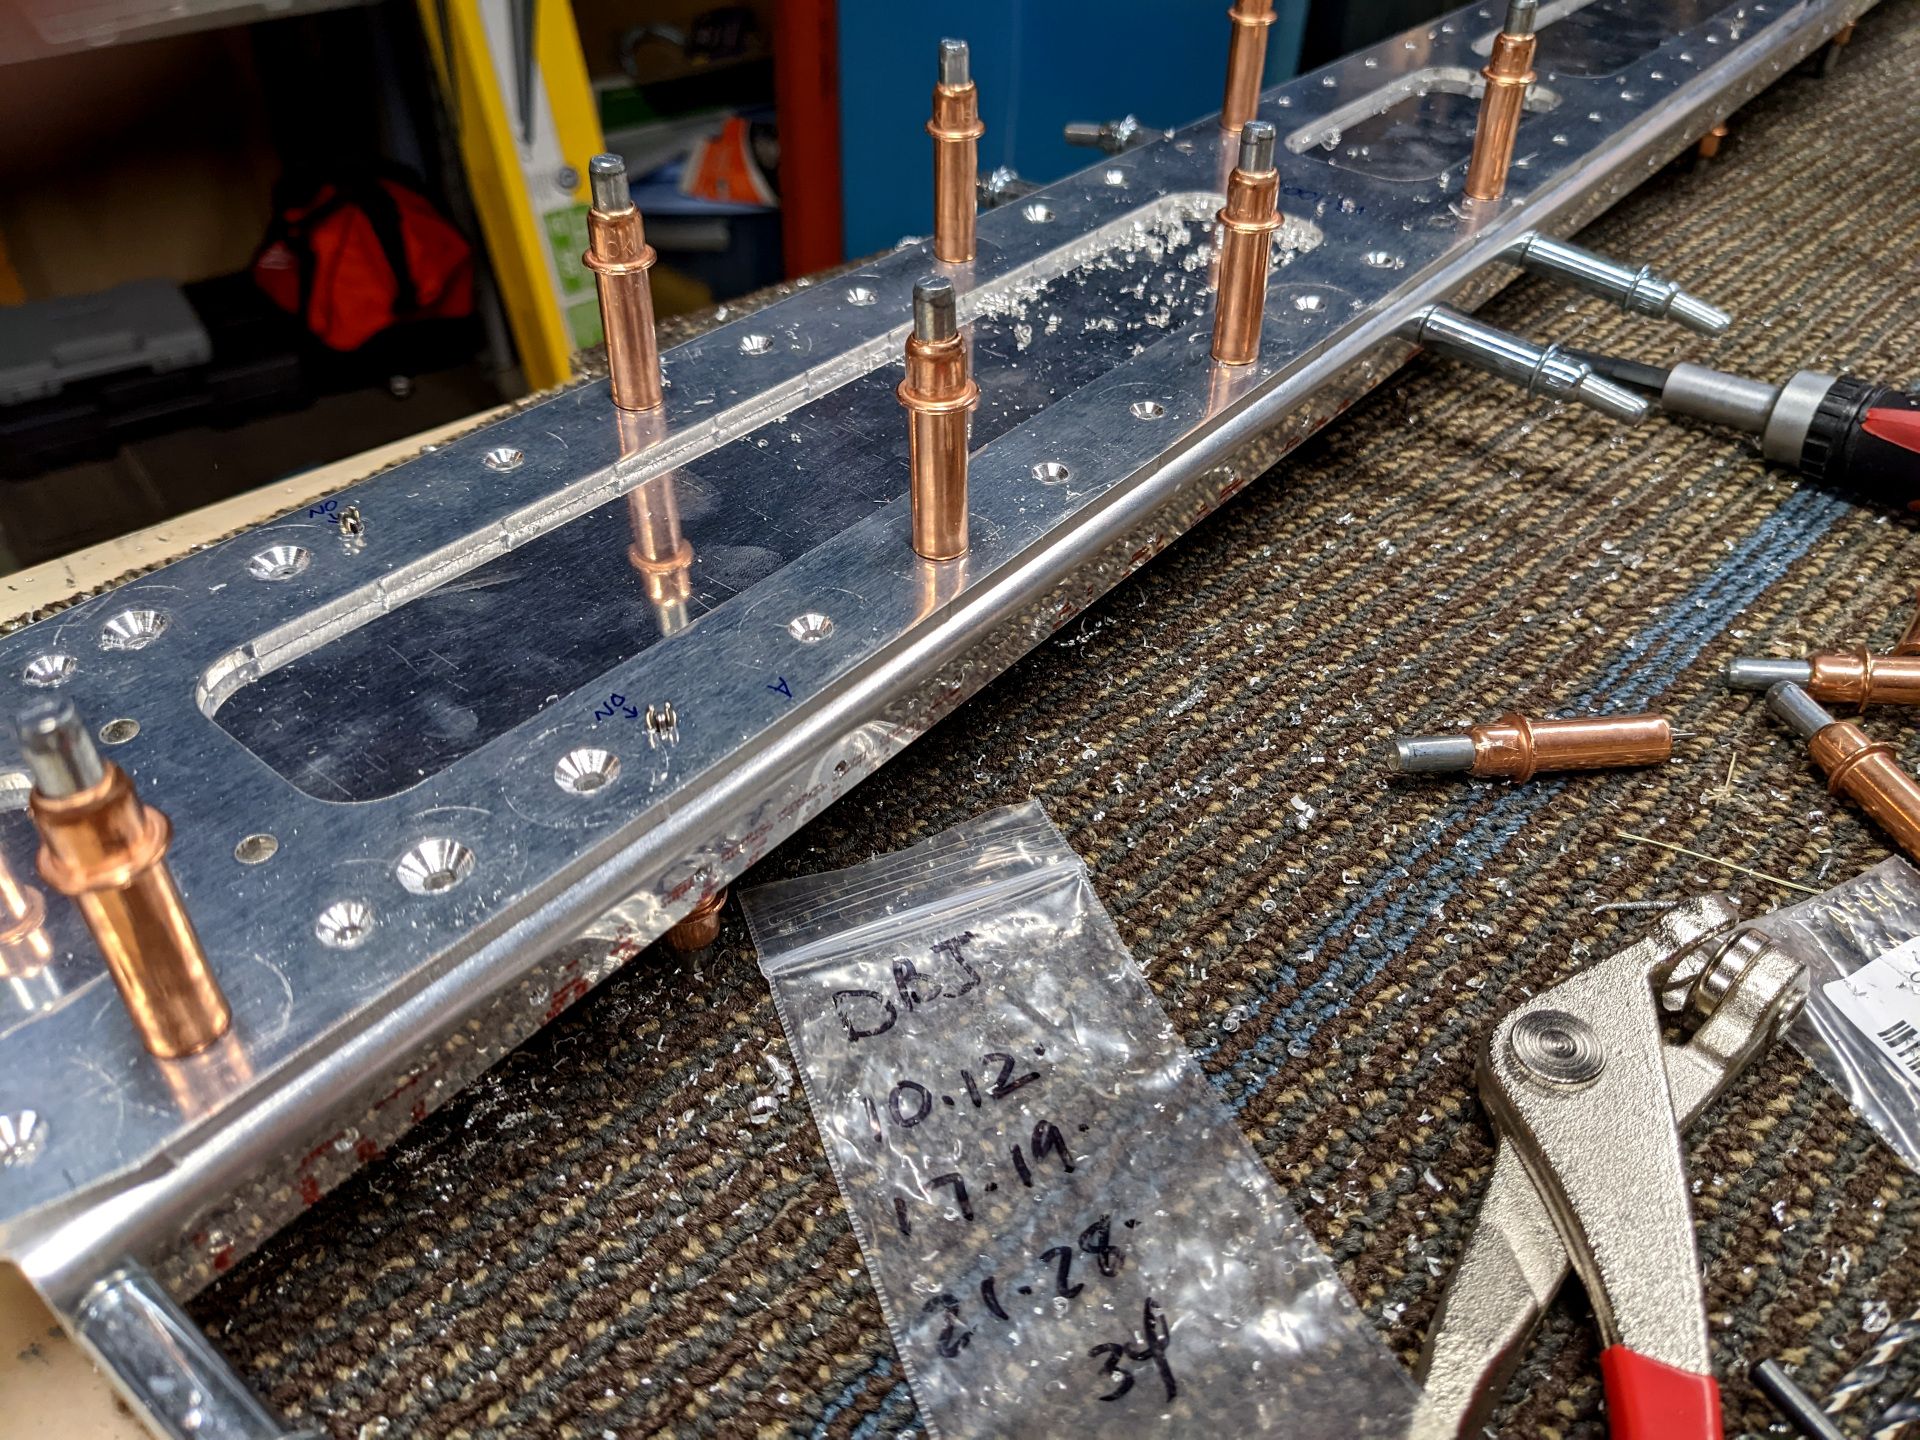
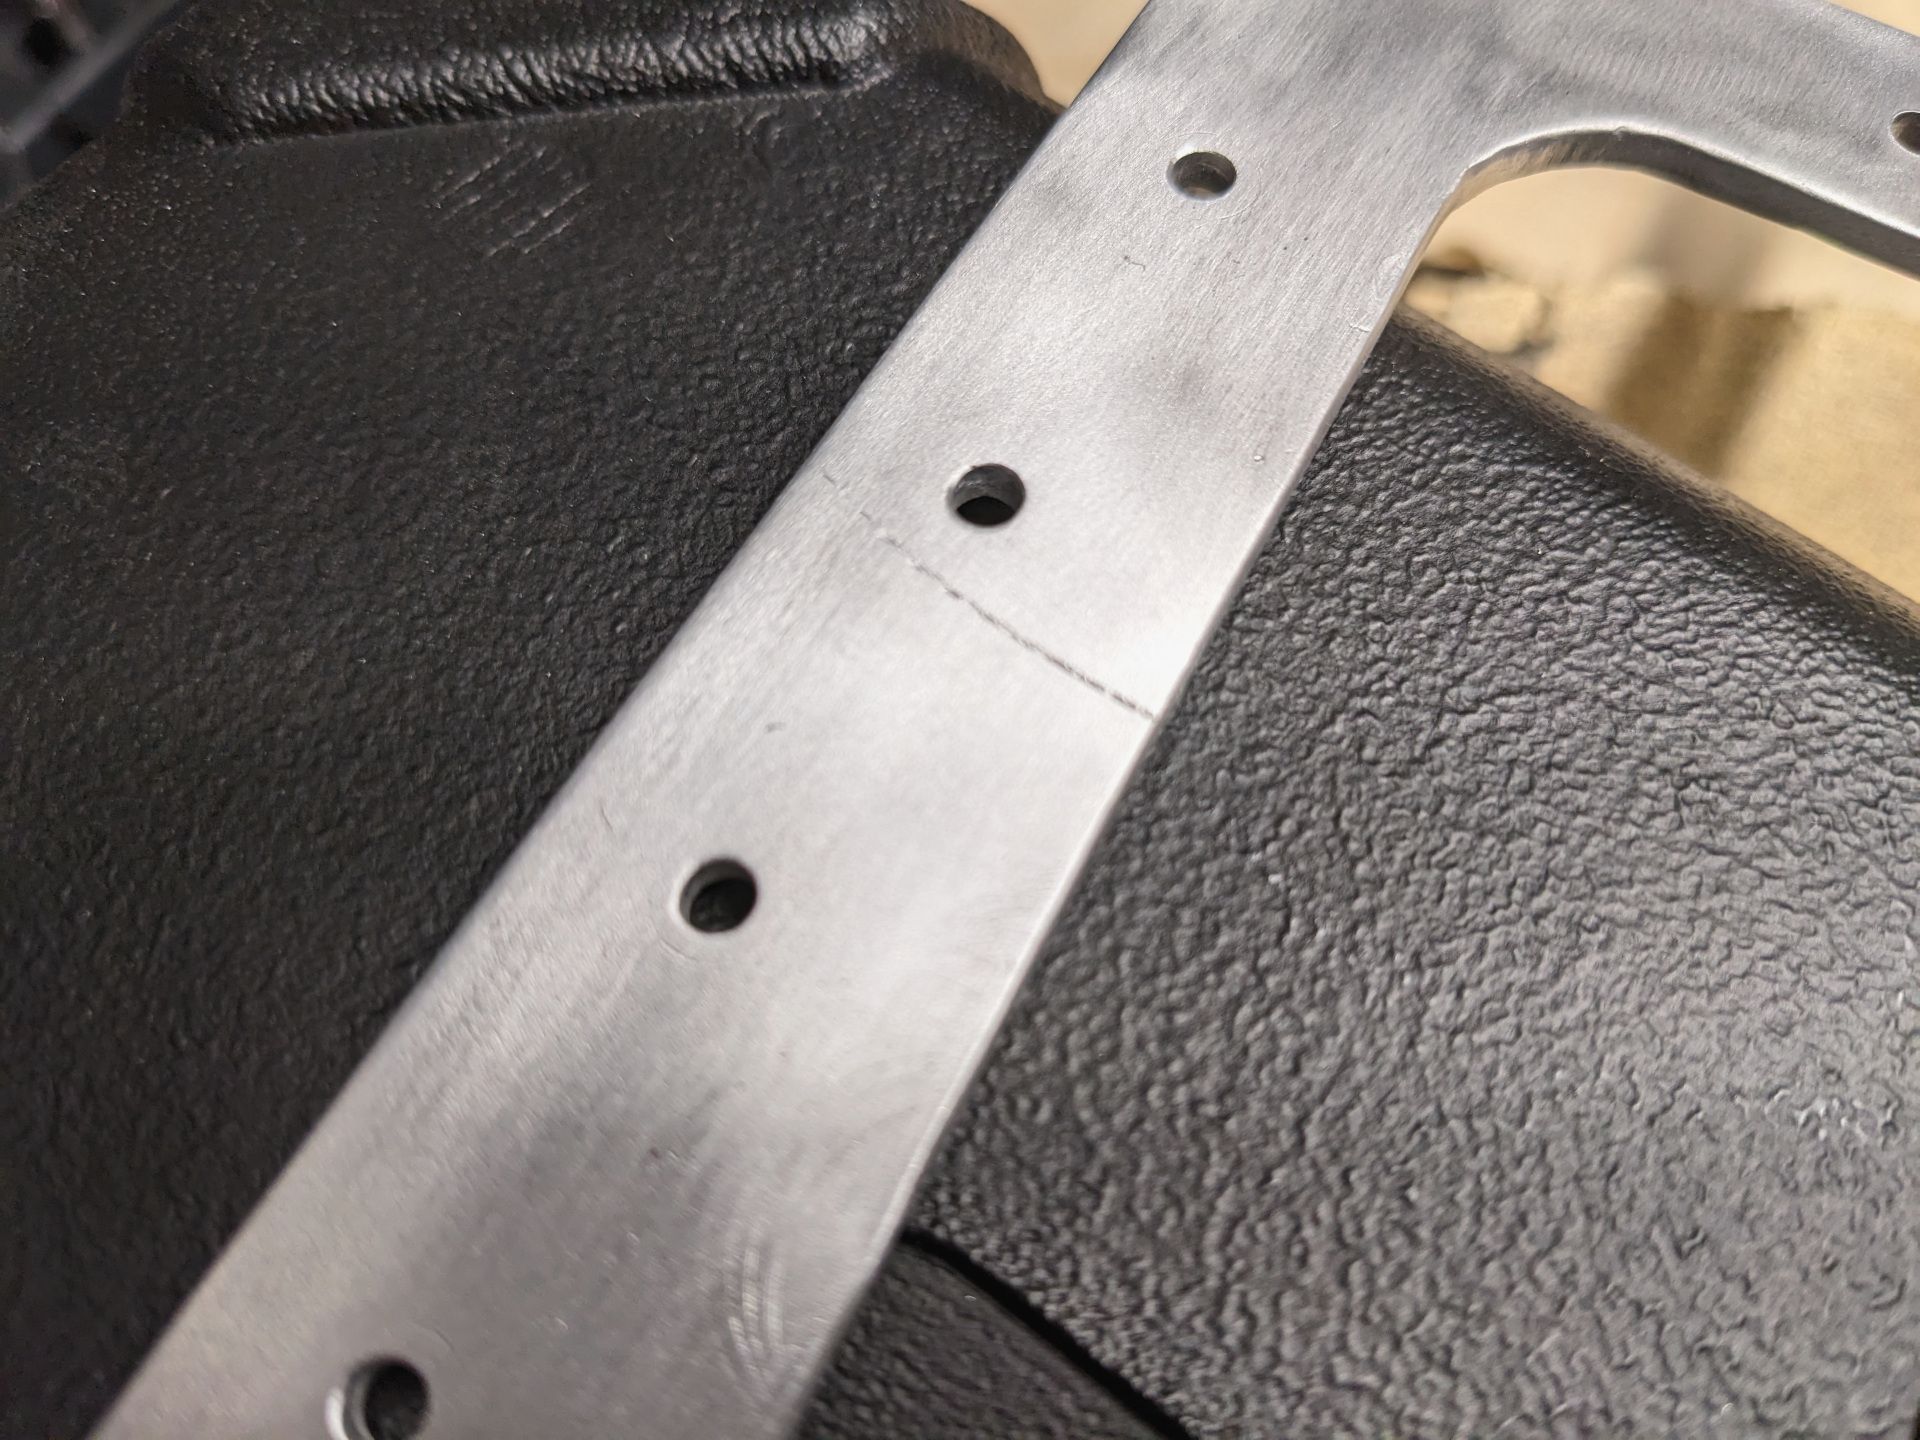
In the spirit of actually getting things done, I did drill the flange holes. As I was doing this, I was inserting clecos to make sure everything said in place (see the above image). Clecos always seem like no big deal until you have to do them a few hundred times and your hand really starts to hurt. Then I forget about it and remember when I'm drilling more holes in things. You know what? It is all good because eventually I was done.
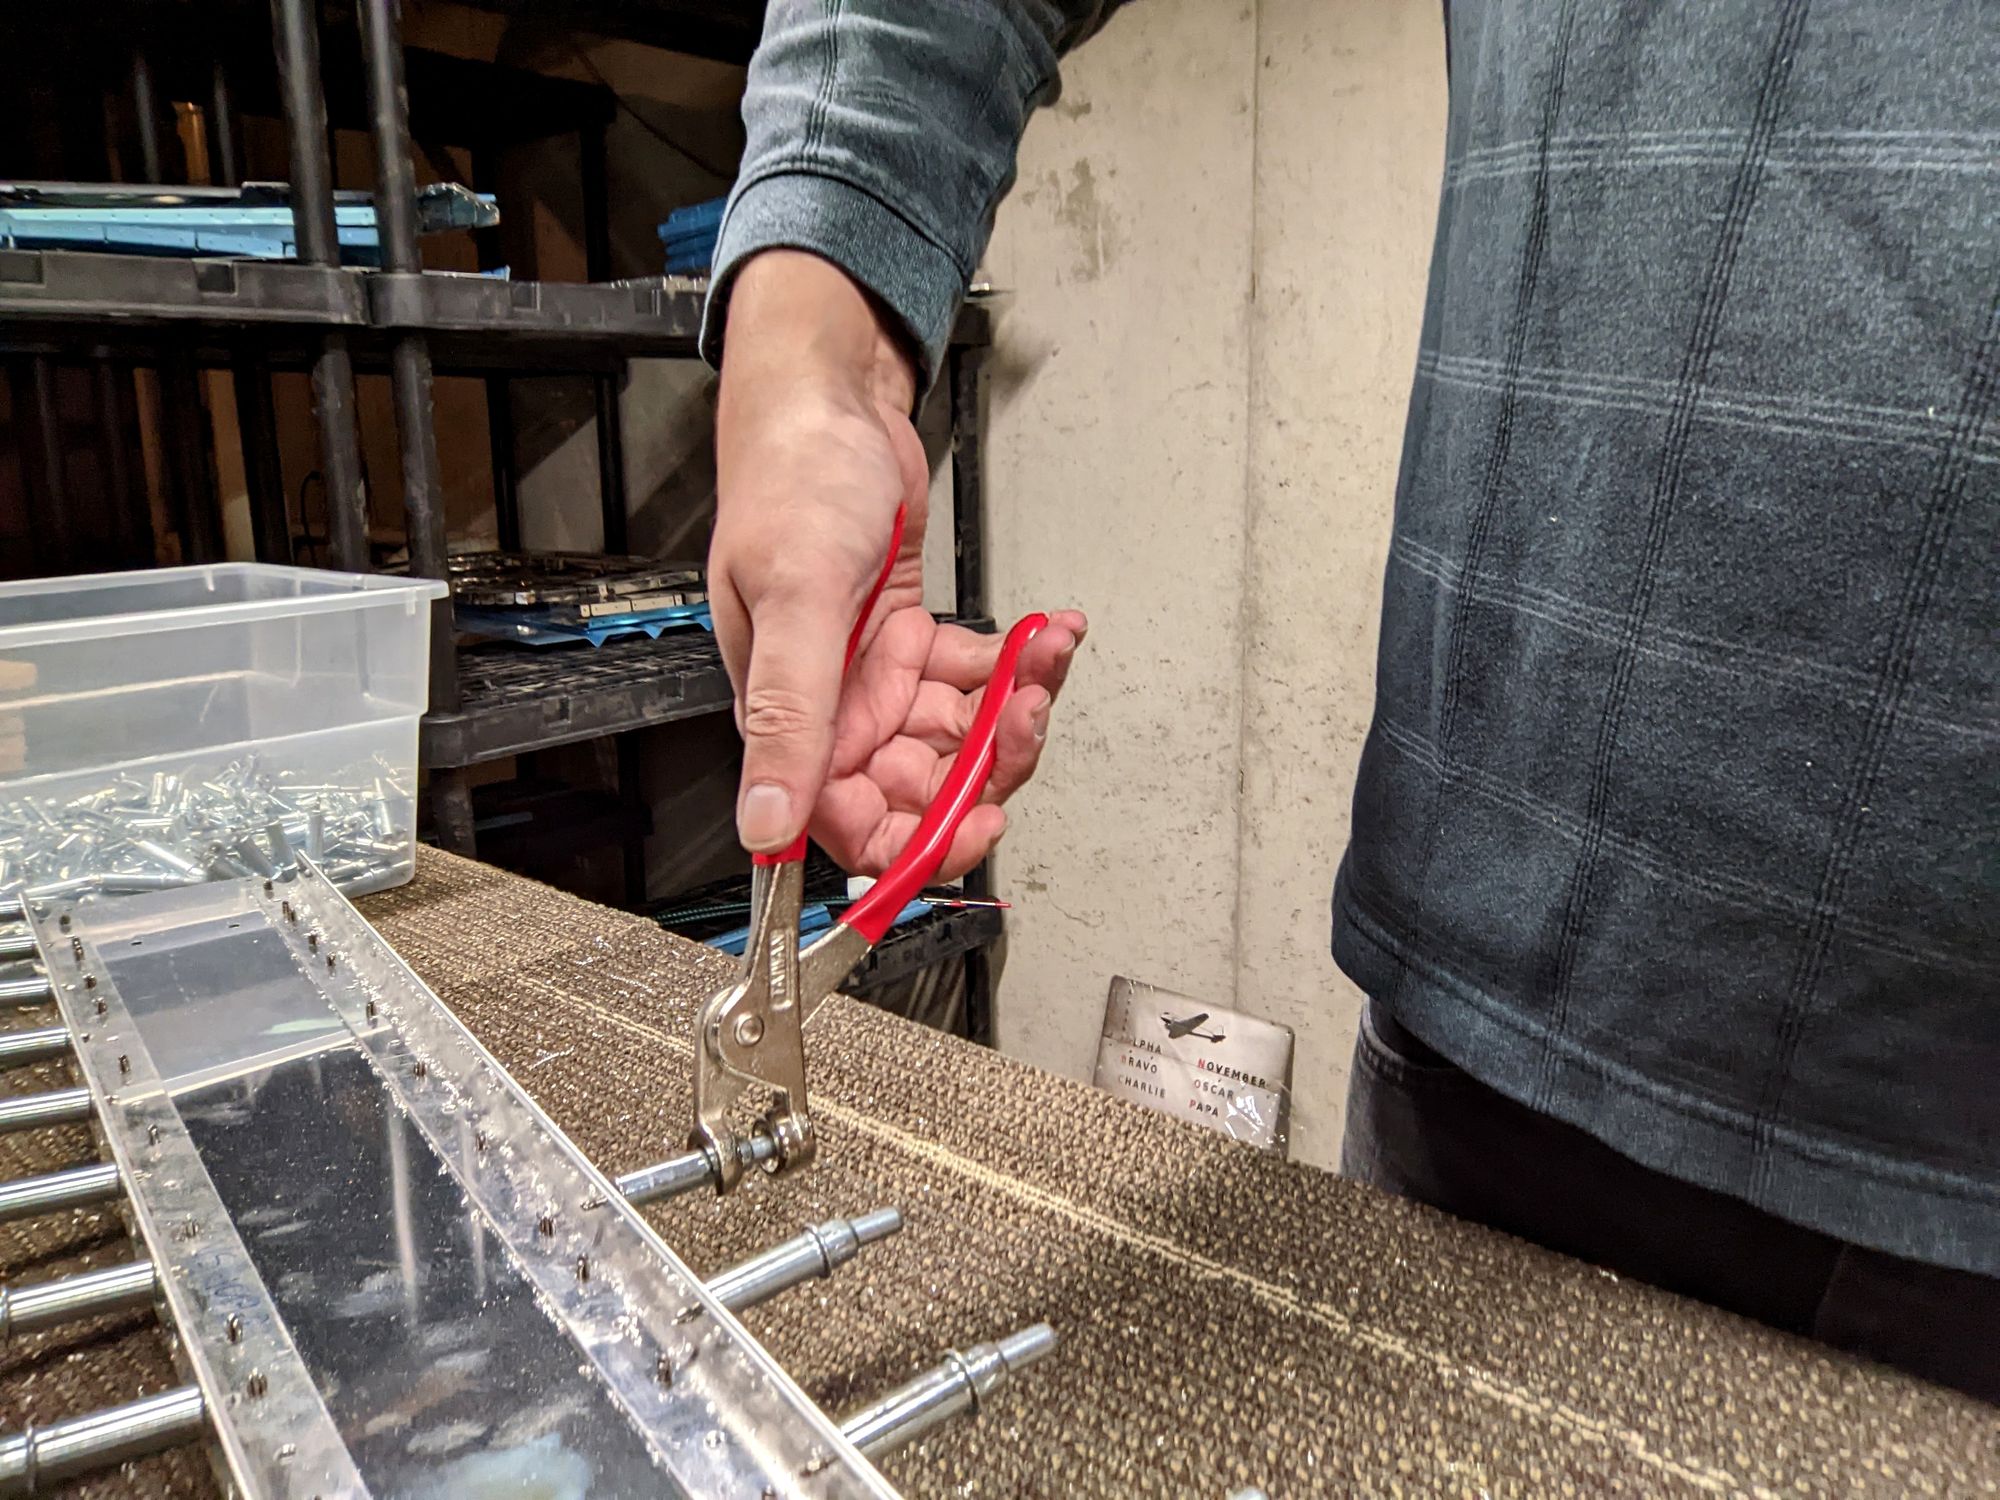
Now when I say "I was done" what I actually mean is now I had to take all the clecos out and deburr every hole I just drilled. This is about as fun as it sounds, and you have to do it every time you drill things that are going to be connected. If you don't, the rivets are not going to stay in and things will go to pieces when you really REALLY don't want them to (As an aside, I'd like a bigger air compressor but that one works for now).
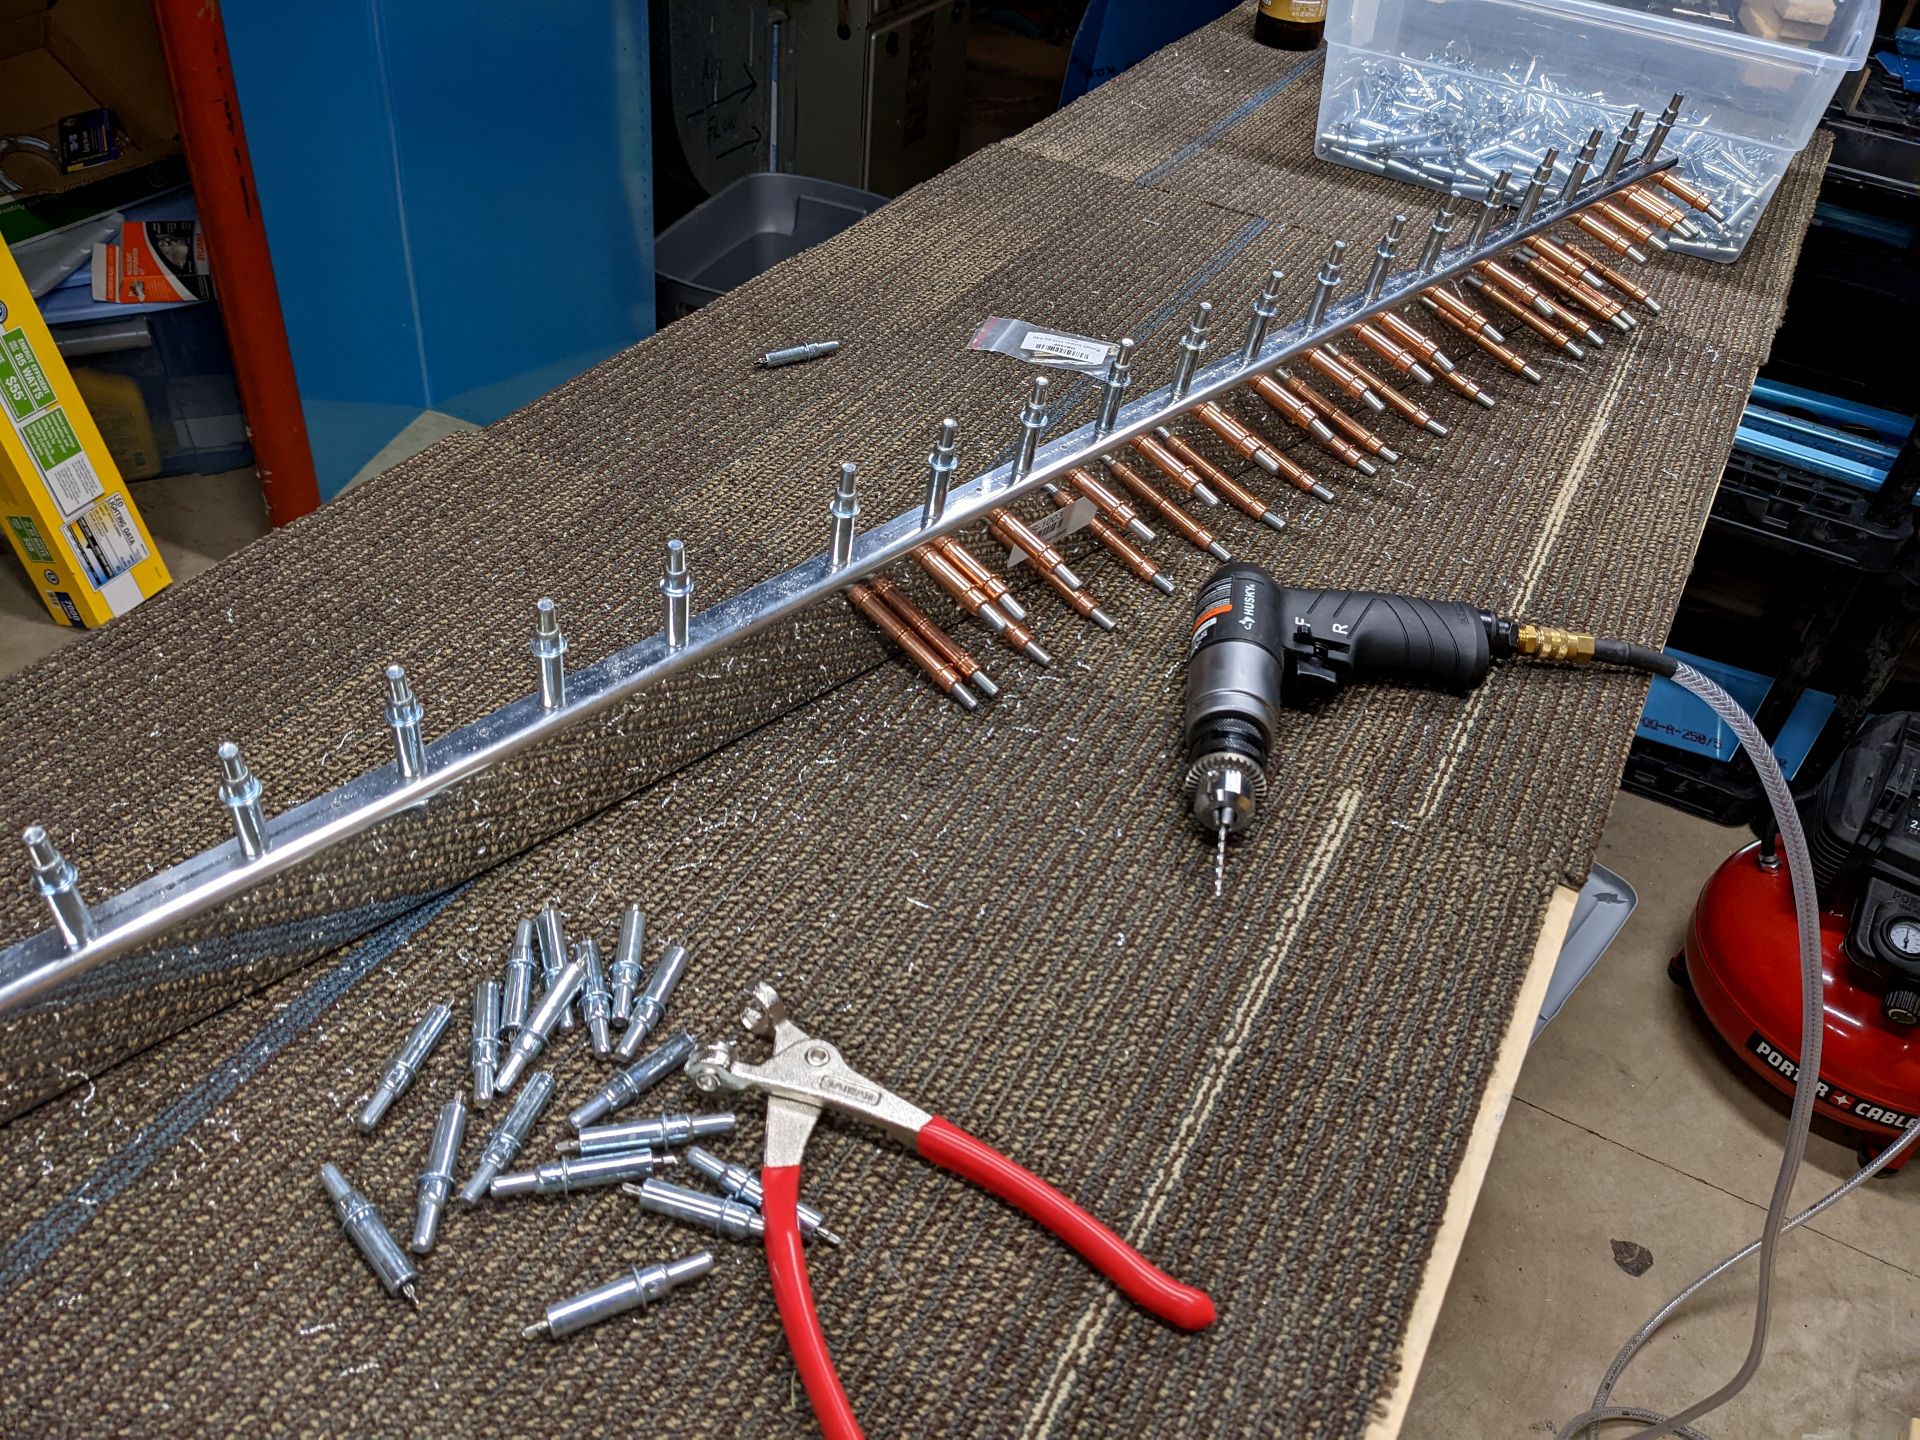
Onward and upwards! I got everything cleaned up (including the edges of the rear spar via SANDING) and clecoed back together so we are on to the next step! Time to get out the next part and integrate it into our fun.
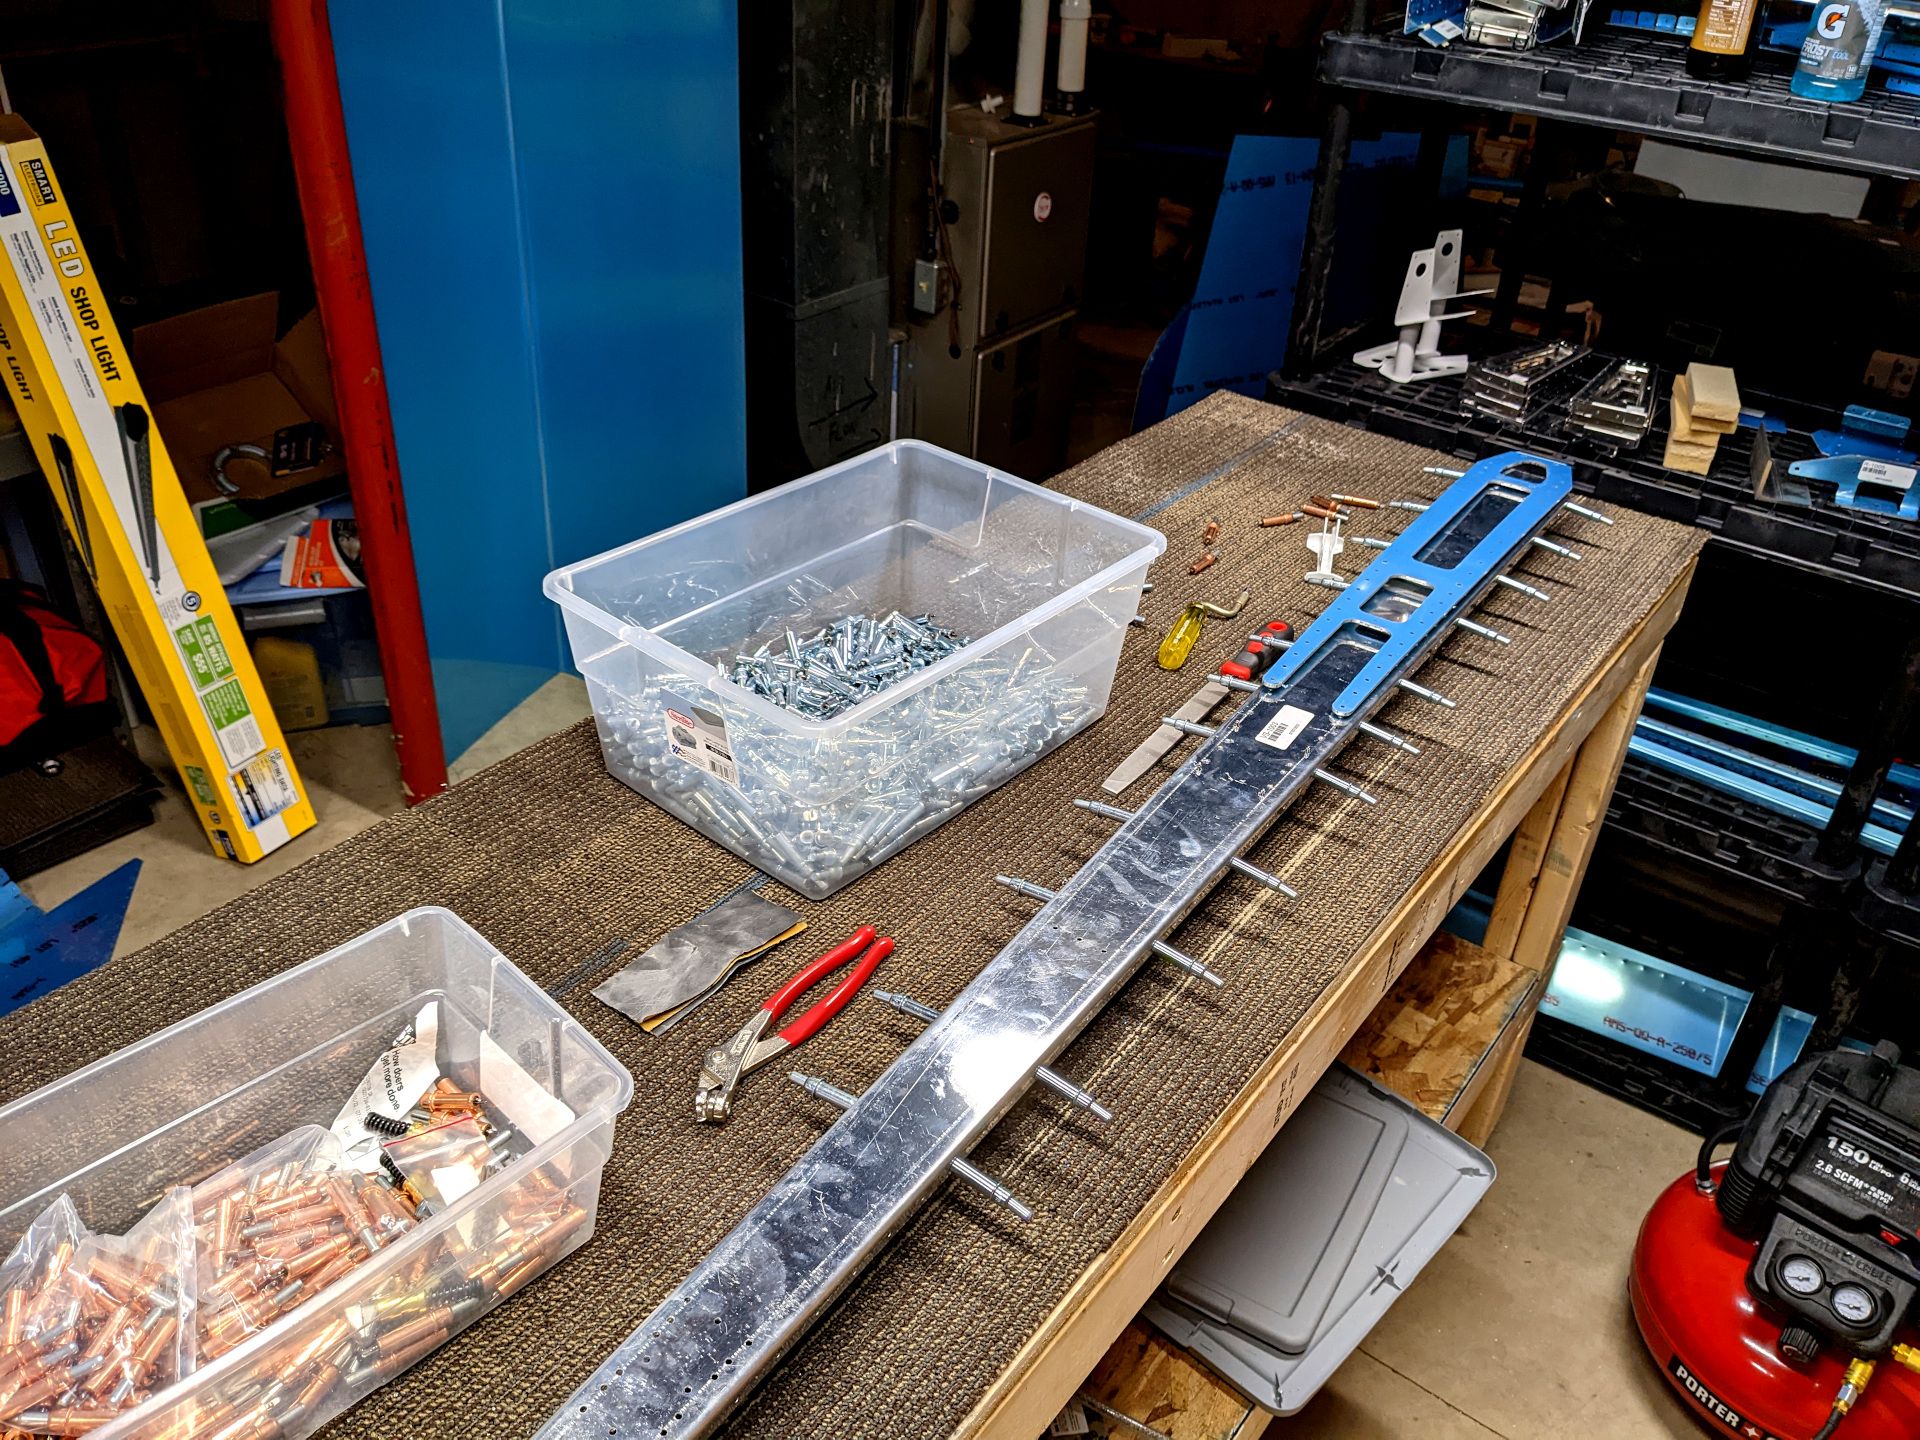
There it is, a nice spar doubler. Something looks a little off about it, don't you think?
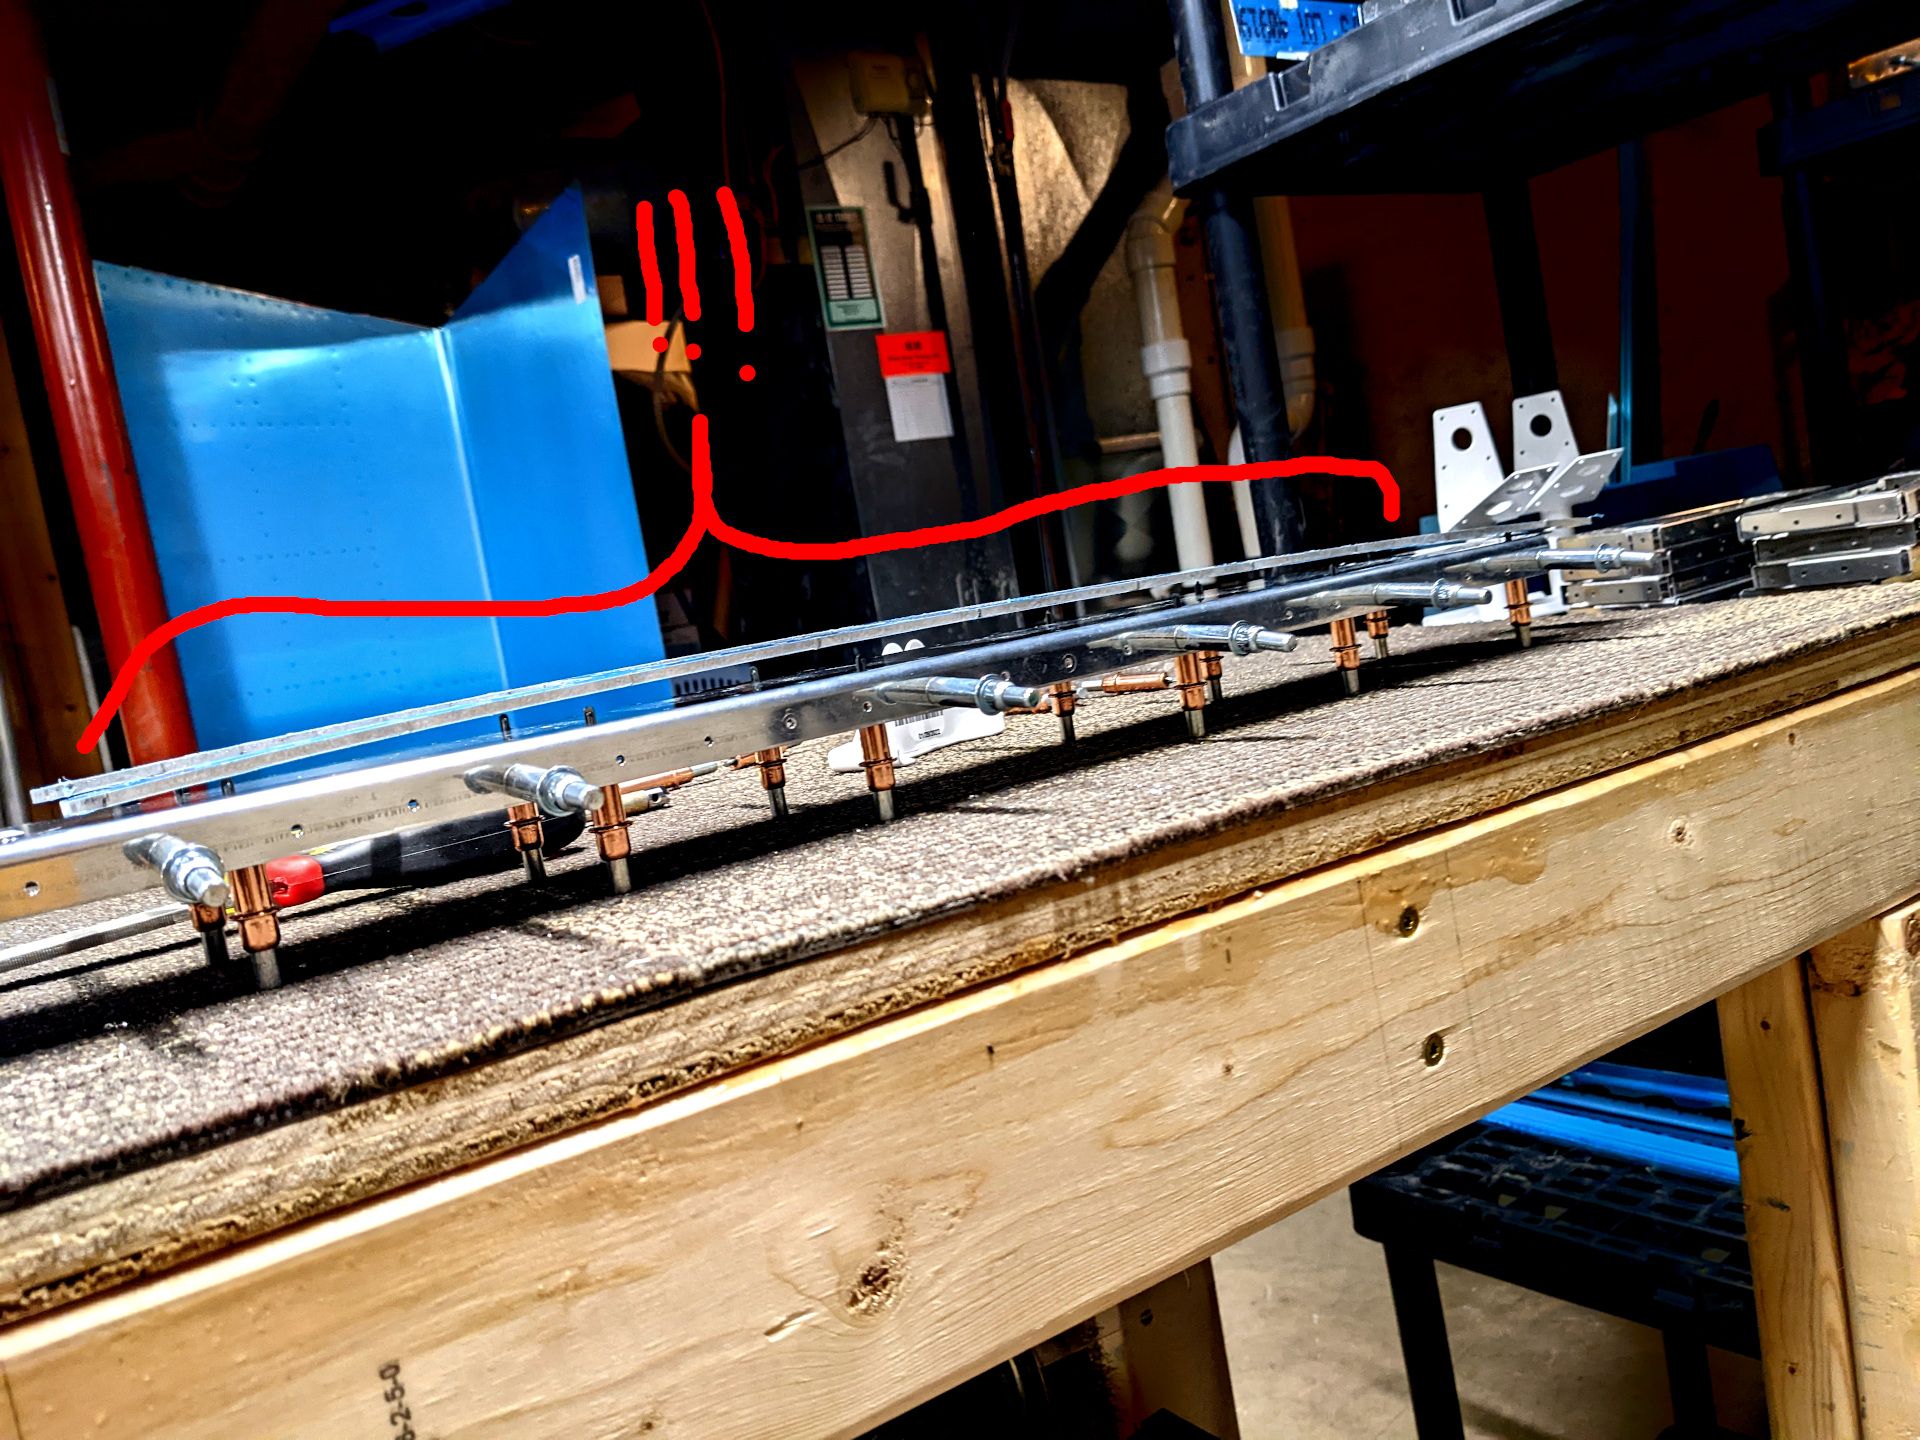
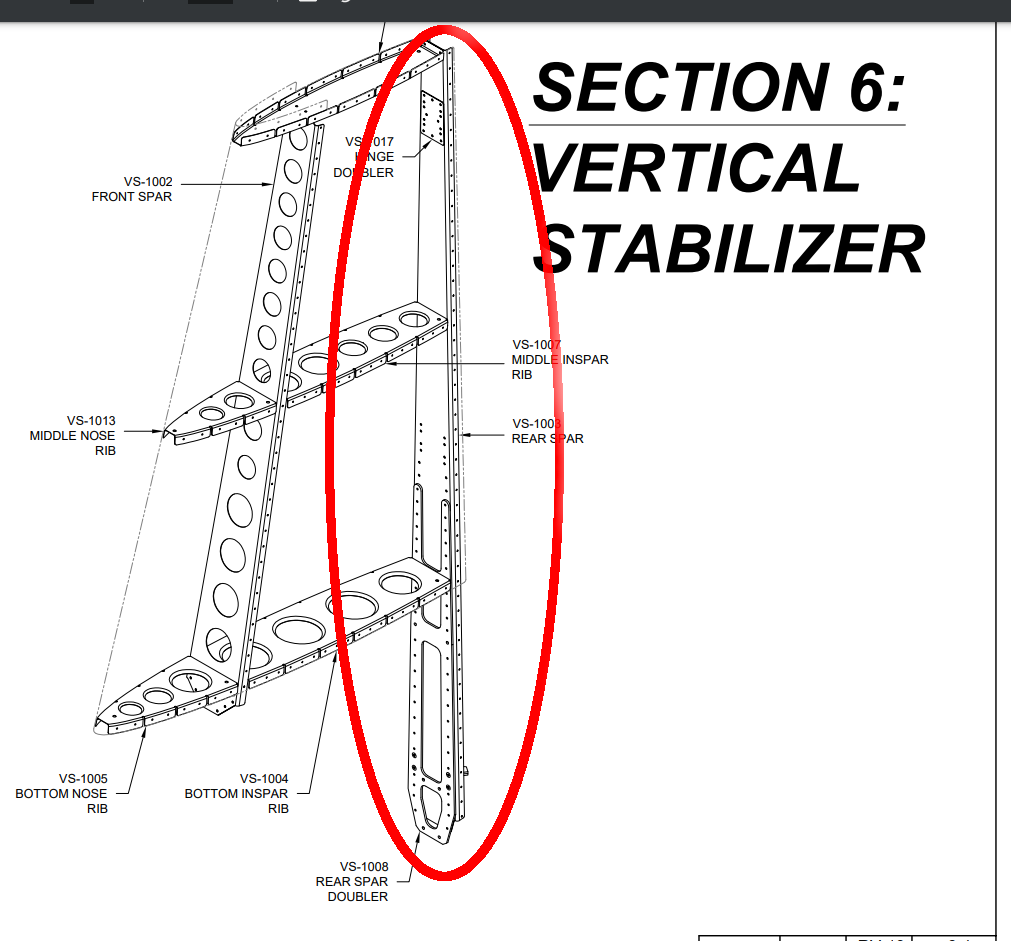
Ah... yeah, there it is. That part isn't straight at all. Well... this could be an issue now couldn't it? So I do a little scrounging of the plans and I find this.
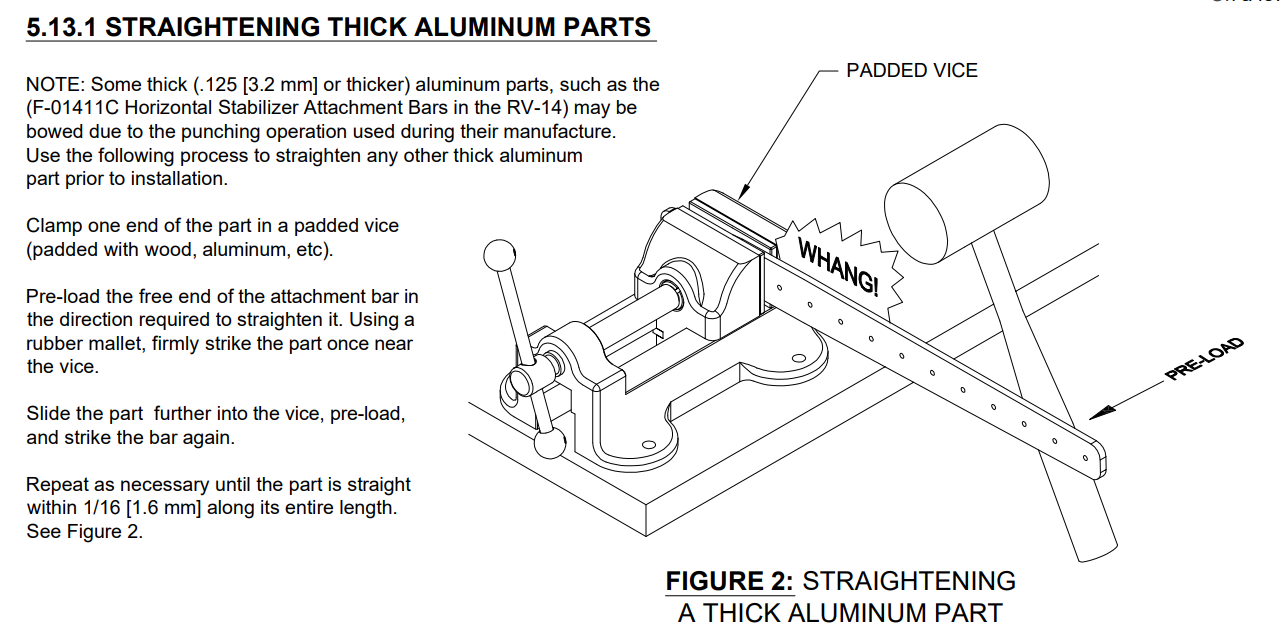
I'm not sure my rubber mallet has been calibrated for the right WHANG-ness. But I decided that was a problem for the next day. So I cleaned up all my little chips and aluminum dust from sanding (which took too long and started me on this path of irritation).

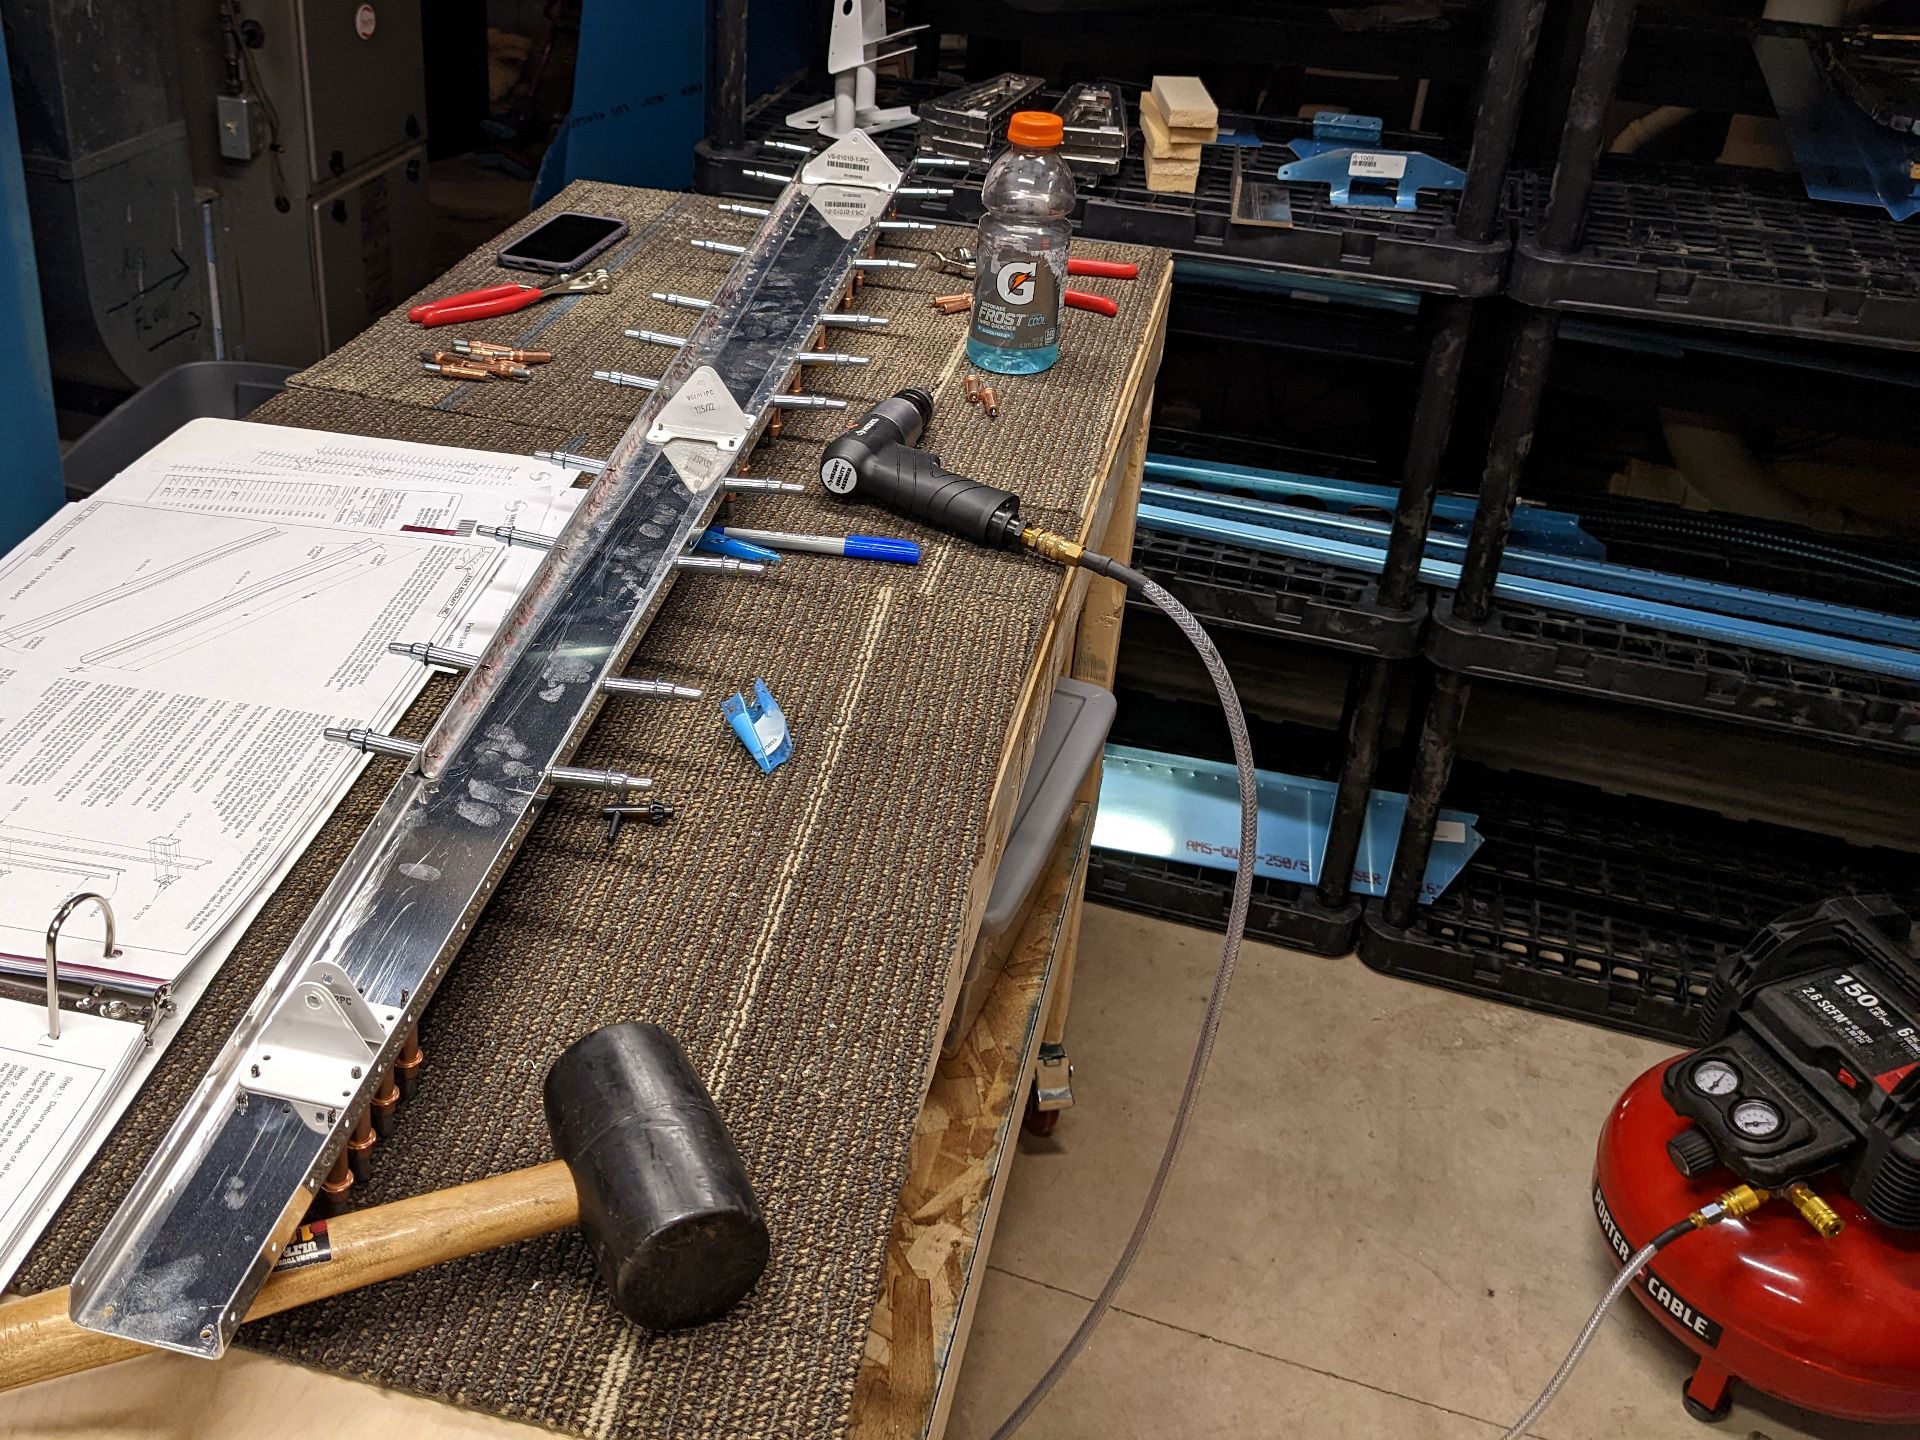
The next day, I decided that not having a vice mounted anywhere wasn't going to stop me for very long. I rigged up something I thought was clever and had at it.
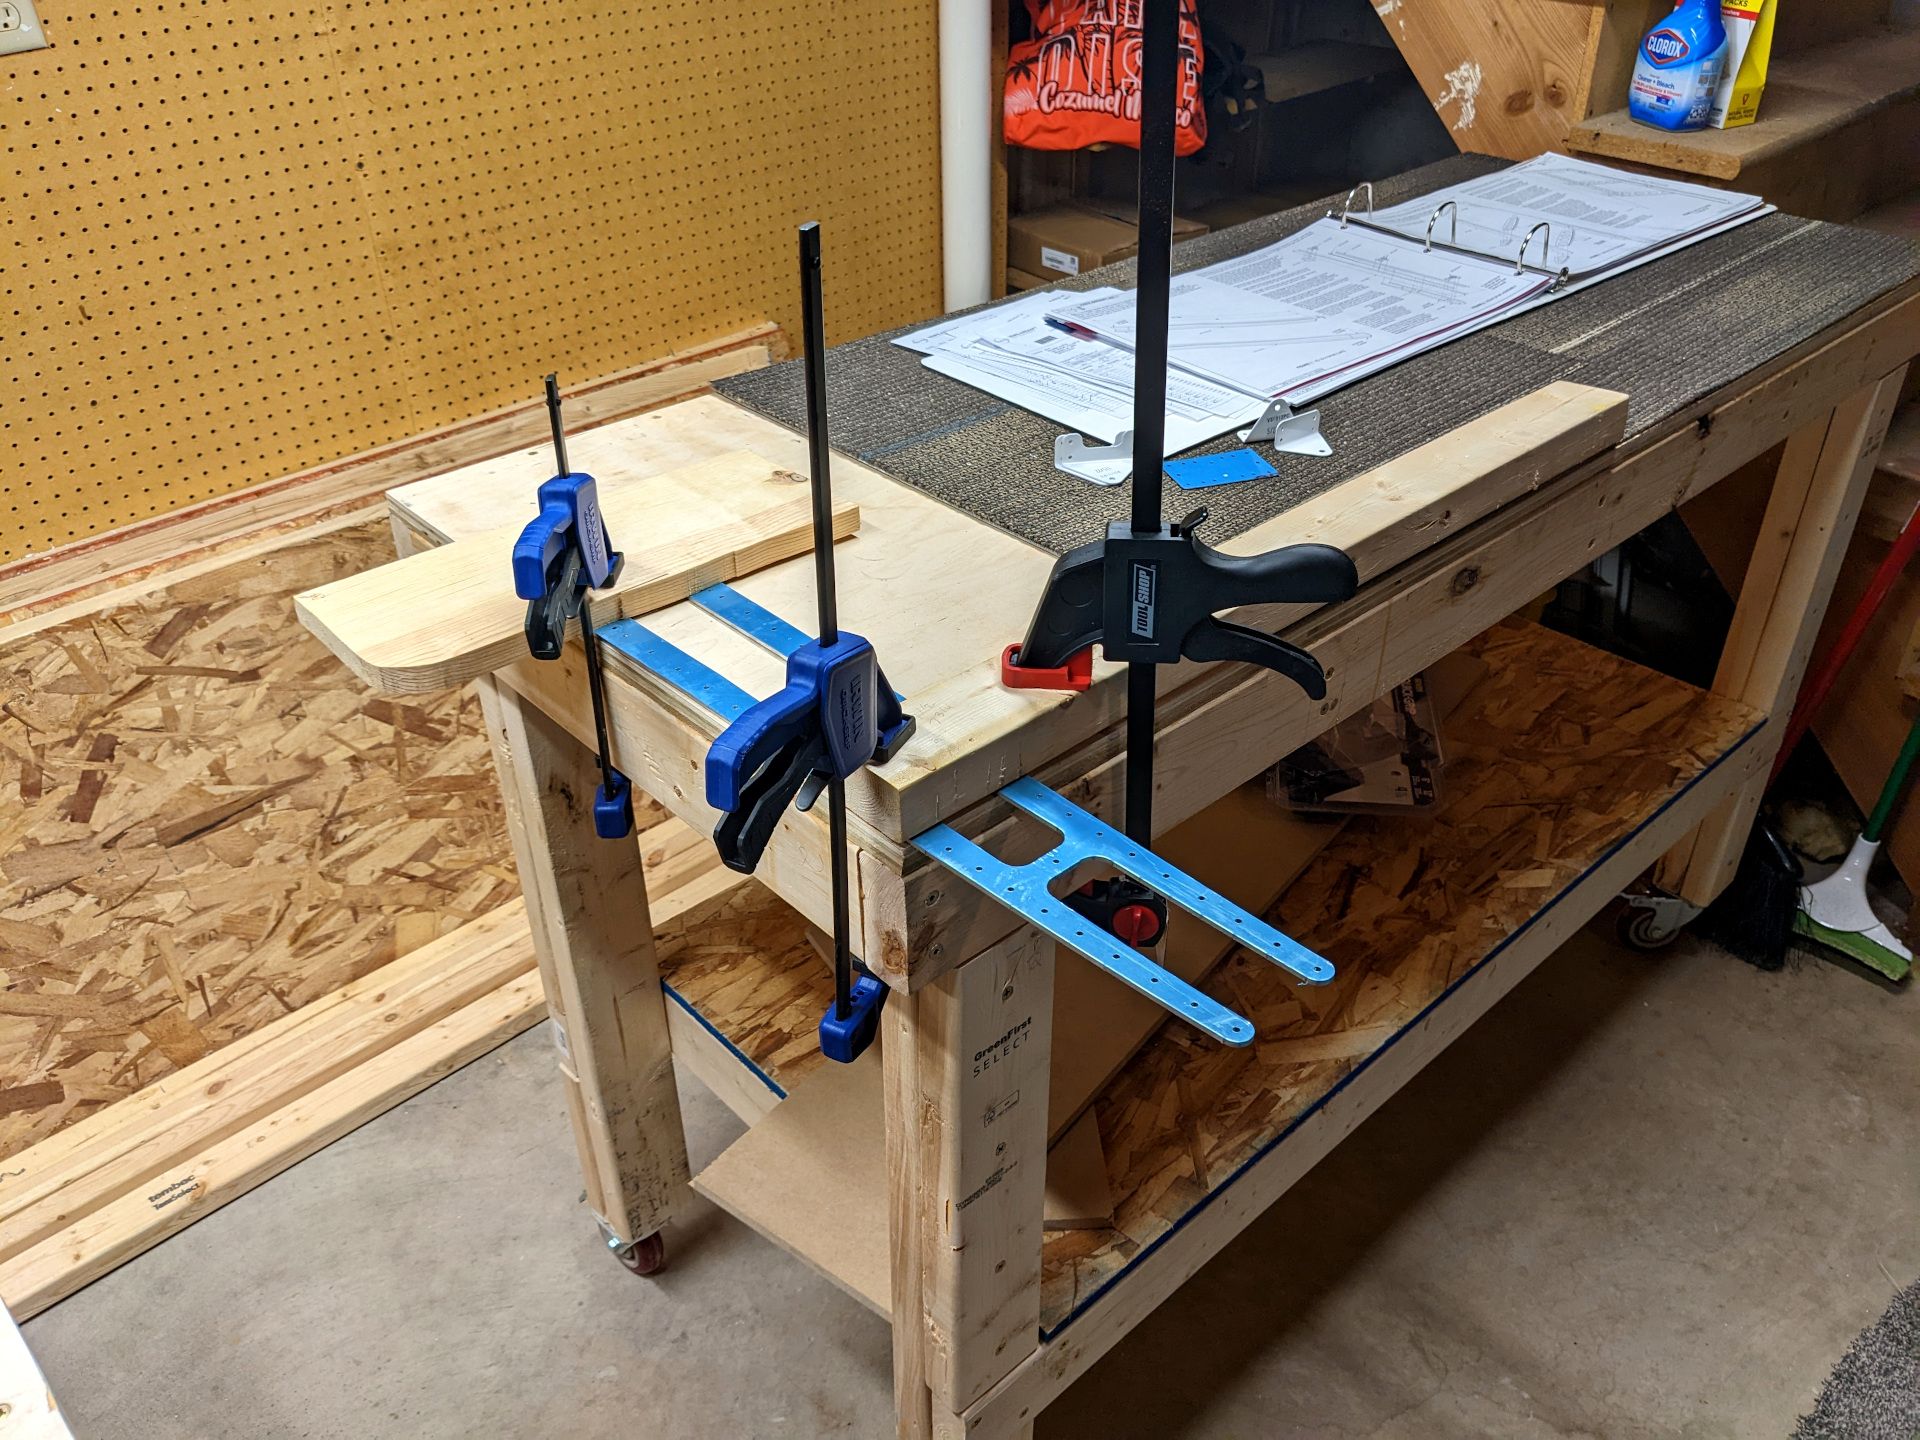
Otherwise I followed their directions exactly; and it worked! It worked really well, actually. I expected it to put up a fight but it just... worked. Metal is some wacky stuff and I'm curious the physical process that happened here but not curious enough to stop the progress train. So let's get this part on with some rudder brackets and (checks notes) match drill a bunch.
Then came the fun of taking everything apart and deburring every single hole on both sides. I highly recommend music to distract you at this point because wow, how tedious. It took nothing but time, however, and eventually everything was how it should be. The final thing I did that night was use a countersink cutter to make some ... okayish cuts.
I think the bit was chattering or otherwise doing something weird but I haven't figured out what was happened. What I will probably do is get a drill press and just not worry about it in the future since things will be more stable. After making these cuts it was again time to call it a night and clean up the workshop.
I took the next day off and just watched YouTube with my one year old son sleeping on me. It was nice and chill. Eventually he woke up, starting ripping mad farts, and destroyed everything he could reach. However, I also ordered something to help my sanding insanity.
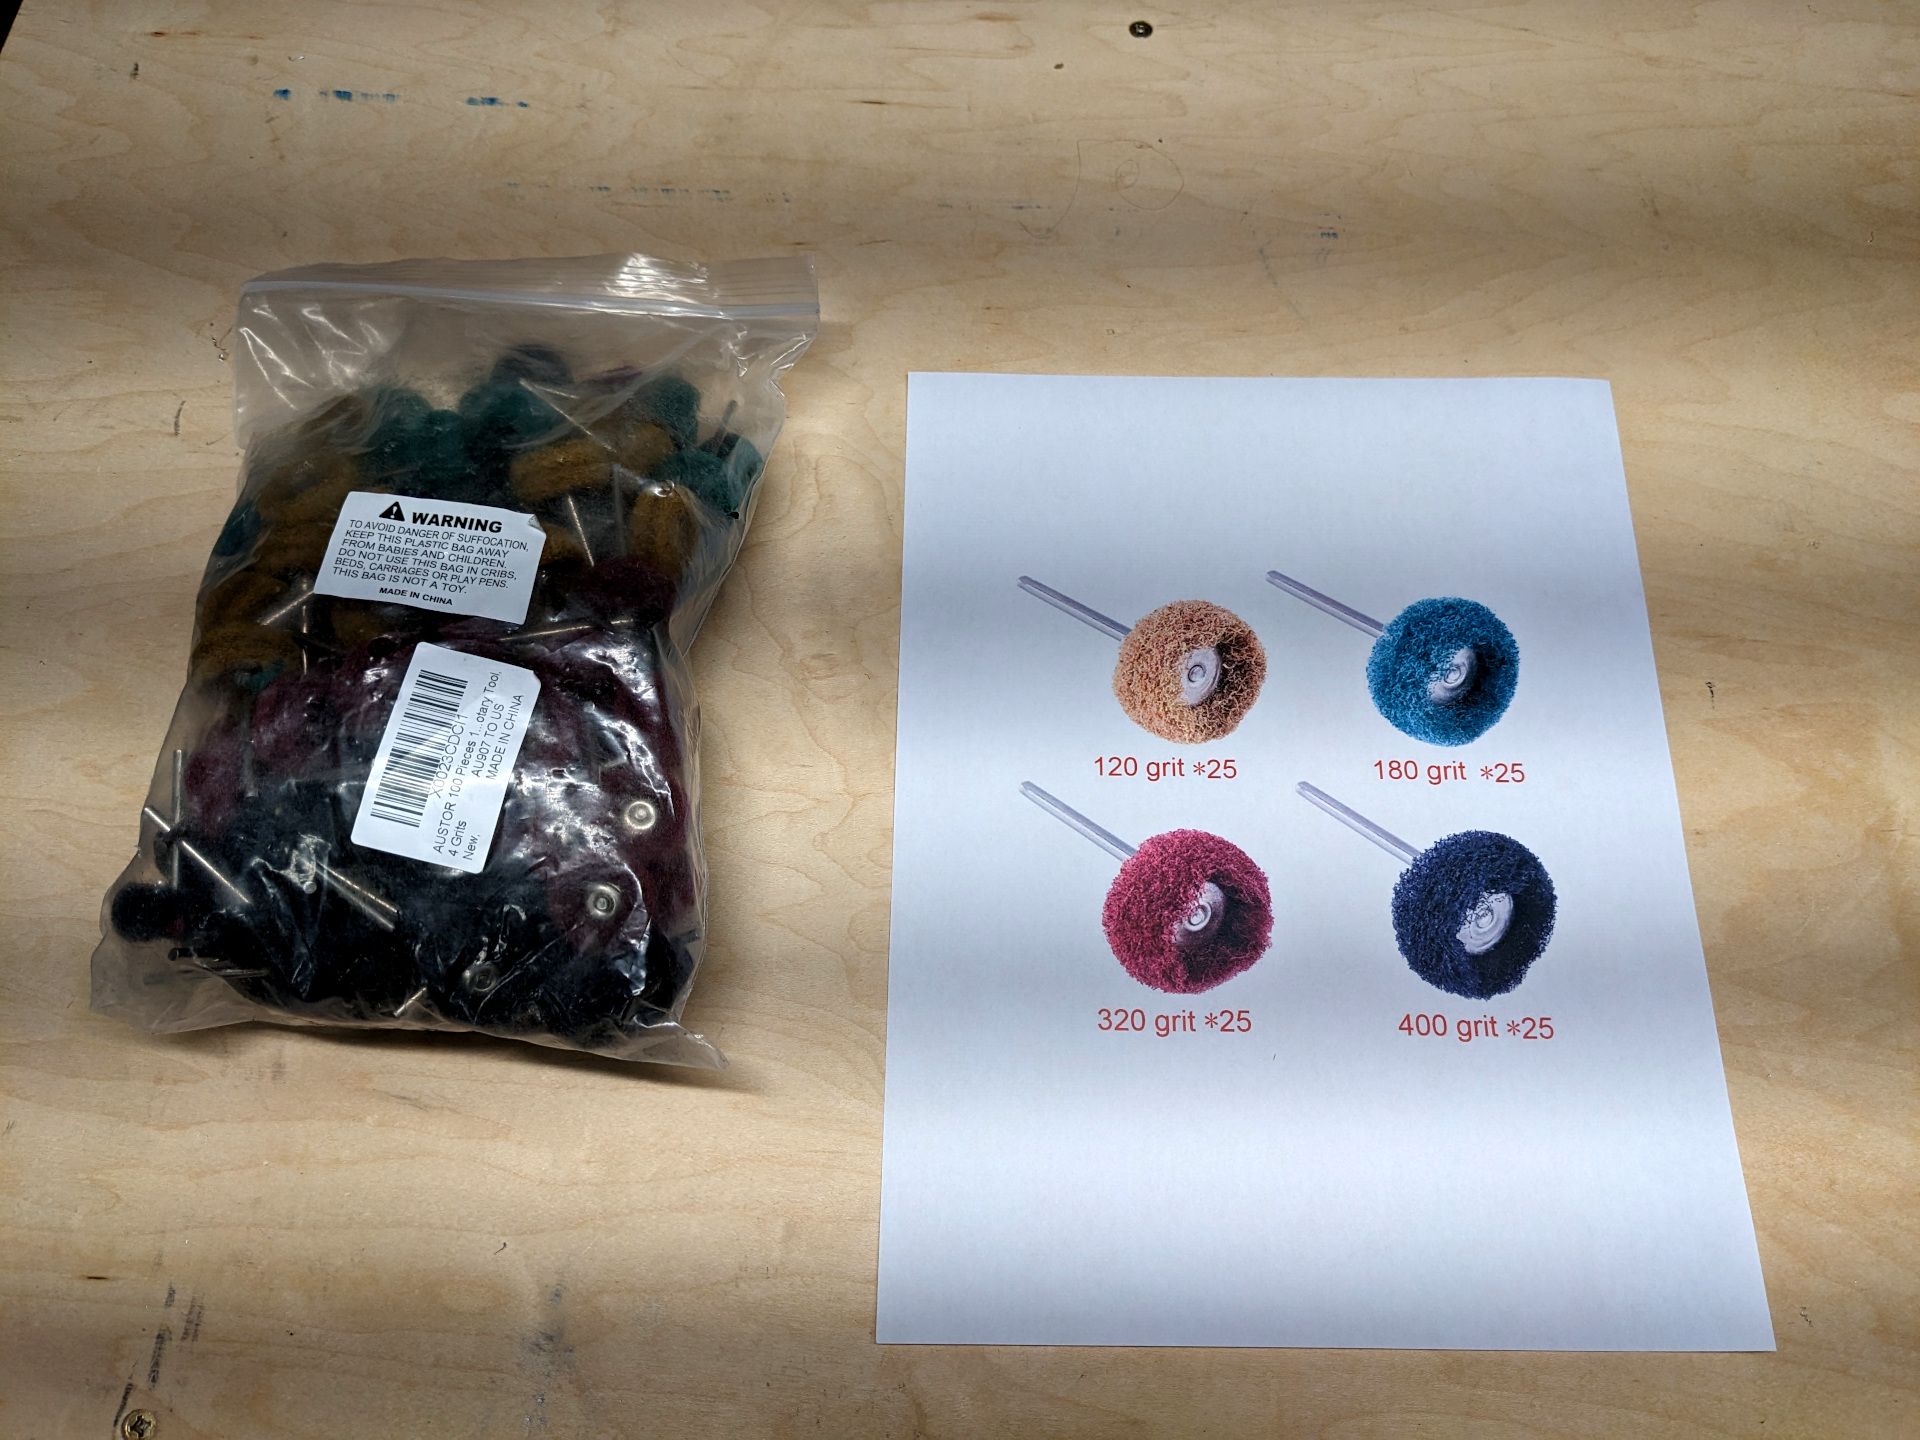
They would be mine soon, but I can't time travel so I have to wait.
The next day is where I lost my mind. I spend a few hours sanding that spar doubler, and I only got about half way done with it. That's when I knew I had to find a better way to do this. So I went and watched Plane Lady's youtube videos a bit to see how she and her husband where dealing with edge finishing. I ordered a Scotchbrite wheel to make some custom deburring ends from and just continued working at it with what I had (sand paper).
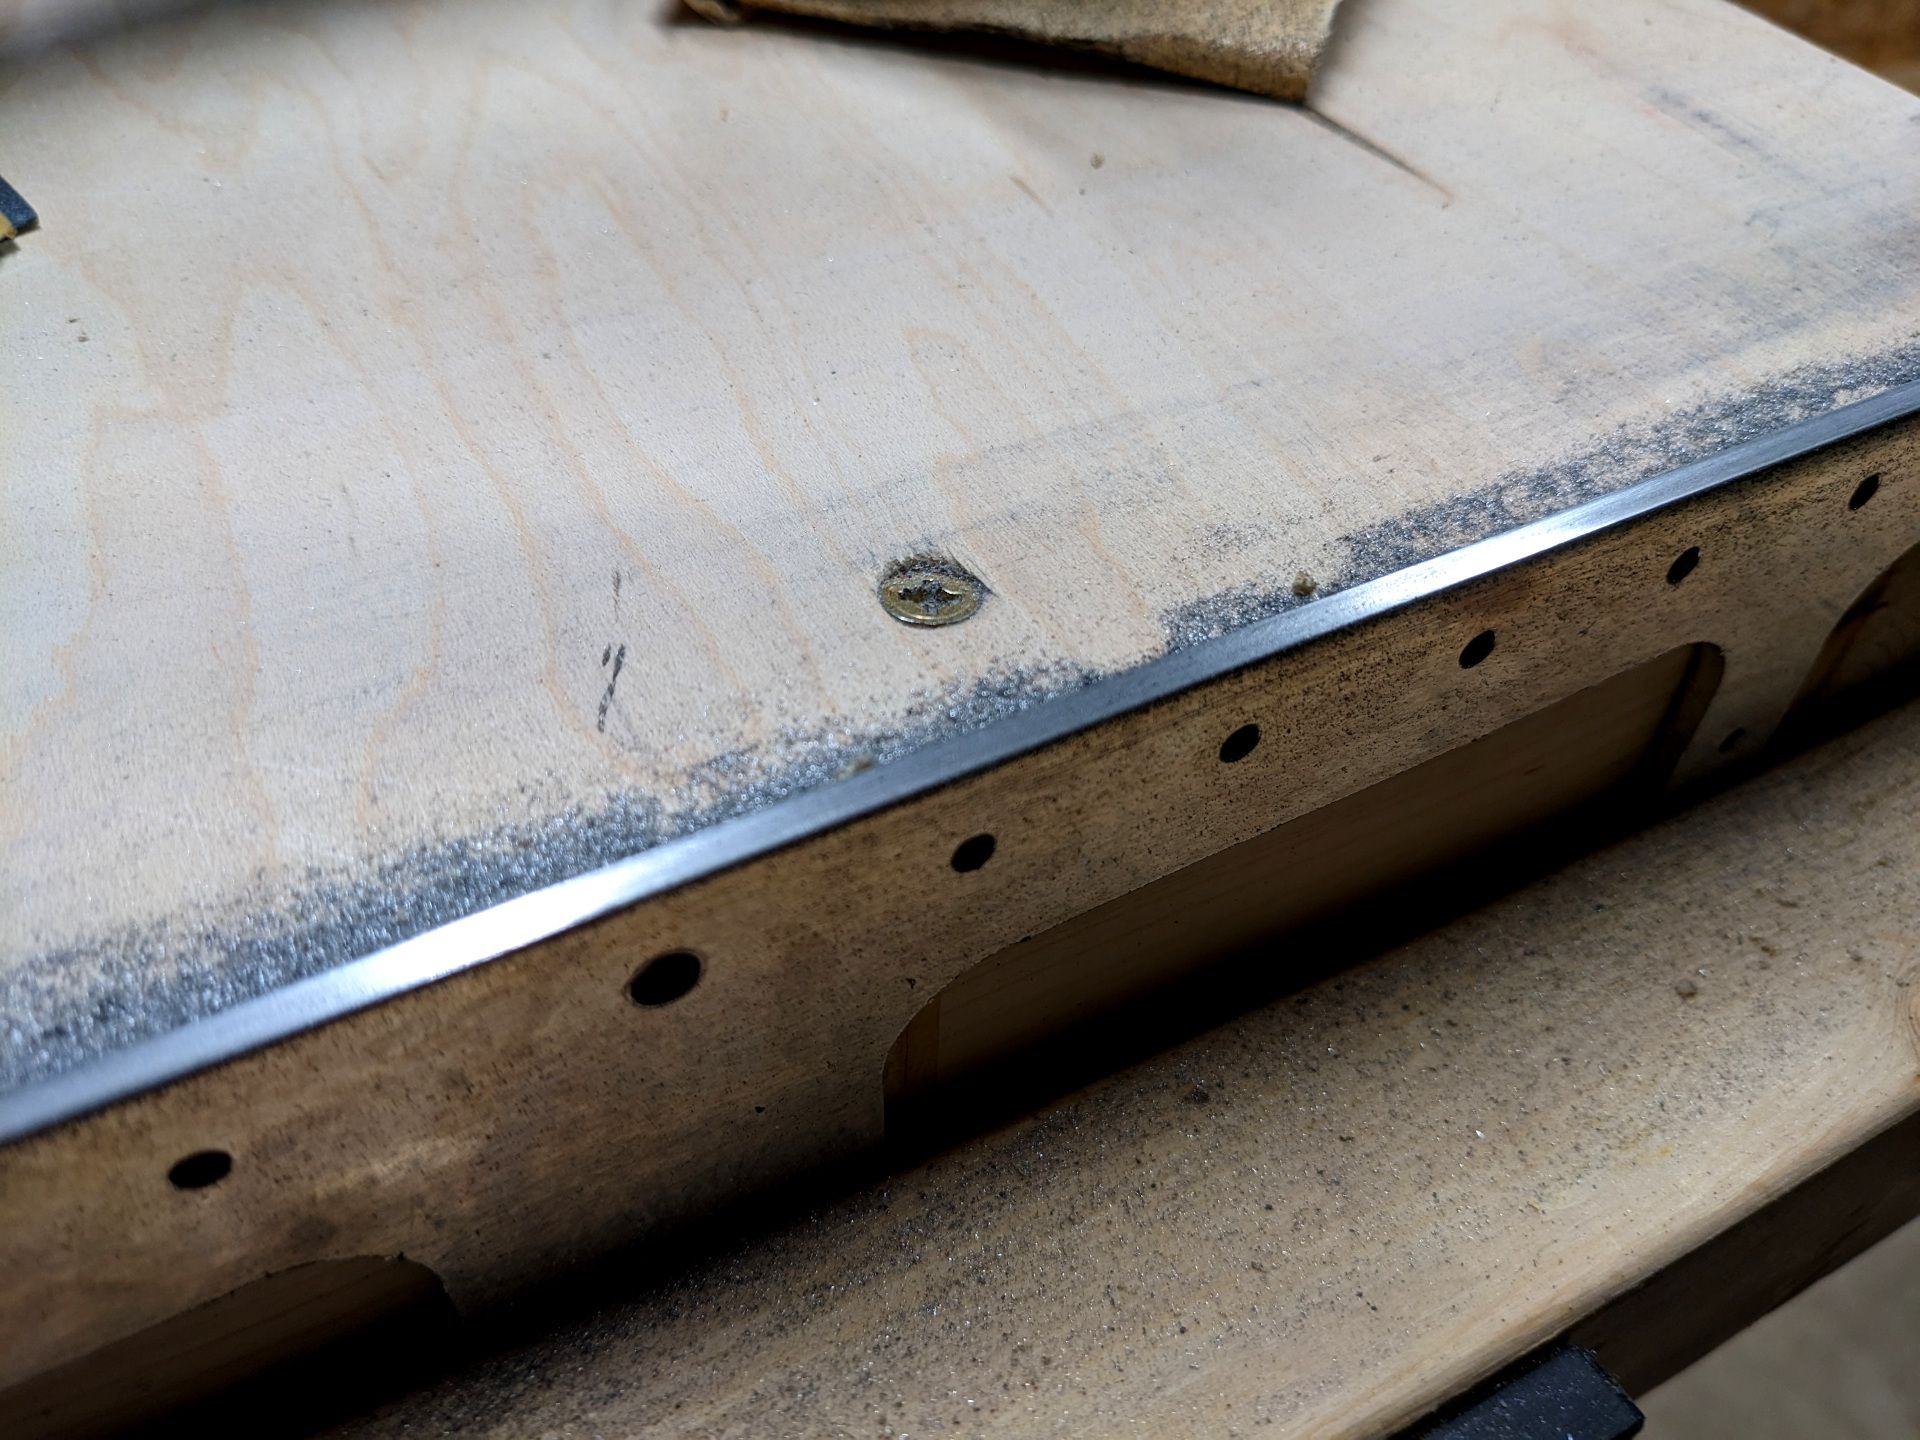
And you know what? That is a really good looking edge. But my goodness the labor involved means I'll get this whole project finished in 20 years! It needs to be nice though, otherwise the aluminum can start to crack in areas that stress concentrates. I didn't even bother cleaning anything up except the dust, I was just done with the day.
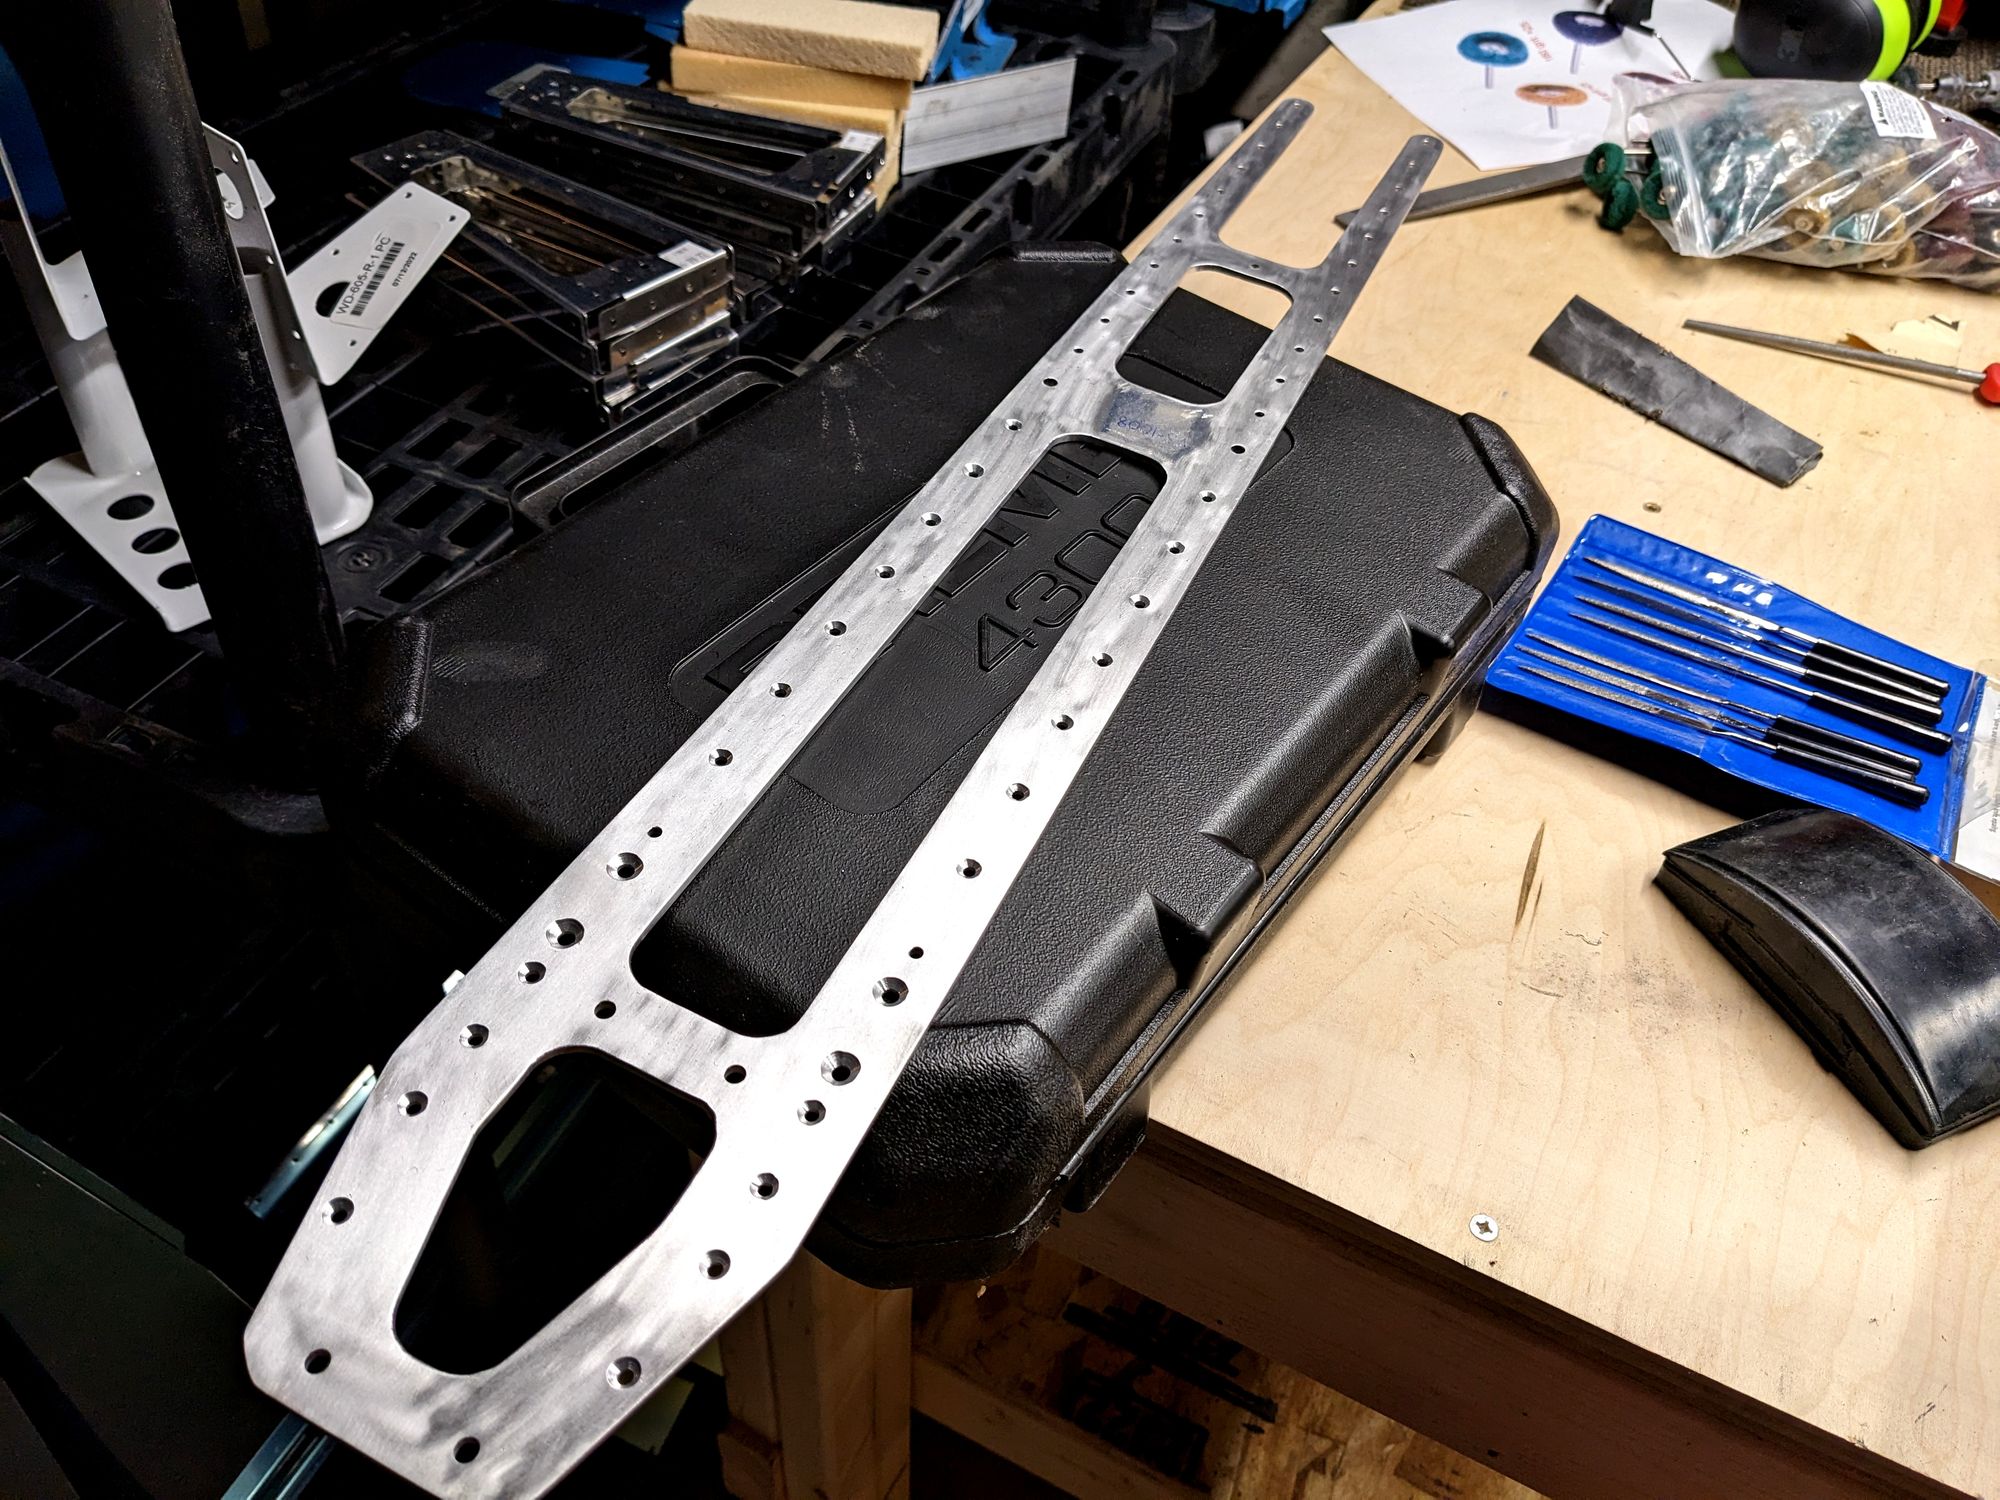
And now it is today! I just came upstairs from doing some work. I went to Harbor Freight and purchased some small files before starting and these were very helpful. All those middle sections of the spar doubler needed to be cleaned up and I now had my finishing wheels and my files so I set to the task and finished it all up. Now, it did still take quite a bit of time until I figured out my flow with it but the results are very nice (except the part where I scuffed up the part a bunch).
So I decided to test how those wheels would do to buff out the scratches. They work pretty well! I would probably wet sand it with some really high grit before priming it but it was a successful test. I was a bit back and forth on whether I wanted to prime the parts but a lot of the parts showed up with scratches already and I figure I could just do it, it isn't that much extra work (I bet it actually is and I'll eat those words).
There was one scratch that didn't come out with the finishing wheels, and I suspect it was a drill bit that went for a little dance but I can't remember. But don't worry, I look an out of focus picture of it.
So I will probably have (groans) sand it by hand. I'd avoid it if I could but that scratch is deep enough that it will need a bit of elbow grease to get out.
But that wraps up the rear spar! The next step is to clean up those ribs and I bet I'll find a way to hate every moment of it. Once I figure out a bit more of what works and what doesn't though, I should have a much better time going forward.
Thanks for taking the time to hang out in my corner of the world for a bit. I hope to see you back here soon if this sort of thing interests you.