Priming Done, Riveting Go
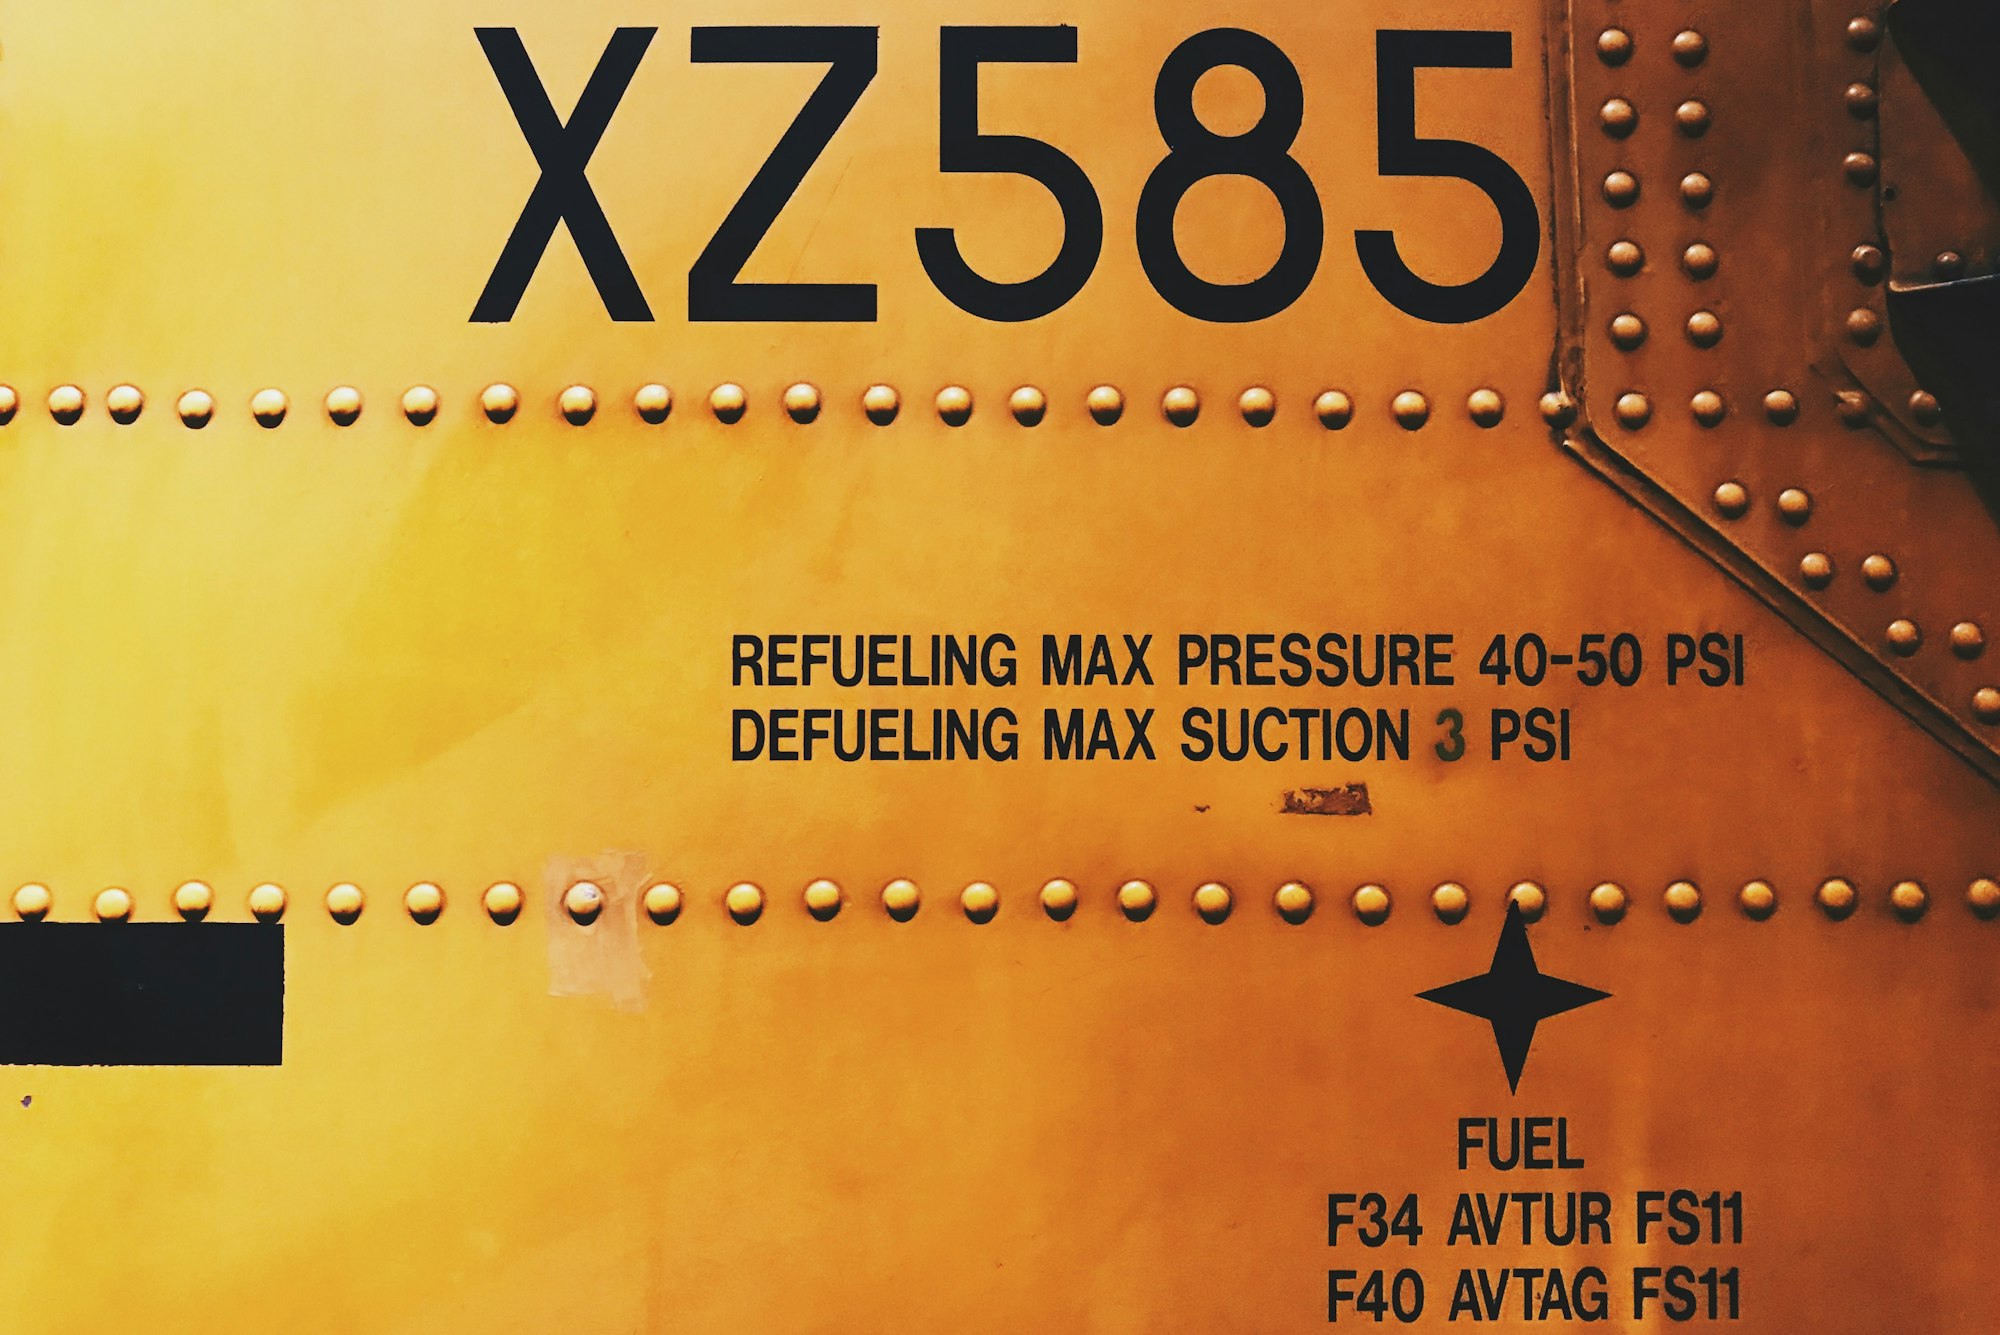
It has been extra cold here lately, to the point where painting in my basement was still cold after running my air venting for the fumes. So I slowly made progress and continued to prime the parts. It is important to watch those edges though, as my plastic drop sheeting didn't stand much of a chance.
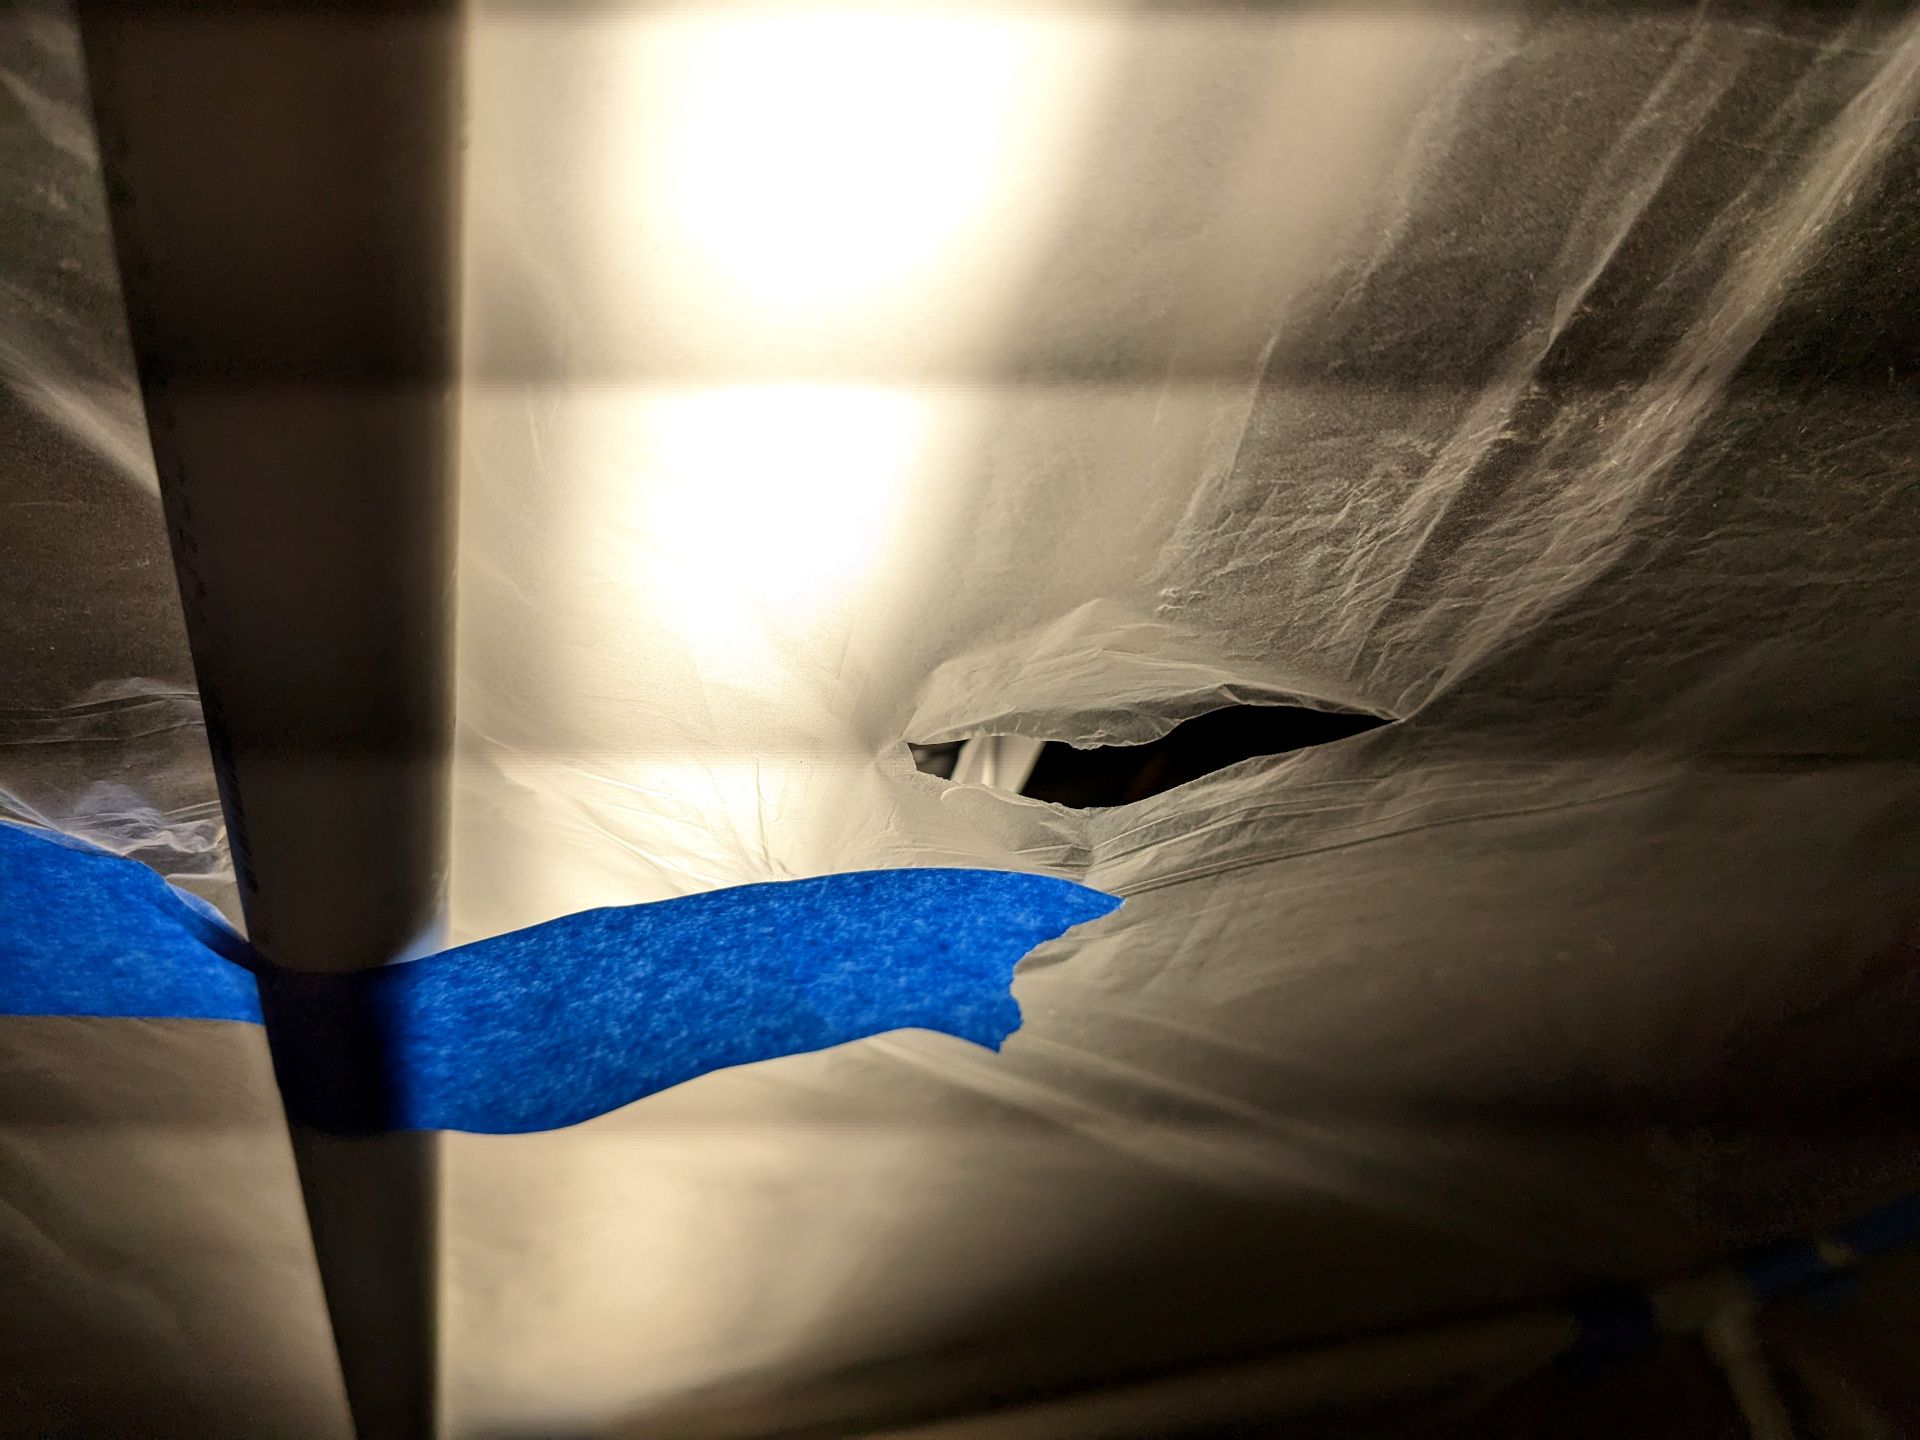
More painter's tape fixed the rip though, then it was back to business. I made a mistake and decided to use a tarp to catch the overspray on my paint. The thing about tarps is they let the paint pool up and it becomes very easy to then chip paint off. Not to mention that the paint falls off the tarp as well and makes all these wonderful paint flecks you have to clean up. Regardless, here are the pictures detailing that process (again, I recommend using cardboard).
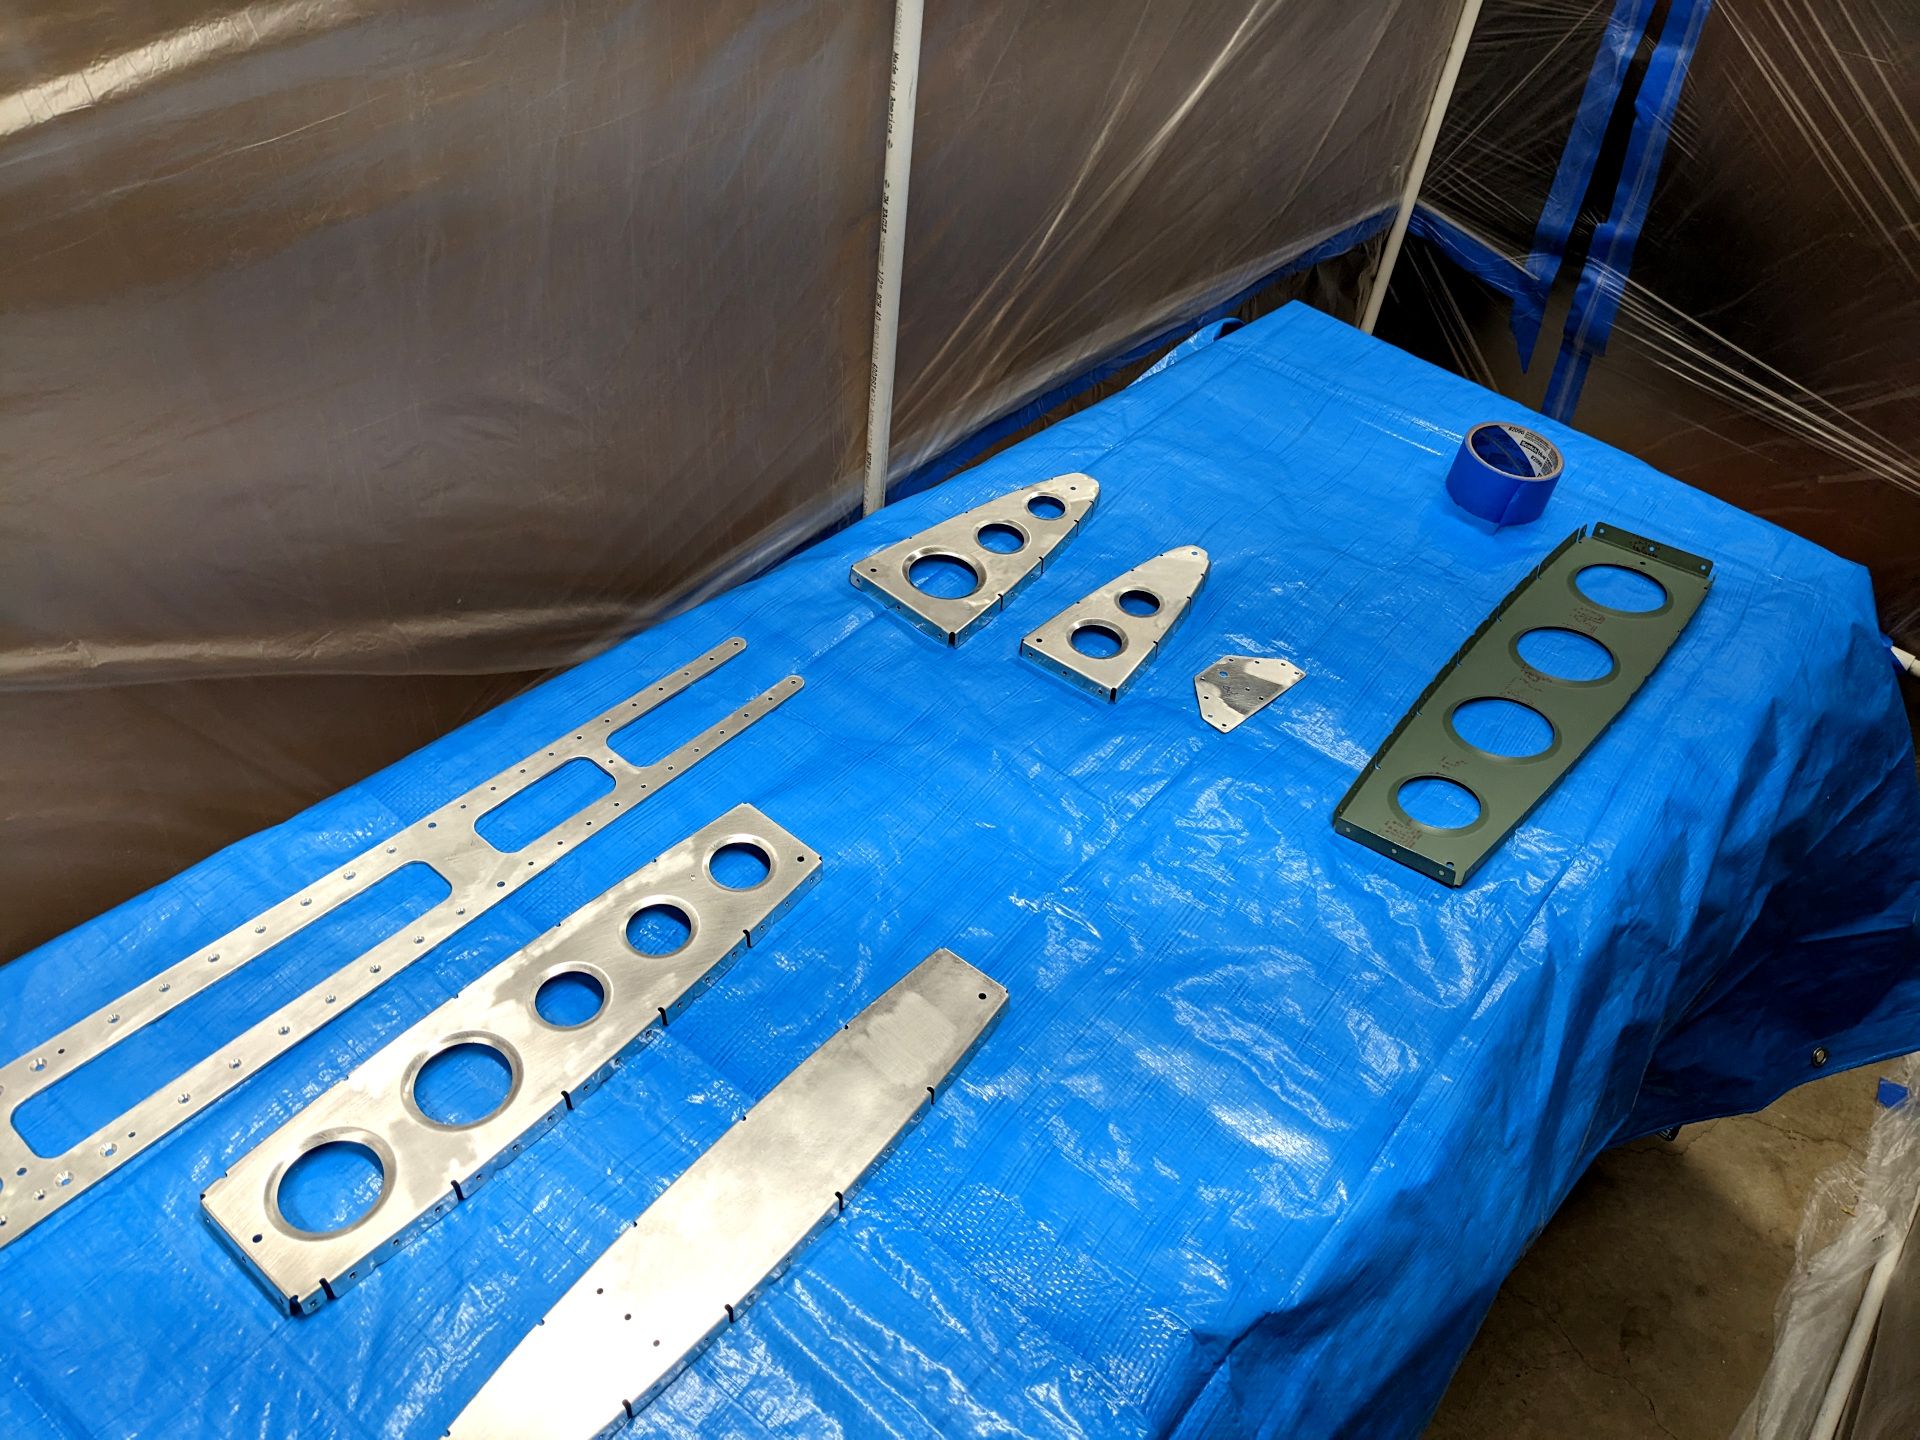
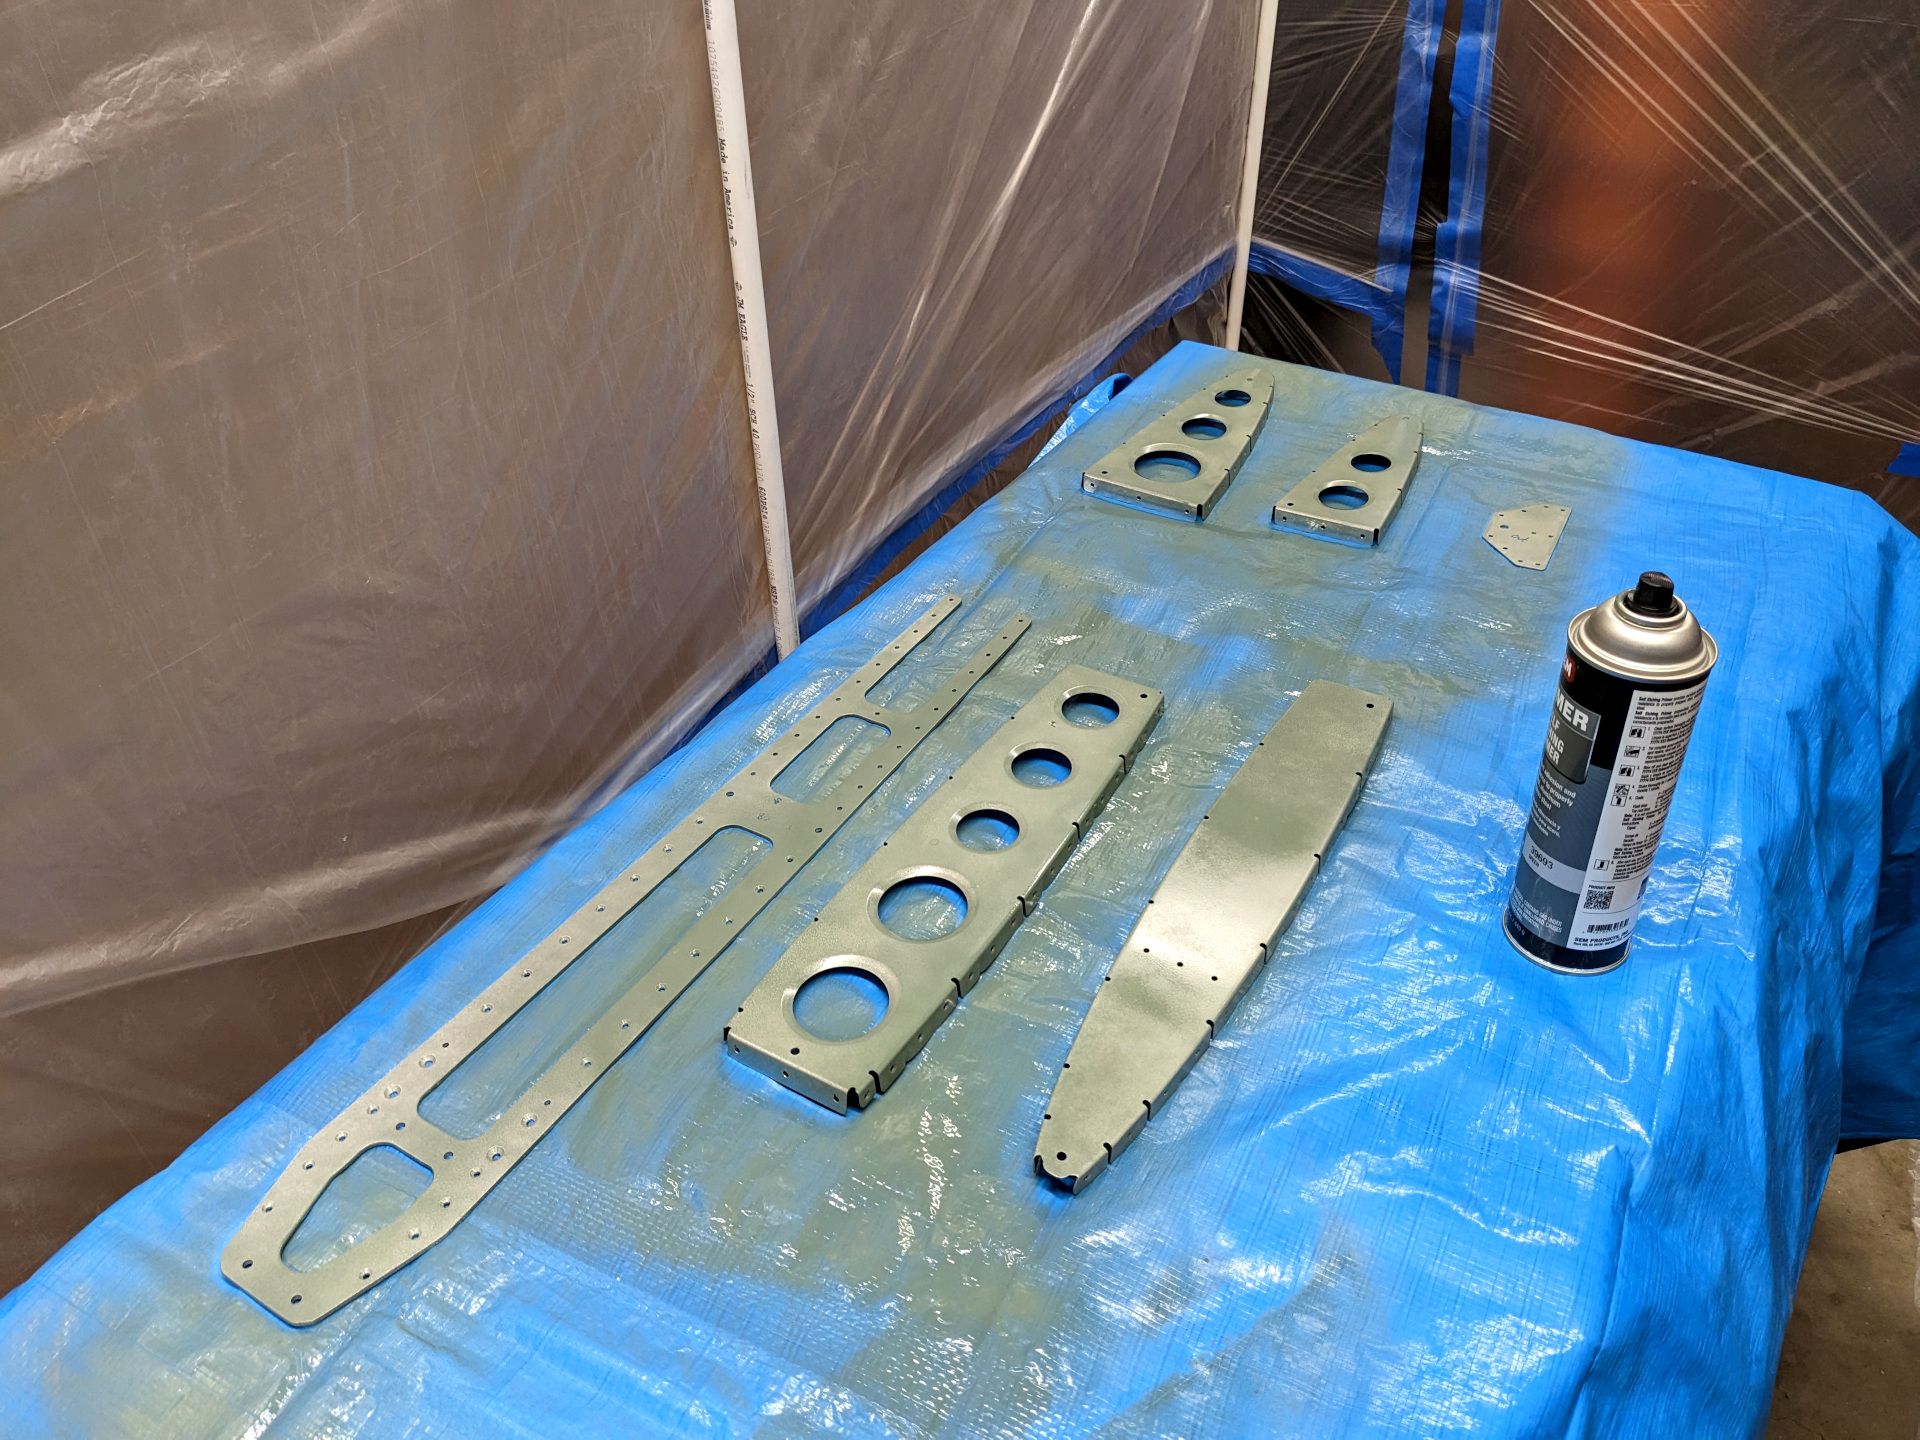
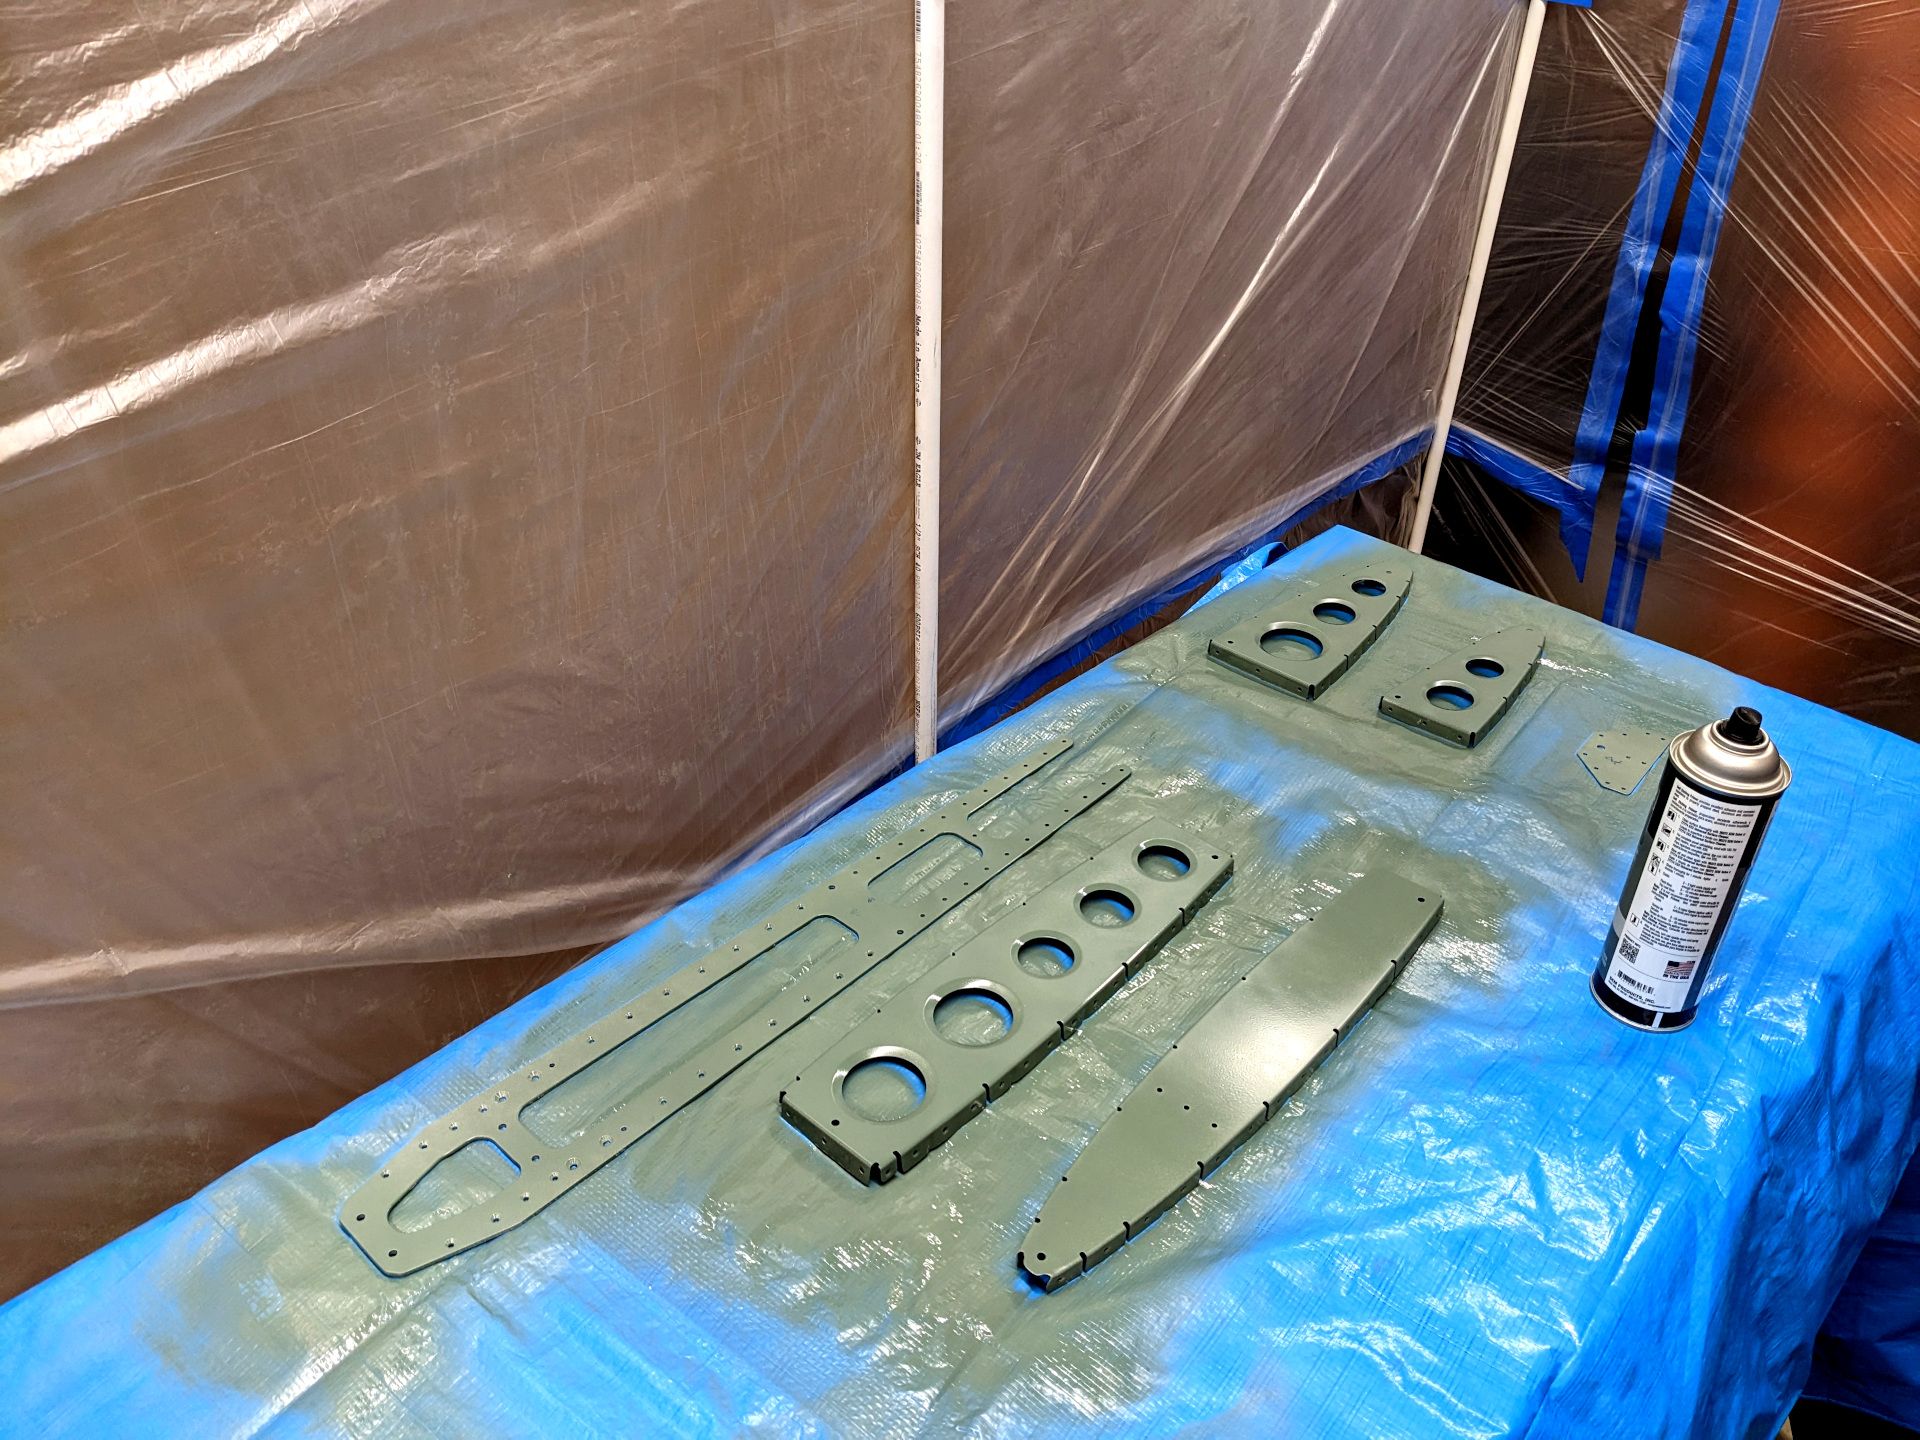
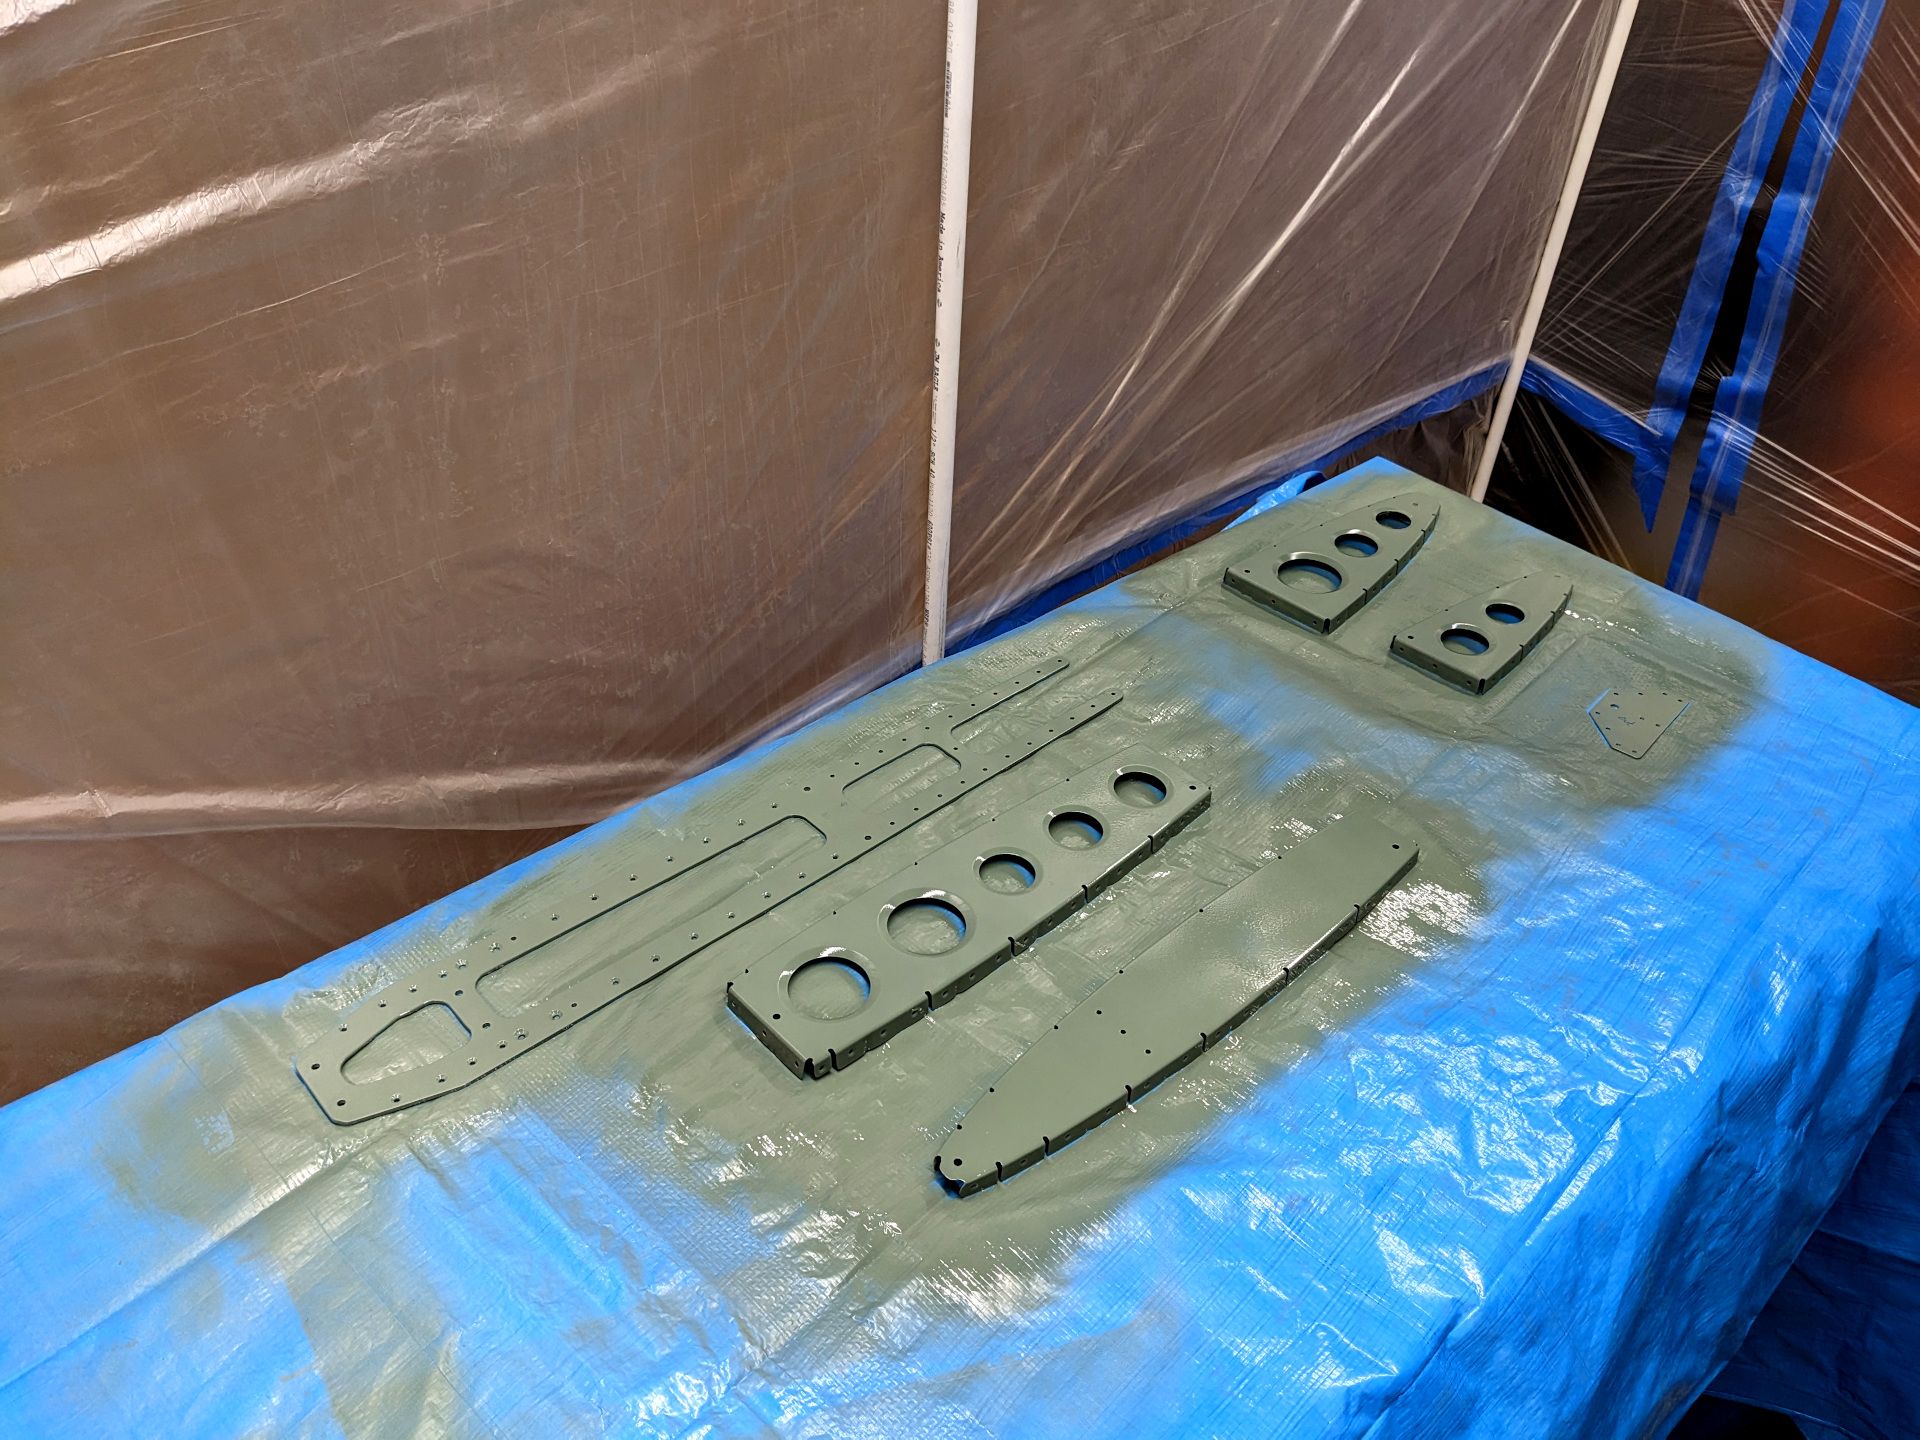
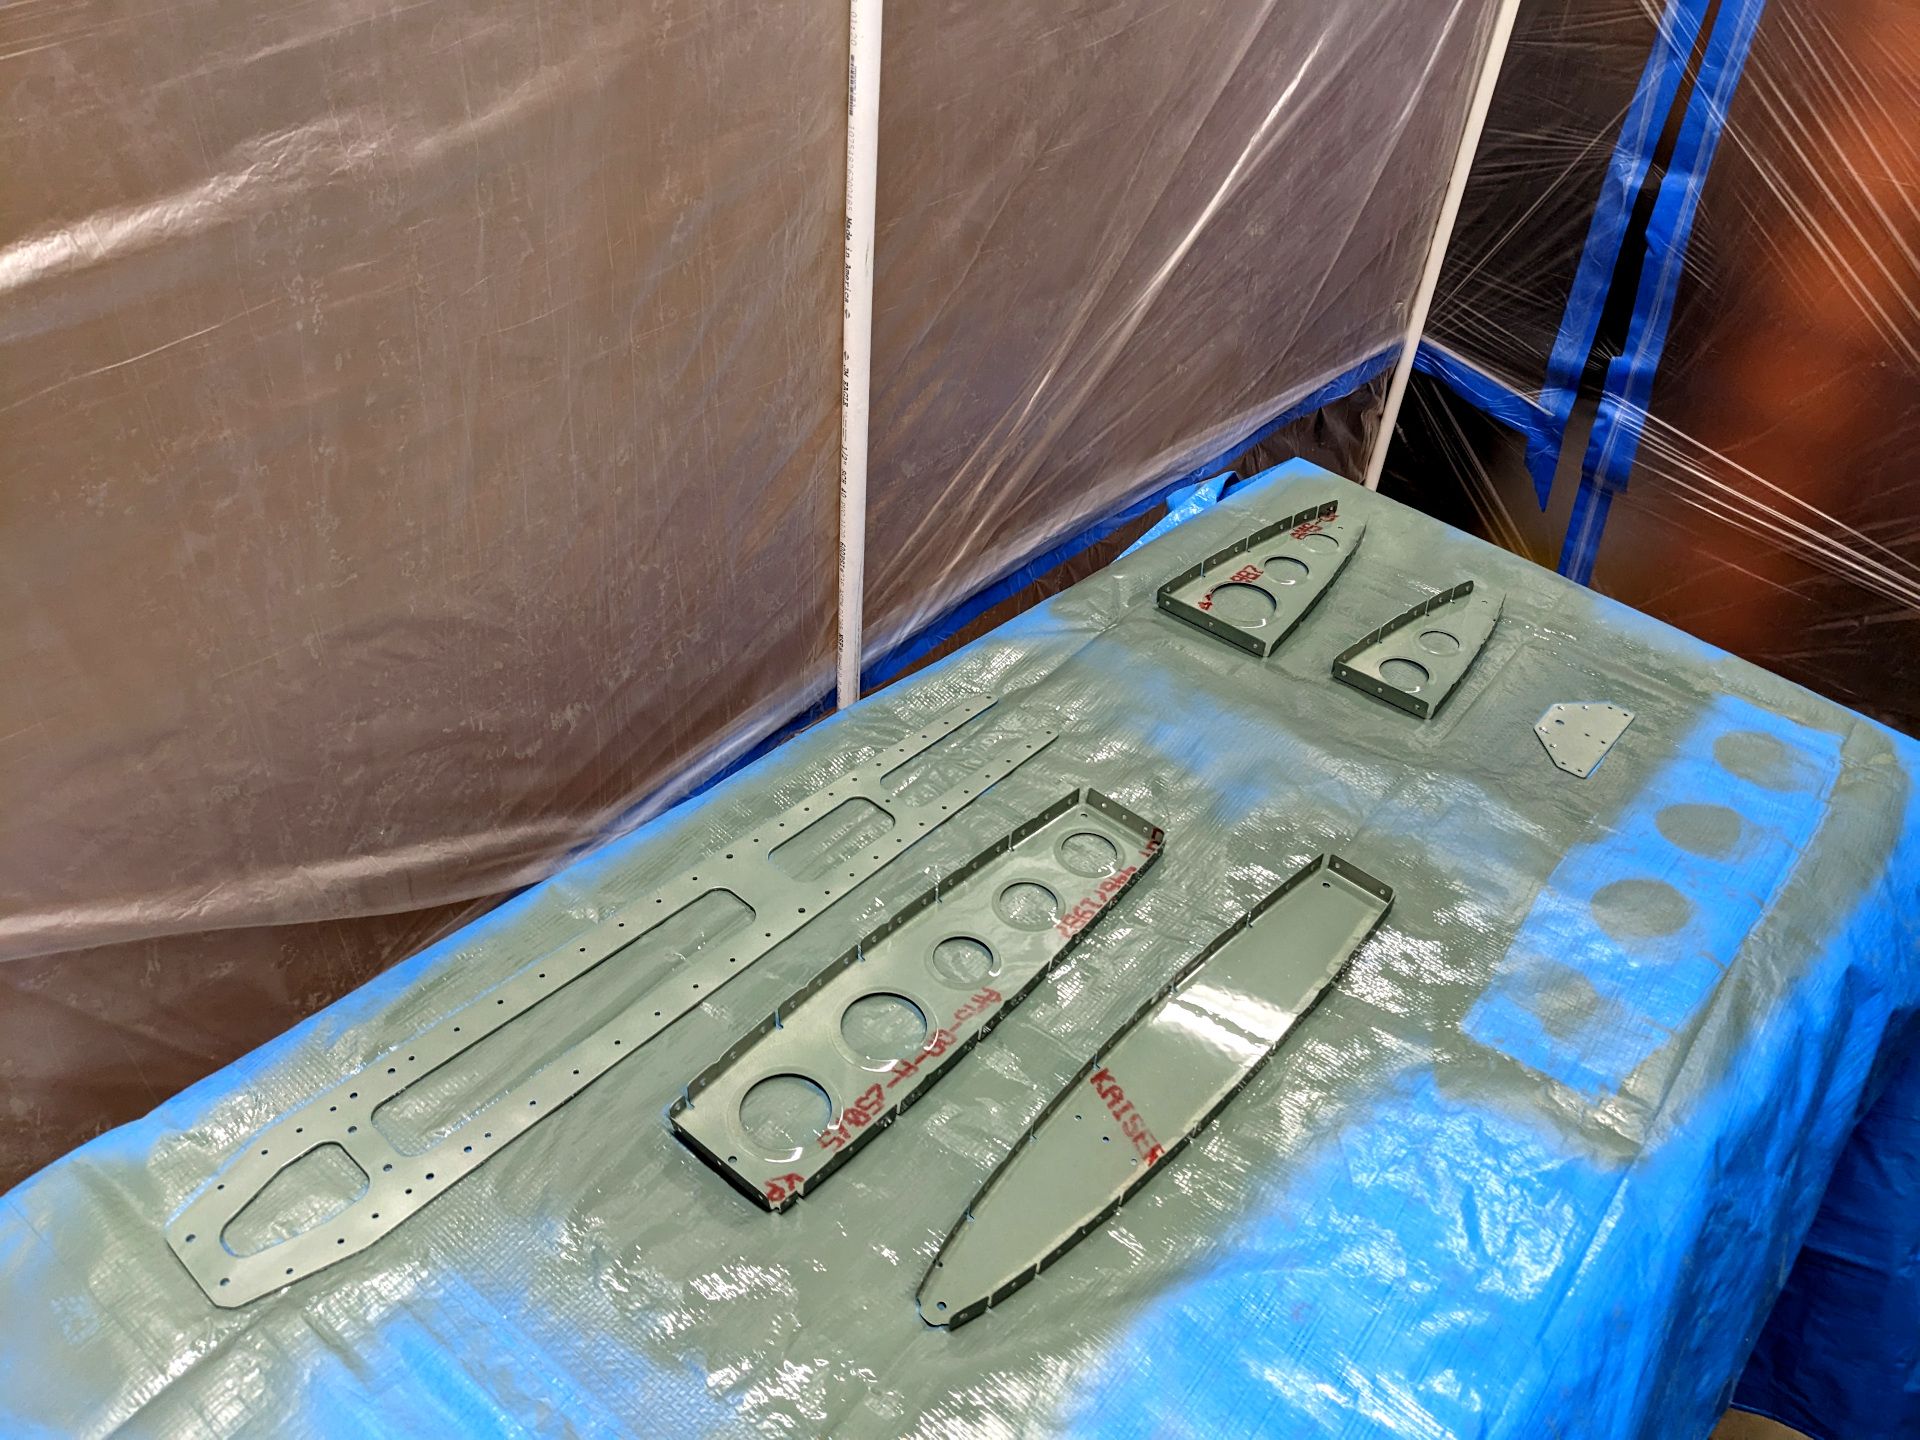
but after the above batch cured fully, I realized the error of my ways and switched to cardboard.
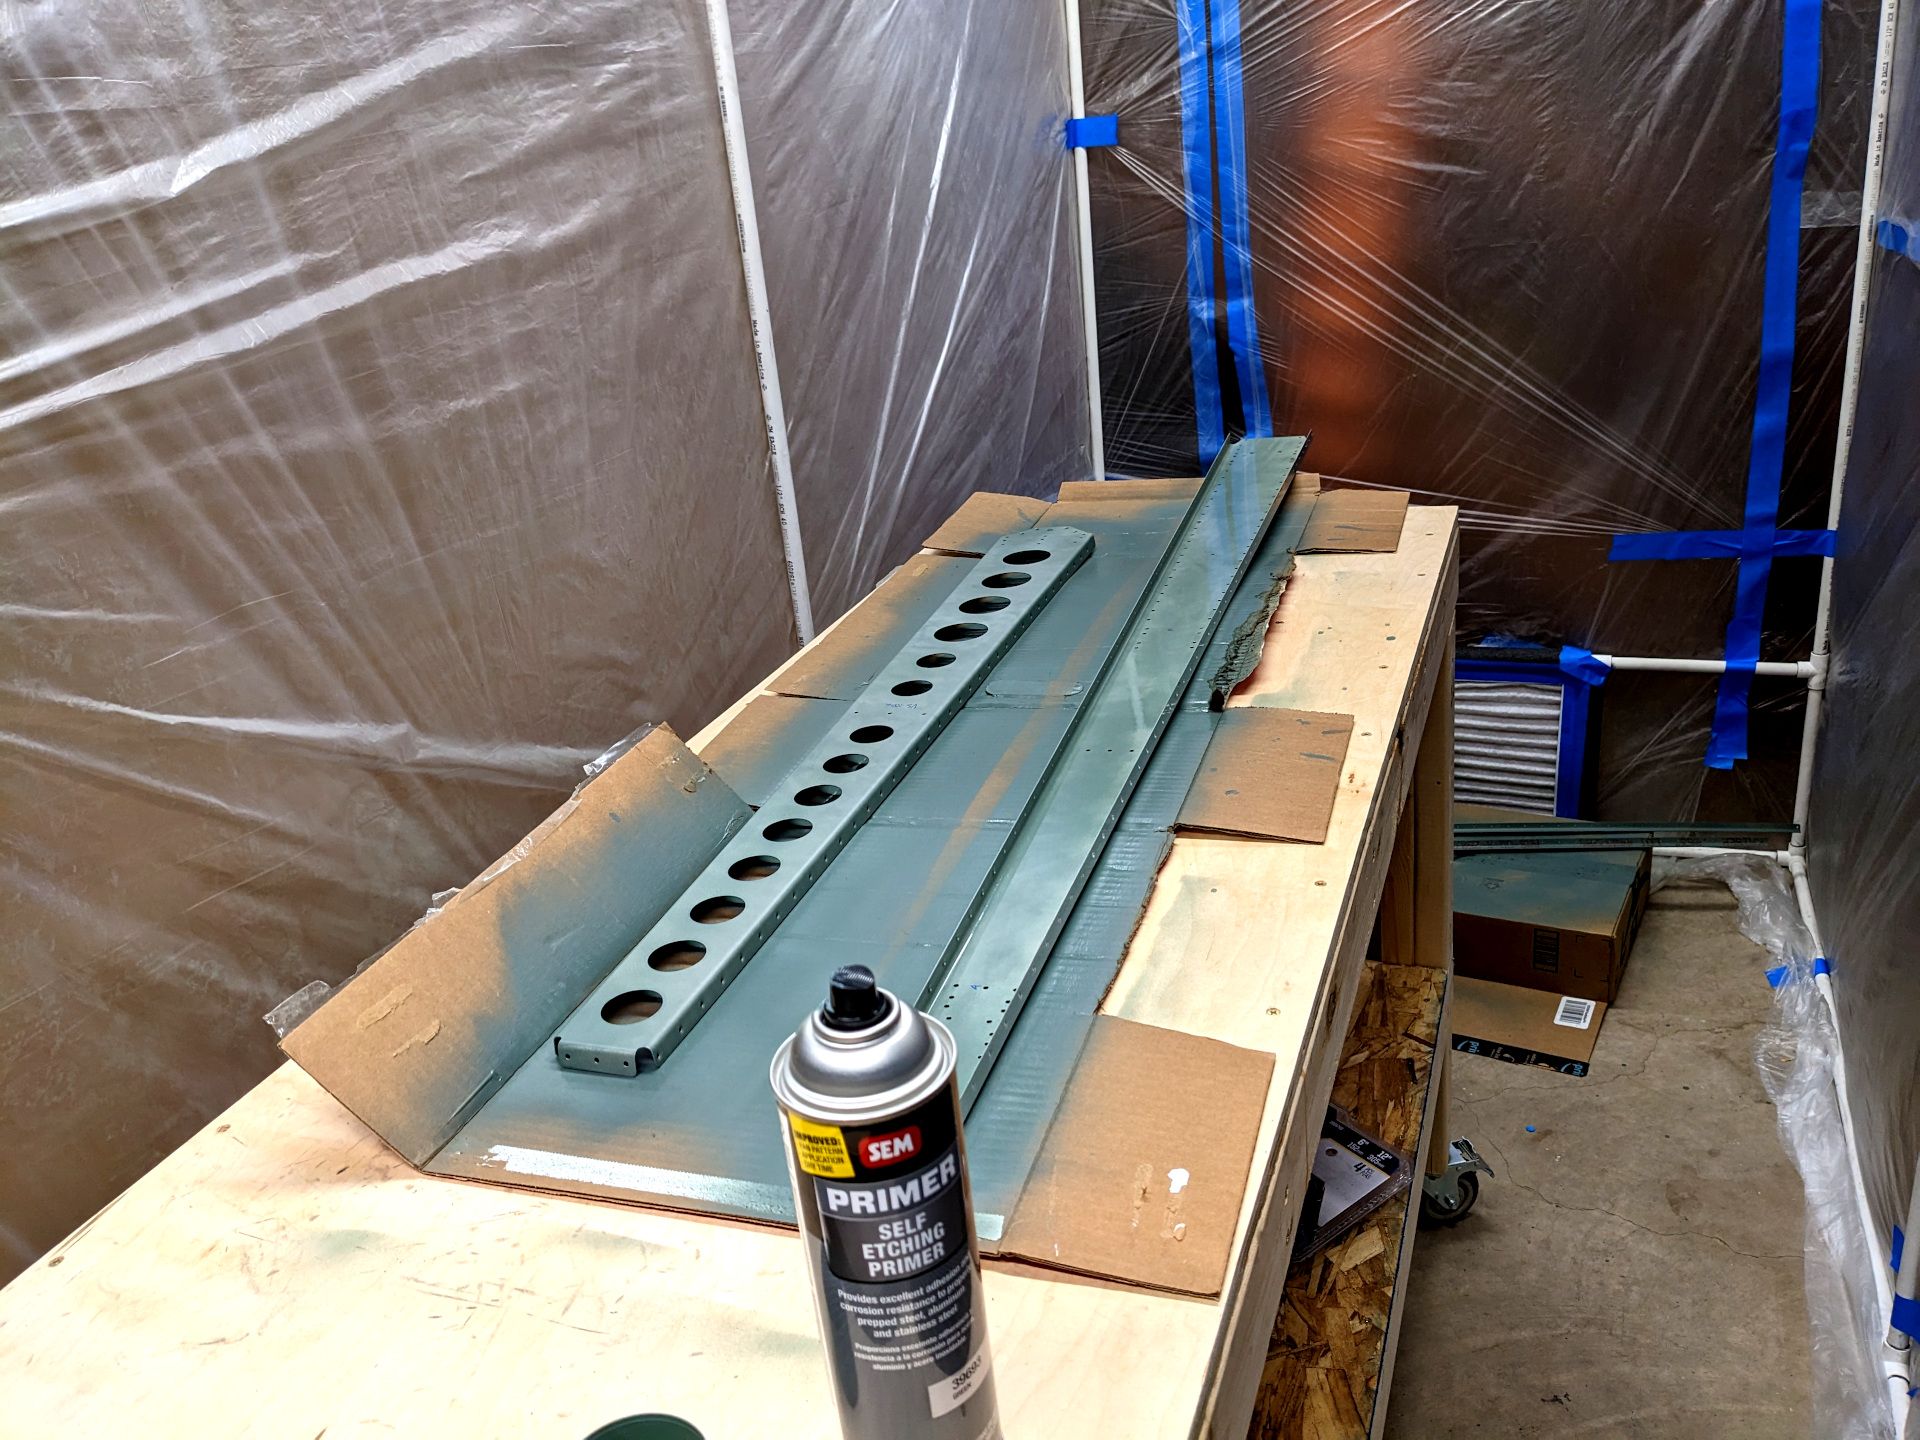
So I was finally done painting all the parts. All my work making my paint booth easy to take down came in very handy as I took down everything and got out my riveting tools. It was finally time to start putting things together! So I grabbed my hand squeezer and set it up with the correct rivet cup and then, got ready to rivet.
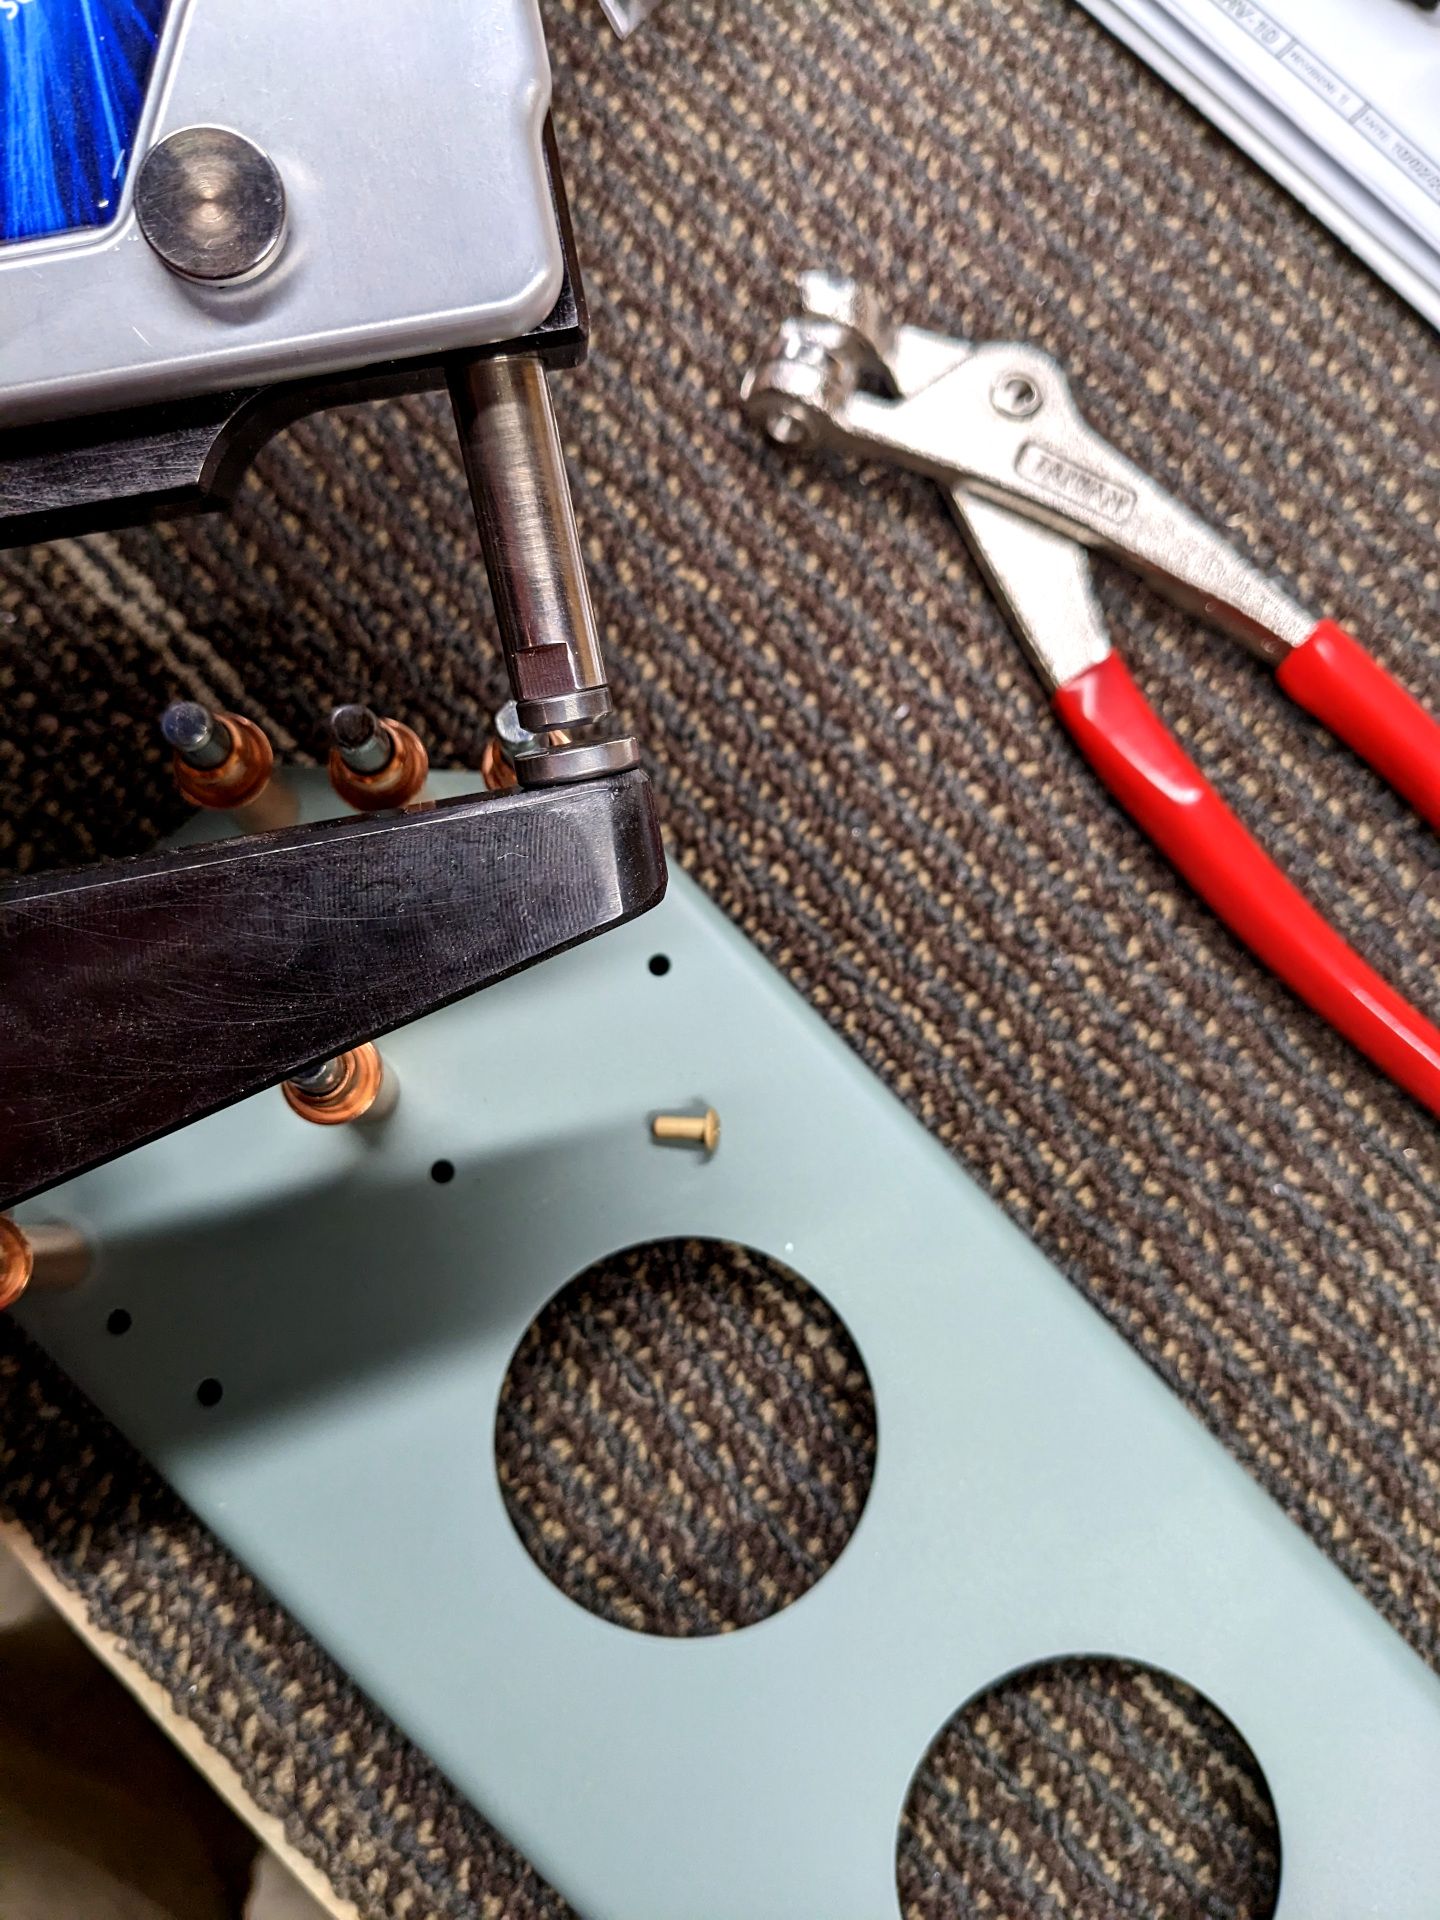
What I learned is that hand squeezing the 1/16" diameter rivets is not very easy. In fact, it takes quite a bit of force. Then also trying to keep everything lined up correct and making sure you are setting a good rivet? Well... it is a real challenge. I did manage to see it through and after only setting a few rivets I turned out the lights and went to go reflect on what I could do better.
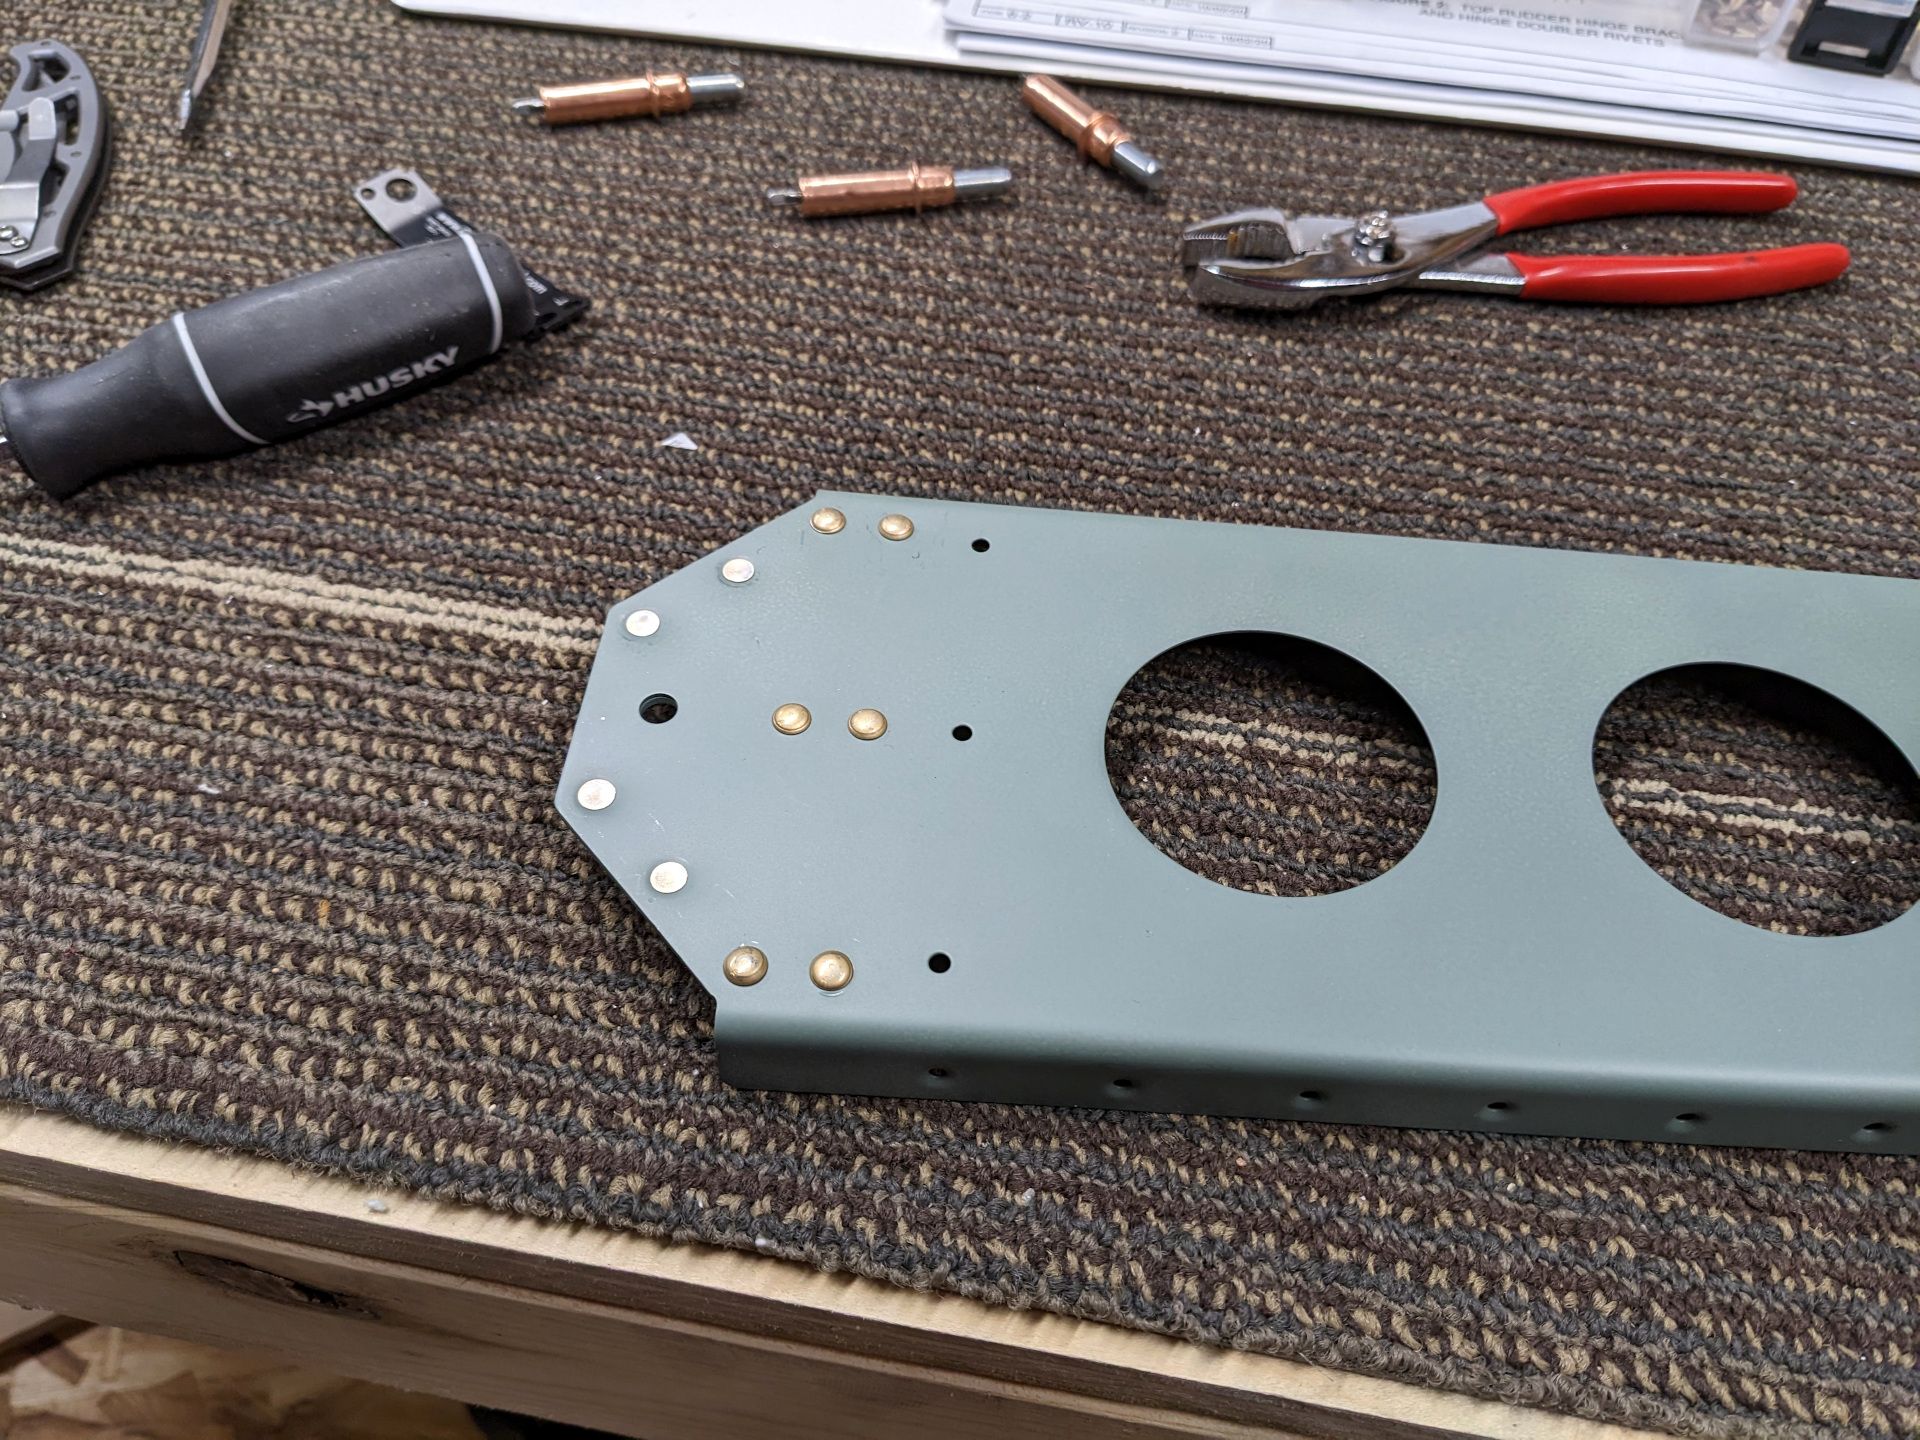
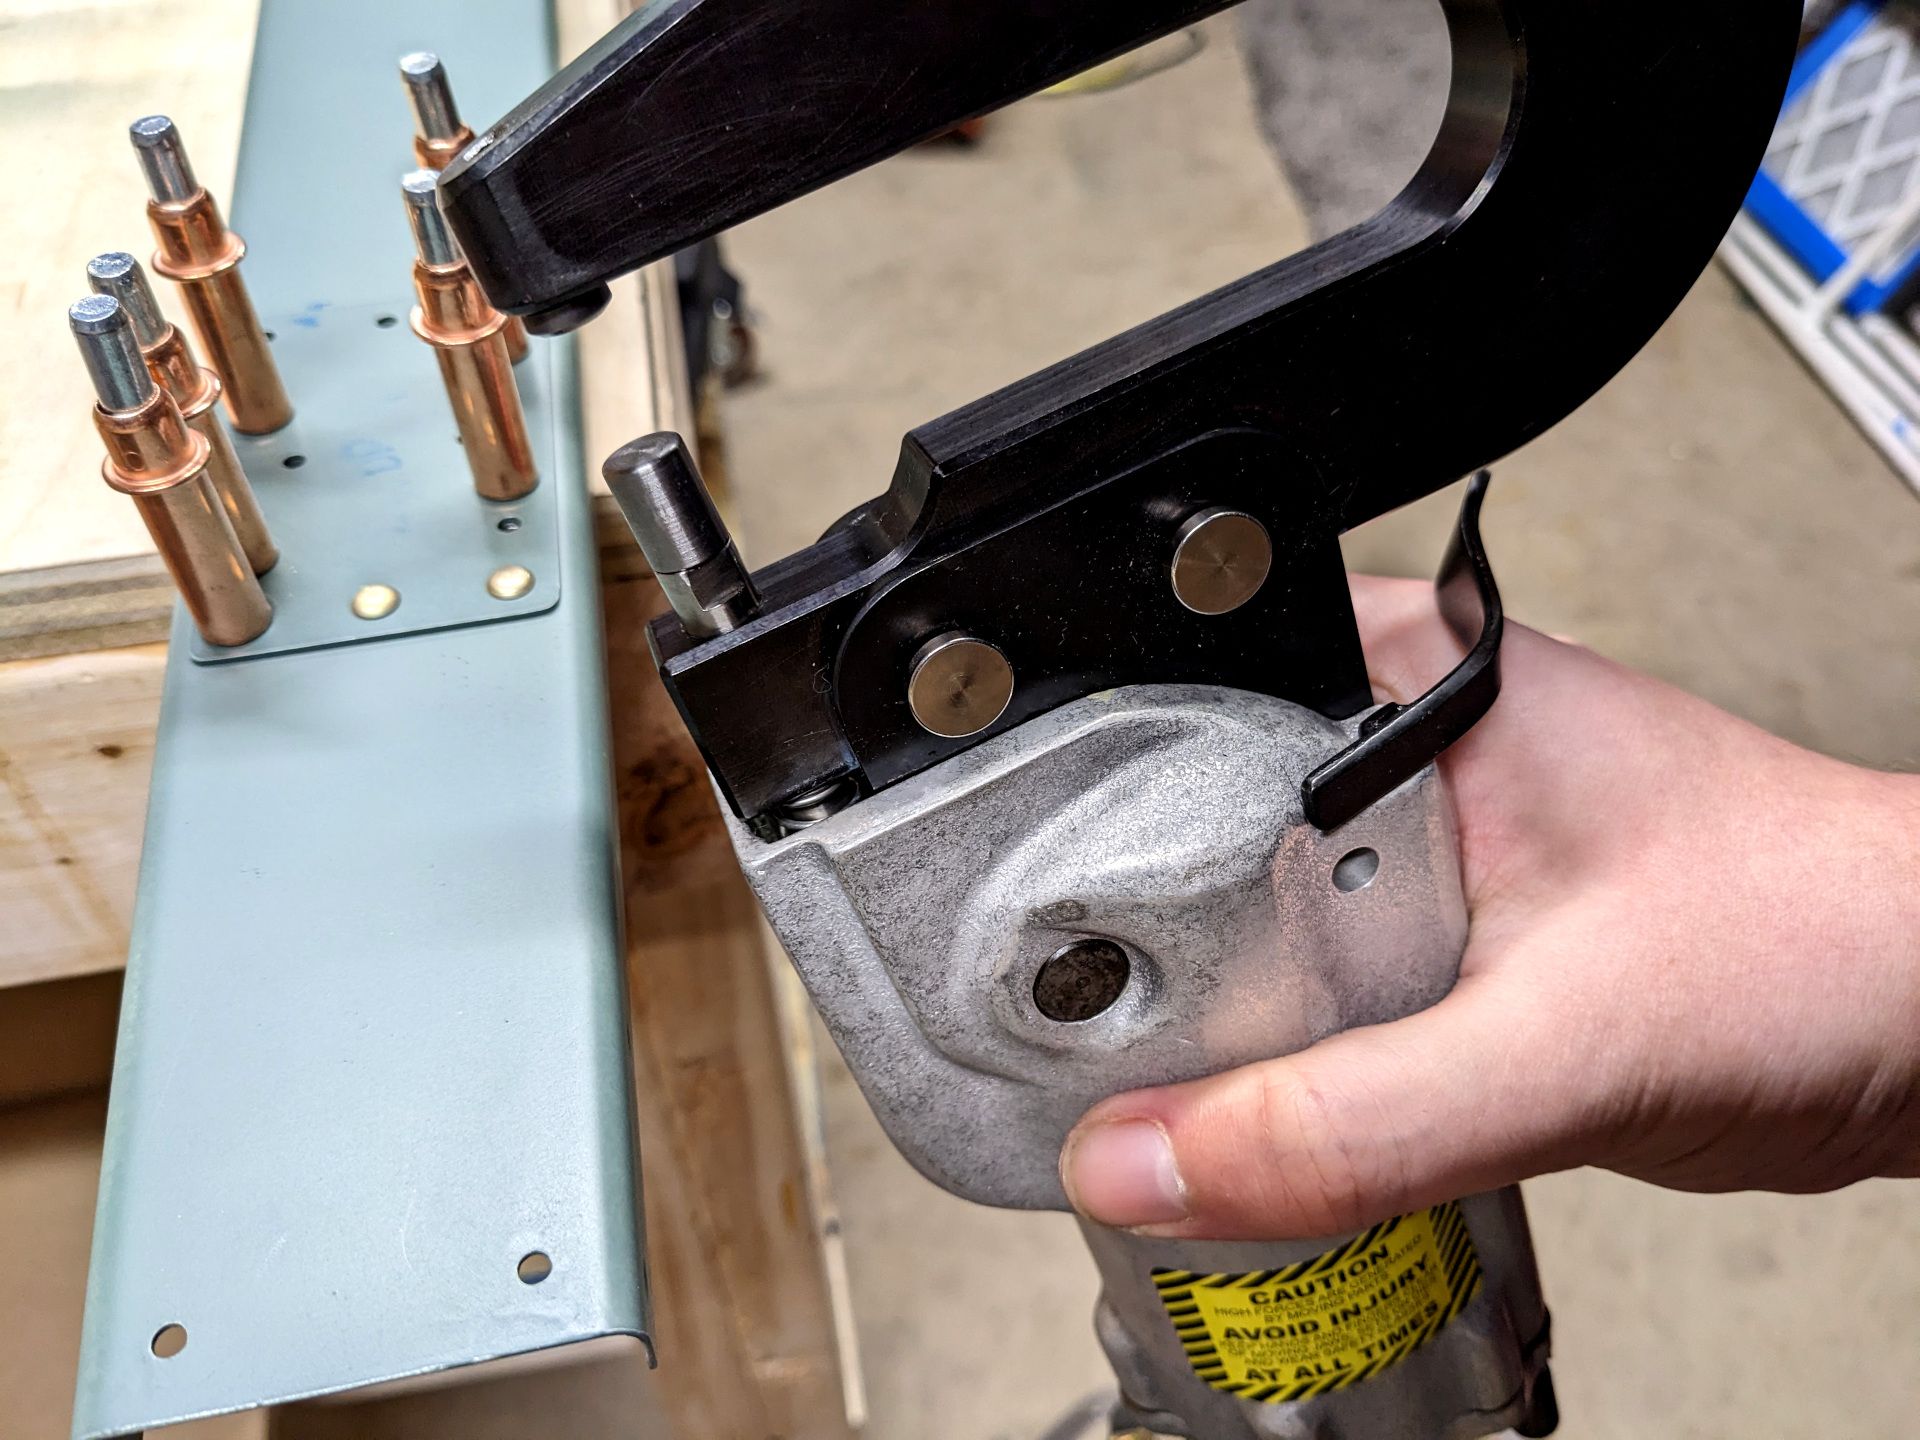
When I laid down to sleep I remember that I had purchased a pneumatic squeezer for this exact thing. I was intimidated by it because it didn't have any directions supplied but there is no way I was going to hand squeeze all those rivets and I want to try and not use the gun because it likes to go wandering. If I can get a good squeeze, that is much better for the outcome of the rivets. So, I broke out the pneumatic squeezer and set out lubricating the ram.
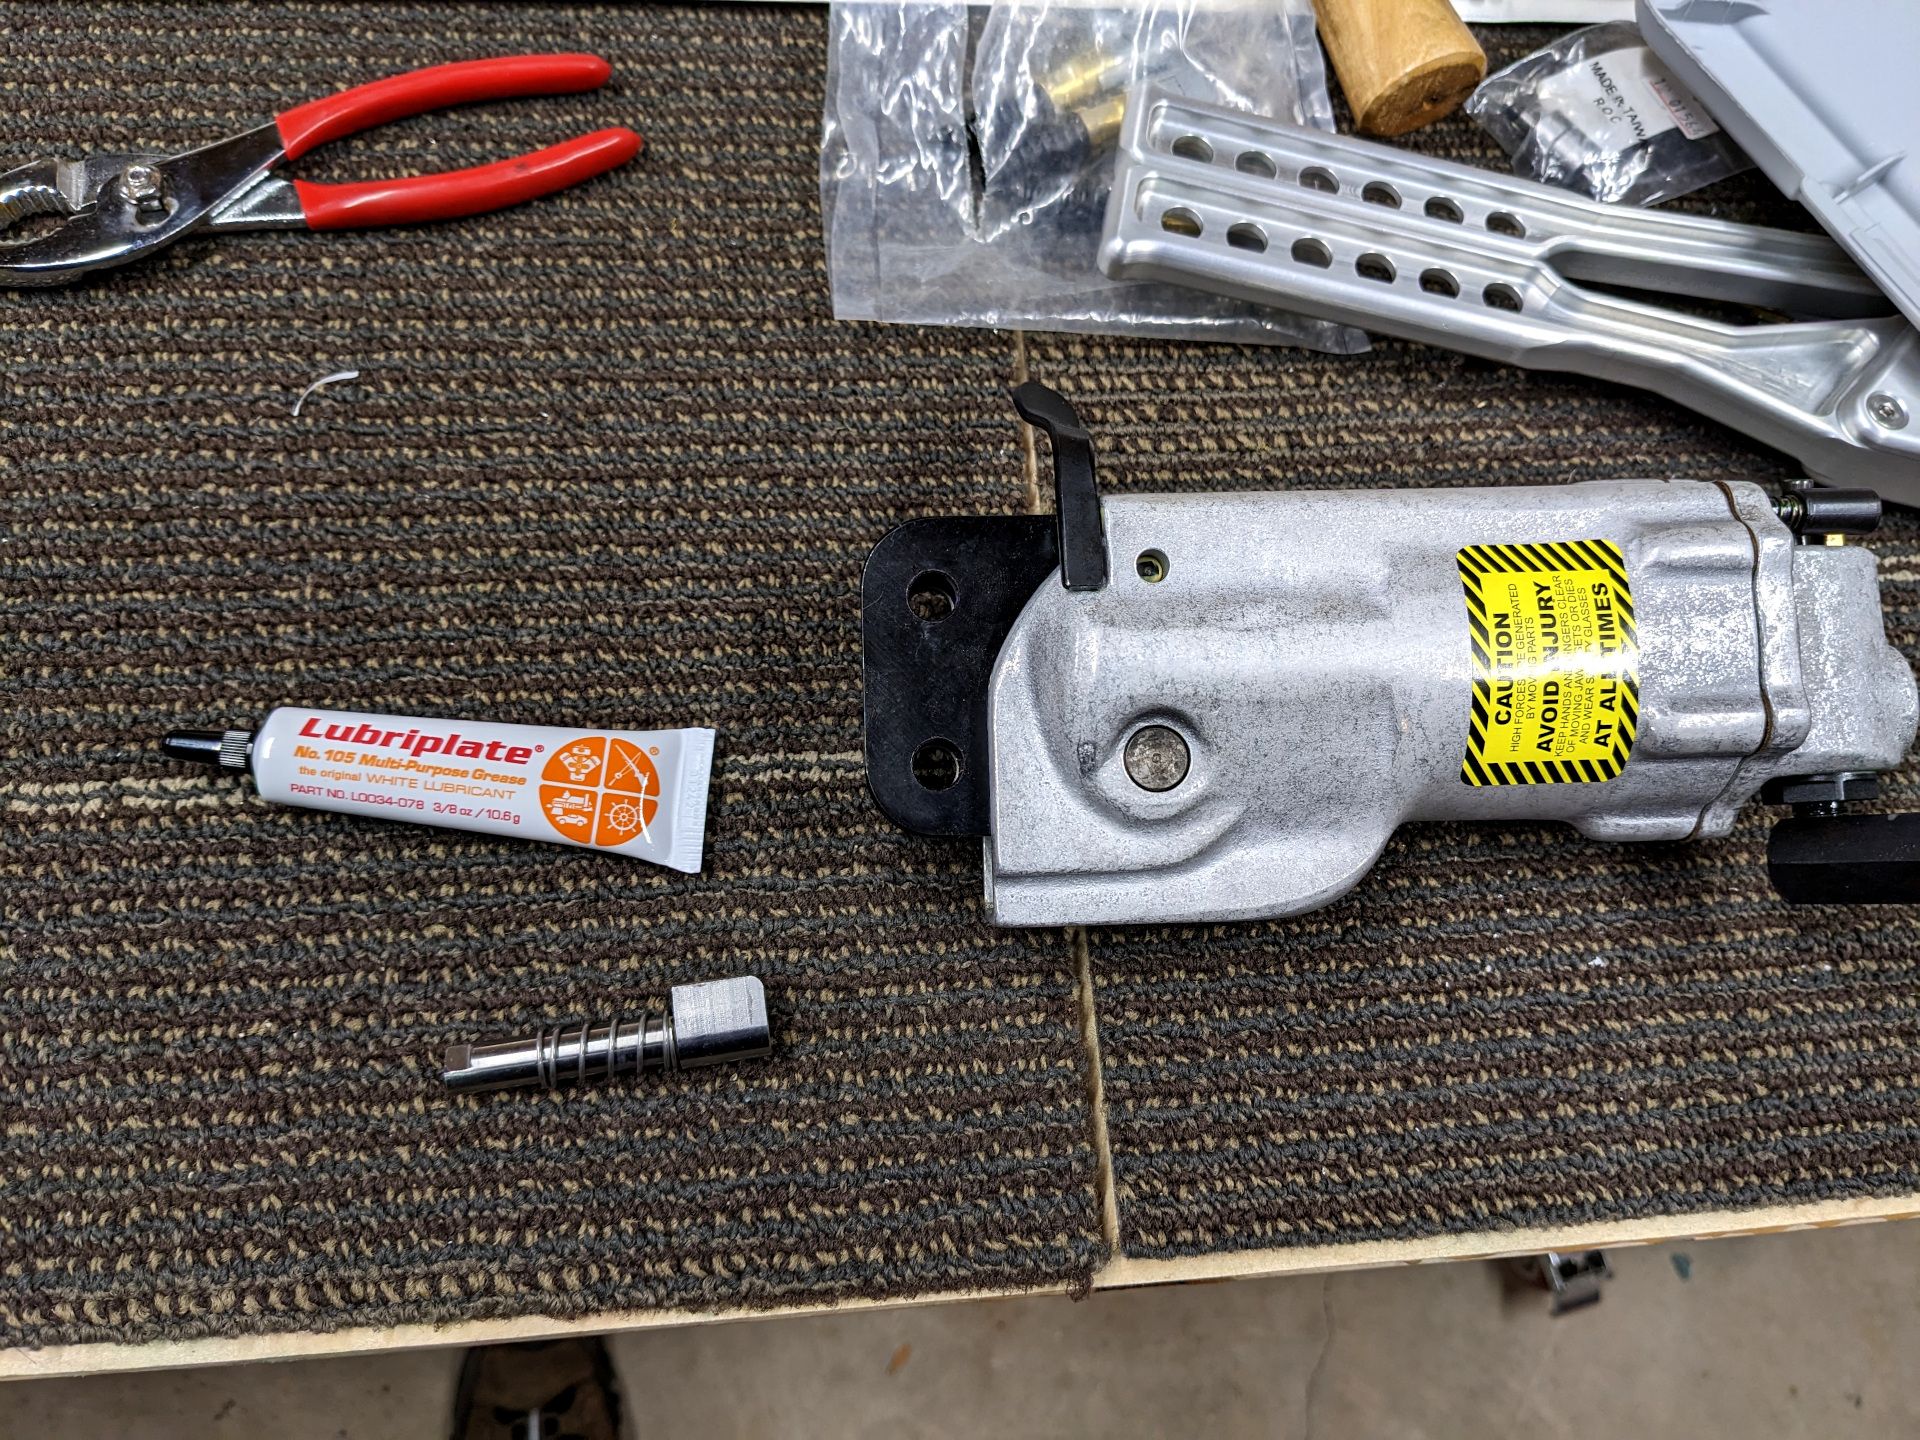
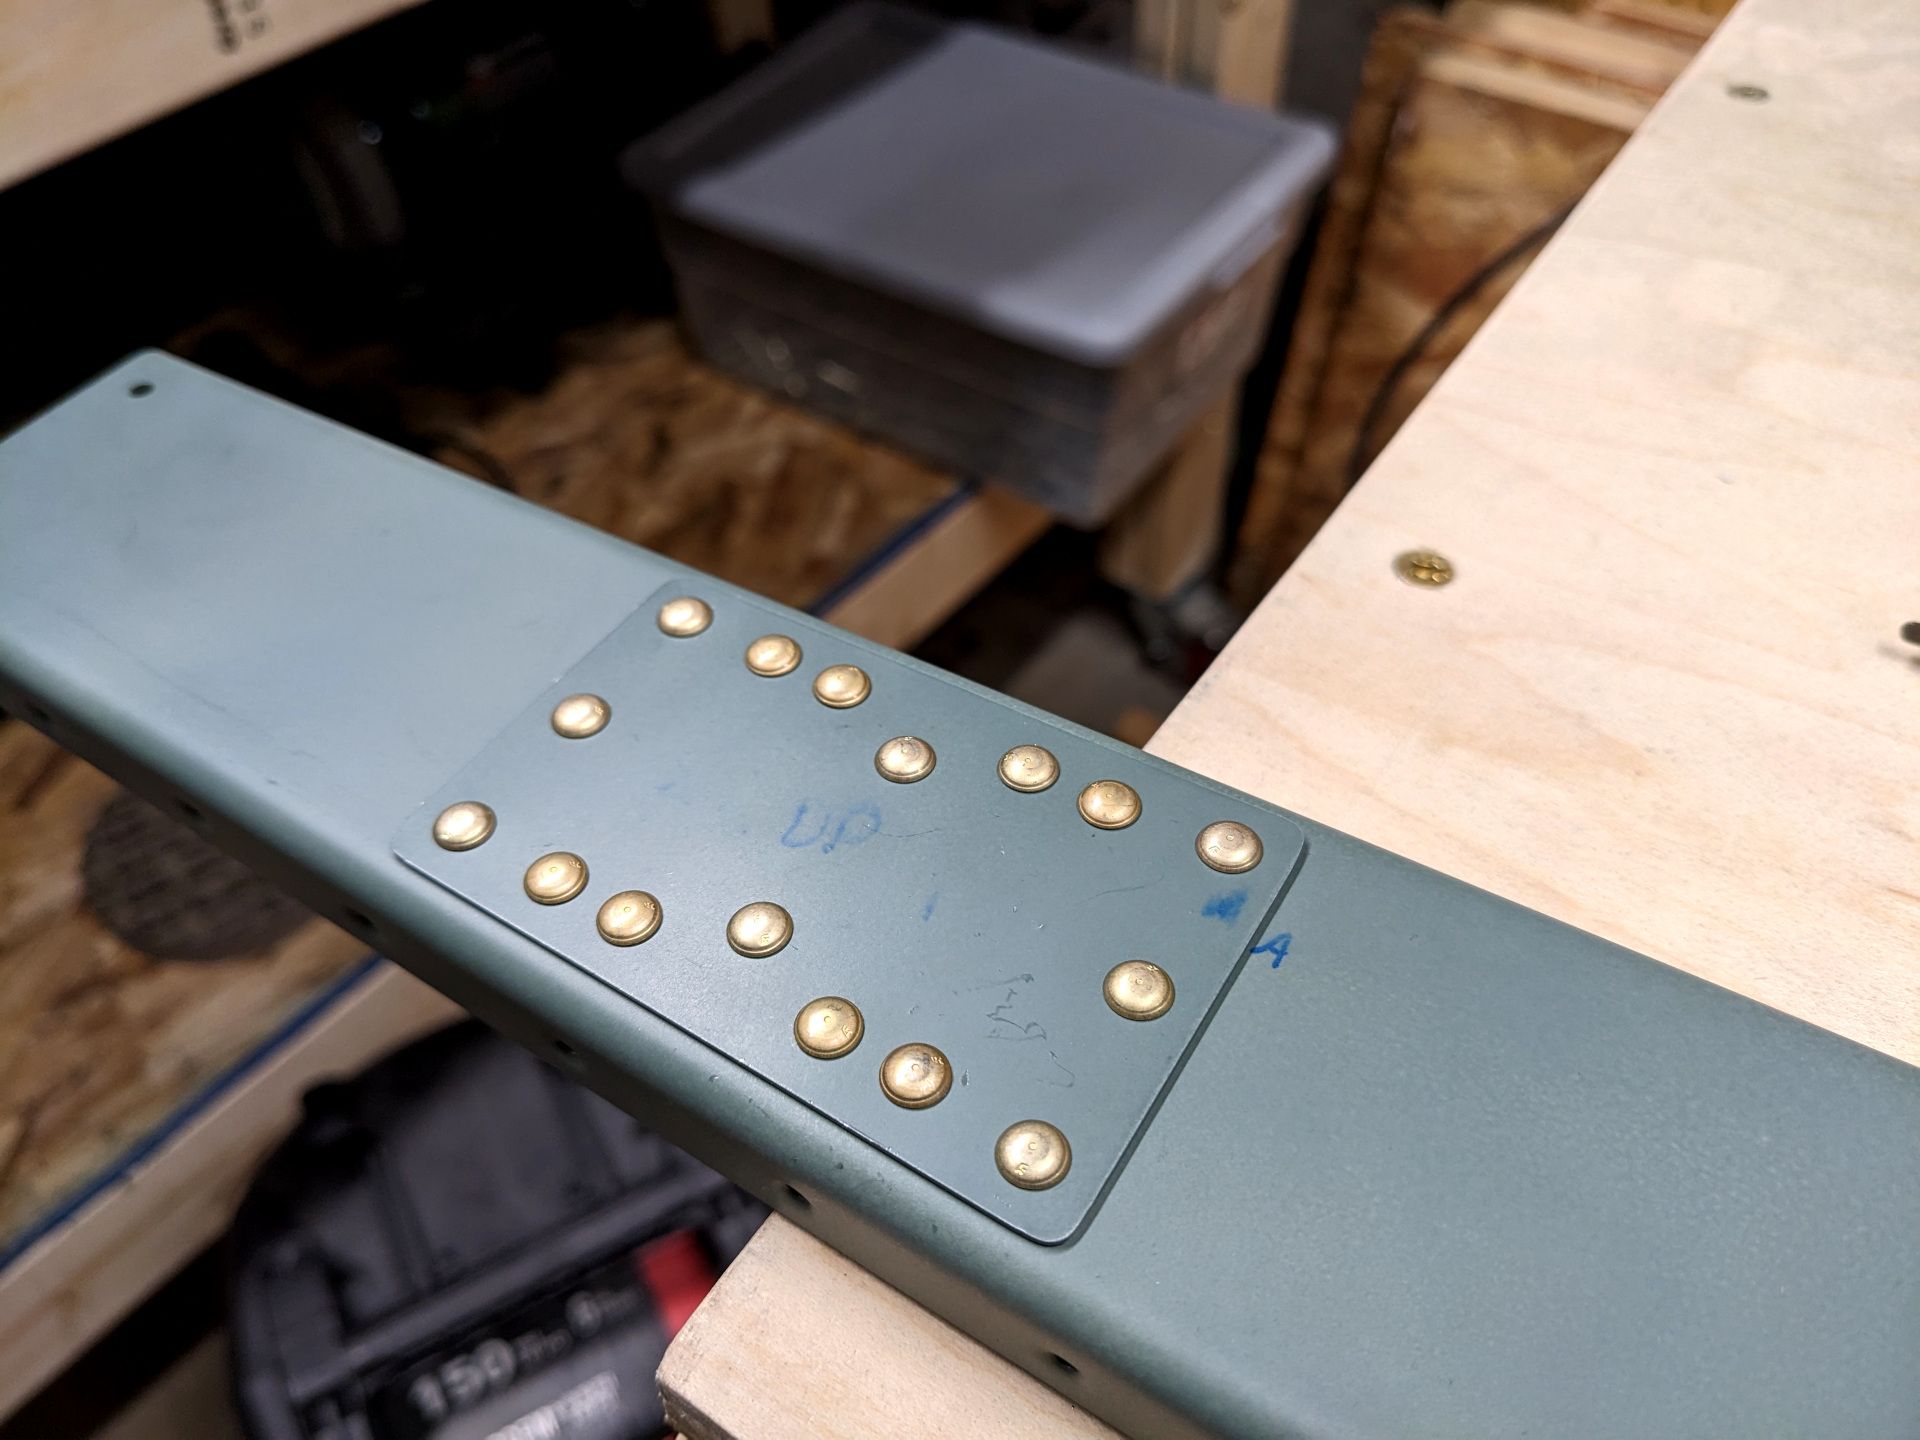
It was actually pretty simple to put the squeezer together and affix one of my yokes on it. It would have been ever better if they had taken literally 20 seconds to make a diagram instead of having me reverse engineer where things go. Whatever, the thing works so well I can tolerate that. Anyway, it was time to get squeezing! The next set of pictures are me riveting the top rudder bracket to the spar and checking the rivet sizing.
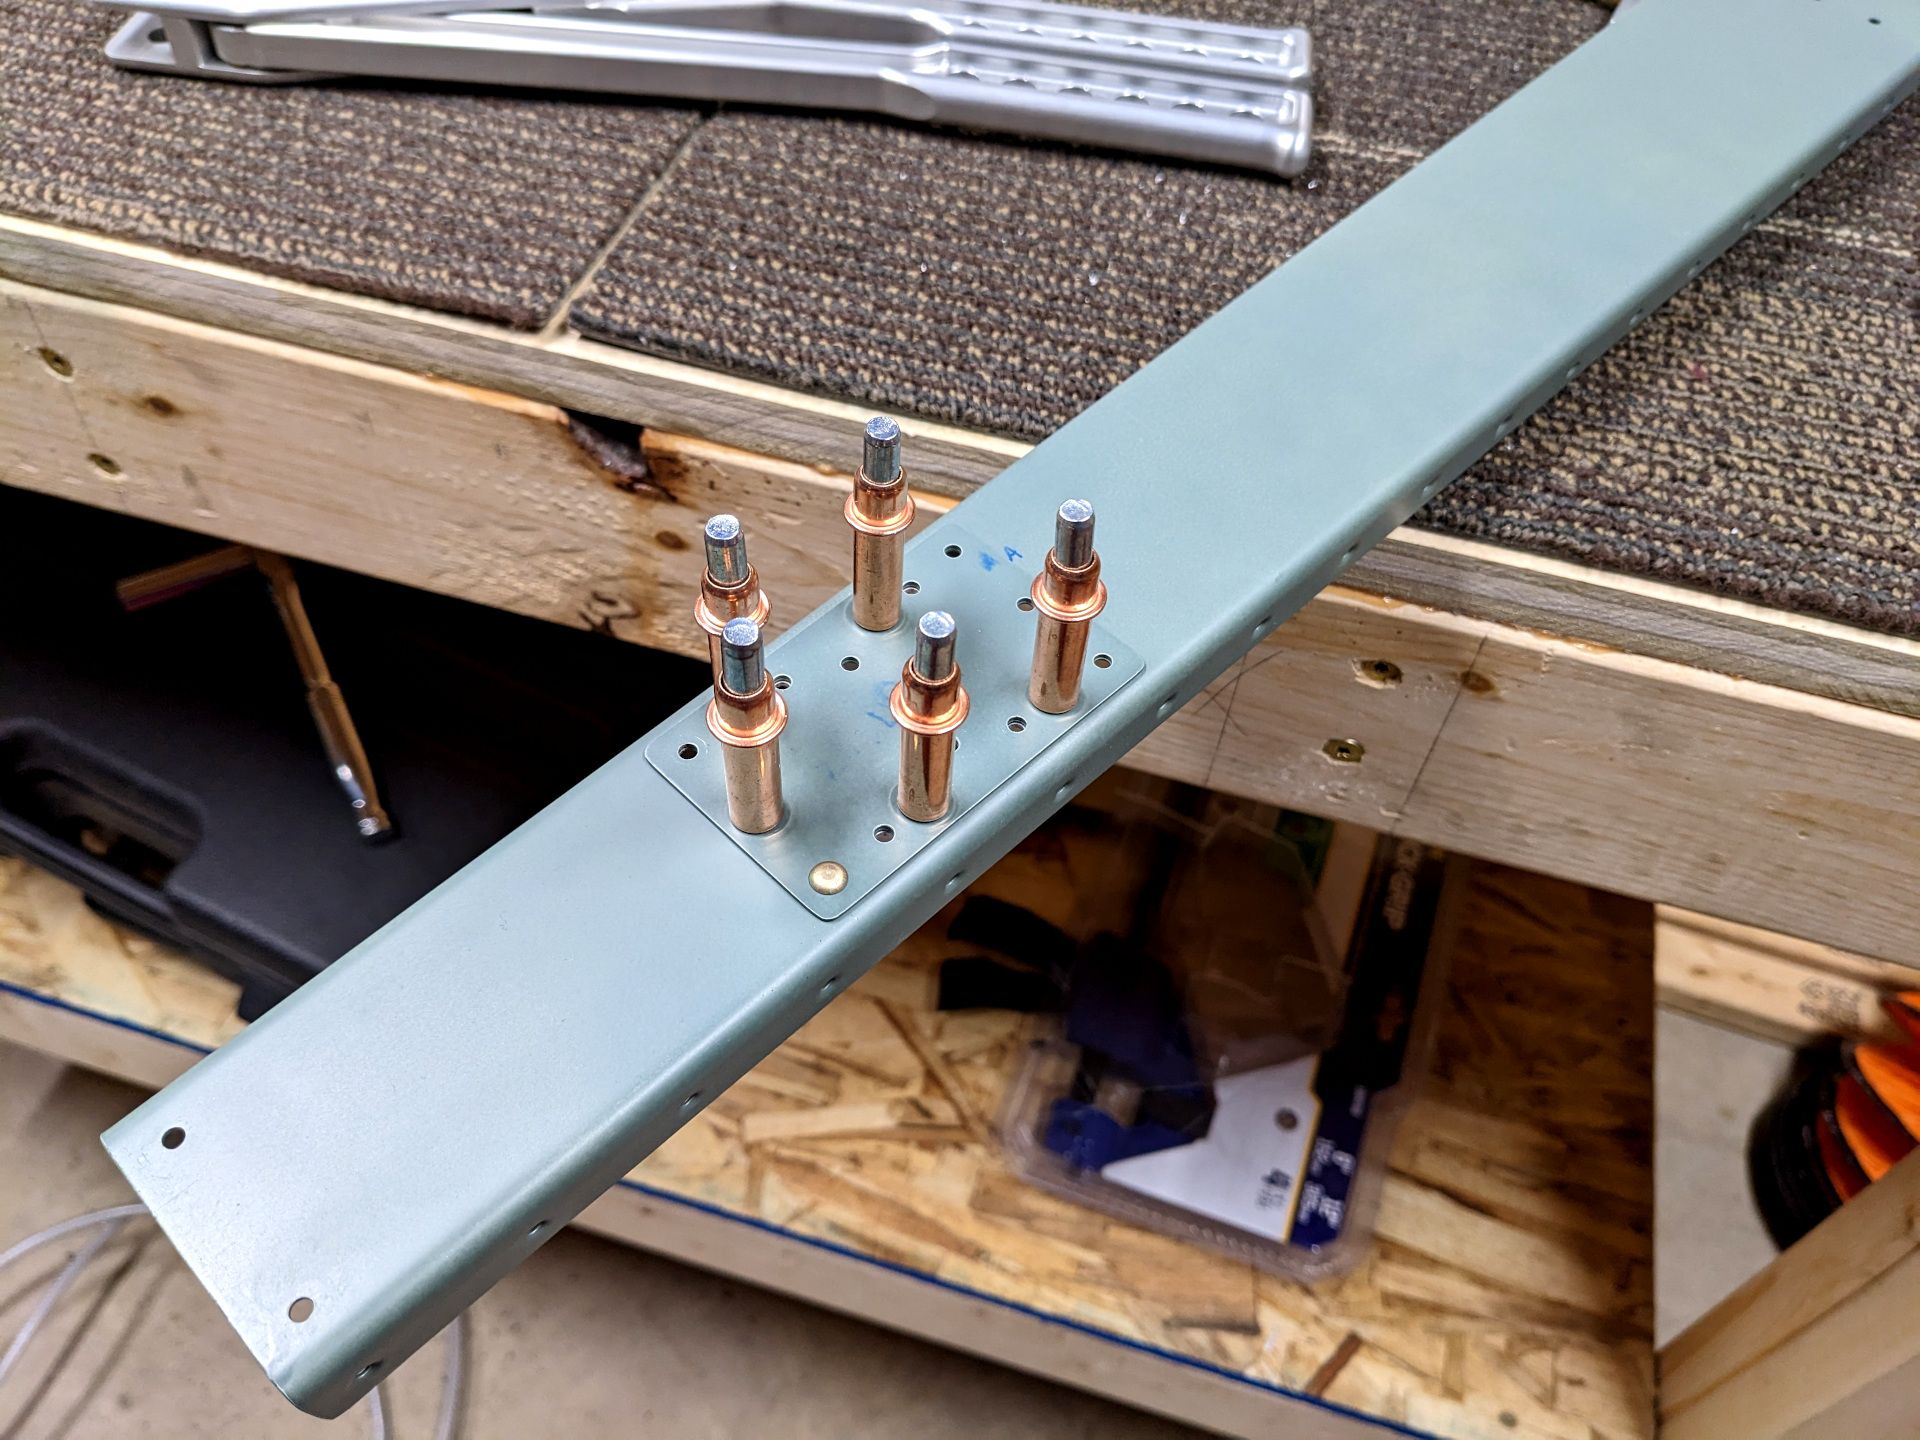
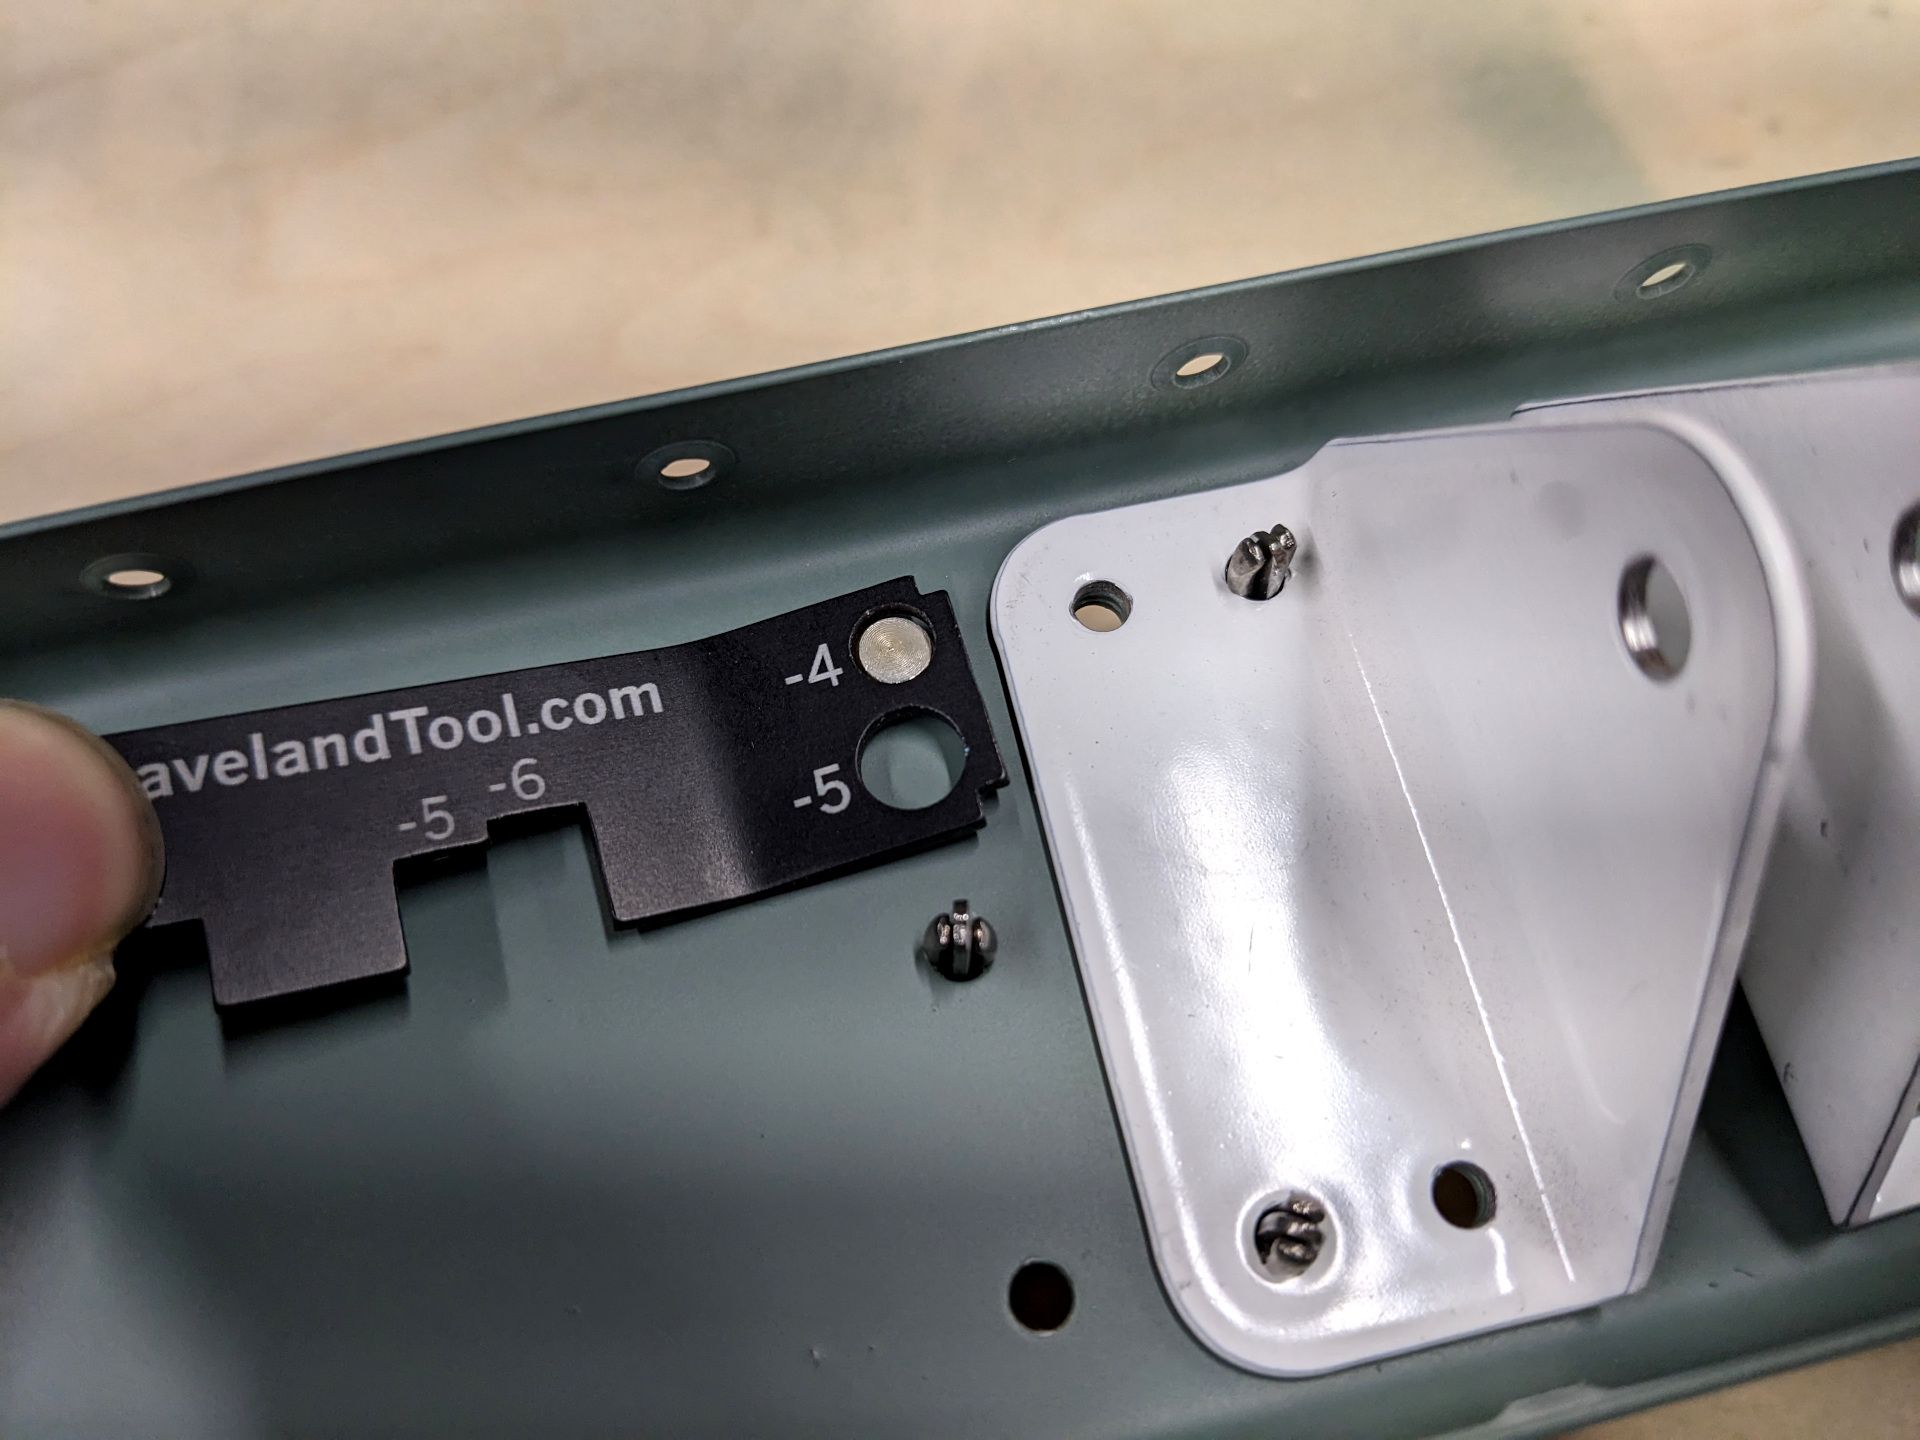
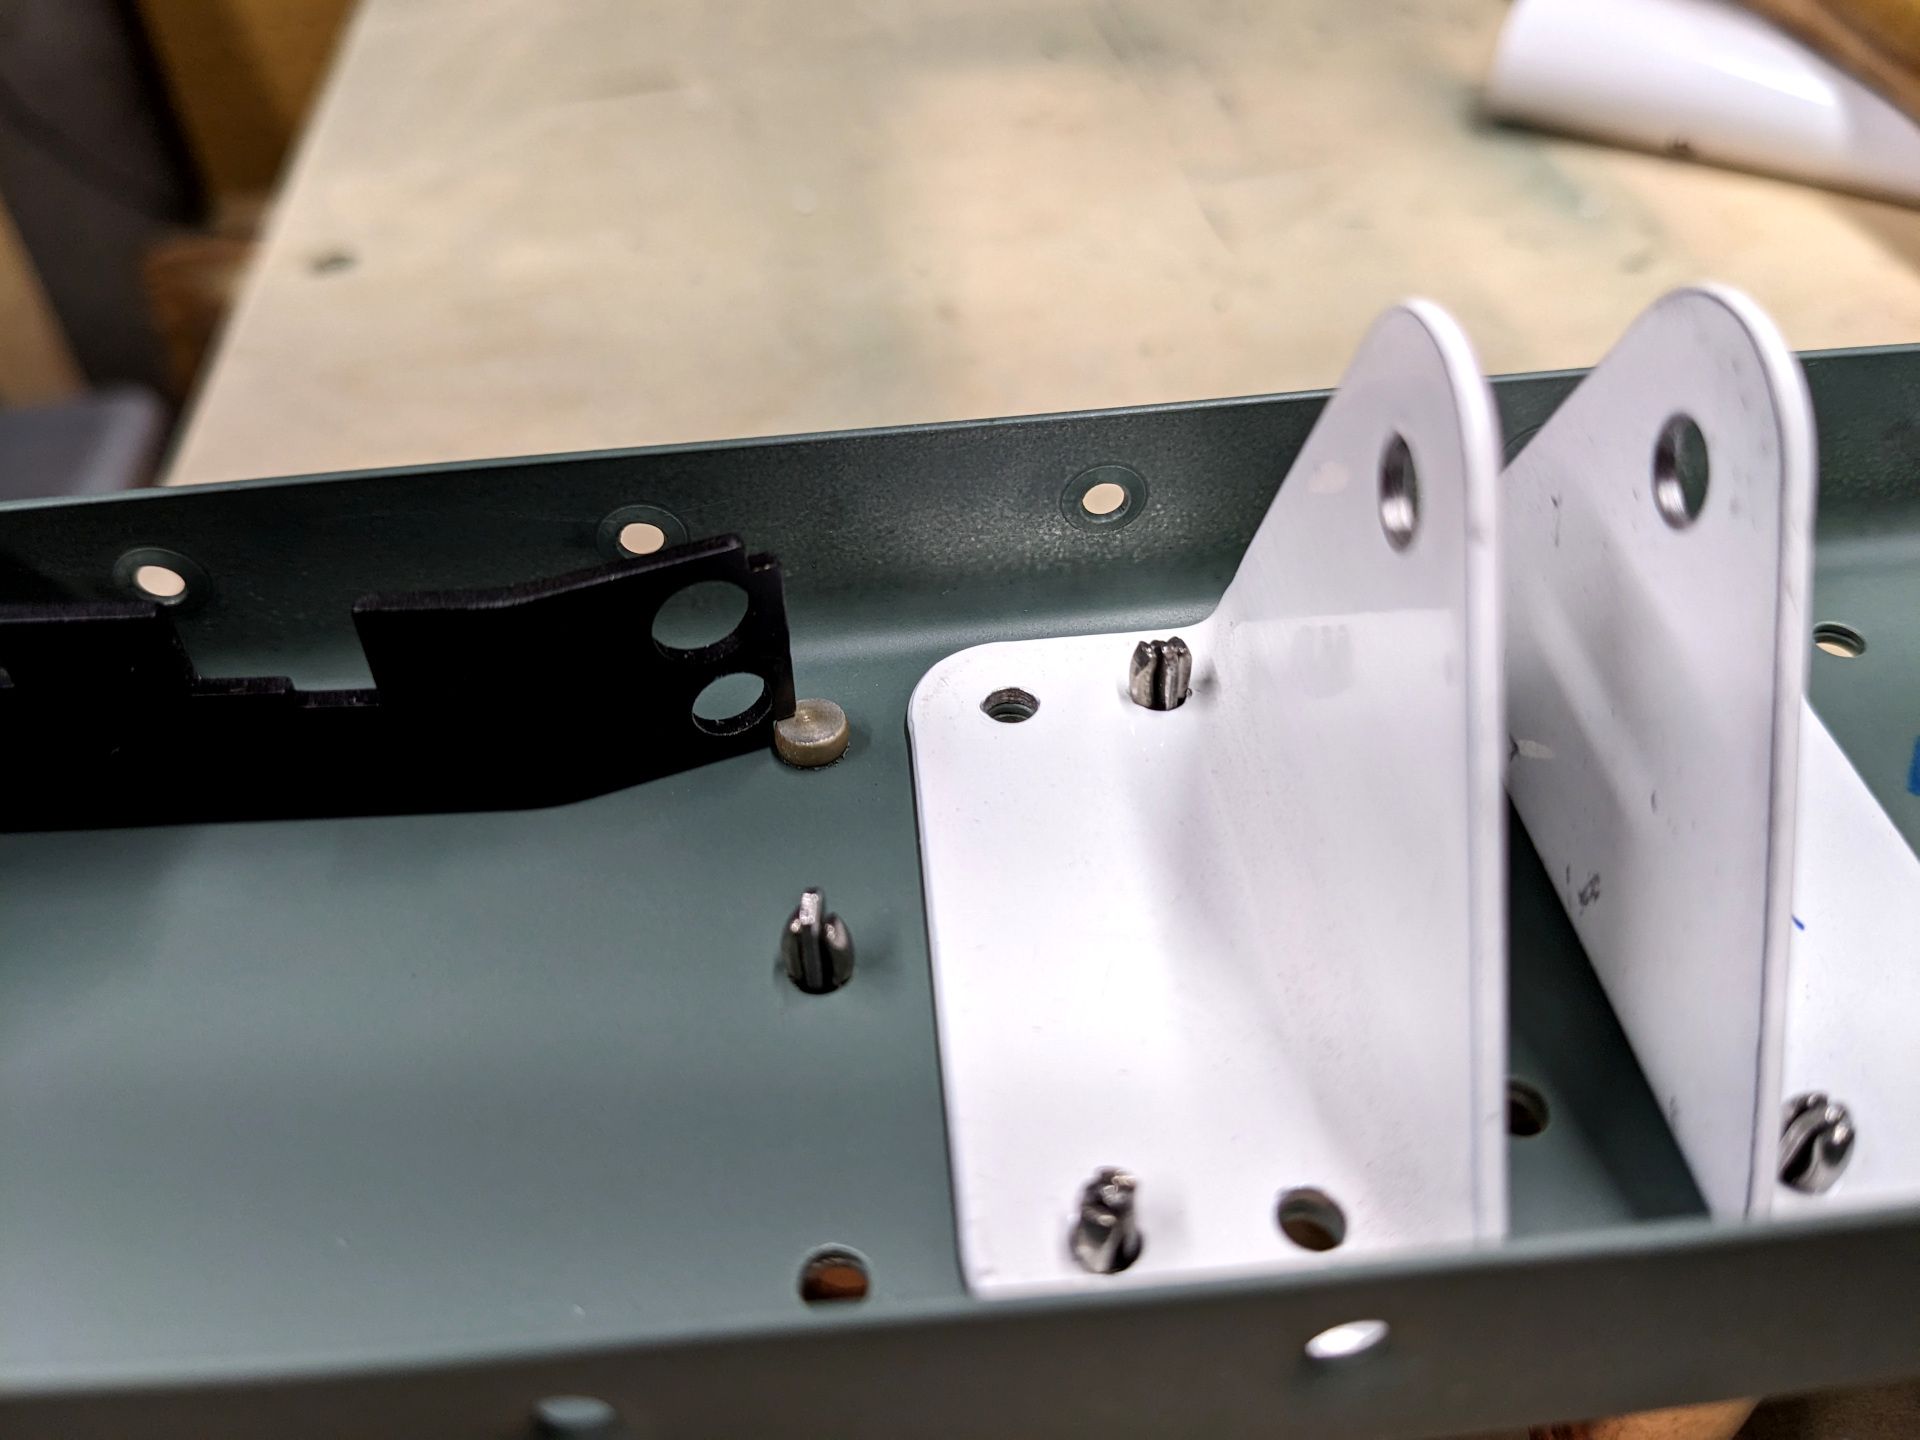
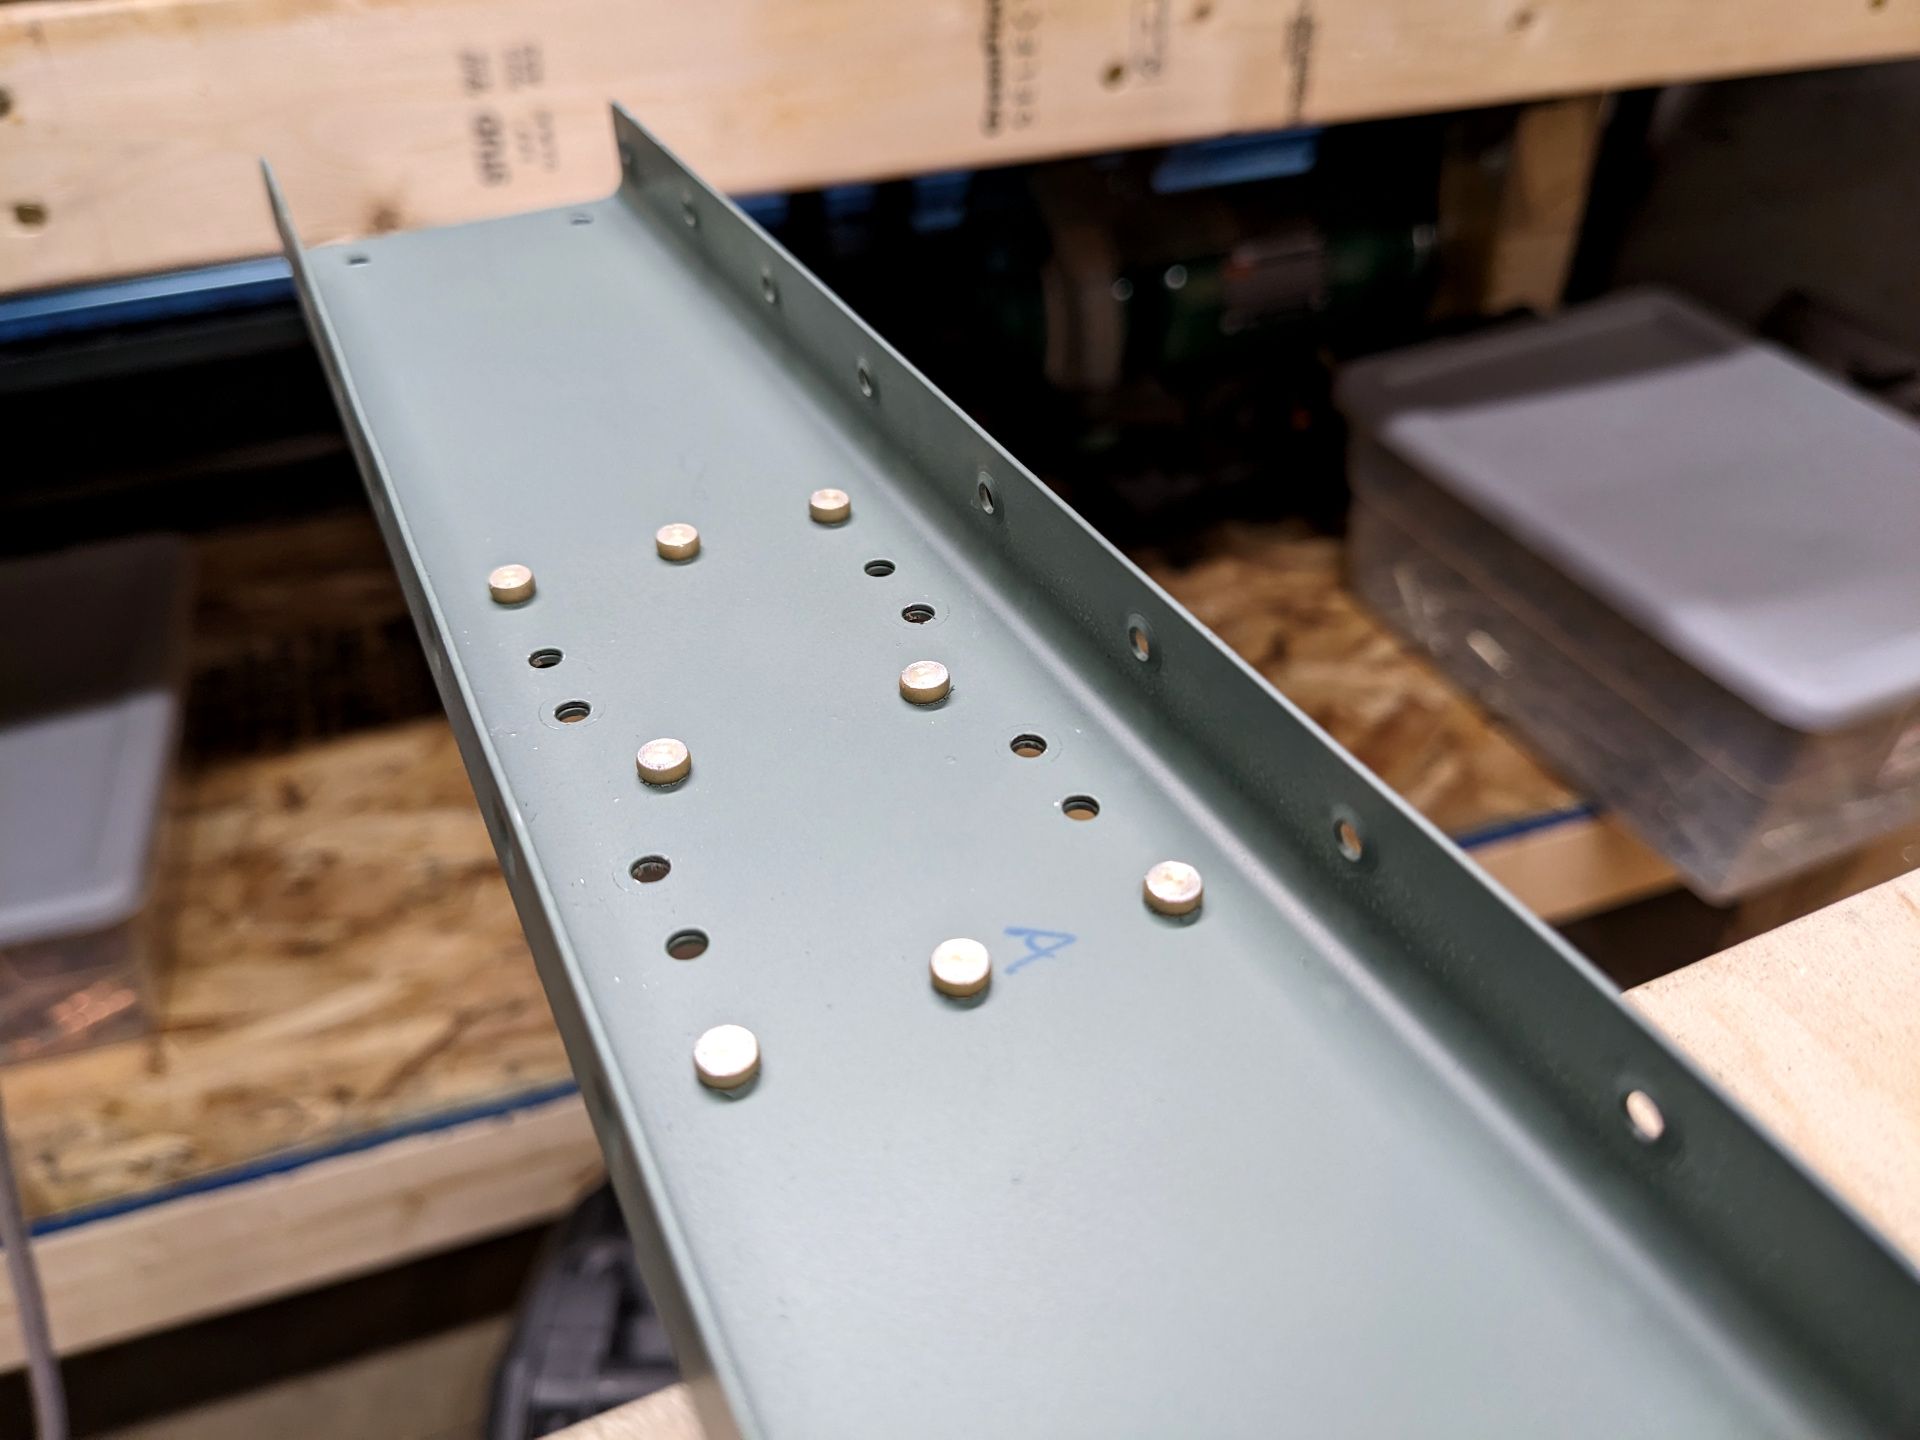
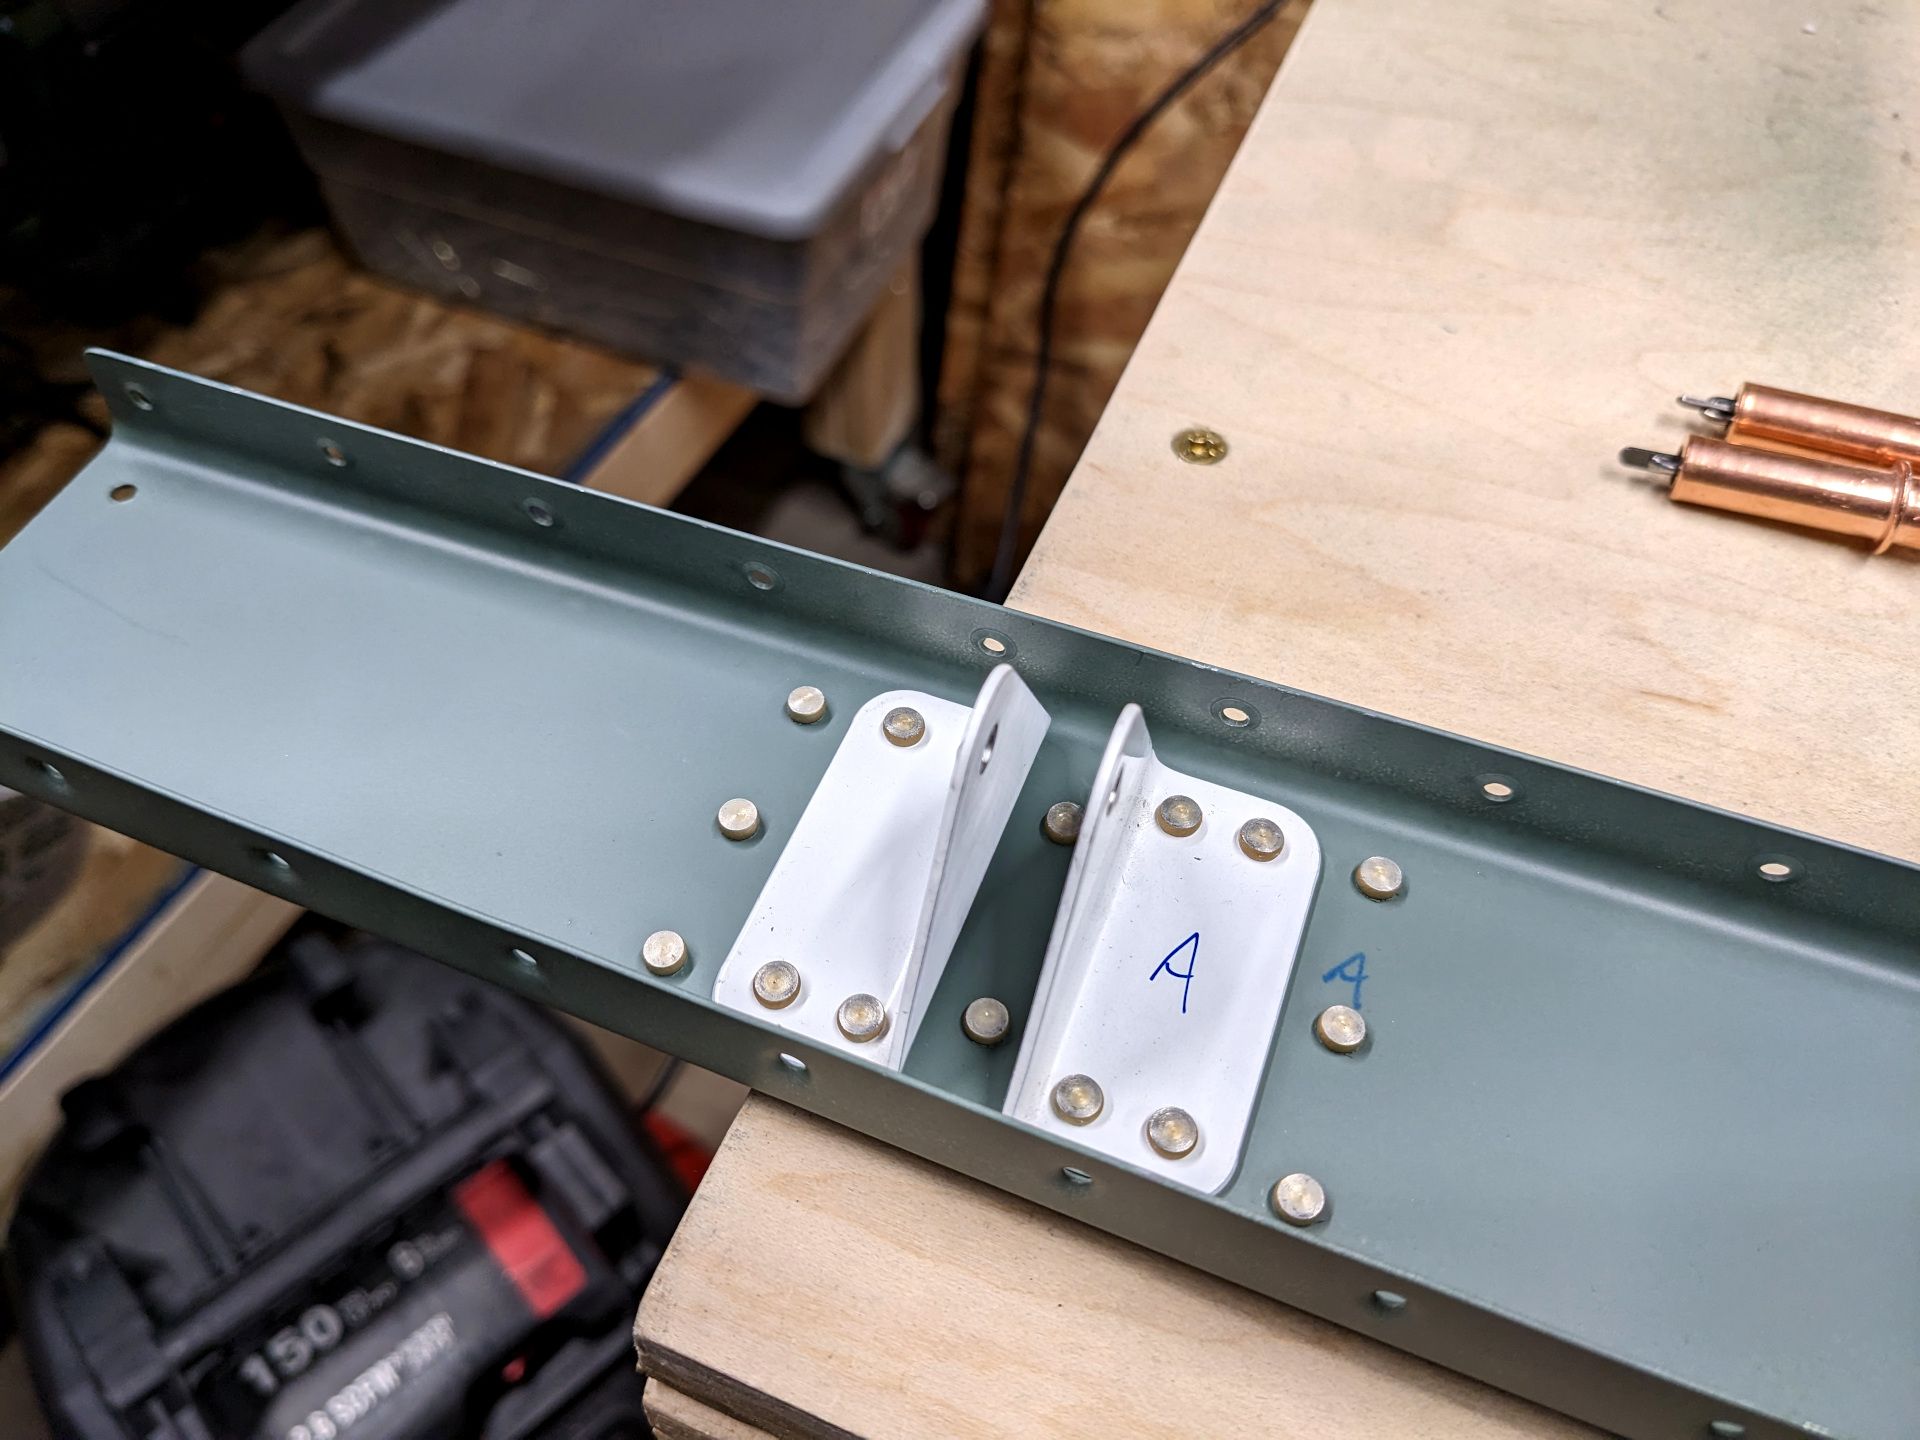
I got lucky and avoided a "gotcha" in that last picture. See those two rivets between the brackets? Better hope you riveted those BEFORE you put the brackets in place or you have set yourself up for a challenge. I got pretty lucky that I noticed there was going to be an issue but later on I make an even dumber mistake so I guess I need to rub my two braincells together harder next time. But now it was time to rivet the spar doublers and middle rudder brackets!
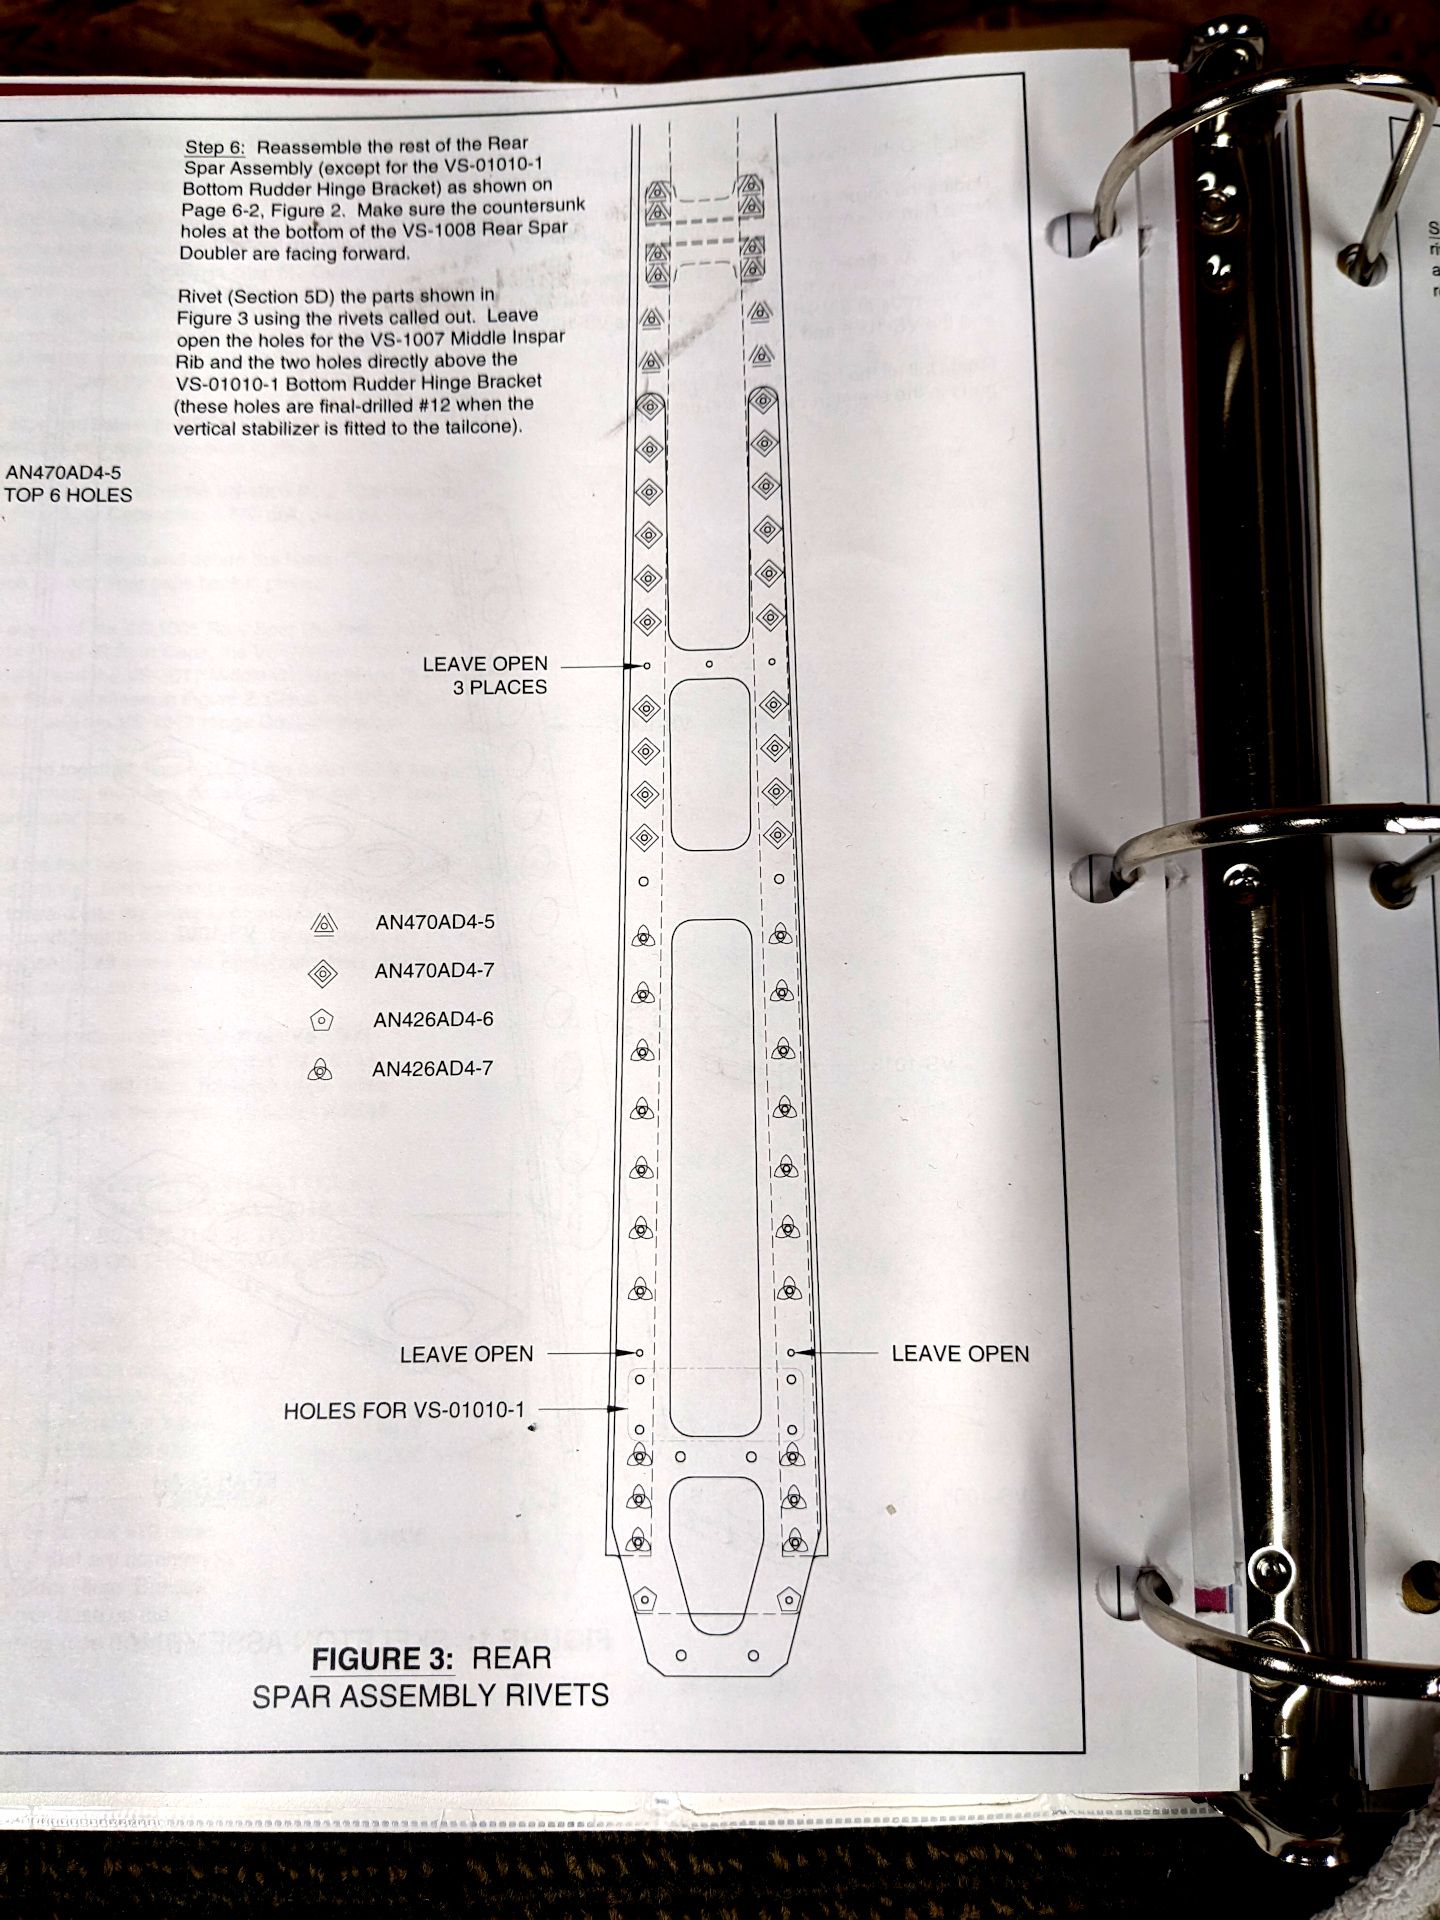
I got everything put together and started riveting when I noticed that I did not, in face, have everything put together.
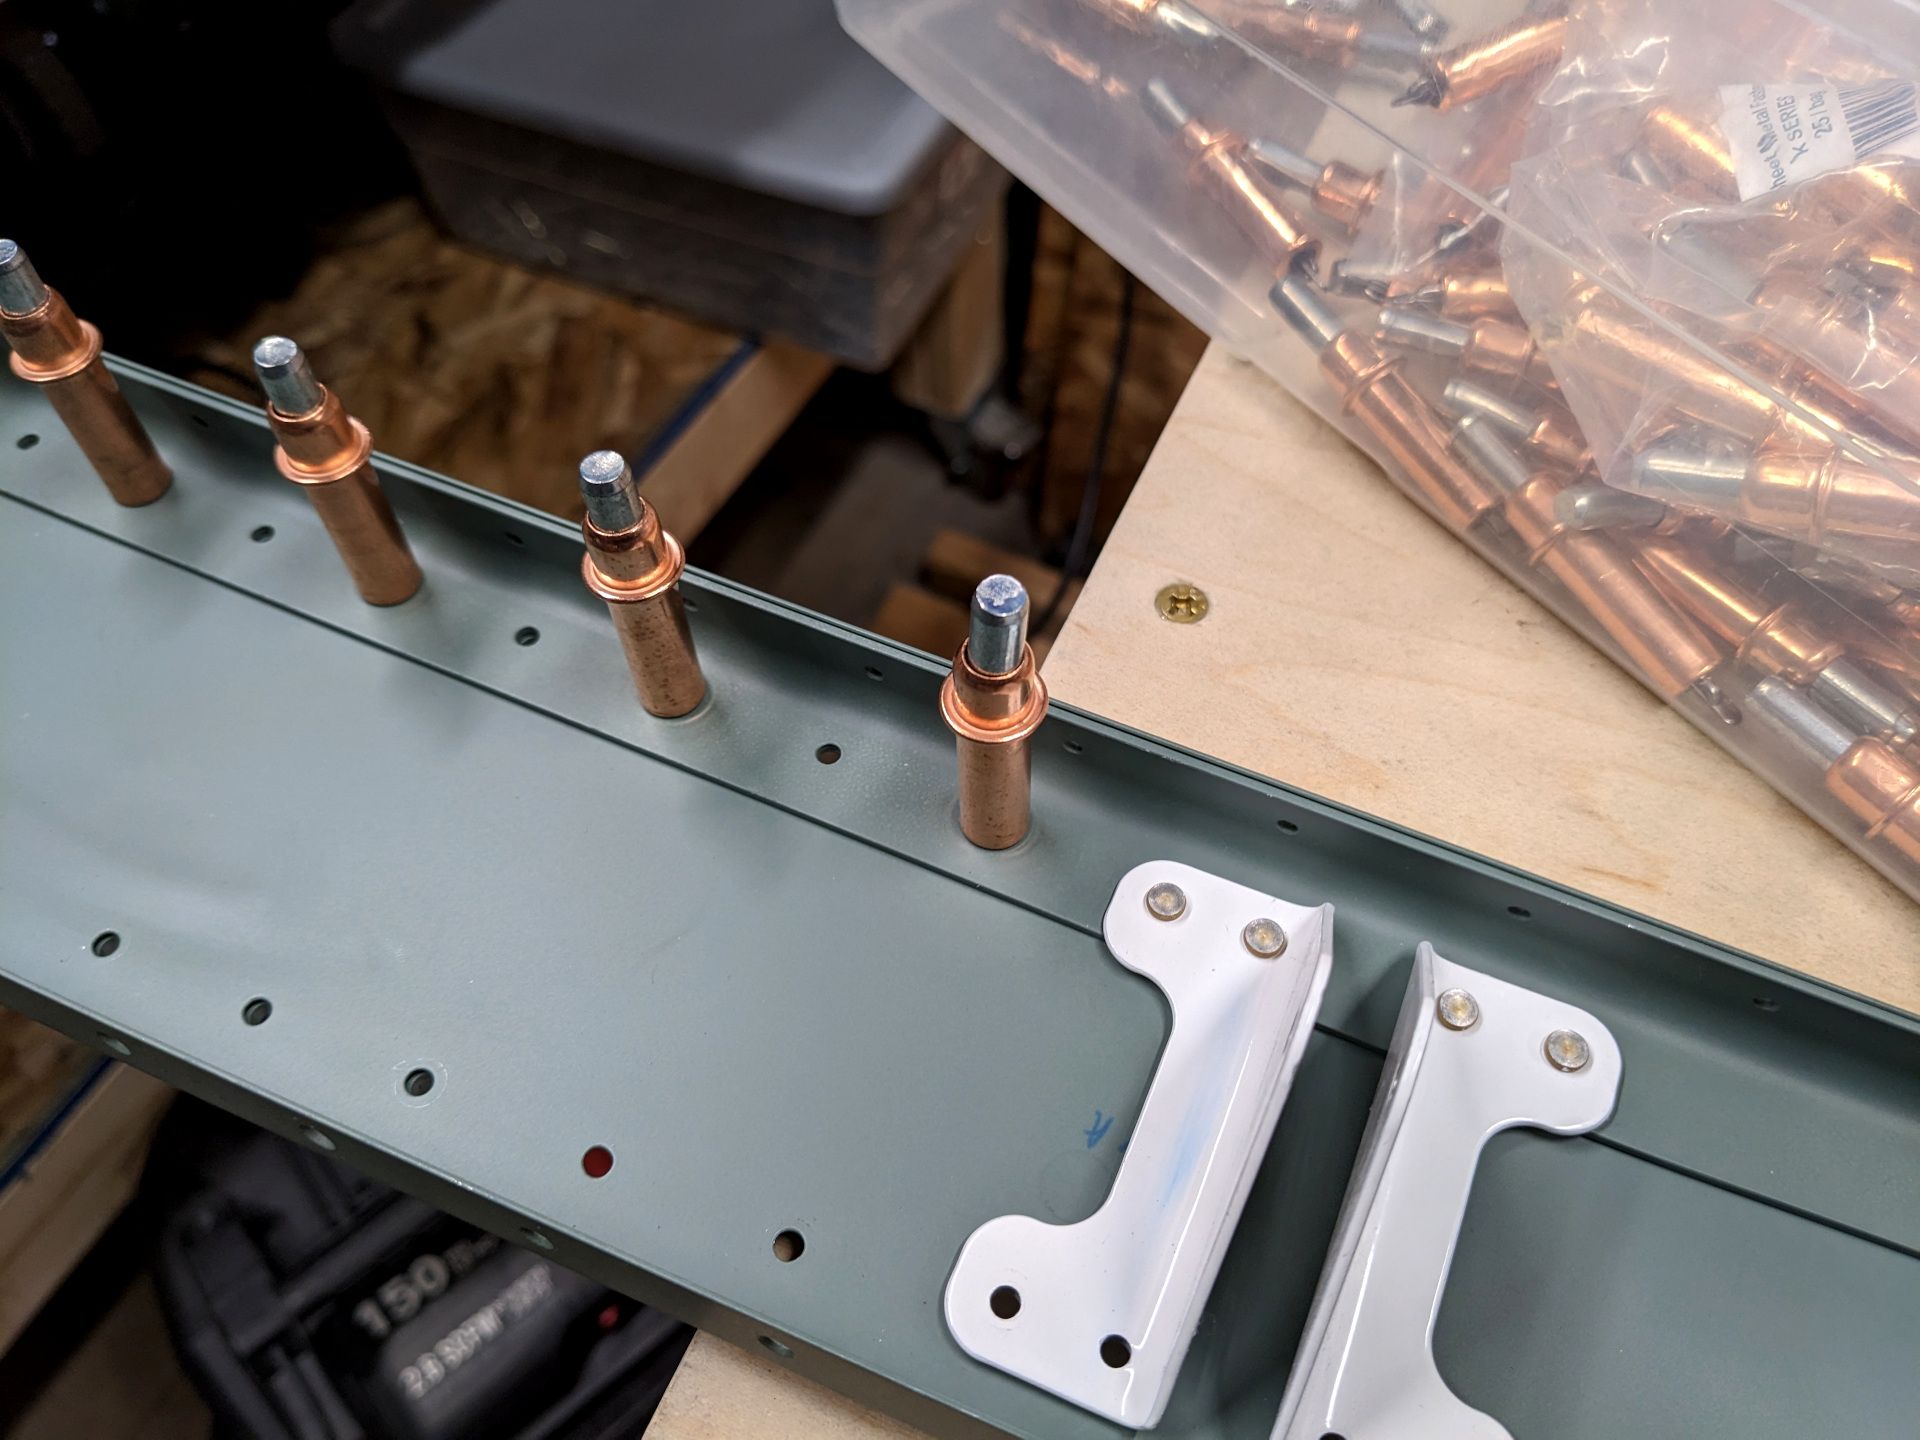
Oops, I completely neglected to put in the other spar's enforcement piece. It was the first part I made and I just neglected to put it in. There was no way I was going to be able to slip it in under the rudder brackets so I mentally prepared myself for the next batch of fun. I was now going to have to punch, drill, sand, repaint, etc, and rivet again (with the missing part, hopefully).
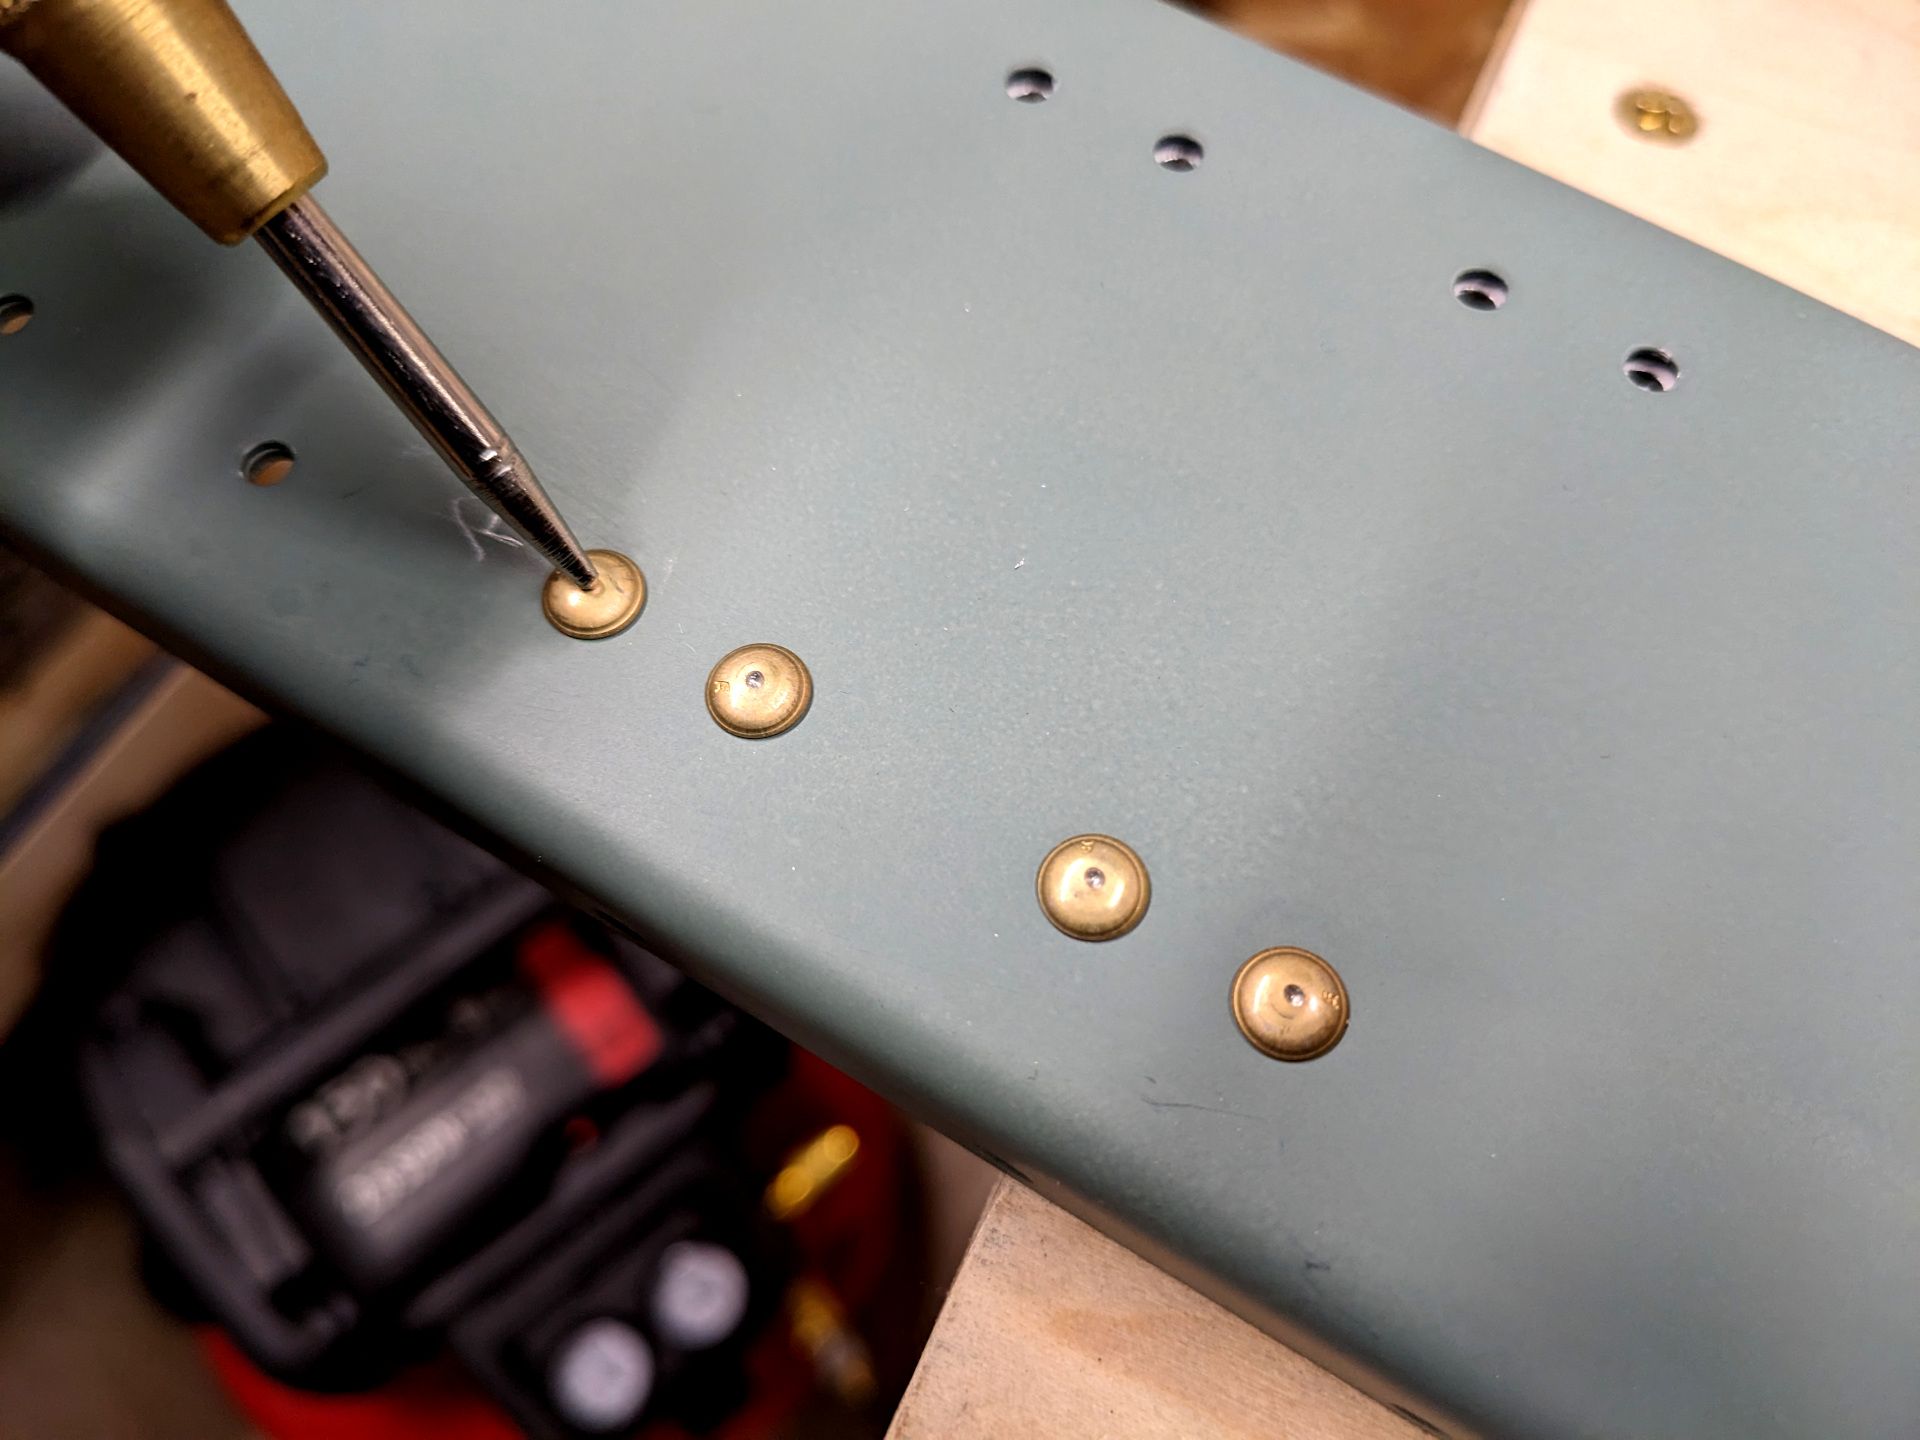
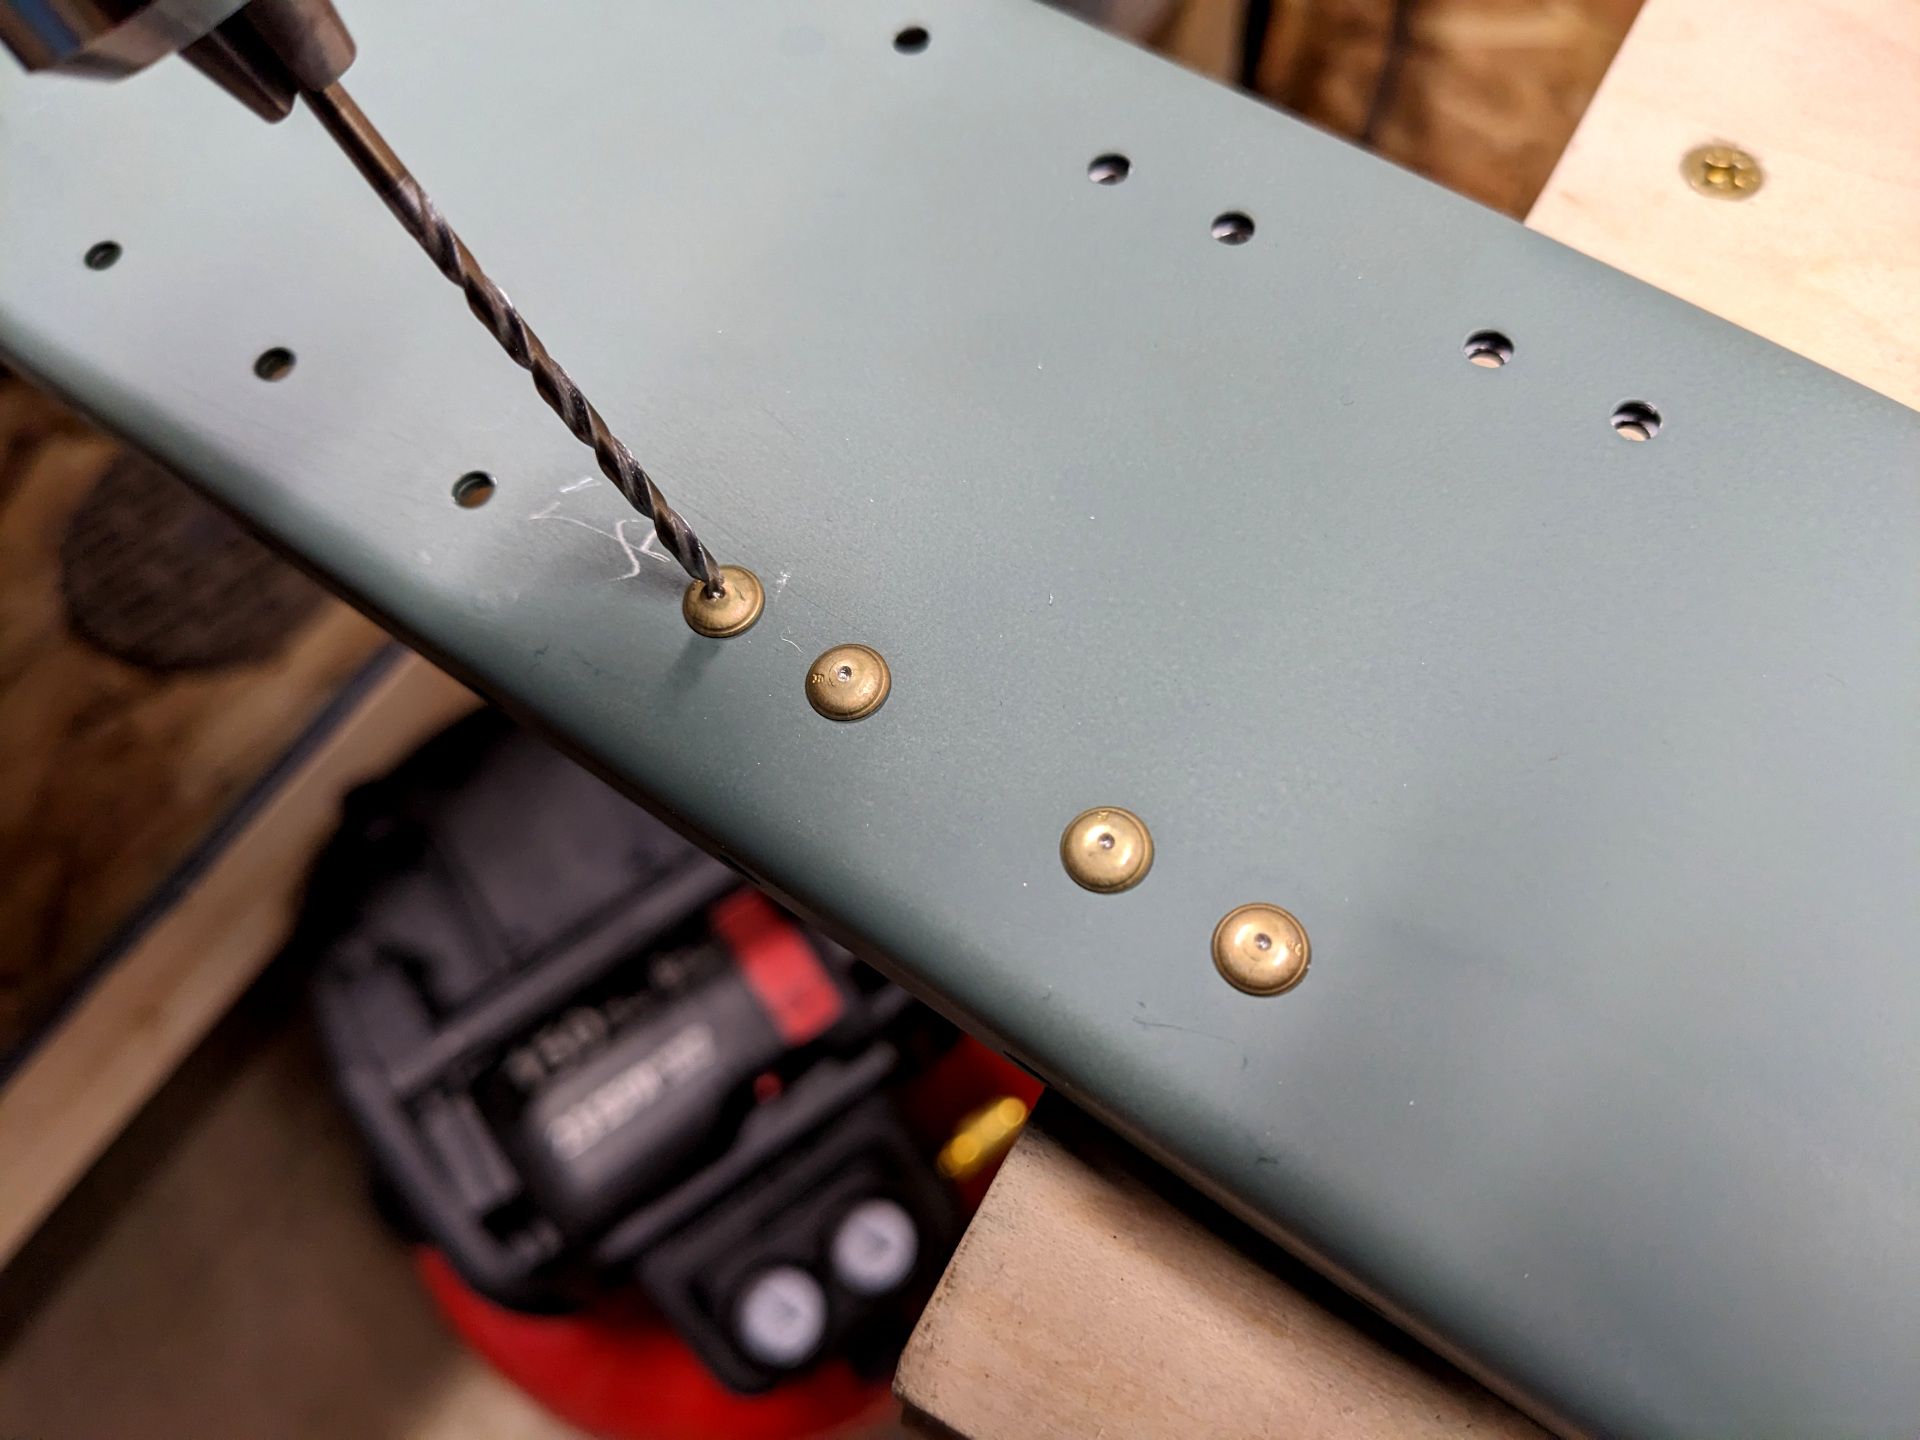
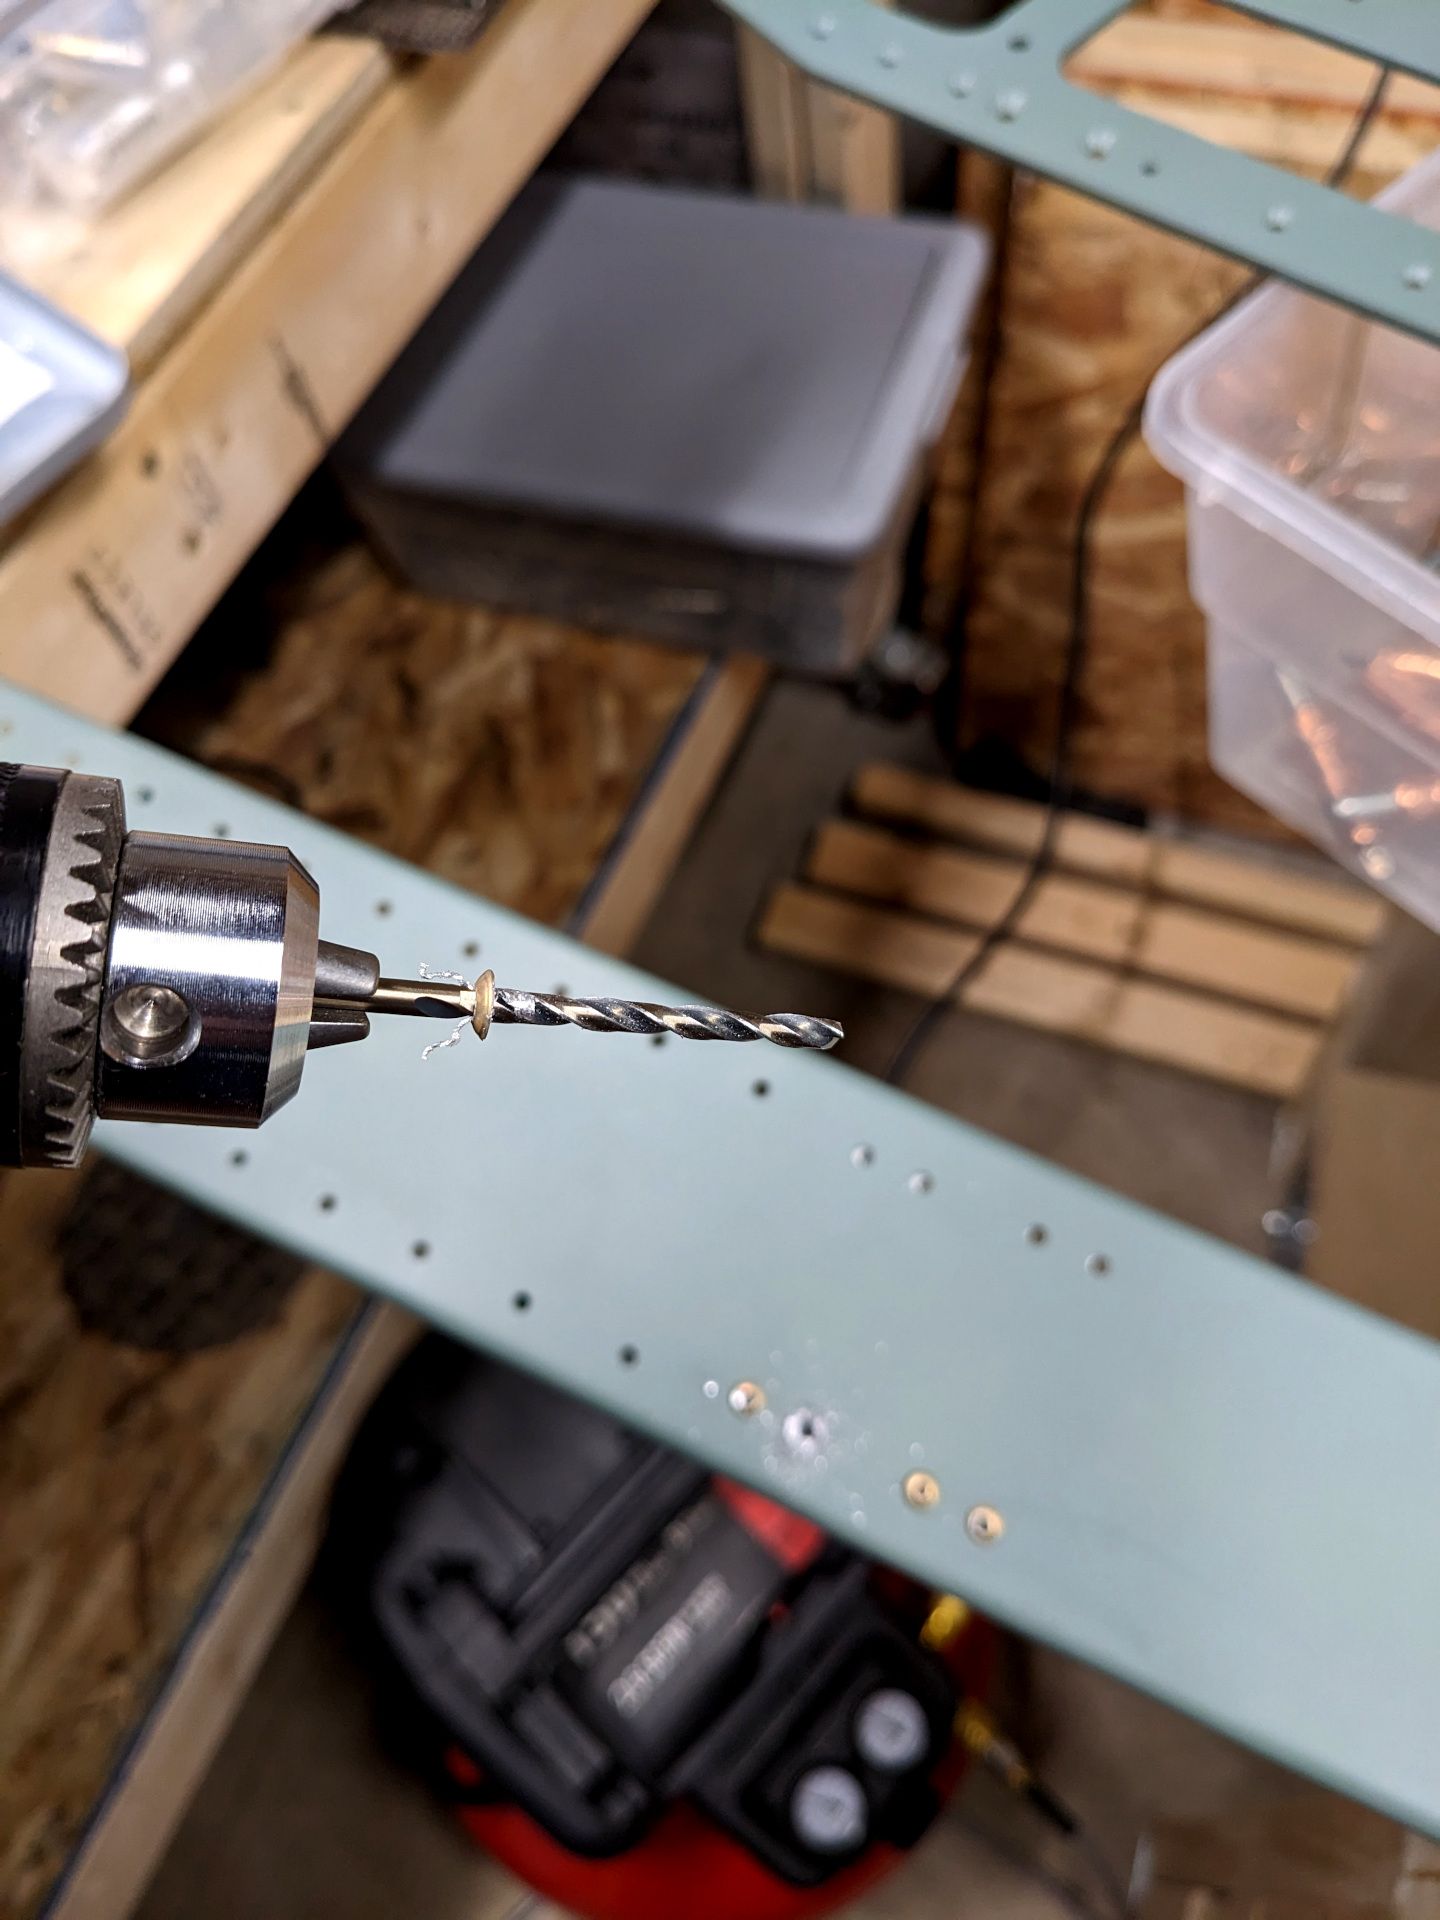
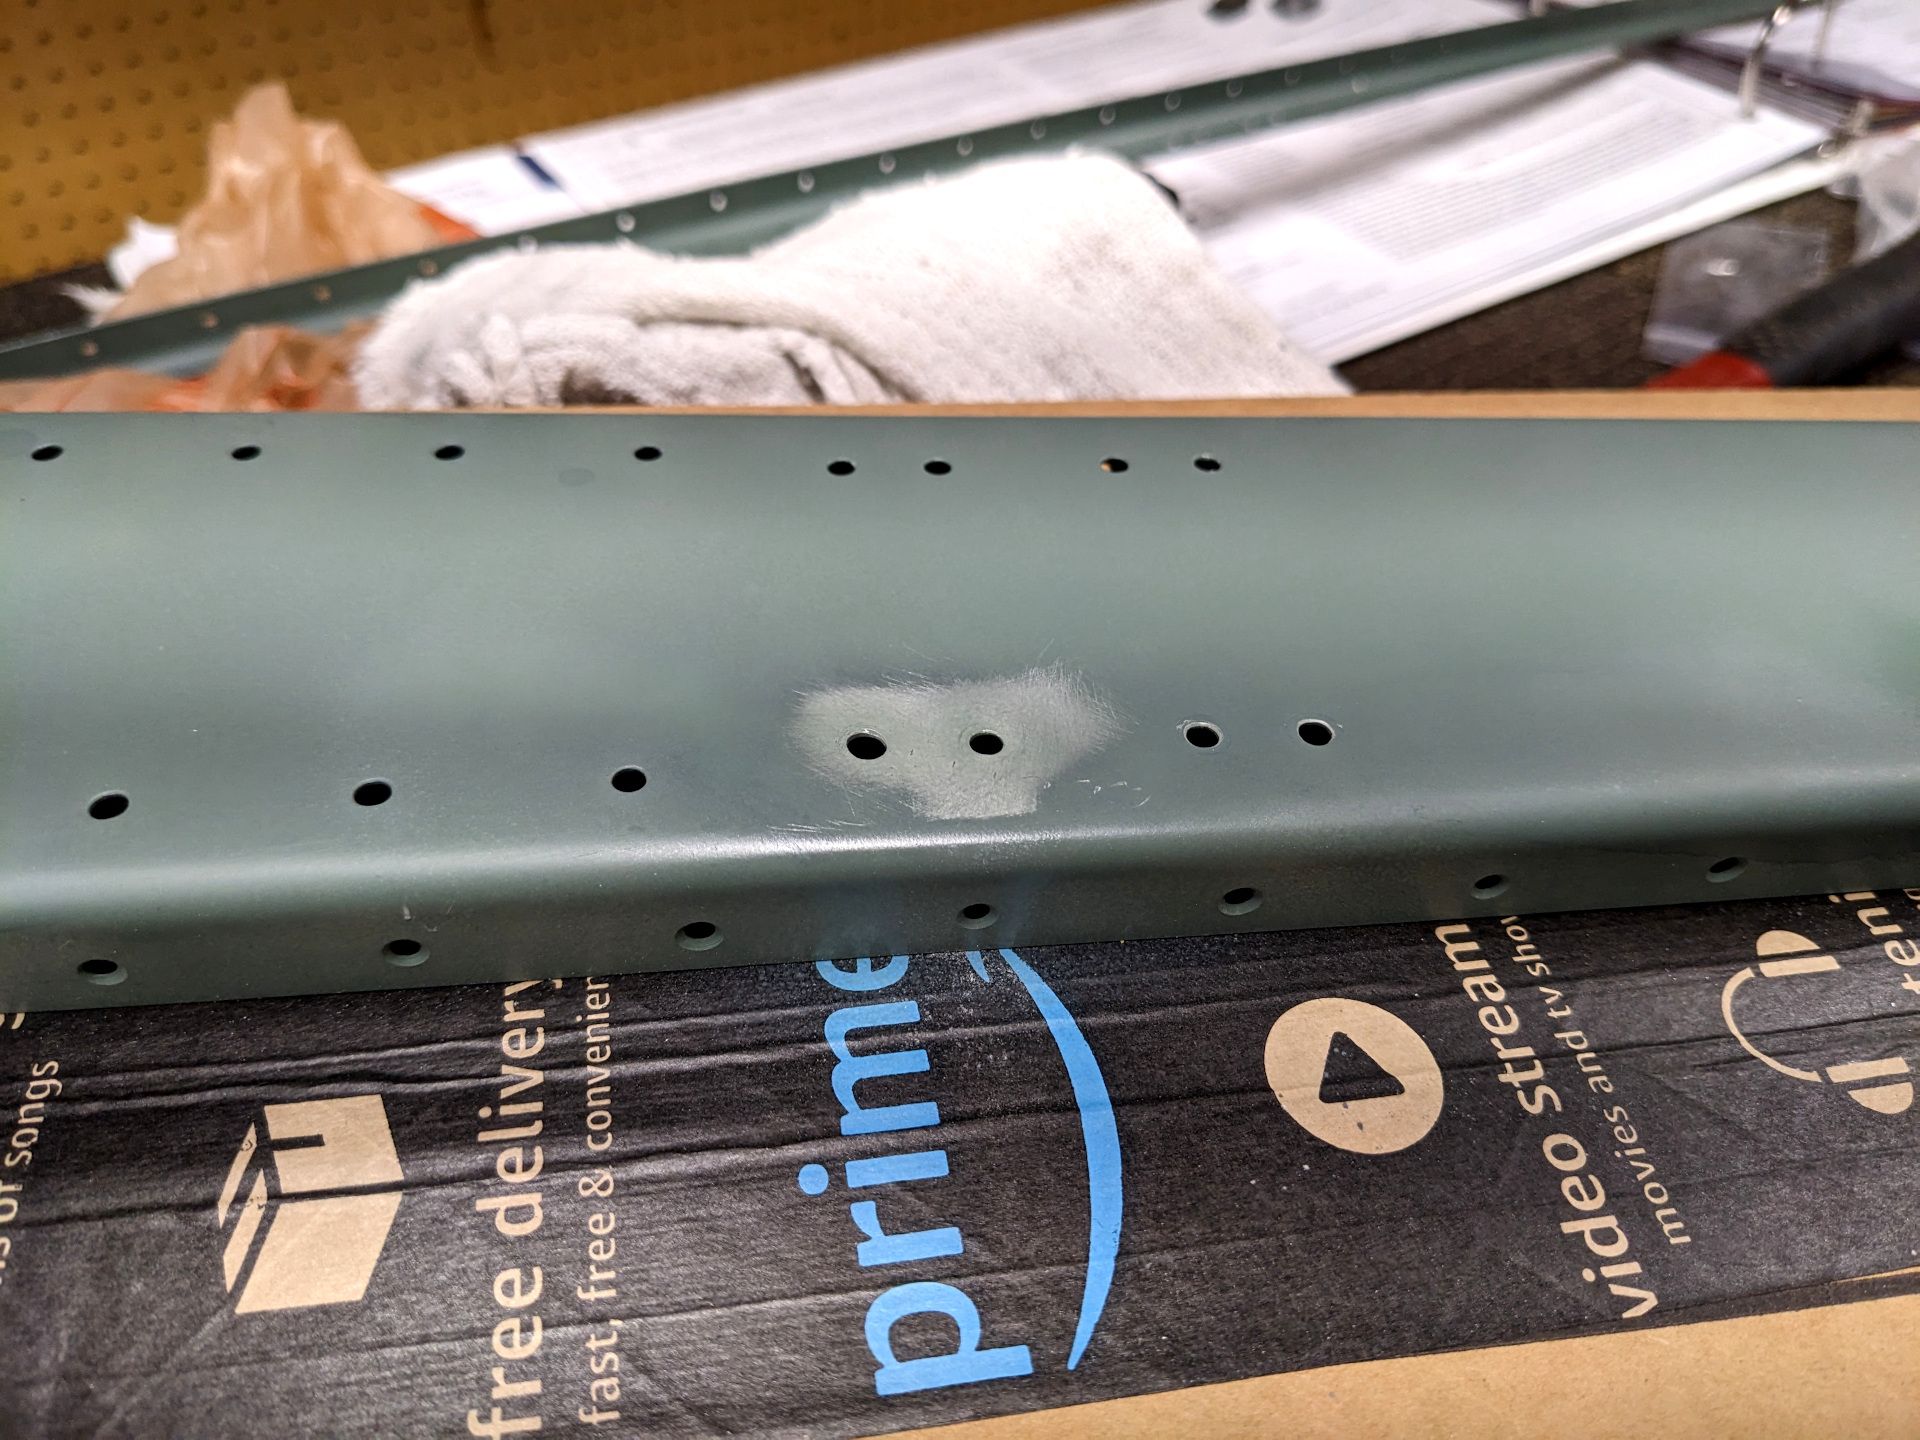
I was pretty annoyed with myself but happy it was only four rivets I had to remove. If I had to drill out a whole panel of rivets I would definitely have had some colorful language to add to the whole process. Once I got that all figured out, back to riveting per the instructions (and double checking about 10 times).
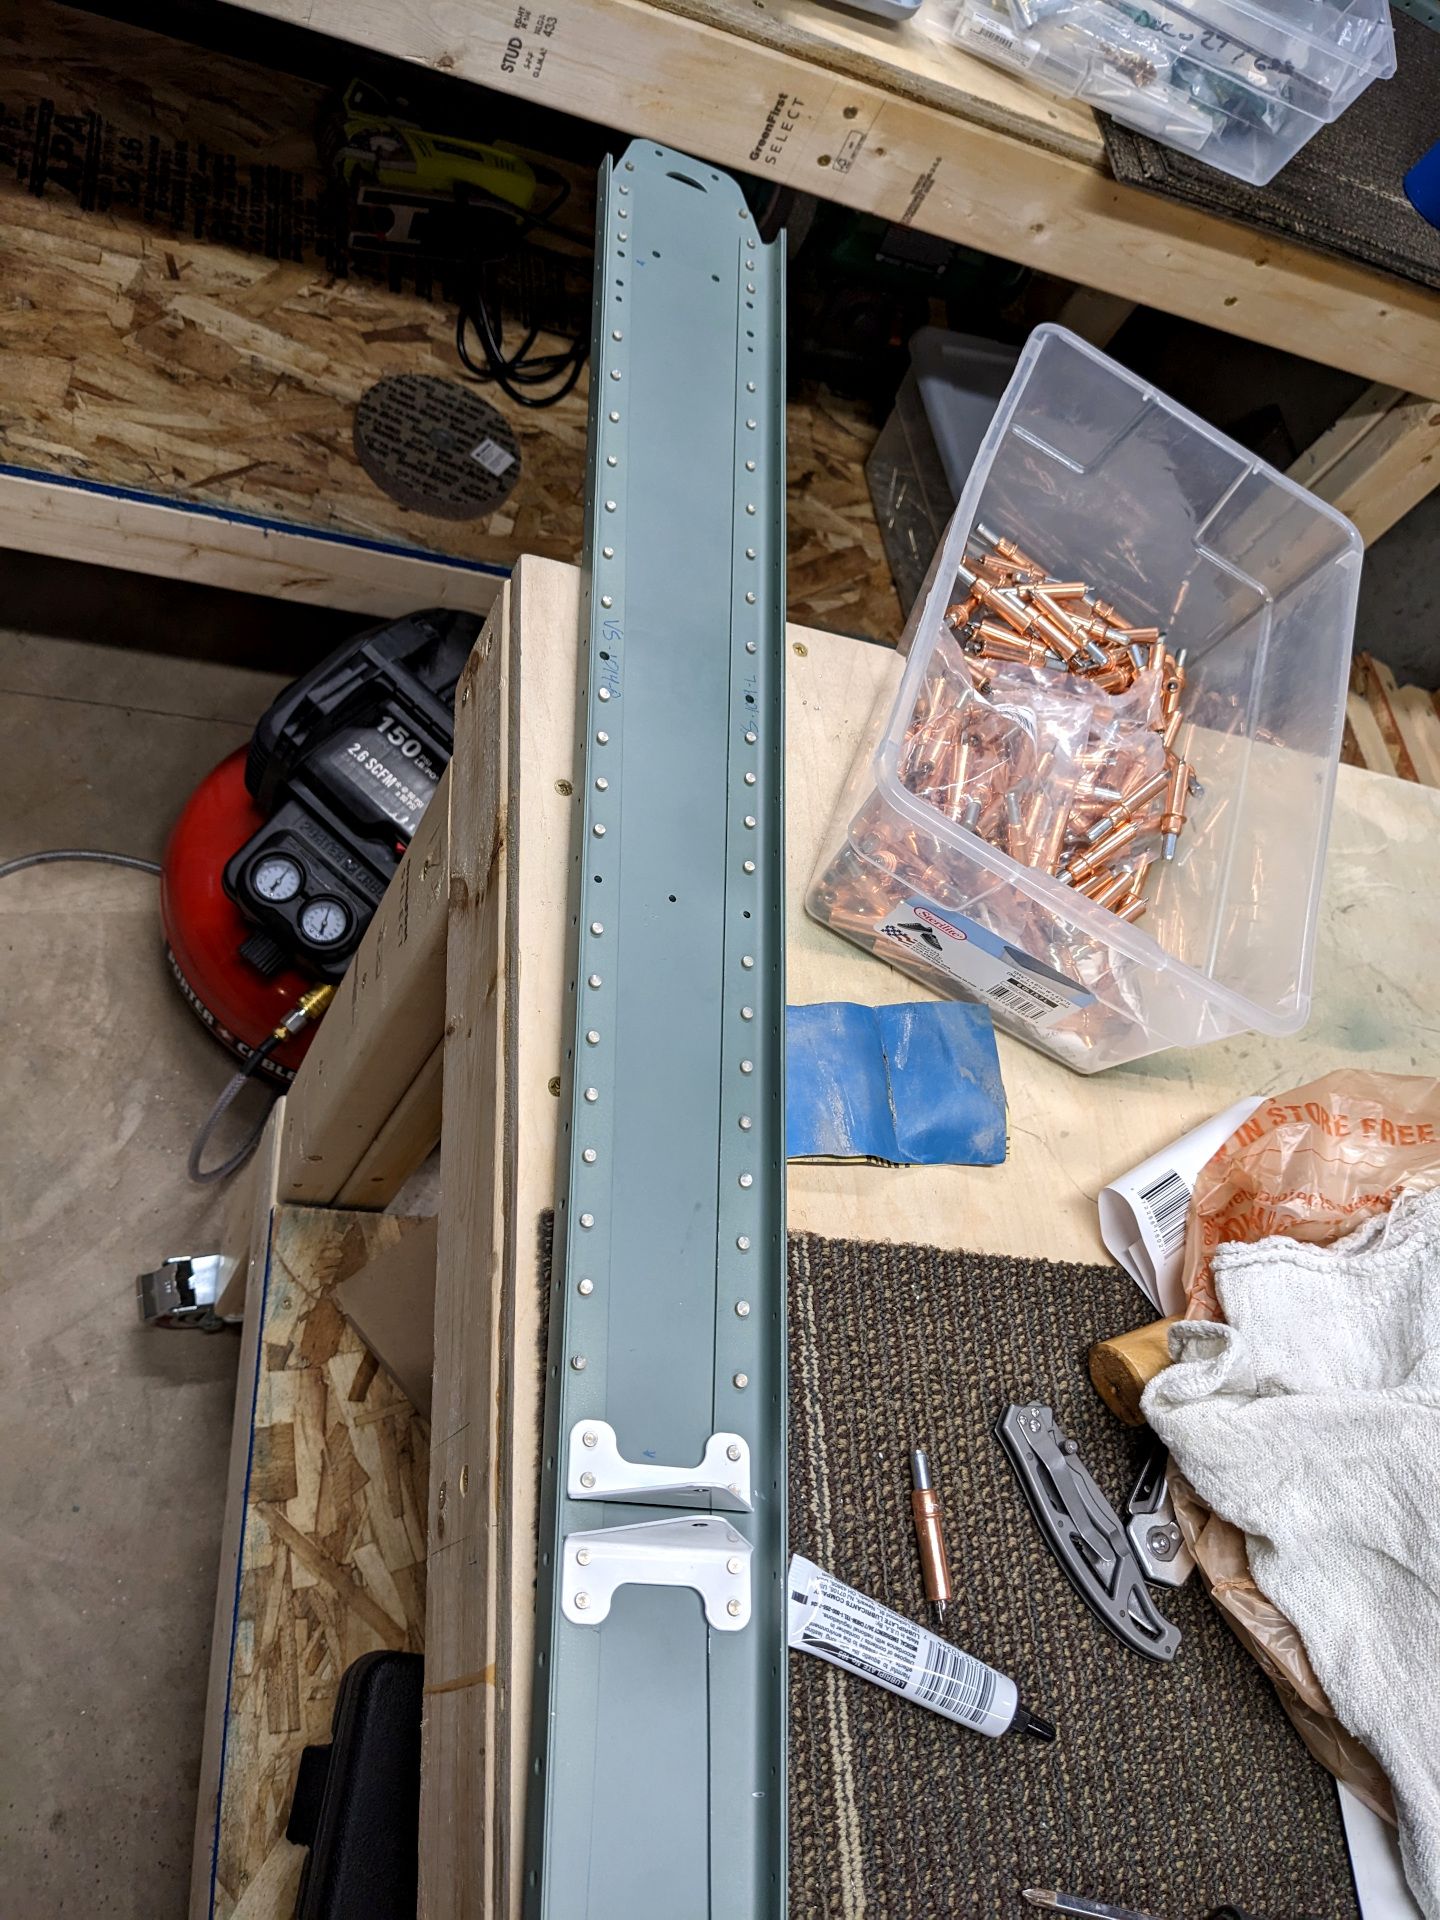
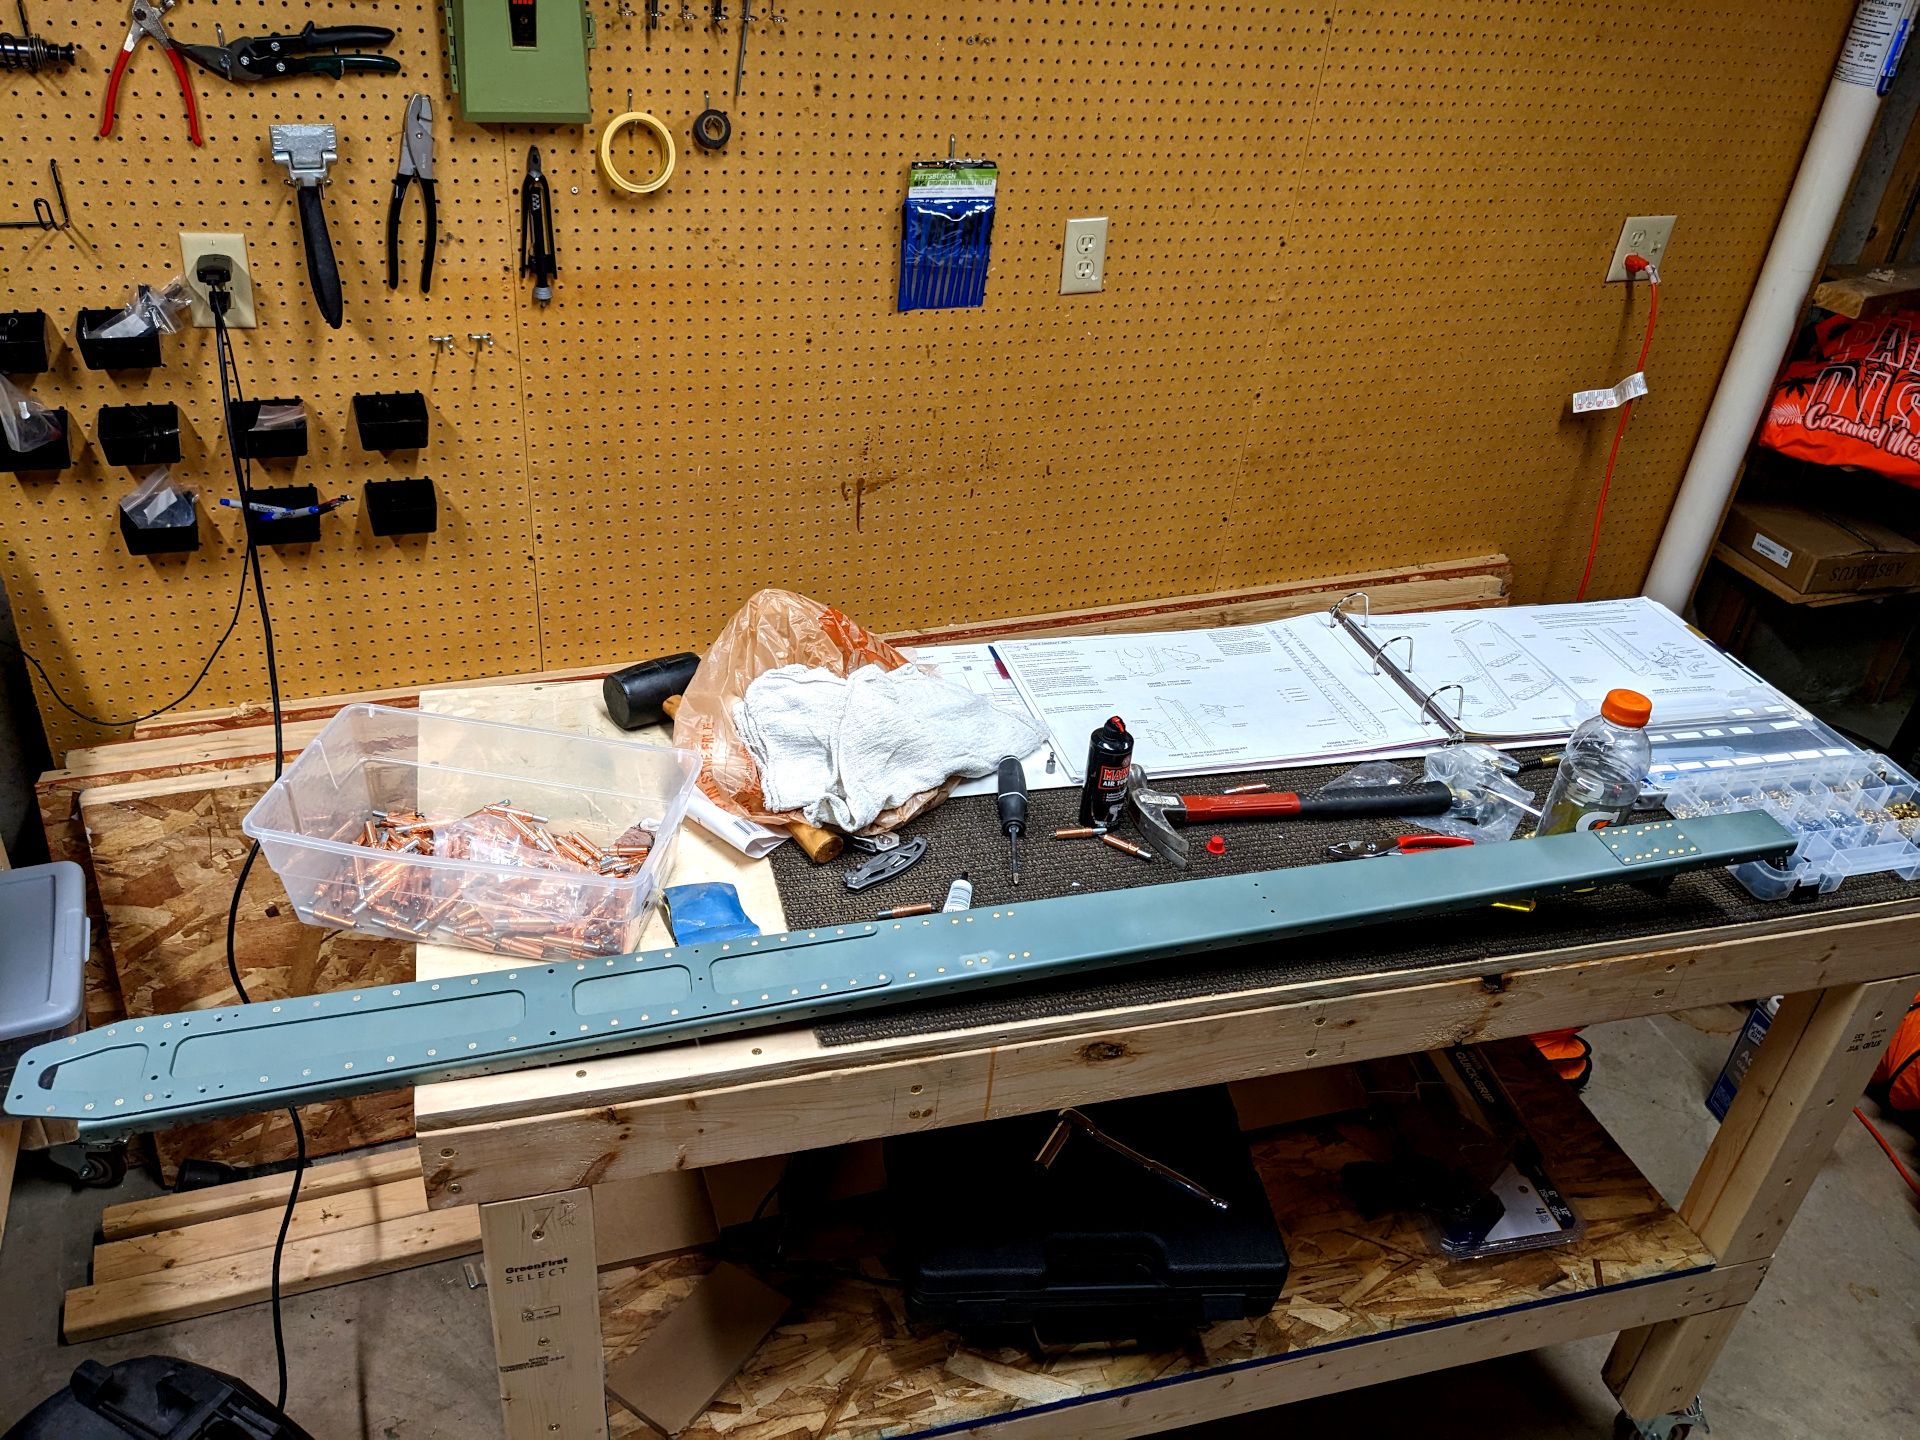
It feels really awesome to watch these parts I've spent hours preparing, assembling and dissembling, finally come together. I am stoked to get the skeleton together and put the skin on it and have my first completed assembly for the project. I expect it to be wildly motivating to have less random parts and a piece that is recognizable.
After that? Basically I repeat the whole process again. I get some raw parts, clean them up, assembly them and drill them, clean them up, clean them some more, paint them, and rivet. After that I do it again. I keep repeating until I have an entire airplane.
