One slip and It Costs Money

So work has been continuing on the rudder (for the most part) and it is nearly time to rivet. Unfortunately I managed to make a decent mistake that requires ordering replacement parts and it only took a fraction of a second to make the mistake! I'll get to that later (in the best click-bait fashion).
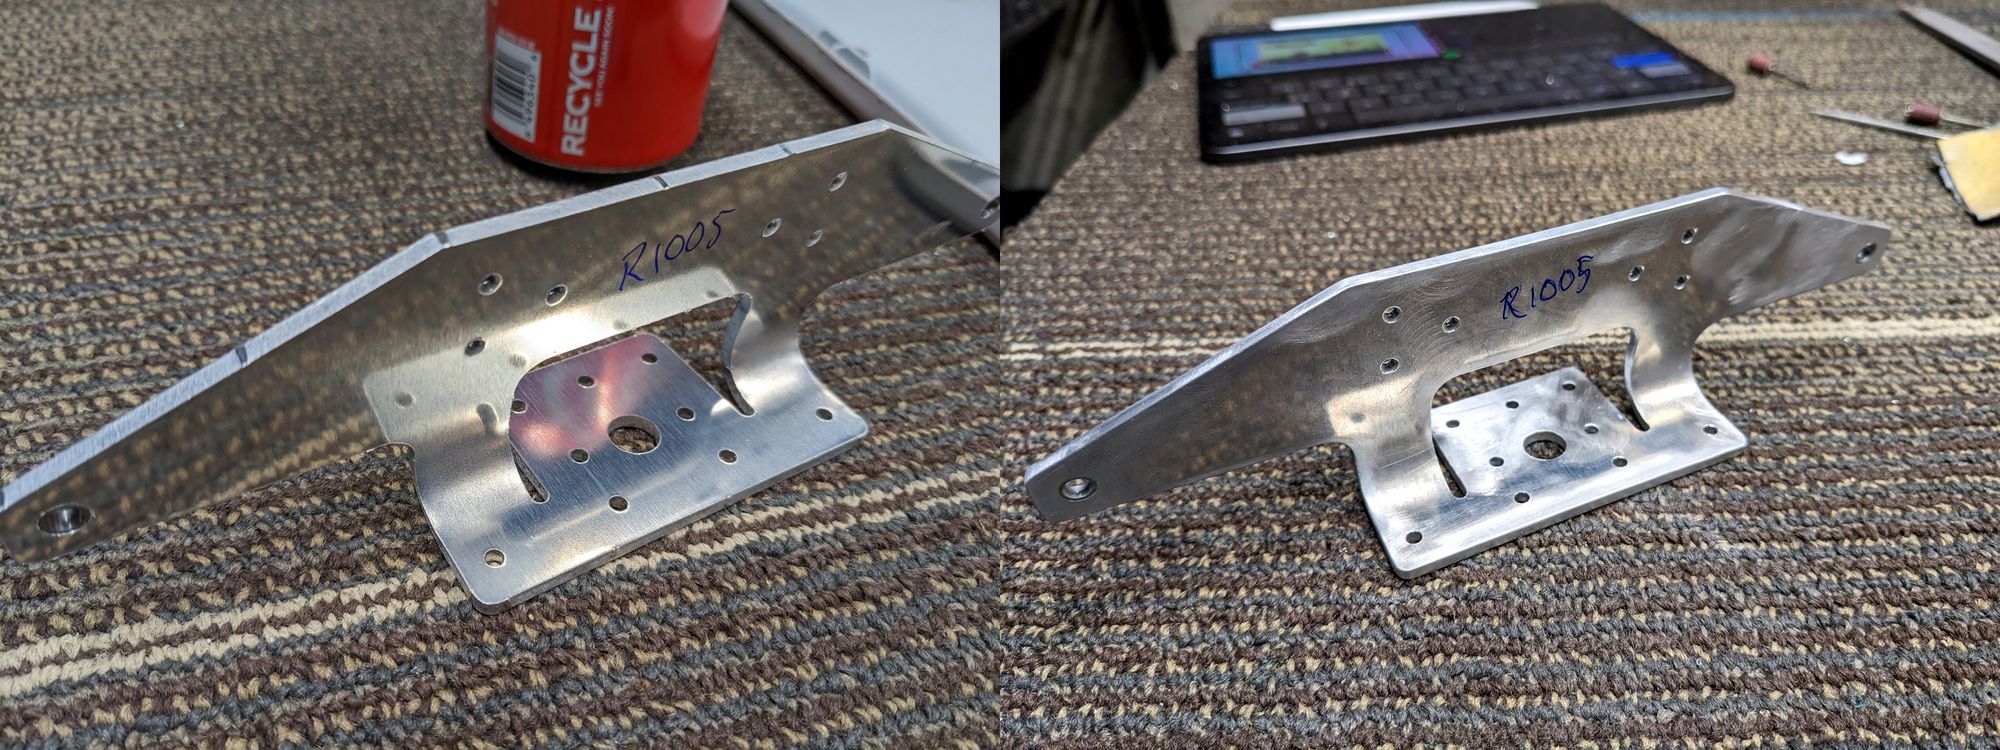
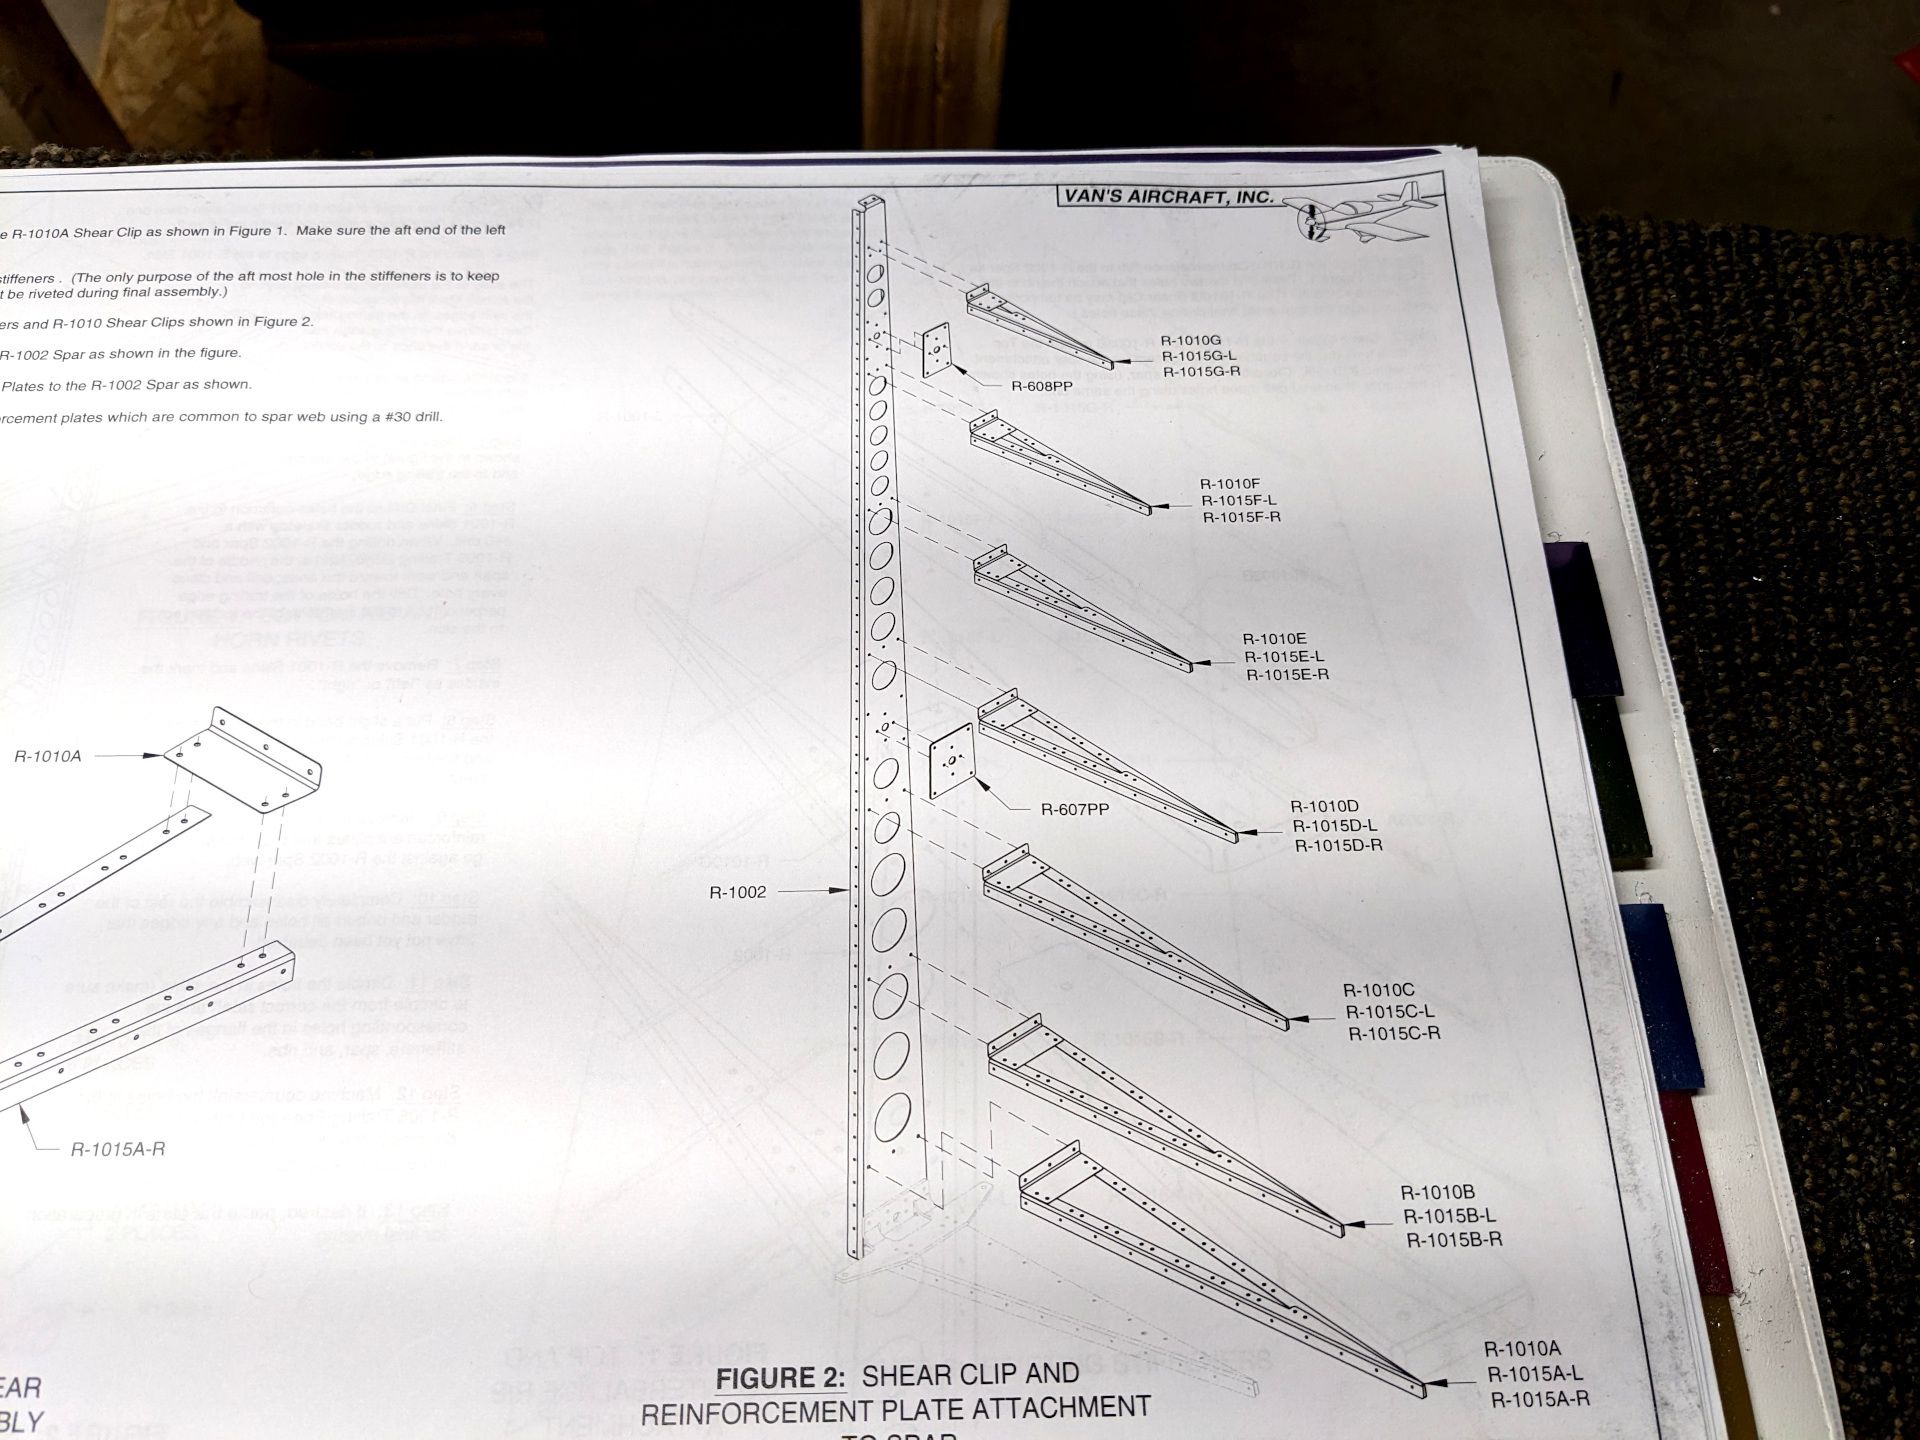
So I had to clean up the rudder horn. This isn't that surprising because I have to clean up every part on the aircraft since they are rough punches. It is a very zen activity for me, basically a form of meditation. I really like working with my hands and my career of software engineering doesn't really let me do anything but type on a keyboard. Then it was time to start assembling the rudder to match drill everything.
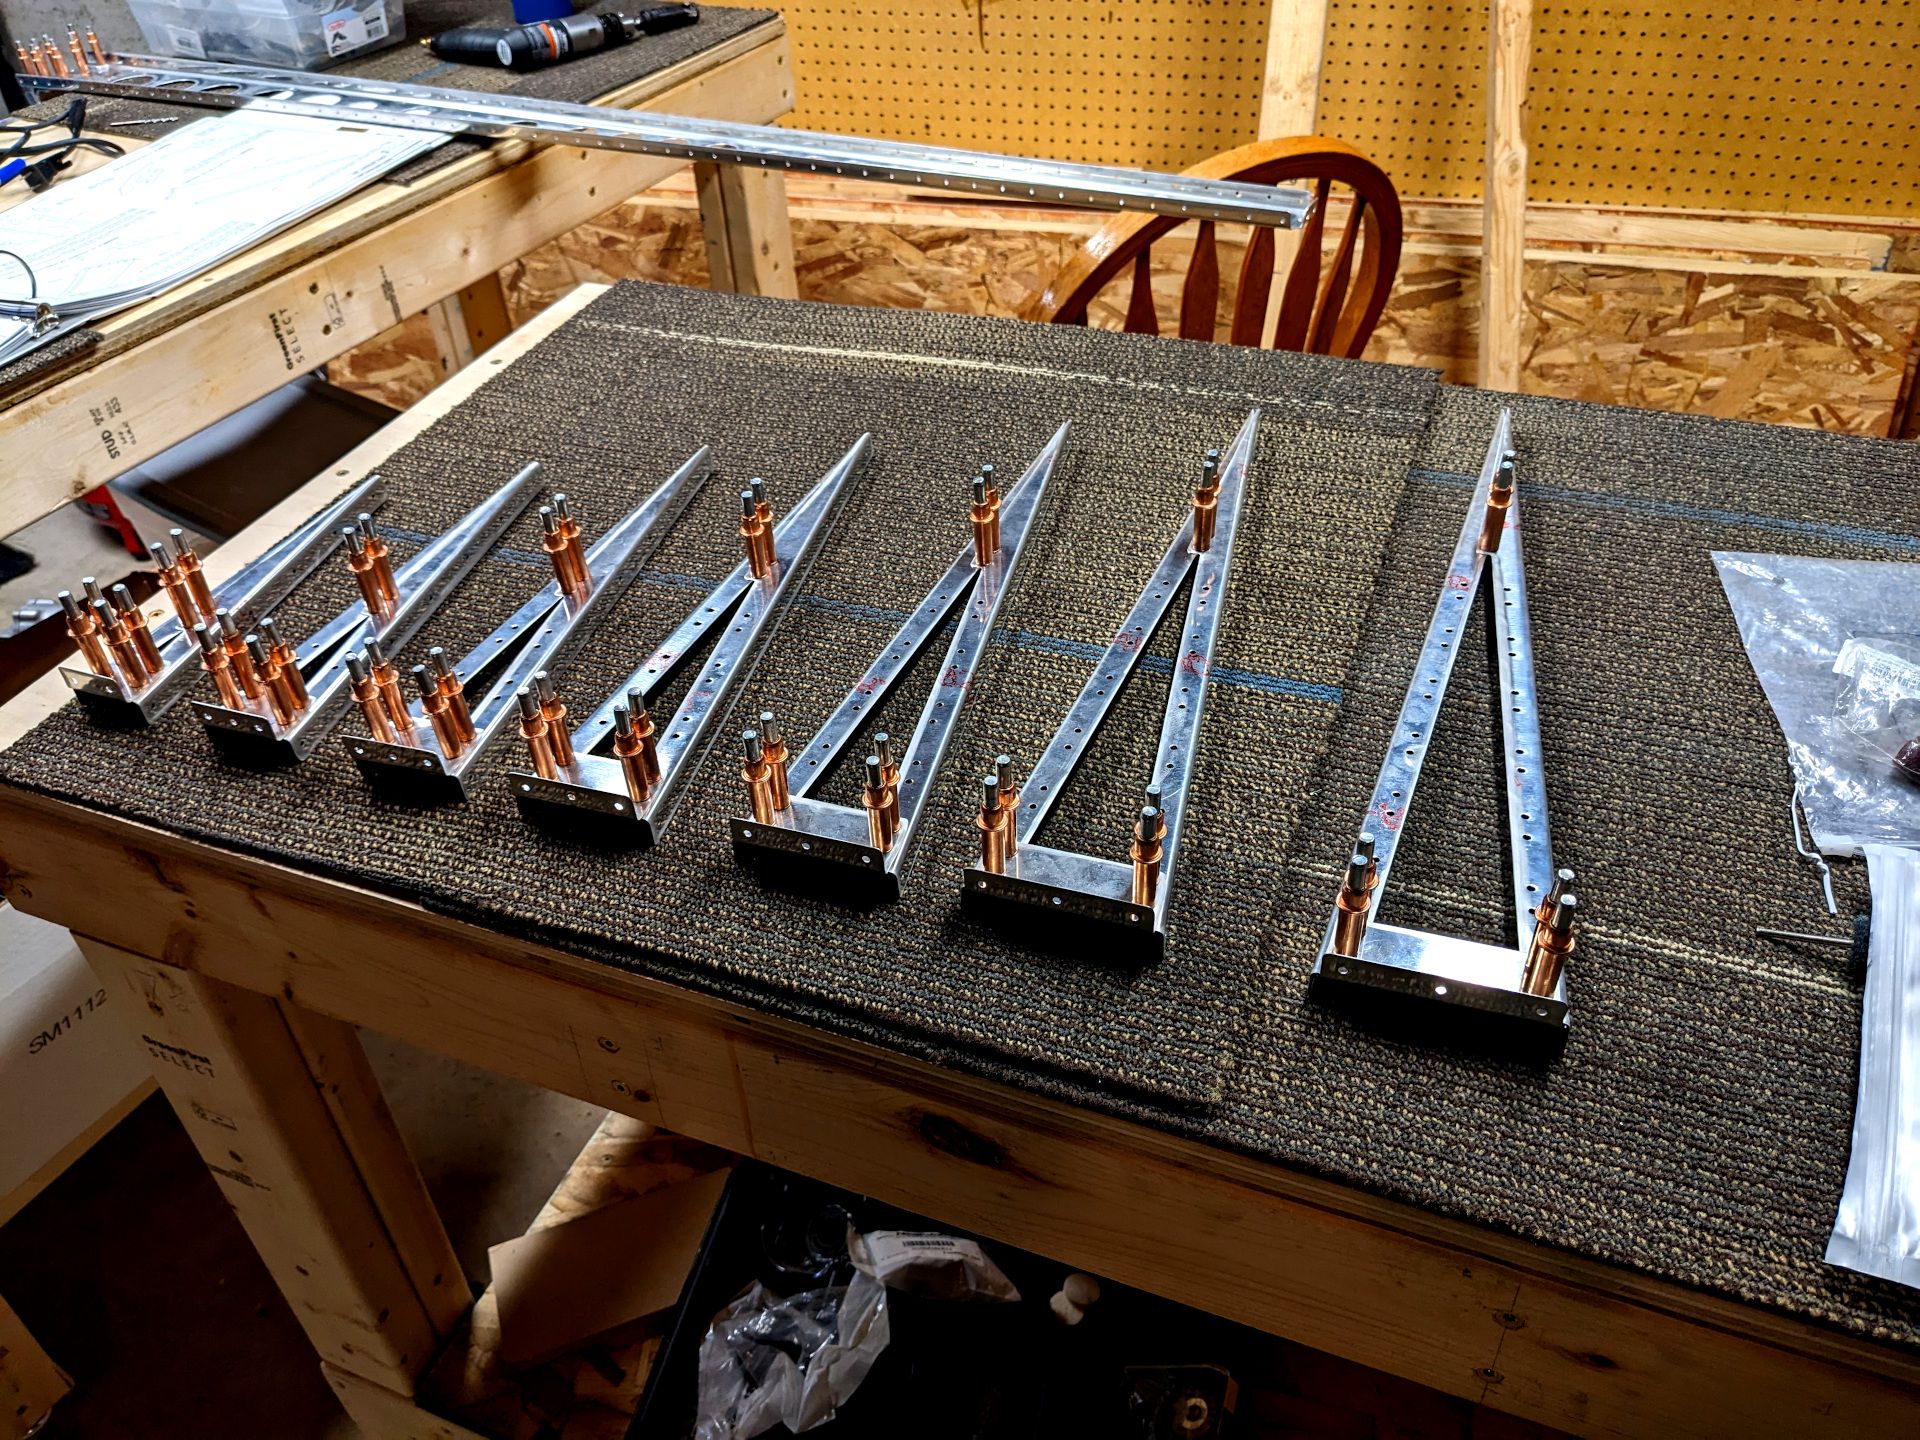
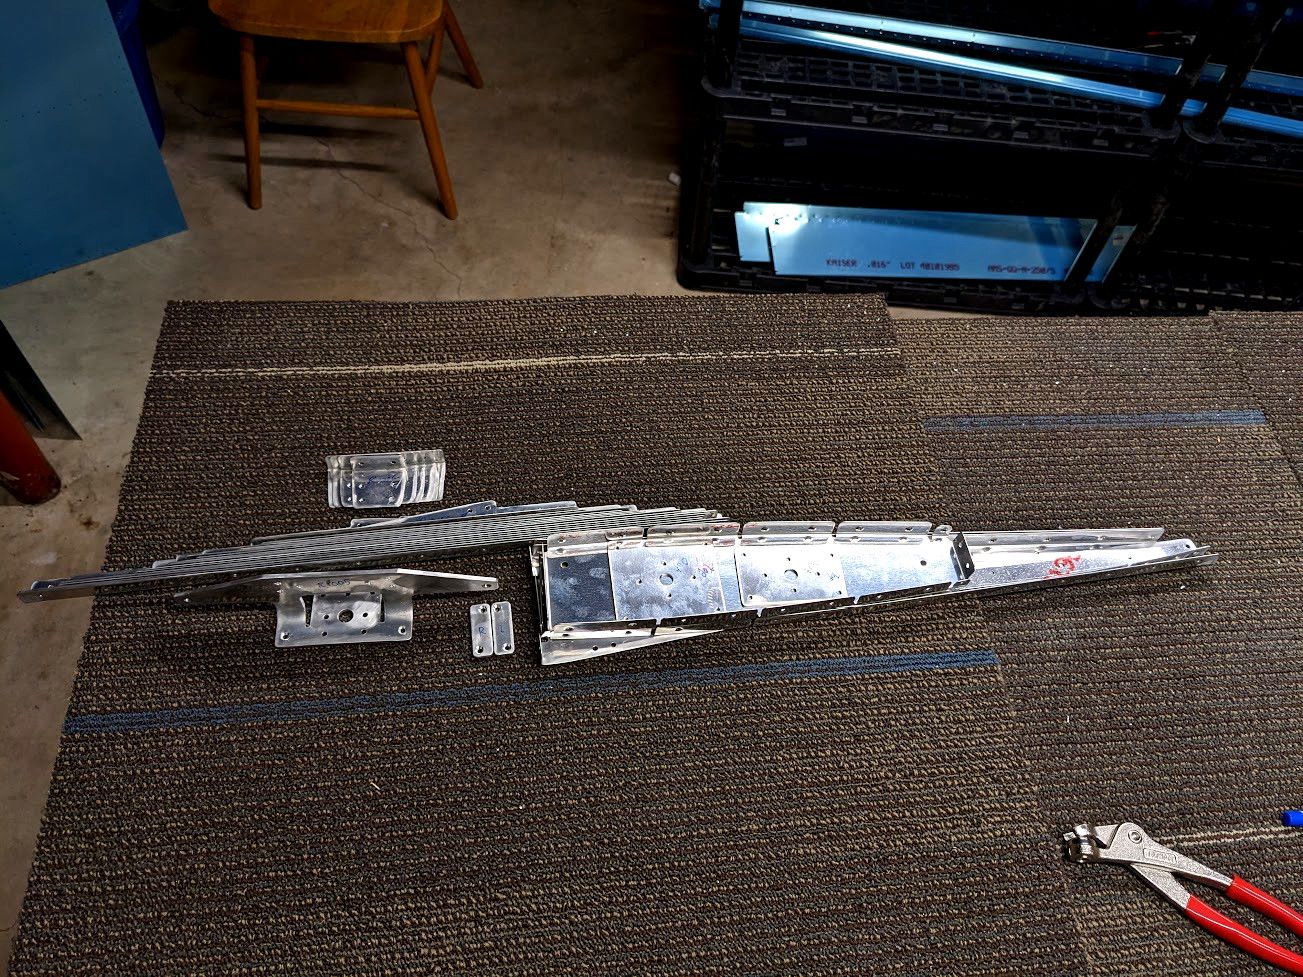
The rudder stiffeners look a lot nicer when arranged in this way instead of as a pile of metal parts. All that mind numbing work getting these things done finally feels better when I can see then sitting out there.
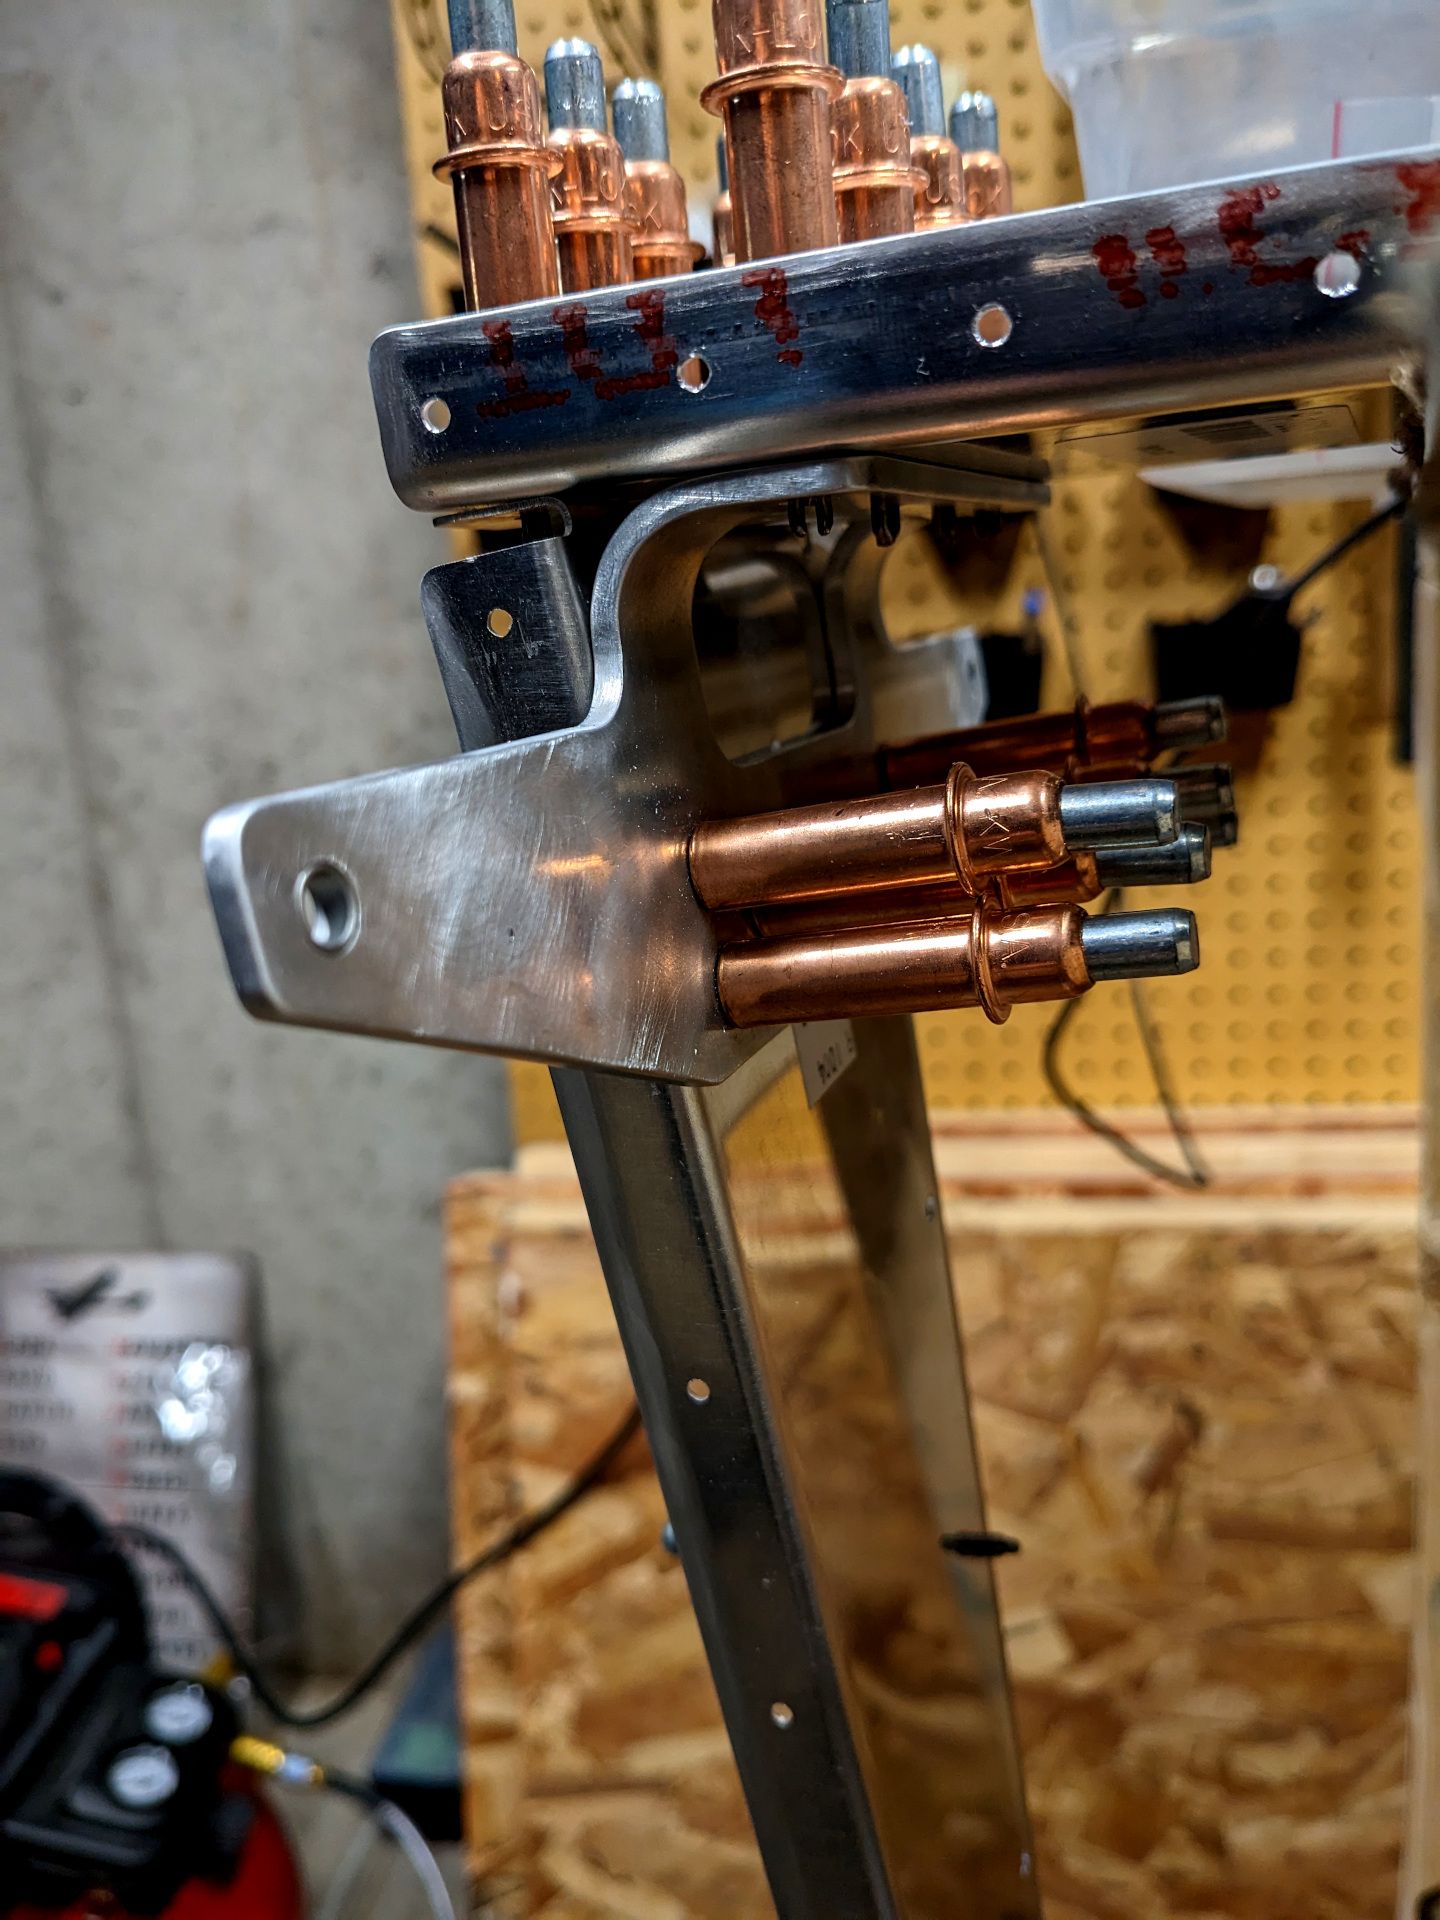
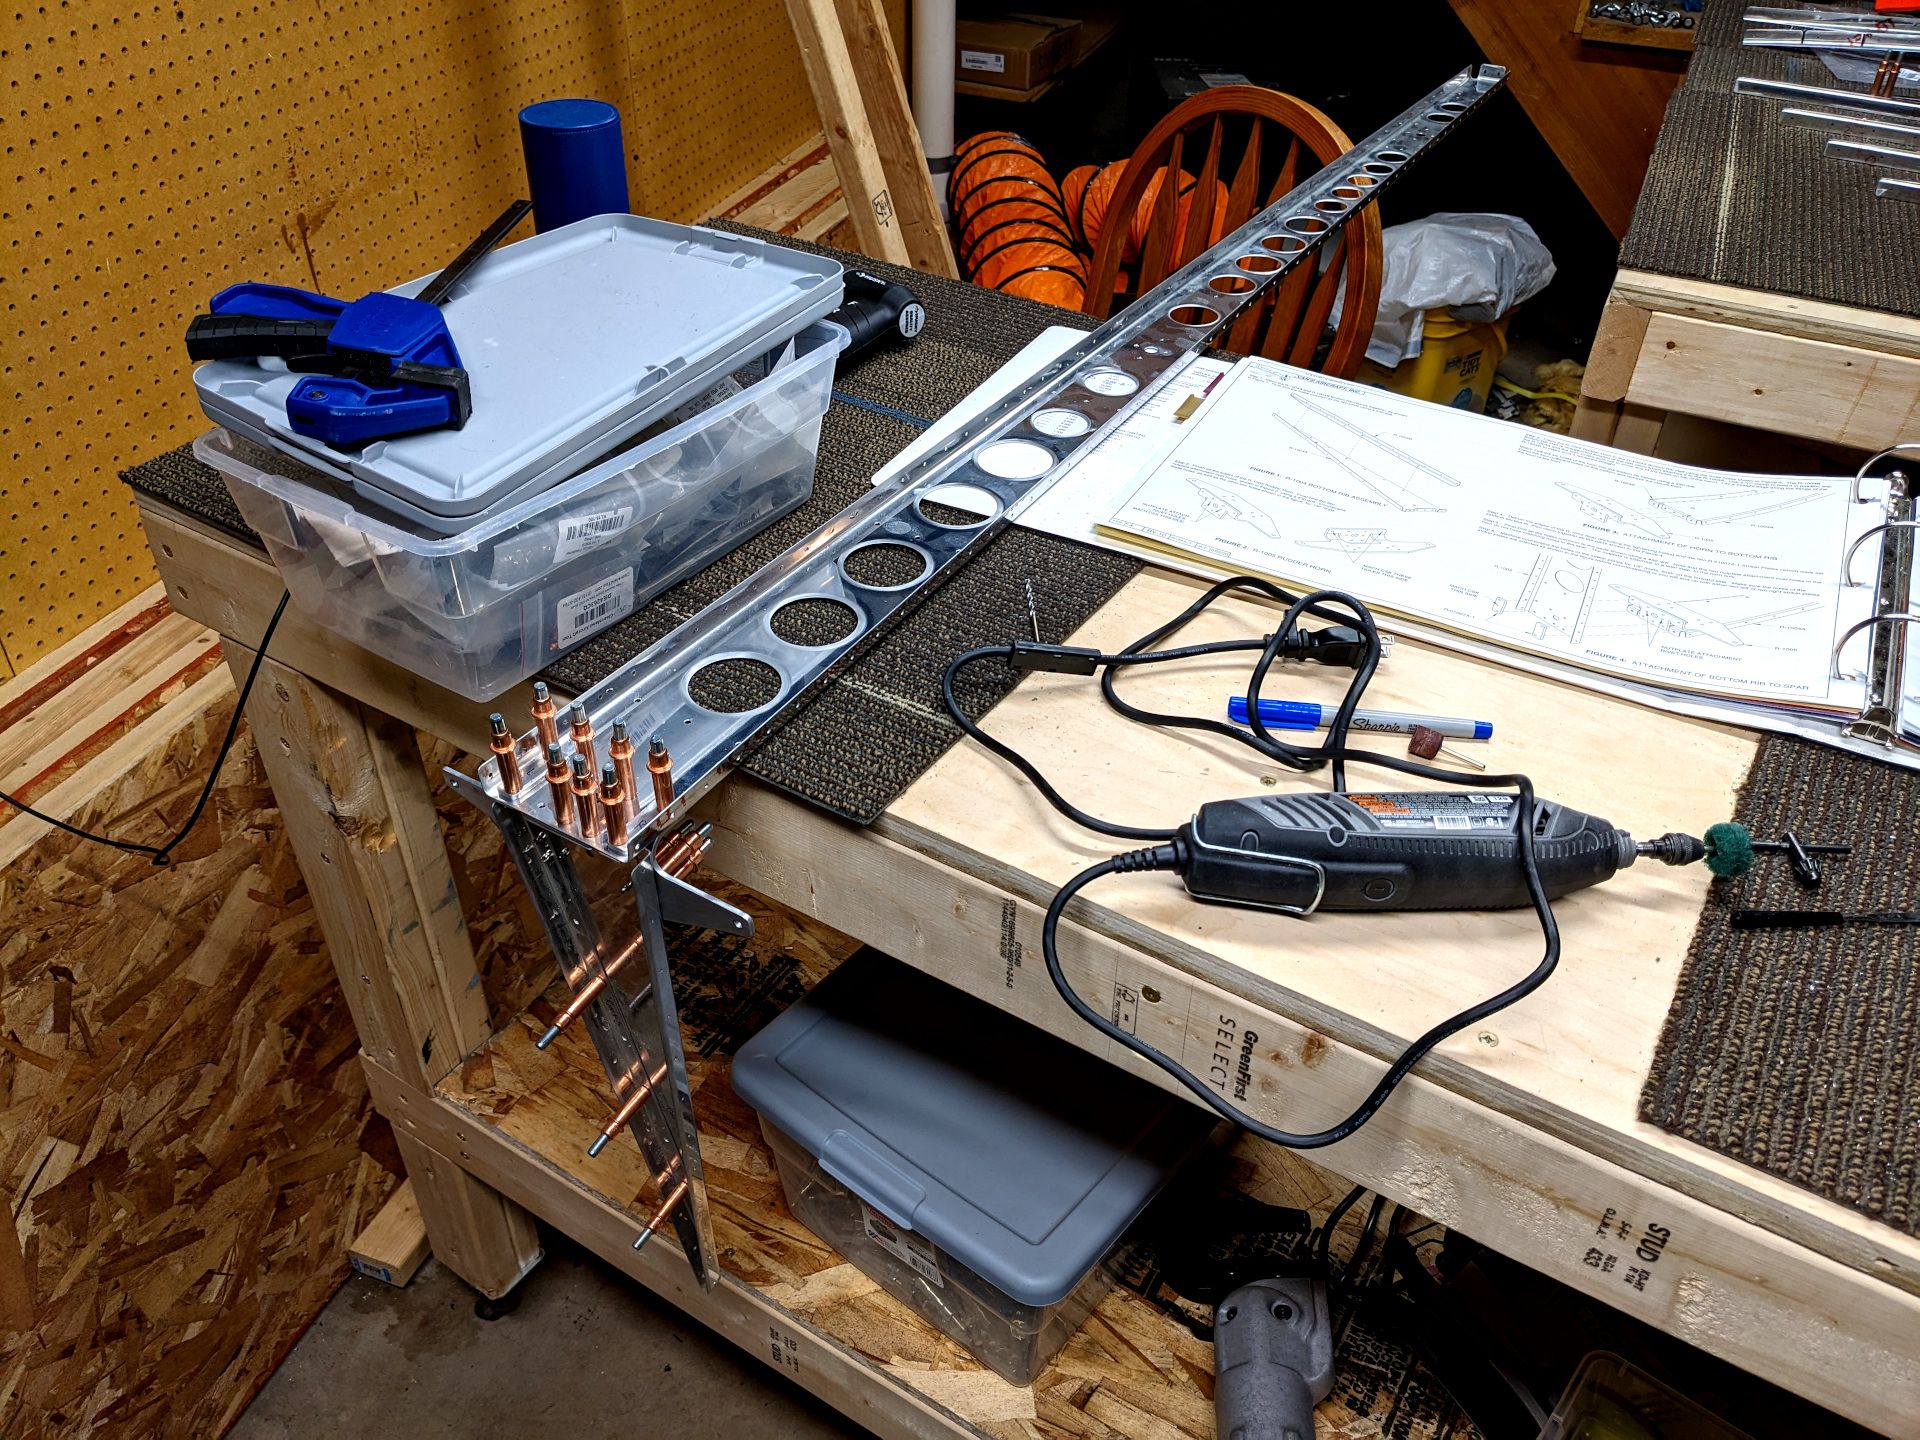
The rudder horn required a few holes to be drilled to match onto the bottom spar but that was as easy as clamping it together and just drilling. Not too much interesting here but it is time to get the whole skeleton clamped together!
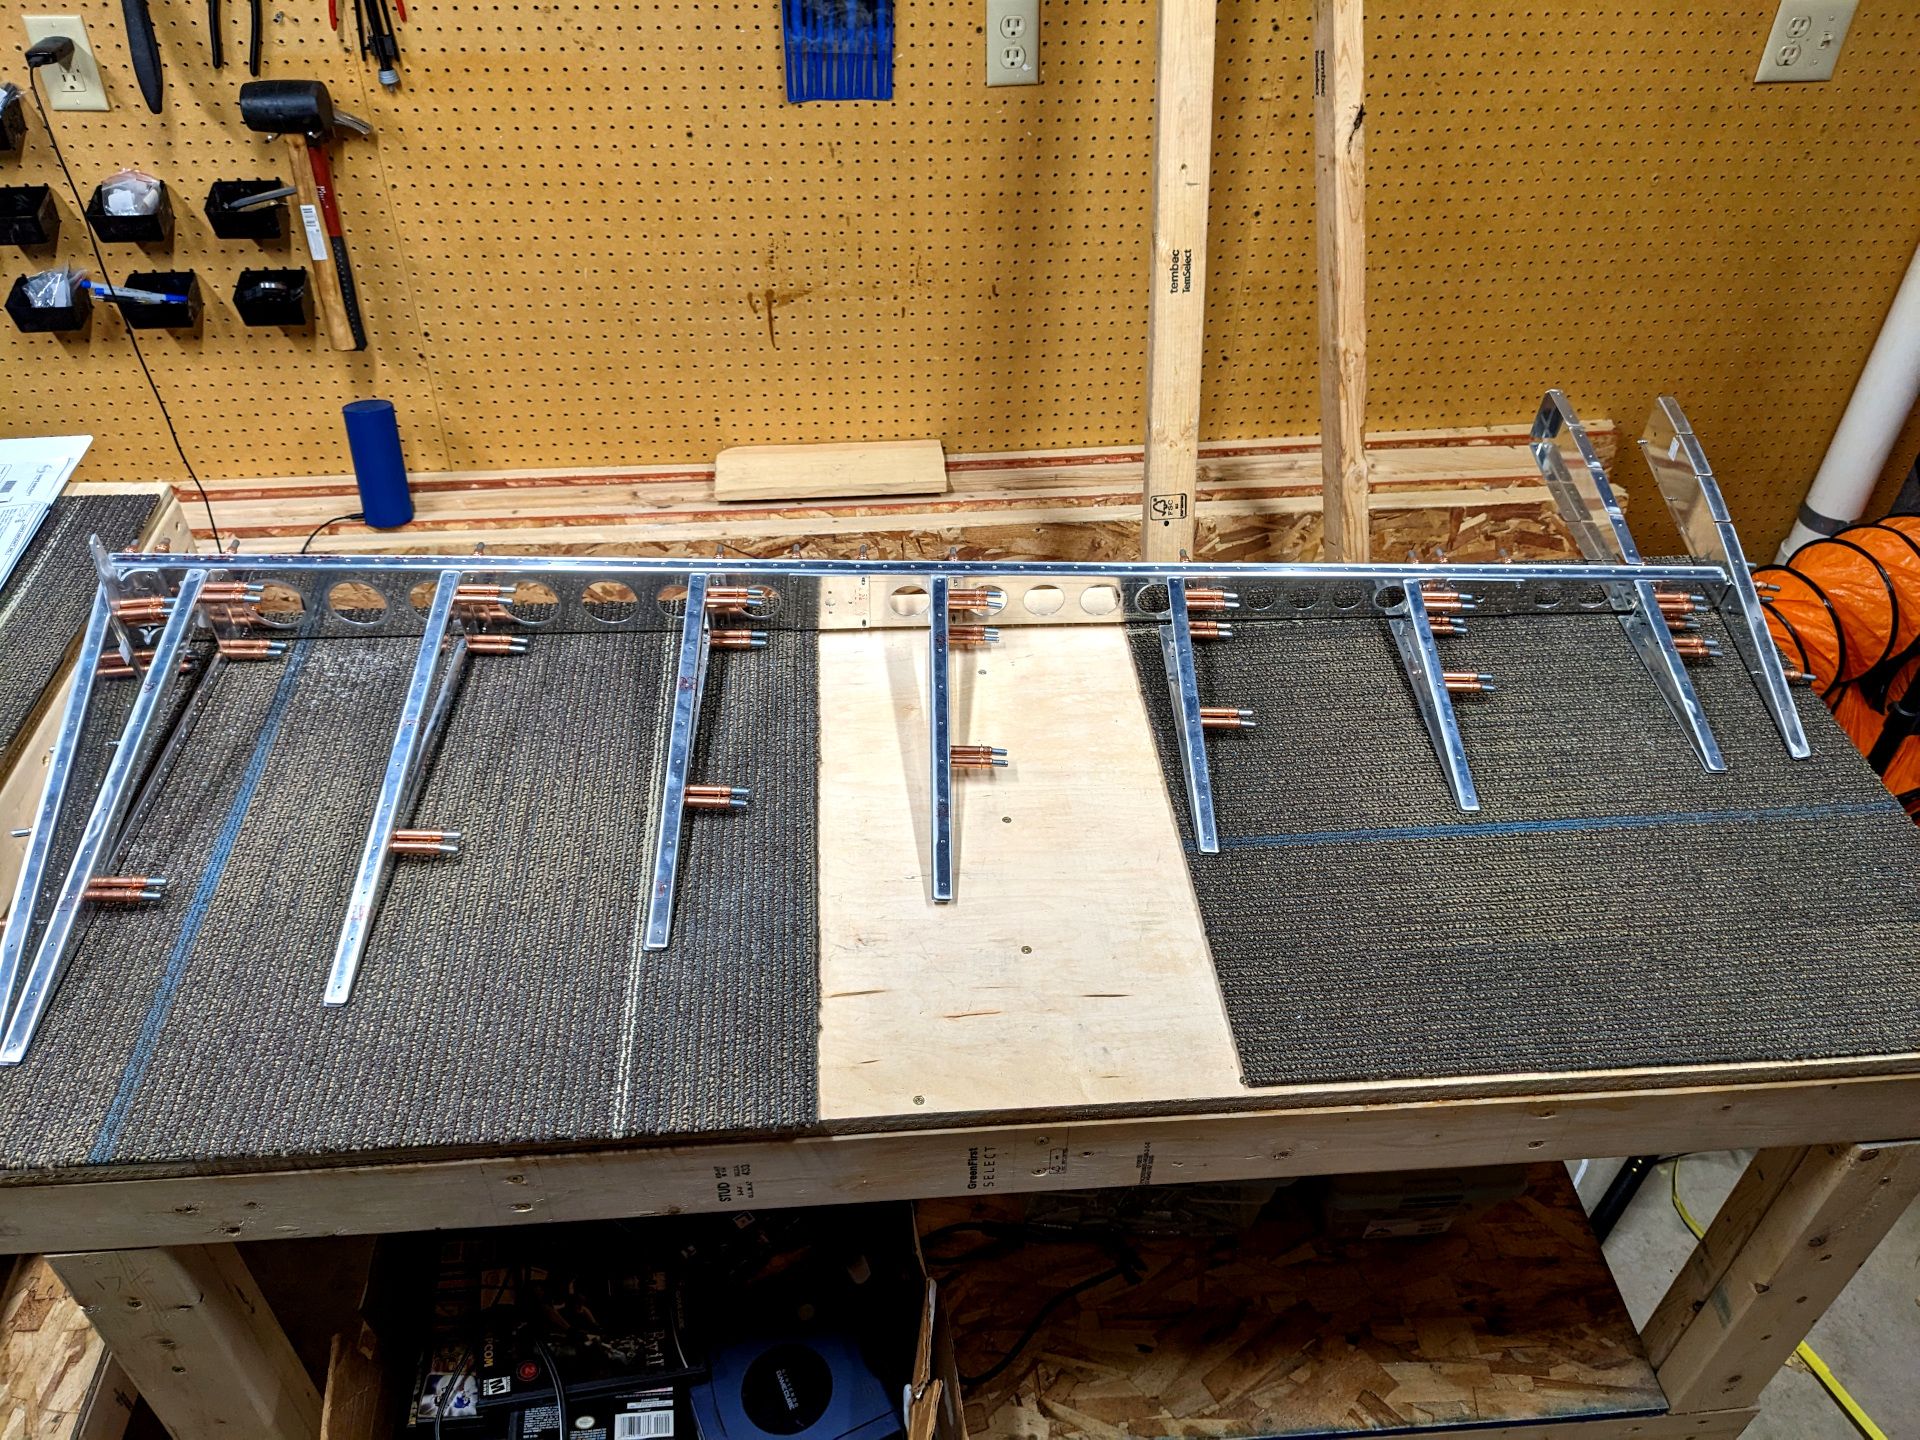
I love when you can finally see the structure. It makes me feel like I'm actually getting something done instead of just sitting in my basement being a nerd. So all the holes got run through with a drill just to make sure there won't be any interference with the rivets. This process isn't very interesting but it also isn't very time consuming on this part. Time to get the skins out though and prepare the trailing edge.
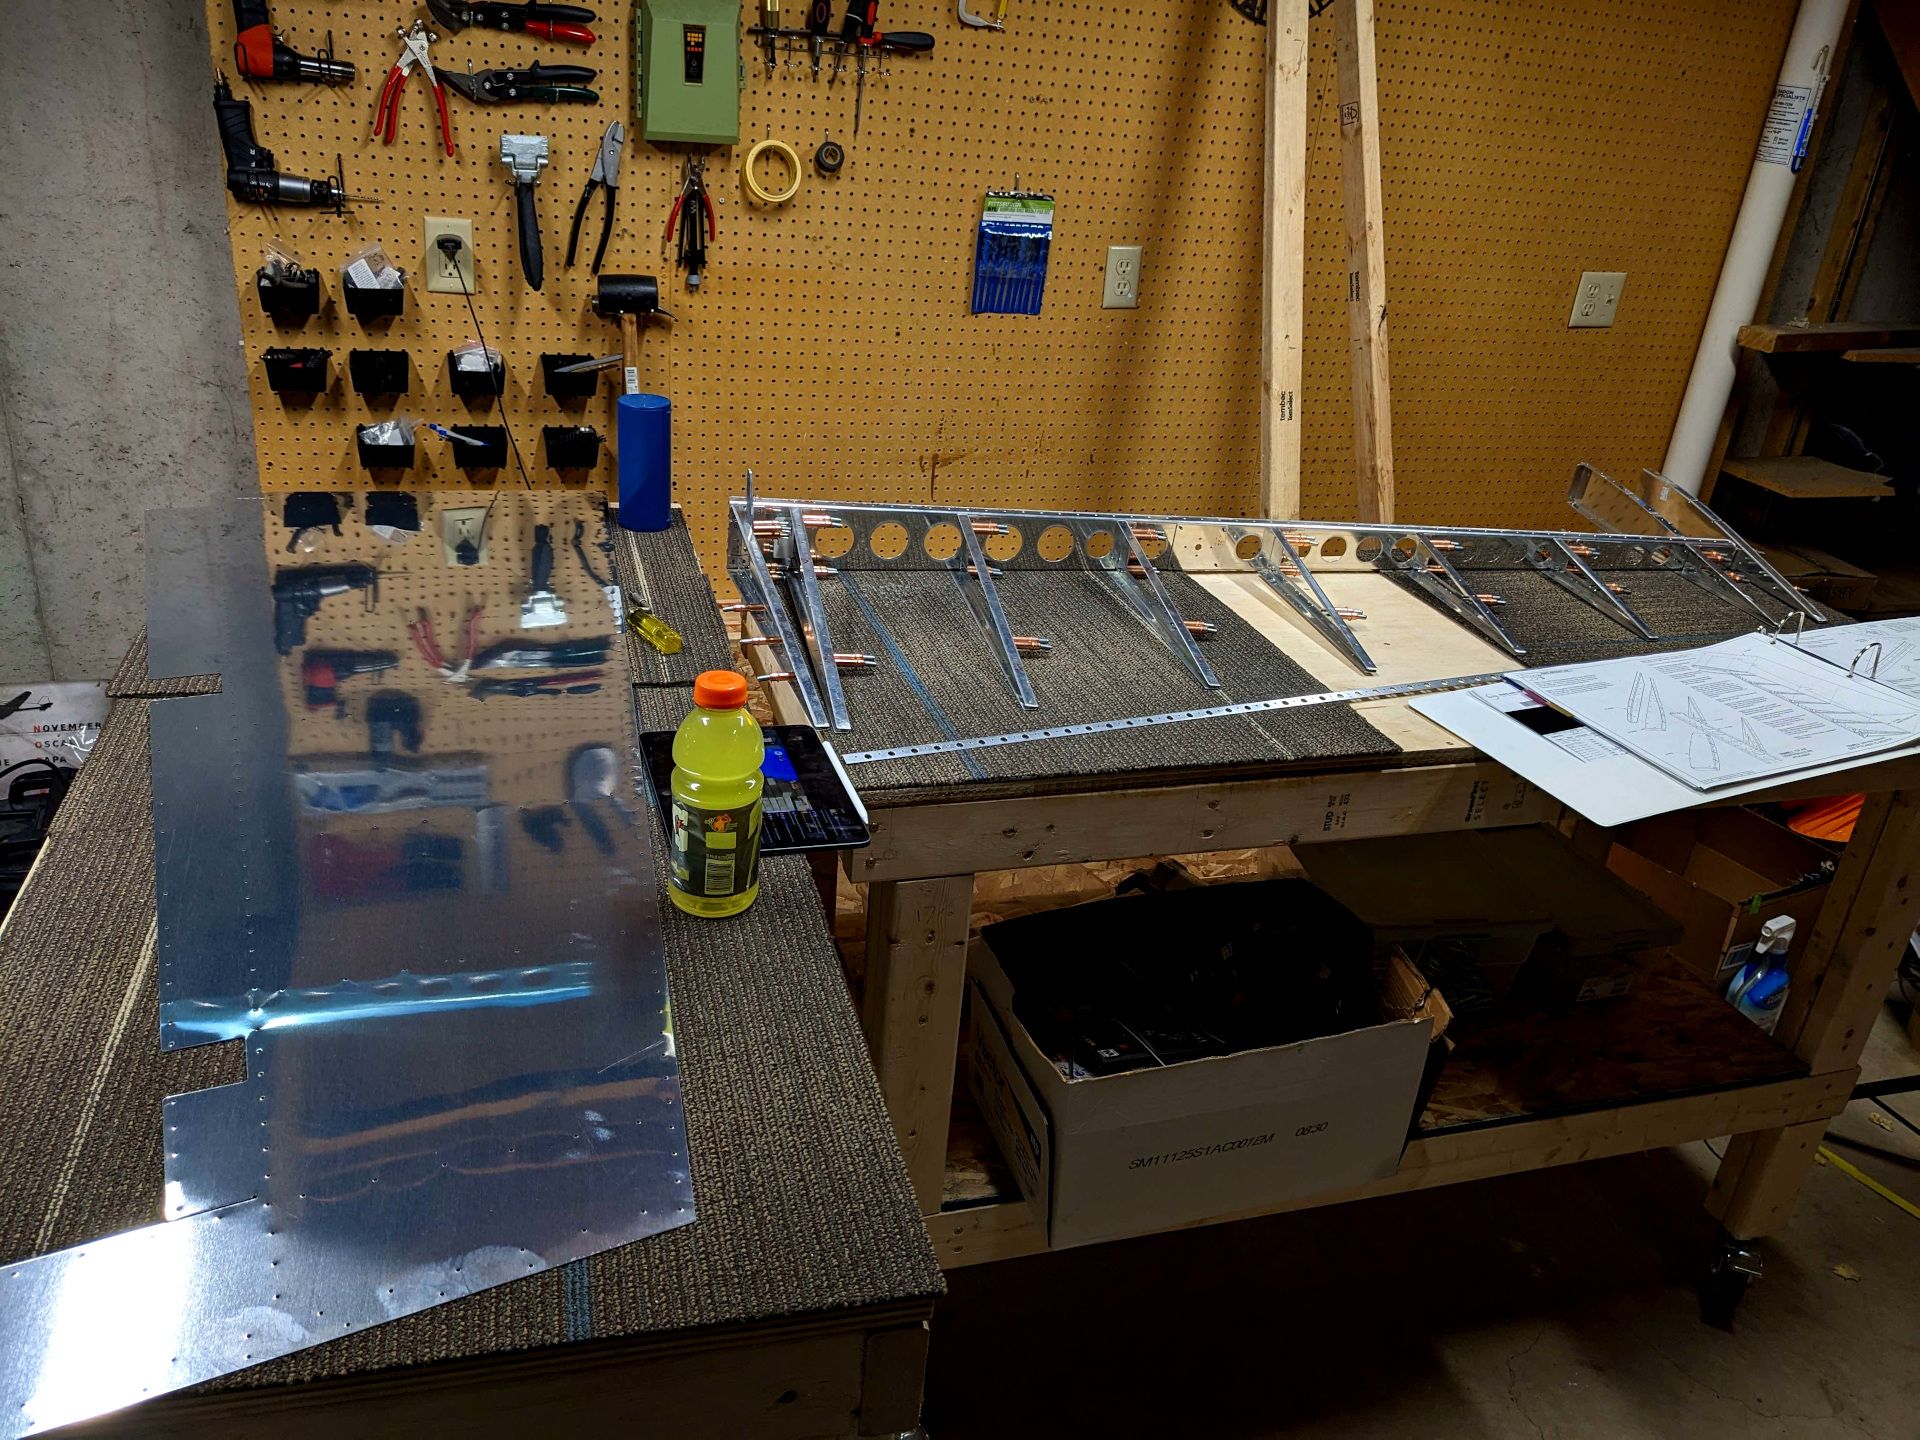
The trailing edge required cutting it to size for preparation and that was it. Not too bad. Anyway, let's get the skin attached.
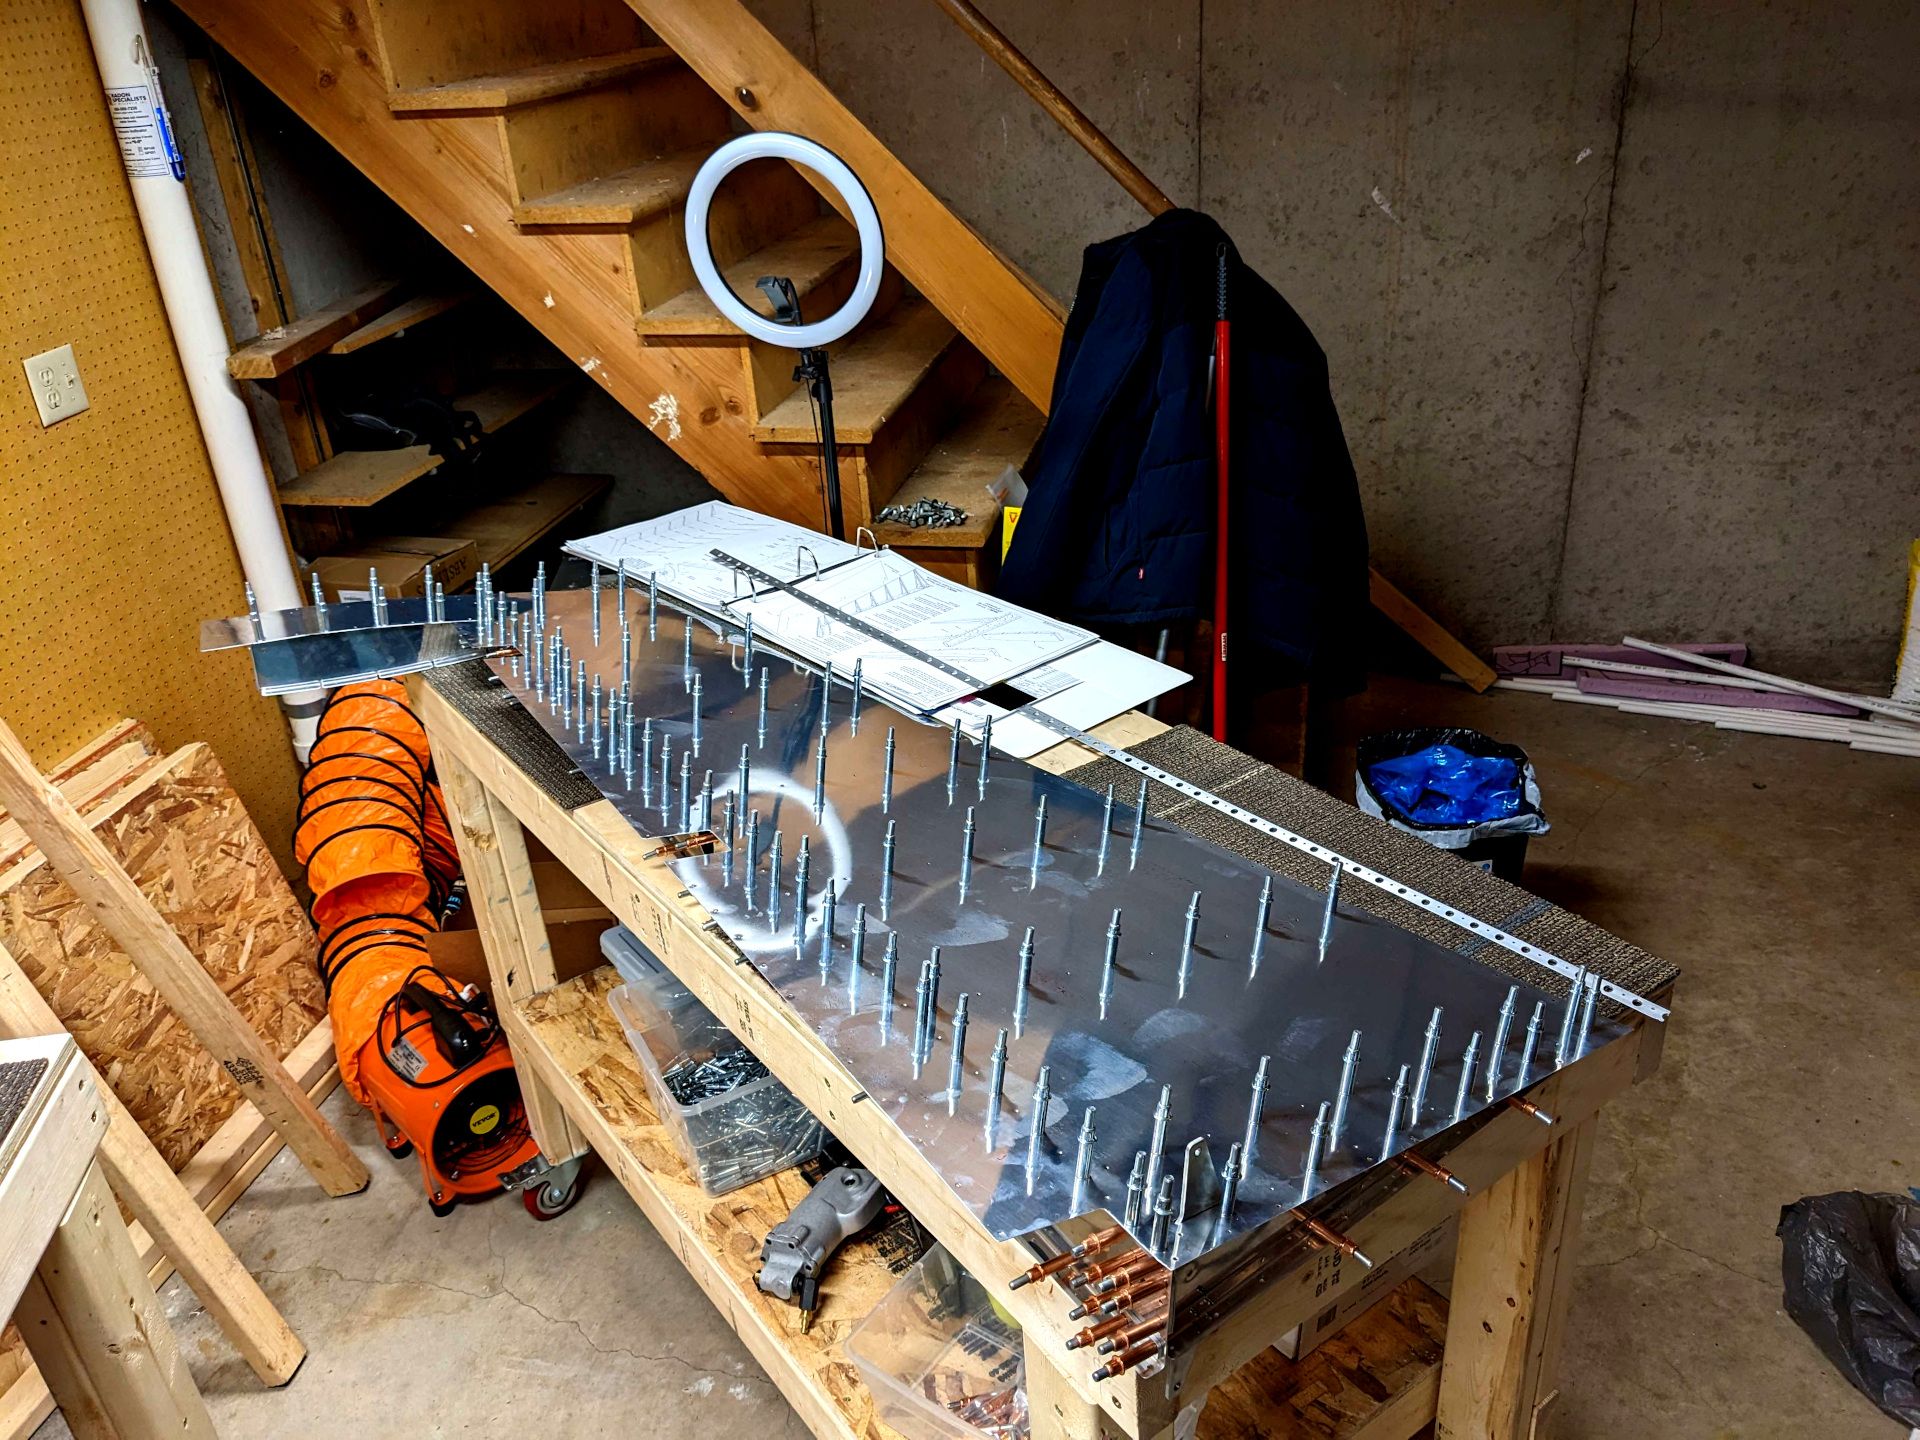
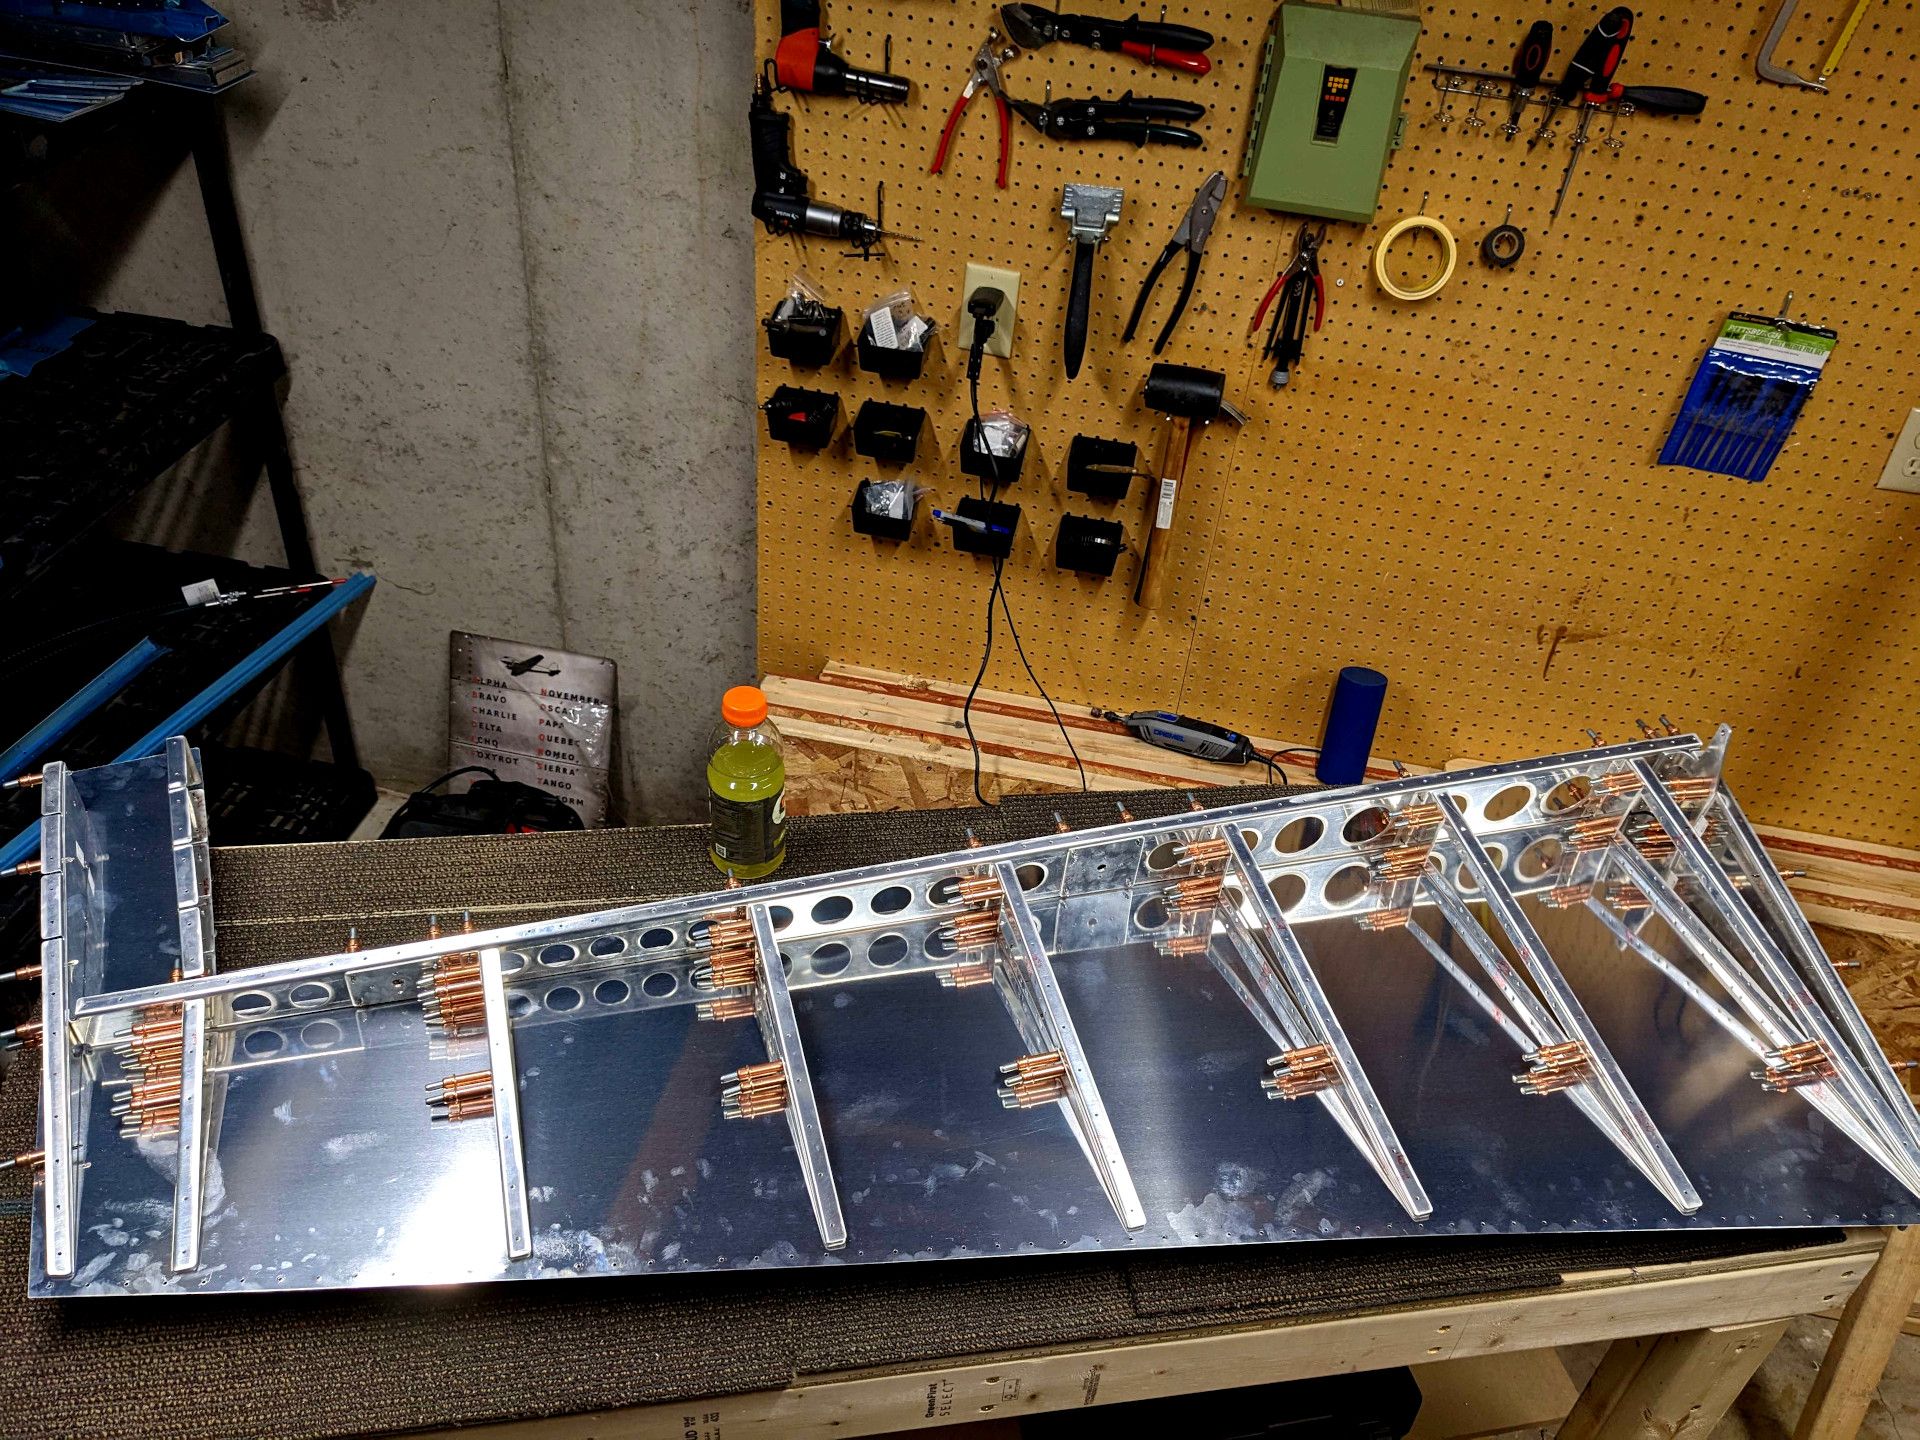
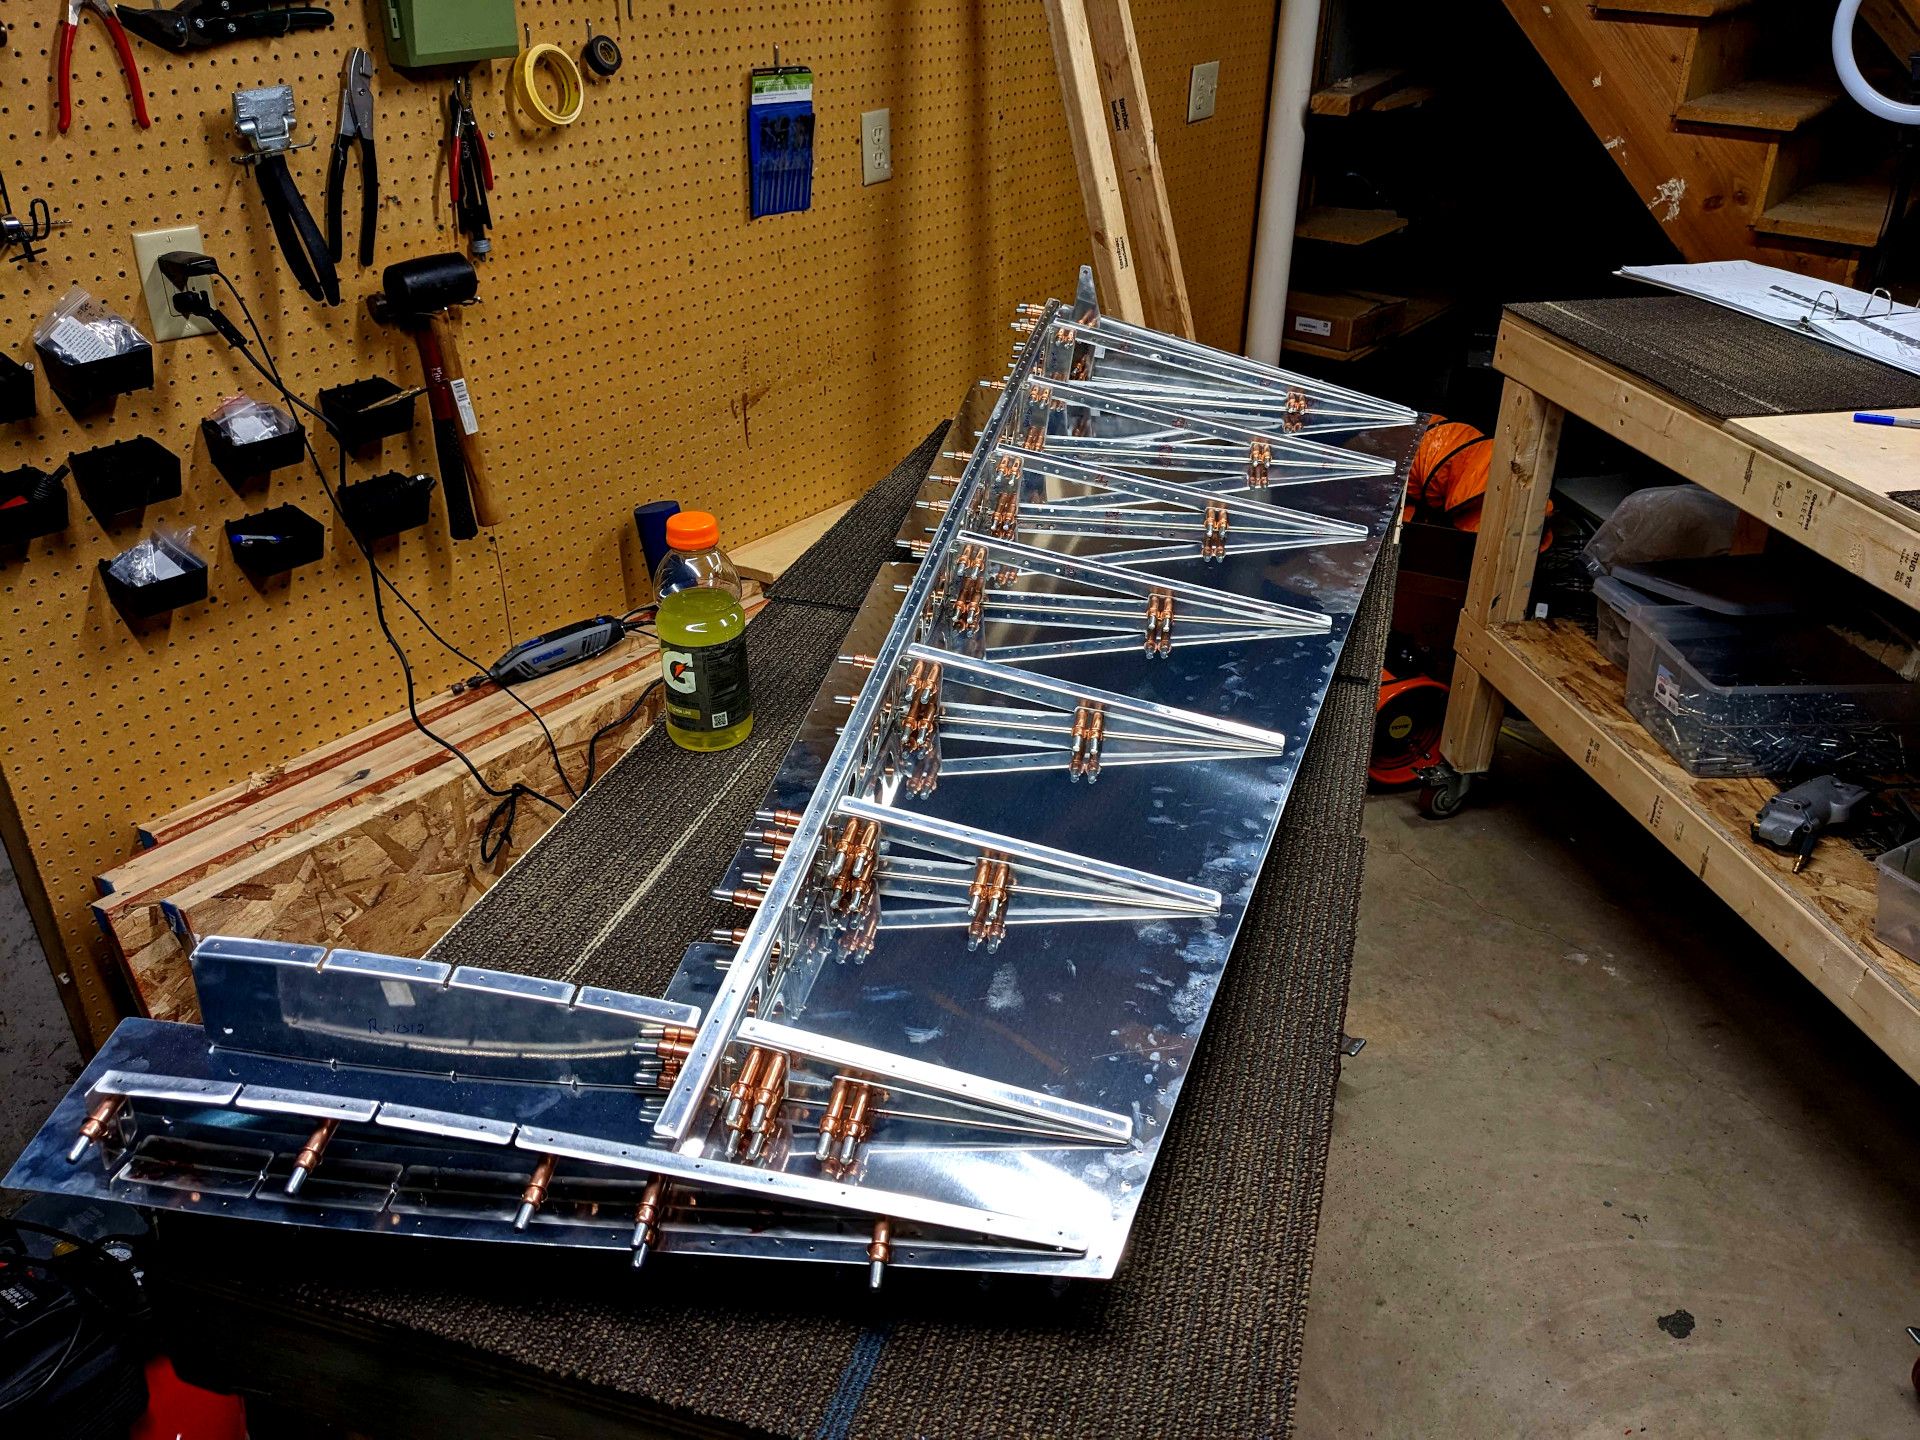
Ignoring all my greasy fingerprints for a moment, seeing the rudder skeleton and single side skin is pretty cool looking. The next step is to, of course, get the other side prepped and attached.
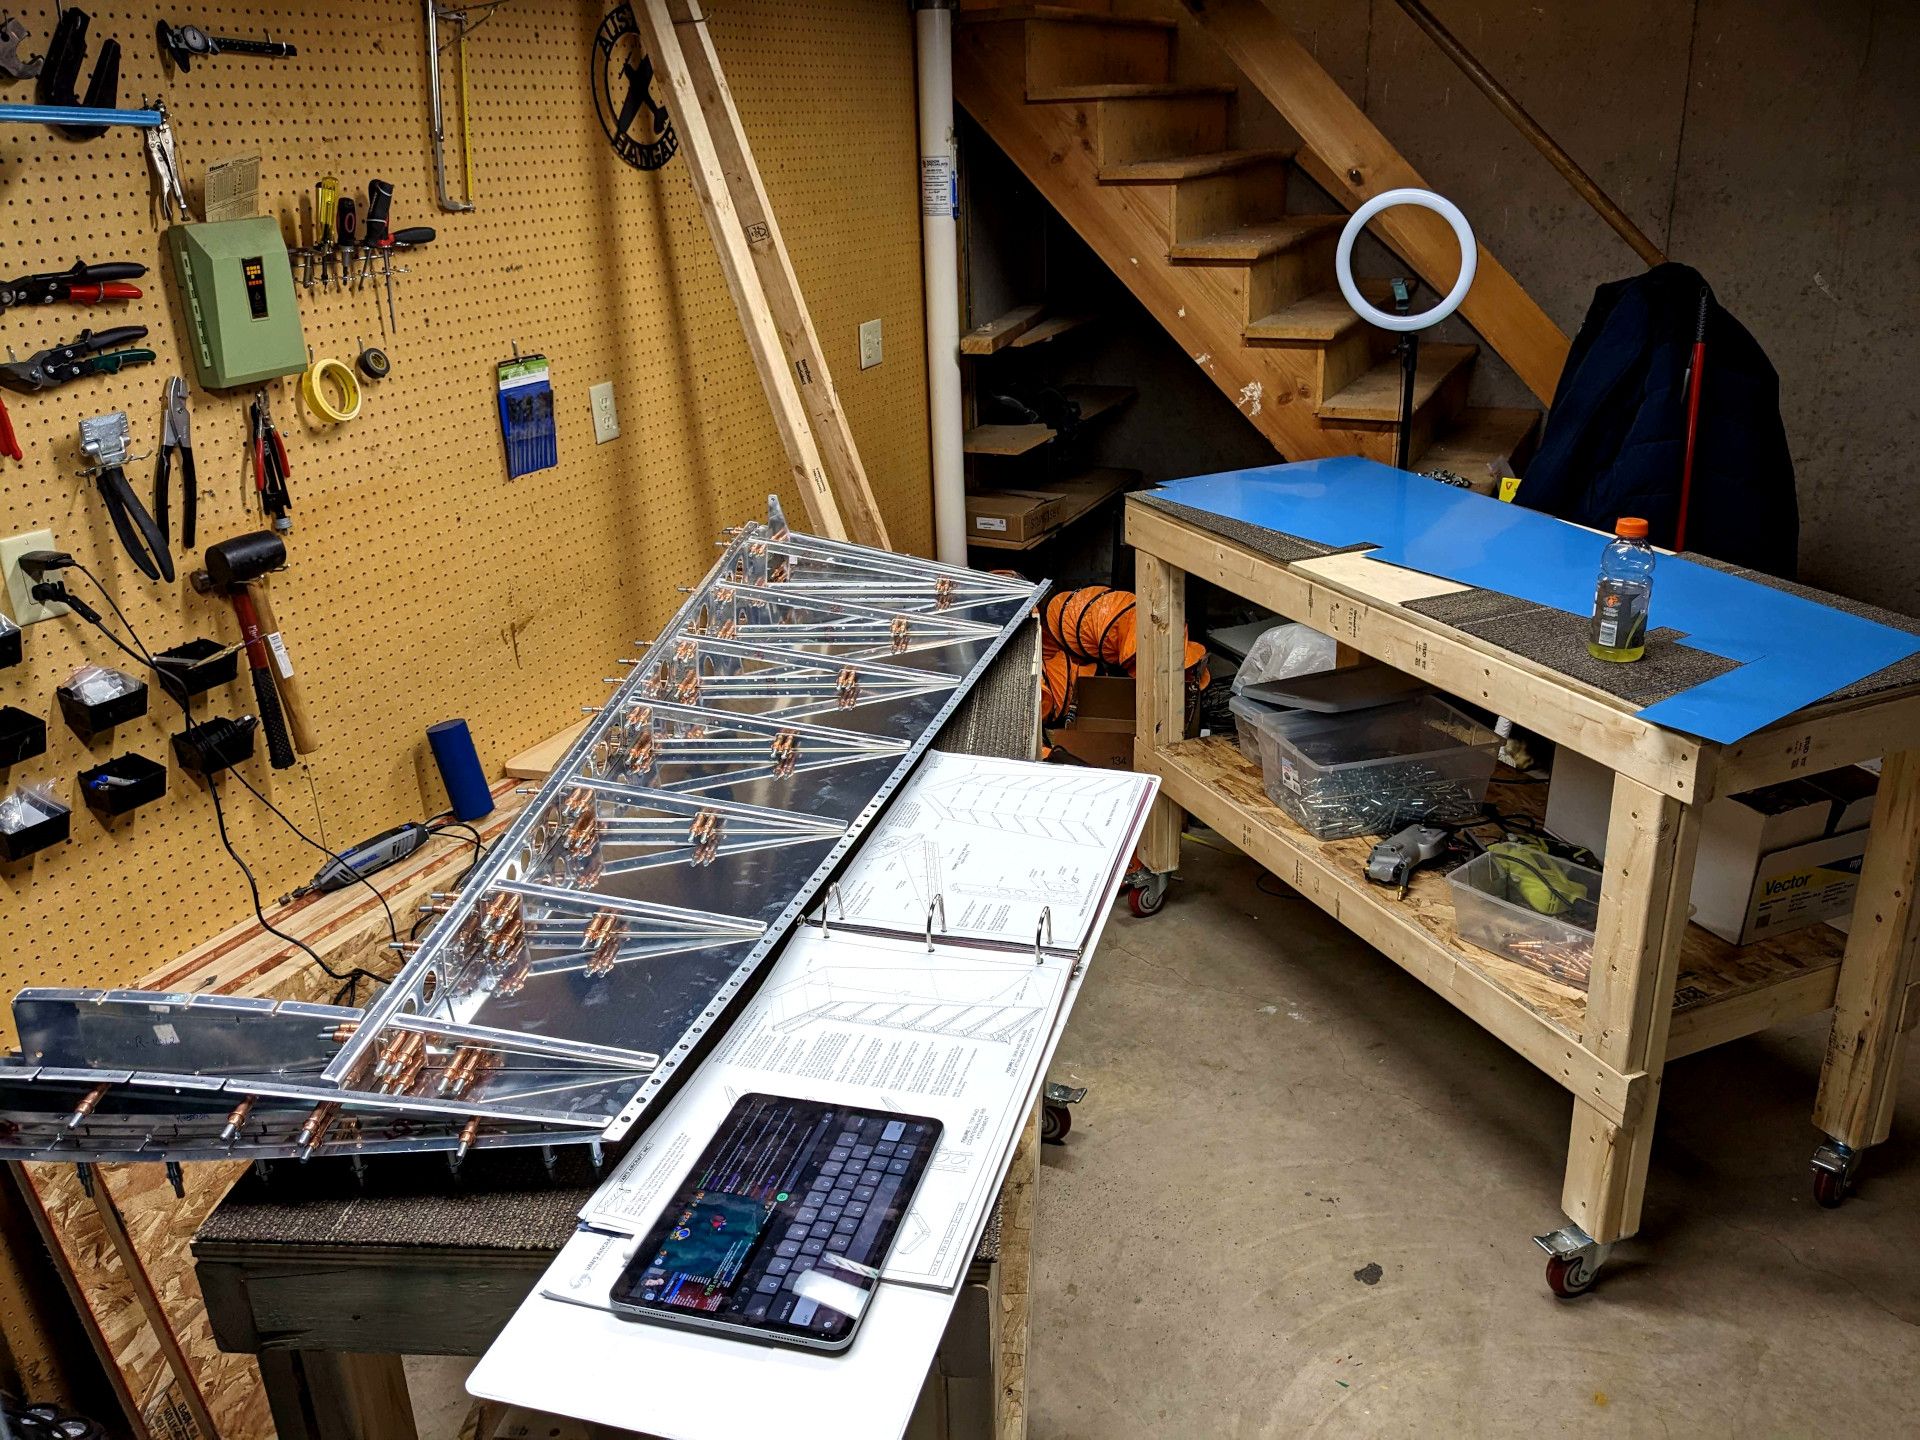
The rudder skins are actually identical until you match drill them. So a sharpie to write on them is important so you can mark which goes where. I streamed the whole process of match drilling the skins and it was very tedious.
I can't take pictures while streaming because I use my phone as the stream camera. That is a problem I should fix at some point if I want to stream more, but I can take stills from the stream I guess.
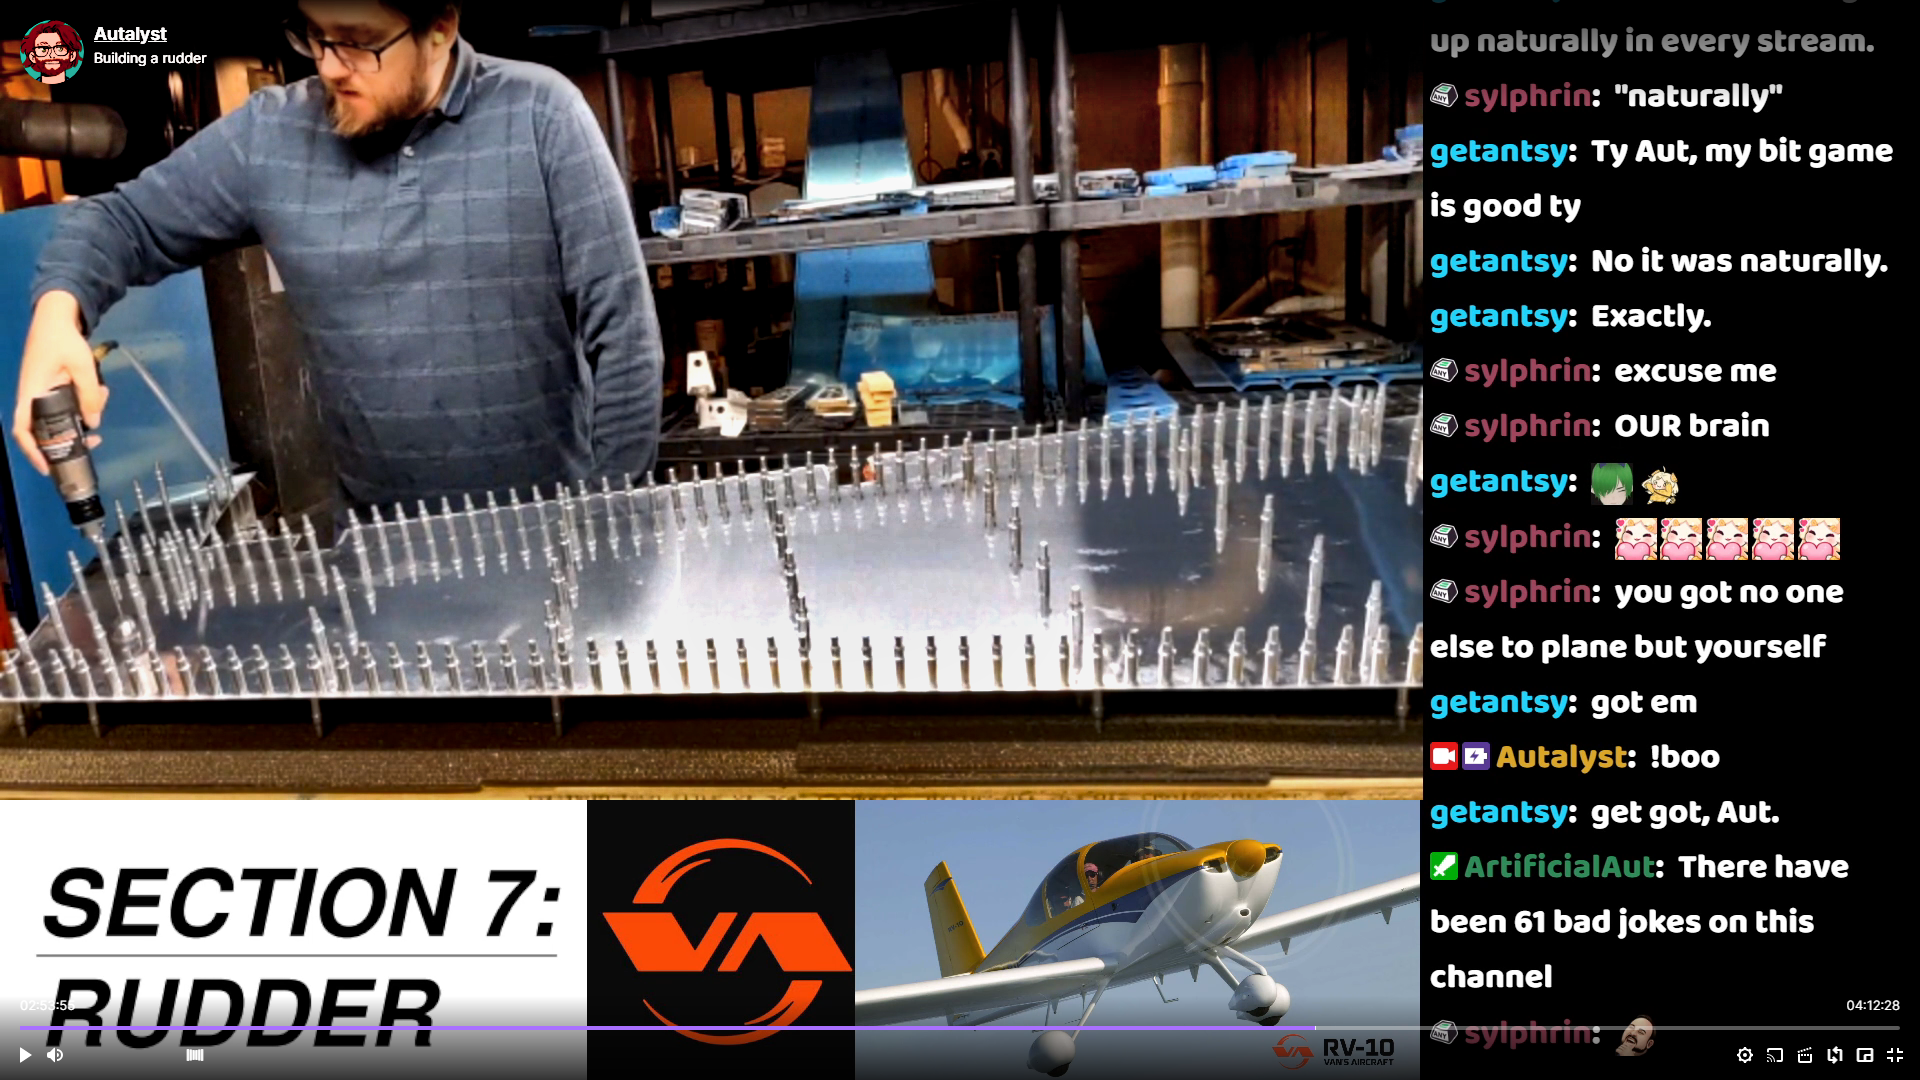
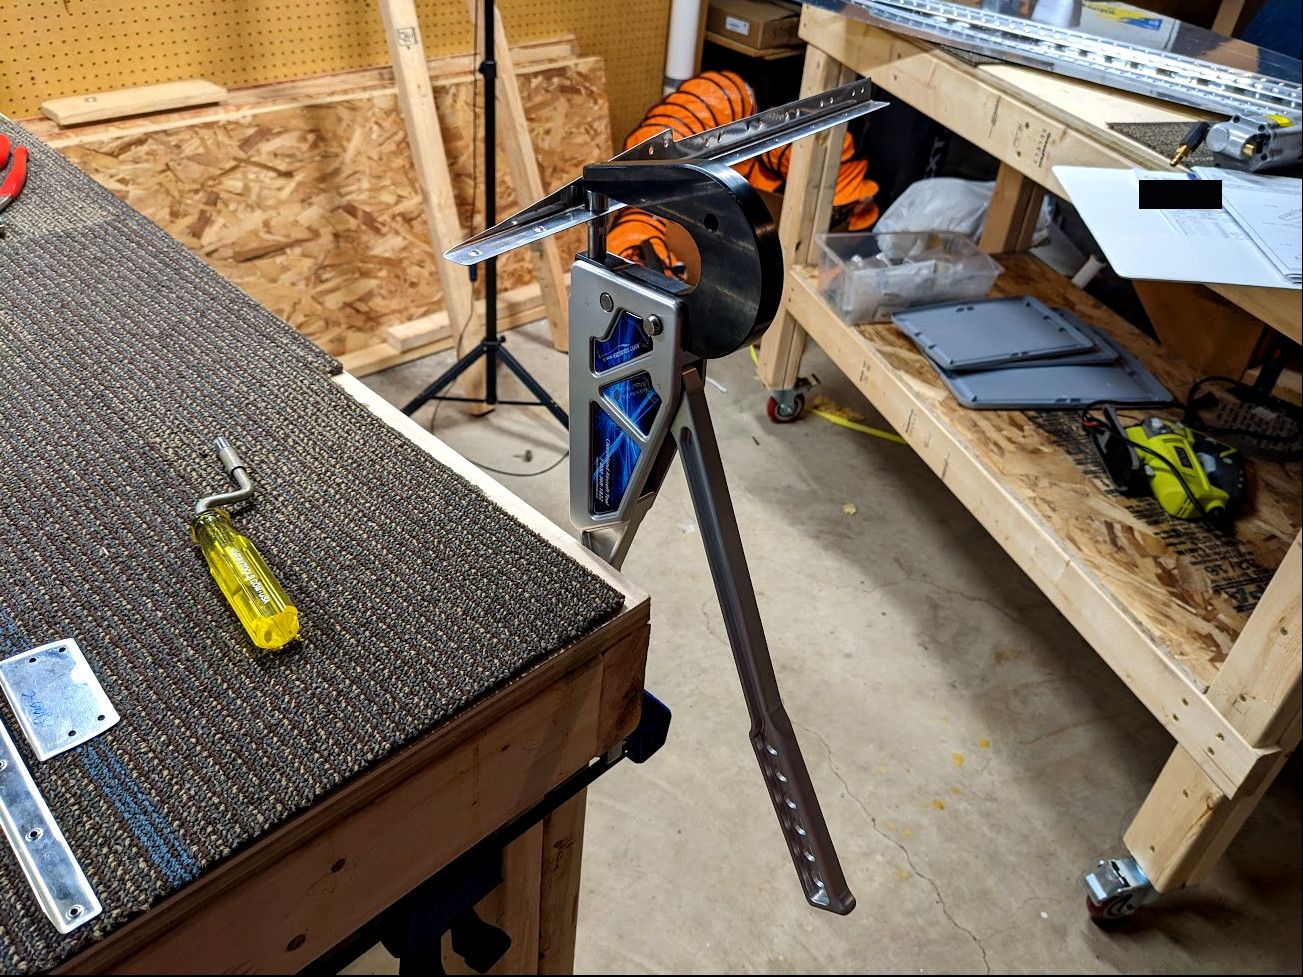
It was a LOT of clecos and drilling. But all it takes is time and then I am done. So after that, everything gets taken apart again and dimpled so the rivets can sit flush. I clamped my dimpler to my workbench to make the process a bit faster.
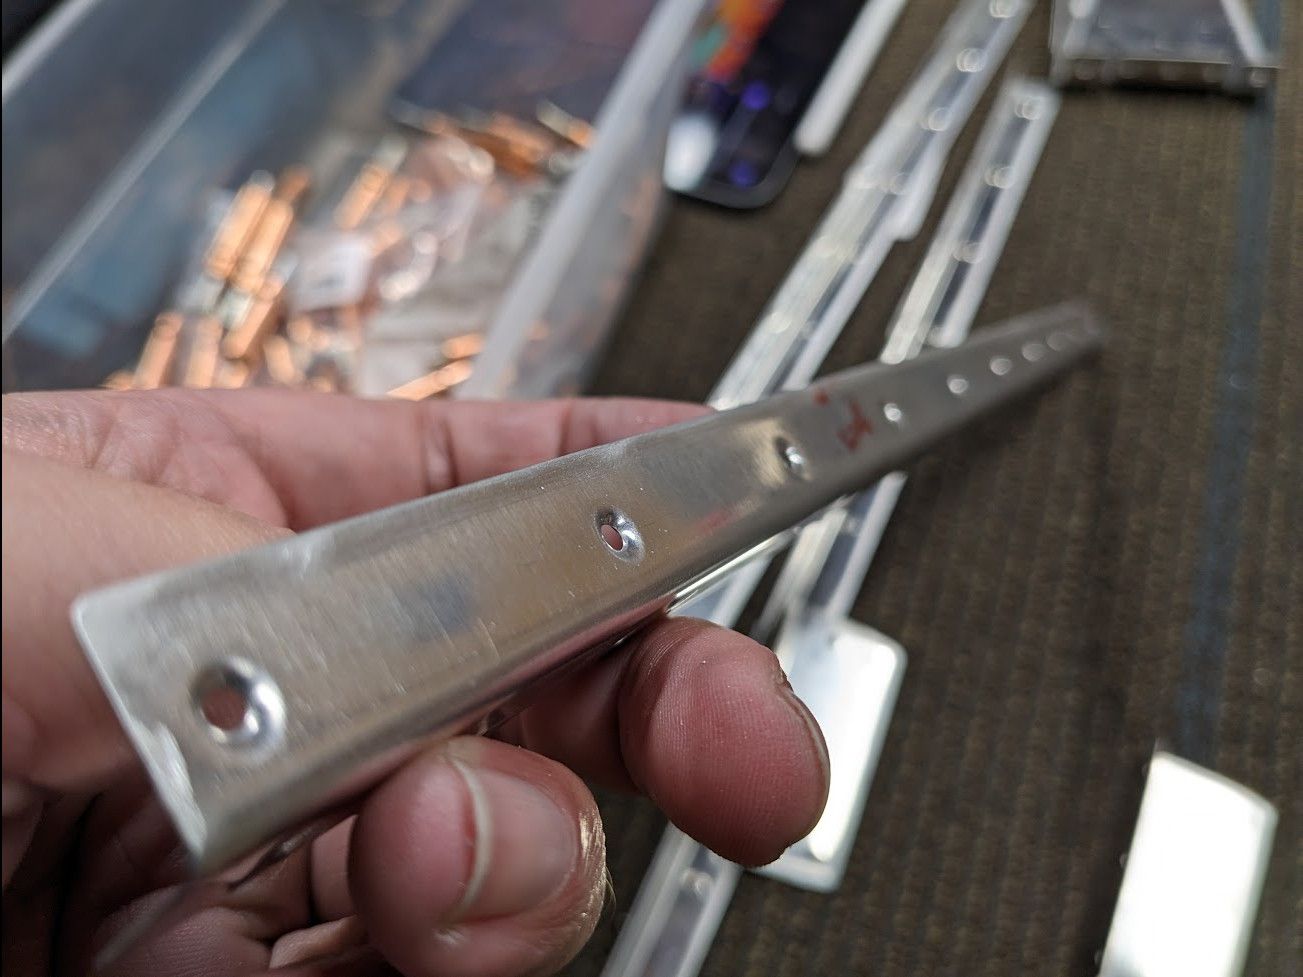
It amuses me how small everything can collapse down to. Check it out.
So, where was that mistake I mentioned earlier? Well, it happened when dimpling the skins (also making it a more expensive replacement).
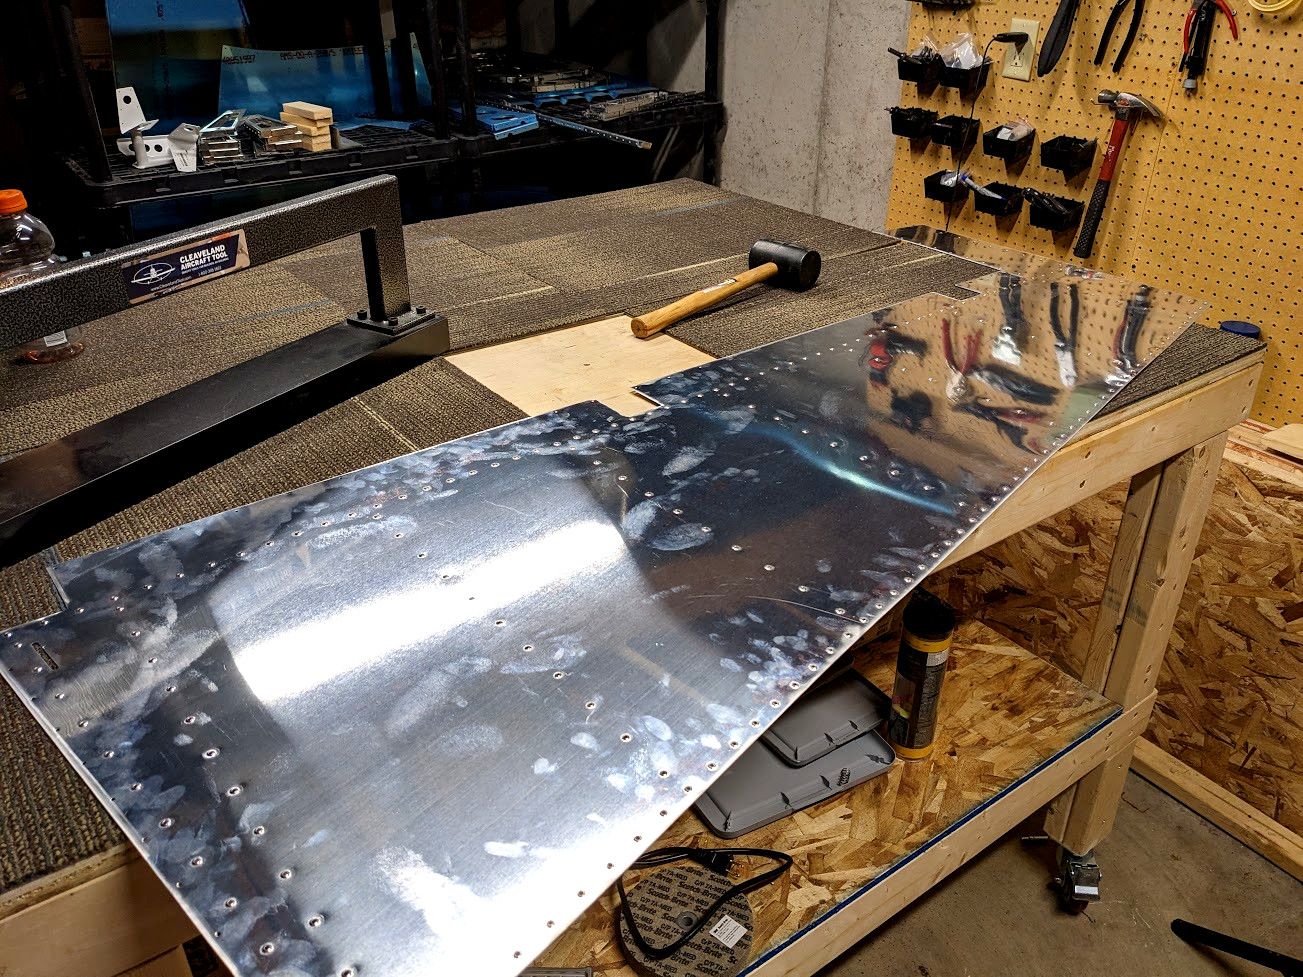
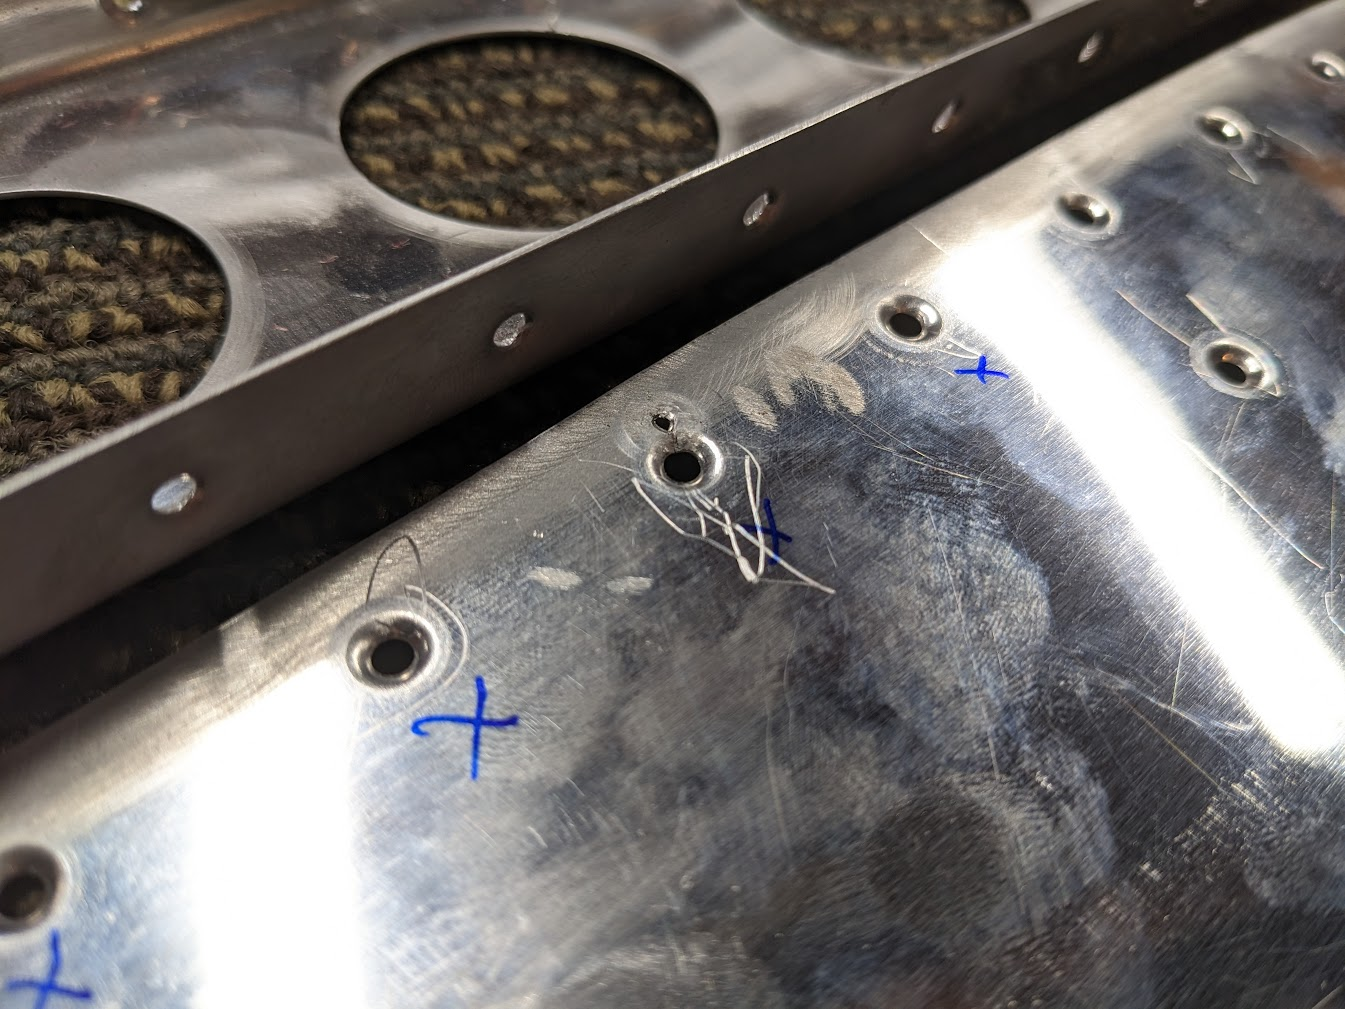
So, dimpling the skin is pretty repetitive and I was using my c-frame dimpler. So you get into a nice workflow with the mallet and start putting dimples in. Unfortunately for me, the dimple die jumped and I punched a hole straight through the trailing edge and pretty close to existing holes. I hammered the dimple out but I wasn't comfortable with where the hole ended up and how the dimple interfered with the other one. Basically, I think it would be a failure point so... I ordered a new rudder skin. Luckily a single rudder skin isn't too expensive for aviation and was $50 plus $20 shipping (it is 5 feet long). Here is what it ended up being after trying to fix it a bit.
So right now I'm just waiting on the skin to arrive so I can prepare it and dimple again (carefully). Luckily the weather is not winter anymore so I can prime the parts outside without setting up an elaborate paint booth in my basement.

It was a lot faster to do this outside and a lot less restrictive space-wise. I definitely don't miss winter around here. I have to touch up a few spots and I figure I'll do that when the second skin arrives.
Thanks for stopping by! I hope you come by again and see what is happening later. Be well.
