Past Me: Oh... I Need a Workbench

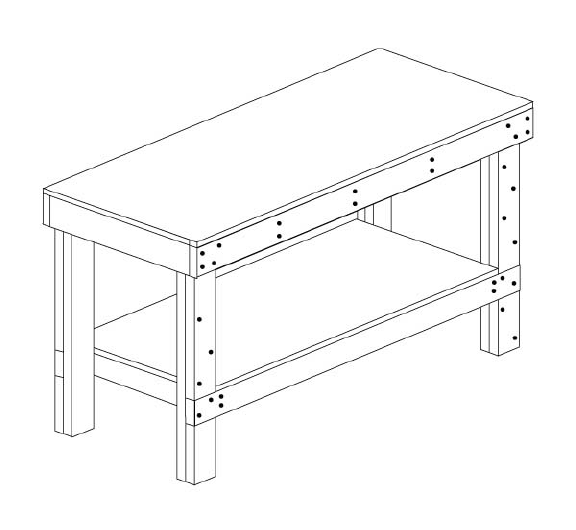
Over the summer I was standing in my garage thinking about what kind of workspace would be best suited to my needs when I realized I actually have zero work tables. That is definitely not ideal, since I'll need a place to set things while working. It was about that time I noticed that a lot of people building aircraft had a very similar looking set of tables. Well then, I surmise there must be plans somewhere and I went to google to start hunting. It didn't take long at all and I came across some plans from the Experimental Aircraft Association (EAA). https://www.eaa.org/eaa/aircraft-building/builderresources/while-youre-building/building-articles/tools-and-workshop/worktables
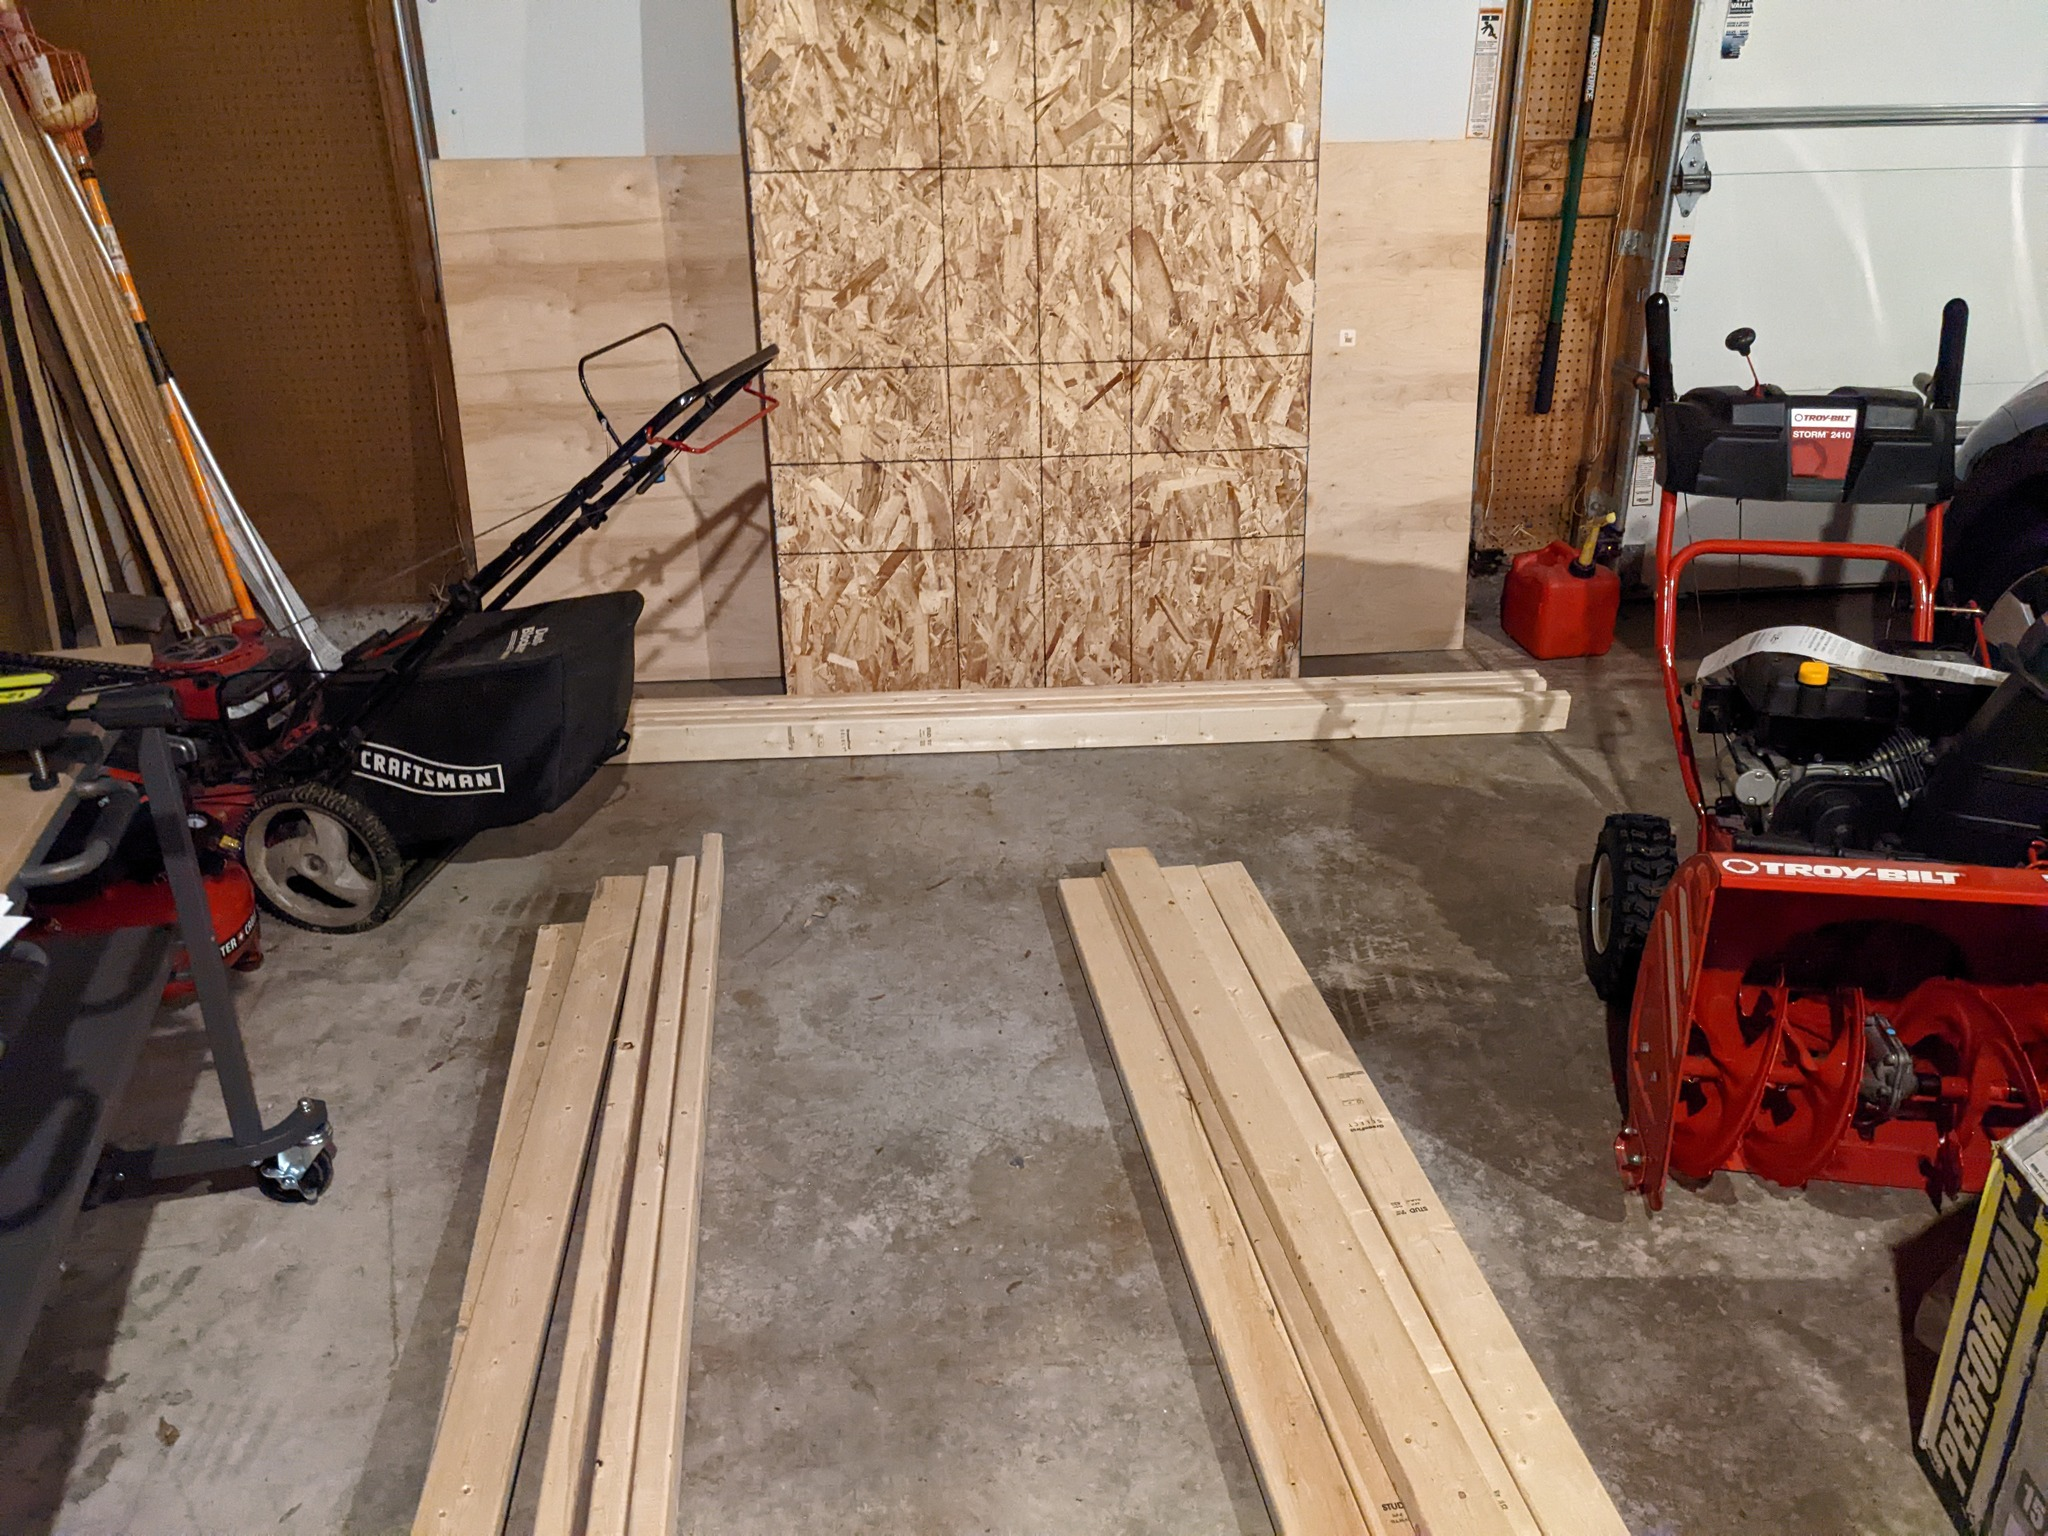
The nice part of all this is it also gave materials needed and a cut sheet to make the most of what you get! So I borrowed a truck and went off to the hardware store to get what I need to make my own. This wasn't at peak lumber prices but it definitely wasn't cheap when I bought it. However, 14 2x4's and some plywood sheets later I had all the material I needed to make two work tables.
Now, full disclosure here, I also purchased a collapsible work bench and a miter saw so I could do this project. While I'm sure I could have done this without it, it was a lot easier to make all the cuts with a miter saw.
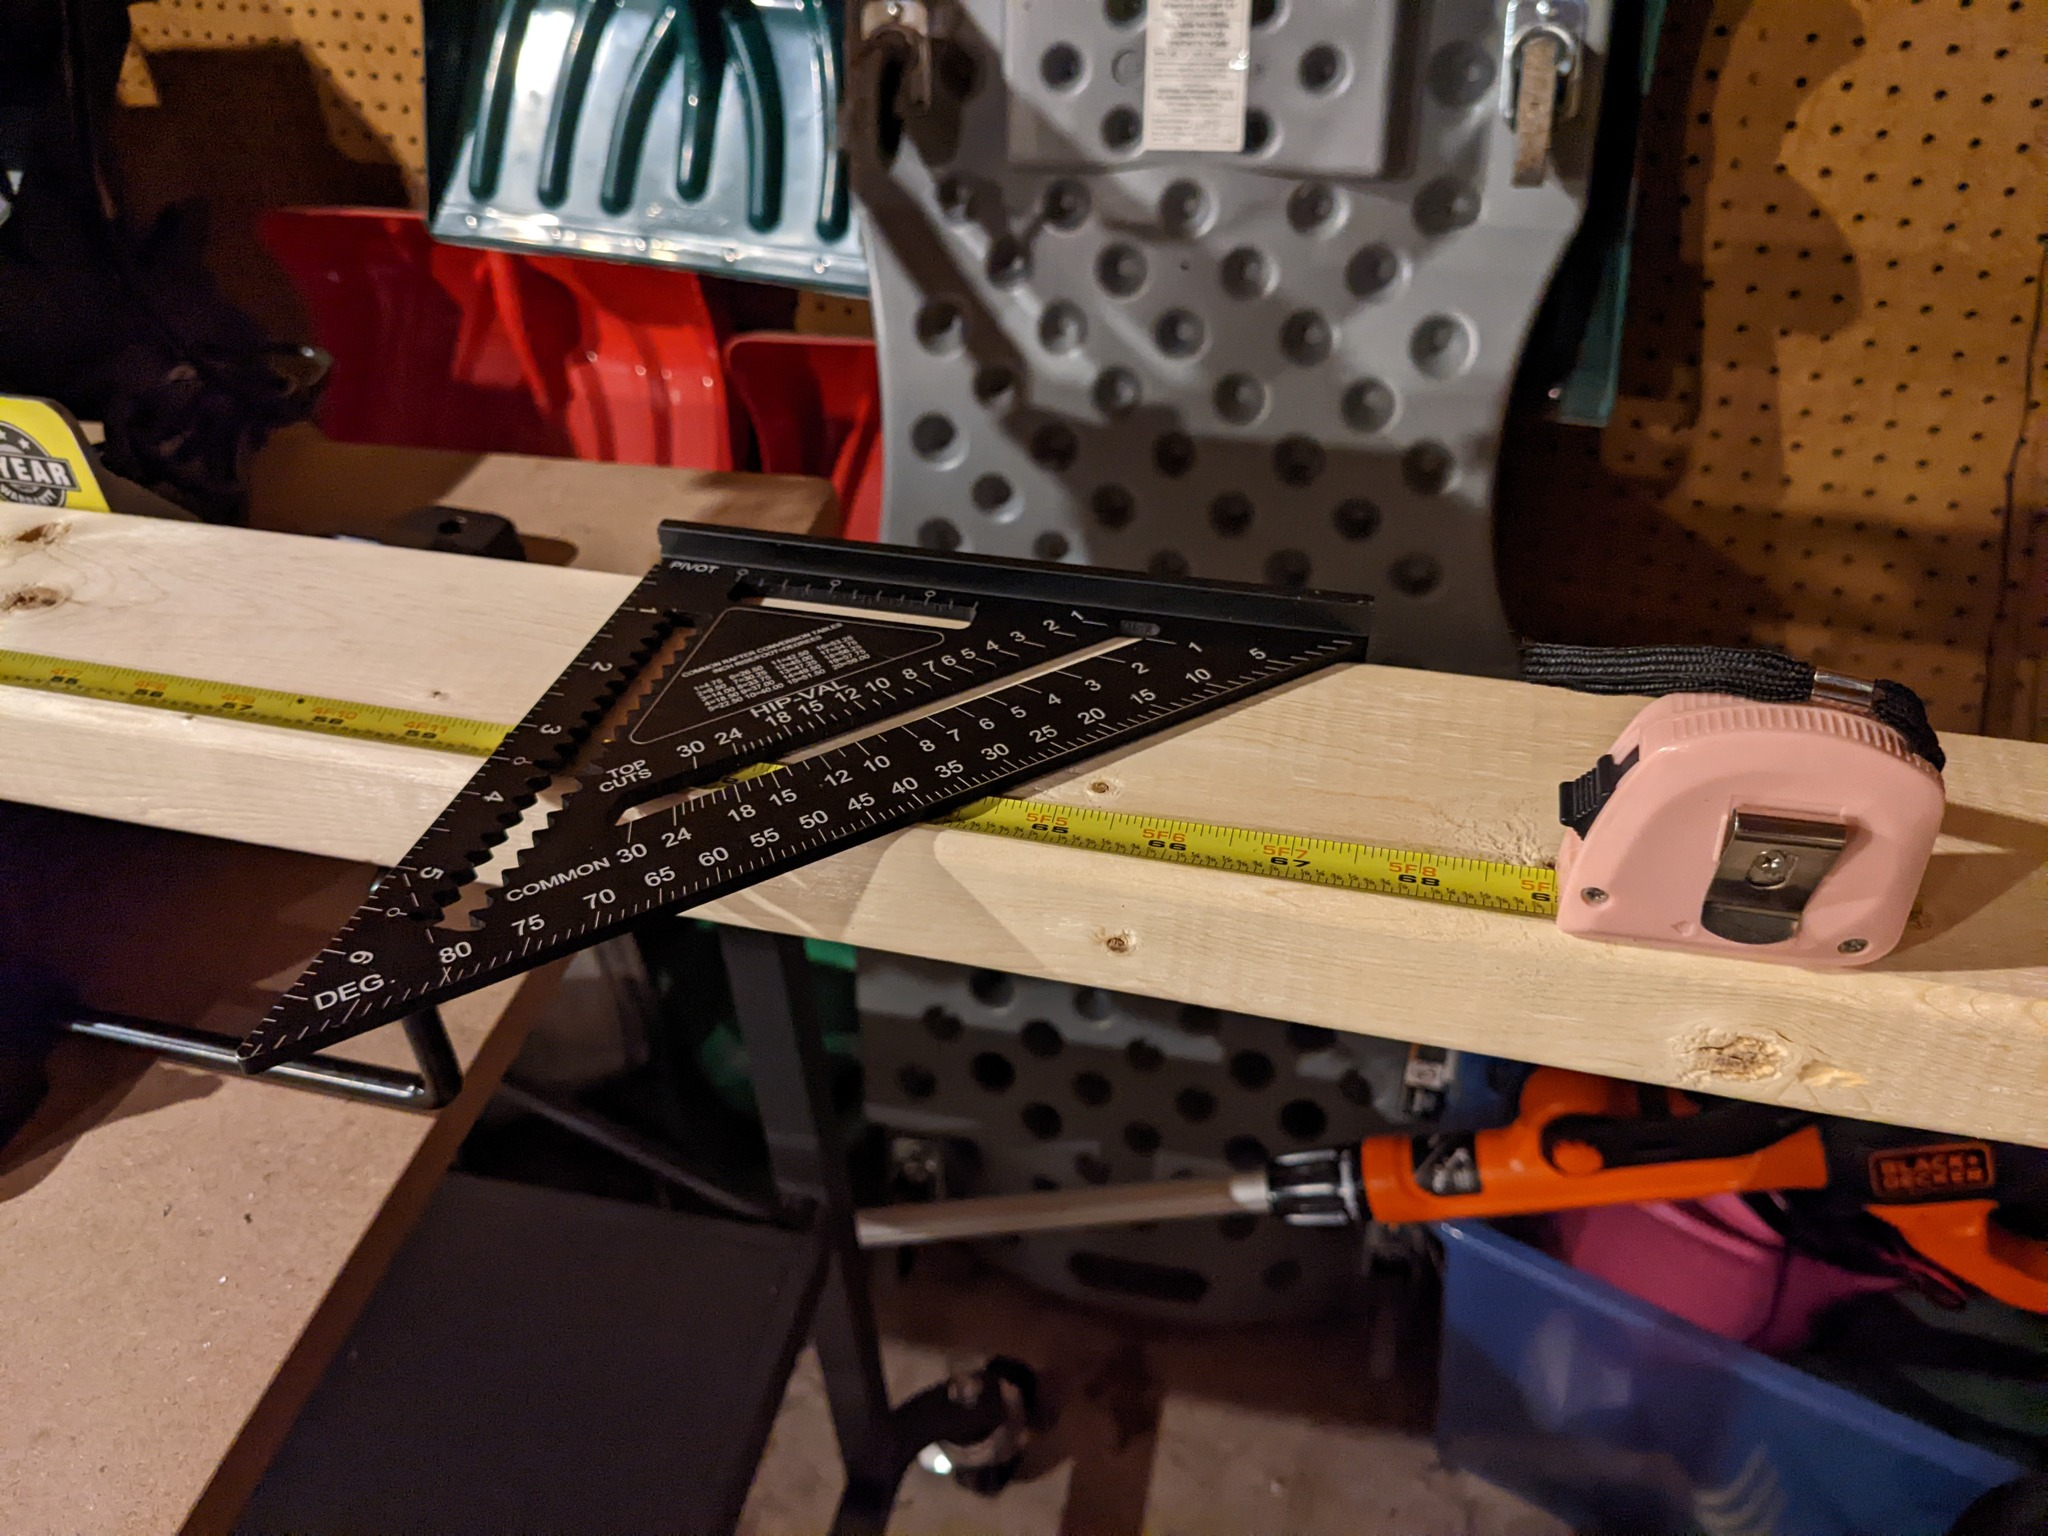
So it was a lot of measuring and cutting. Measure, cut. Measure, cut. etc etc etc.
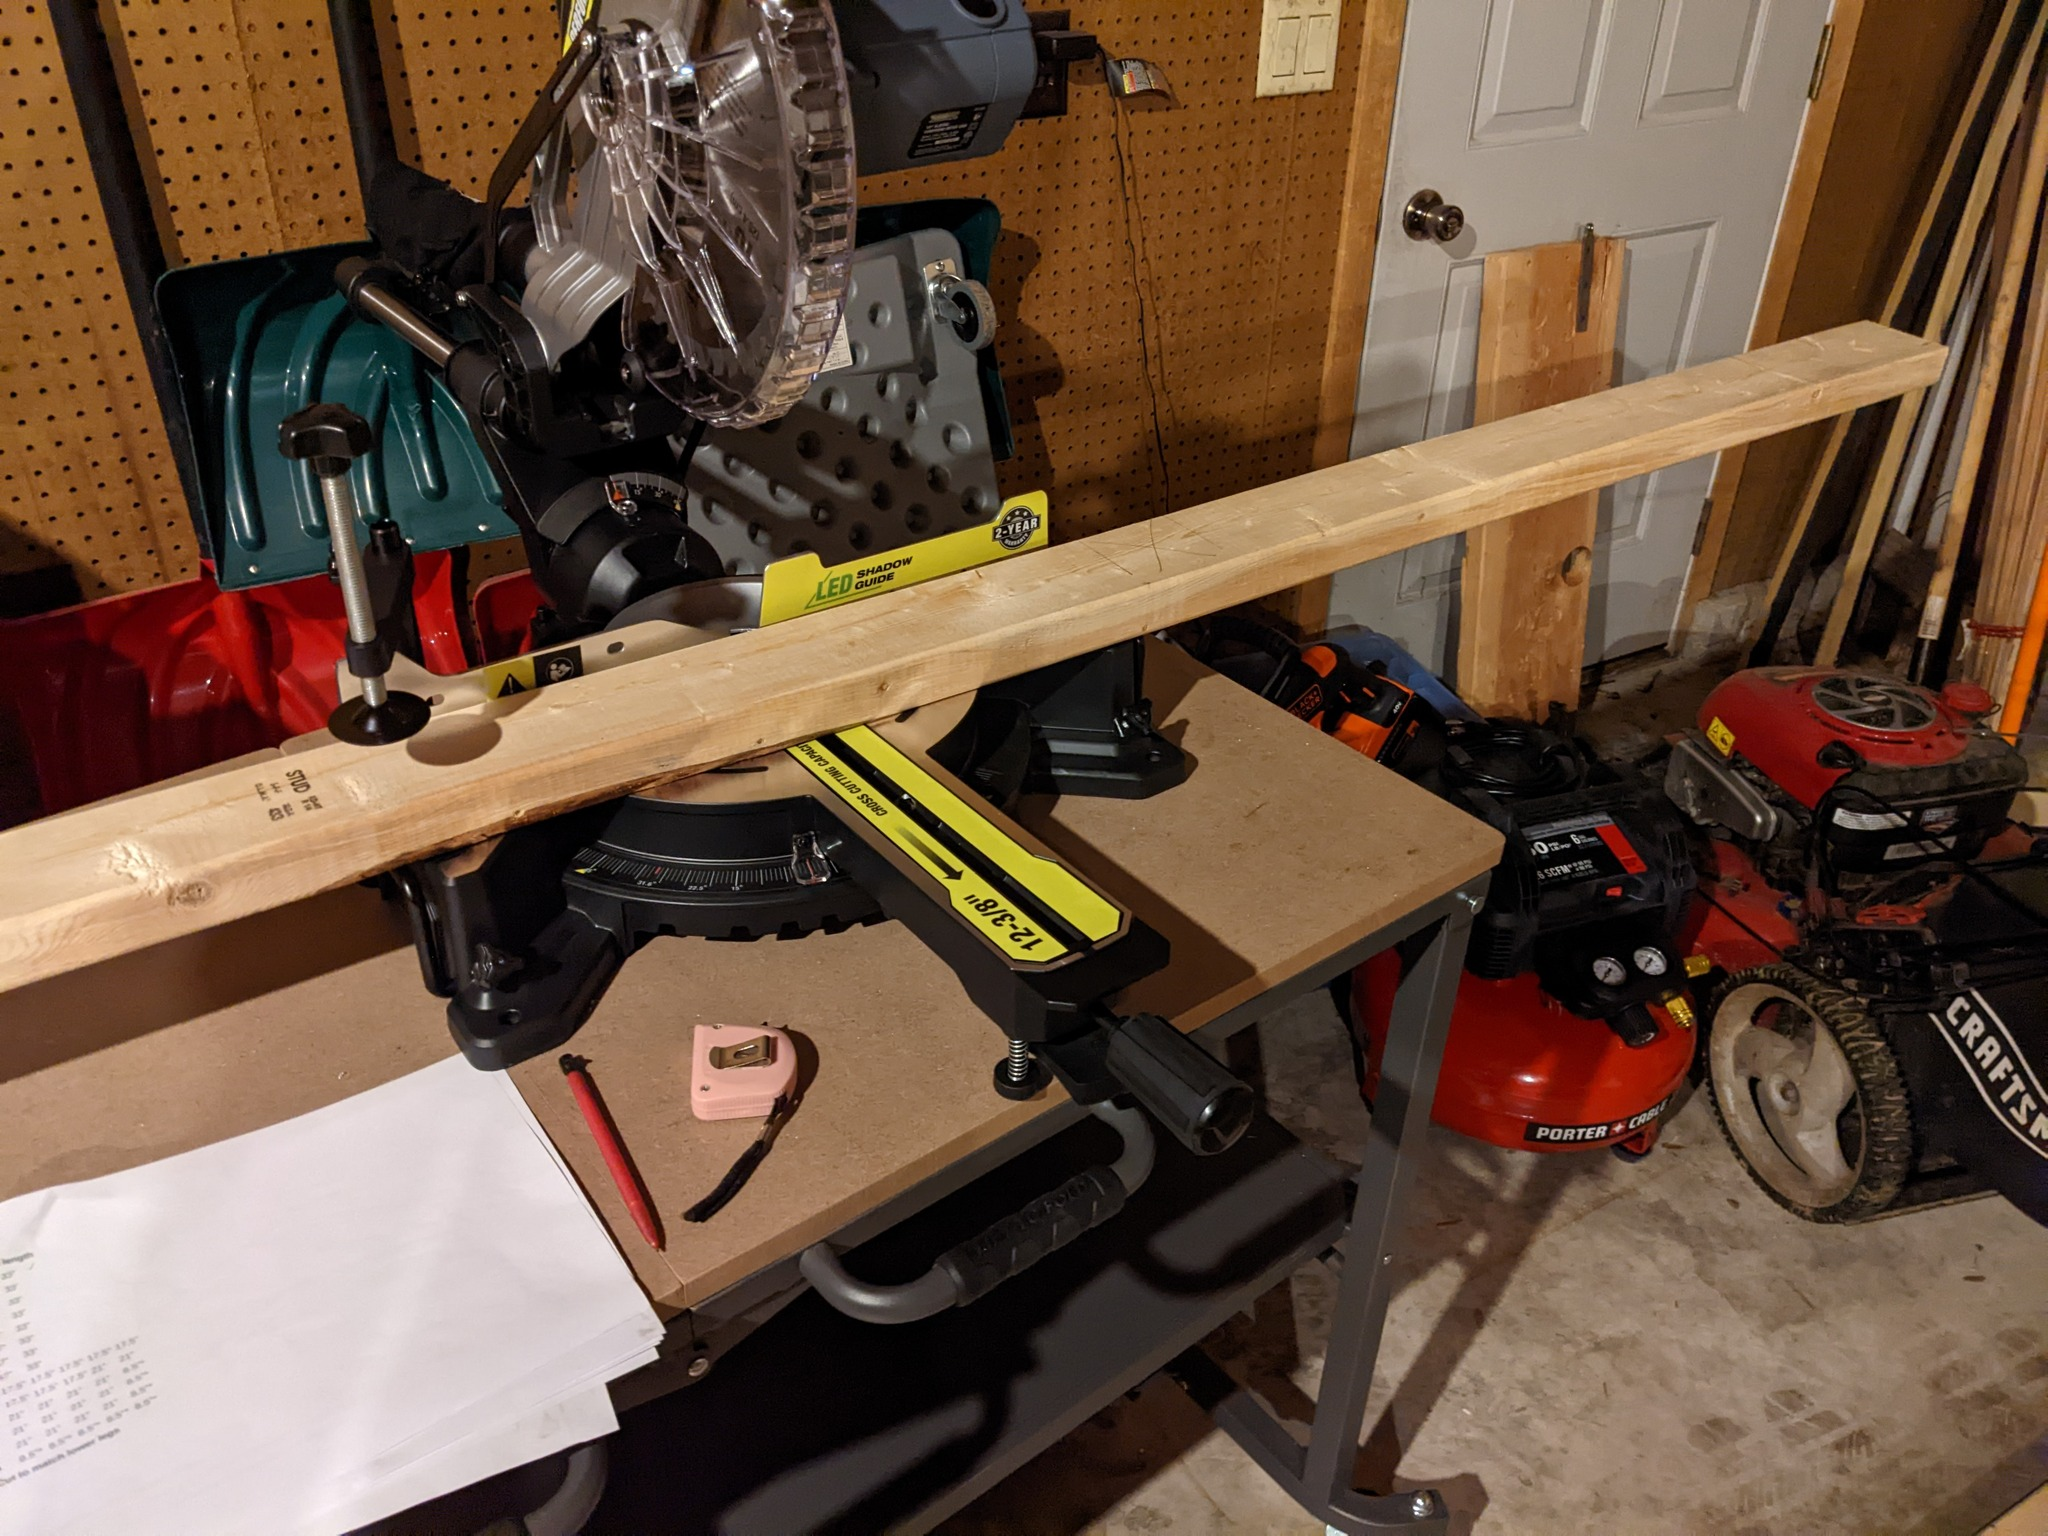
After two sessions of cutting I finally had all the studs cut to length. It was pretty repetitive and tedious work so making sure to mark off what I had already done was a big help (and still counting what I had already done over and over). As always, listening to music while working is great. I highly recommend bone conduction headphones so you can still have ear plugs.
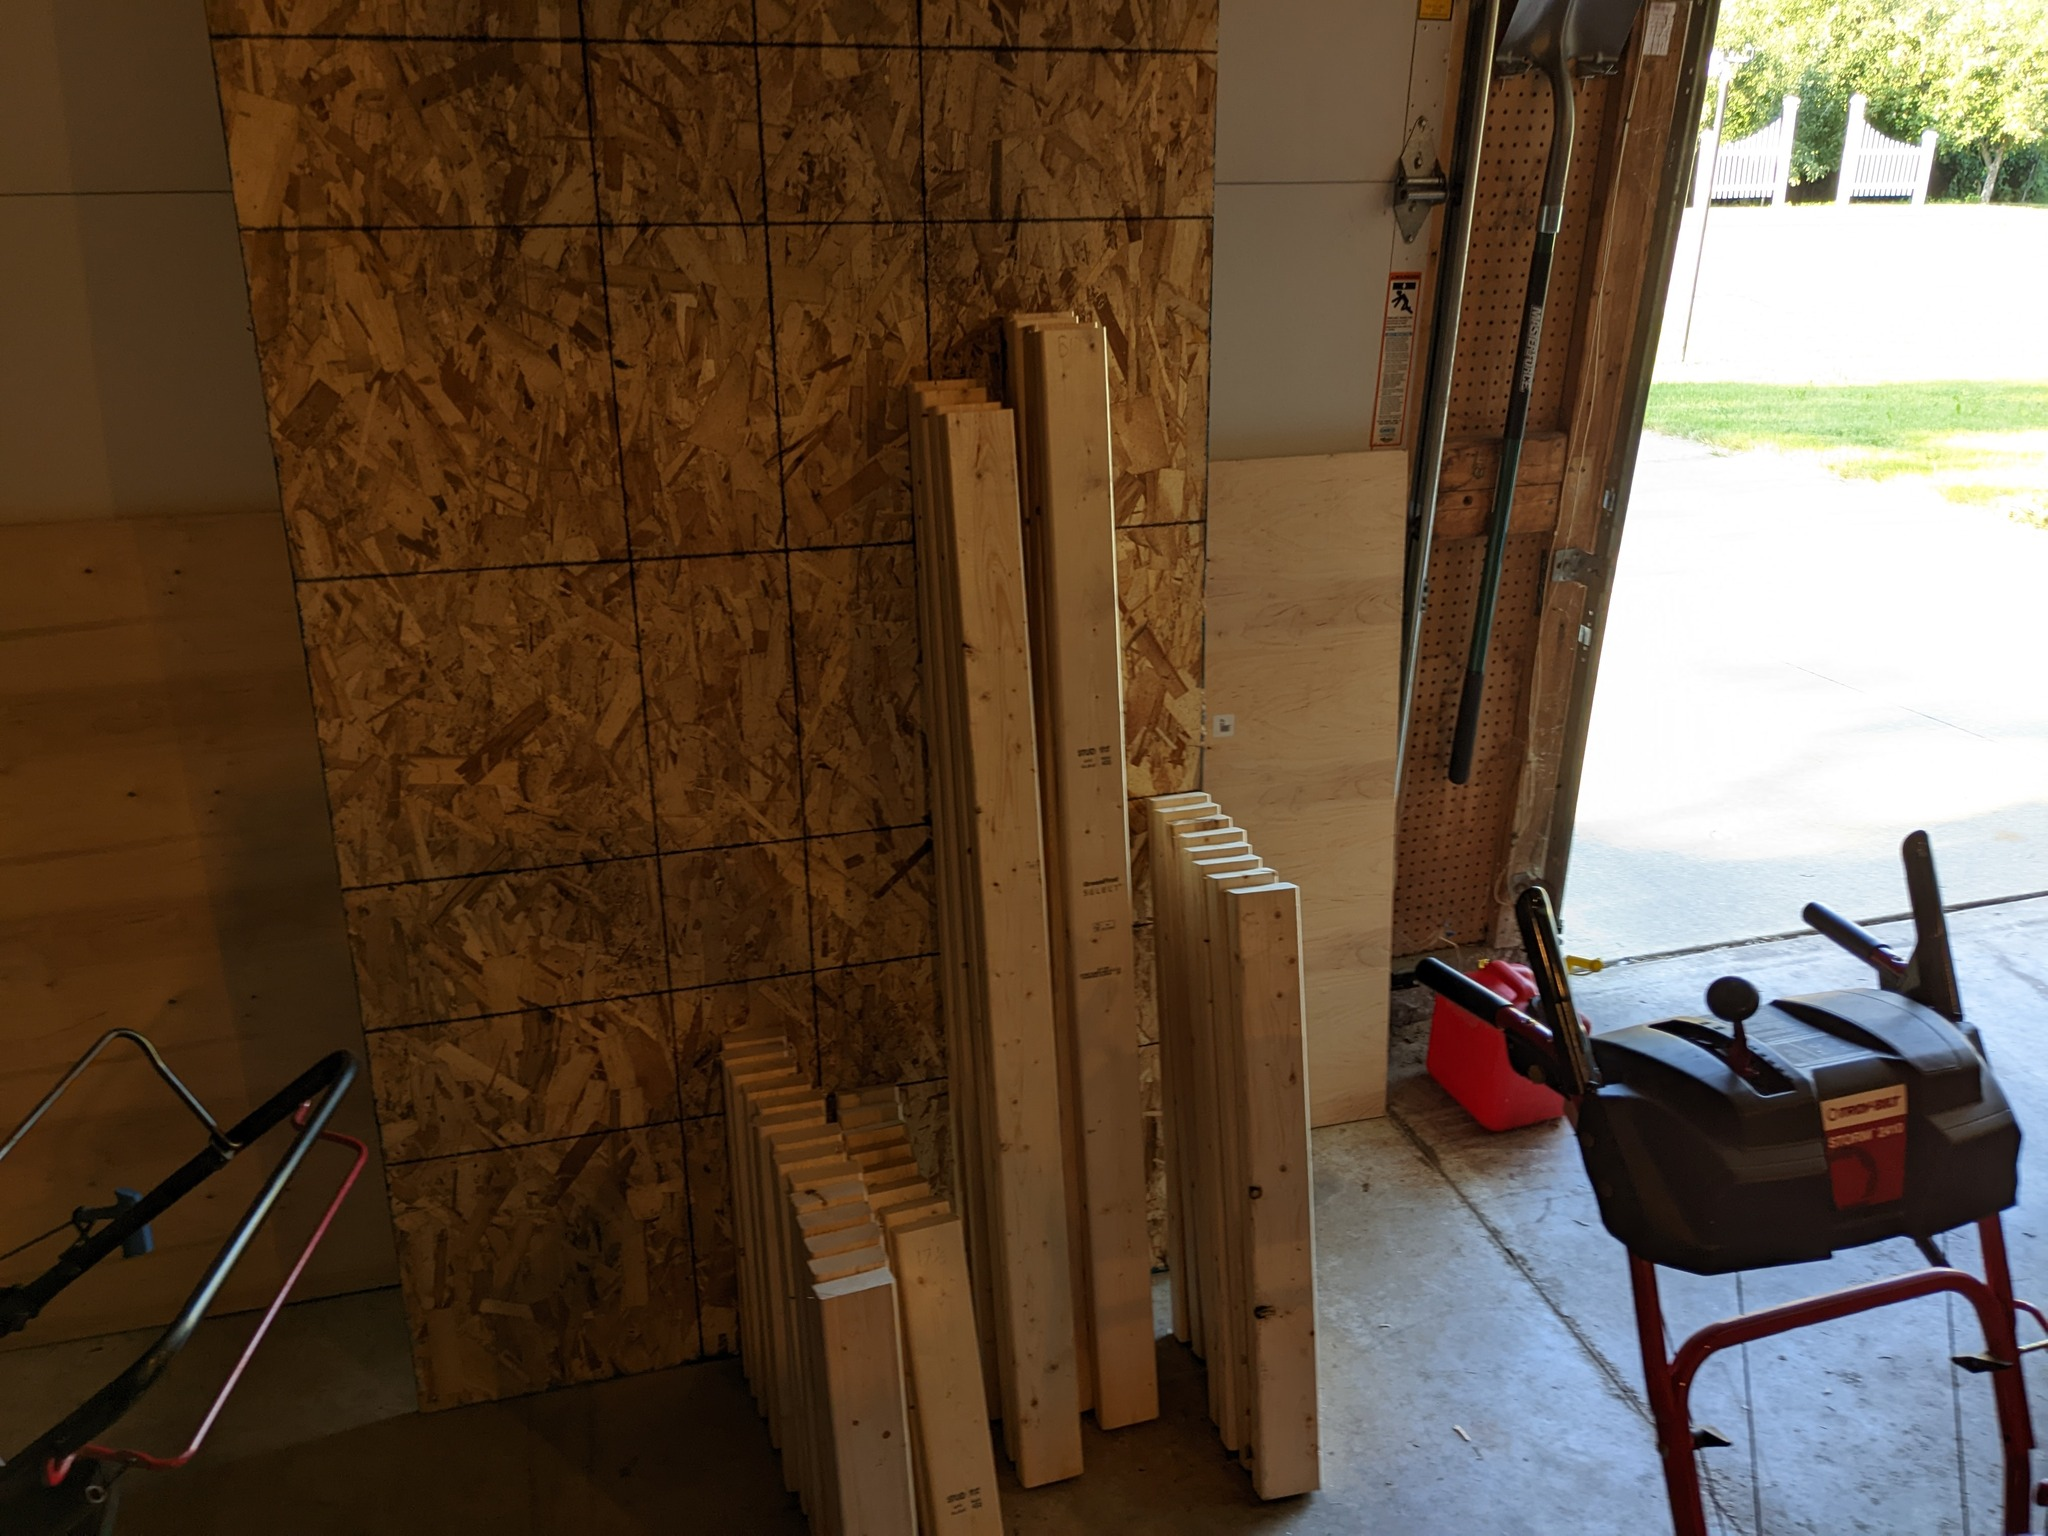
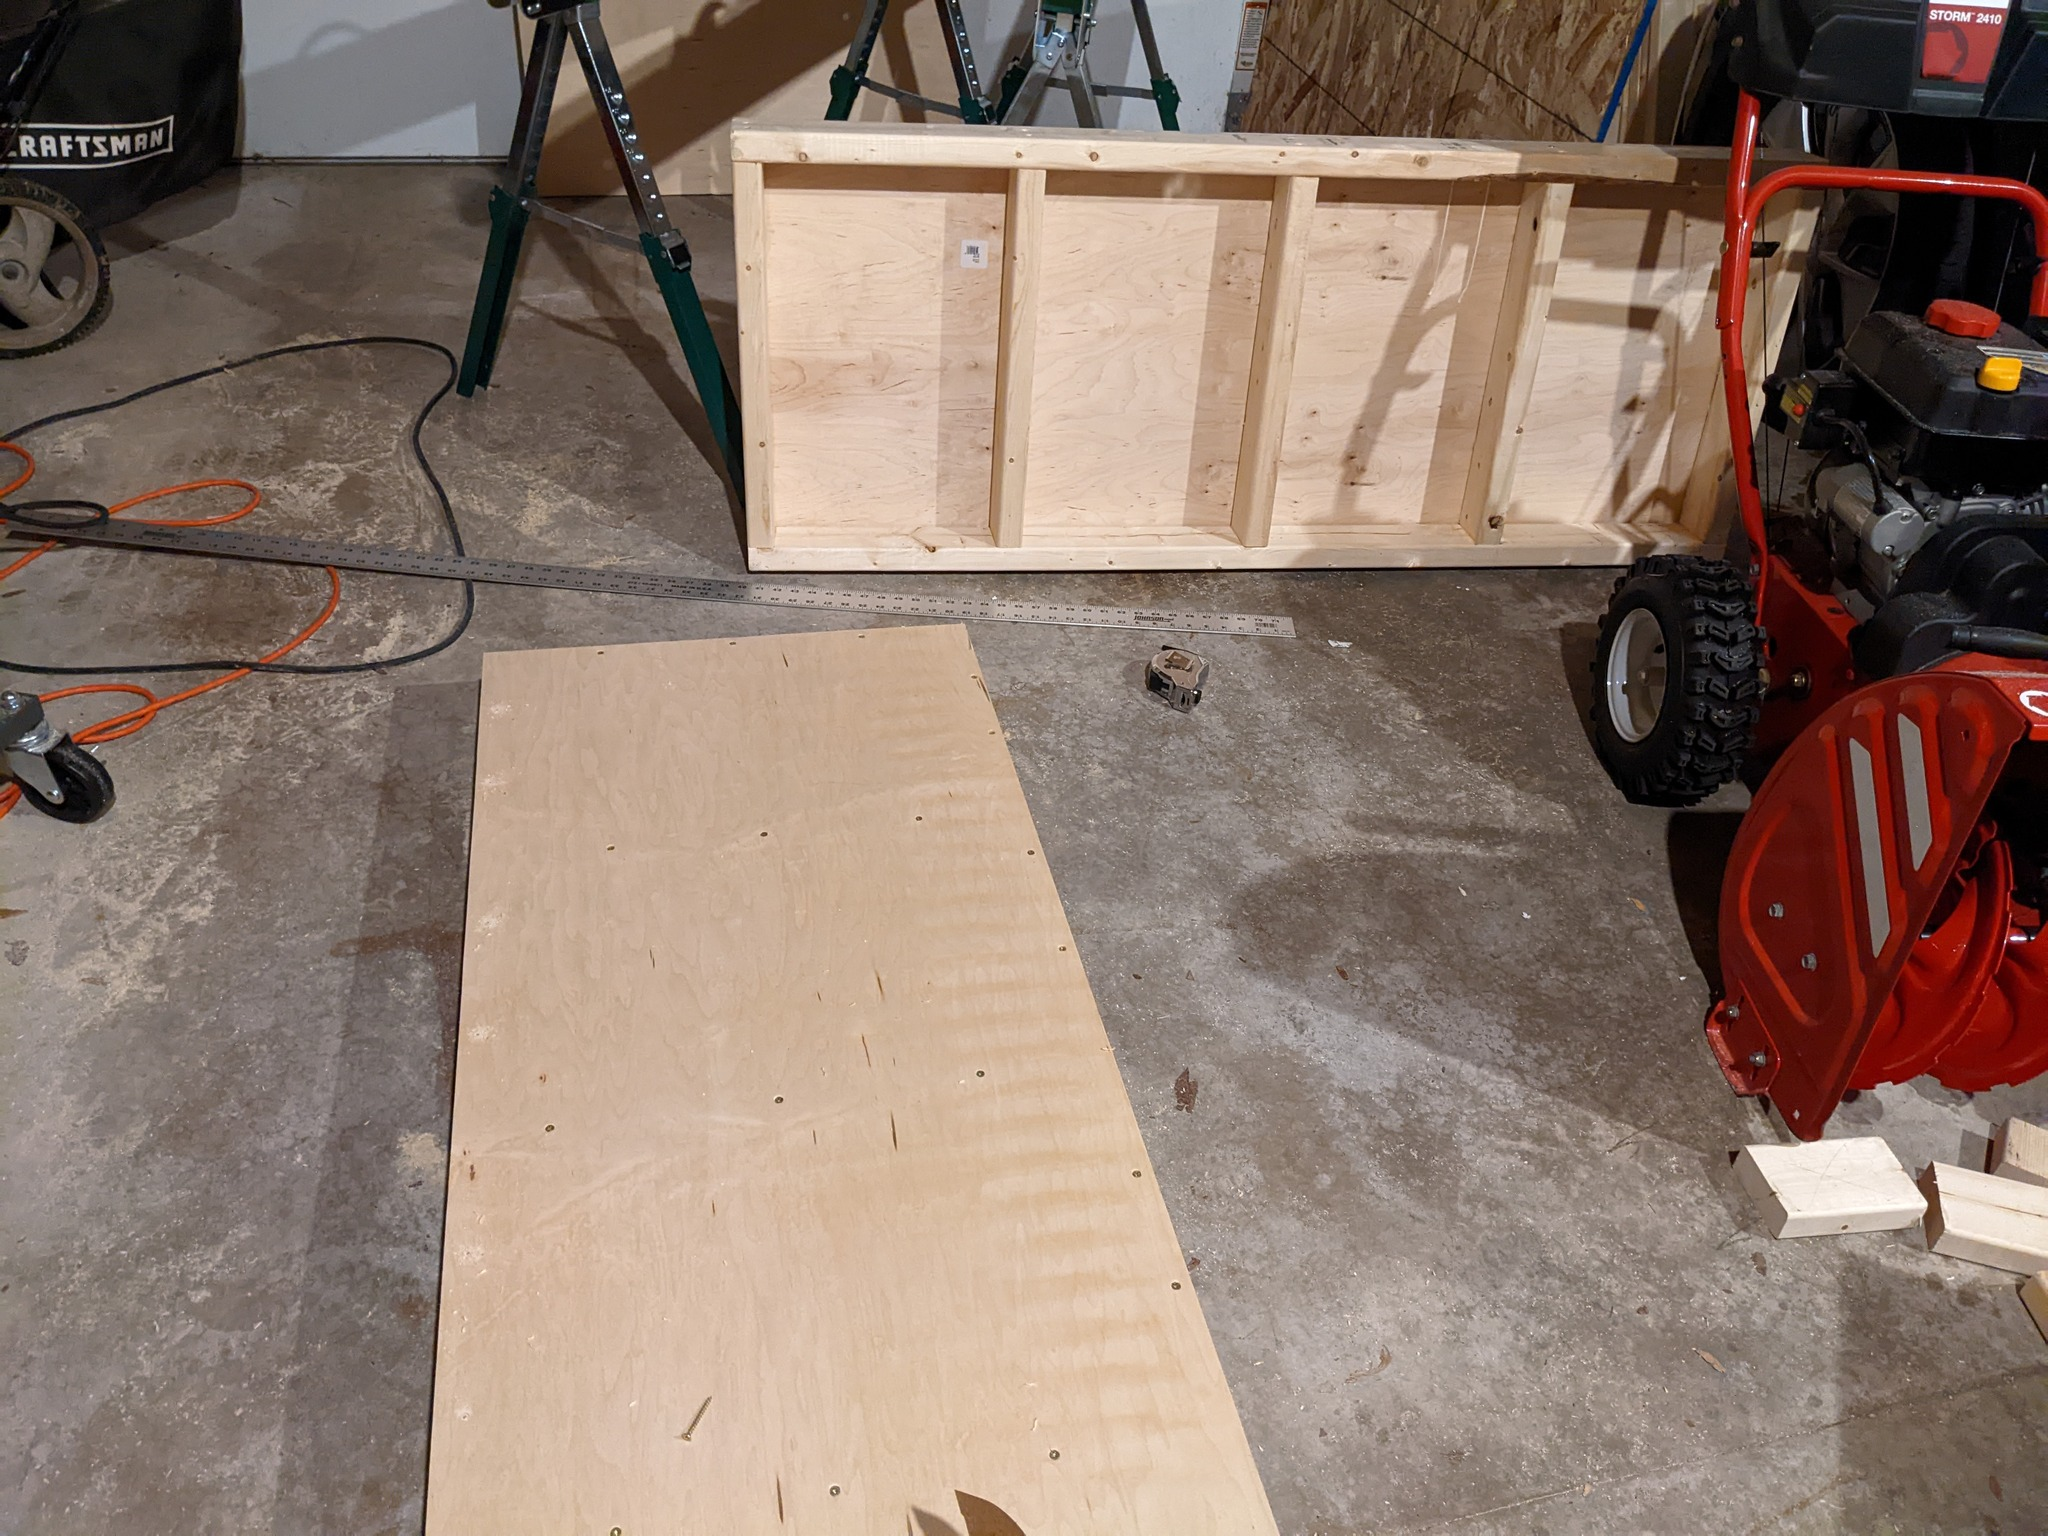
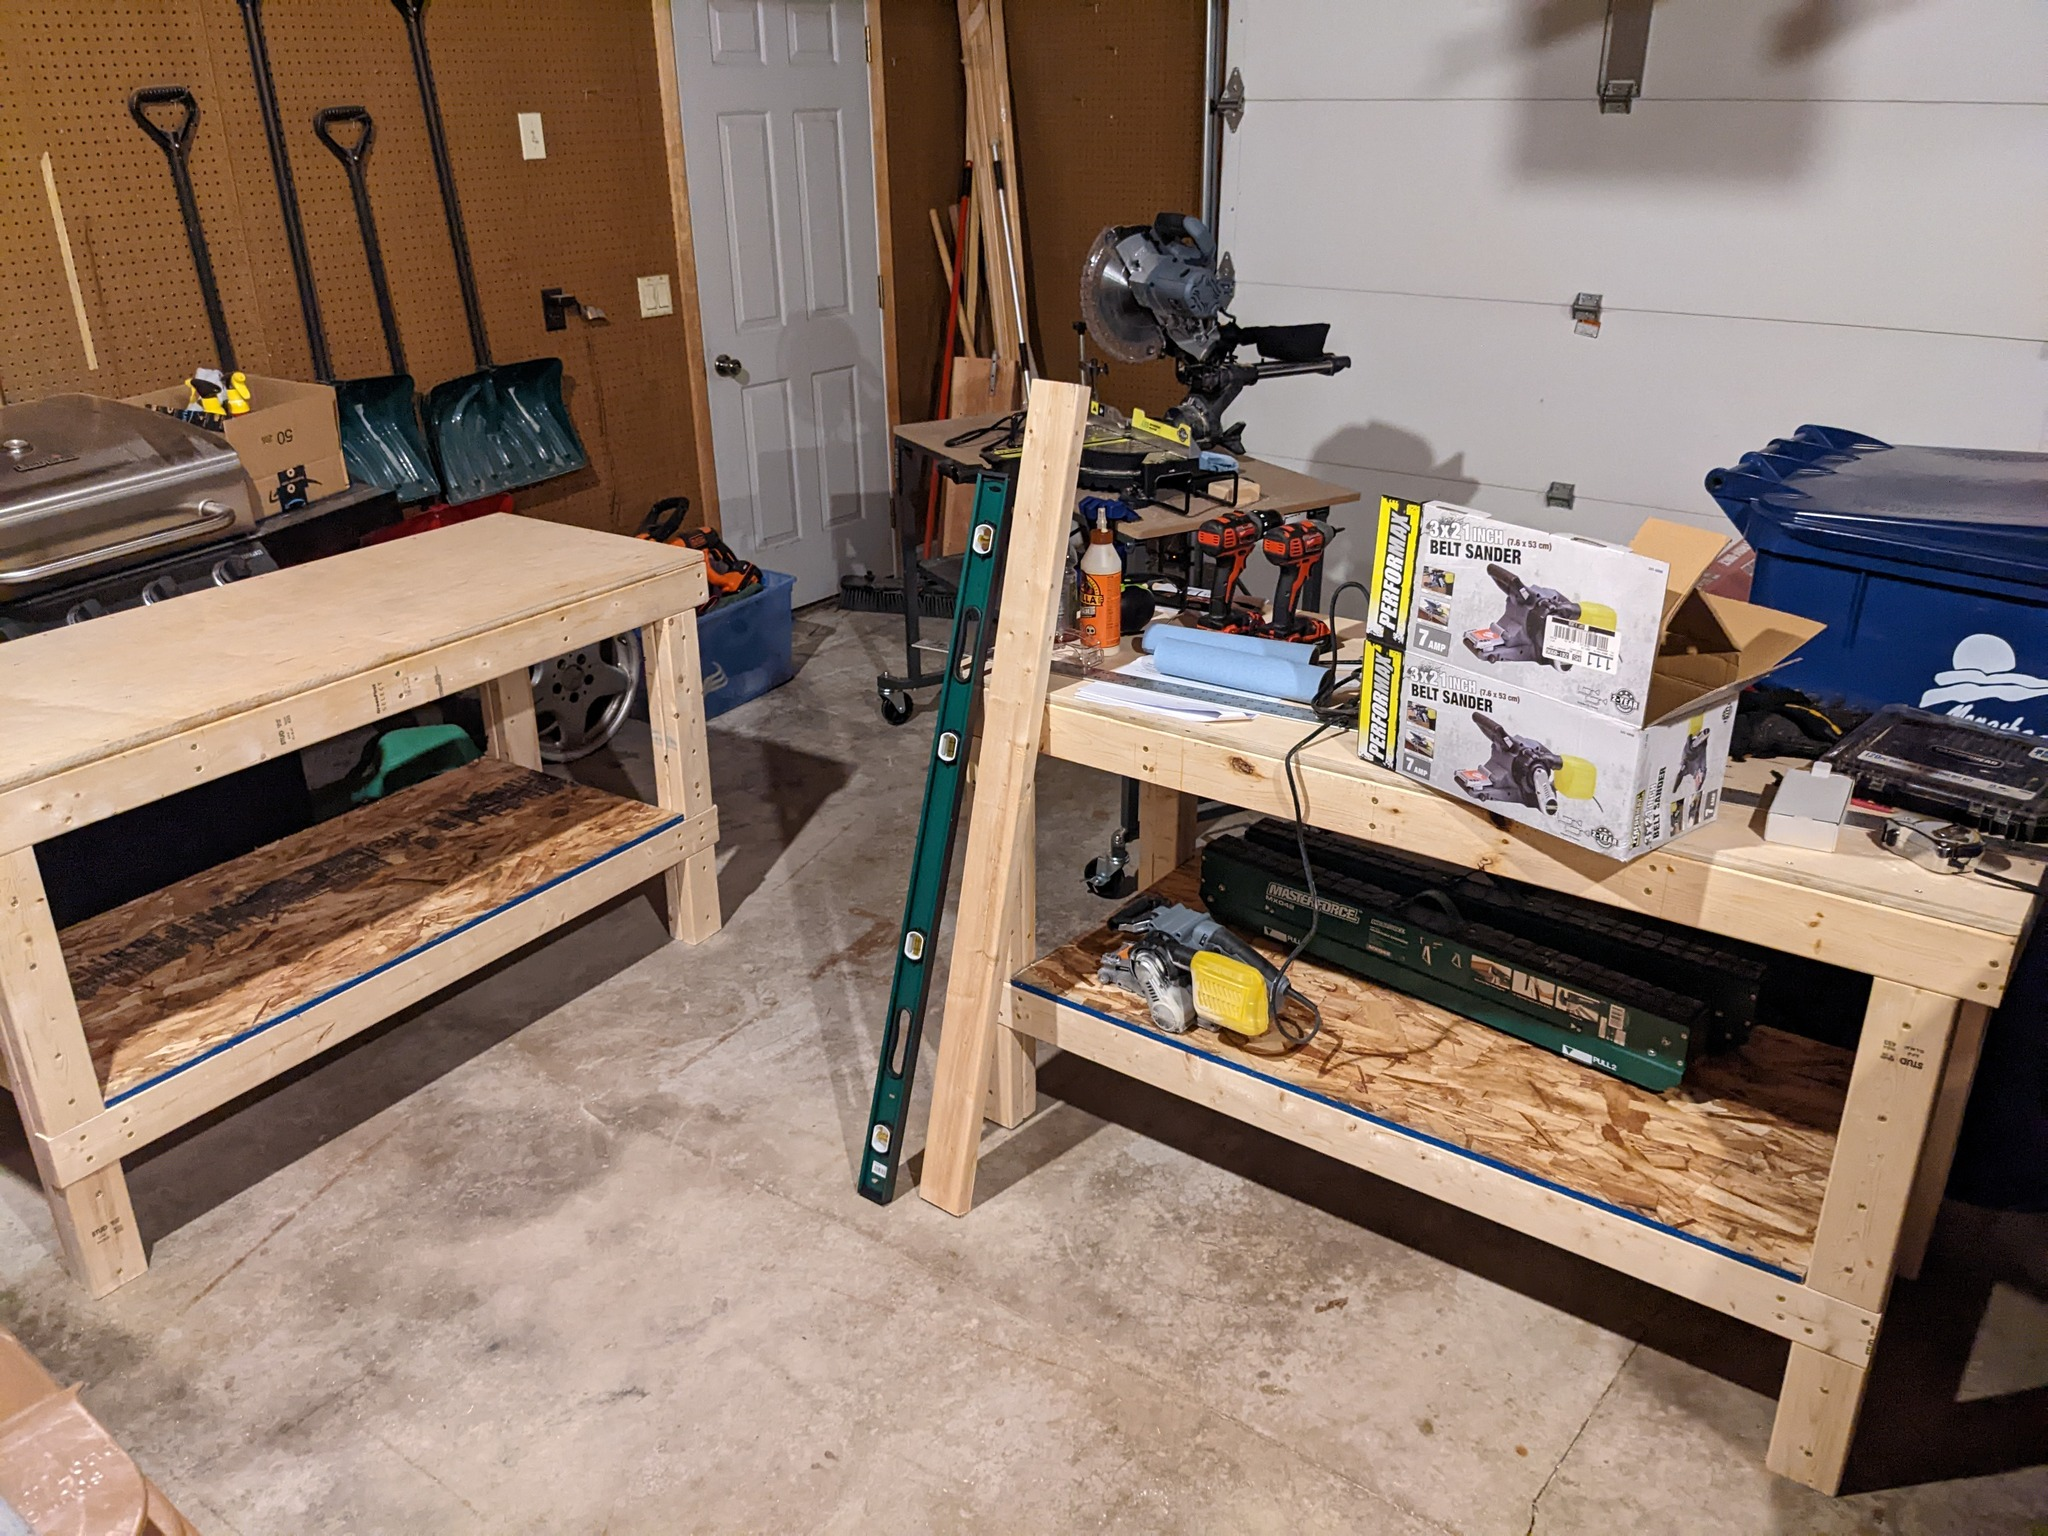
There isn't too much more to say about the actual framing process. I made sure to pre-drill all the holes so I wouldn't crack anything and applied generious woodglue to each joint to make the whole frame stronger. Anyway, after doing this and a bunch of measurements I ended up with two top frames.

So, to help secure the frames so they wouldn't shift or do weird stuff, it was time to cut the plywood tops. This involved two cuts on the plywood since they are 4x8 sheets but I needed two 2x5 sheets. So the back 3' has to be removed and the remaining part cut down the center. This is be easy work for a table saw I'm sure but I don't have one, and also they scare me. So I grabbed my circular saw and started cutting. It was 87ºF and humid but that didn't stop me from wearing something that made my life harder.
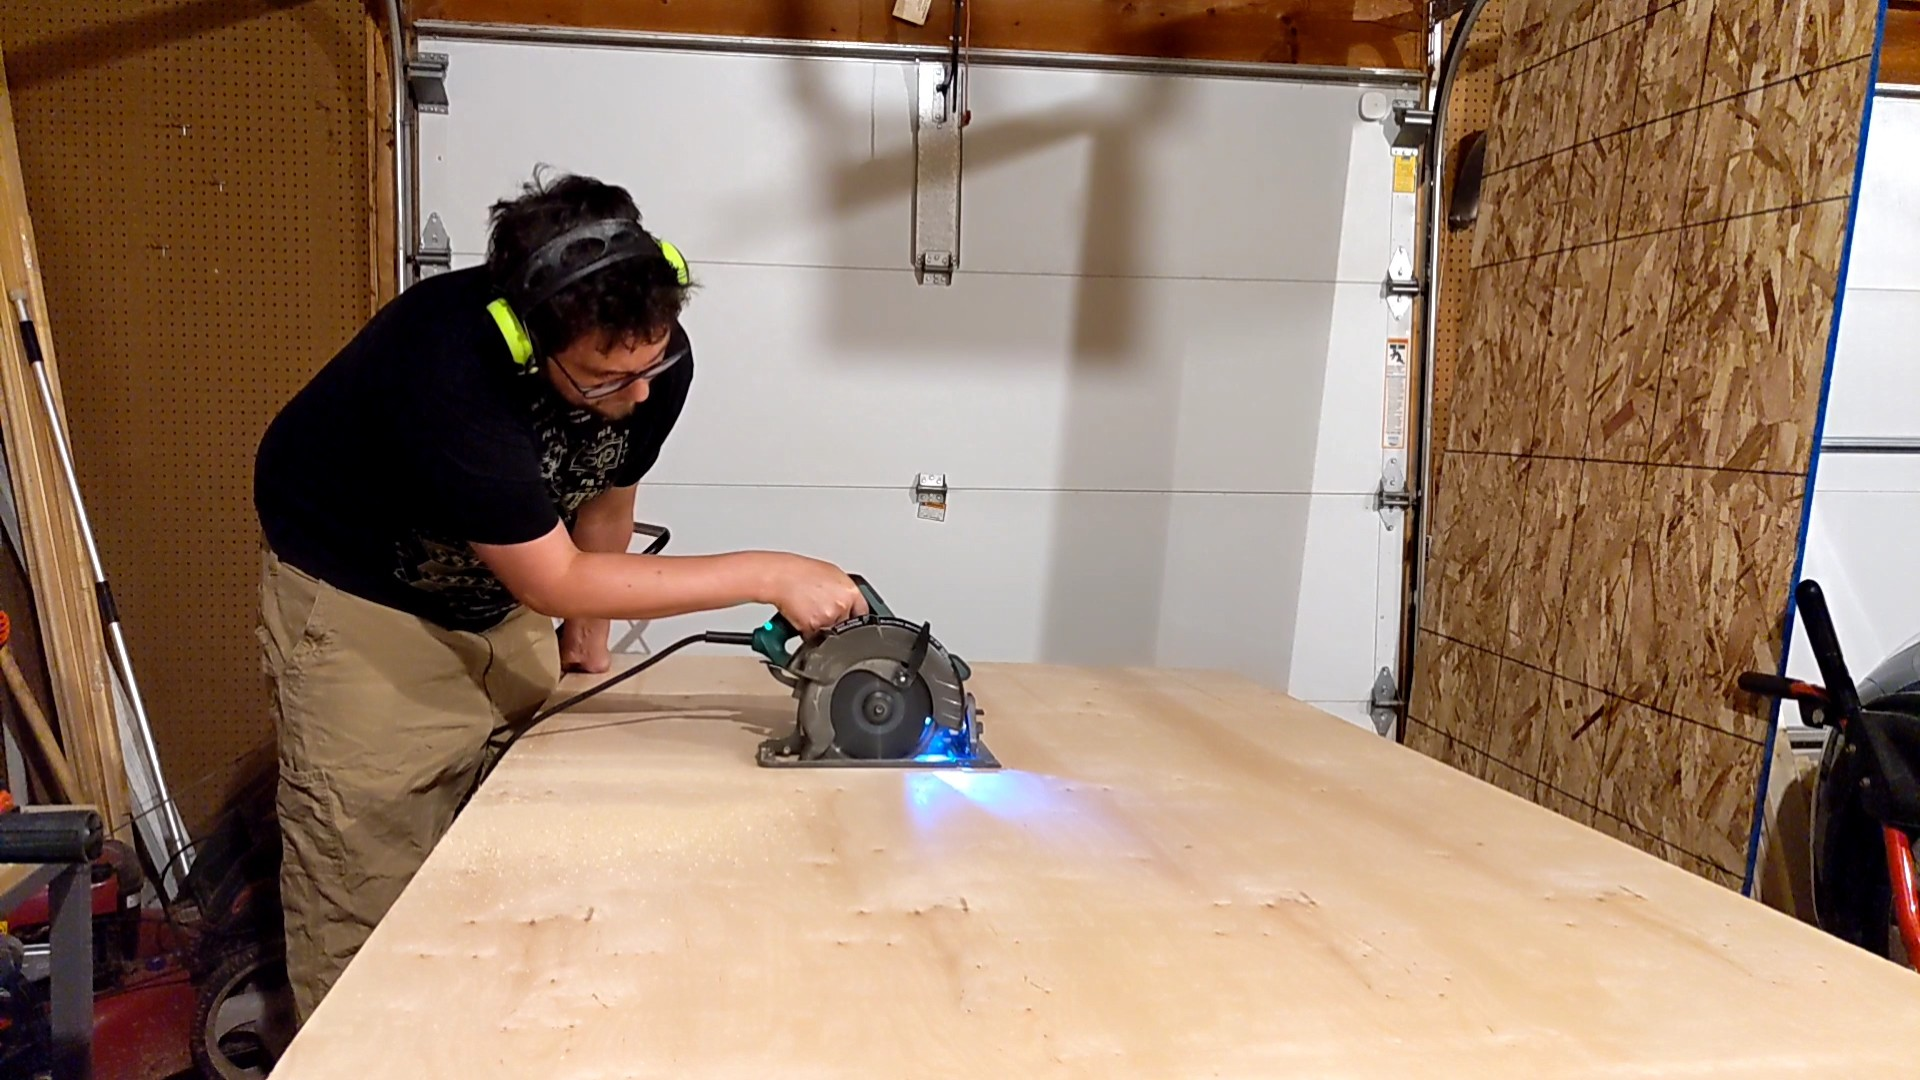
For cutting down the middle, I decided to use the two table frames as saw horses and just rip down the middle with my circular saw. I don't have any action shots but it worked pretty well.
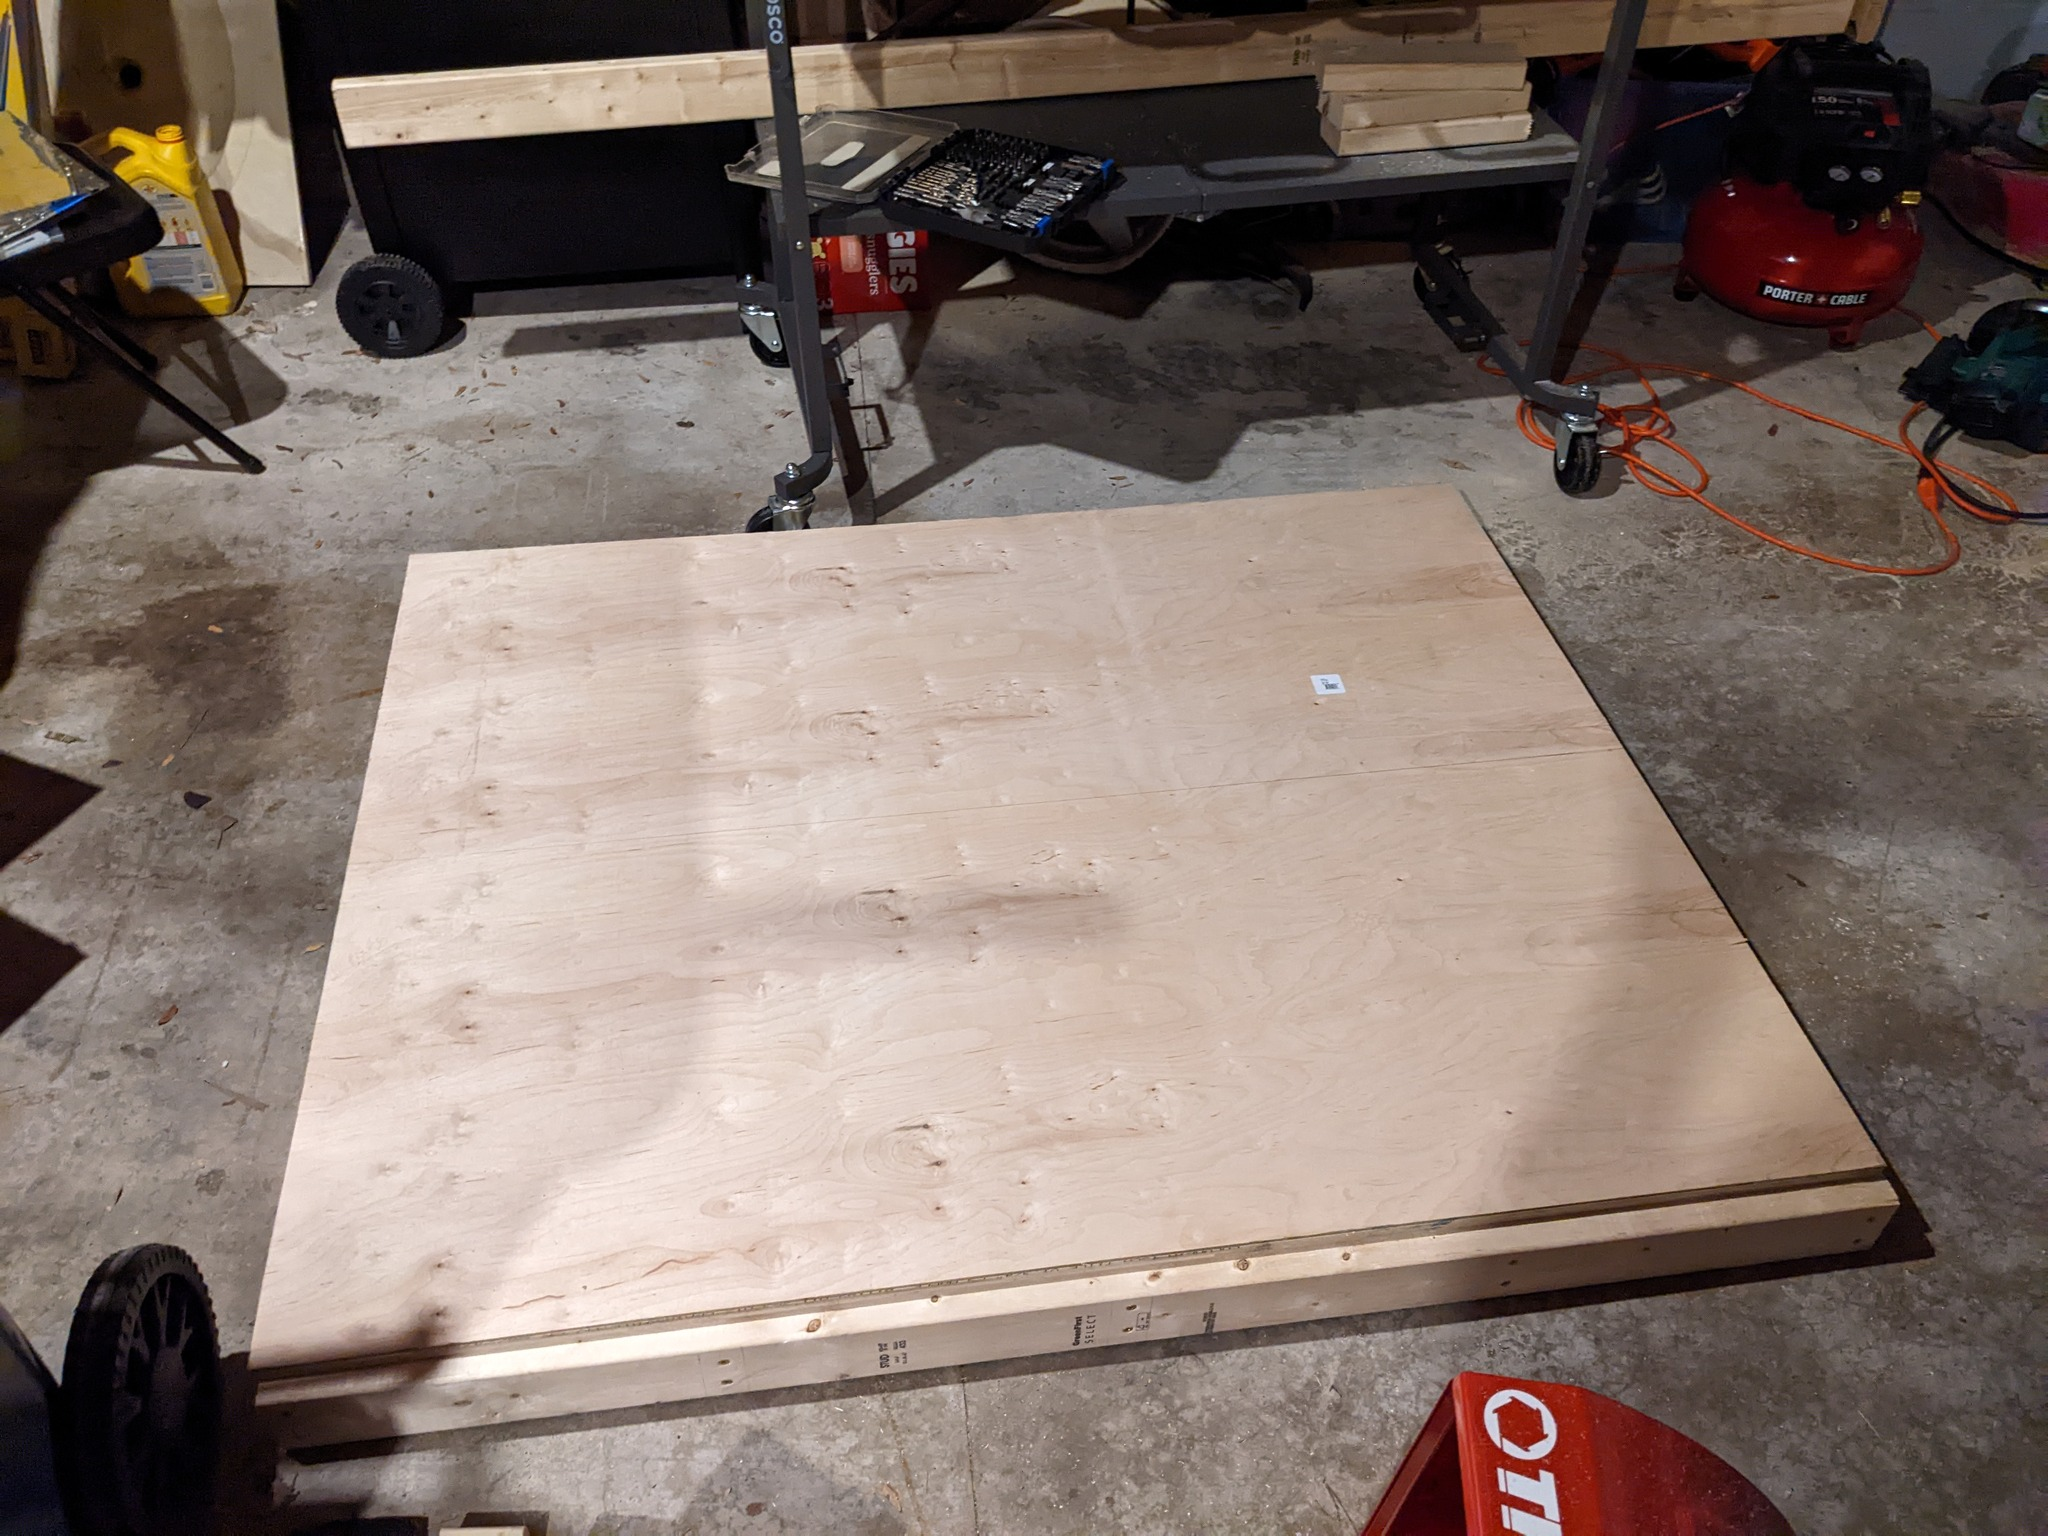
After I got things split up, I put the tops on the frames with a bunch of screws. I 100% did predrill ever single hole and while that might have been overkill, there was not a single split.
Enough fooling around, it was time to get some legs on this so it becomes a table! As with everything else, the holes were predrilled and generous wood glue was put down to keep everything together. I can be very sure this table is never coming apart no matter how much I might want it to later. Since I didn't really know what I was doing, the legs could definitely have been more square overall. Oh well, live and learn.
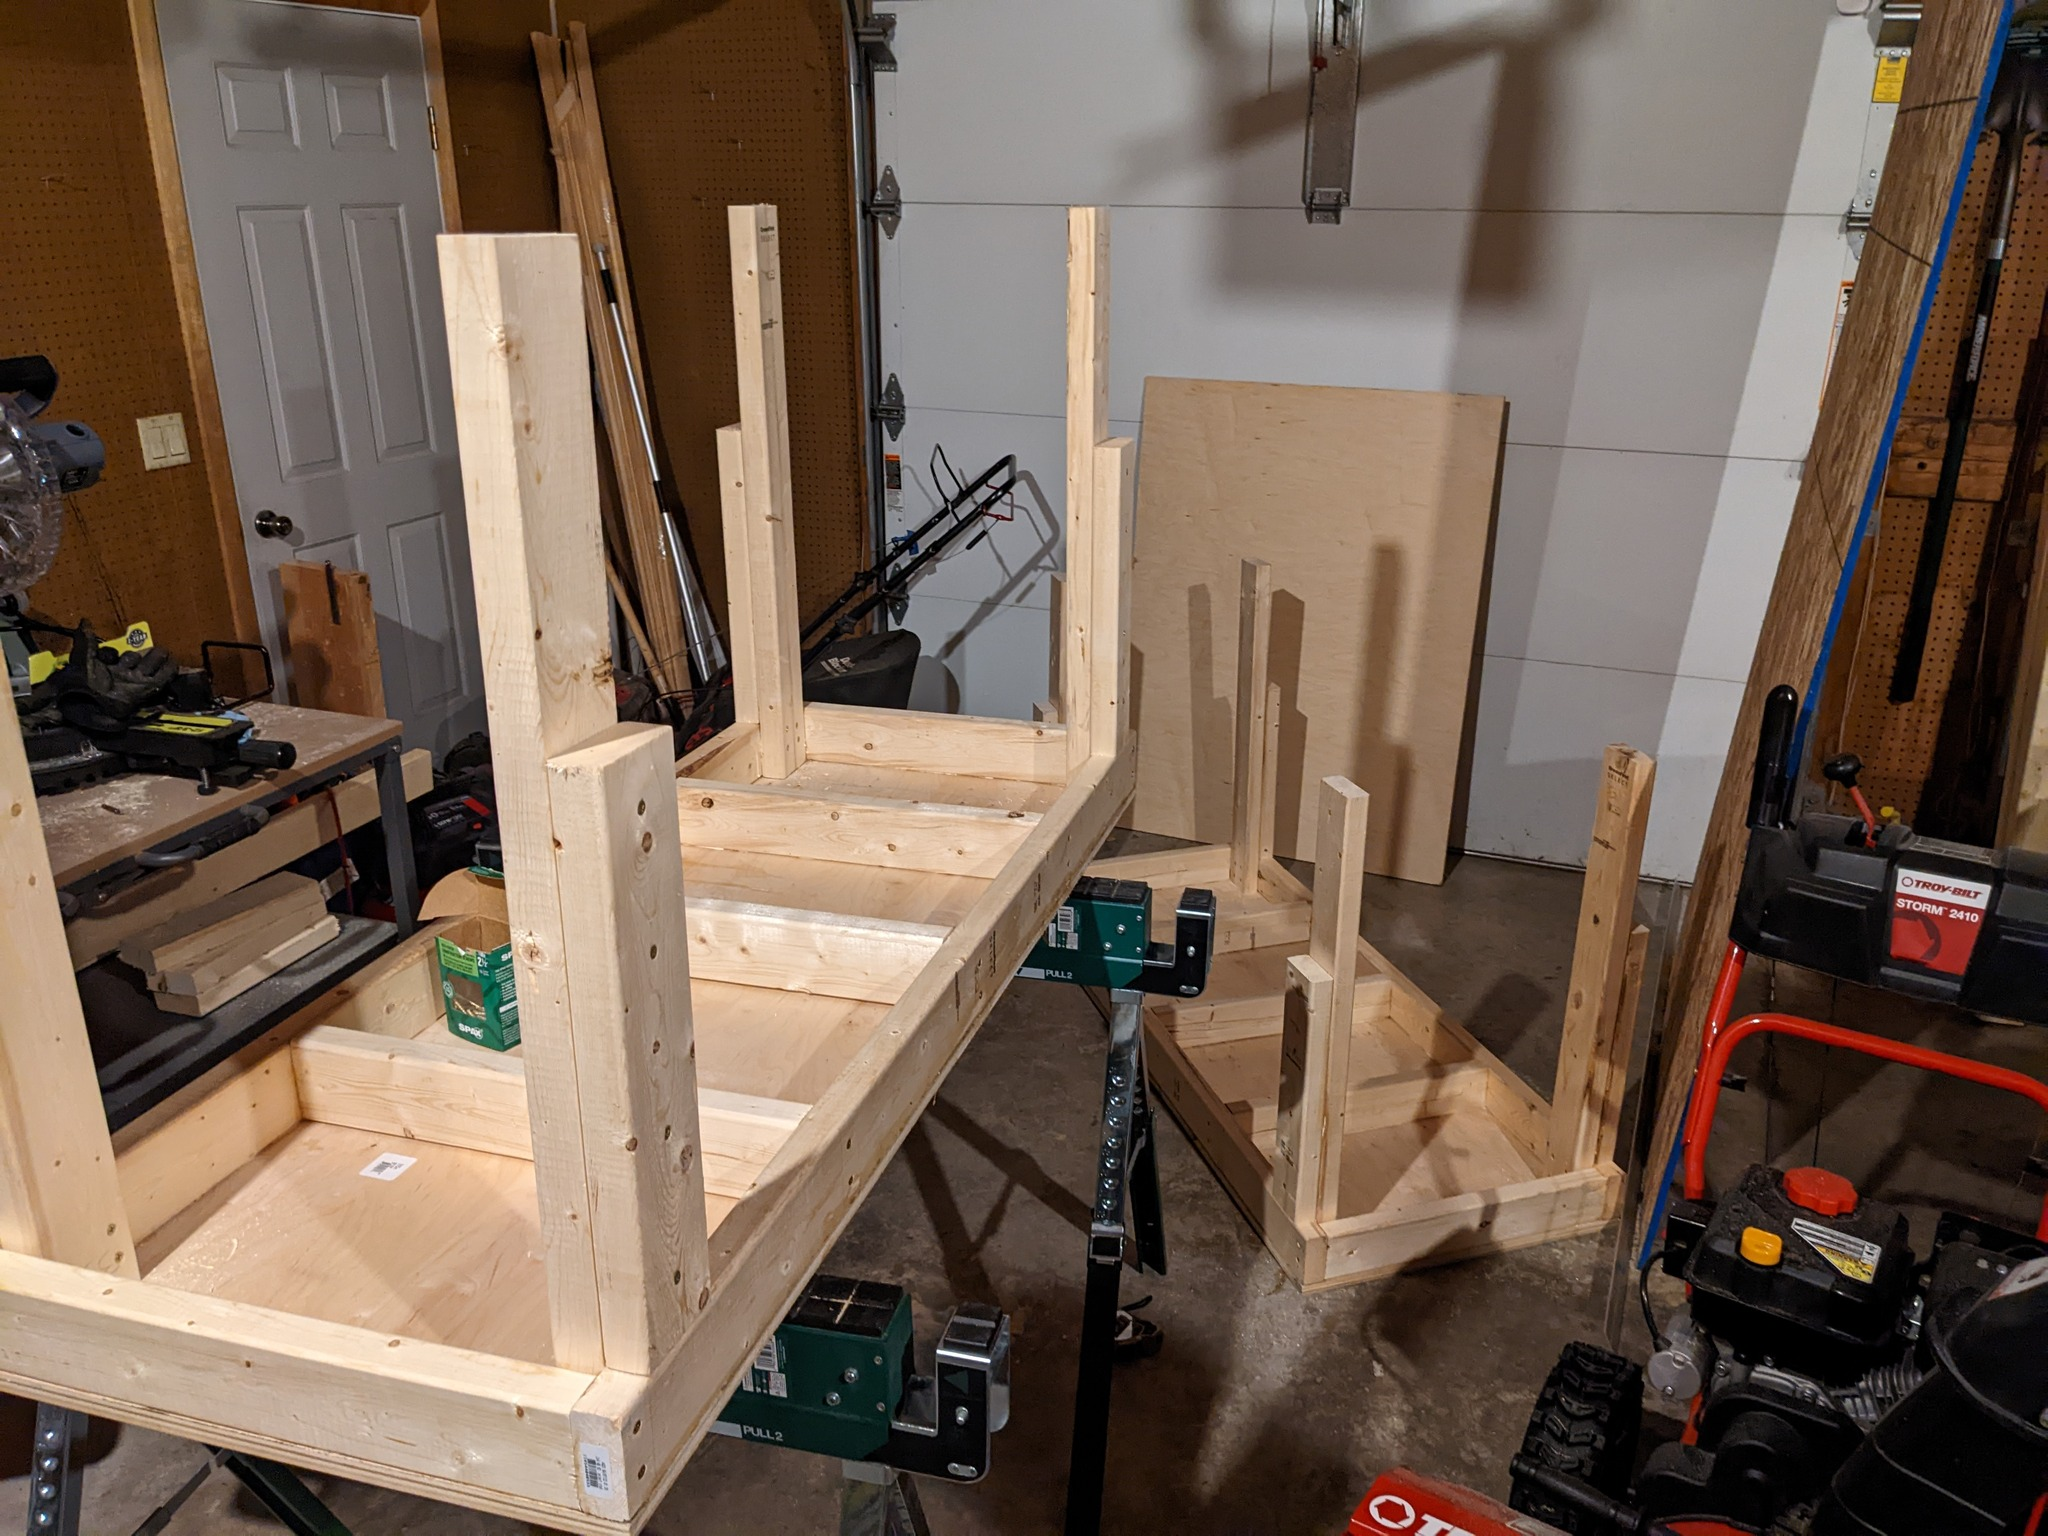
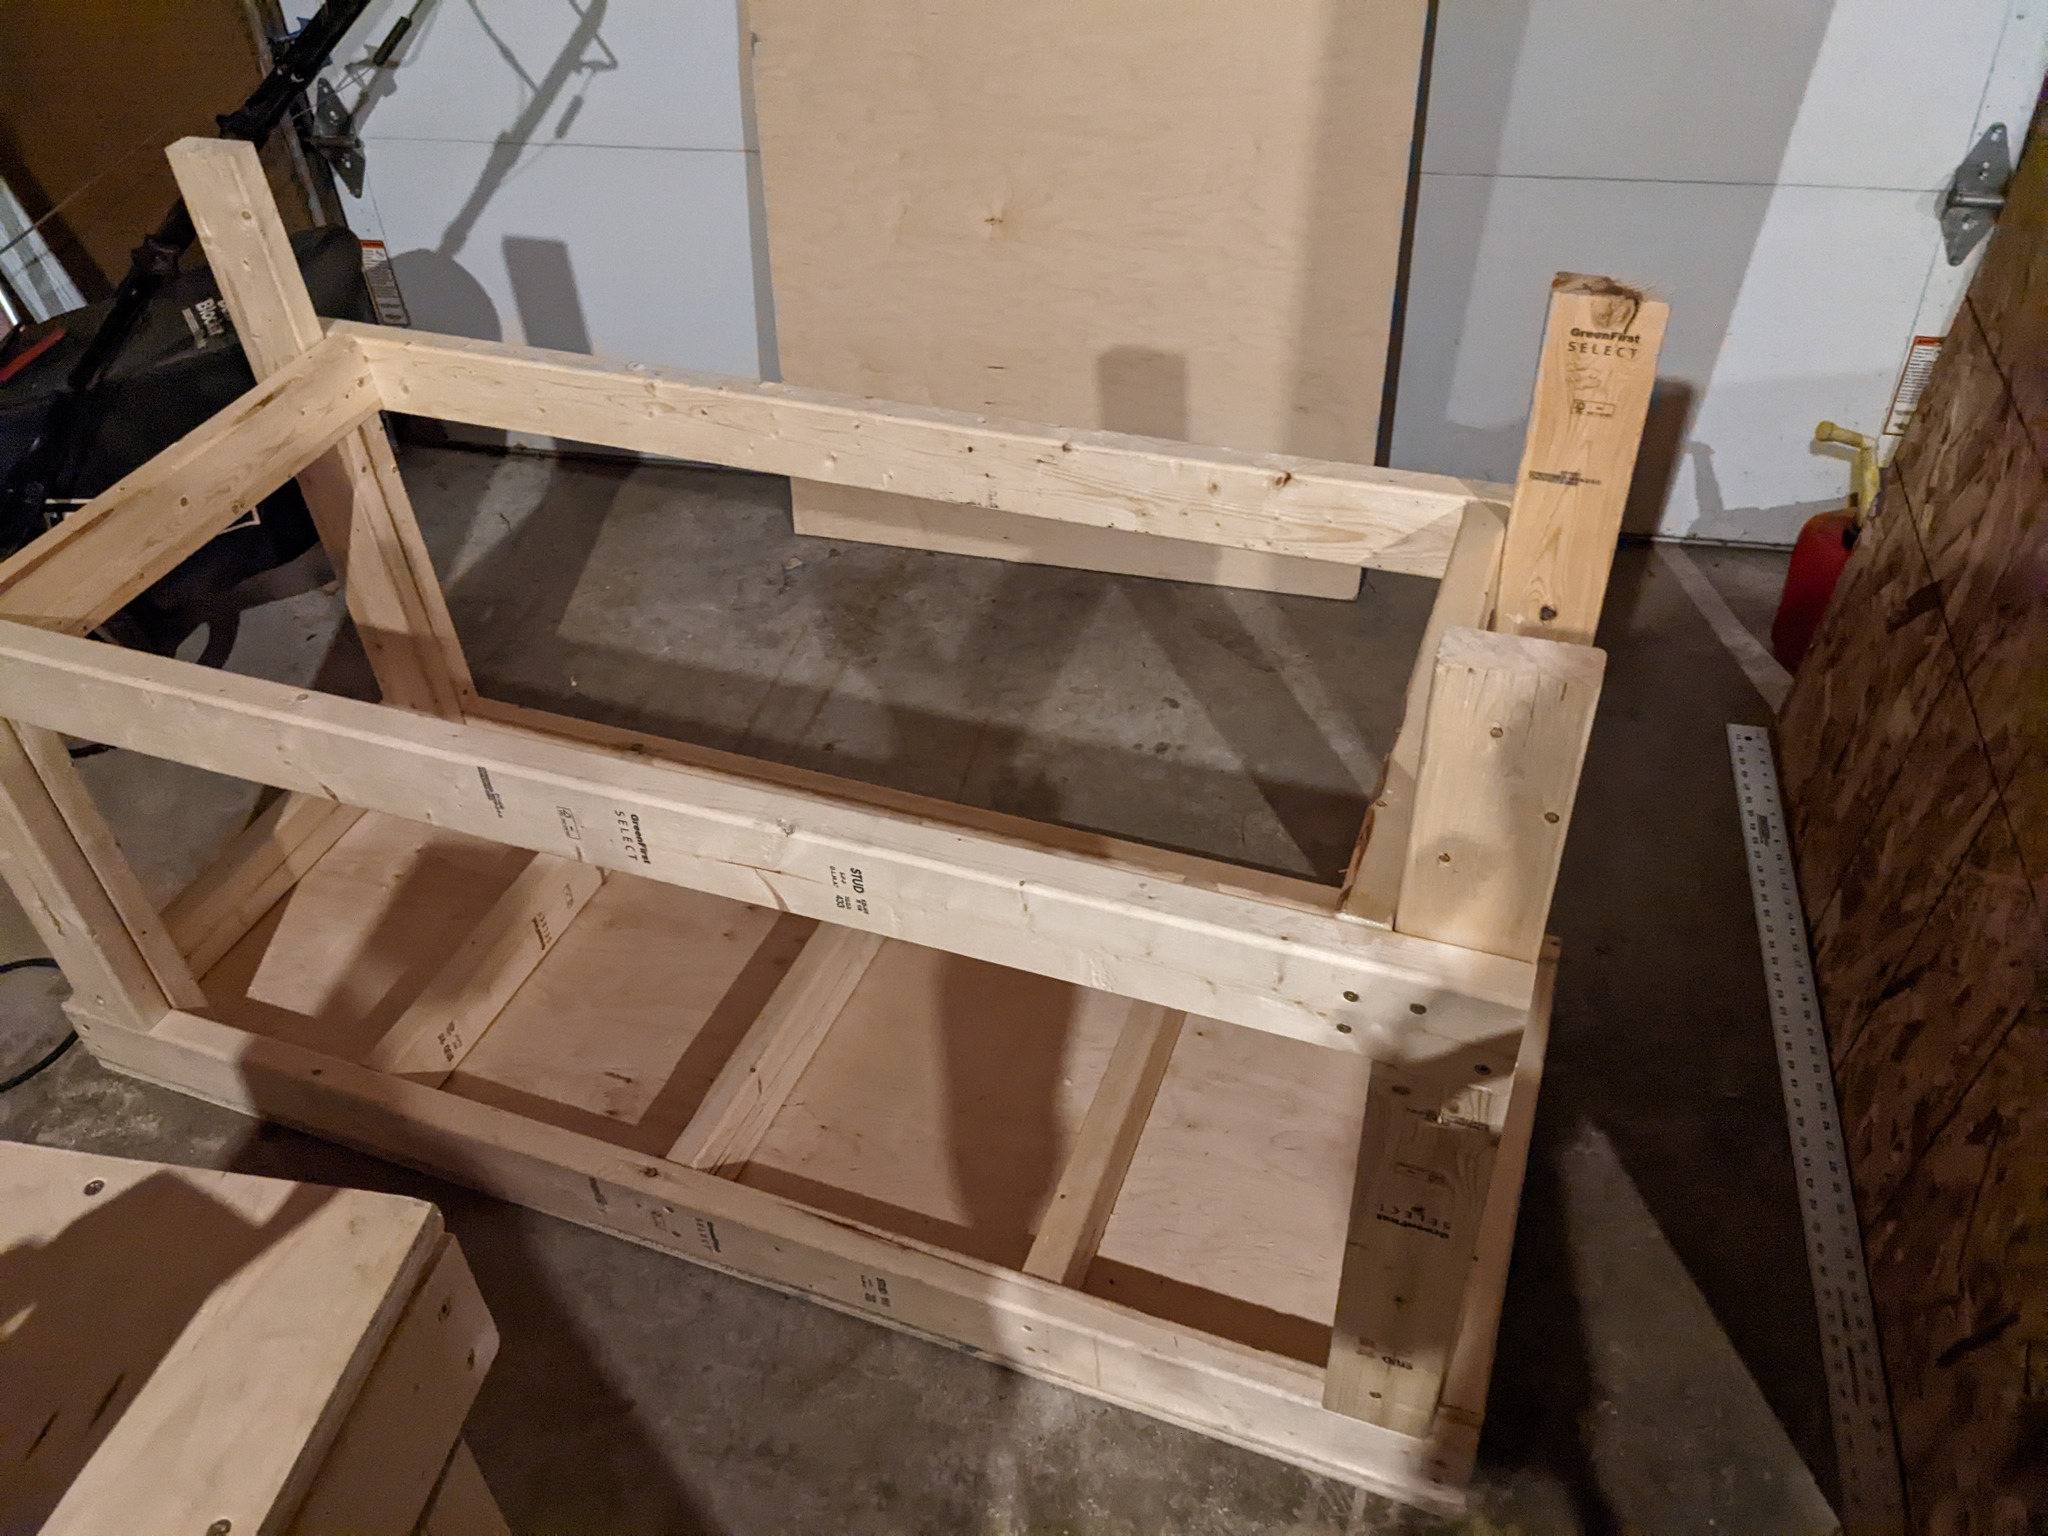
The next step was to add the lower framing for the shelf. Nothing too complicated, just more wood glue and screws.
So, if I were a smarter man (I'm trying, I swear), I would have had enough screws to complete this whole project. I definitely did not and so I had to go to the store to get some more (as well as a few other things, since I'm there and all). Since I live in the Midwest I ran on over to Menards with my 10 month old copilot. He was quite tired but he put up with advising me what to get.

I did again use the work tables to hold up my plywood while I ripped it down the middle. There is no action shots or anything but it looked like this but I had a circular saw. The idea of taping down a long straight edge I could slide the saw against hit my brain and I did that for a nice easy straight cut.
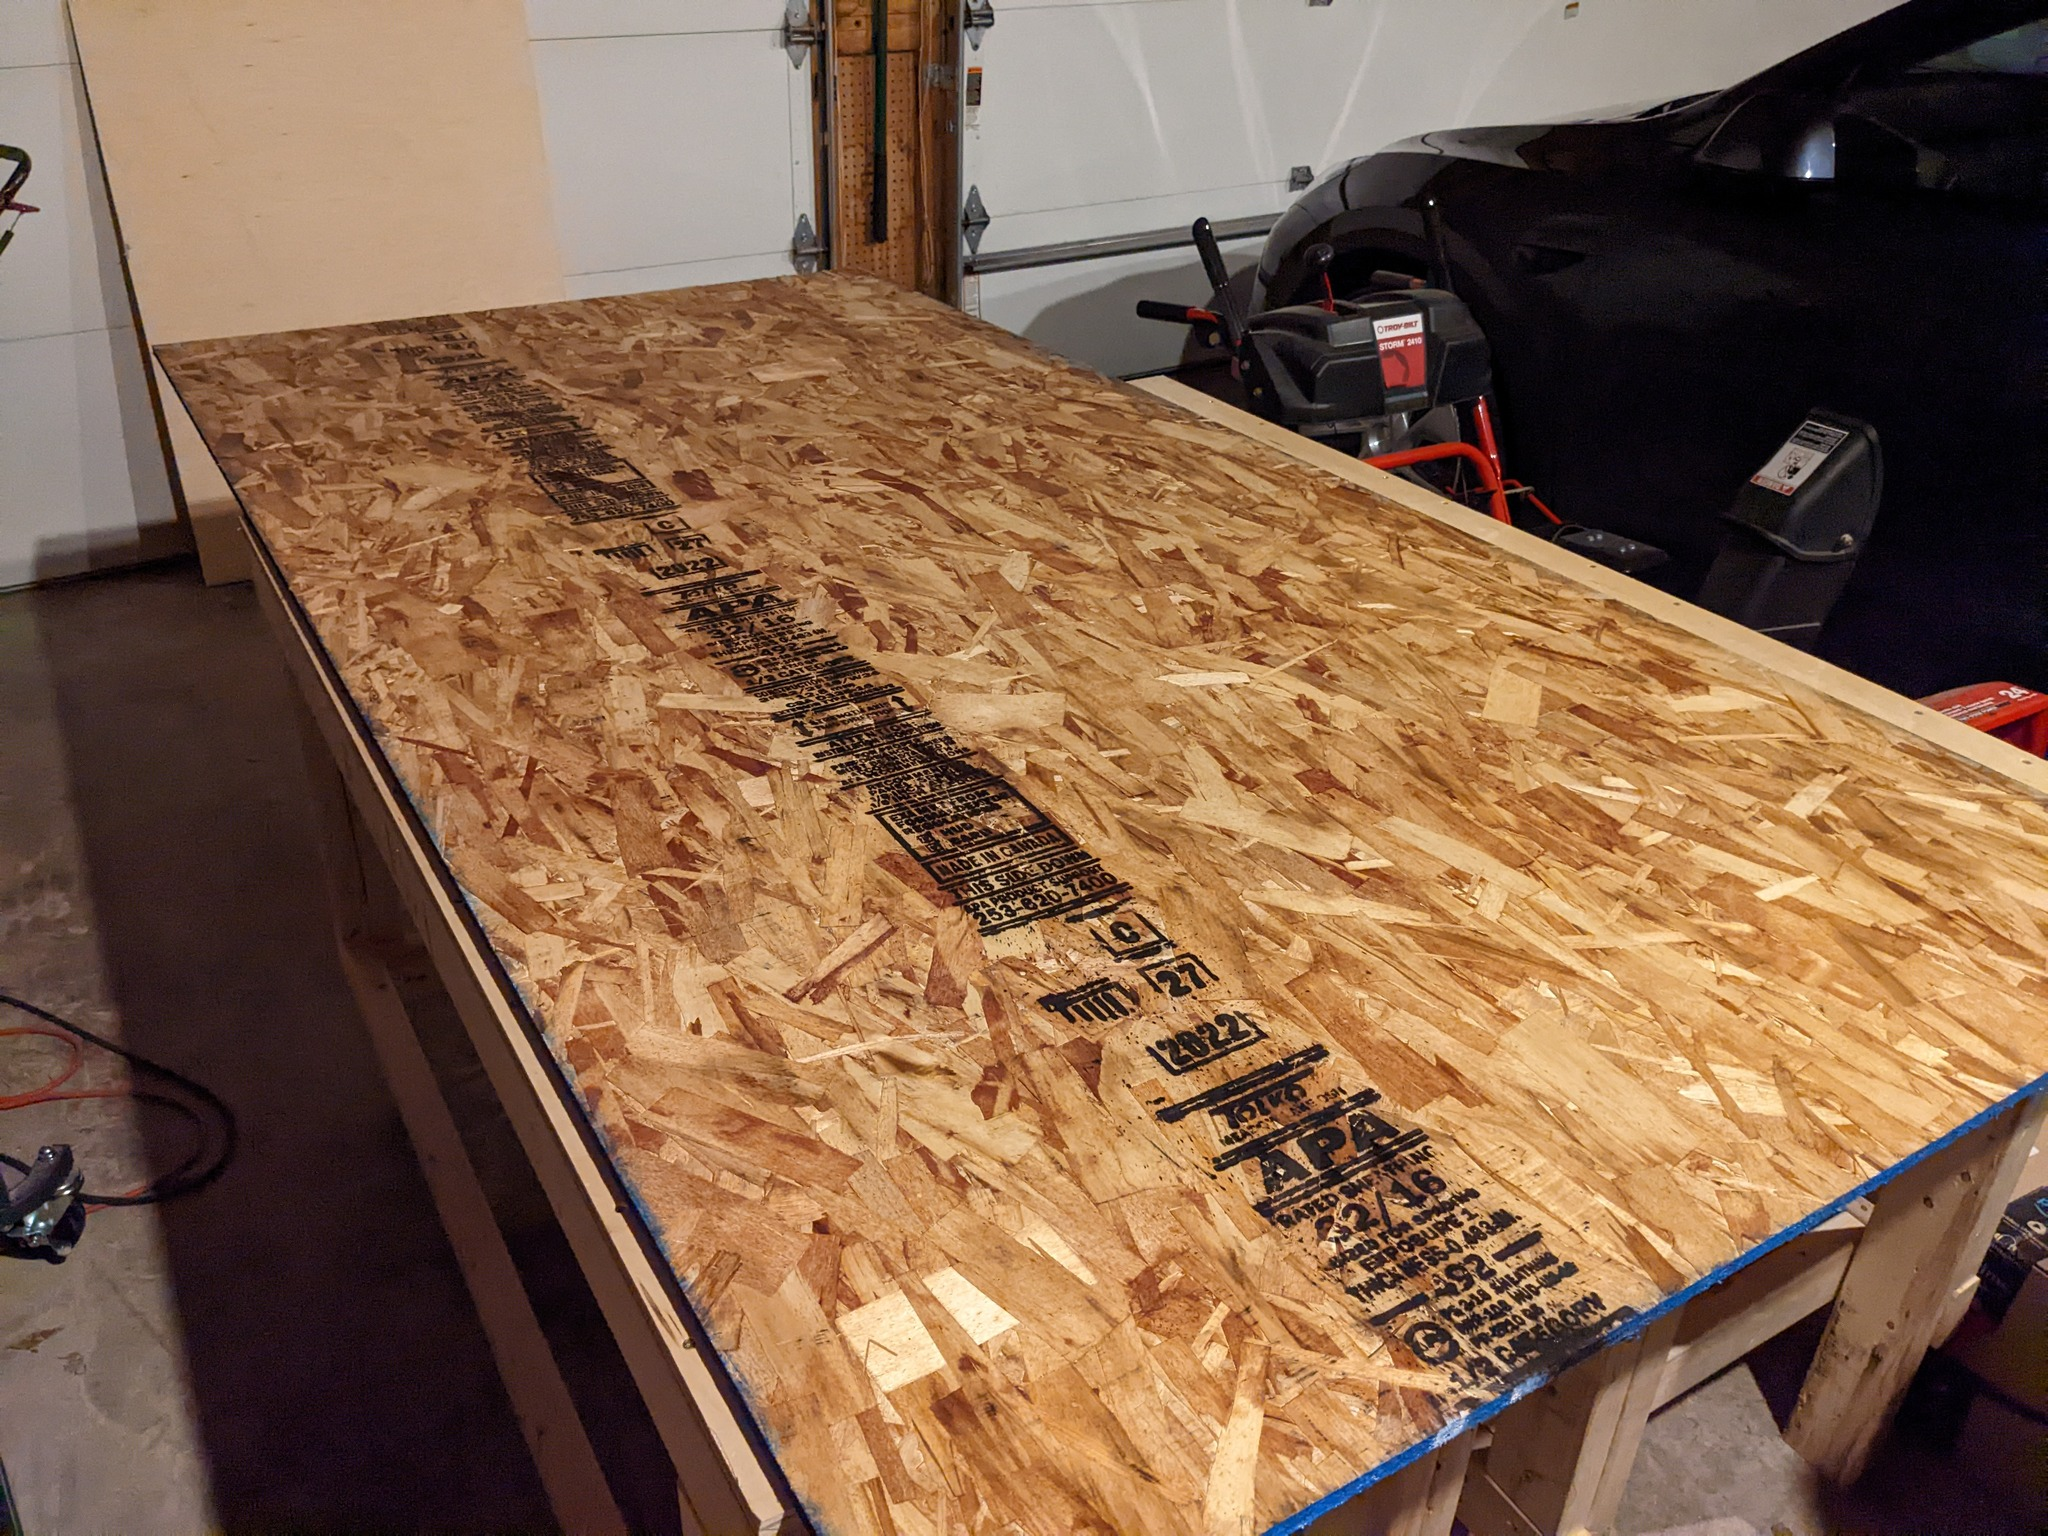
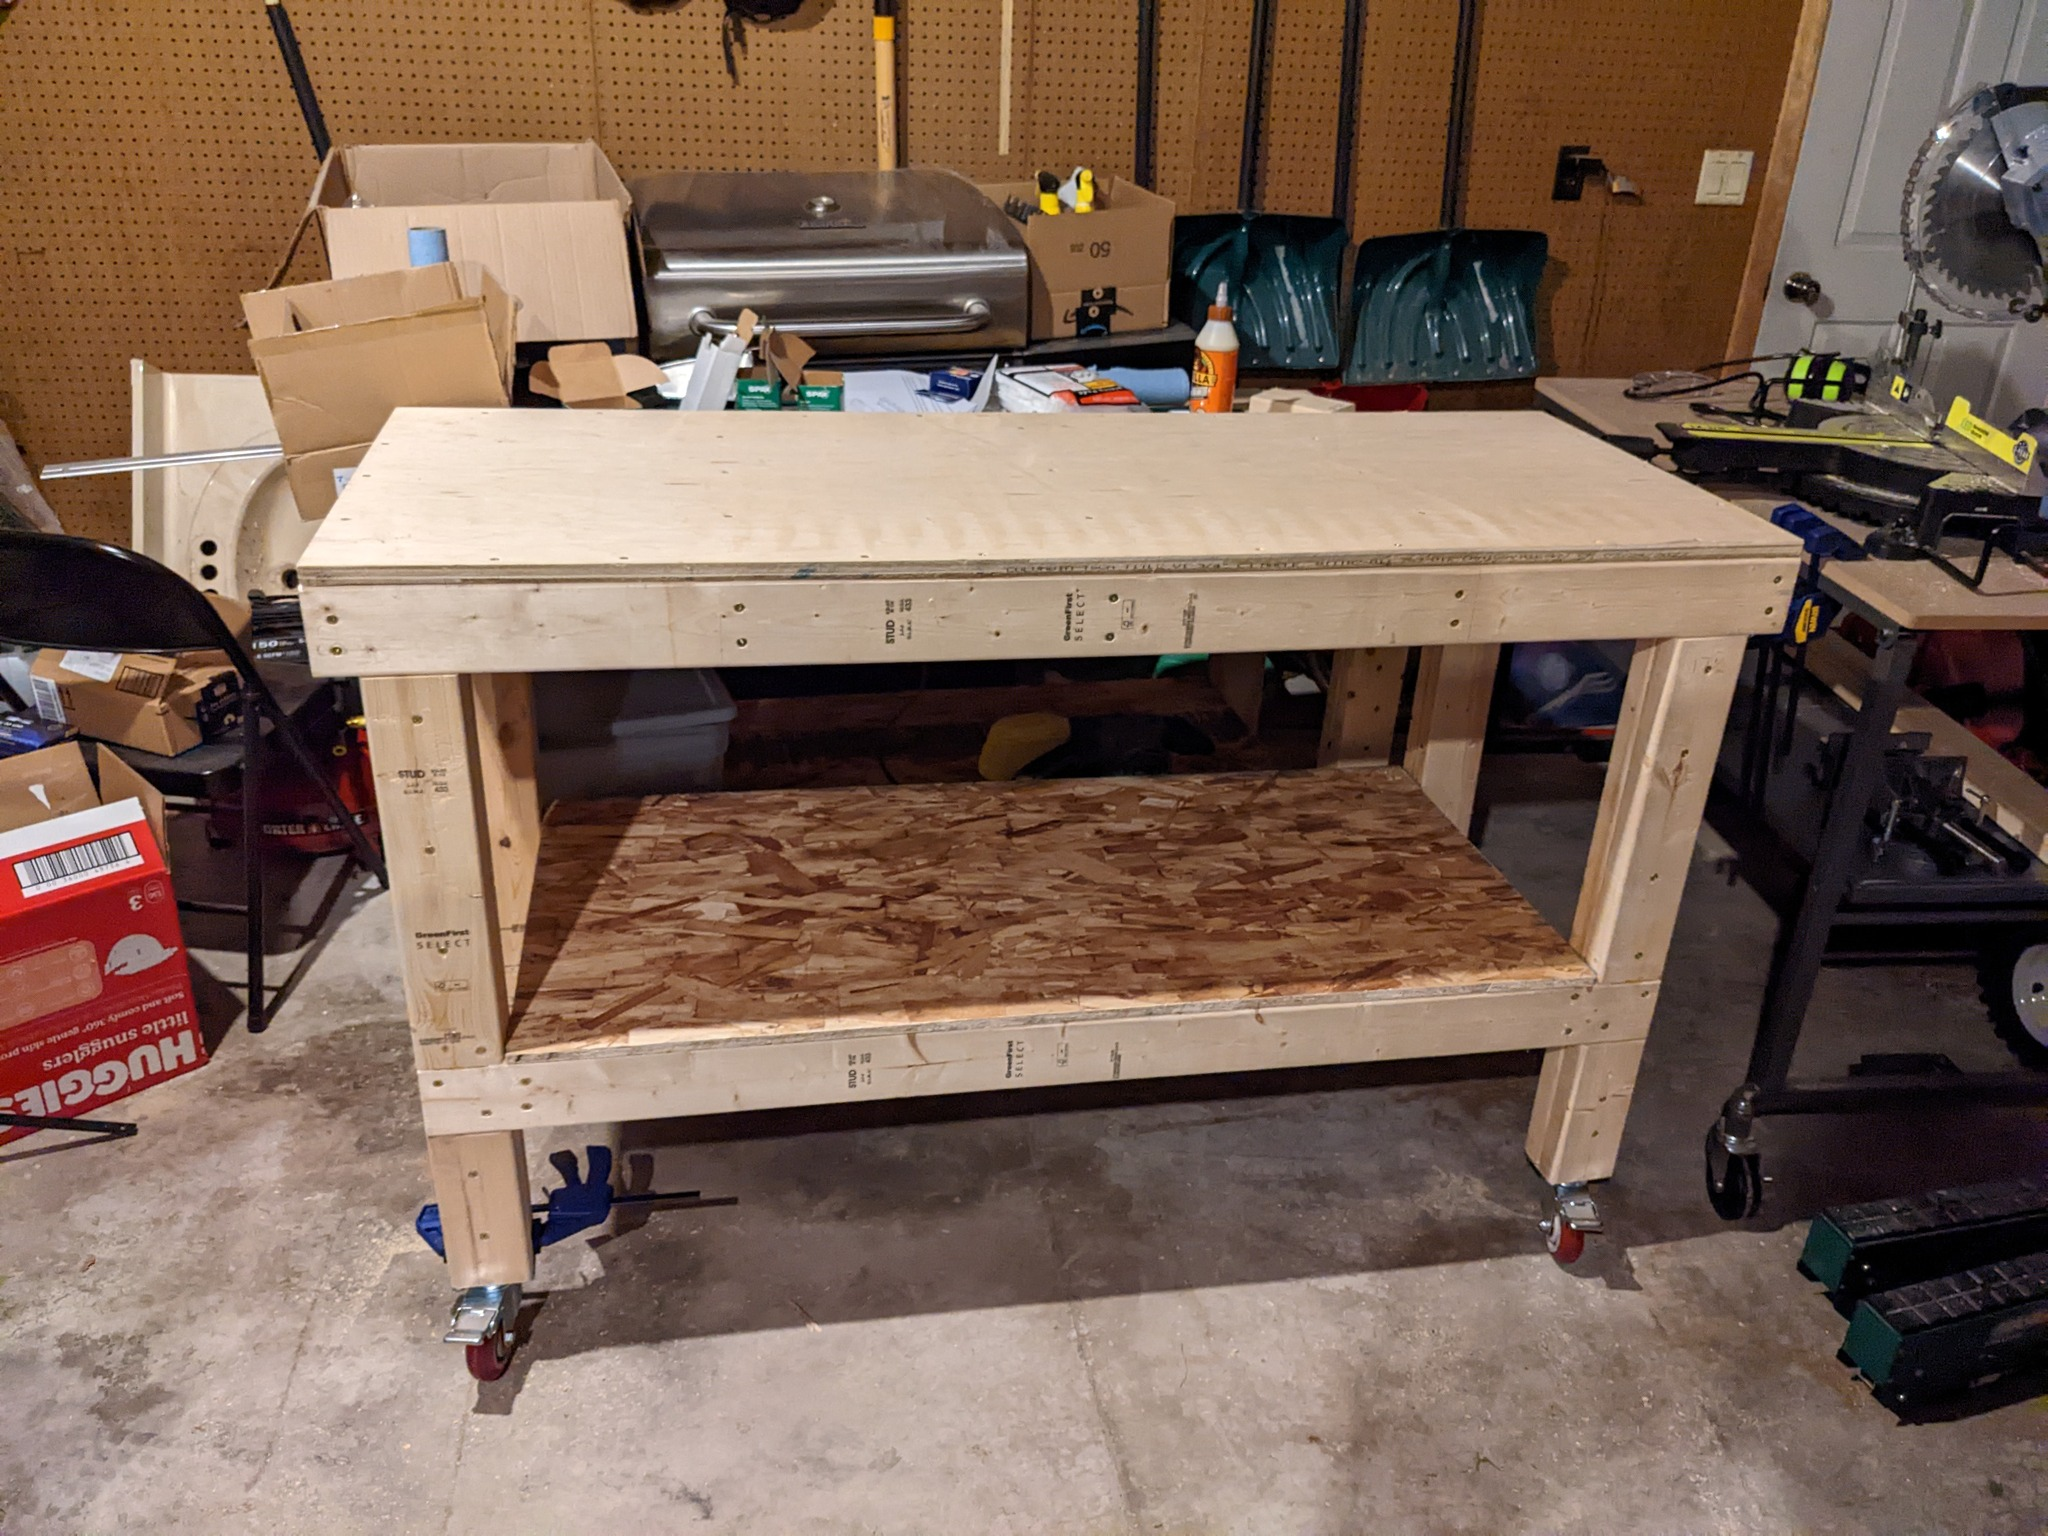
The last steps were to just glue the shelves in and secure them down with screws. Then finally, the tables were all done. The work was split up over a few nights so I don't know how long it took exactly.
Of course, I wasn't quite satisfied yet. The benches seemed awfully hard to move around and I want to be able to reconfigure them easy. So I ordered some heavy duty locking casters and some threaded inserts to put into the wood. I definitely should have measured better because they got pretty close to the edge of the legs and risked a lot of cracking but clamps and wood glue saw me through to the end.
To be honest, it felt really nice to build something on my own. I hadn't really ever done a project like this by myself (my father was pretty absent as I grew up). So to see the final product turn out so well made me really proud. I hope past me is proud of what I've accomplished. Did I make mistakes? A lot of them! But each mistake is an opportunity to learn how to do better. Never let perfect be the enemy of good or you'll never finish anything.
The last thing I will end up doing is adding carpeting to the top of the bench to protect the aluminum a little. I have a bunch of cheap carpet squares I got on clearance a few years ago that will be perfect for the job.