Starting the Build (and Metal is Sharp)


Inventory has finally been conquered and I can begin in earnest at this build. To be brutally honest, I hate doing inventory. It is tedious, boring, prone to errors because I'm bored, I have trouble motivating myself to do it, etc., etc. It is a good thing I really love airplanes or this would have never gotten done and I'd just have $20,000 of aluminum sitting around collecting dust (I mean, I'd probably sell it to someone else looking to build. That tends to happen fairly often because these builds take a while).
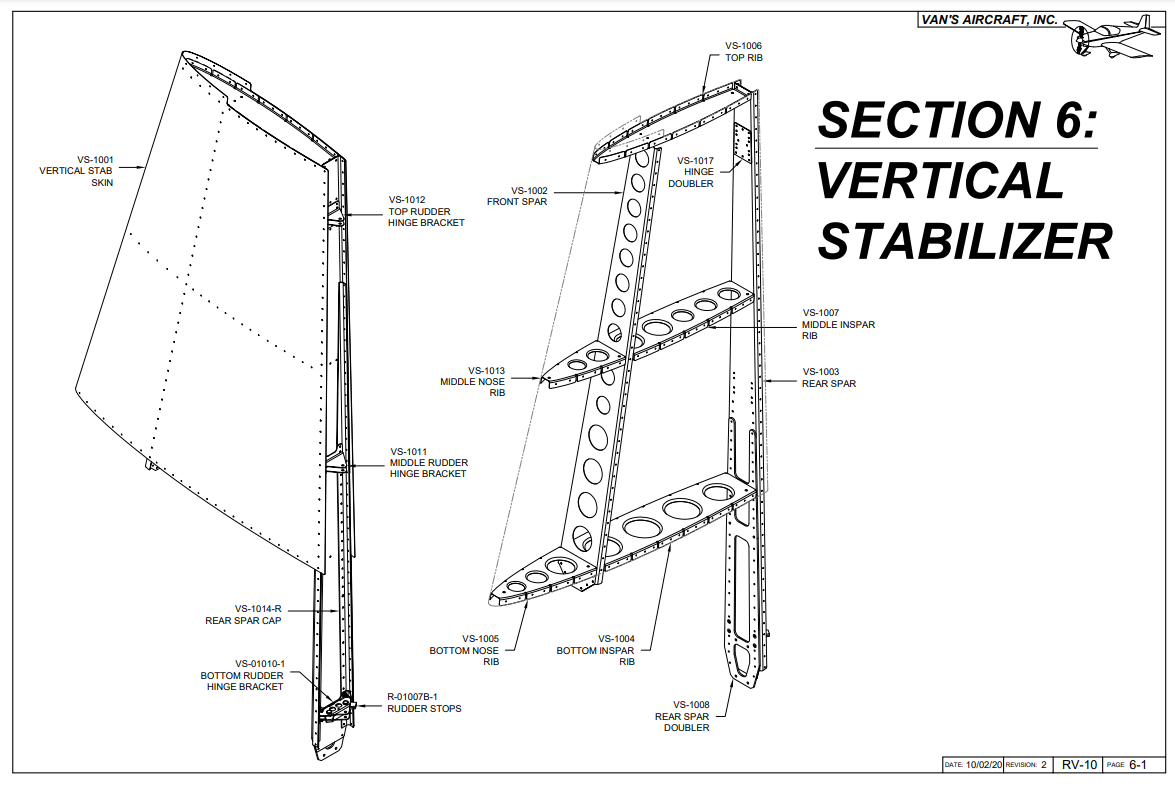
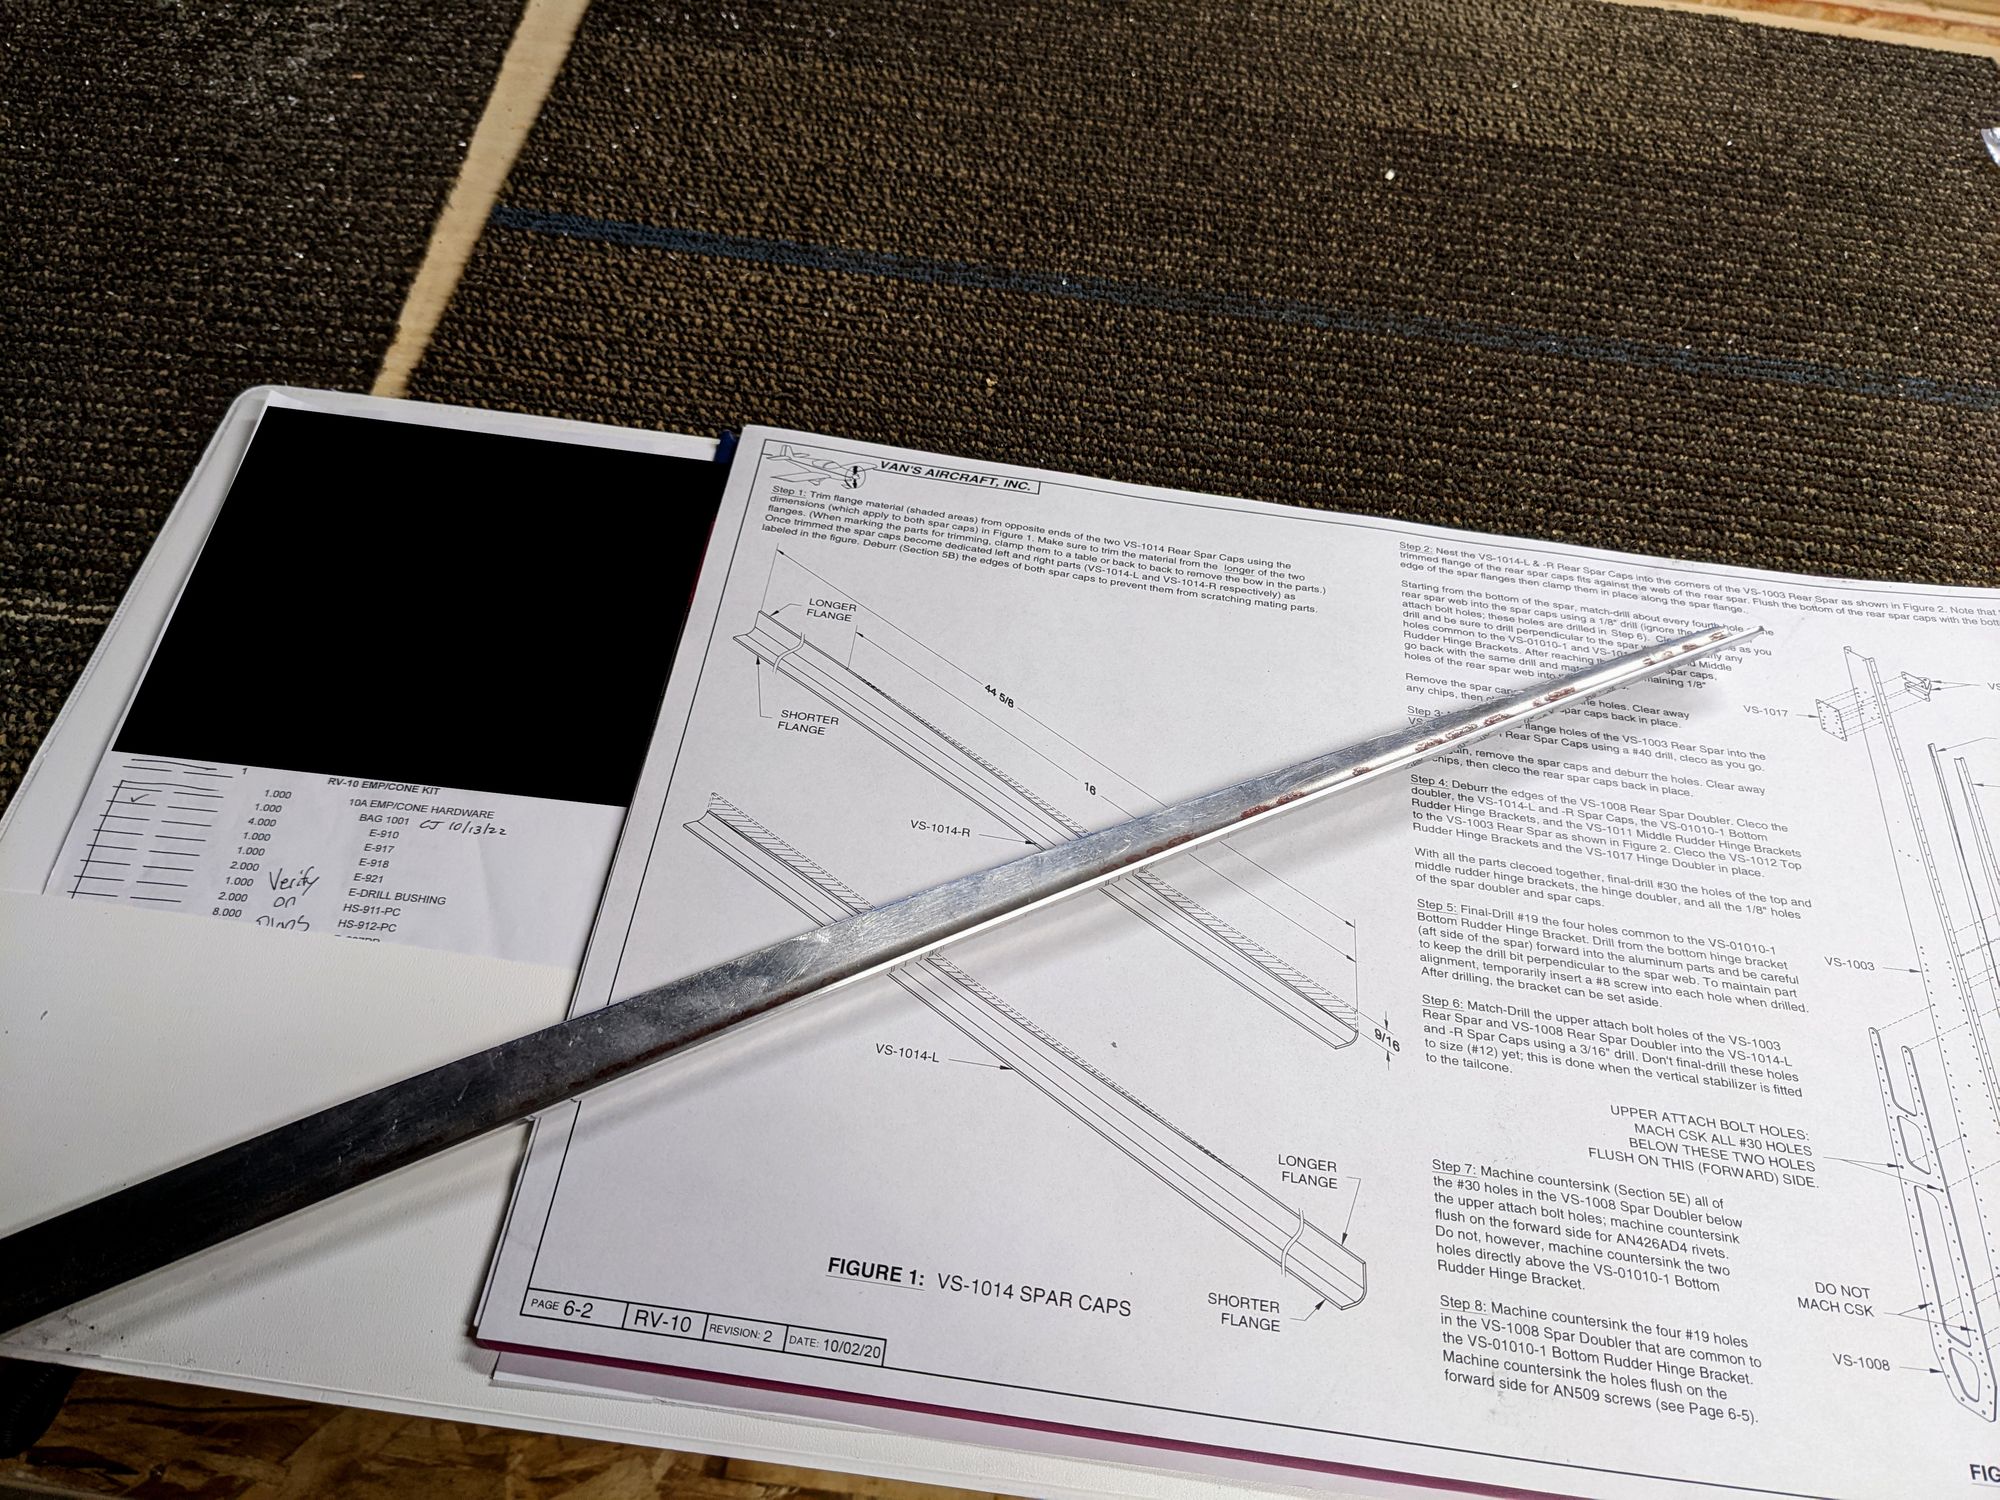
Anyway, time to start. I opened the plans to section 6, the vertical stabilizer. The first task at hand was to take my two VS-1014 Rear Spar Caps and trim them down some of the excess metal they had on them.
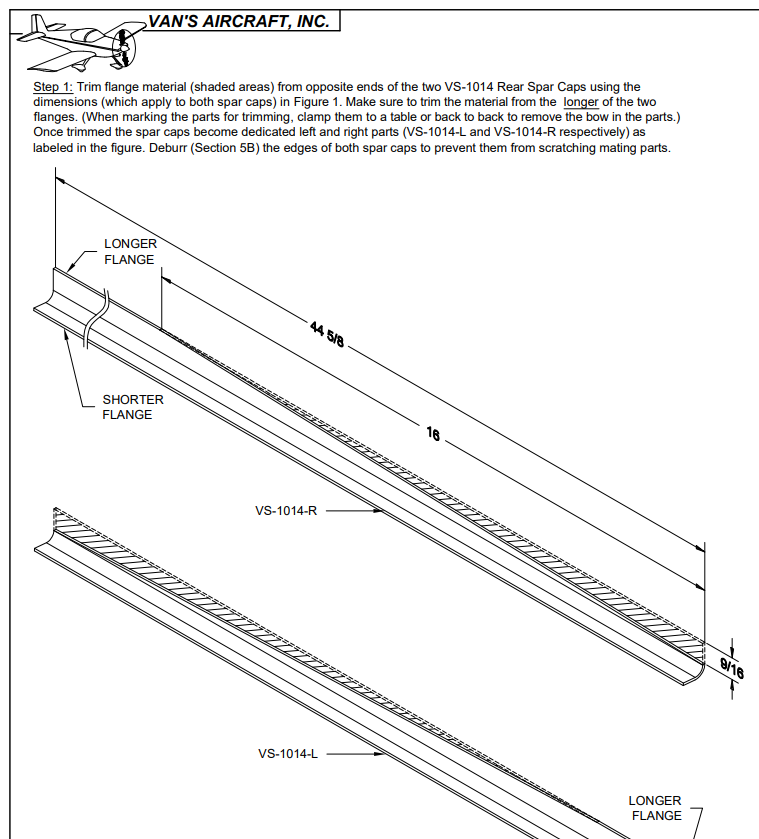
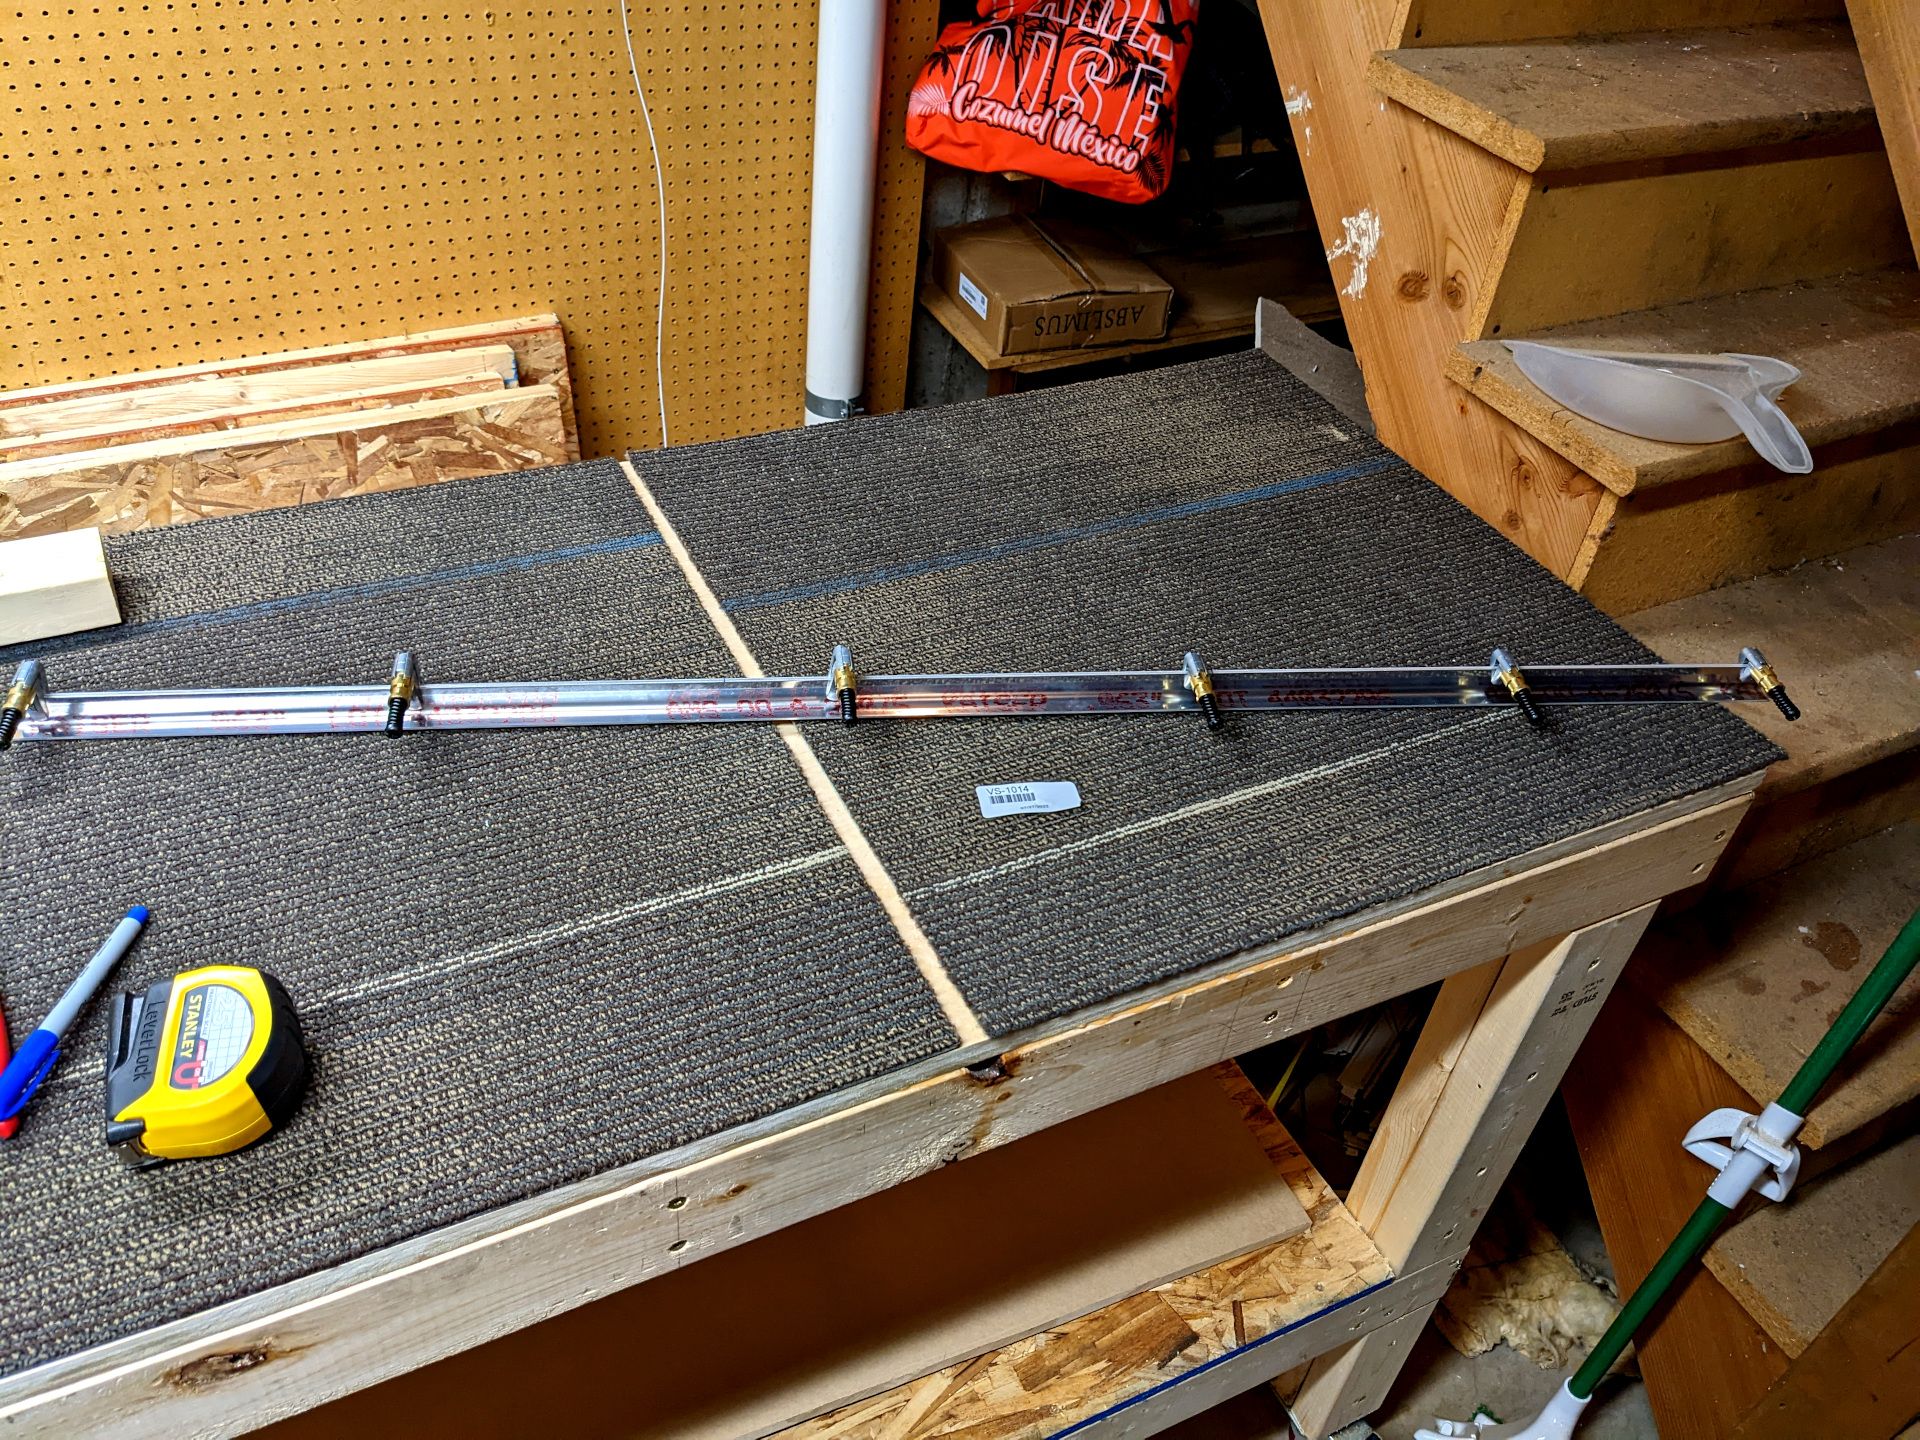
There was nothing too complicated about this first step. I clamped the parts back to back (they were bowed) and measured a few times. Then drew some nice blue lines in sharpie... and redrew them because my meter stick moved. All in a days work of not being able to hold things steady I guess.
Due to my misadventures yesterday, I don't have a bandsaw to make this cut. I didn't think it would be too big of a deal but I was kind of wrong about that. My first thought was to use my metal snips I got but the metal was too thick for my weak tiny man grip. So I thought that maybe I could get away with filing it down by hand. This would work but would probably have taken me three years to just remove the material that way. So I pondered a little and remembered I have a hacksaw in my garage so I grabbed it and wouldn't you know it, the blade is dull. That ain't gonna cut it (puns are always intended here. That one double so). Well... what if I used the bench grinder and just ground the material off?
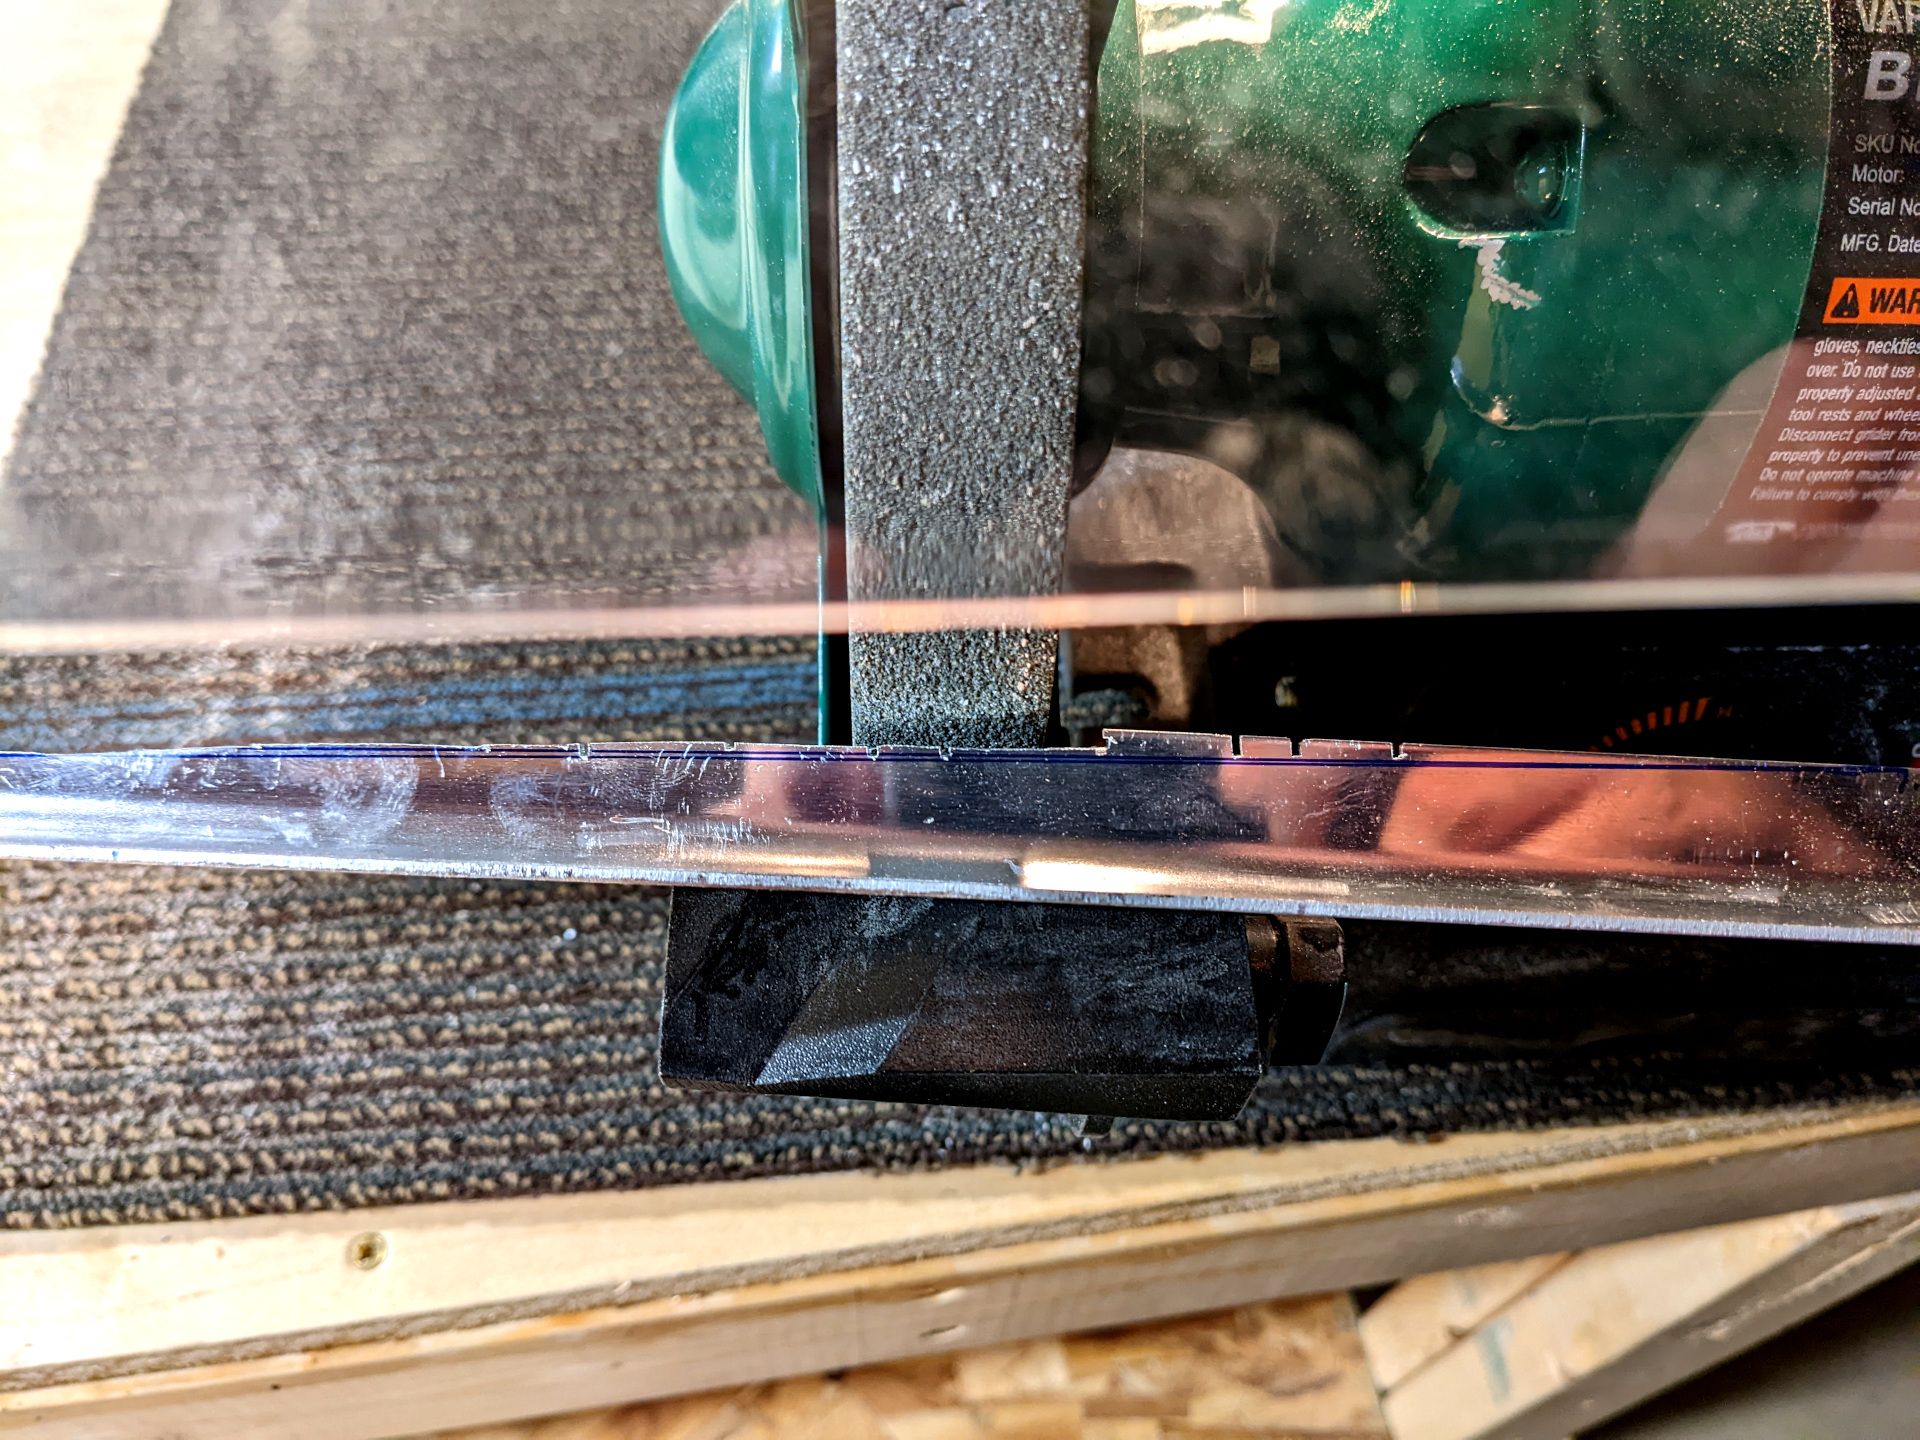
This did work. It wasn't particularly fast but it was a lot faster than filing by hand. So I got showered in aluminum debris while grinding away for a while. Sometimes I'd forget to pause long enough for the aluminum to cool down and my college physics courses were right: Aluminum is a great conductor of heat. So after burning myself a few times I figured out a rhythm that would remove material and not burn me. "Why didn't you just wear gloves?" is a great question and I can't answer it because I don't know. I am a model citizen though and had my ear protection and safety glasses on.
Once the rough shape was ground out, I filed away the absurd burr it left behind and filed down to the line I had drawn. A lesson learned on a test kit I built was to never power-tool your way to the line you drew. You need a little finesse there to make sure you don't remove too much material. Lastly I sanded and sanded and sanded to remove all tool marks off the edges of the part. I basically polished it at this point. Is that overkill? Probably. But it is my plane so I'll do it how I want.
One down, one to go (ignoring the rest of everything I have to do). I spend about 2-3 hours on this one part and that is probably overkill for sure. I figure a bandsaw would save me 30 minutes of grinding and trying to figure out if I'm doing it right. Don't give in to that hustle mindset that your time is directly worth money if you are doing a hobby. Just enjoy your hobby and then the time isn't wasted at all. So I went to sleep and waiting for the next day when I could do some work.
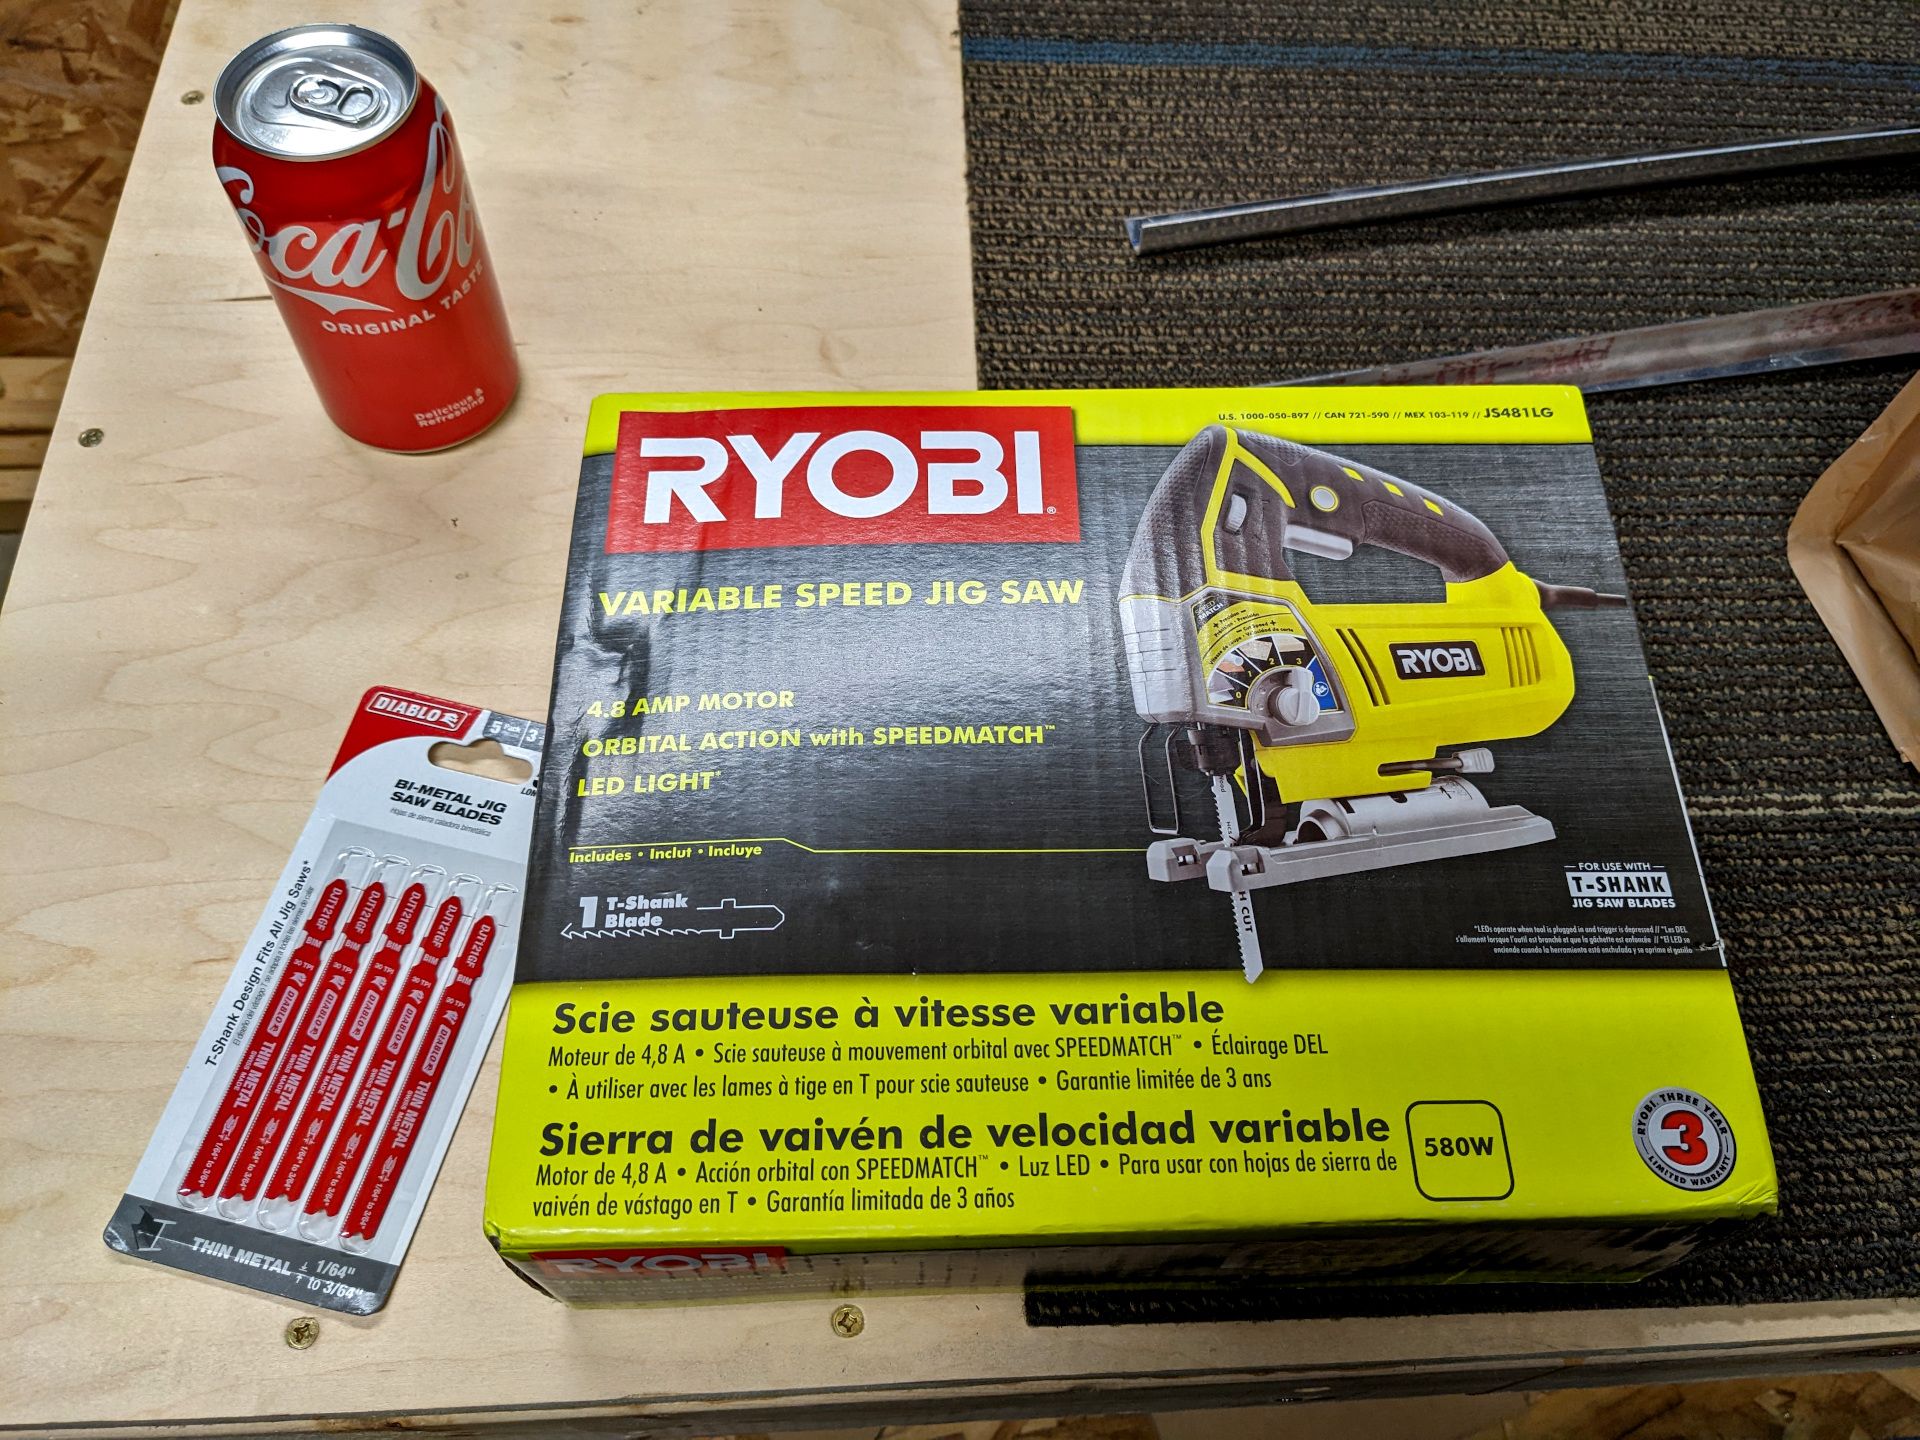
I did stop off at Home Depot after work in an attempt to make my life a little easier. Not sure it helped because I decided to cut from the harder side instead of flipping the piece over and cutting like a normal human being with a brain. That's okay though, smooth brain engage. The Coca-Cola is because I'm a degenerate and that's what I drink.
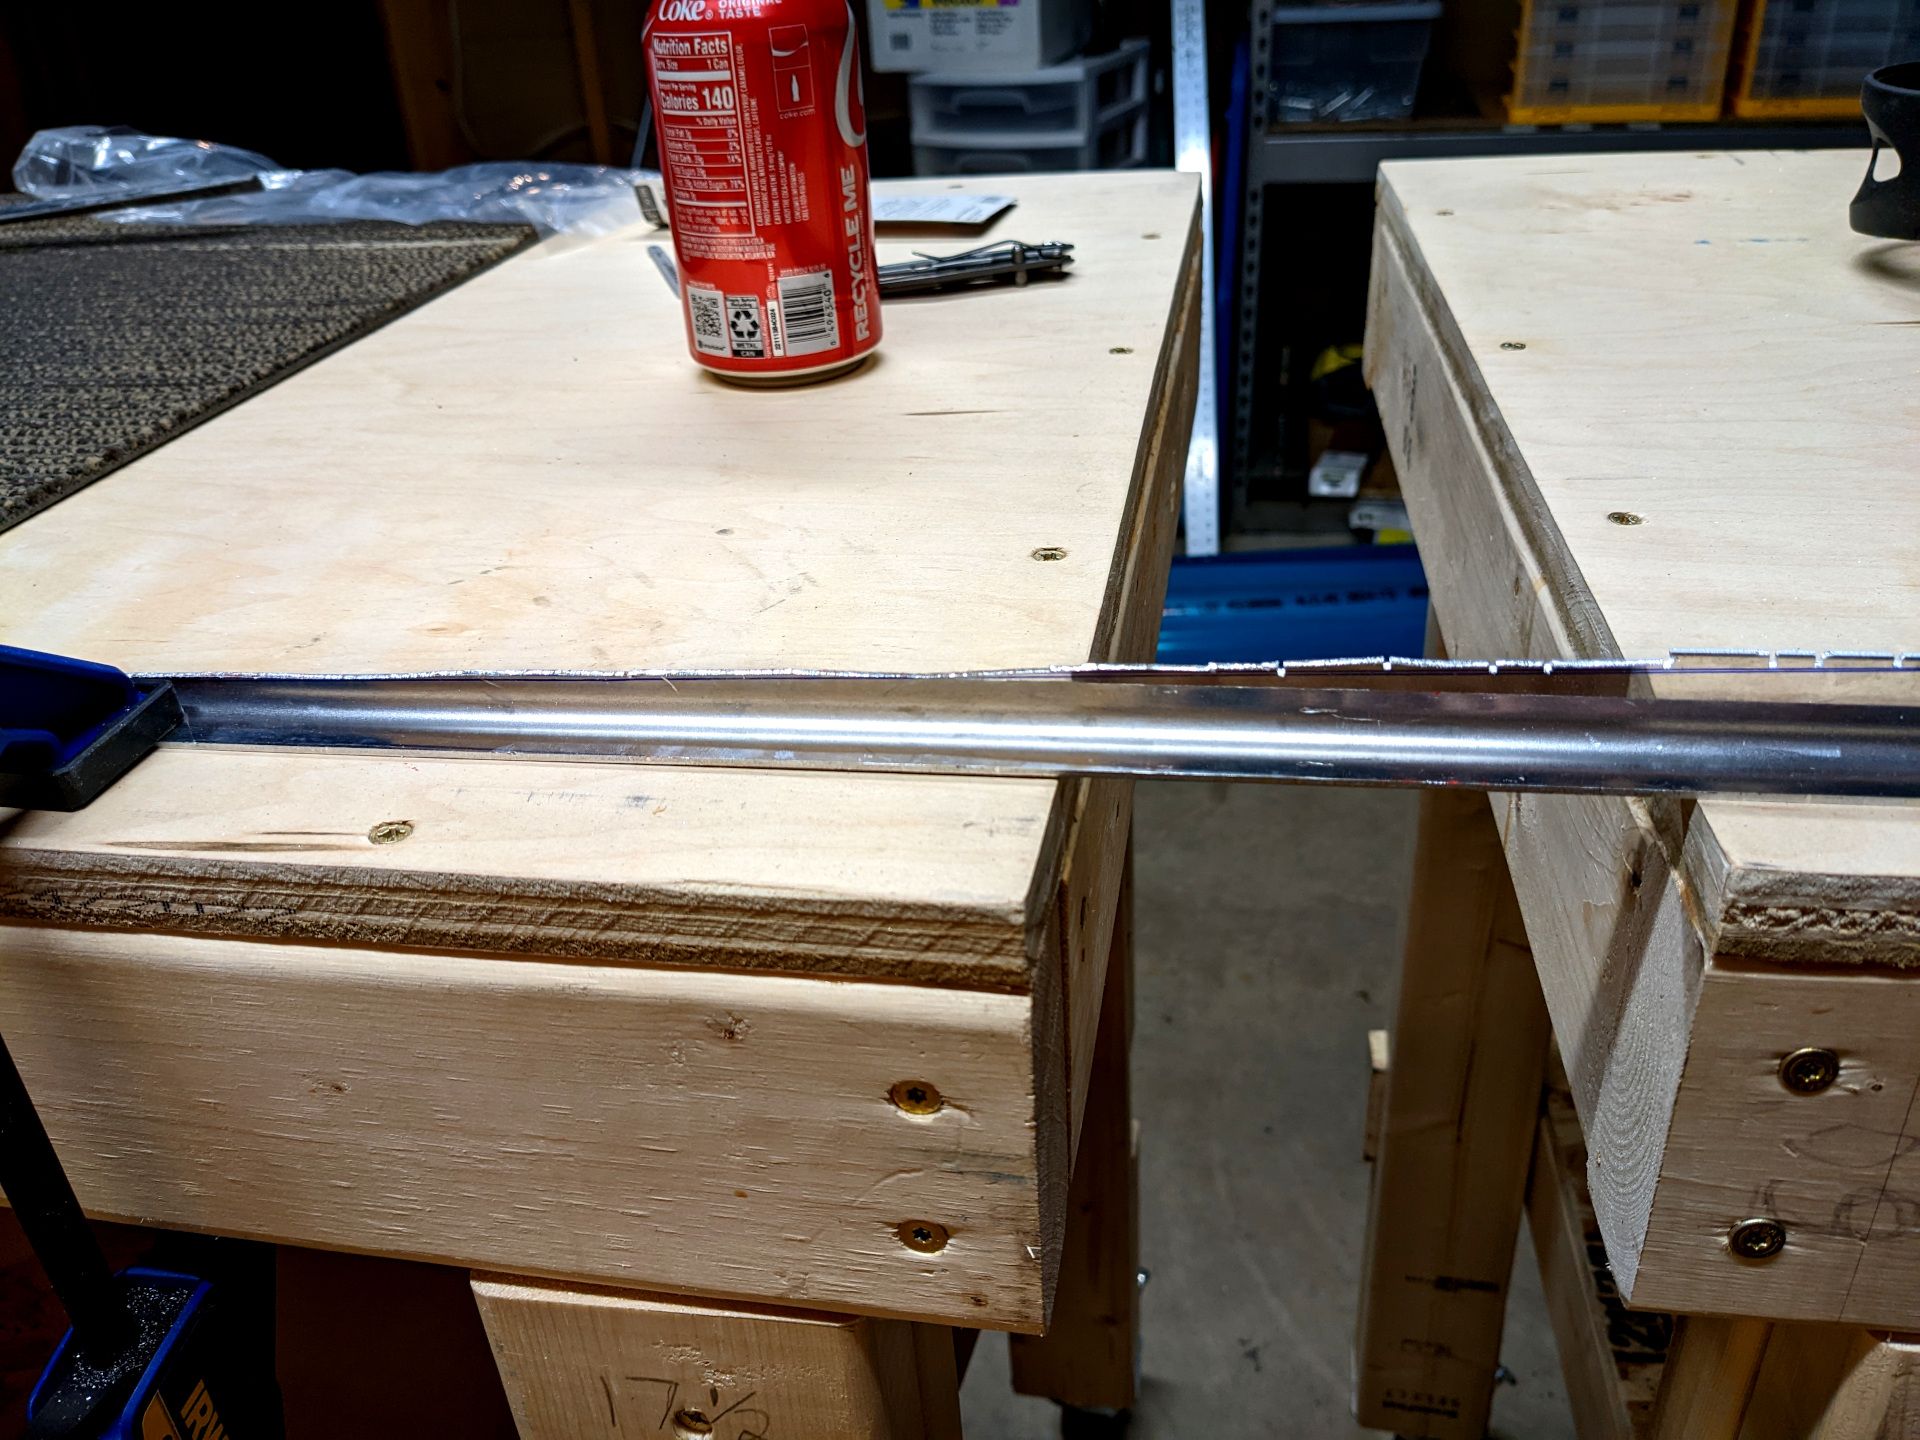
My shop teacher from high school would be ashamed of me. Well well, Mr. Grinder will have to deal with this mess (and not the hook-up app). So after getting showered in little aluminum chips for a bit I had a more manageable edge.
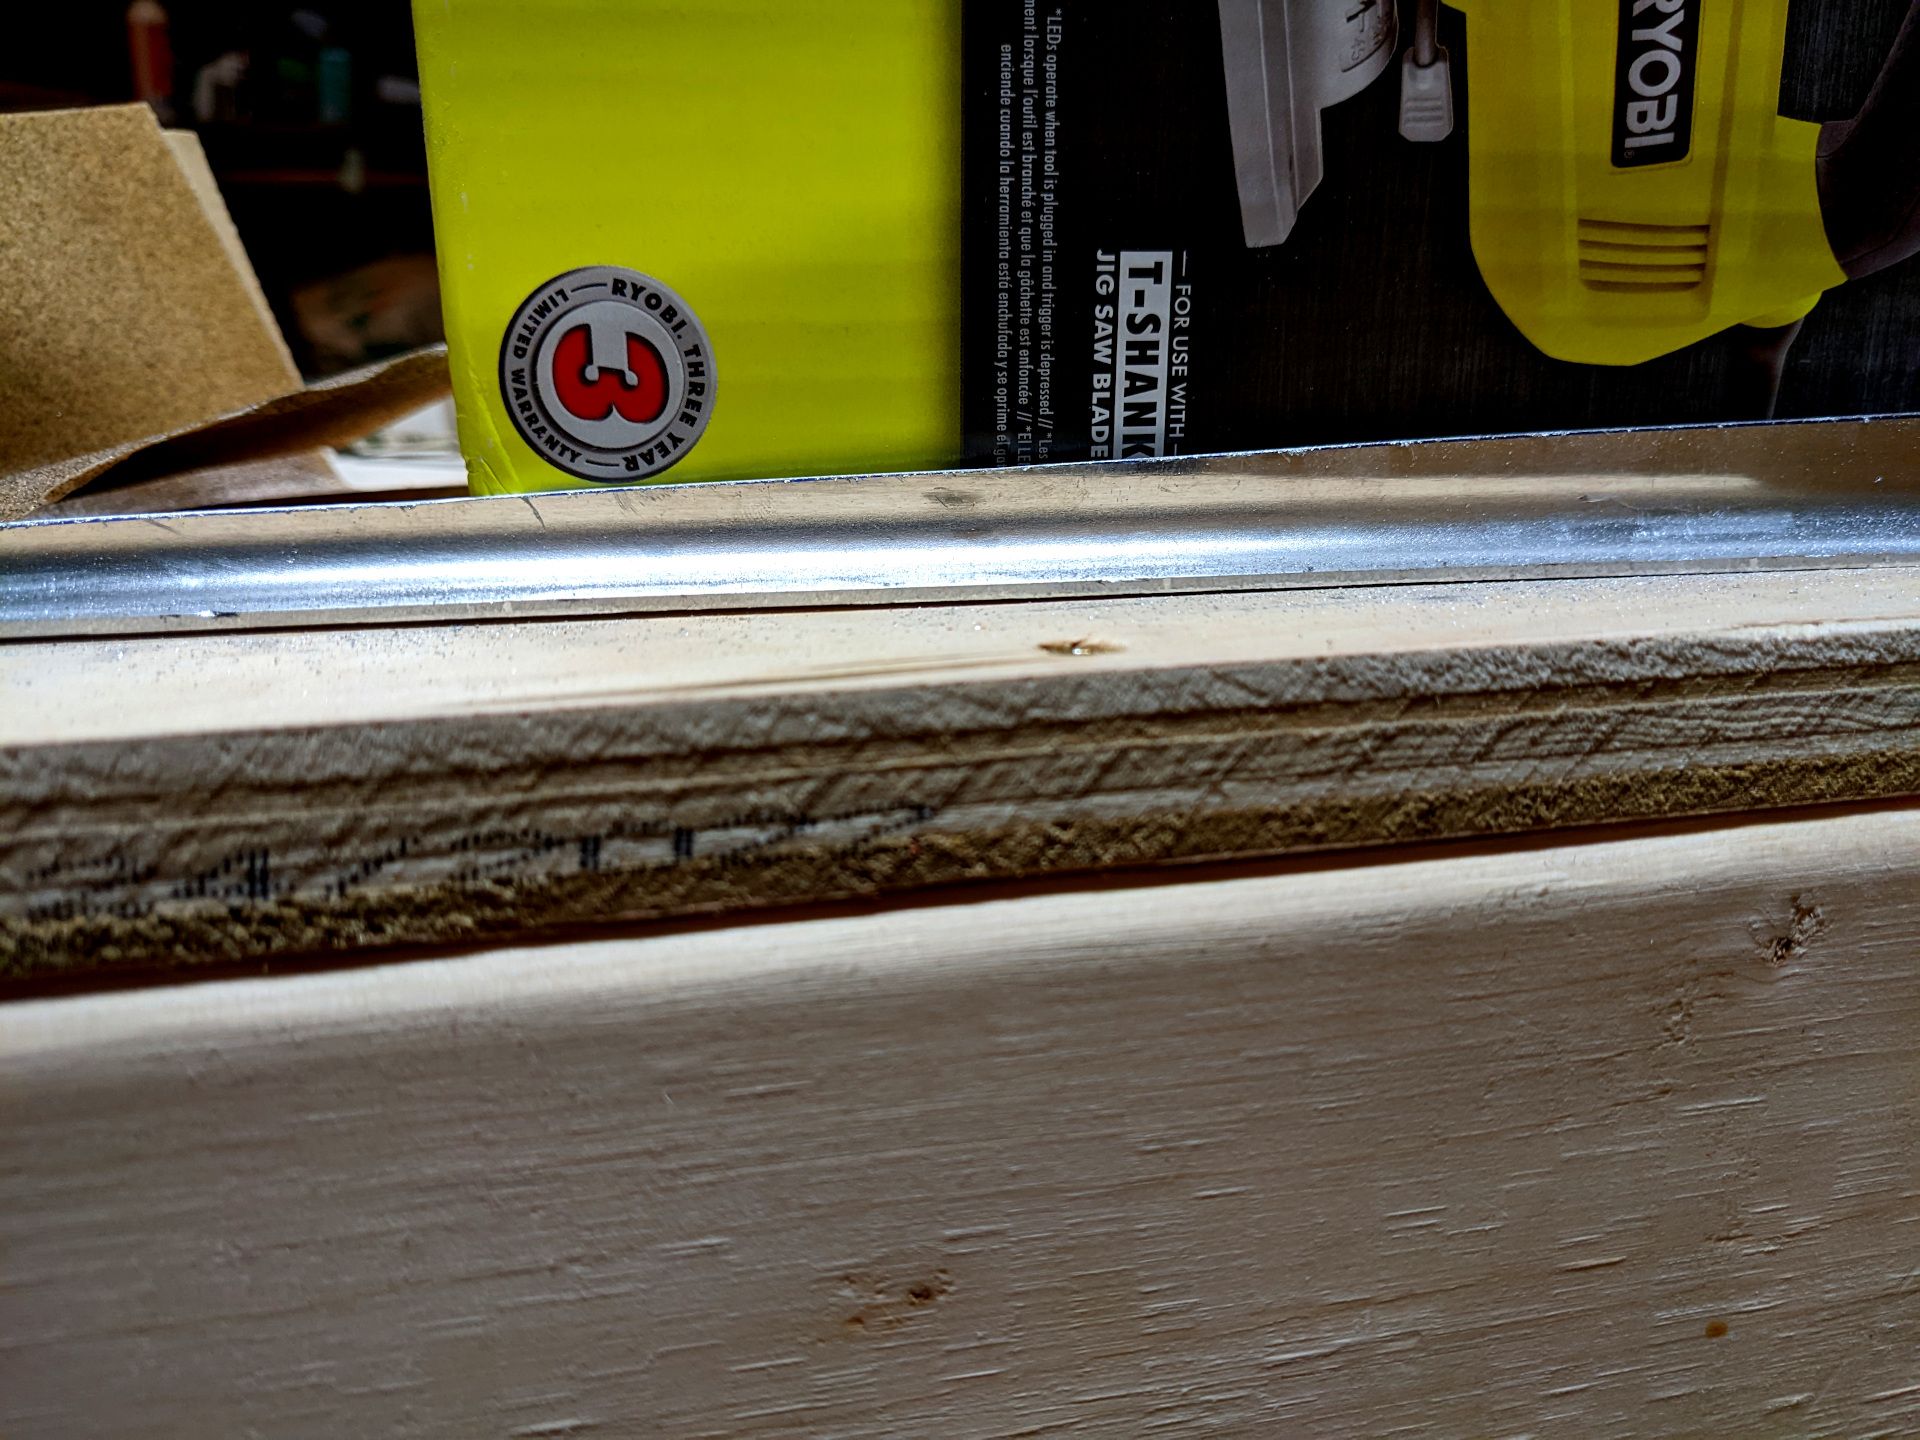
After this it was the process of deburring, filing, and sanding until I had a nice edge free of burrs. What I did learn though is I should tape off my part next time because the surface finish is all marred from the aluminum wizzing off on the grinder. My bad, but that settles a debate I was having about priming the parts or not. This one will need to be primed. But now both parts and done and I can do some drilling!

The plans call for clamping the two spar caps I just made onto the rear spar and then match drilling the holes for rivets later (see my beautiful red arrows in the image above). Of course then you have to take it apart and deburr all the holes and put it back together and drill more holes and take it apart and deburr the holes and put it back together and so on and so one. So if you really like assembling and disassembling over and over and over this could be a project for you! So after reading the plans and the next steps over a few times I built up enough confidence to start.
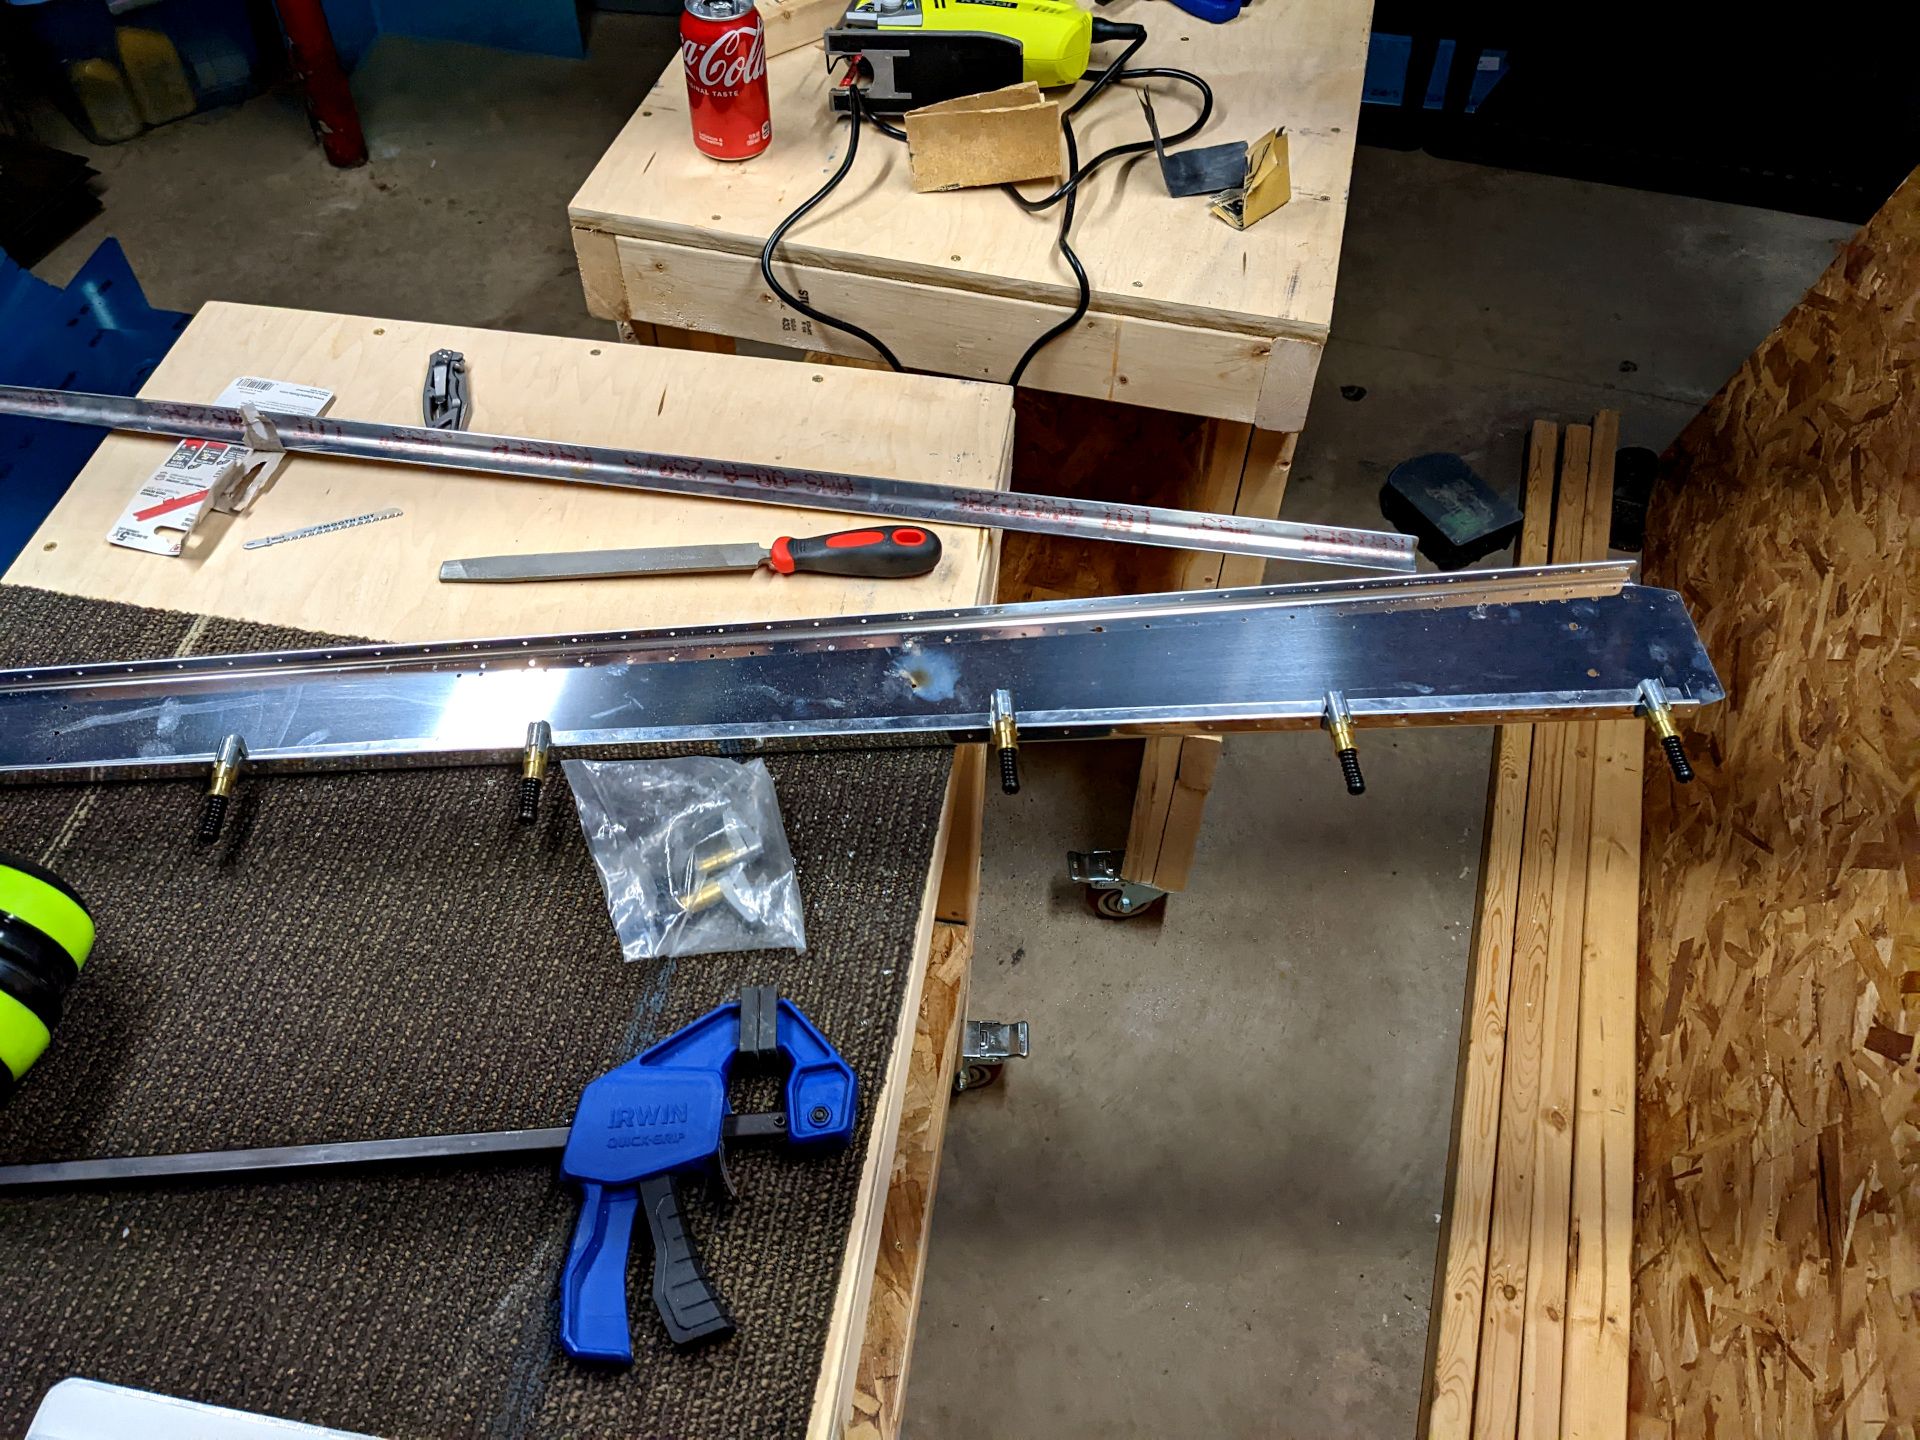
Clamps in place, let's drill some holes.
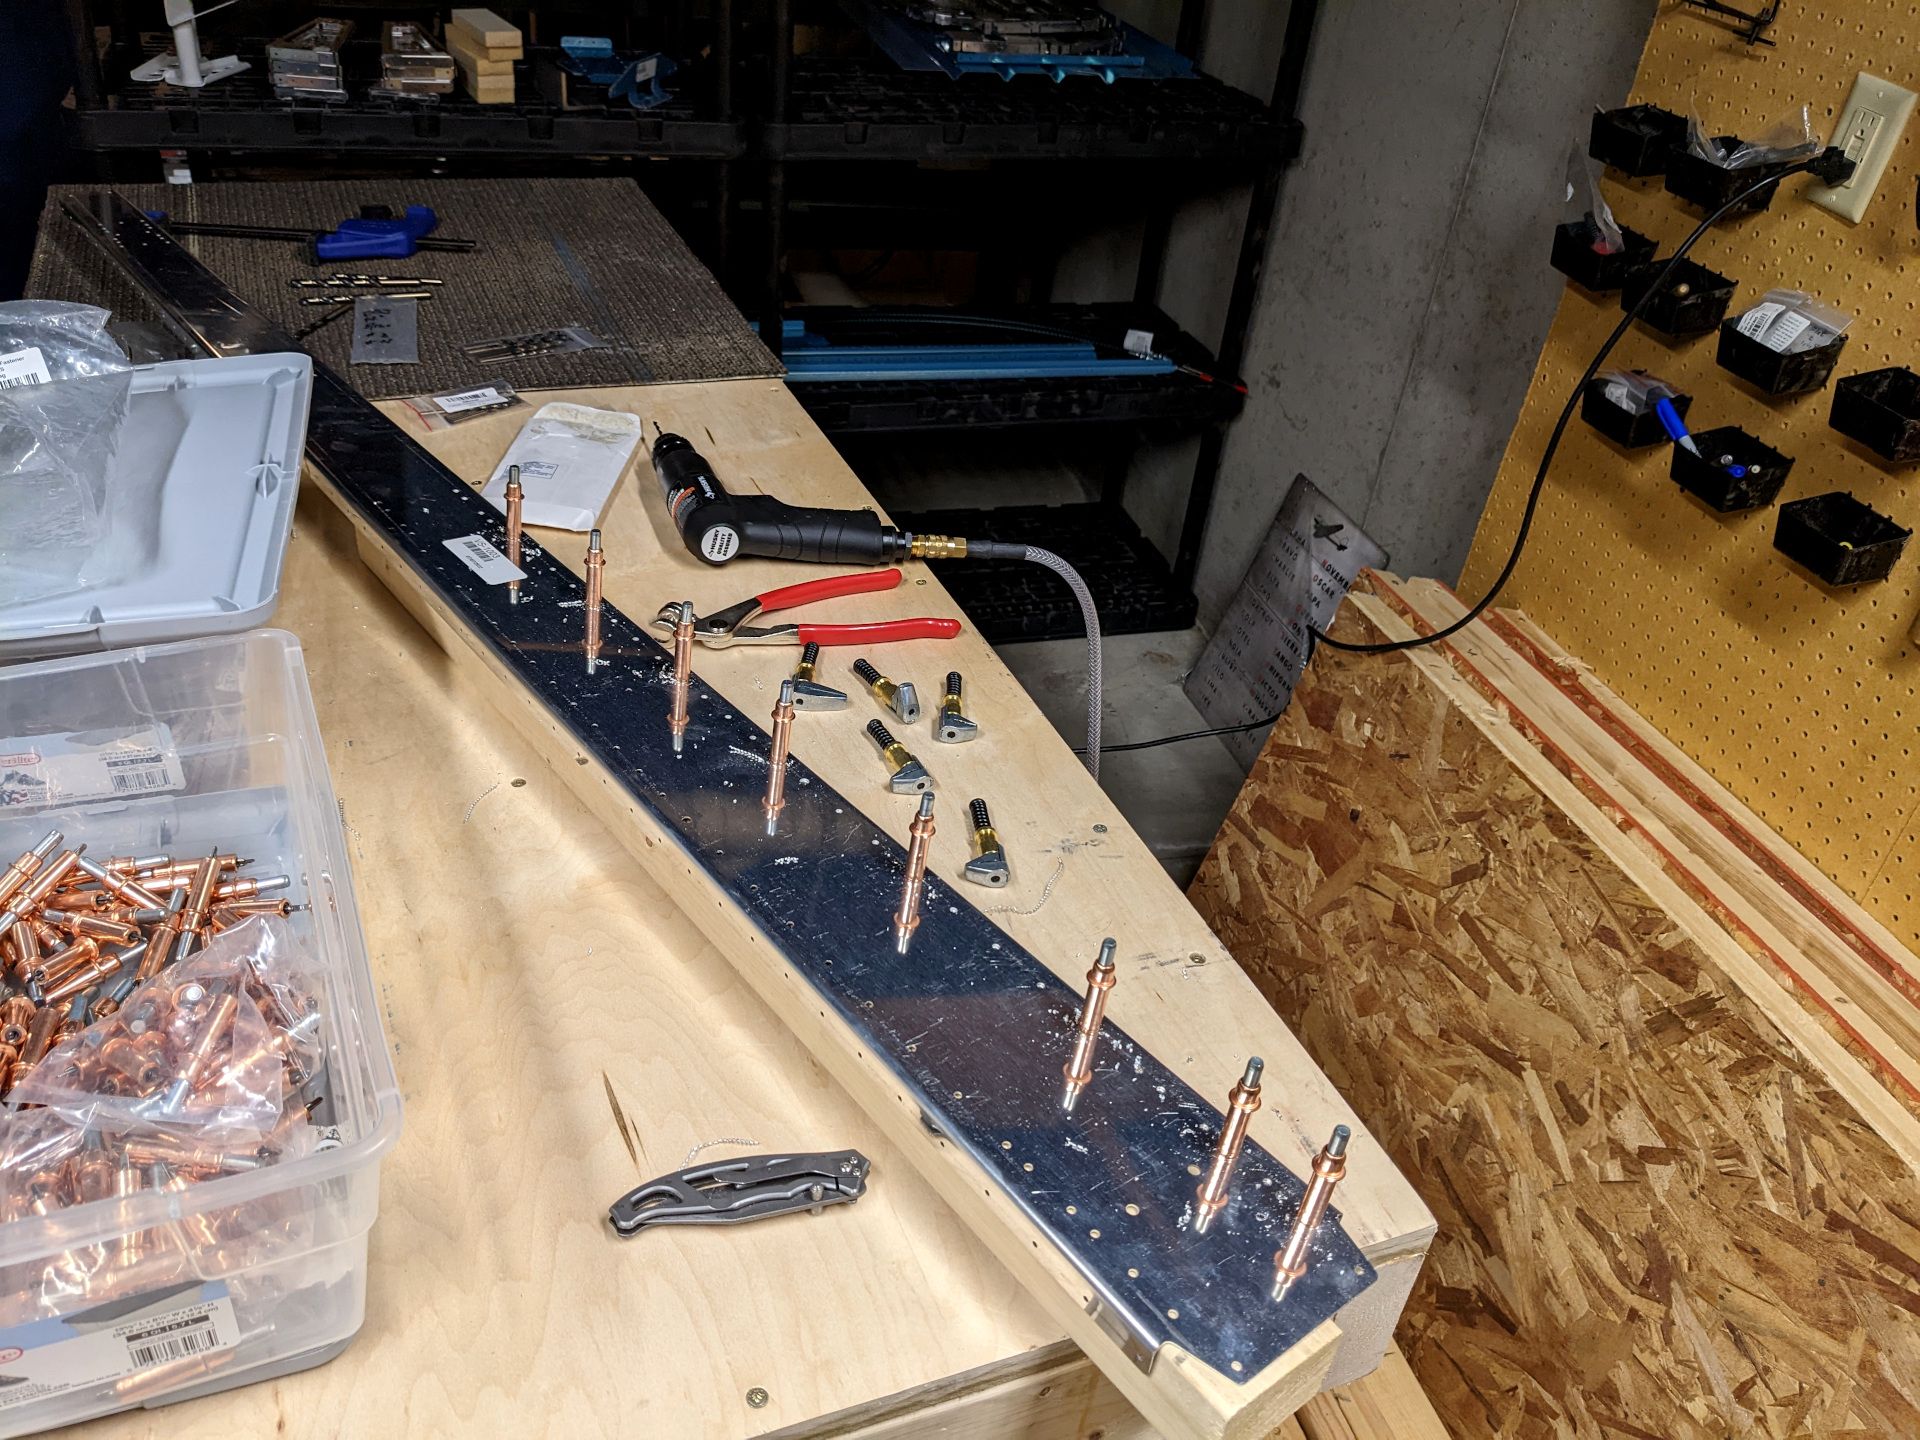
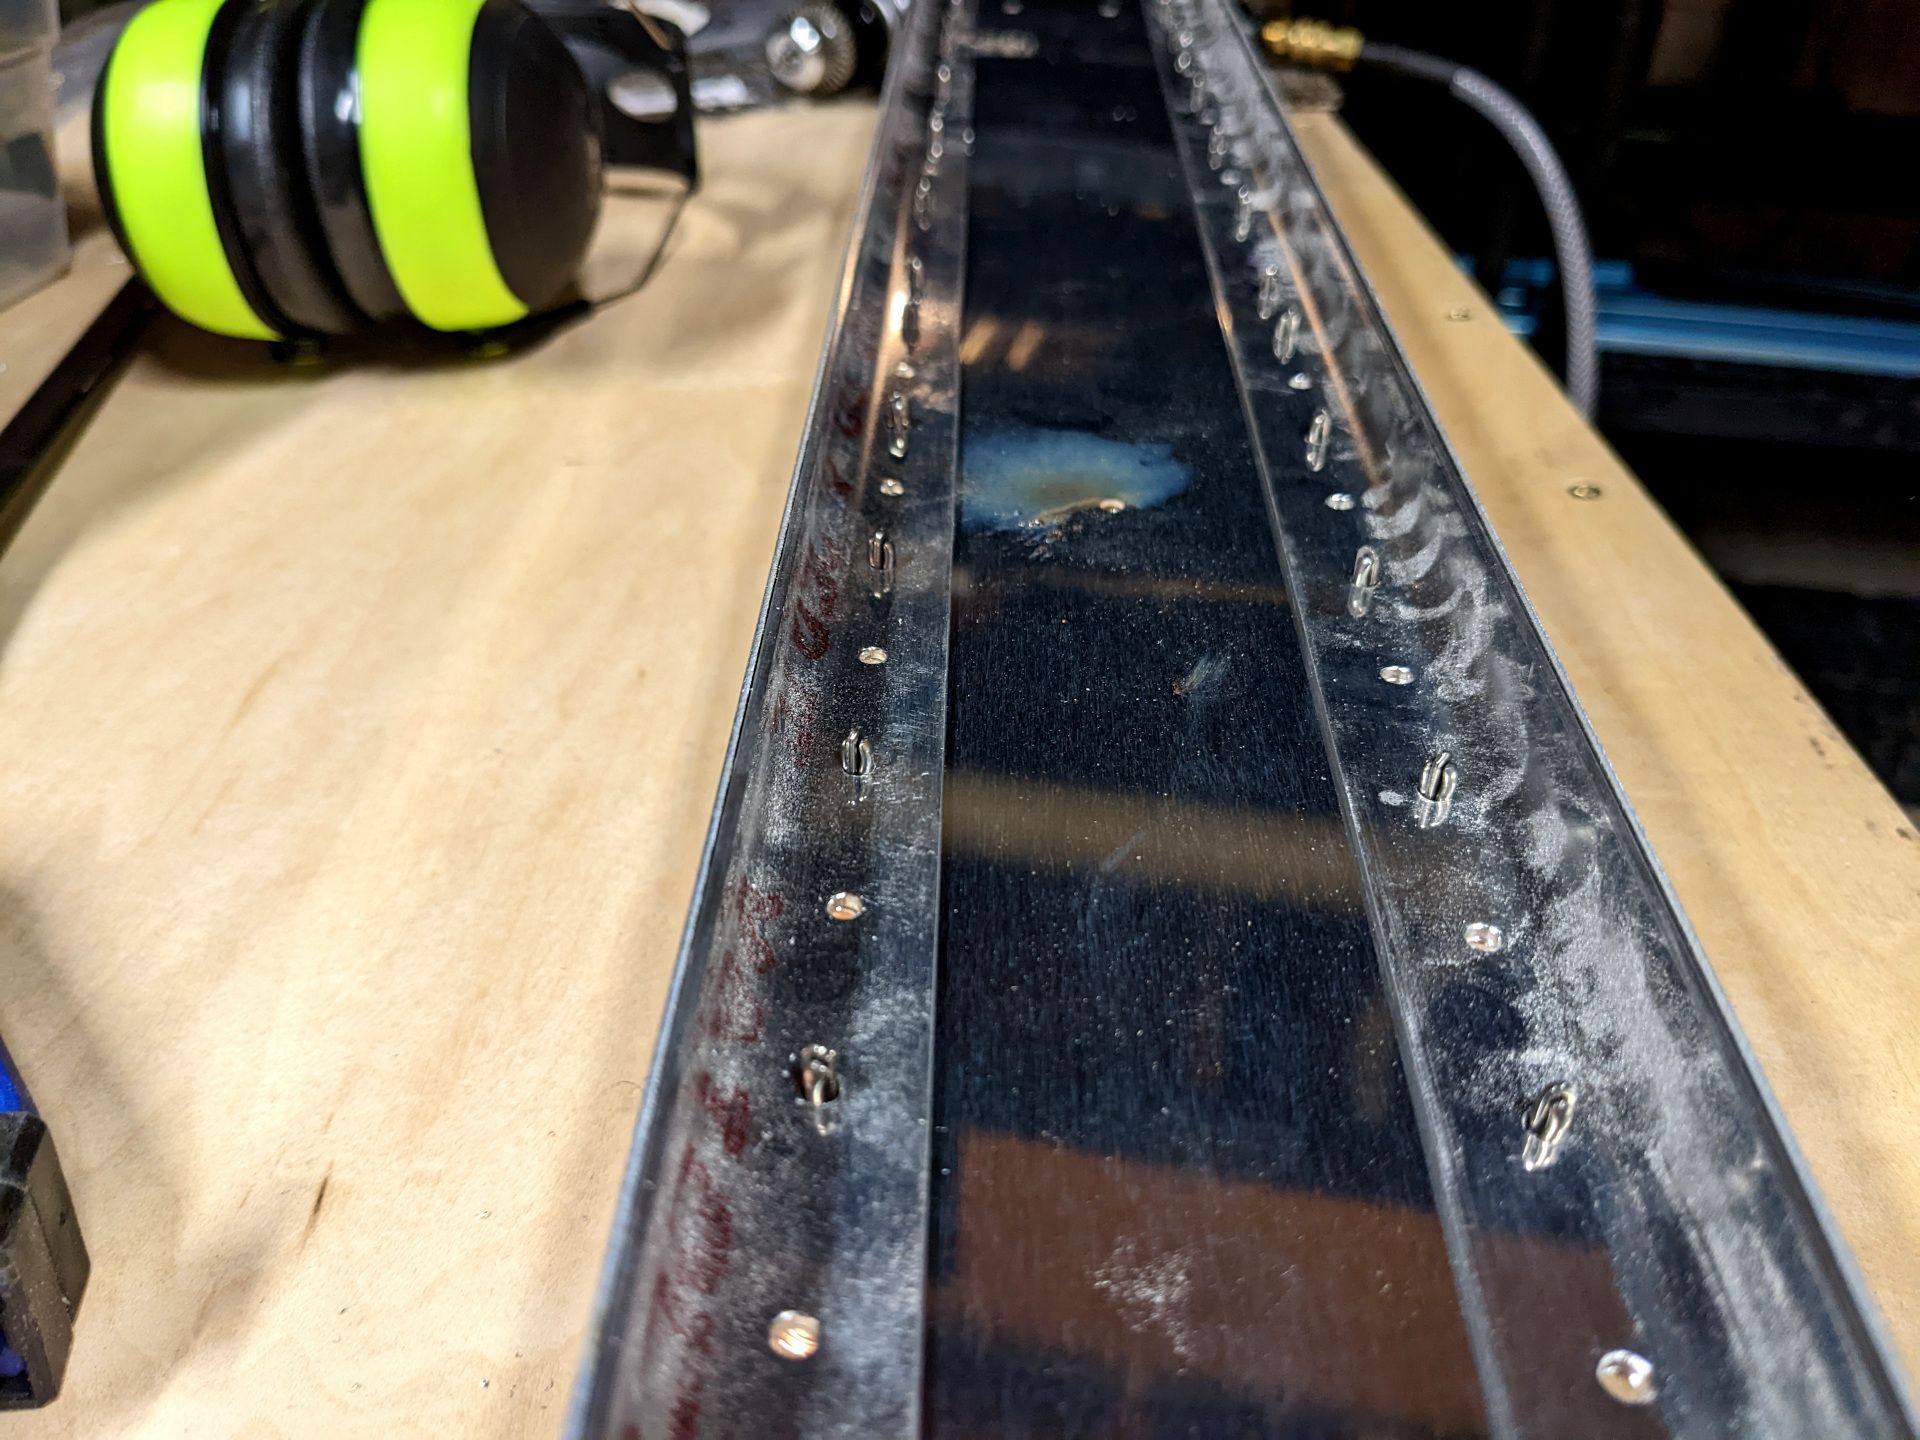
The above picture could probably use a little explaining. Those copper colored doodads are called Clecos and they are temporary rivets. This is nice because as I drill the holes I can affix the metal in place to make sure it doesn't try to move around. In the background you can see my air drill. It goes ZIP ZIP and I love it. Anyway, once the holes are done it is time to deburr both sides...
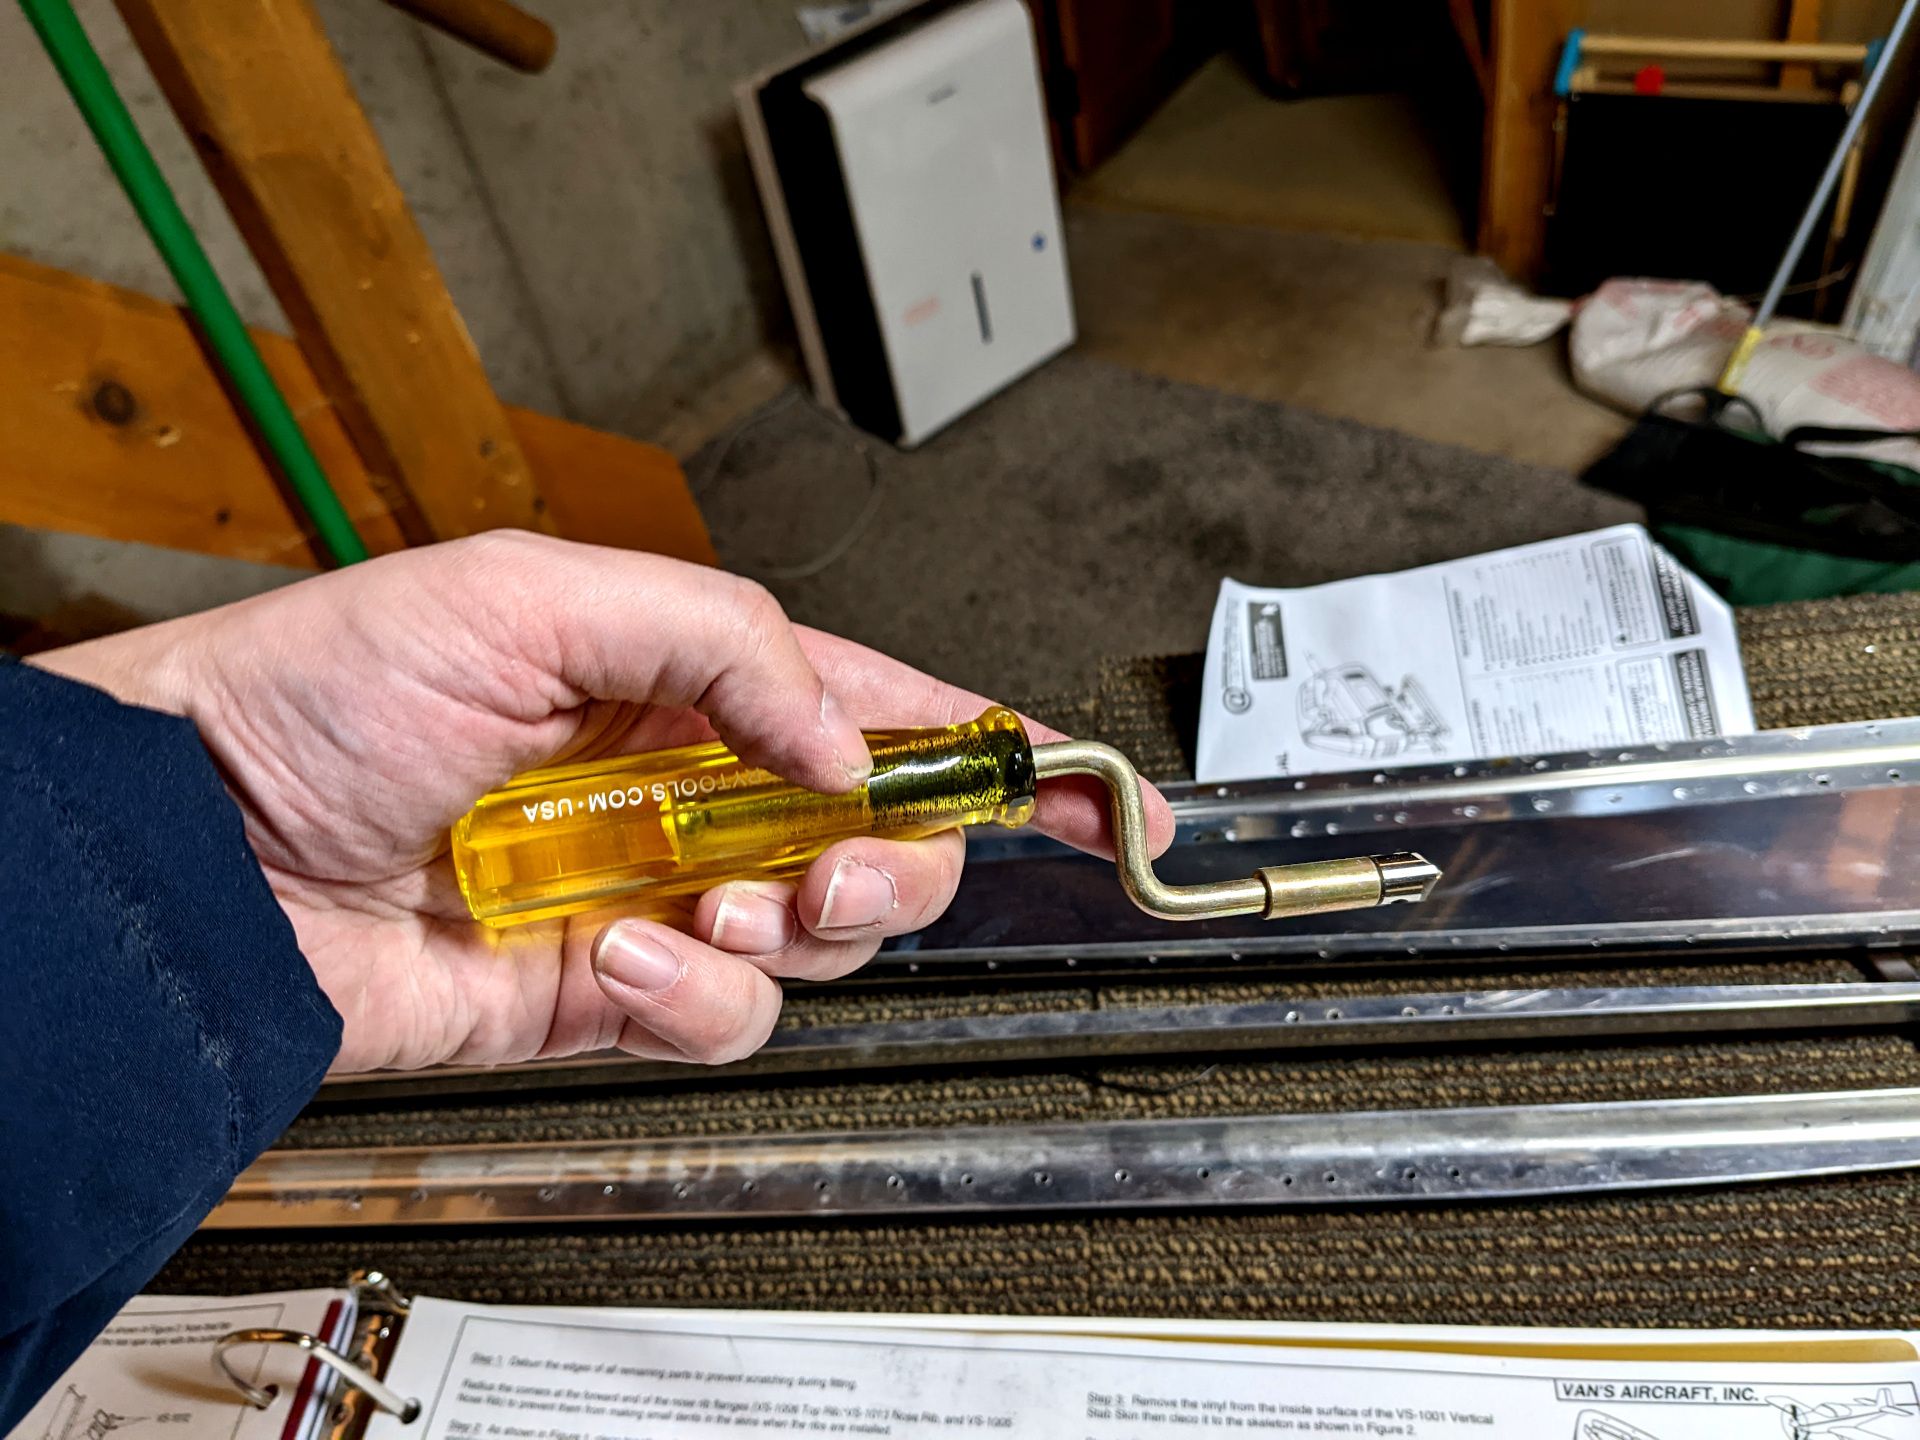
This tool is great. Put the end in the hole and whirl it around. All burrs are now gone! I highly recommend this. So after spending a stupid amount of time deburring all the holes, front and back of all three parts, I have to put to back together so I can match drill the flanges.
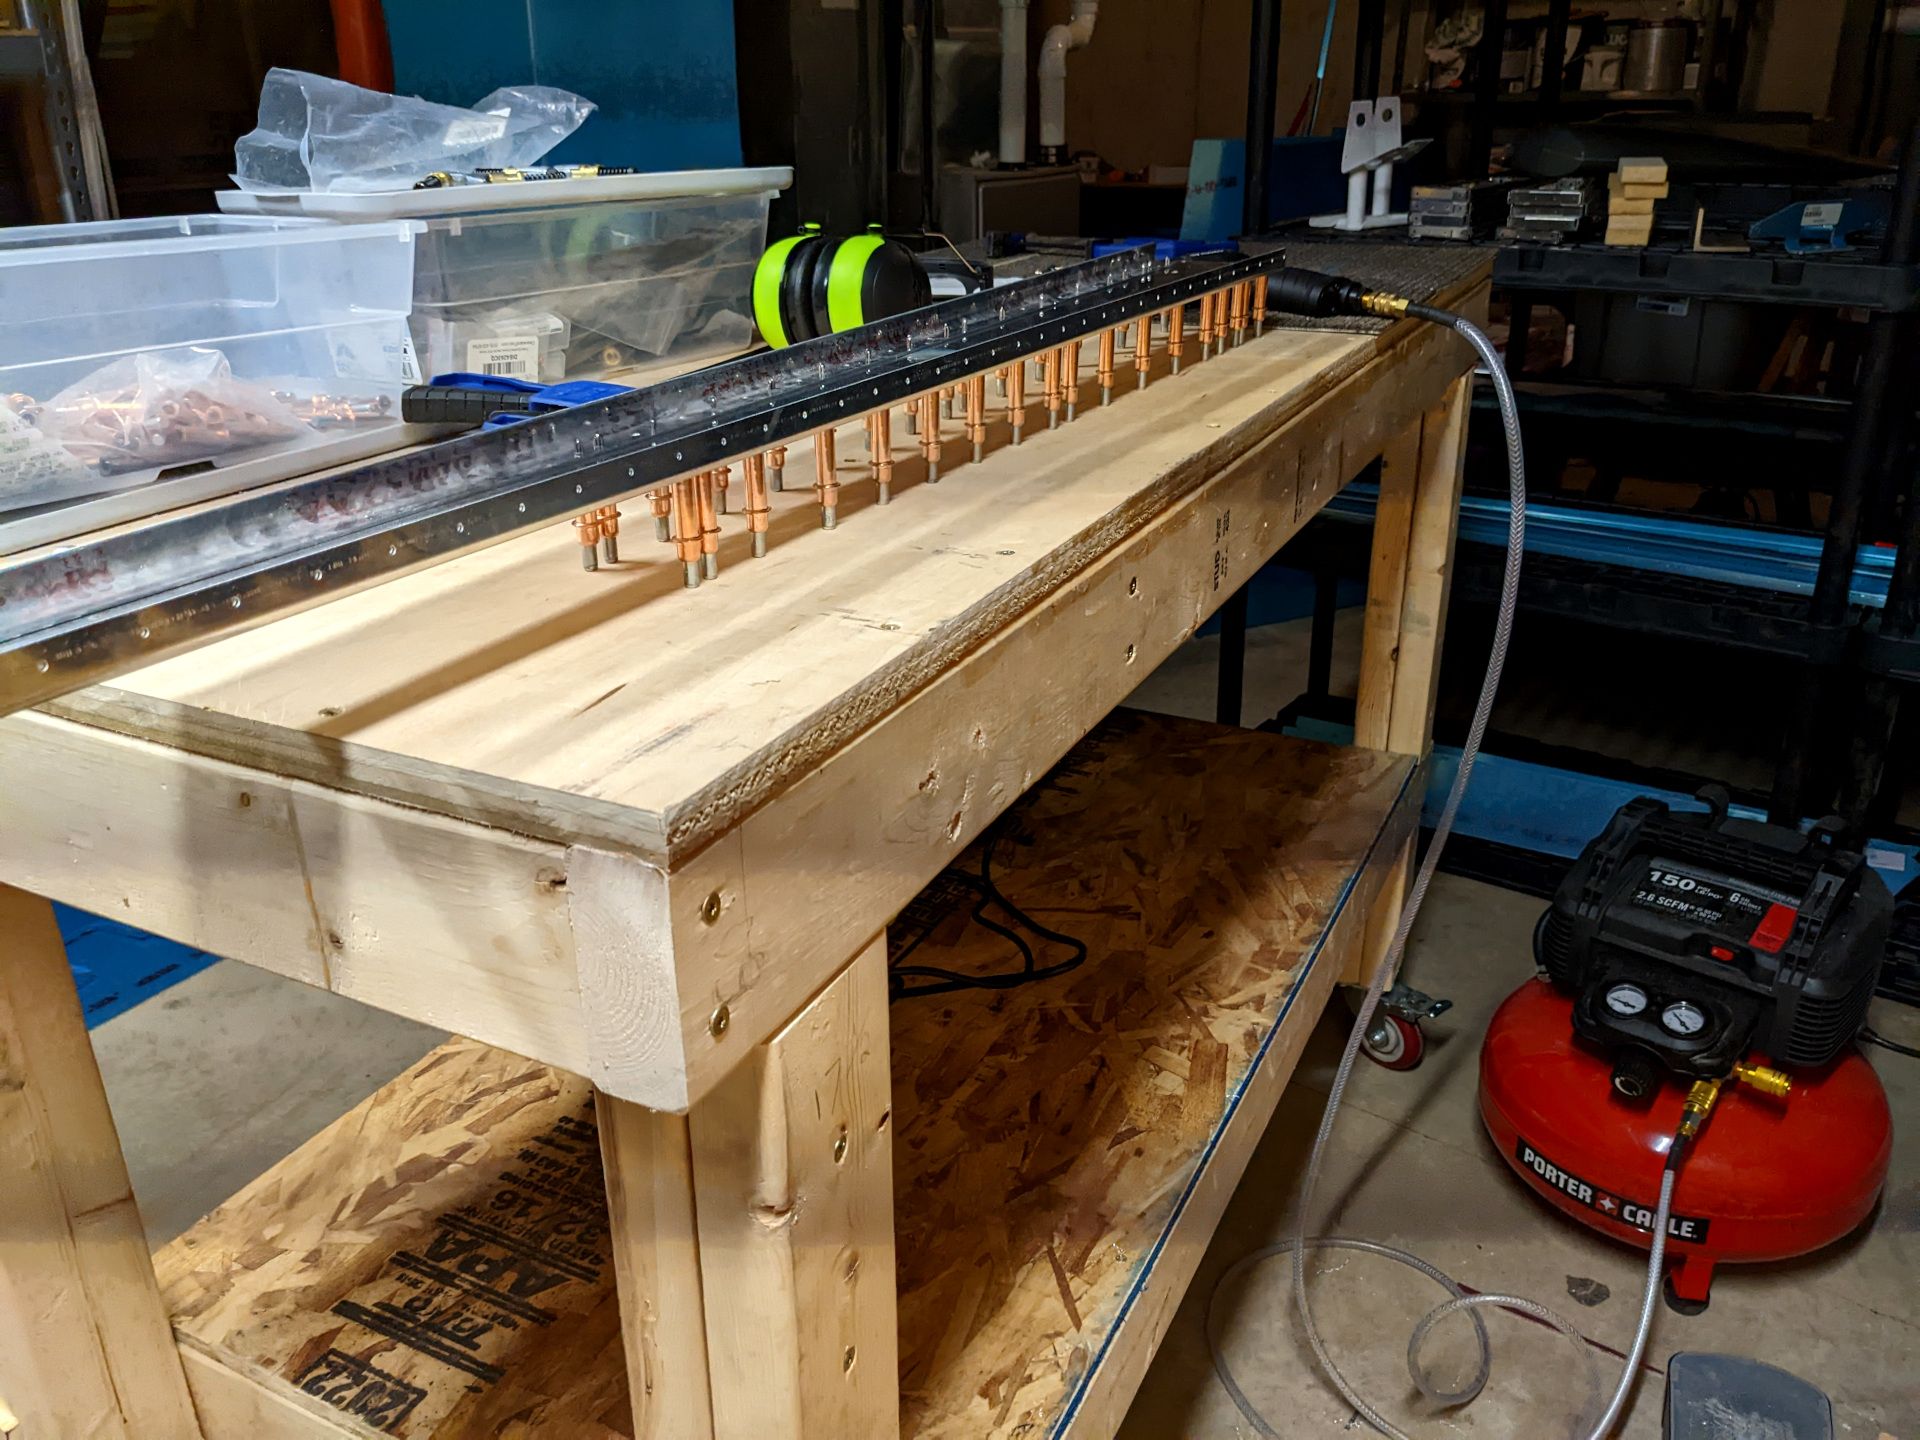
However, I looked at my clock at it was 11:30pm. If I drilled the holes I would want to then deburr them and then I have to clean up my mess and it would be way too late in the night. So it will sit on my table ready to go for later. I cleaned up all my crazy aluminum chips and dust and retired for the night.
Something for me to think about though is how am I going to prime these things during the winter? I figure I'll have to build a paint booth in my basement because I suspect primer doesn't cure well when it is 15 Fahrenheit outside.
Anyway, thank you for stopping by! If you're on Mastodon (or the Fediverse in general) come by and say hello:
- https://mastodon.sideslip.social/@aut