Horizontal Stabilizer Continued (plus laser cut update)

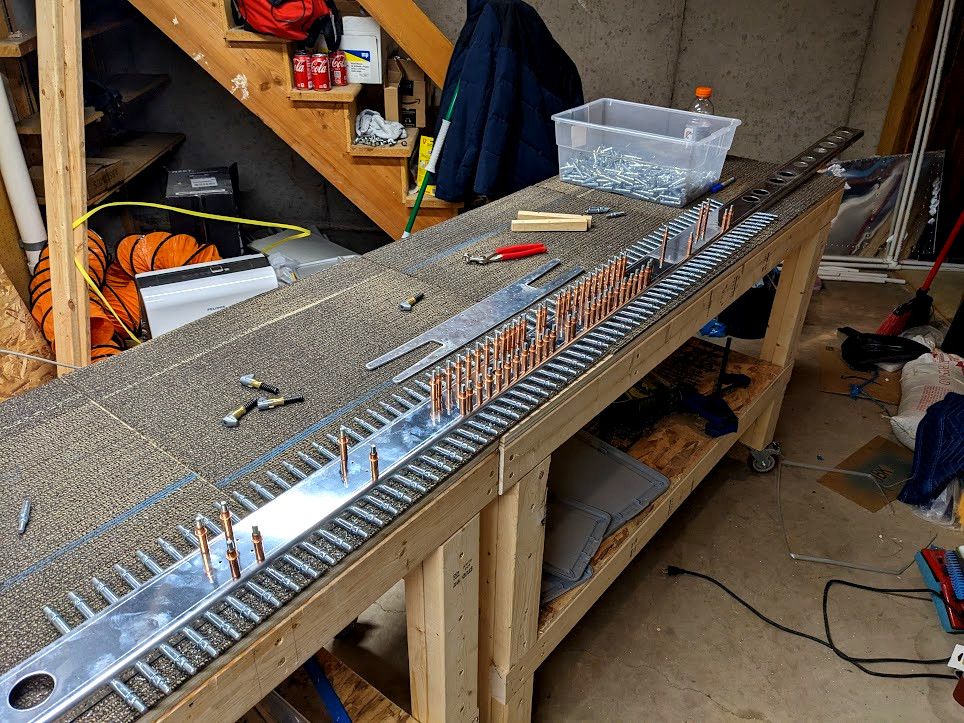
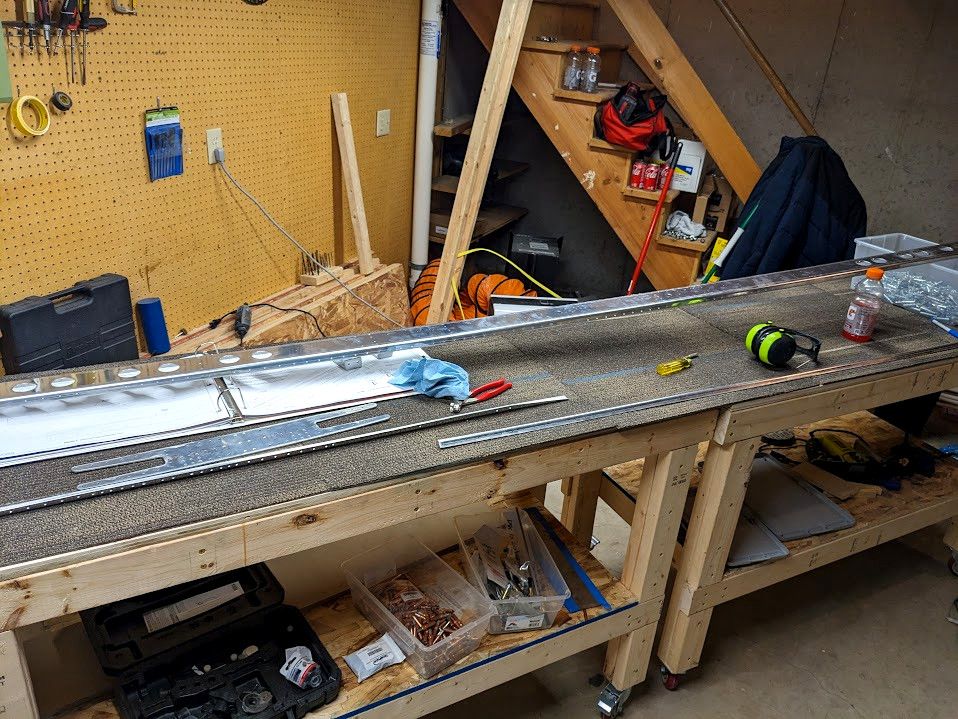
The front spar has come along without any major issues. I figured out a few faster ways to clean up the metal that have sped up my build flow quite a bit. First off, a sanding block and skipping filing the edges of ribs and spars. My jewelers file was actually nearly smooth at this point so I had to throw it away anyway.
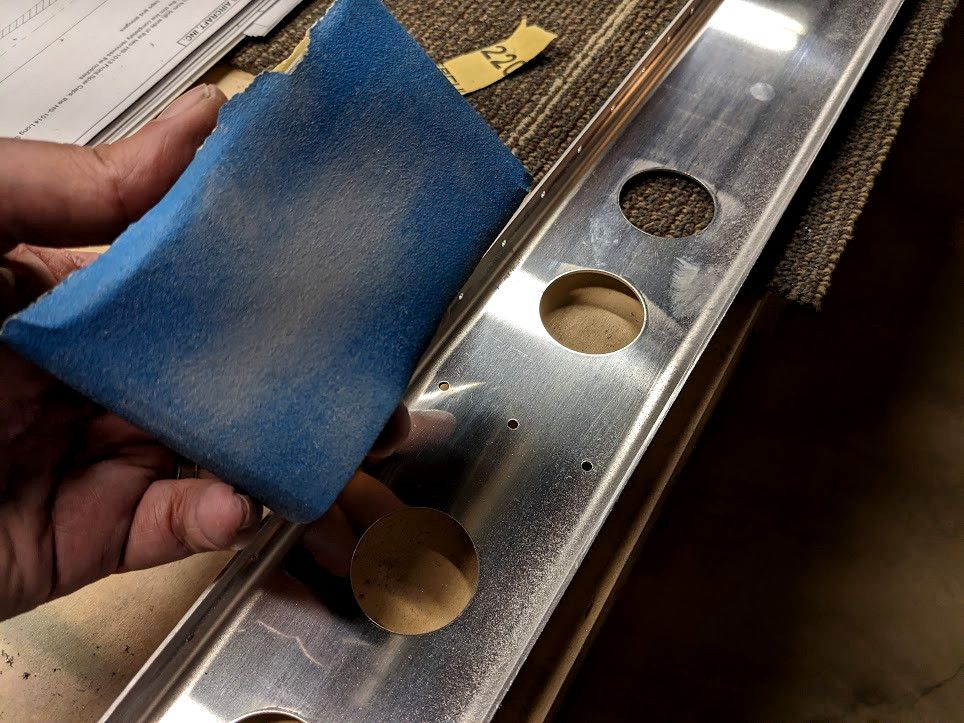
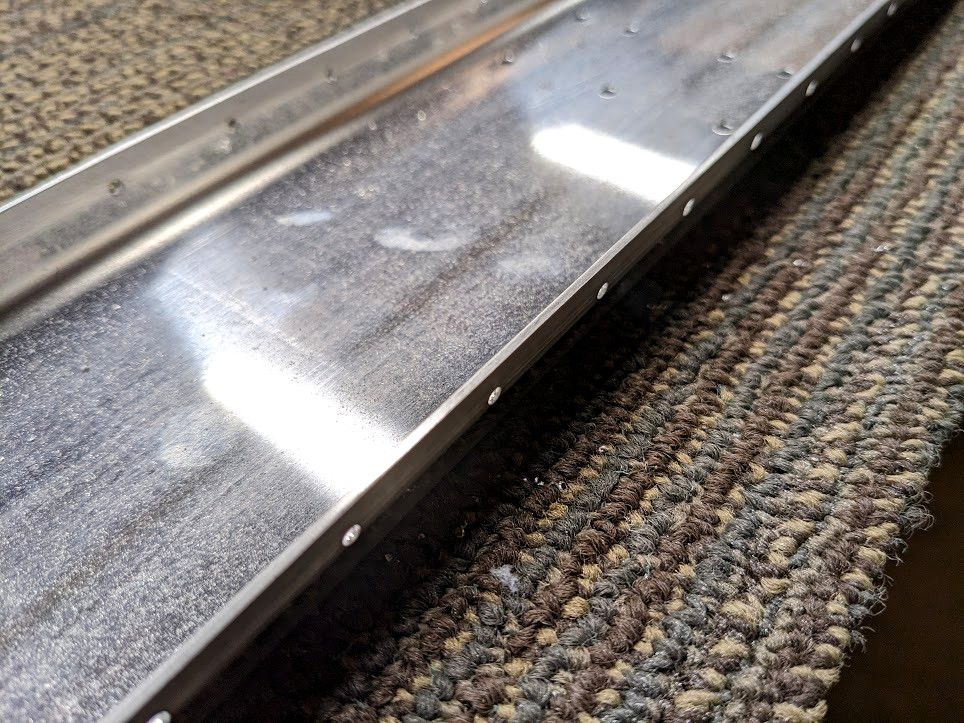
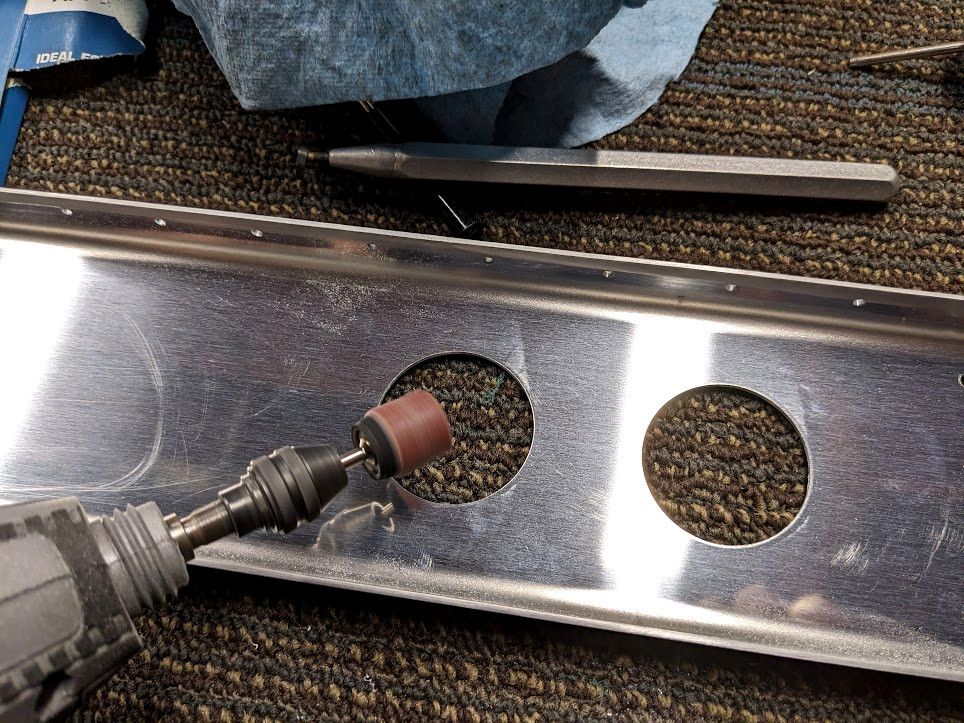
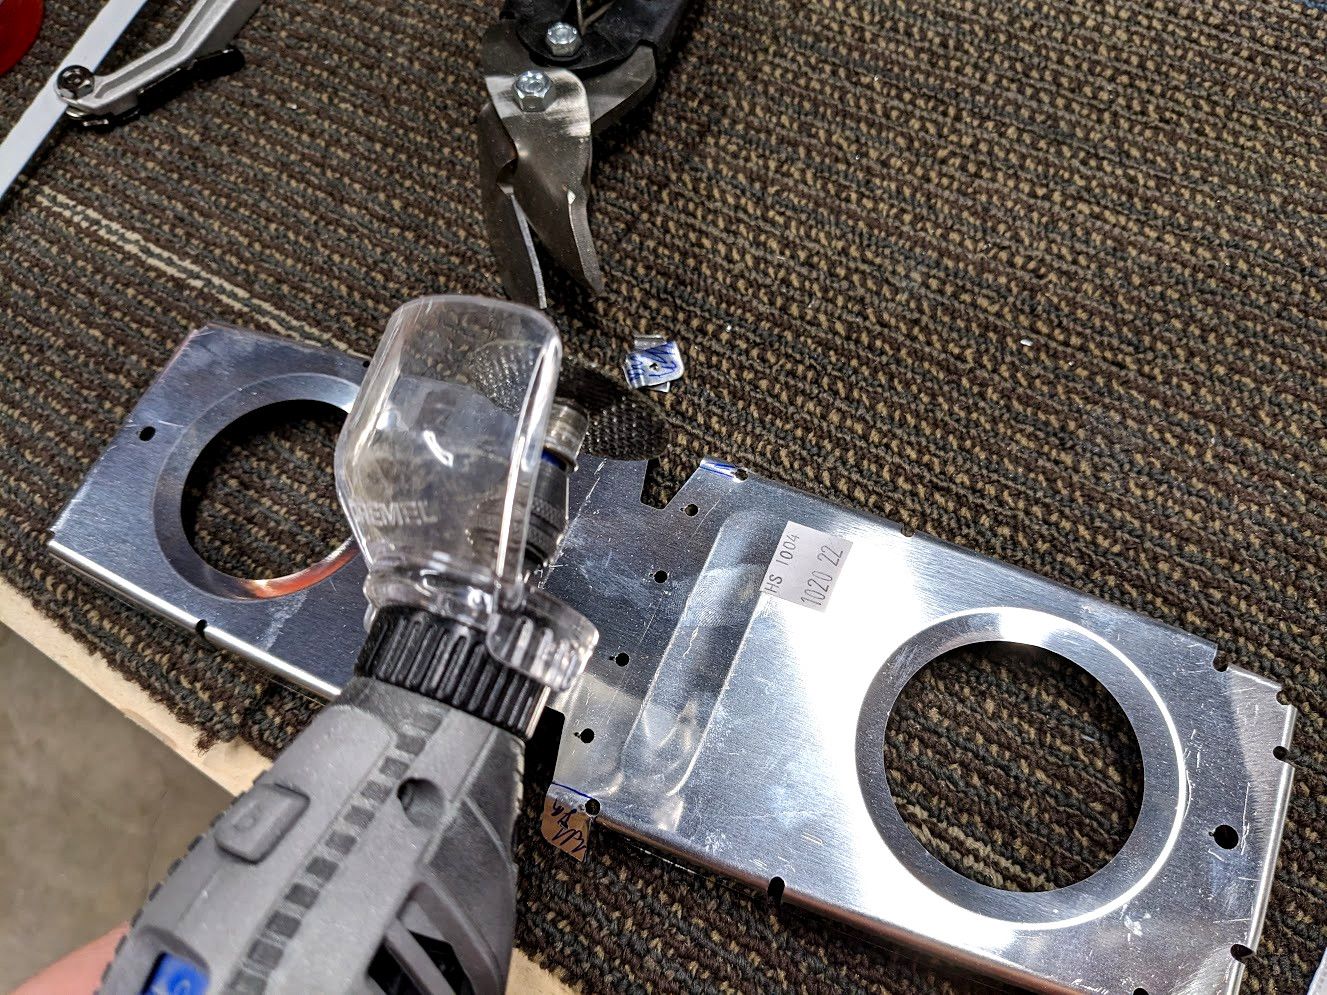
Dang, that is one nice edge. After that cleaning up the lightening holes as usual but this time I elected to use a sanding drum which also made pretty quick work of it. Then polishing the same way I've been polishing edges.

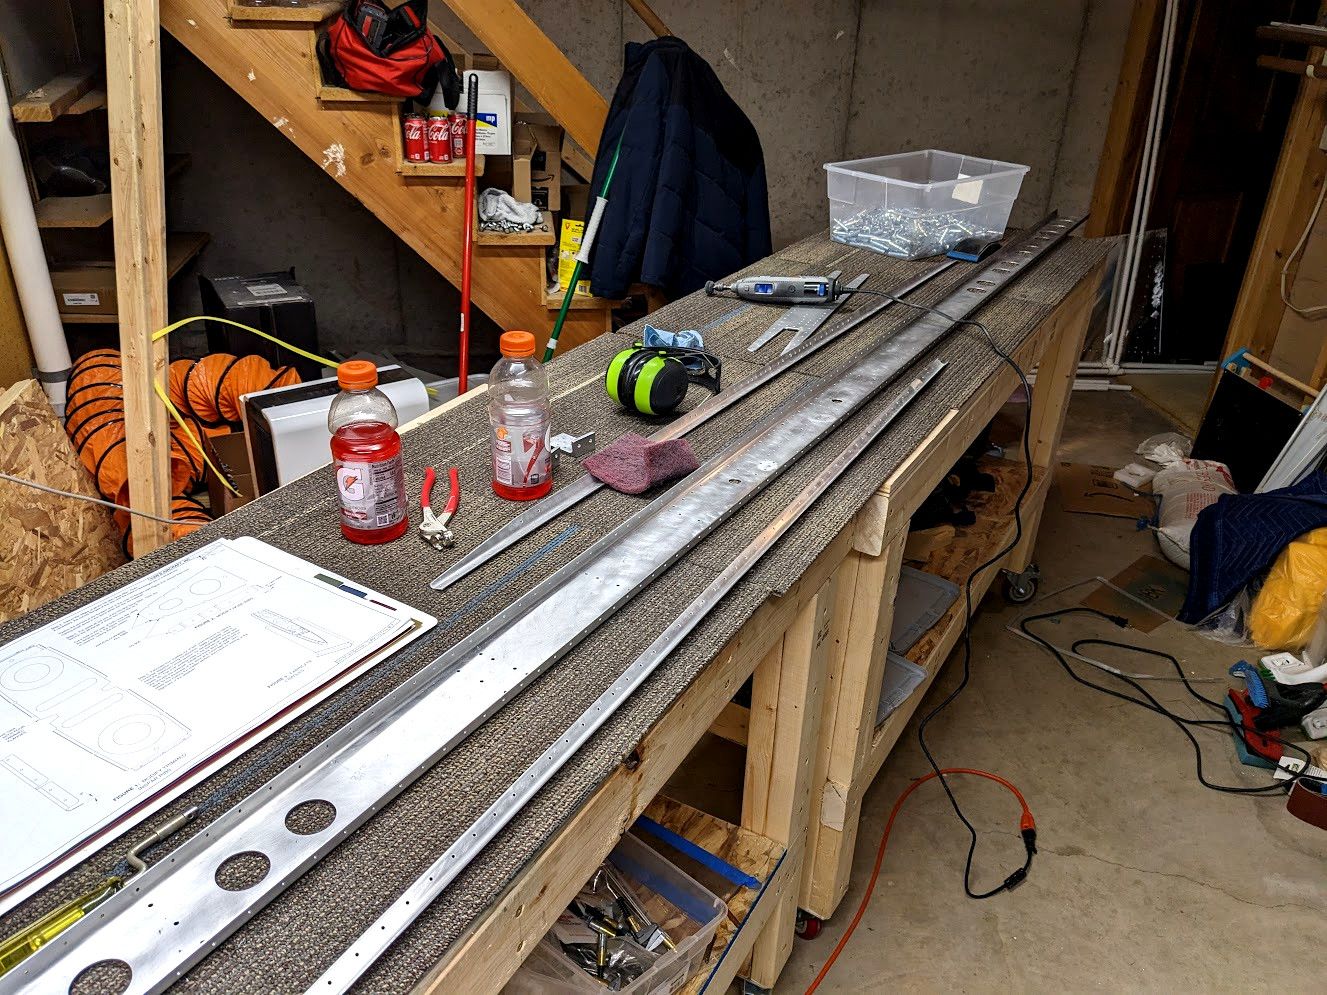
The rest of the holes got deburred in the usual way (with my cool spinning tool). So with that ritual out of the way let's actually start making something.
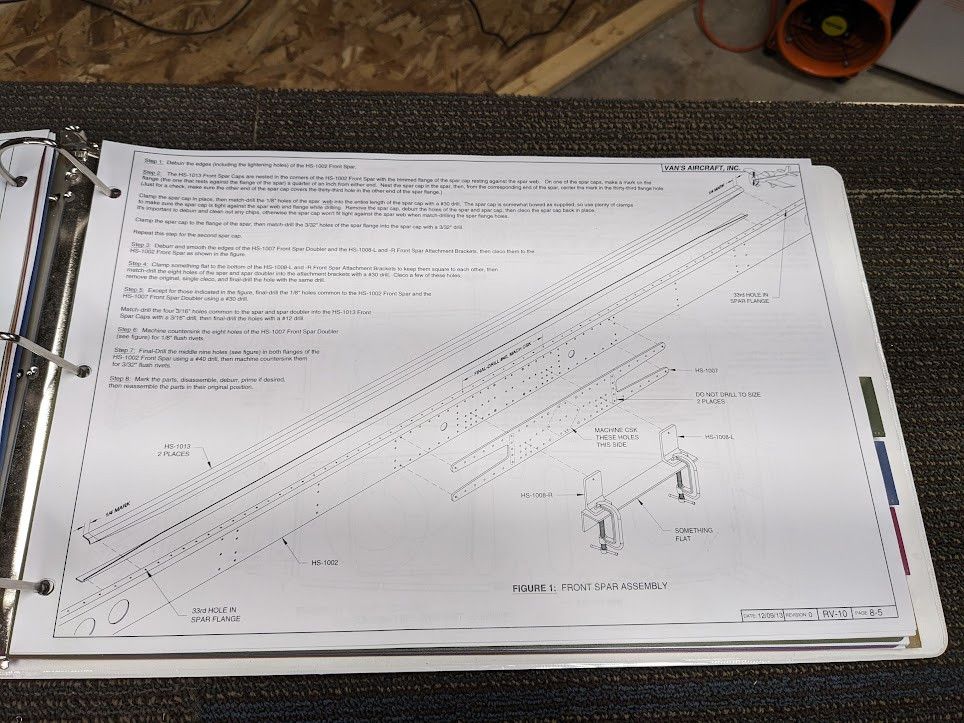
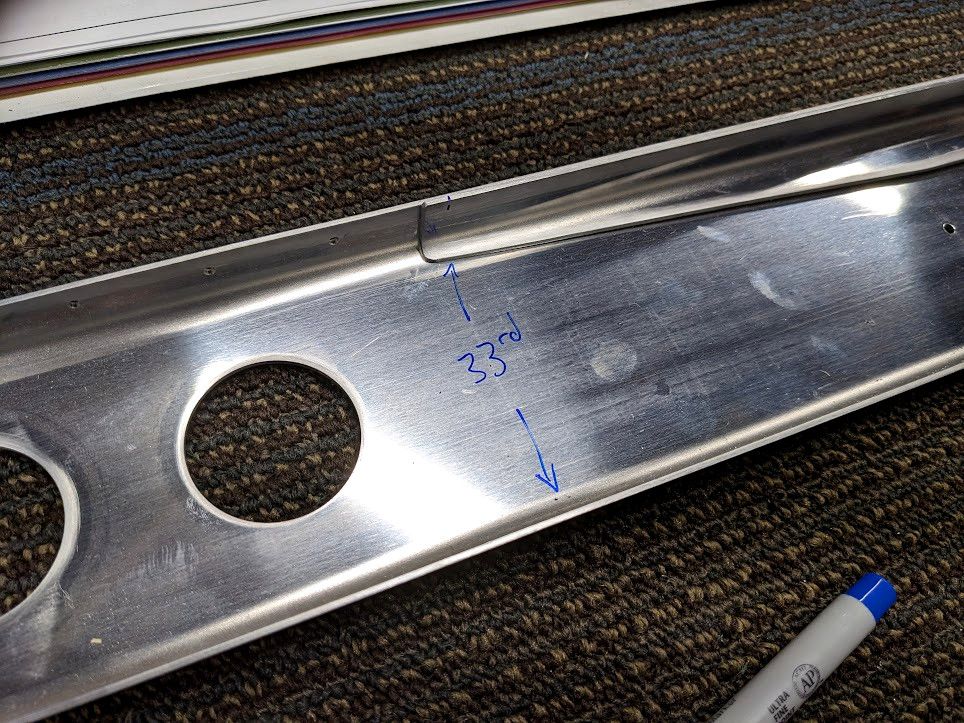
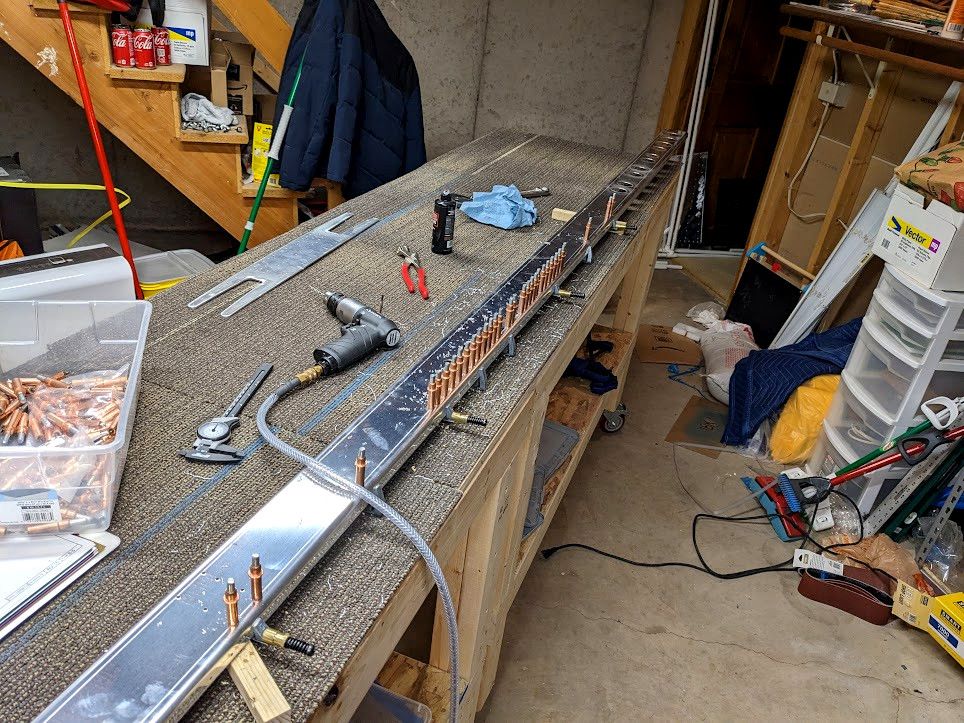
So it looks like we need to make holes in the stringers, holes in the brackets, and then clean all that up. So let's start counting and find the 33rd hole so we know where to locate the spar cap.
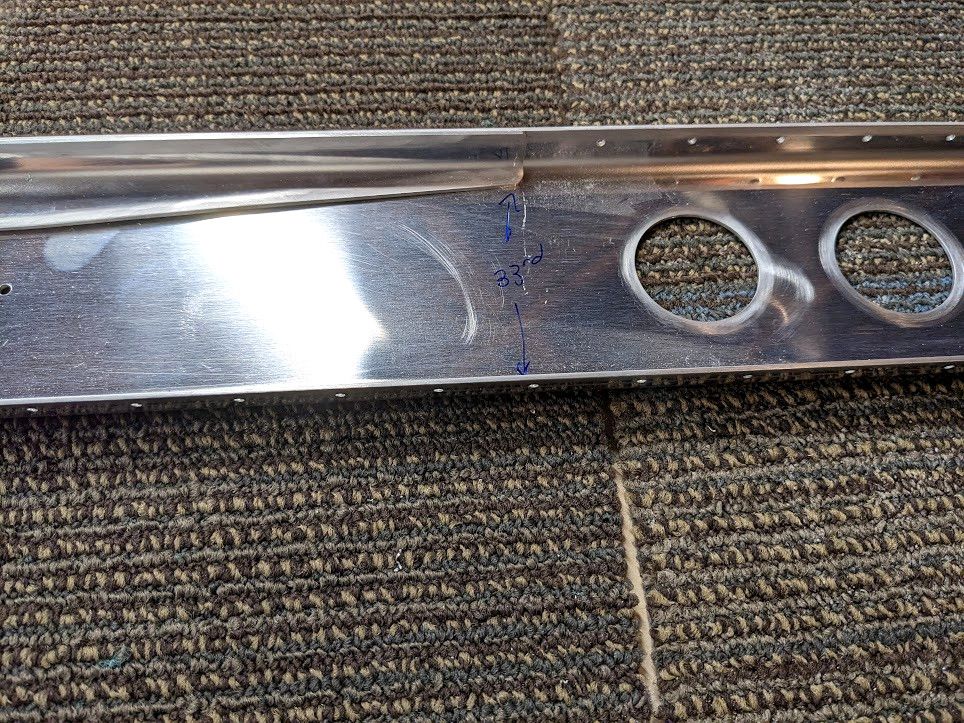
Amazing. I don't think this content could get any more exciting if I tried. Regardless we have the spar cap located where it should be so the next steps are to clamp it down and transfer some holes.
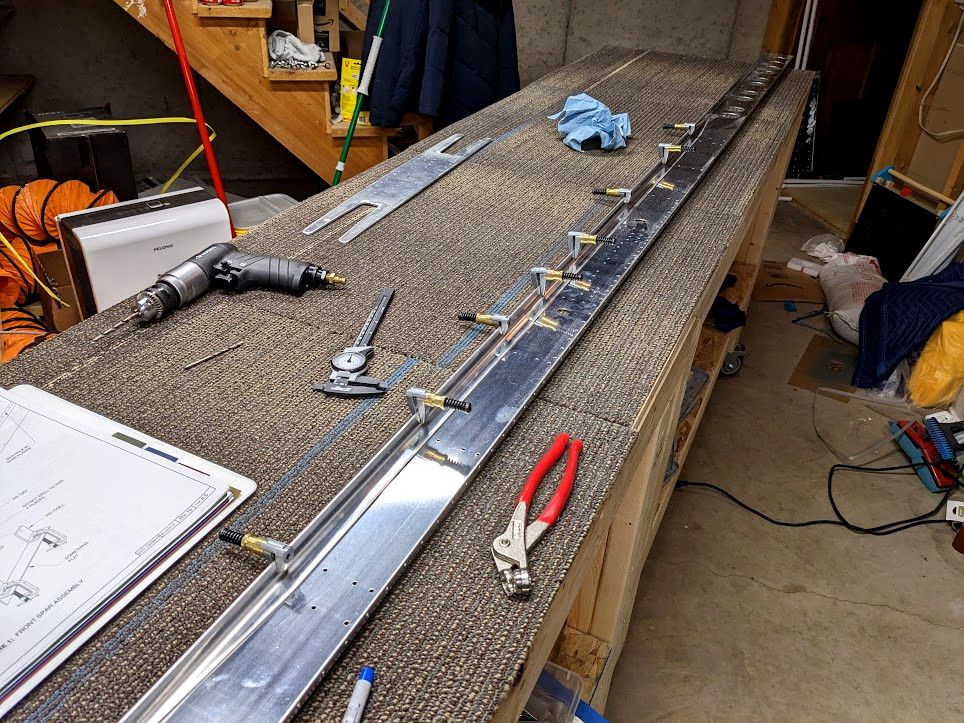
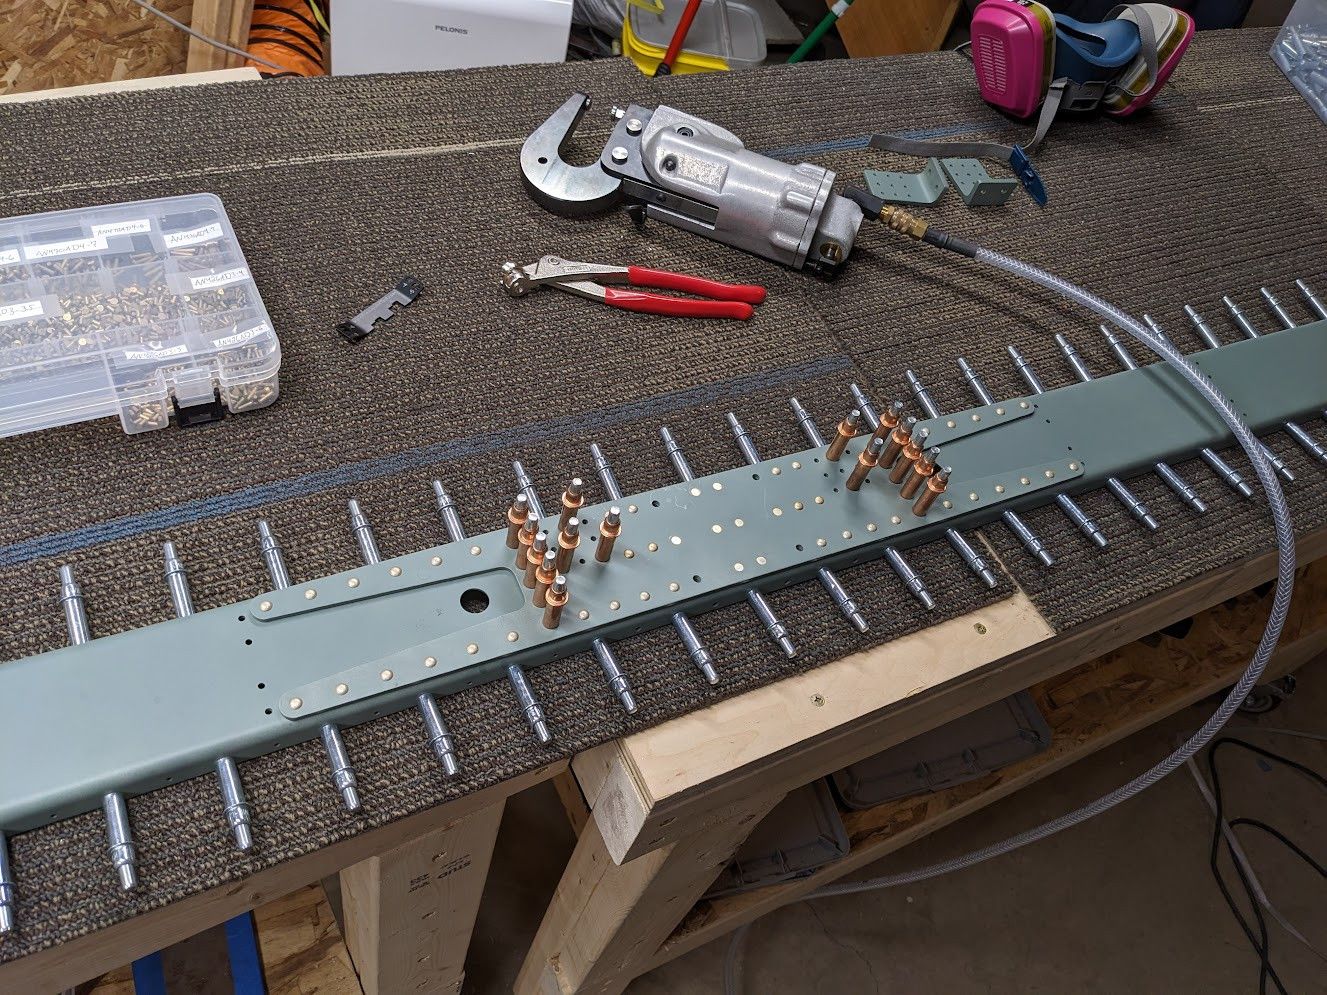
The directions said to go from the web first, so I did. There were no surprises during this step. I did find it helpful to put the spar on two small wood blocks just to keep it from resting on the clamps. The rest was just drilling one at a time and then putting in a cleco.

Then you have a whole bunch of nice holes. After that is done, the whole thing has to be taken apart and deburred before you can do the flange holes (otherwise things might not sit nice and tight). Just so I didn't get confused I put down a wittness mark first.
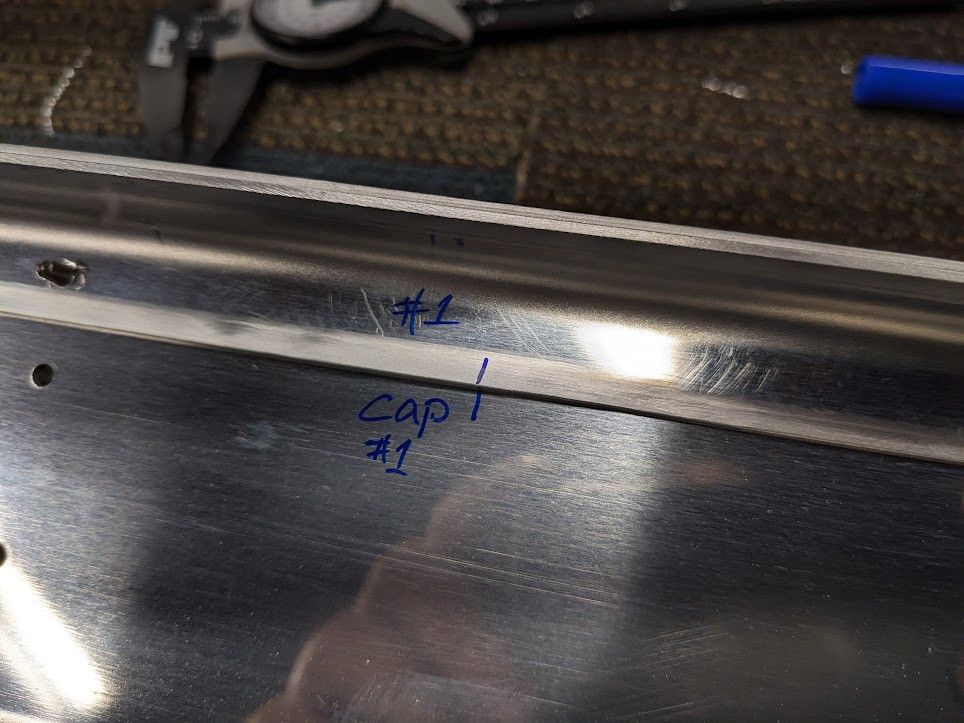
Then later on I can light those up without fear of having swapped sides. Up to this point I had all my drill bits in bags and it was honestly quite a pain to find them and swap them so I grabbed a block of wood and made this simple holder.
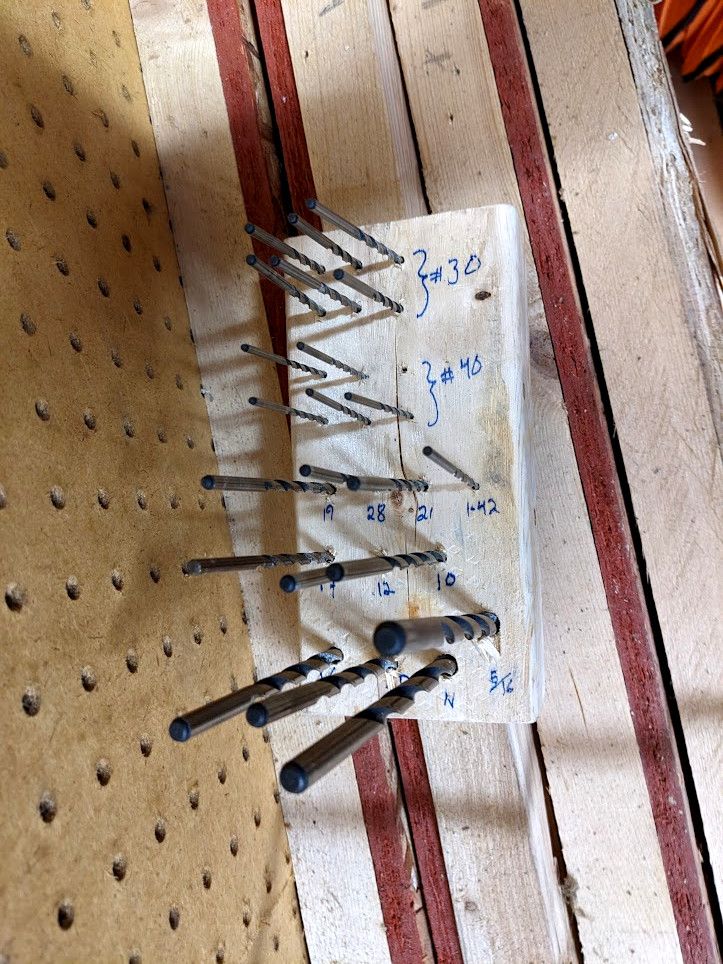
No worries about where my bits are now! I should have done that at the start, honestly. Anyway, on to drilling the flange.


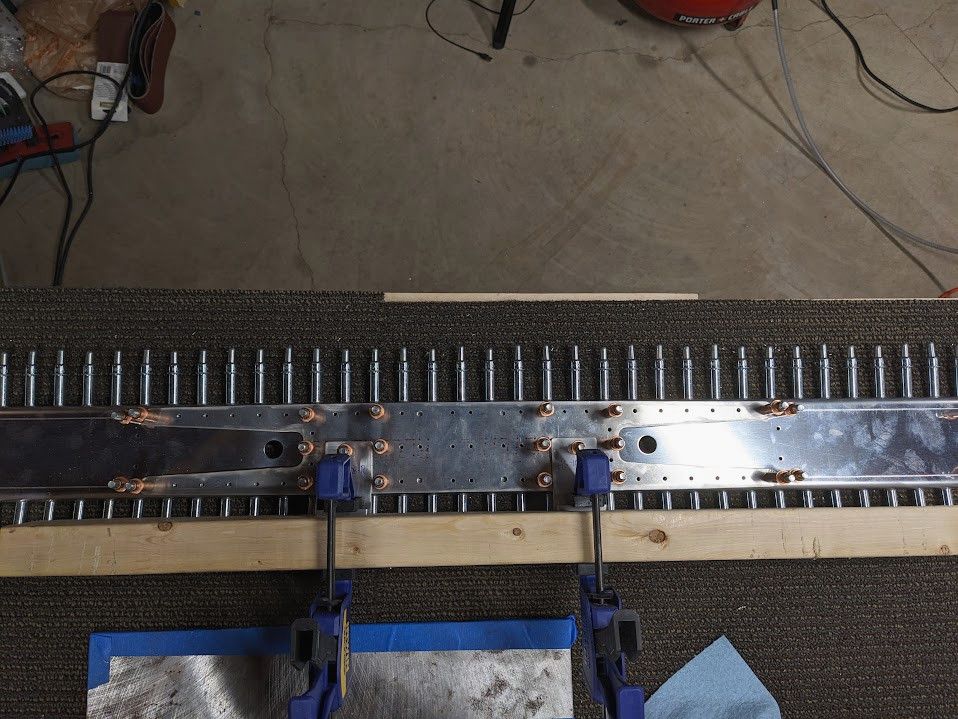
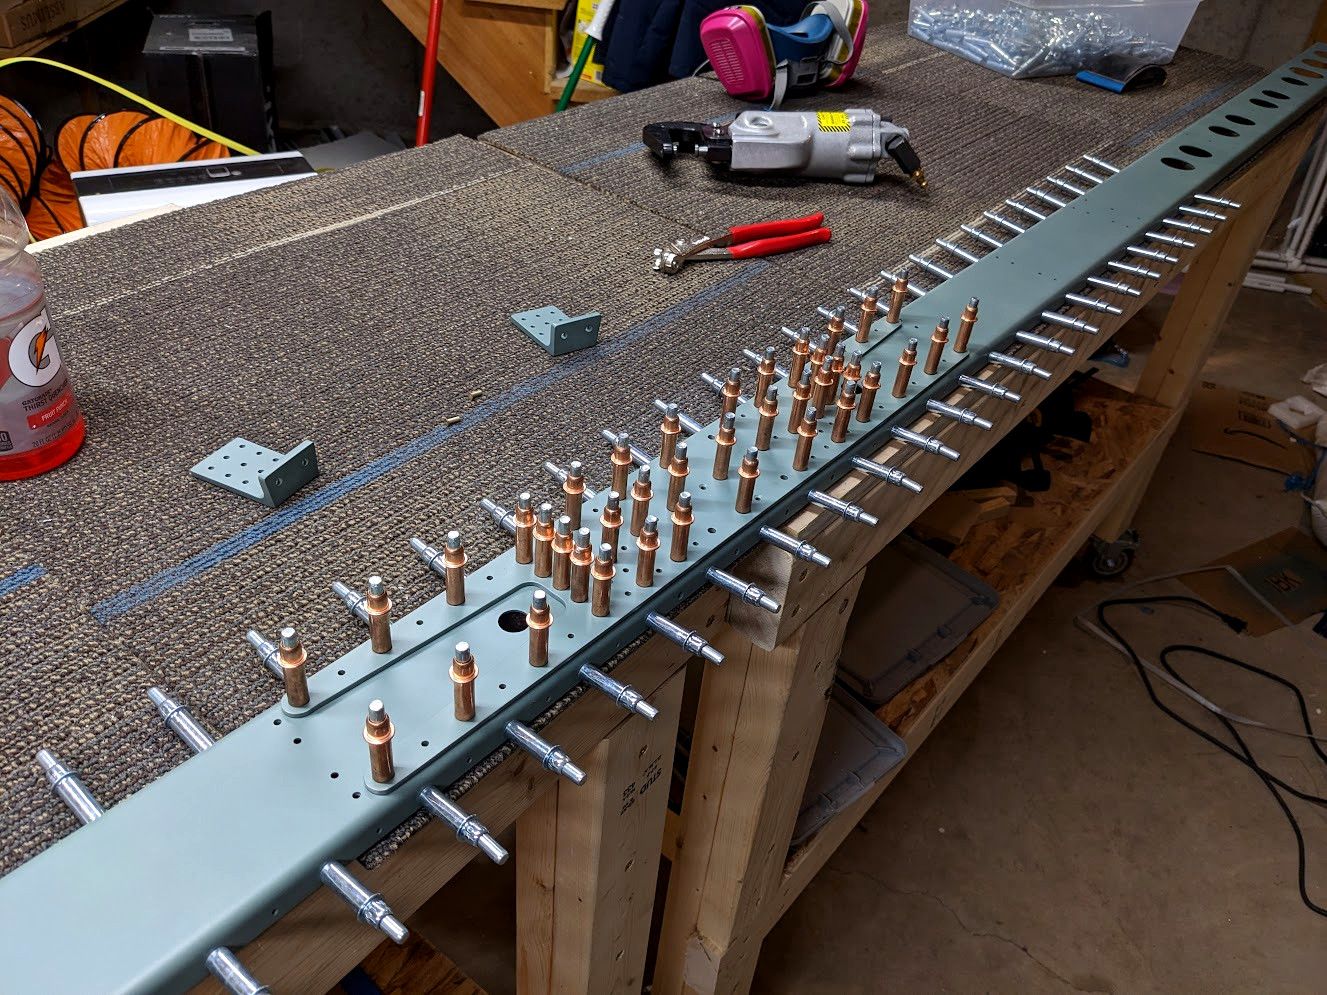
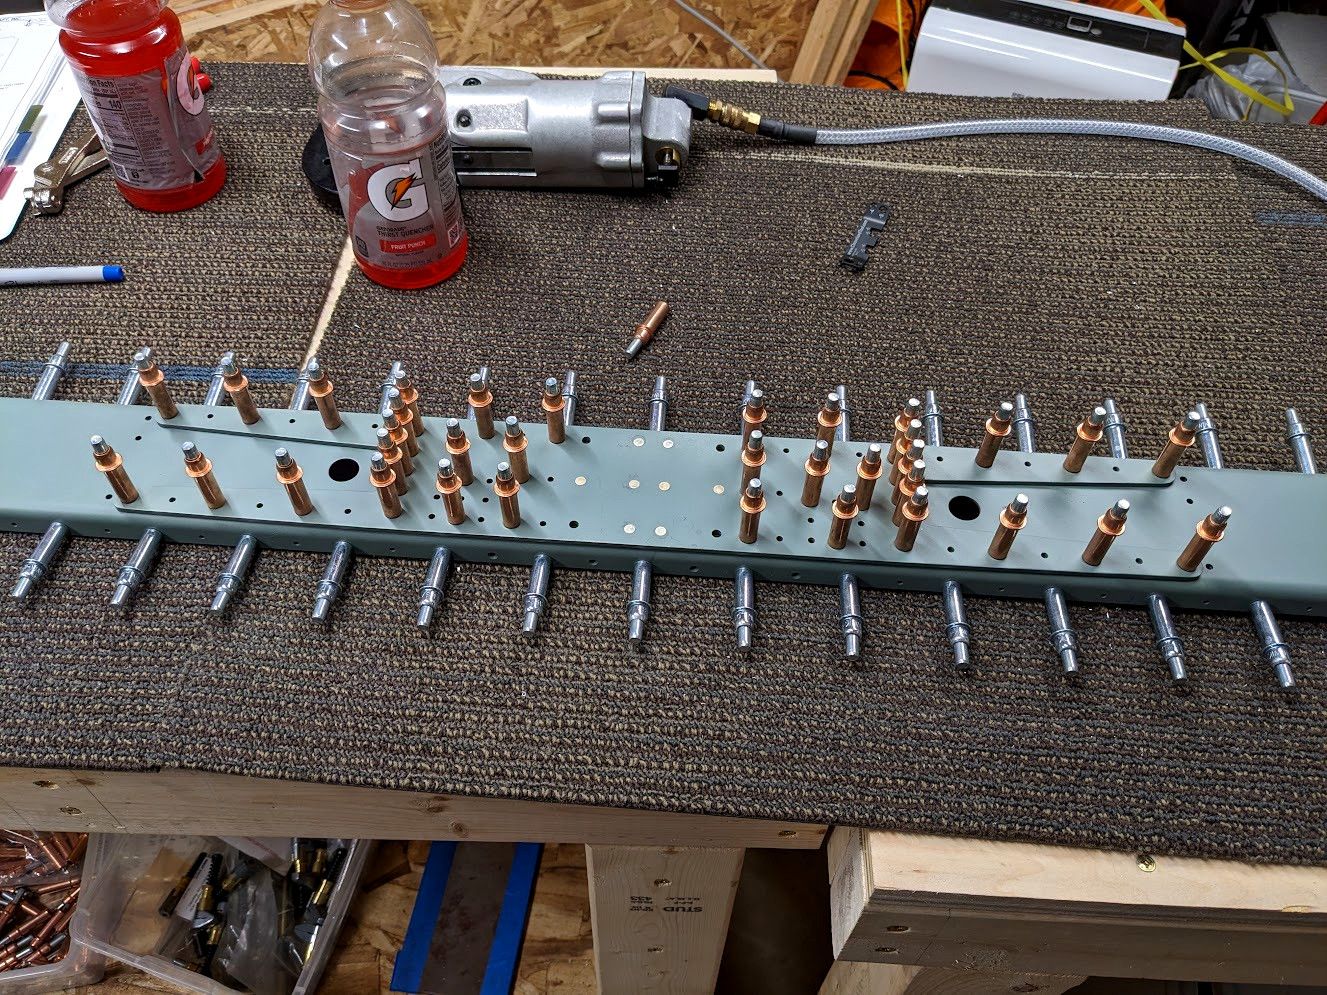
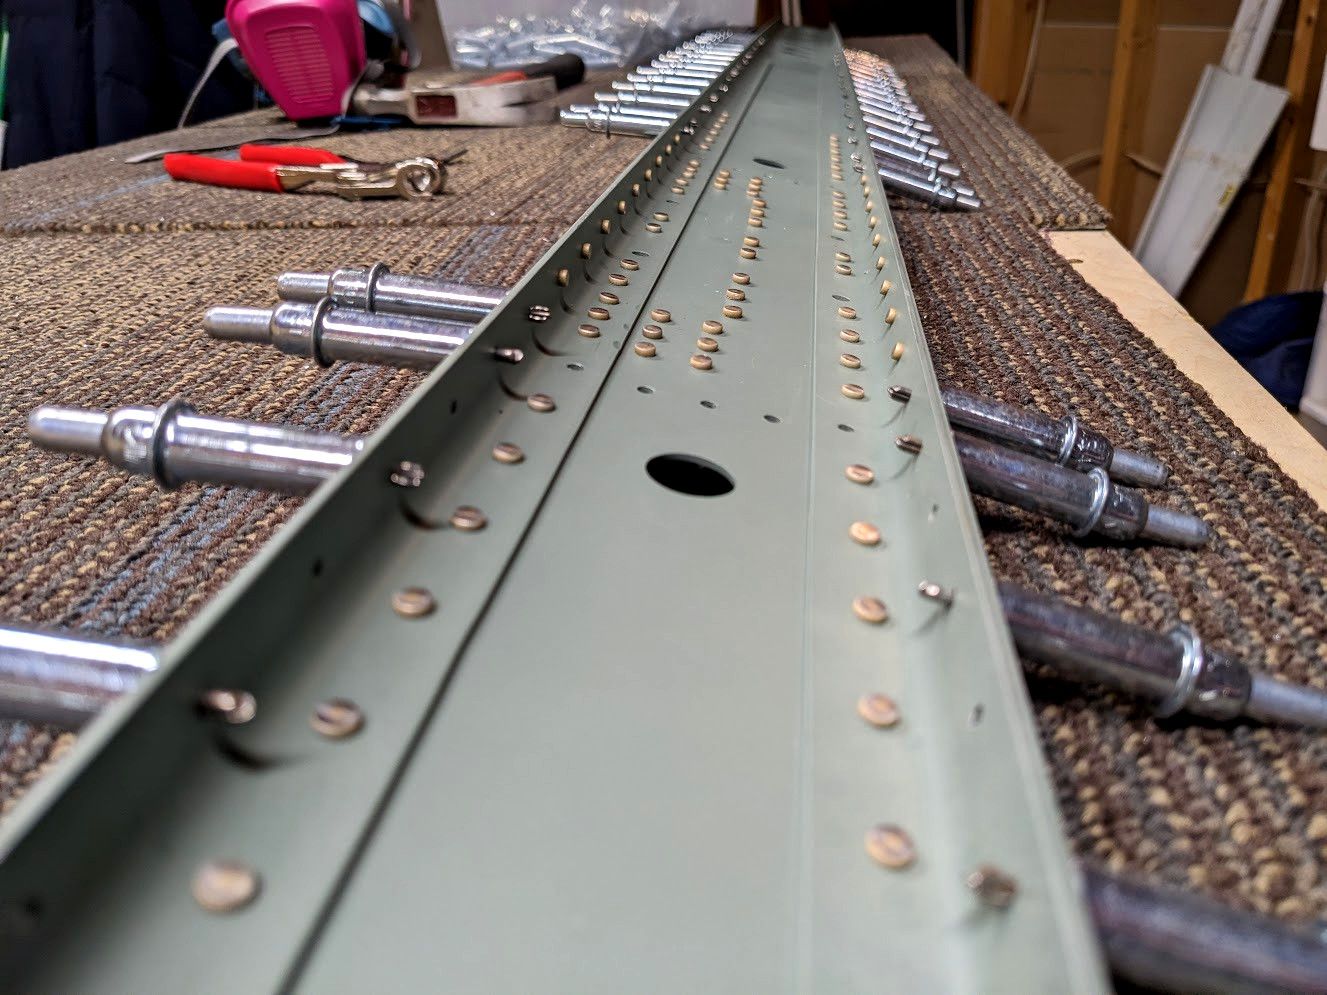
After all that is done your reward is getting to do the other side too! I got a little smarter on my drilling and would only cleco every other hole to speed things up. The quality looks identical so worker faster was worth it on this part.
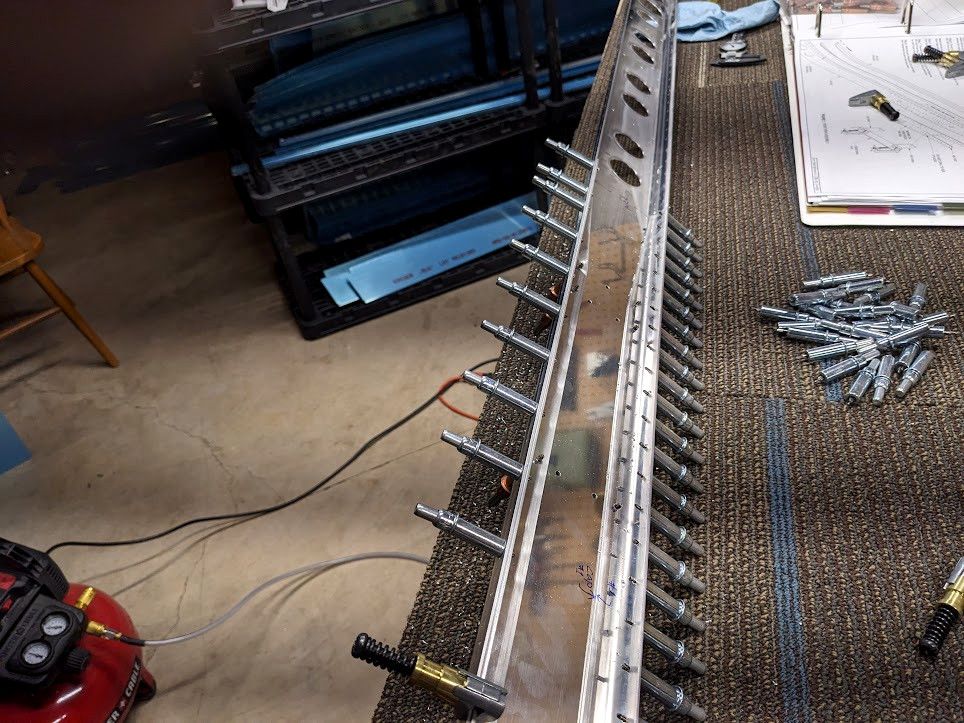
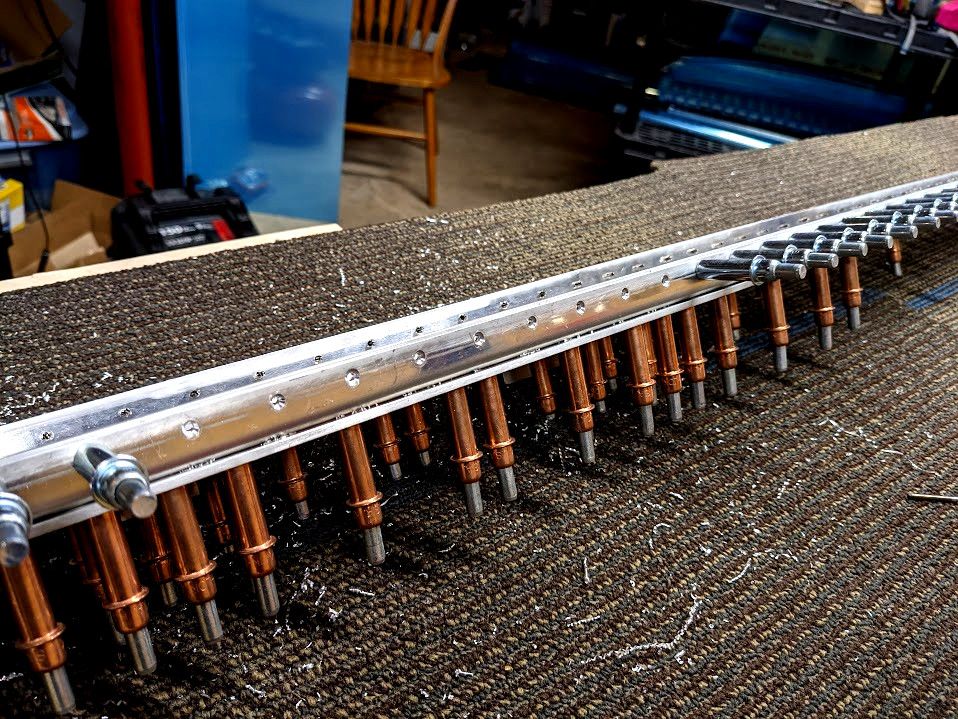
It looks like a really cool centipede at this point. Almost a shame to have to do more work to it. Let's refer back to the plans to see what has to get done next.
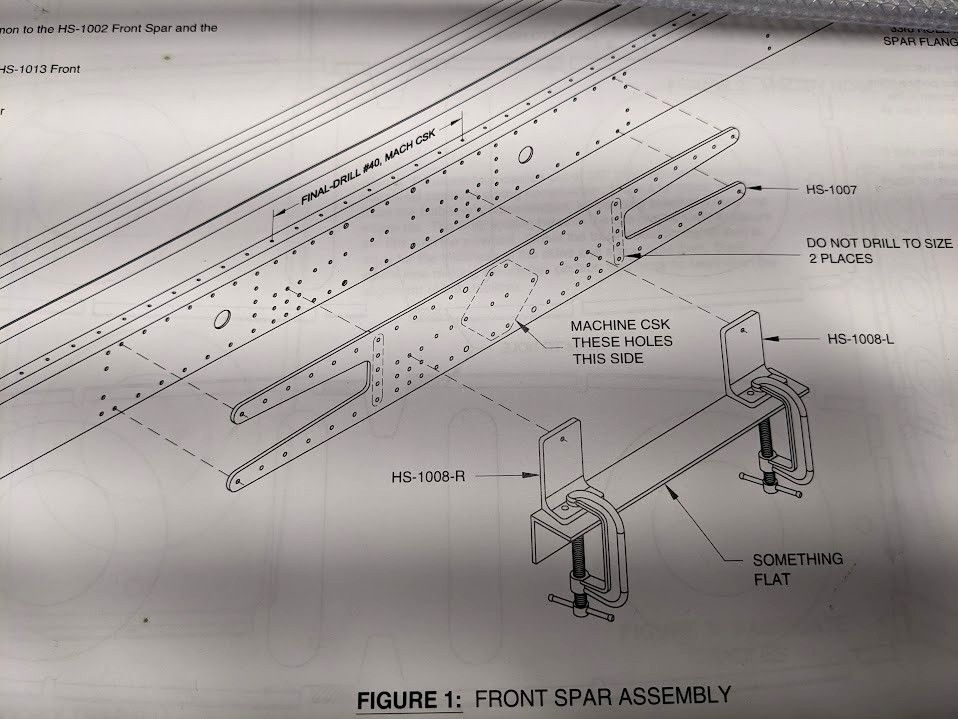
Ah yes, we have to clamp the brackets to "something flat" and then do more hole transfer. No real surprises here, but it feels bad to fill the clamps full of holes after so much back and forth making them.
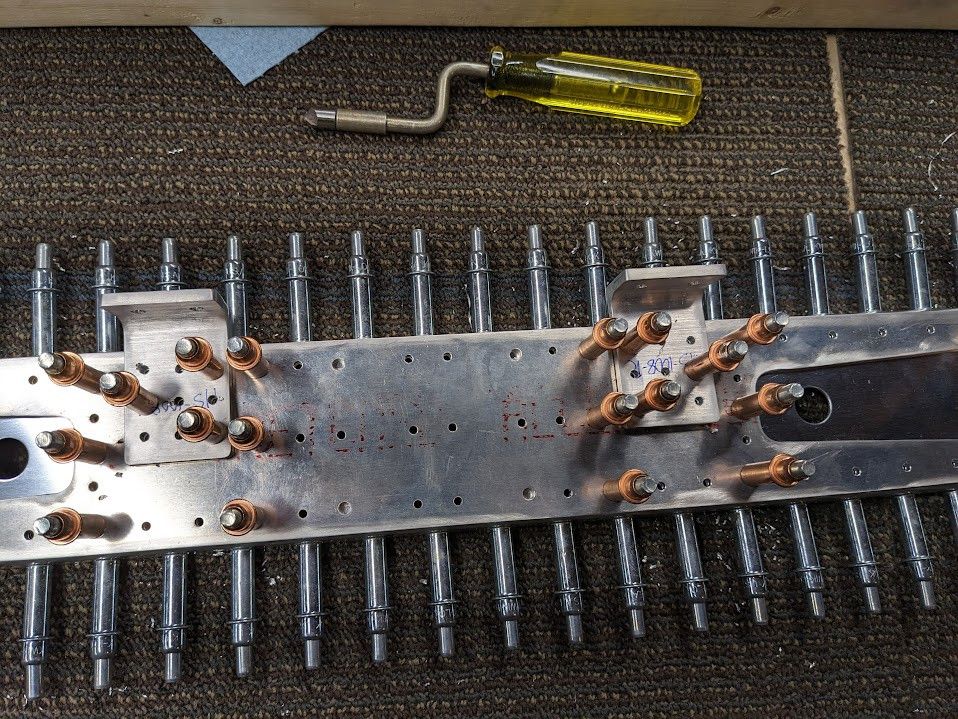
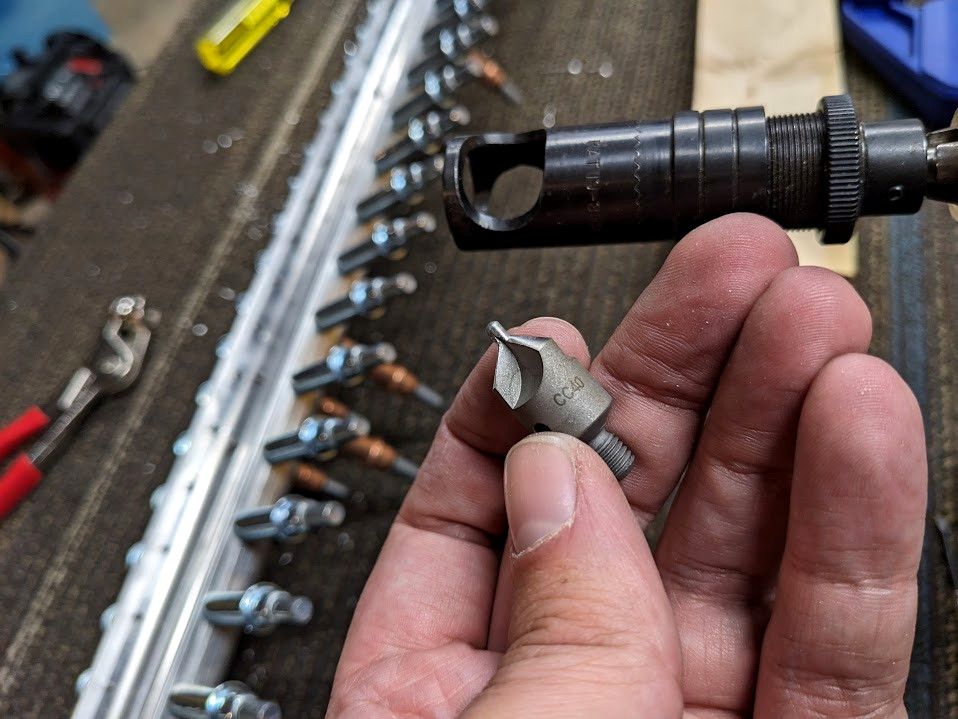
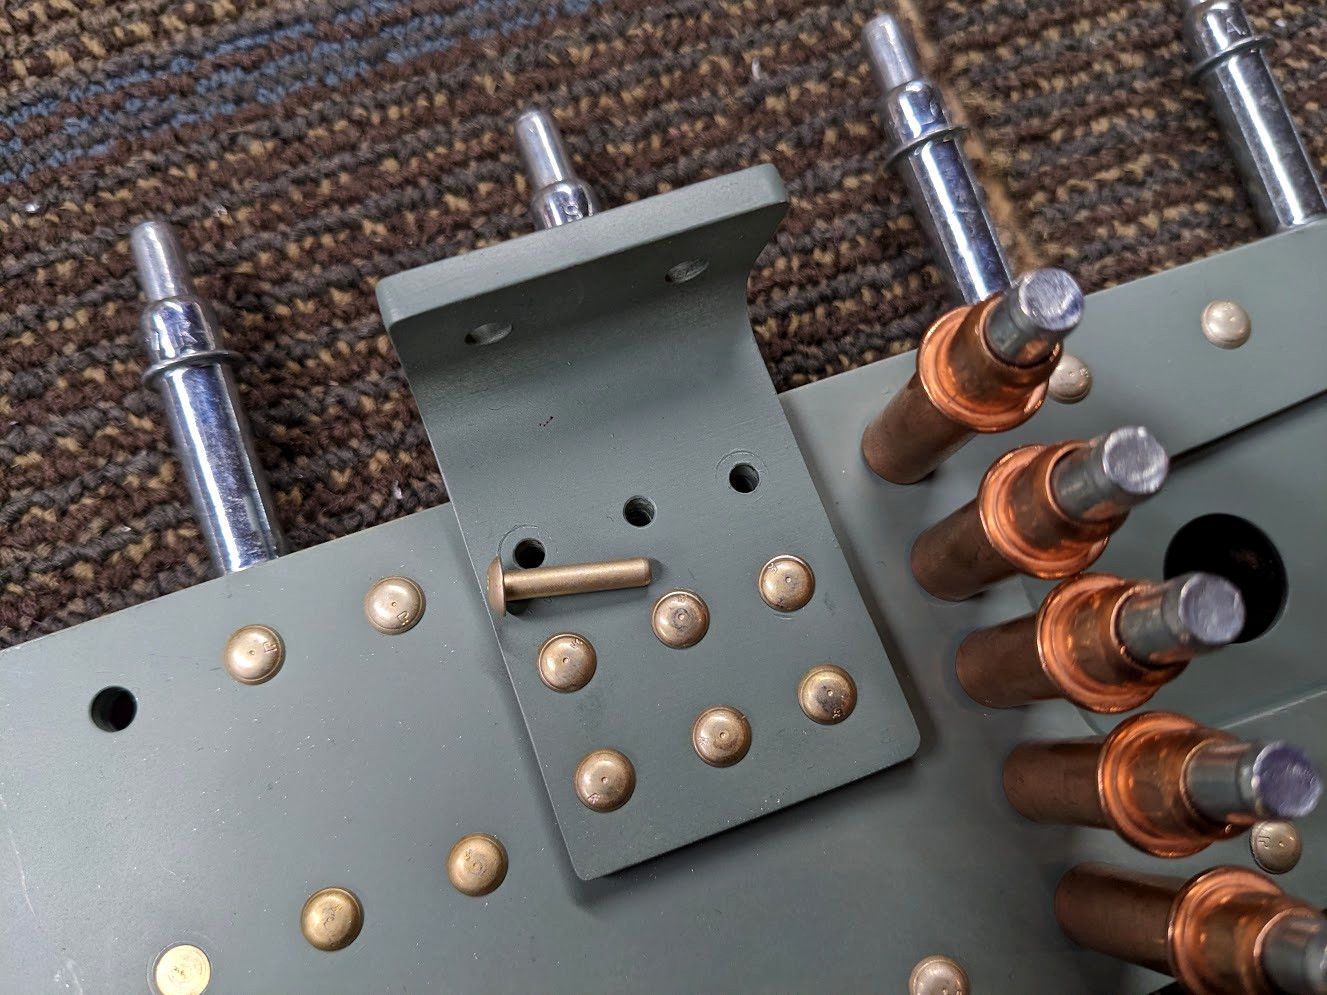
Now that I've ruined everything I've been proud of by filling it full of holes, there is some countersinking to be done on the spar. I also test fit a rivet to make sure I'm doing a deep enough cut. Since these are #30 holes I have to swap my cutter but that isn't too hard.
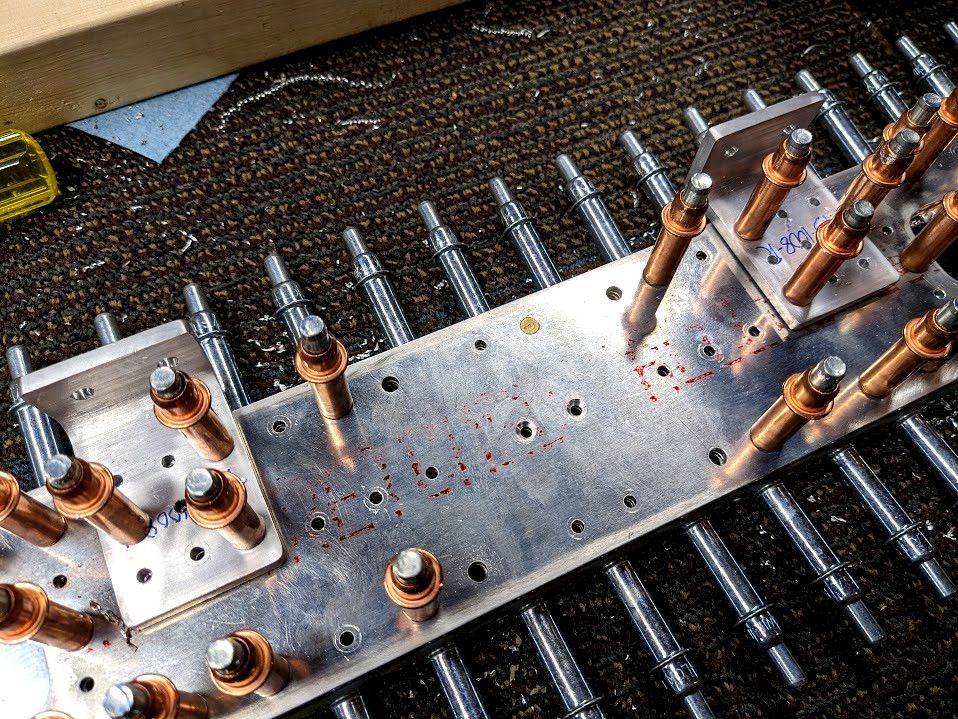
There are three of the eight holes countersunk in that picture. Usually when you do this there is another part that is going to rest flush on this. Judging by those larger holes, some kind of bolts will hold something over this. I didn't look ahead to figure it out but I did break another tool!
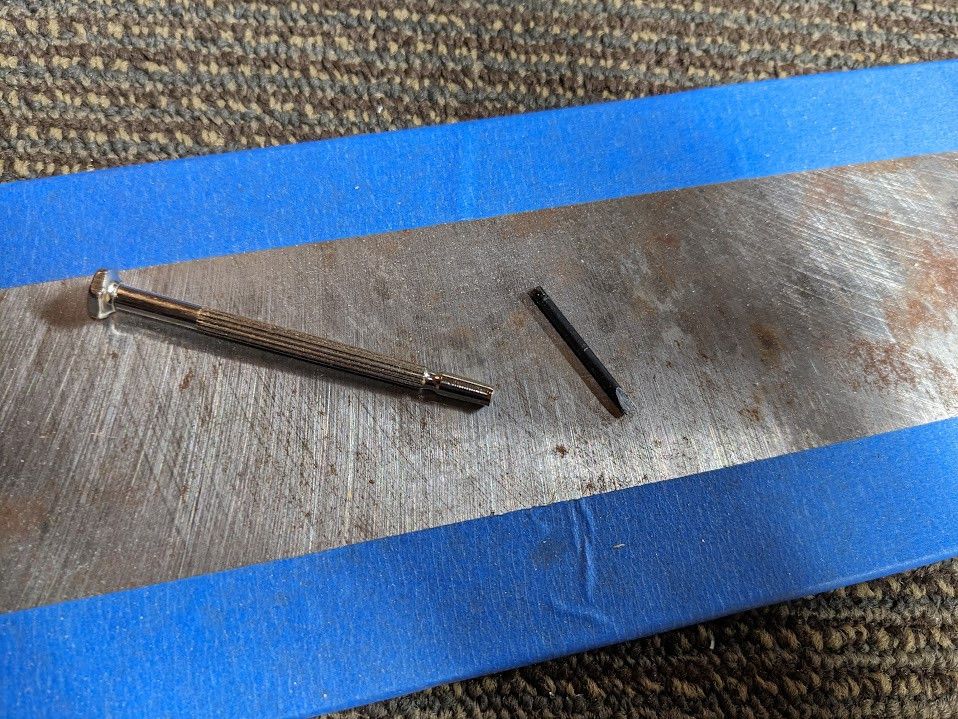
Rest in pieces tiny screwdriver; You will be missed. Next up though, the flange actually gets 9 holes countersunk per side right in the middle! So I went ahead and cut more cool angles.

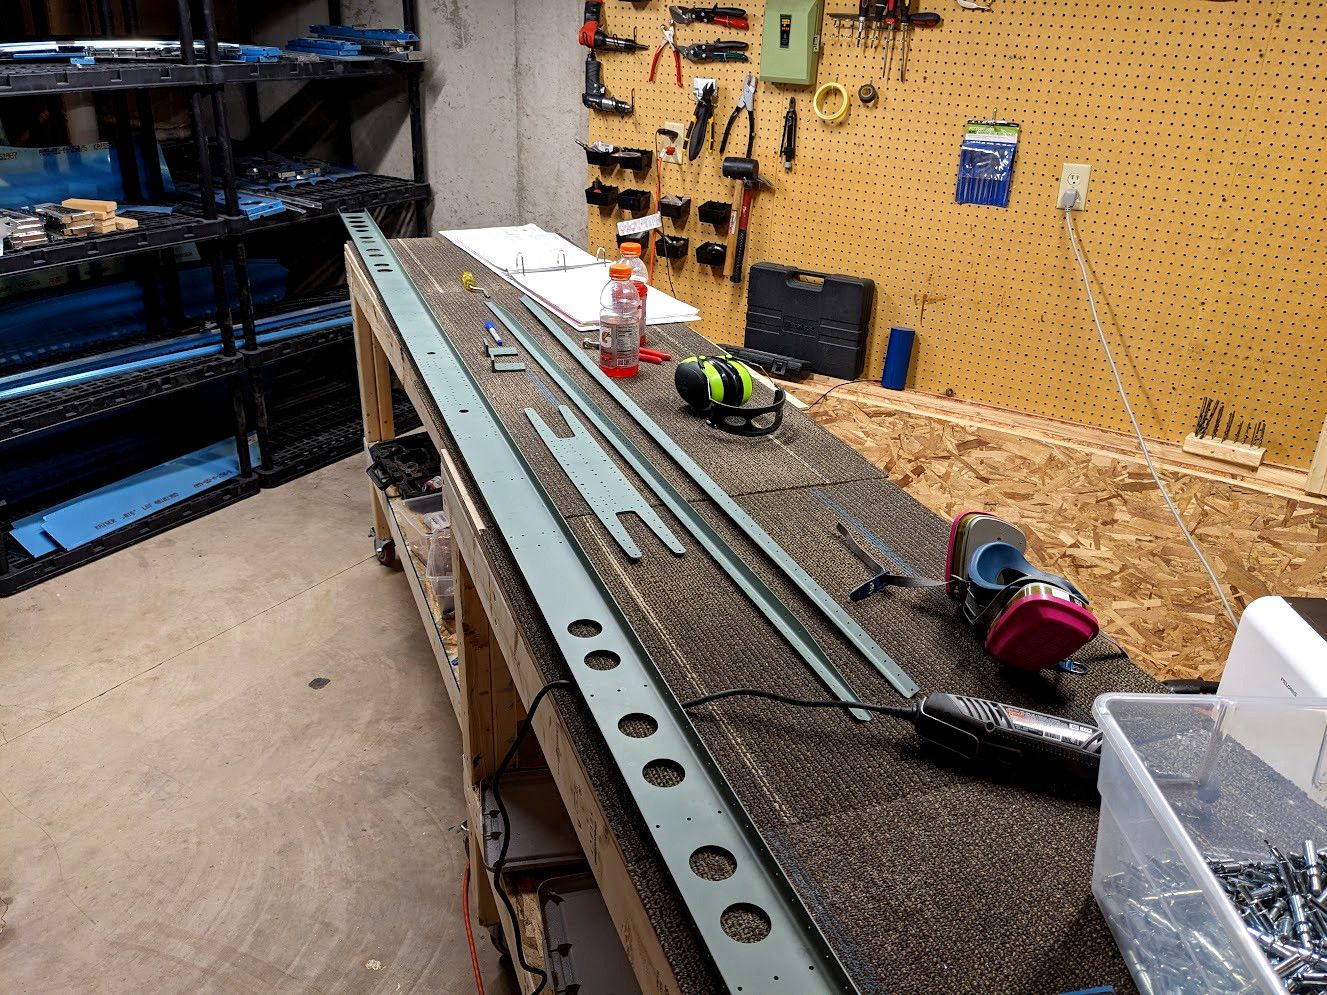
This is, again, most likely for clearance issues. This part of the spar sits under the vertical stabilizer (although I think the skins attach to the spars anyway so there is more countersinking the flange later). The next fun step is to take everything apart and debur it. Hope you like undoing all your work.
and finally, time to scuff up the metal to prepare it for priming (and to fix any scratches)
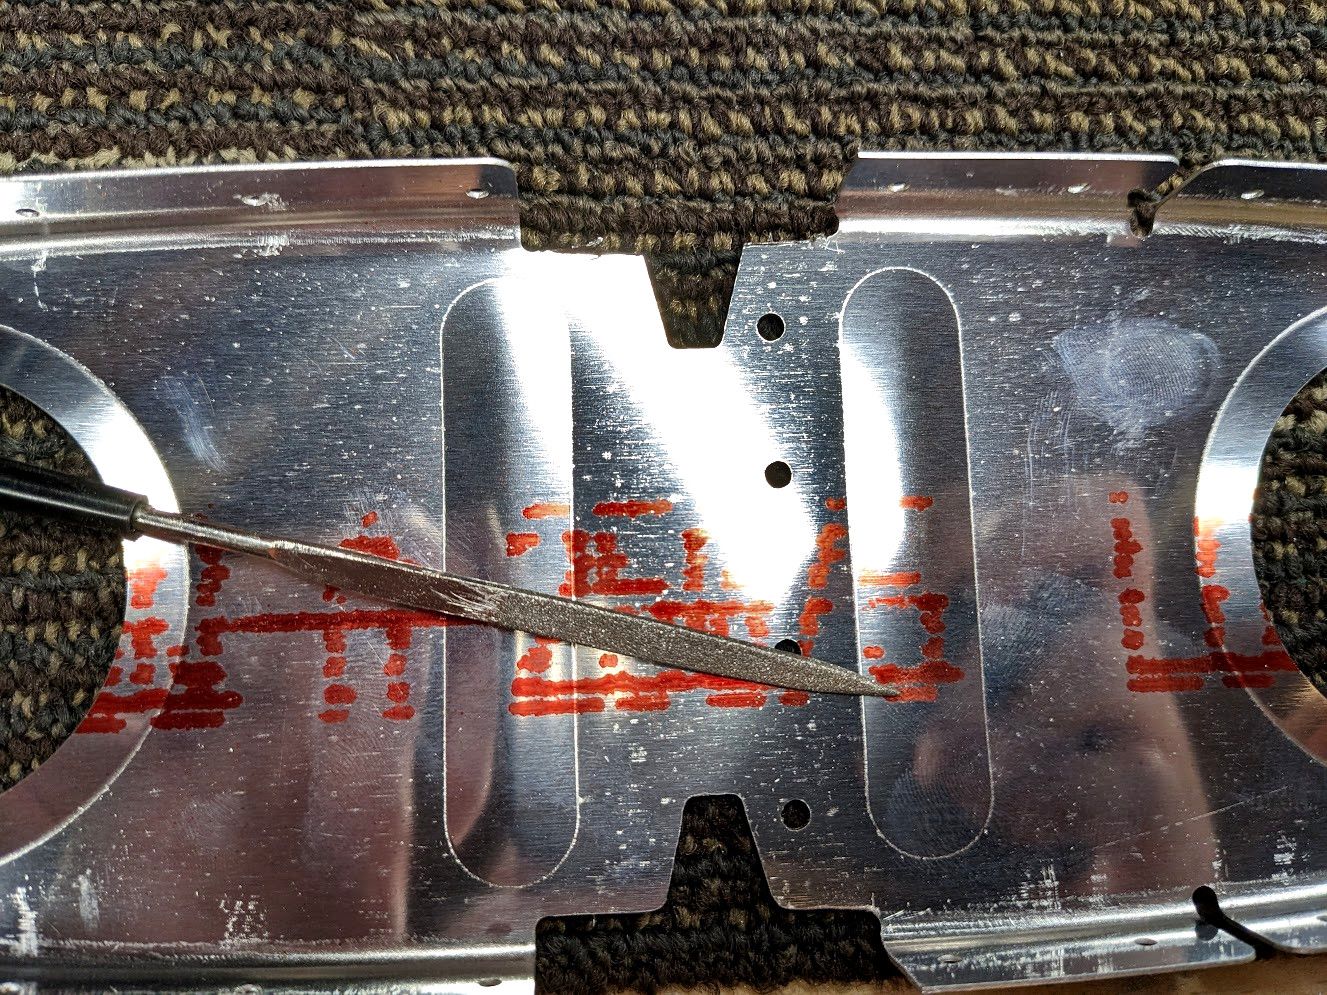
At this point I went over to check on my vertical stabilizer. I don't remember the reason, maybe I just wanted to admire my own work. But I noticed a problem.
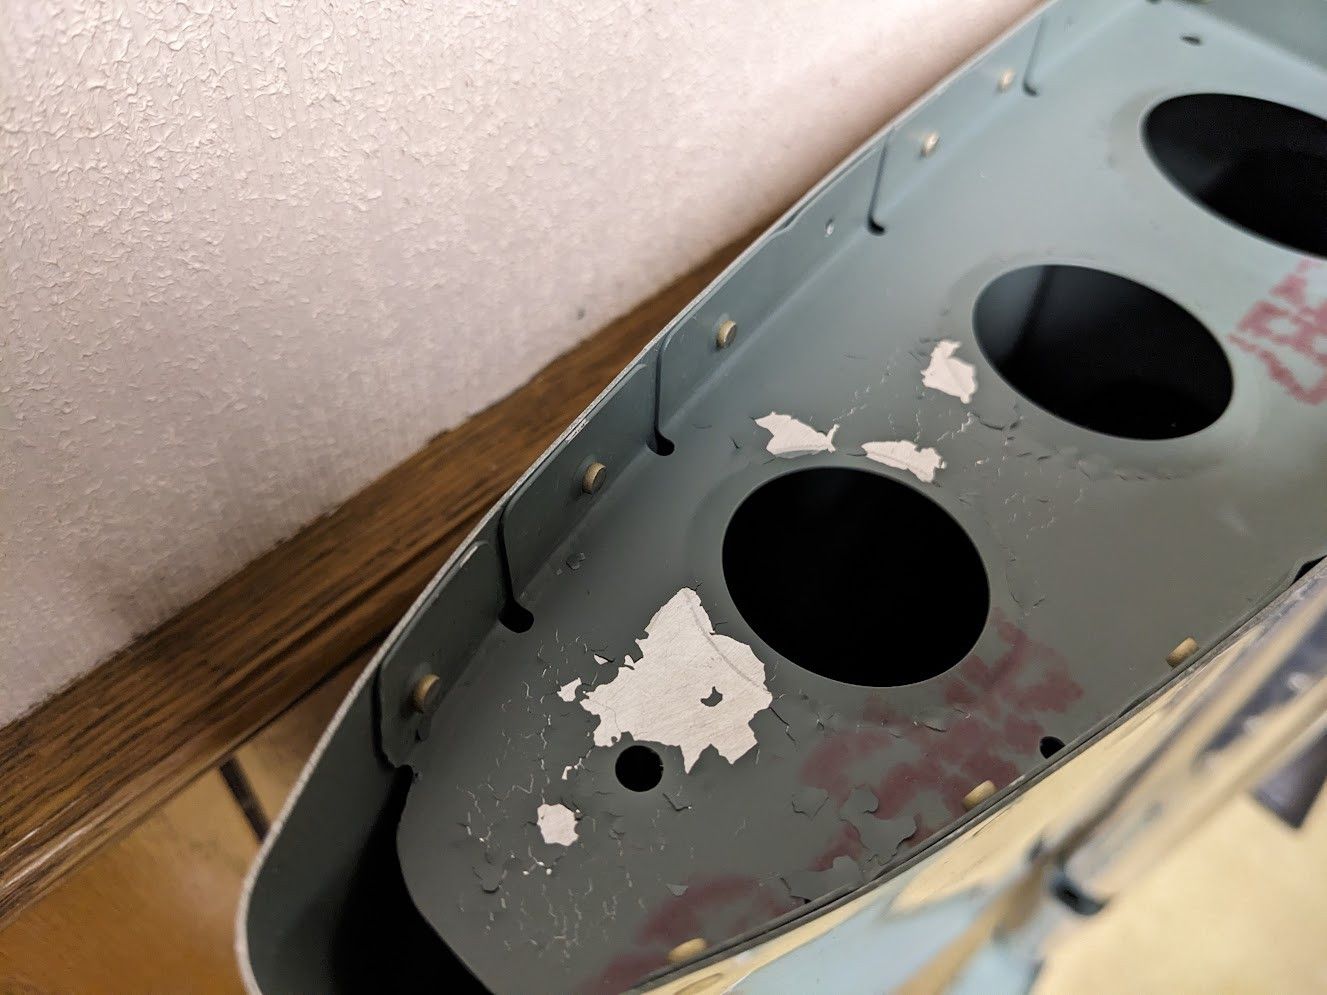
Ah yes, the primer is coming off. After going back and looking at my process (as well as pointing out my mistake on the internet) people said I didn't scuff and clean it enough. The red die showing through its a clear giveaway to this fact and they are right. I didn't know what "scuff" it meant so I lightly scratched the surface. In reality it means to basically sand the surface (which I am now doing). So I may have to figure out how I want to address this on the vertical stabilizer (if I do at all) but it shouldn't be an issue going forward.
I think now is a good time to review how I'm prepping the parts.
1) Scuffing it real good, some sanding too.
2) Washing metal in soapy water to remove dirt and oil
3) Drying metal
4) Washing metal in acetone to remove everything else
5) Spraying on SEM self etching primer from can (3 coats)
How beautiful! Hopefully the pain stays on this time. The stuff is not cheap but hey, I'm learning. Time to read some more plans so we can see how all this goes together.
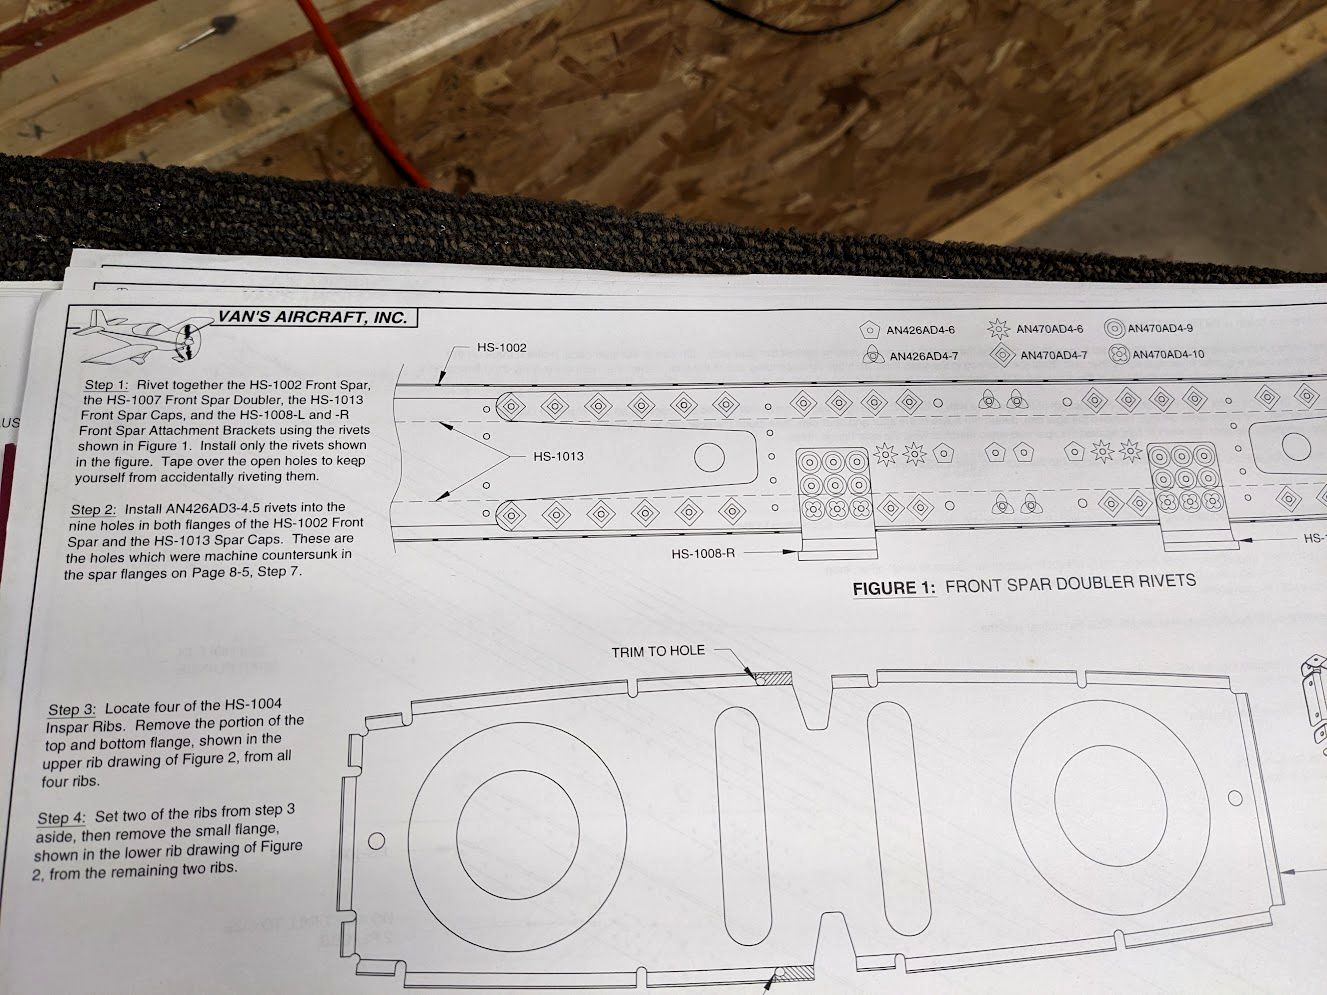
That is a lot of different rivets (as well as some holes we are not riveting at all). The vertical row is a rib that gets put in. I decided to start in the middle and work my way out to the edges to make sure any bend gets flattened nicely instead of pinching somewhere in the middle.
It made sense to me to do all the flush rivets first. I had my emotional support gatorade with me throughout the whole process as well. Every time I use a pnumatic squeezer I'm going to rant and rave about how much I love the thing and how it sets rivets so perfect and pretty for me. After the flush rivets I changed out the squeezer dies for round rivets and had at it.
So we are most of the way there. I haven't done the brackets quite yet but they are next! The rivets are quite long.

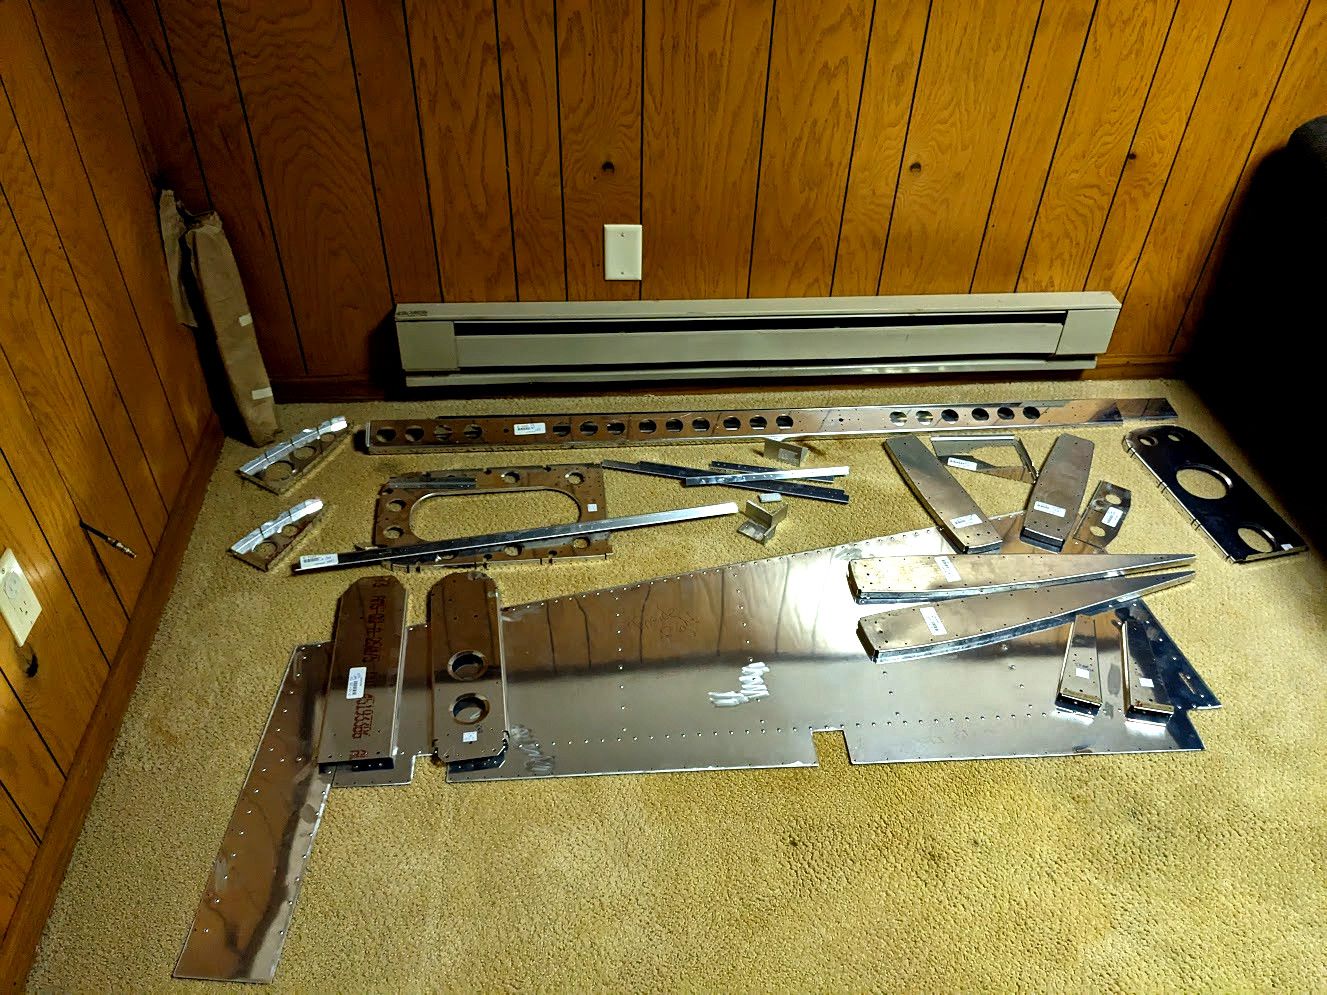
I think that looks very nice. I'm proud of how it turned out as long as I don't look at it too long (there is always something if you look hard enough). We are, however, finally ready to move on to the ribs. Some of the ribs require modifications though (cutting away material) so we better get at it.
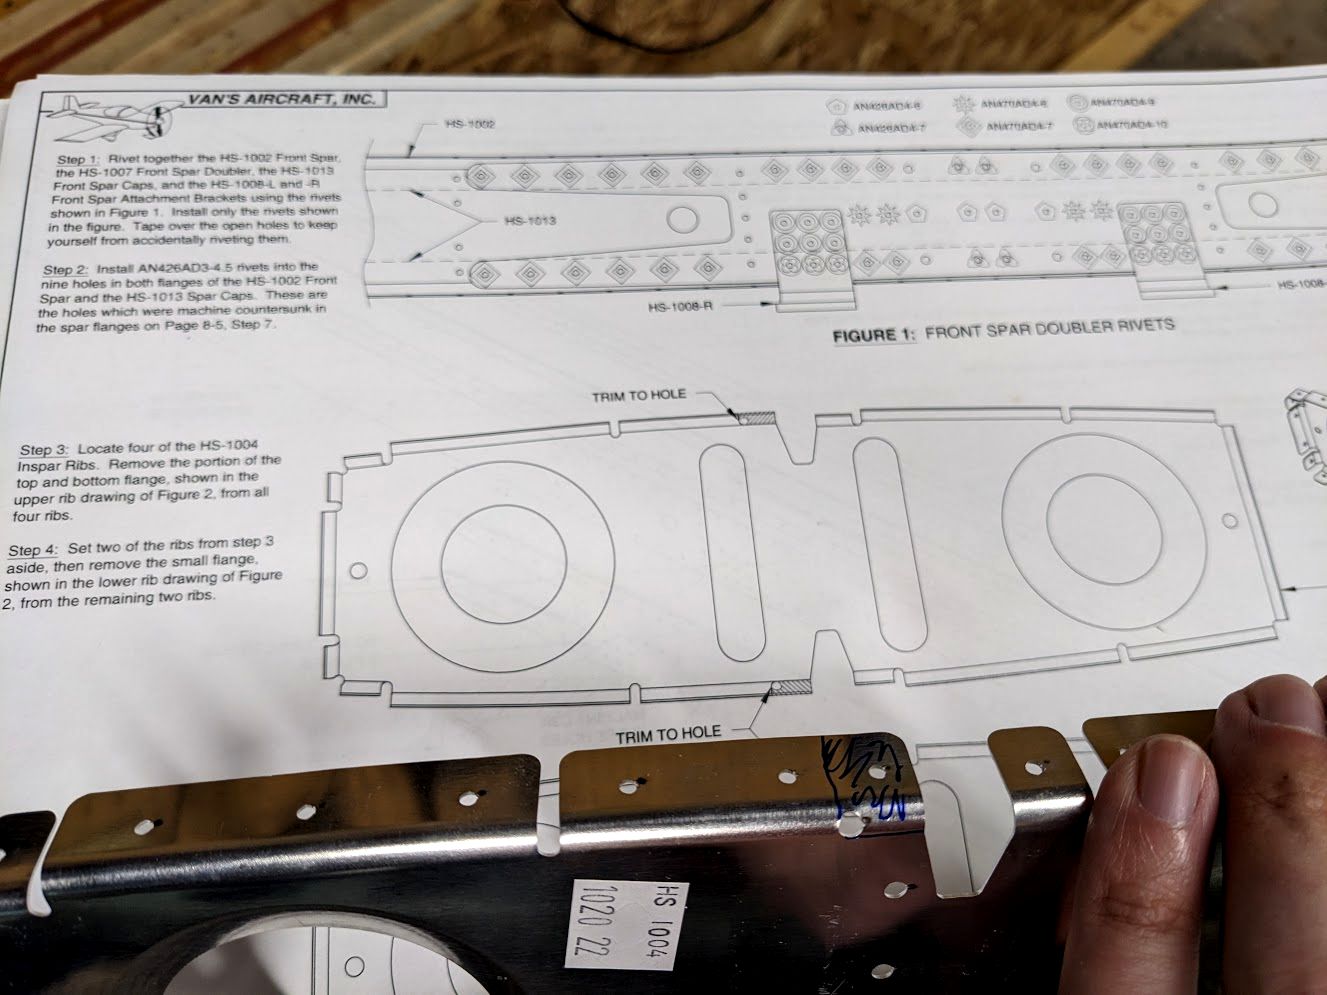
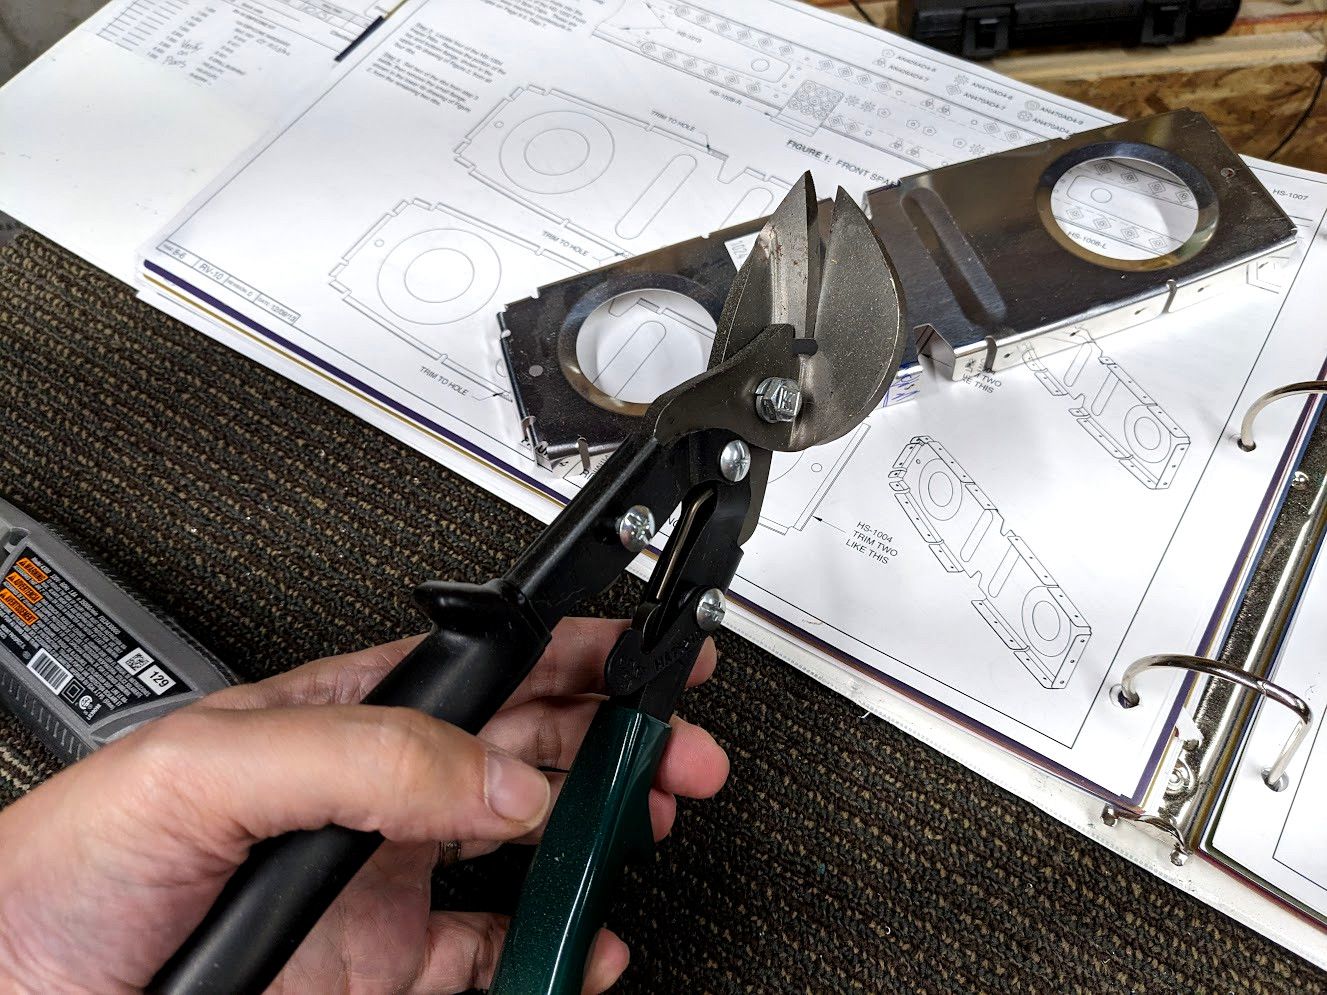
It actually wasn't that bad. Just have to be careful not to cut weird spots. Then the rest is filing the corners down and cleaning up the ribs as you would literally any other metal part. Notice that these parts ARE laser cut, so I was taking a little risk here depending on what Vans was going to say about laser cut parts. If nothing else, it was practice.
On the top I haven't filed anything. Notice how sharp the edges are. On the bottom, I have filed the corners to be rounded. It looks much nicer (although not perfect). It doesn't have to be perfect though, it is just an airplane. I am now part way through cleaning up the ribs but there are a lot of them -_-.
That is going to take me a while because it is boring work so motivation is harder. I have a few weeks off work though as I'm switching jobs so hopefully I can power through all of that.
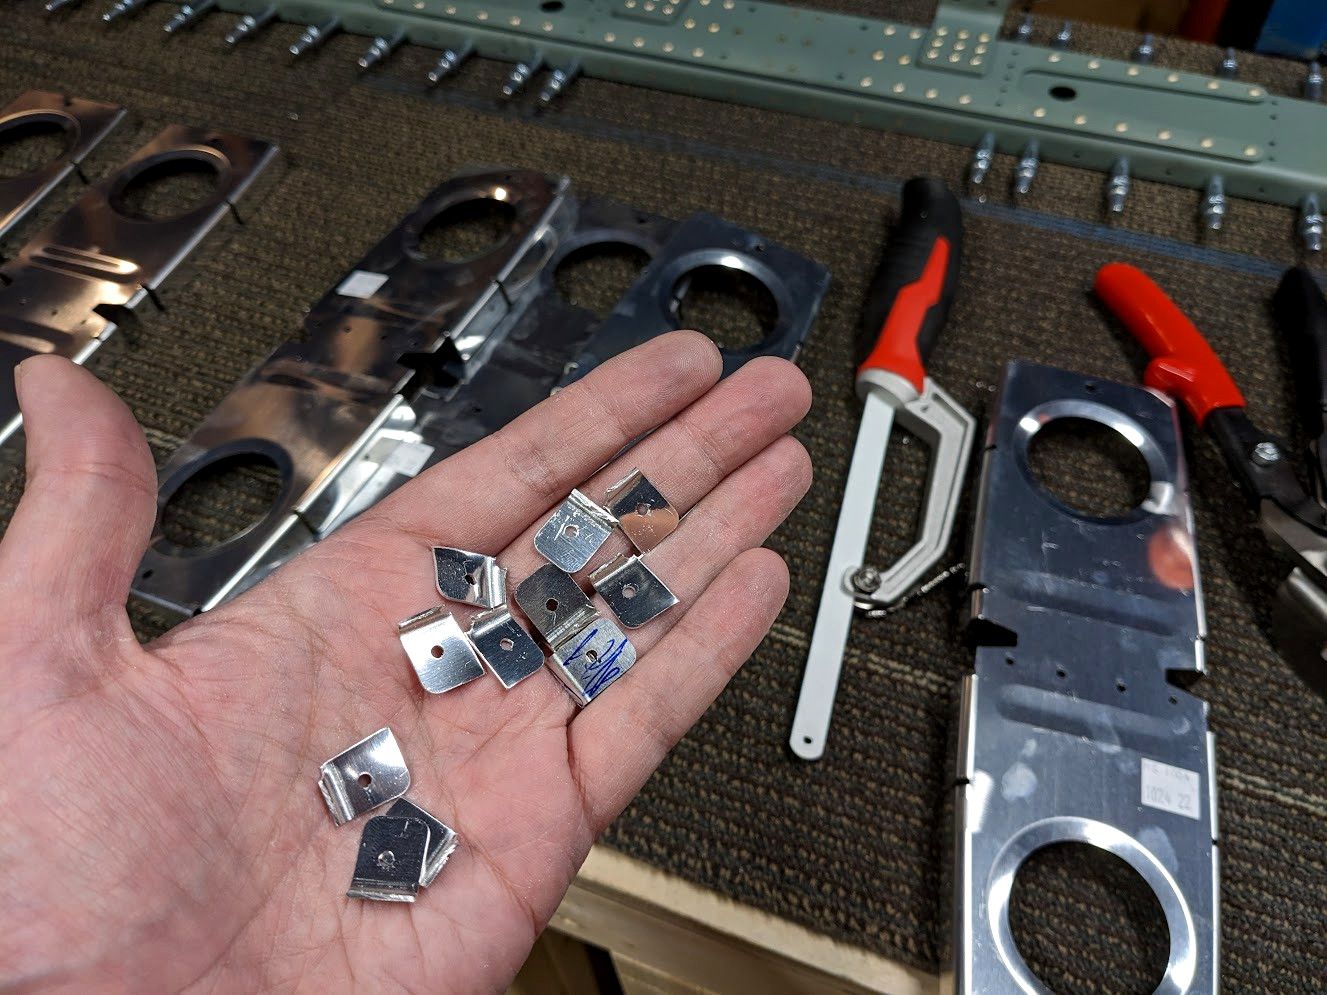
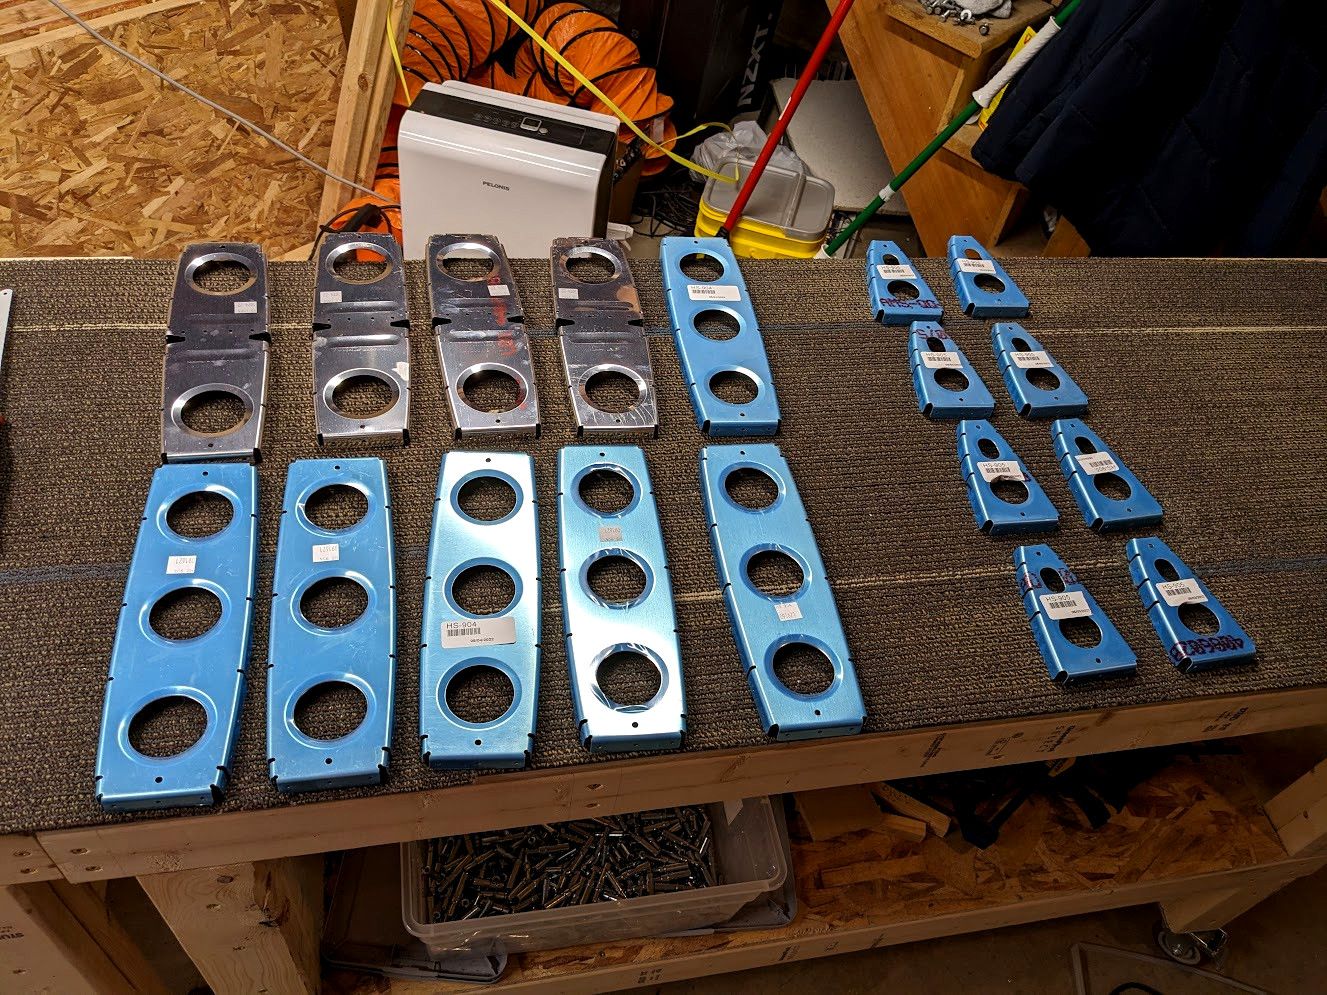
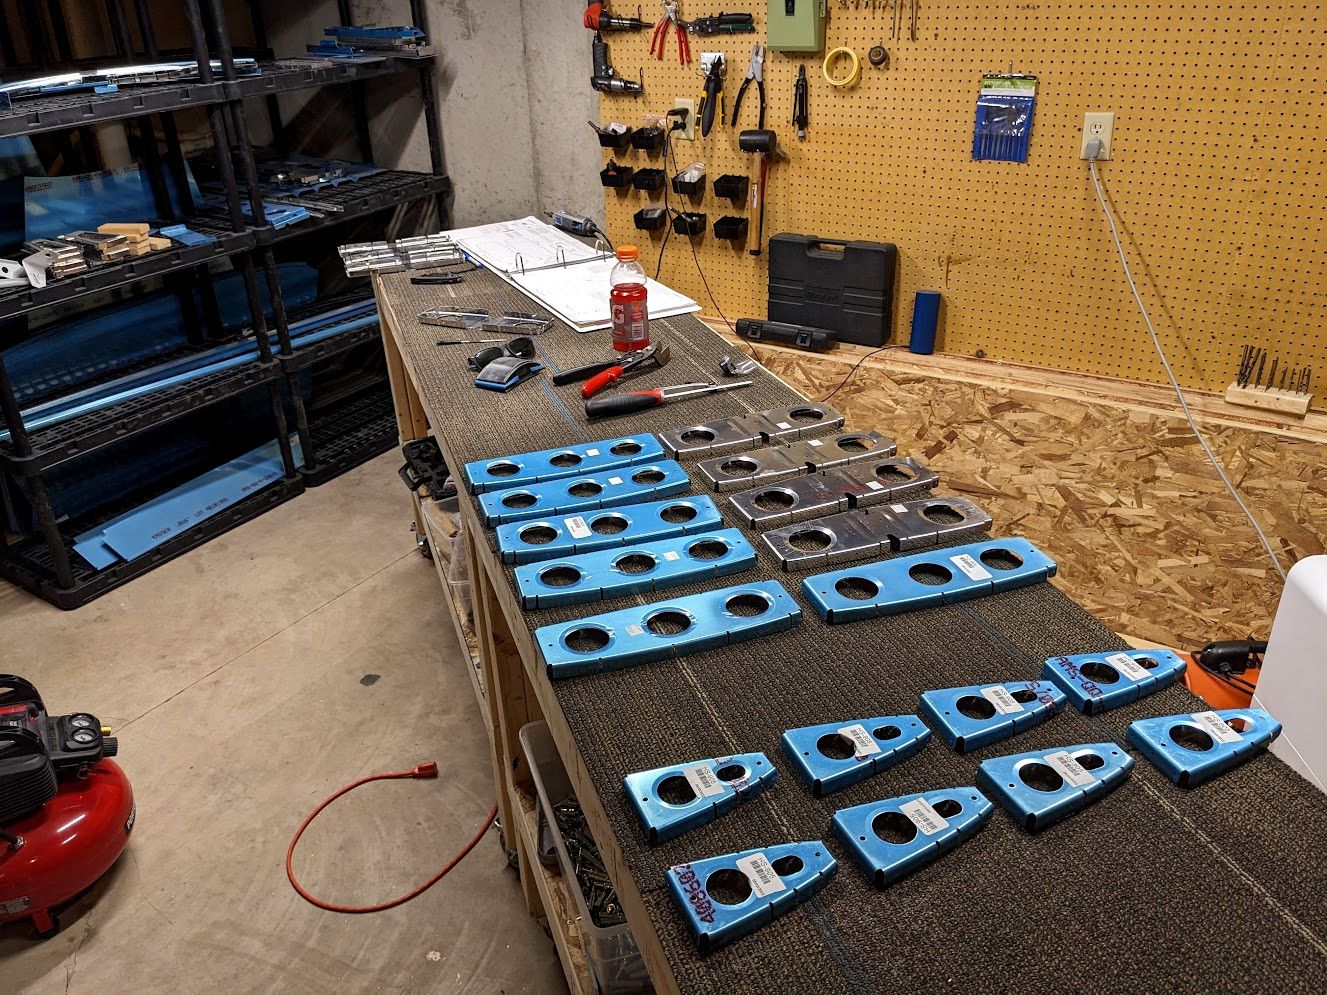
Now for the moment some of you have been waiting for! The Laser Cut part update. Vans released thier recommendations but it basically boiled down to "laser cut parts are probably fine, however for high load critical items we still recommend replacing the part." So I went through and tried to figure out what I had already used that was laser cut (if I couldn't determine it, I assumed it was laser cut). I had a good mix of parts that were laser cut and weren't so it wasn't just as clear as ordering all new parts.
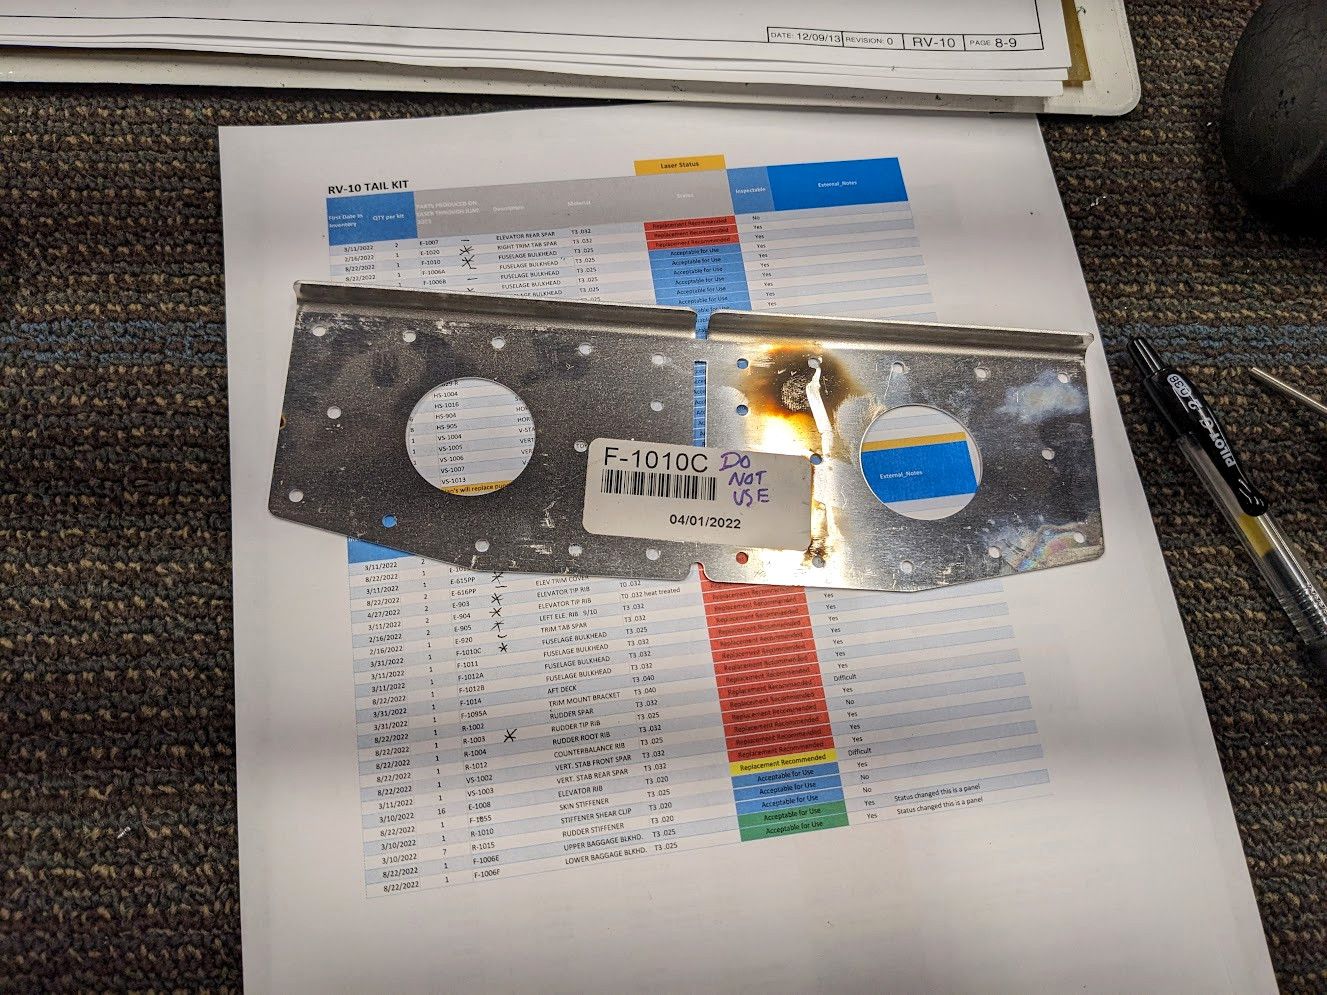
Anything I found that was laser cut and has not been used I marked as "DO NOT USE" and threw into my scrap pile.
My understanding is that this is out of an abundance of caution and there isn't any actual known issues with these parts for standard useage. For my existing assemblies, I may just opt to have the replacement parts on hand and inspect carefully to see how those parts last on the airplane instead of ripping the entire assembly down and rebuilding them. I haven't fully decided yet and I'll gather more data as time goes on. I can always redo the assemblies later on, there are no rules.
Van's will not be replacing all laser cut parts though (at least not right away). There are quite a few marked as "acceptable for use" so it doesn't really make any sense to replace them (business sense or just normal sense). I have read quite a few people bent out of shape about that decision though and I suspect no amount of testing or other information would dissuade them since they had decided no matter the outcome of the testing it wasn't acceptable for them. Looks like they will either have to fabricate the parts themselves, pay to replace the parts, or sell their kits entirely and do something else.
As always, thanks for stopping by and having a read. I appreciate all of y'all and love the interactions people have done on the fediverse. I'm off to do more horizontal stabilizer work in the meantime!