Finishing The Rudder!

I went to EAA Air Venture this year, spoke with some other builders, and then joined a local chapter that is building a Murphy Rebel so I could help out. The goal was to keep up my motivation because I realized I don't have any friends in my life that are excited about aviation like I am. So the obvious answer is to go get some and let that fuel my motivation. You know what? It worked. It worked really really well actually. So I've finished up the rudder! I also decided to stop being so worried about messing up so I can actually finish the build. As the title image to this post says, done is better than perfect. I made mistakes but I fixed them too.
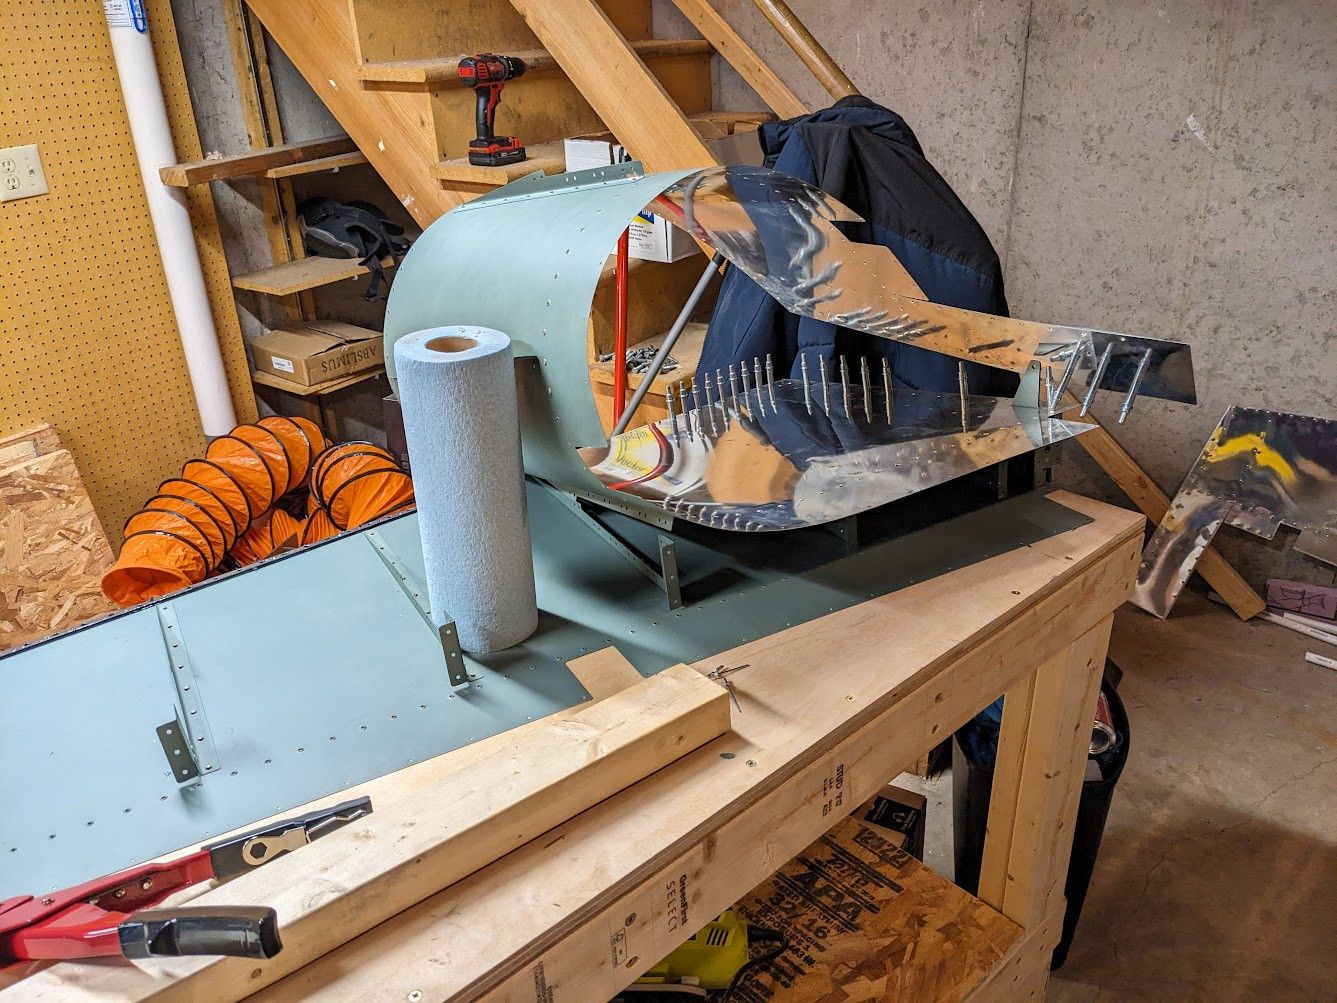
So first I had to seal the trailing edge of the rudder. I used my respirator when working with this two part epoxy because it is some nasty stuff I don't want to breathe in (not to mention the smell). This wasn't too hard, just put down a smooth bead from the caulk gun and used my gloves to make an even thin coat. It was extremely sticky. While in the two hour work time, I had to slowly place the top skin on and pull rivet the interior. This was tricky working just by myself but my friend the shop towels was there to lend a hand. My rivet puller did jam once which caused some anxiety as my time limit was ticking away. Finally I put some weight on it (I should have used more) and let it sit for a few days.
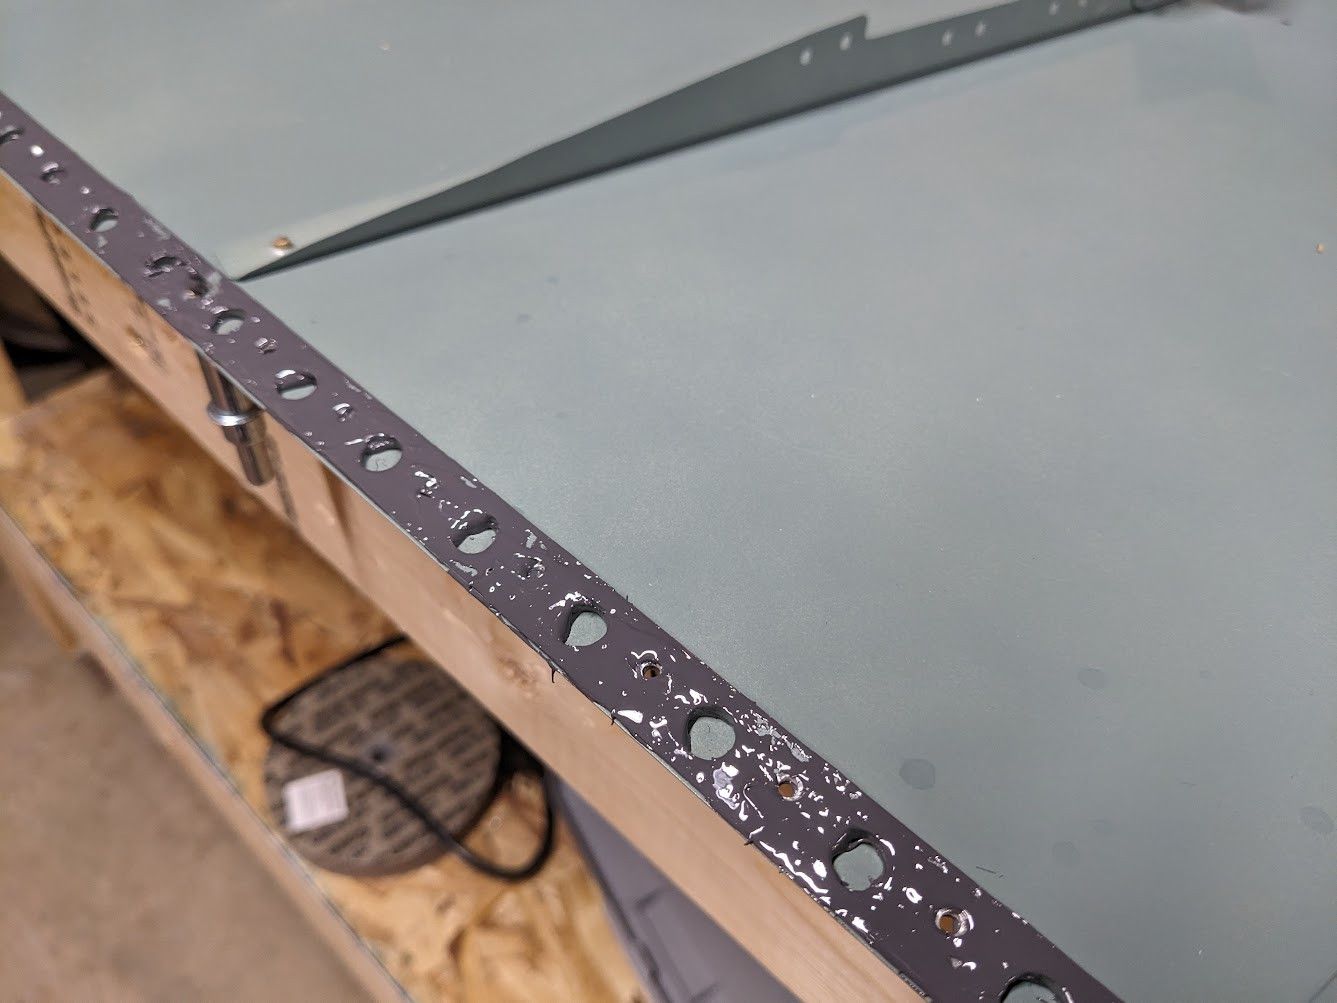

After a few stinky days had passed by, it was time to clean up the epoxy that spilled out. I seem to have used just the right amount as I had very little spill over. Score one point for doing a lot of caulk work in the past I guess. Clearing the holes just required spinning a drill bit in my fingers in order to get the goop clear enough for a rivet.

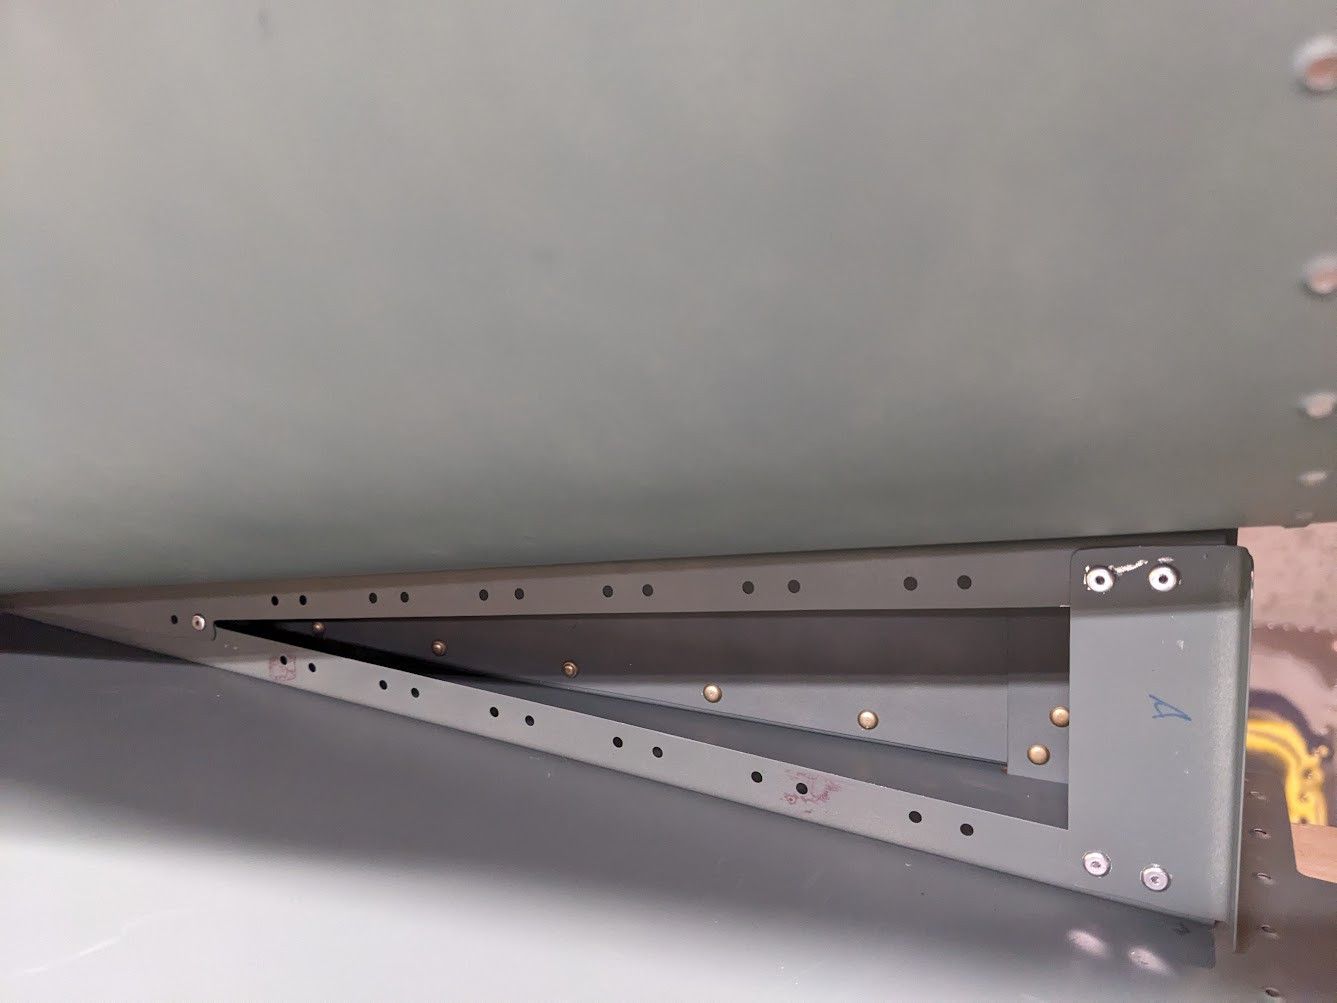
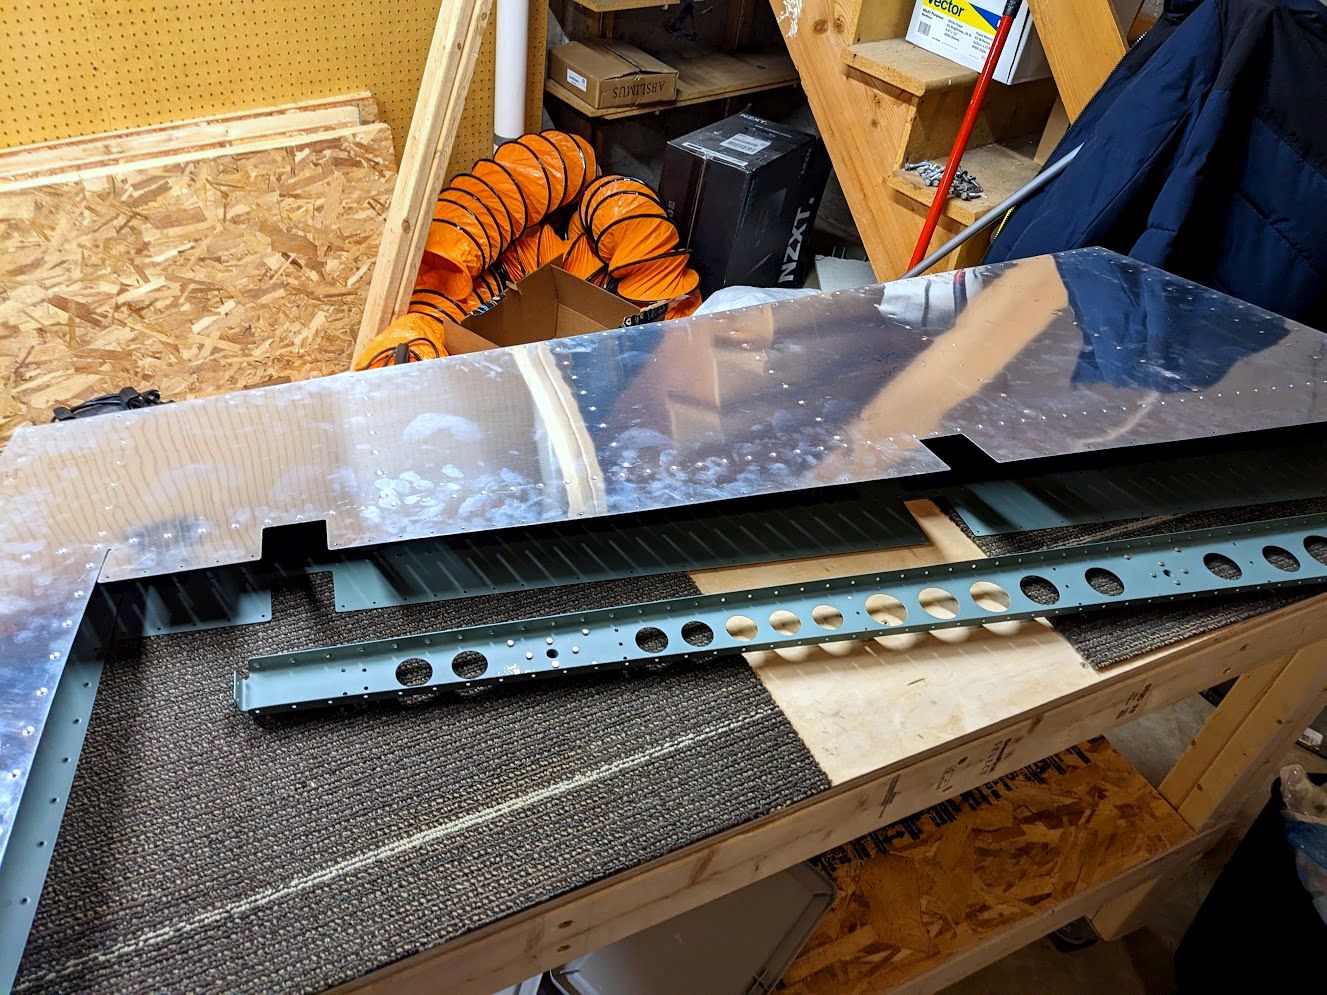
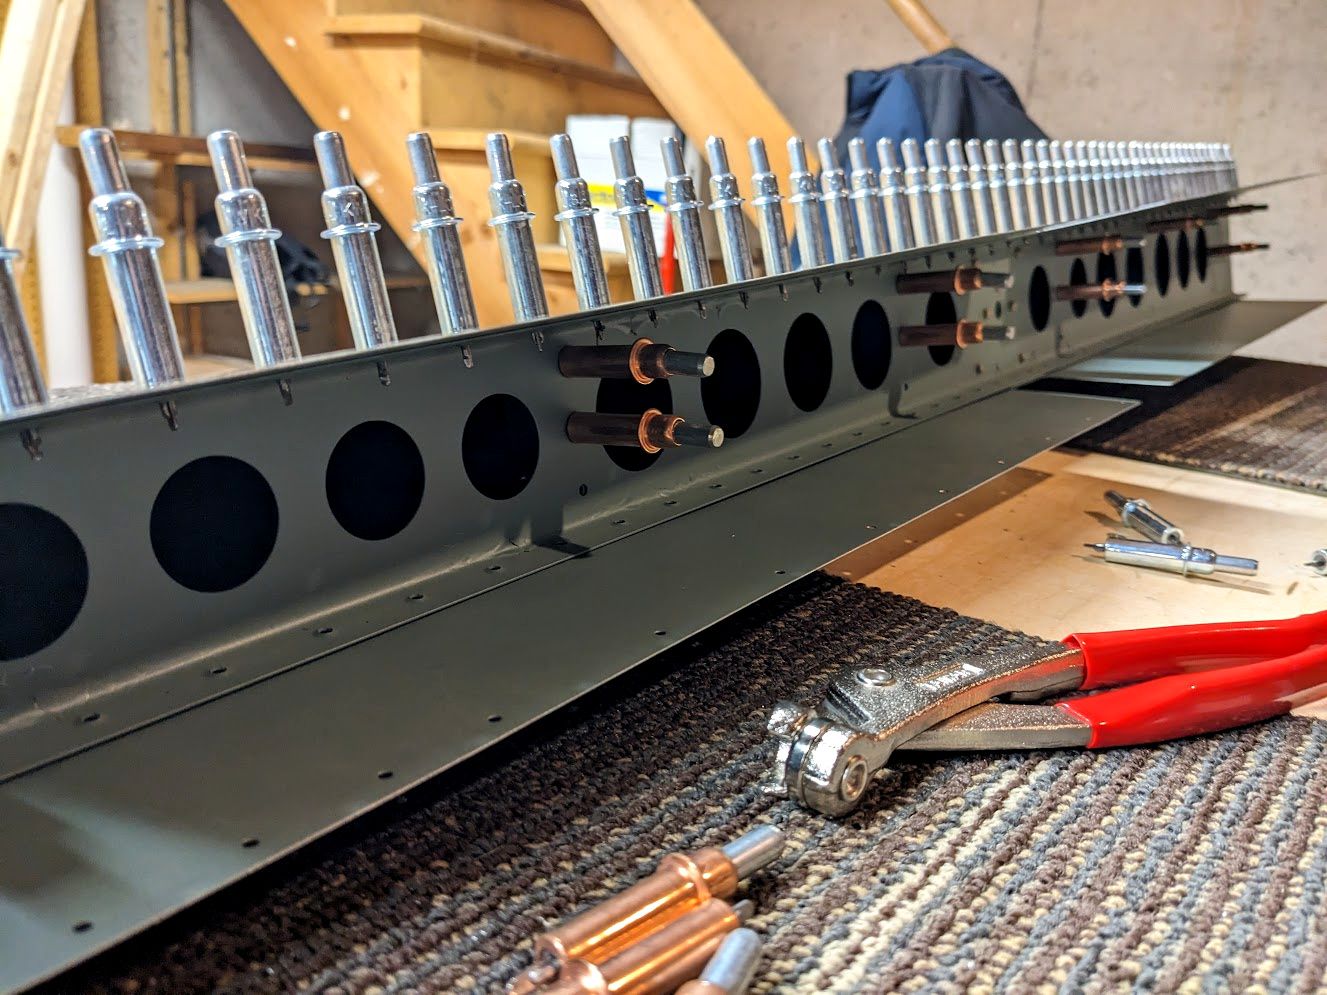
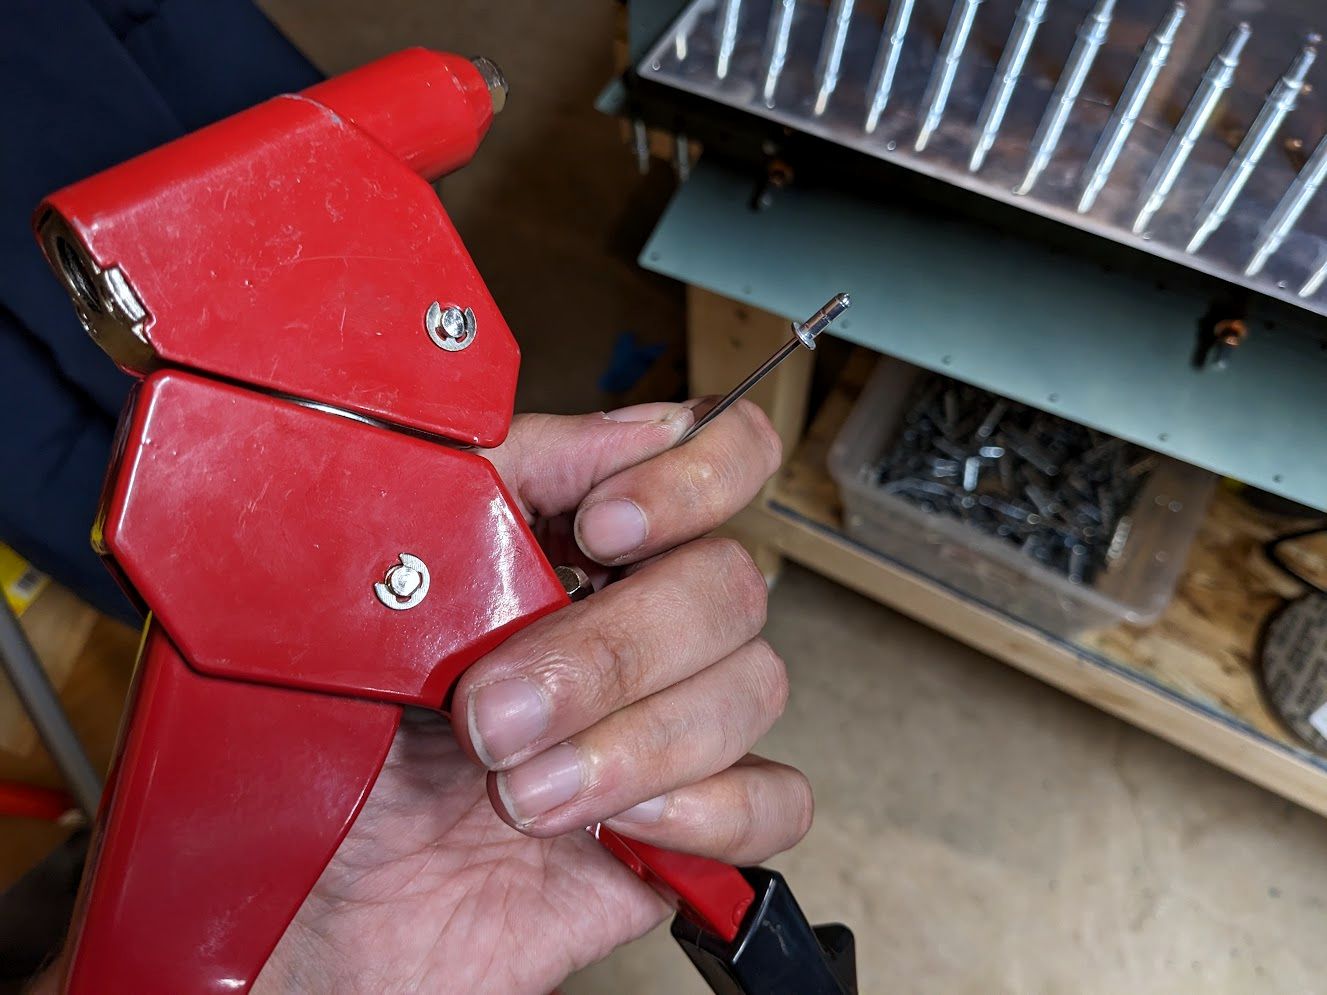
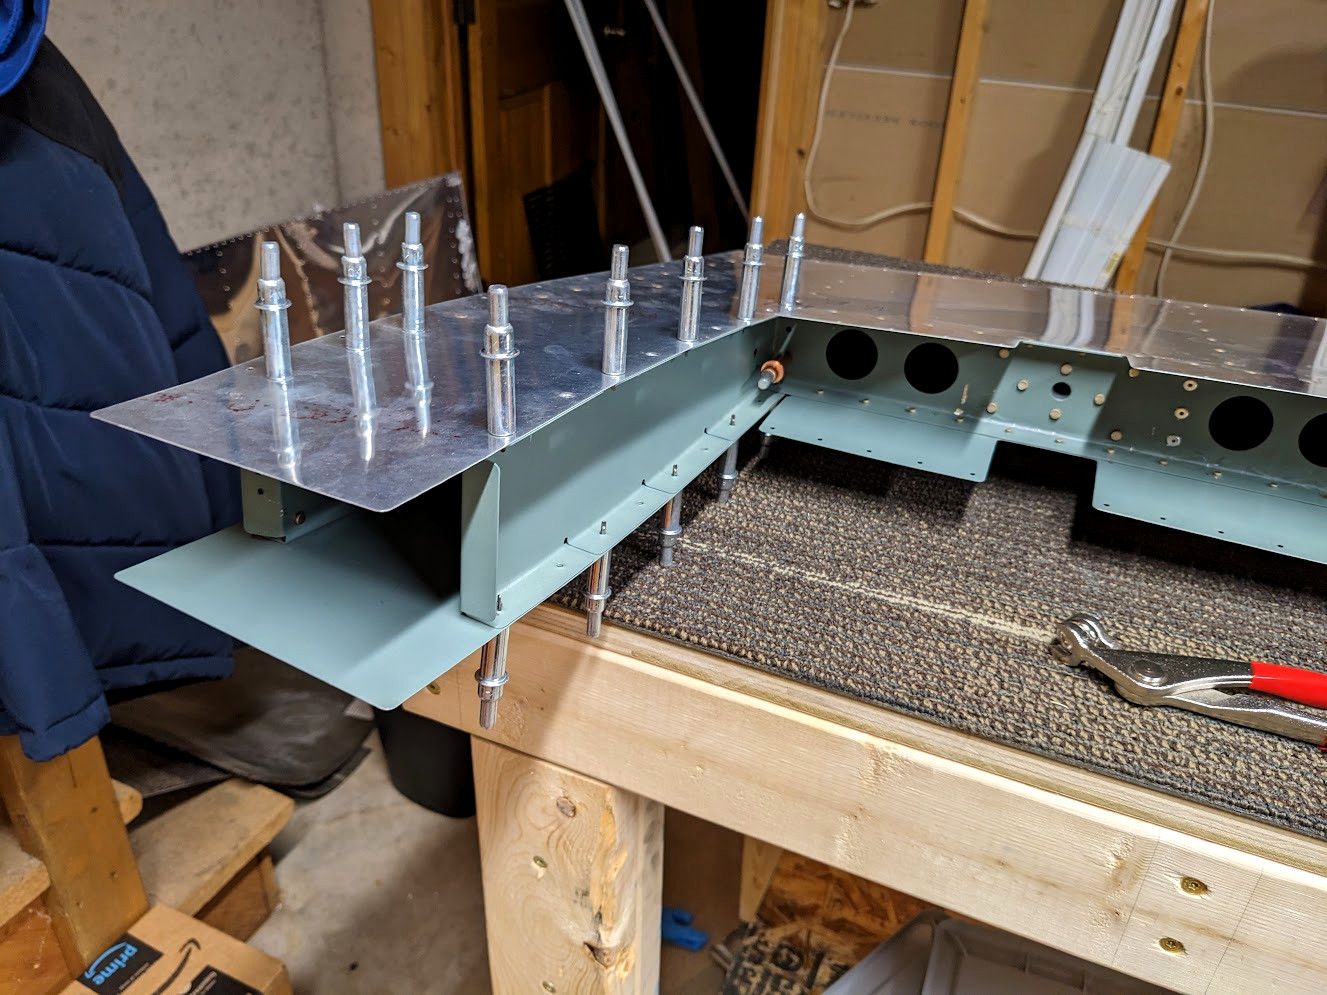
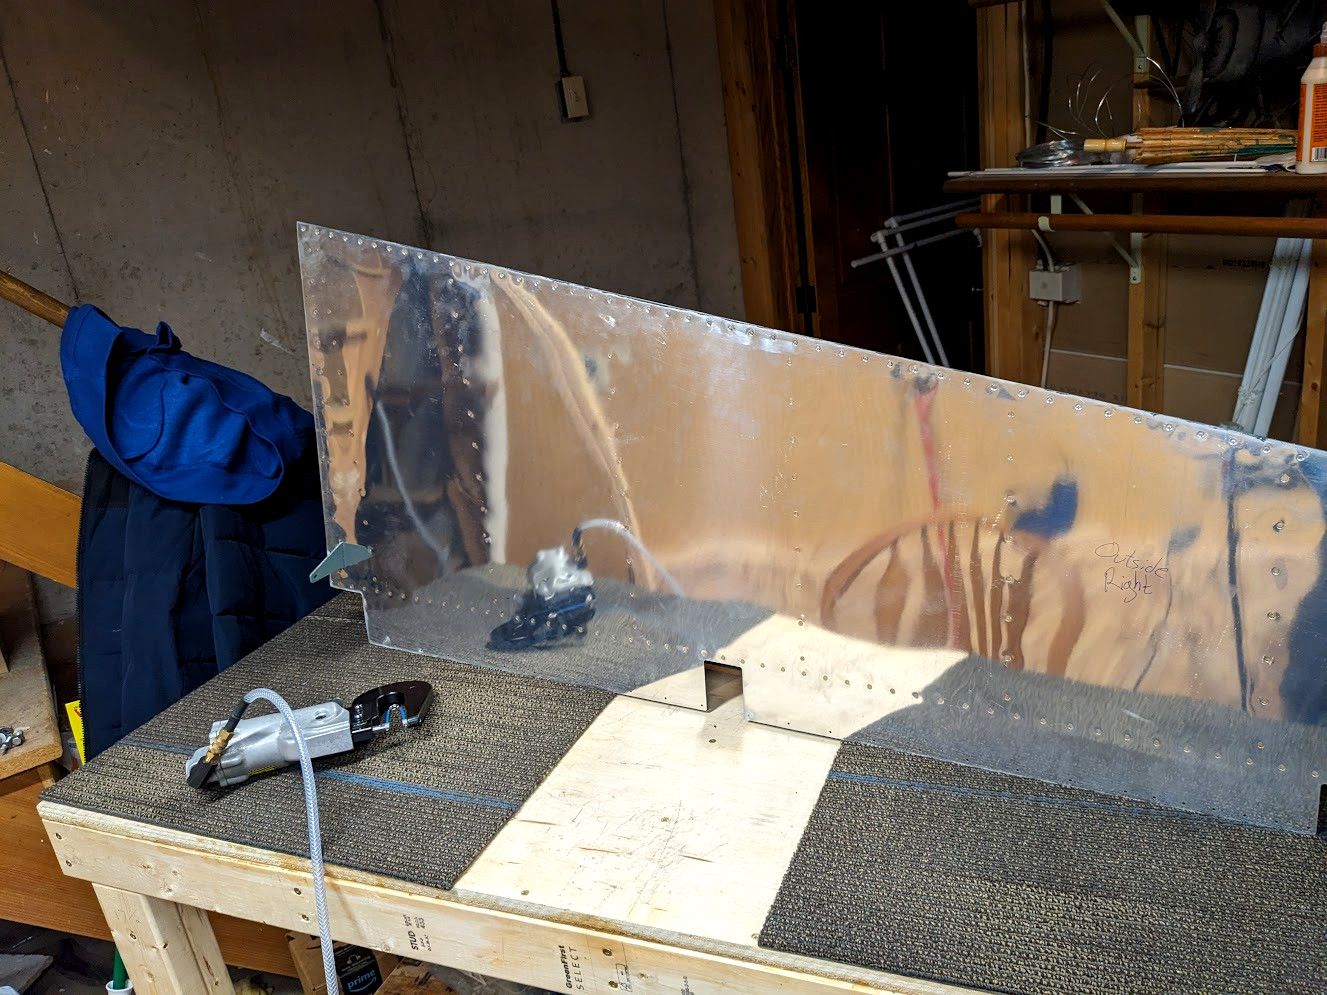
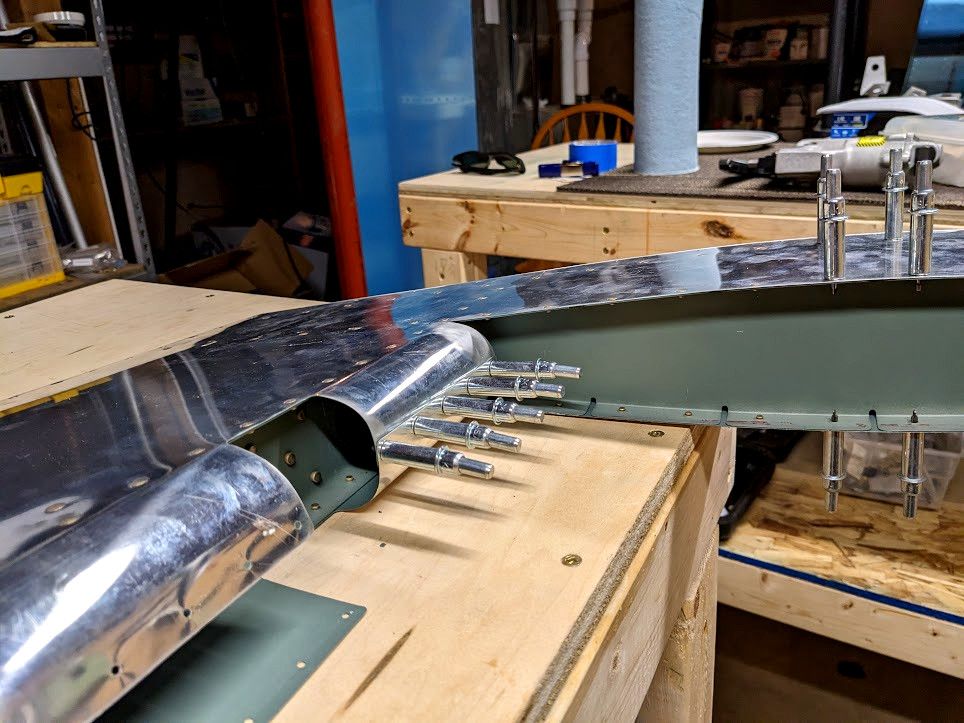
Now I had something that looked like a rudder, but it wasn't strong so I went ahead and fixed that by putting the main spar in. Easy enough to do just slid it in there and cleoed it in place. It gets attached to the internal clips with more pull rivets. I'd recommend getting a pnuematic puller at this point because if you torque the mandrel wrong they will snap prematurely and you will have to drill them out. I was just careful to try and keep the puller as straight as I could but you have to apply quite a bit of force so it isn't easy.
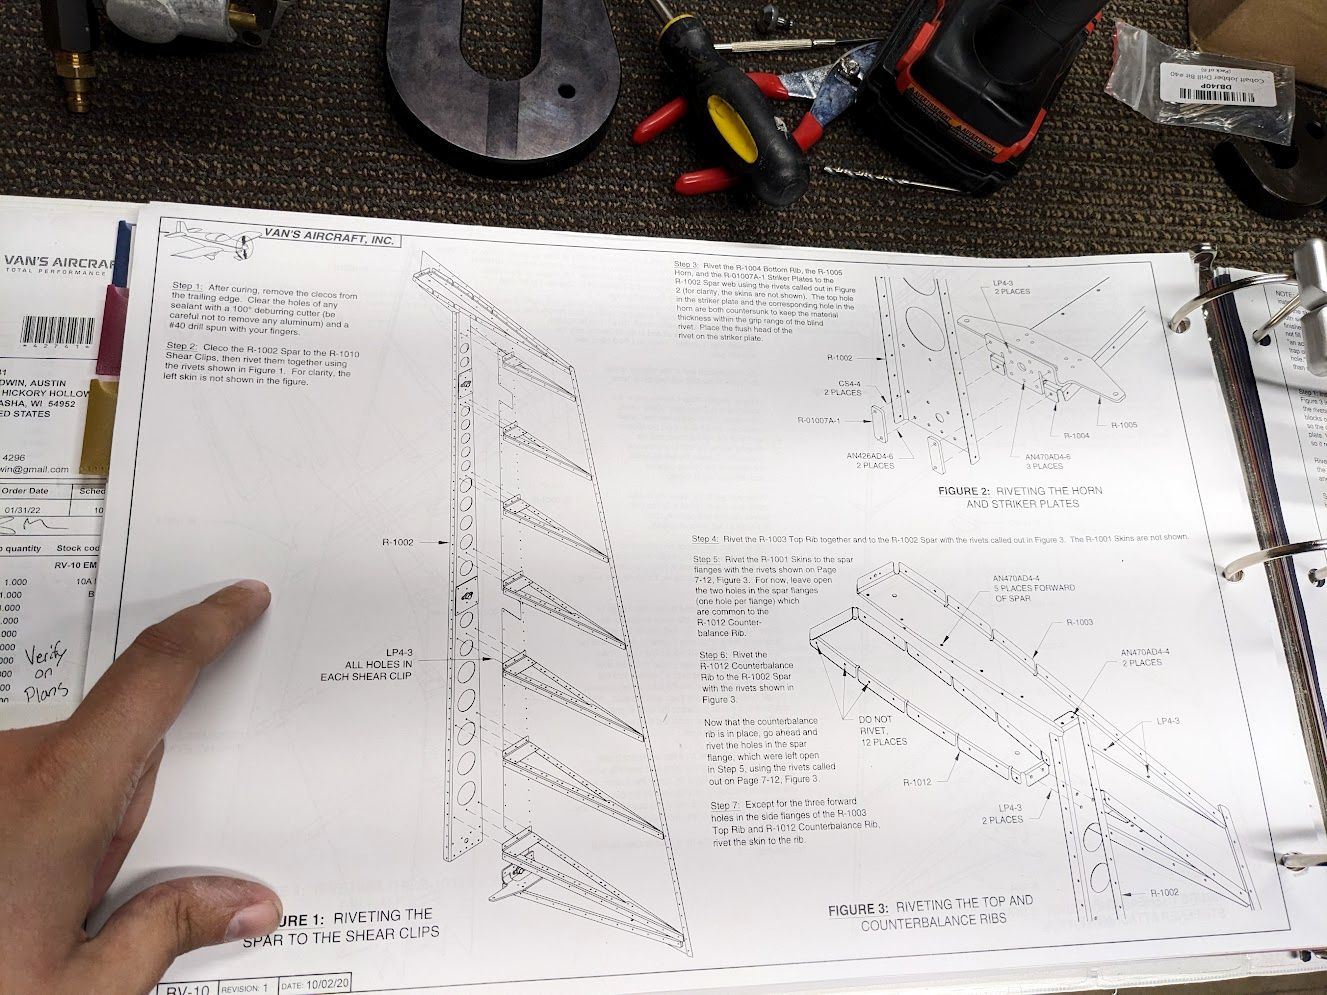
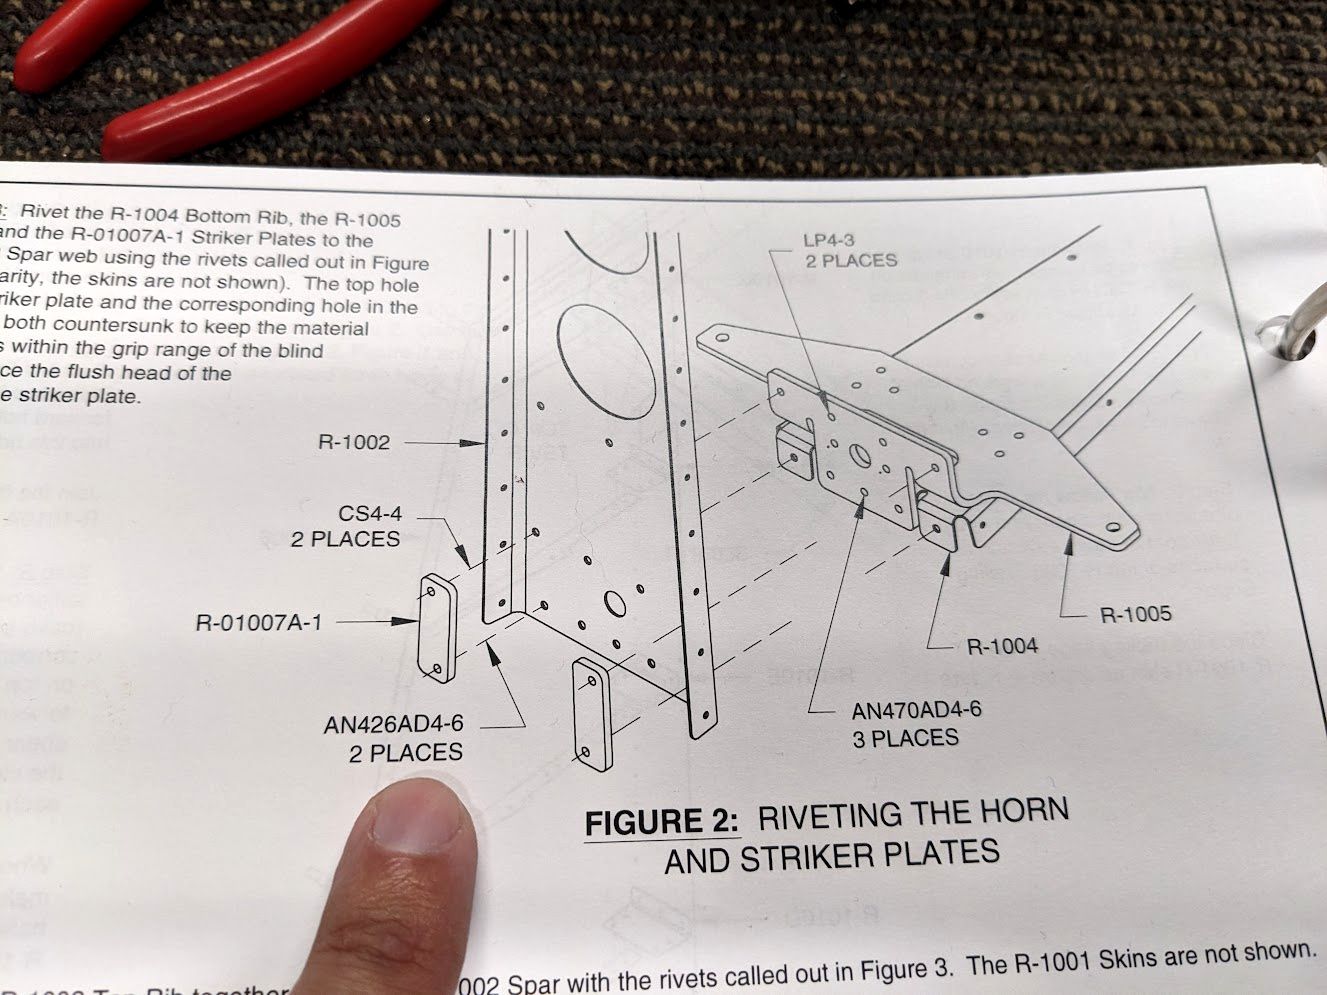
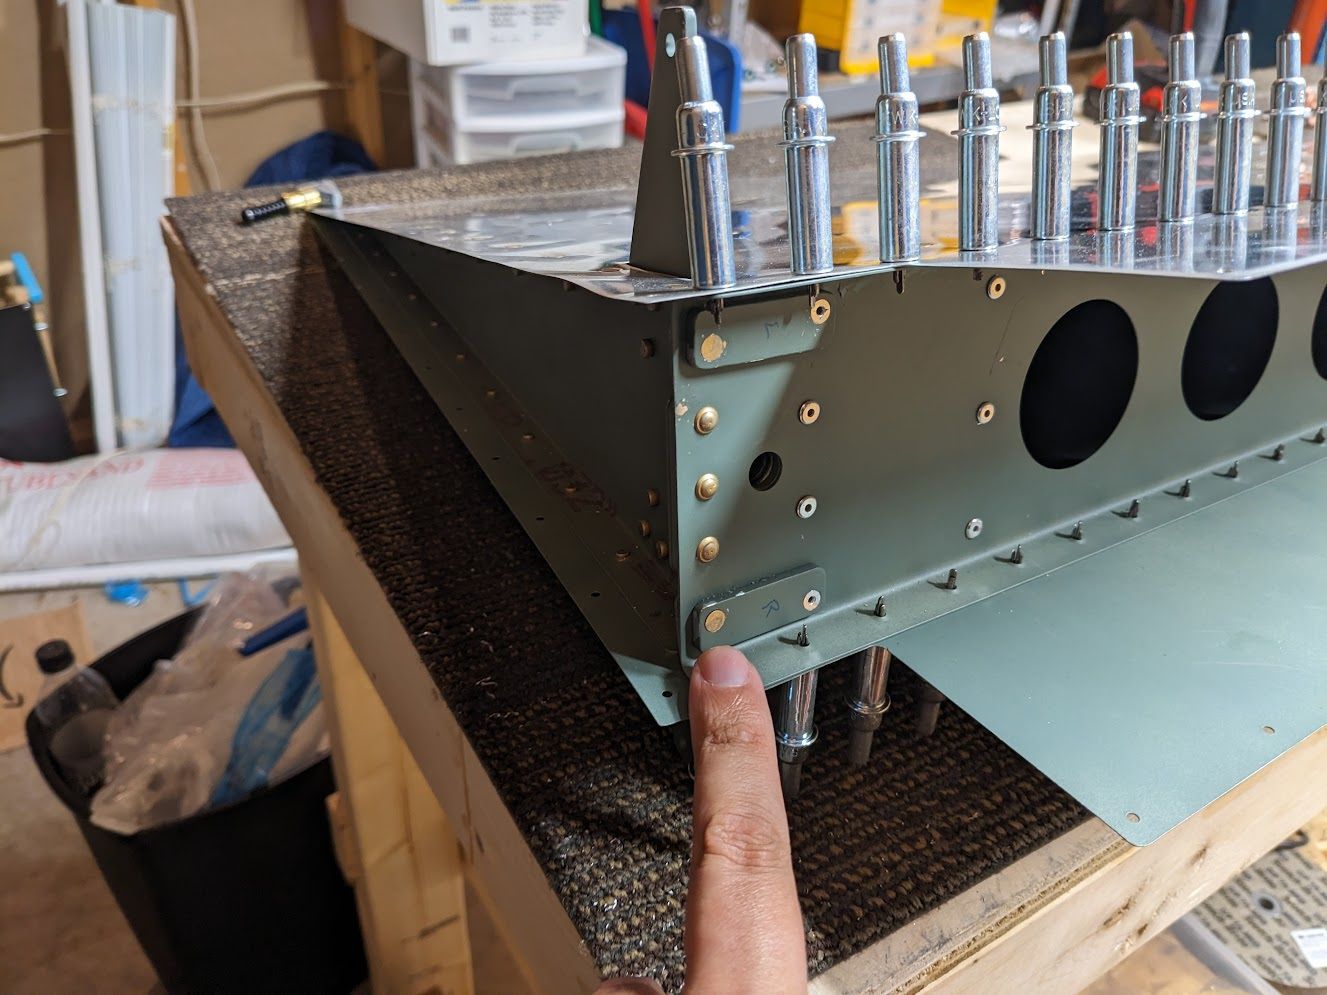
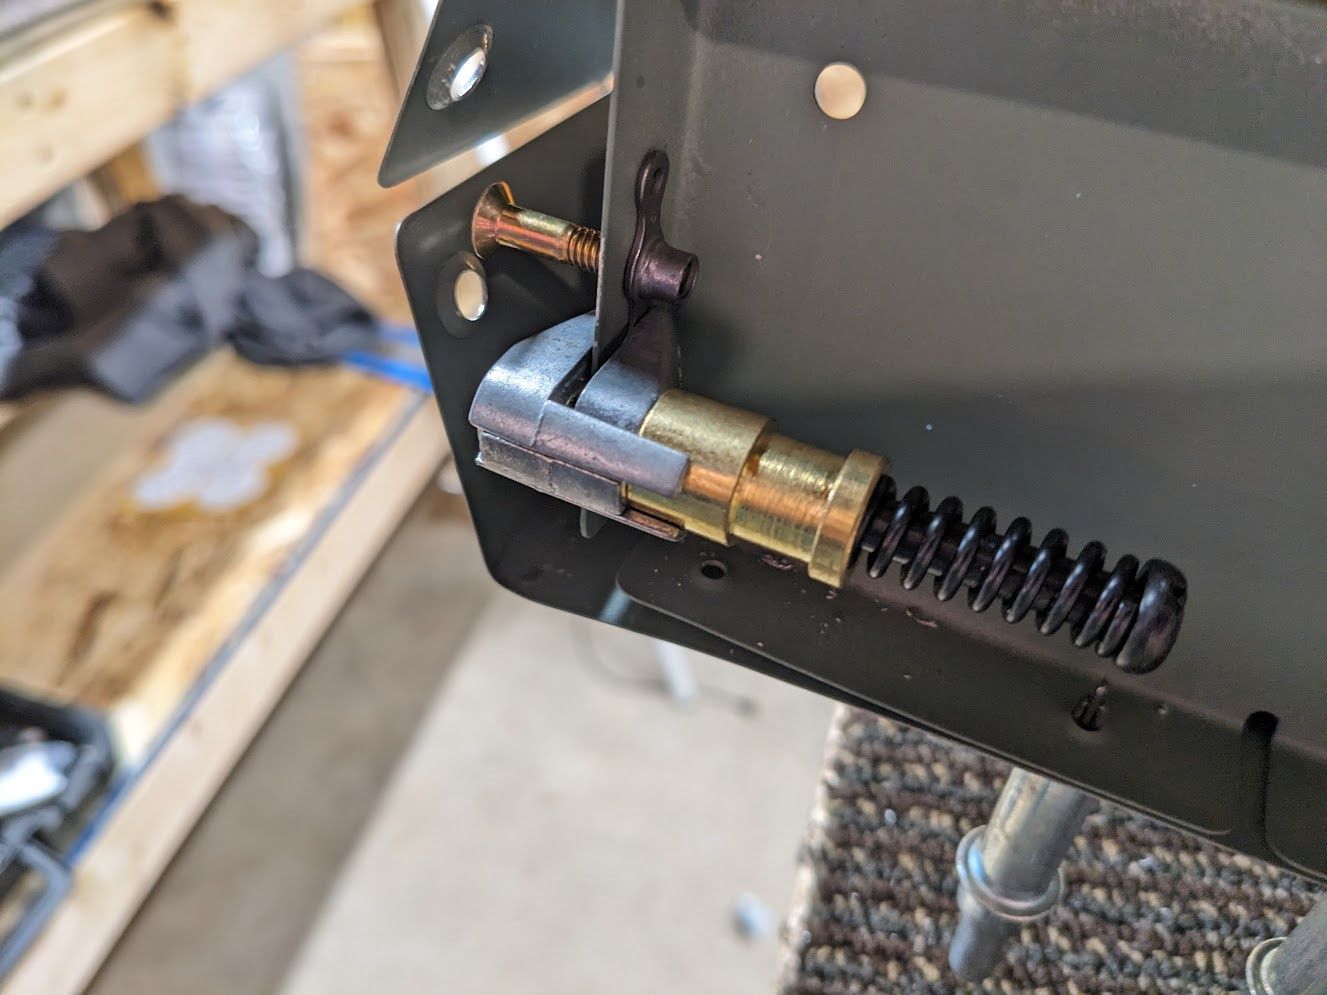
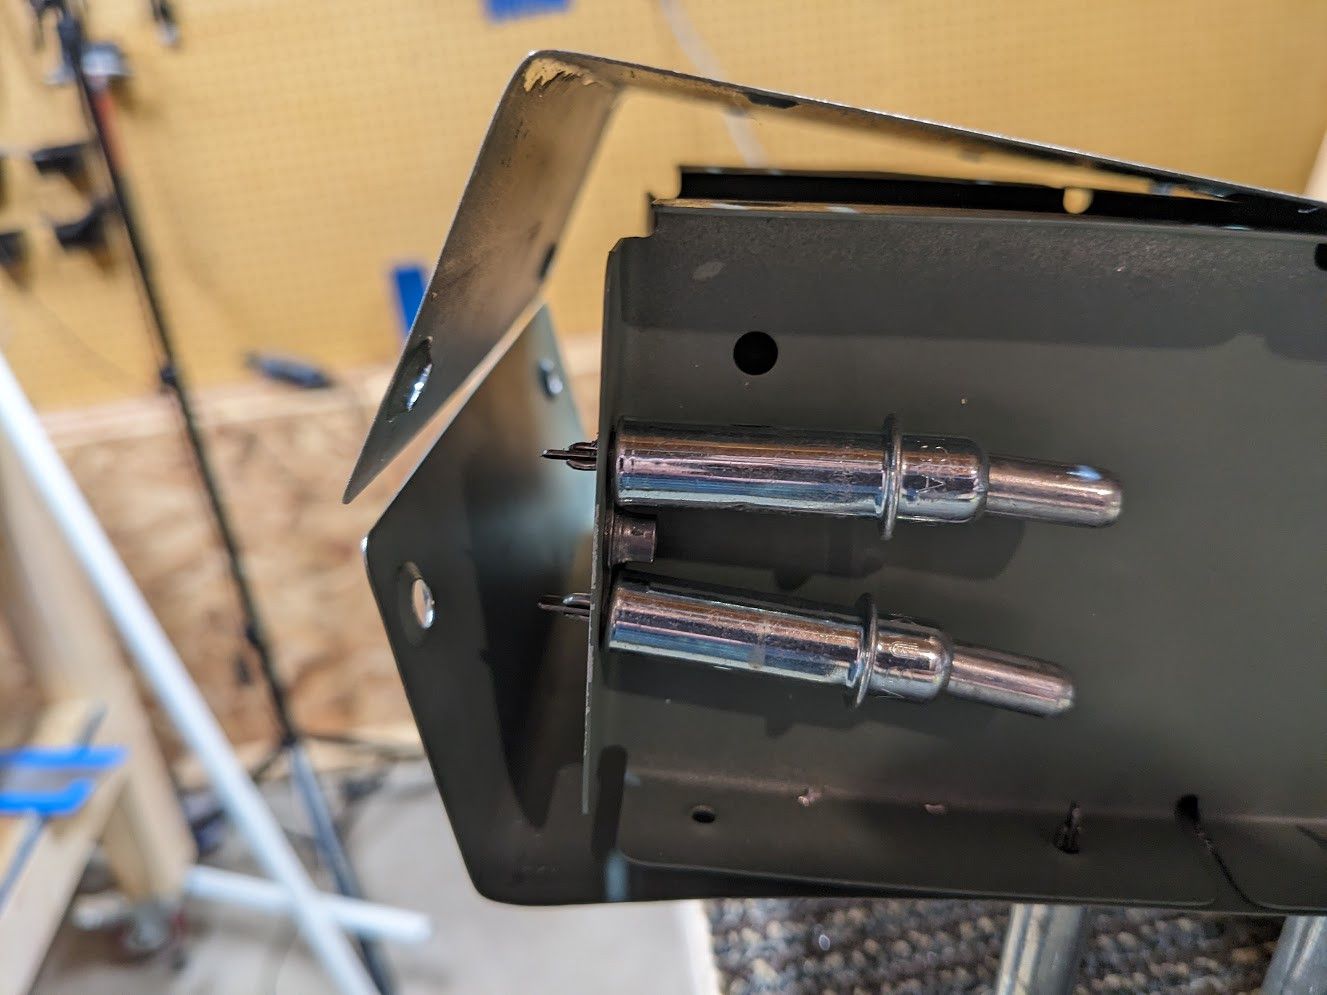
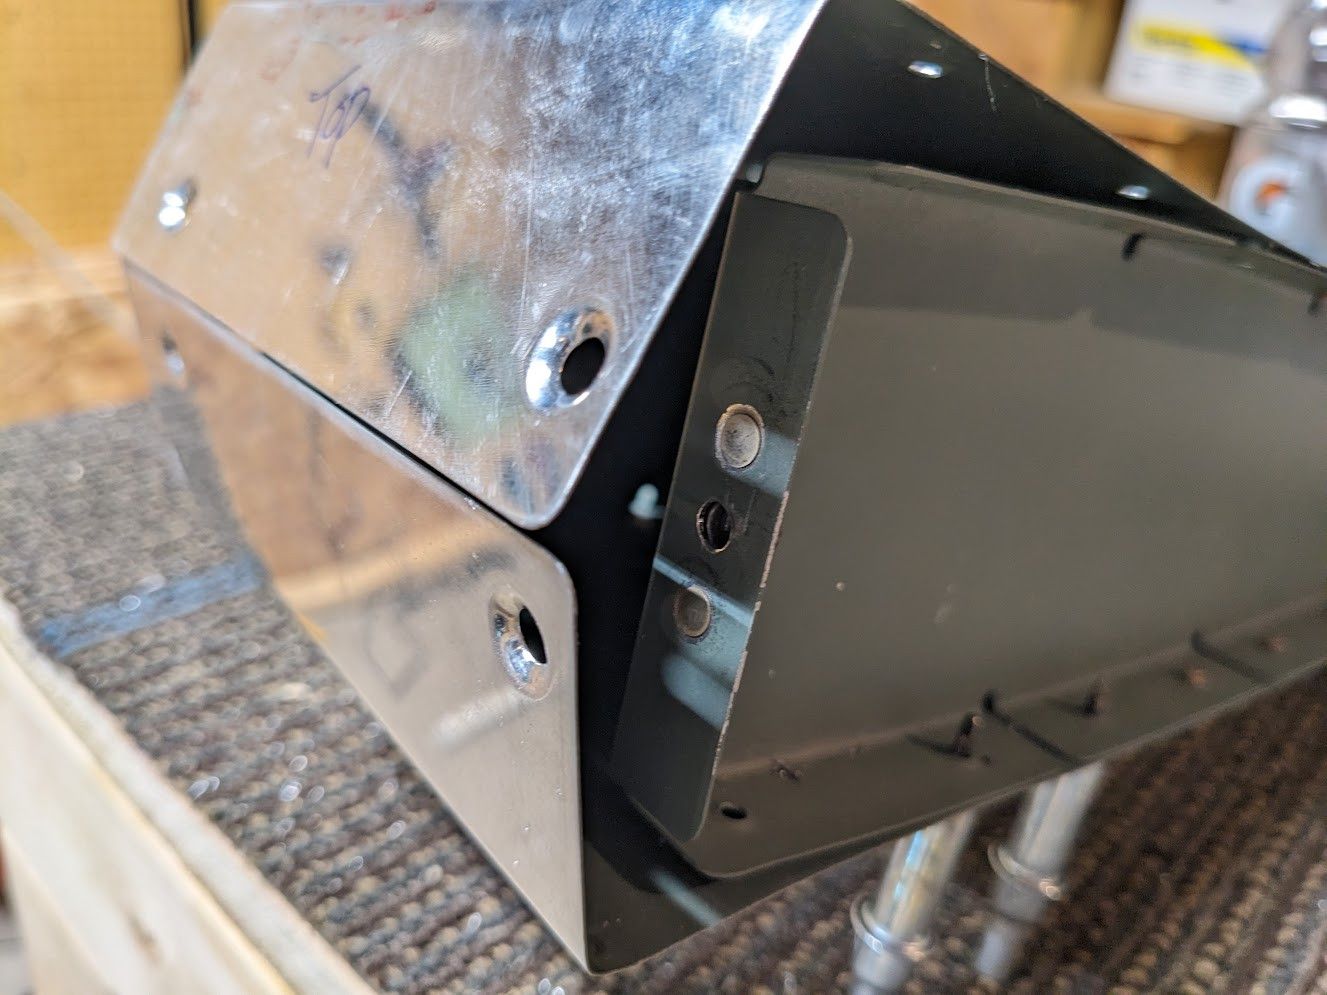
Then I decided to mess up the rudder horn rivets a little. I got a little excited and didn't read what rivets were called for in the manual. I had been working a bit too long so fatigue is real, make sure to take breaks.
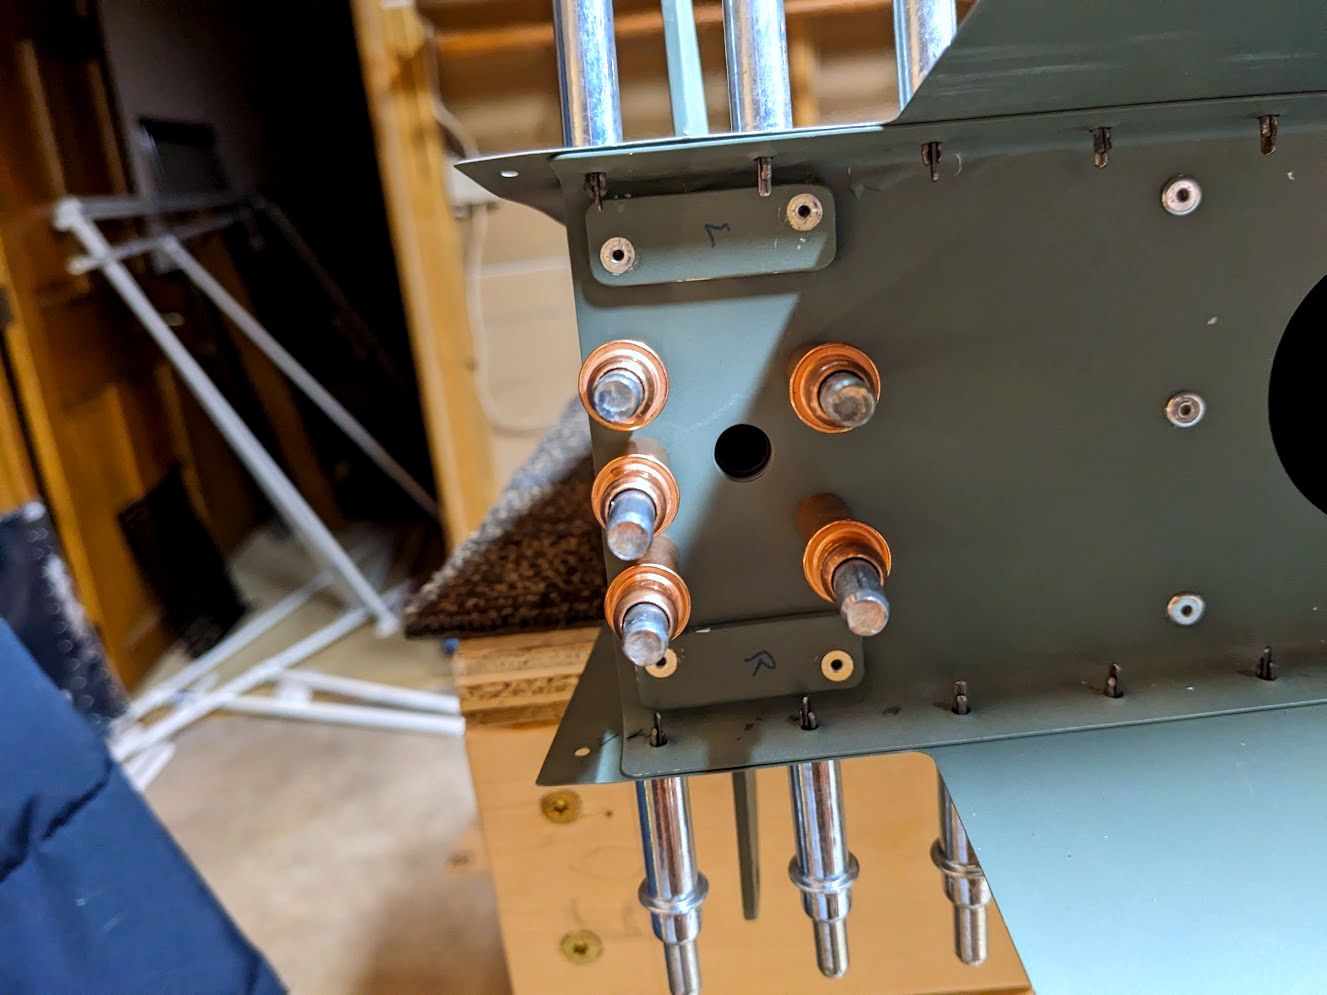
That is wrong. The bottom rivets should be solid core. I notice this the next day when I come down to work though so no hard in the long run. I just removed the rivets and put in the right ones. First though my mother stopped by to see my progress and wanted me to post with me kid.
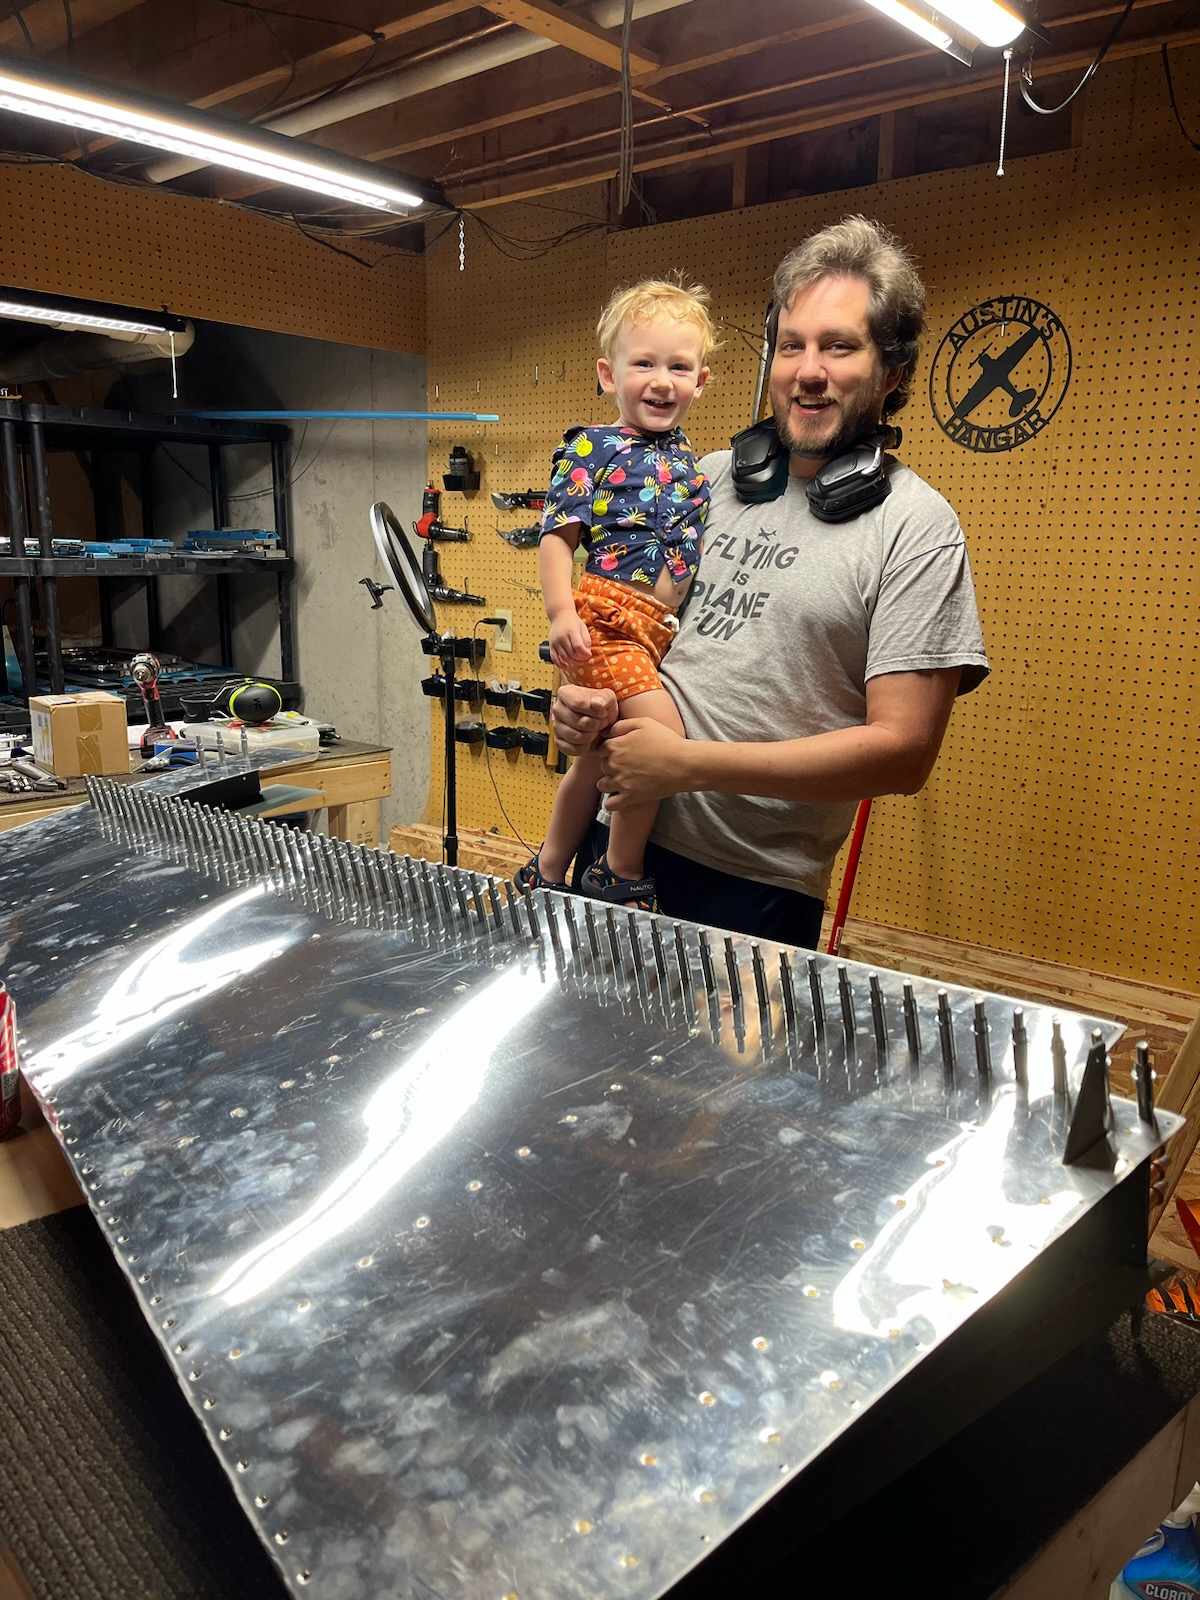
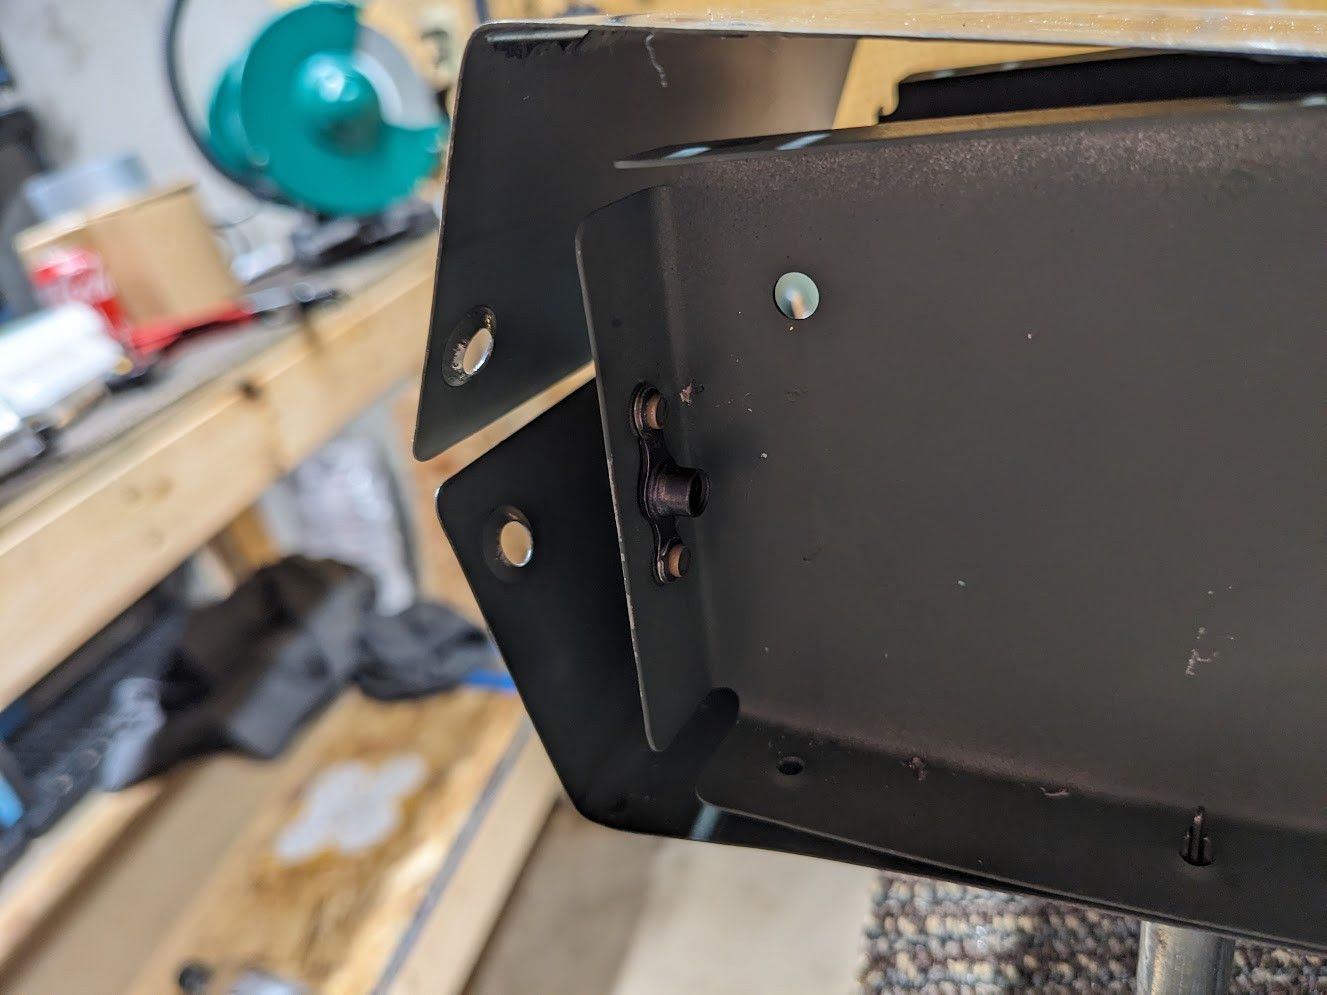
He is a cutie. Anyway back to the task at hand. I know I messed it up and need to get it fixed. Remove the bad rivets and get the correct ones in there. I'm keen to keep this part the right strength as the force from my inputs go into the rudder right here.
The rest of what I had to do what rivet in various rivets with the gun, which I don't care to use and one tried its best to fold over but I drilled it out and set another.
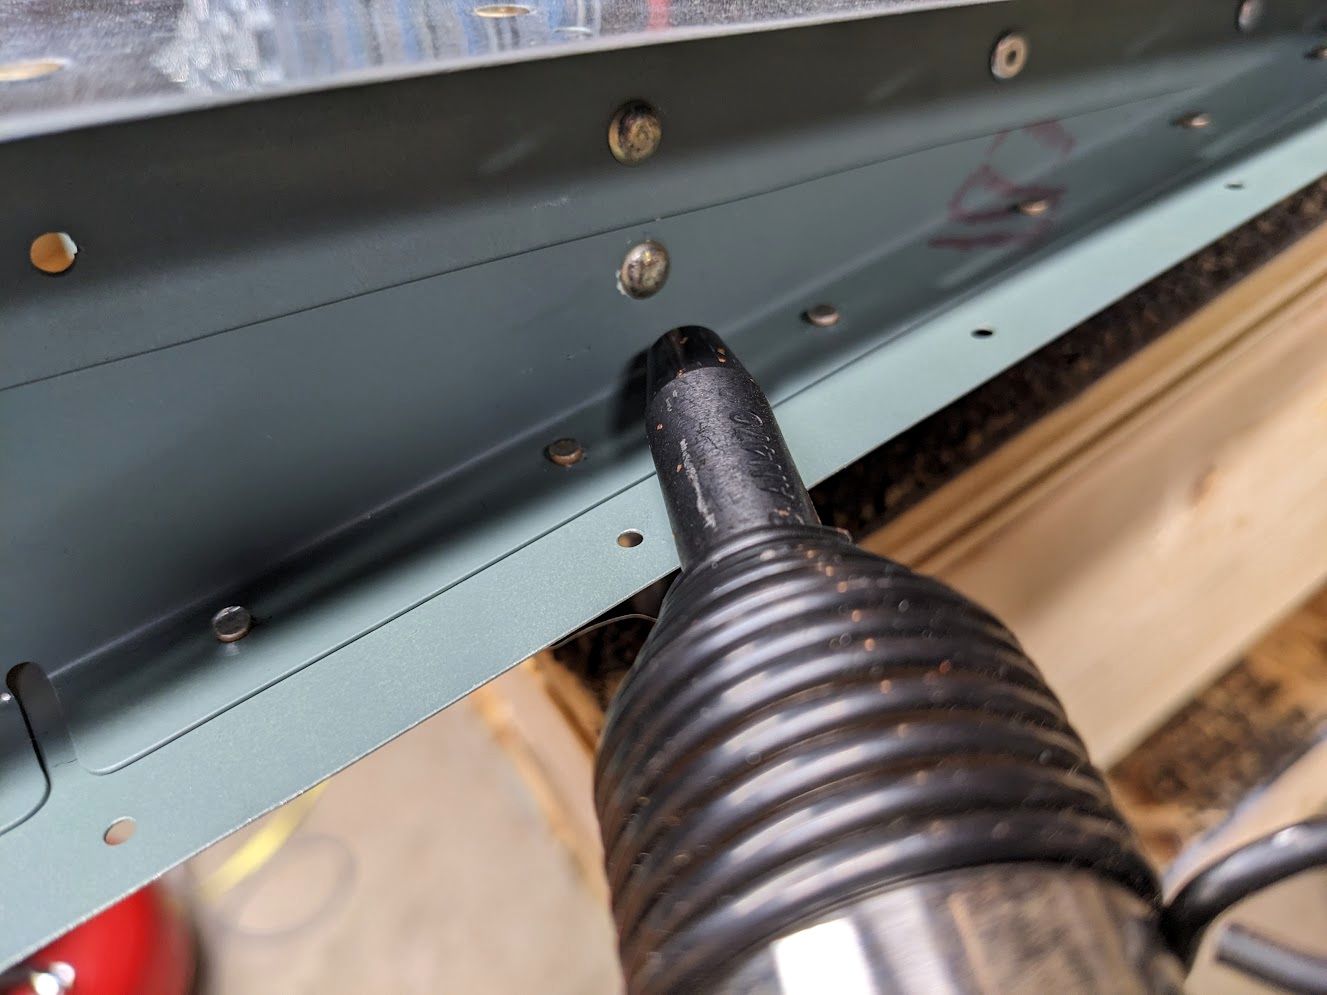
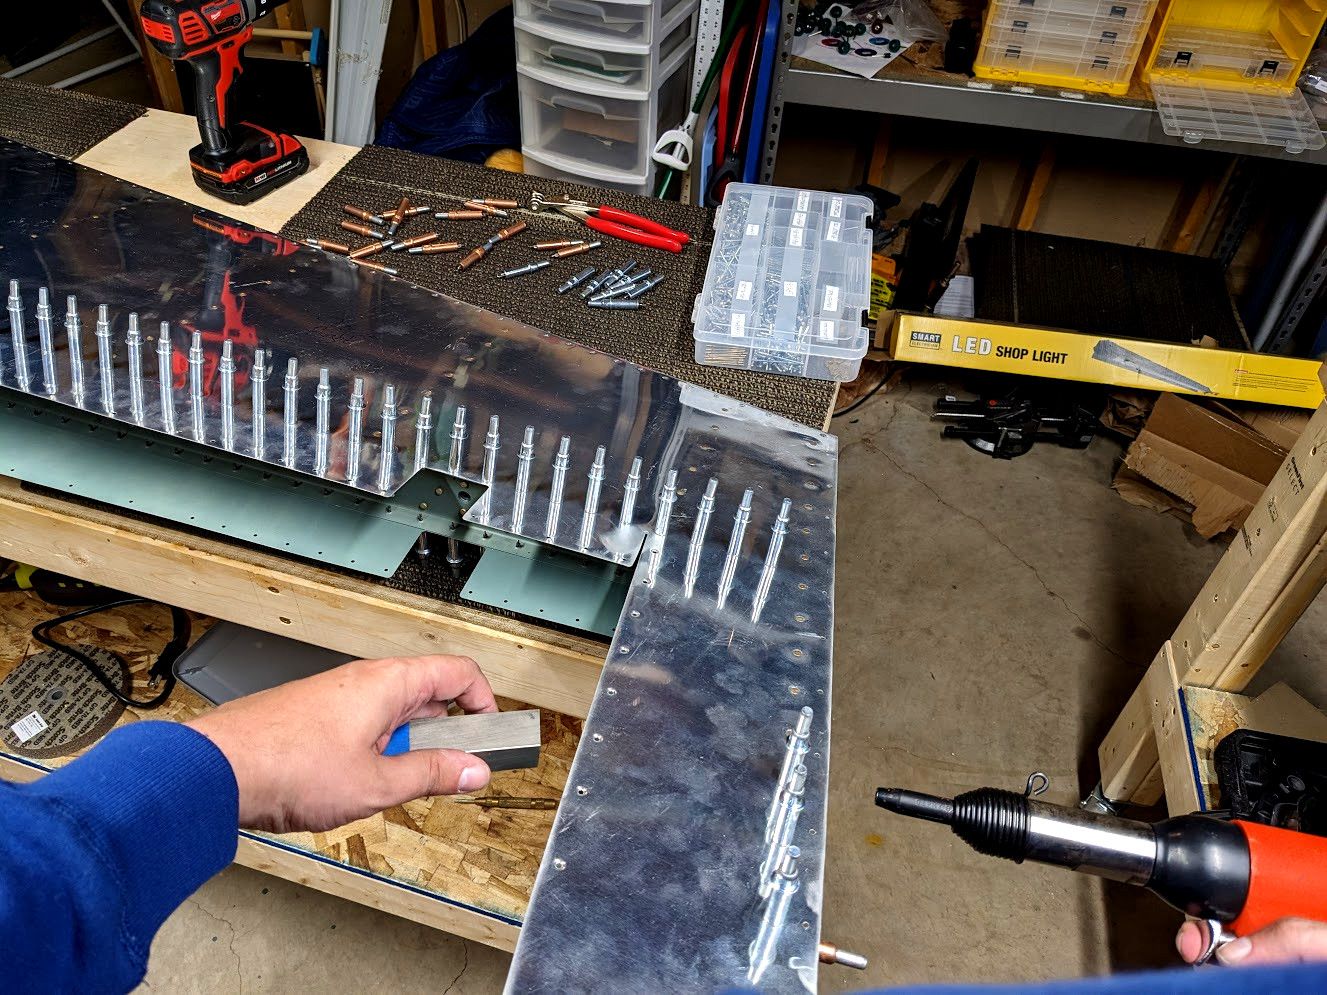
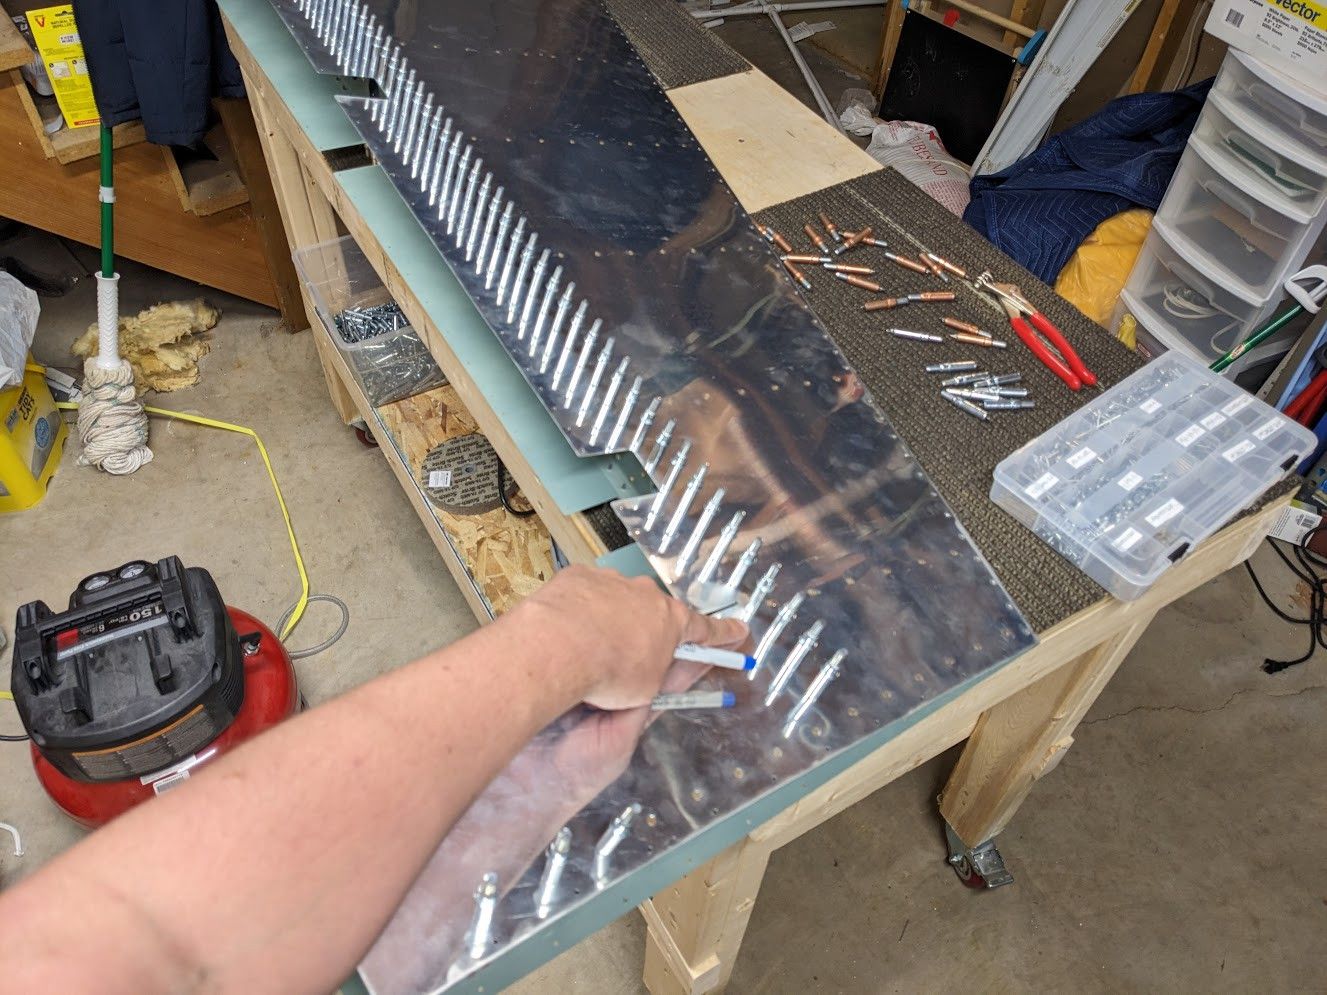
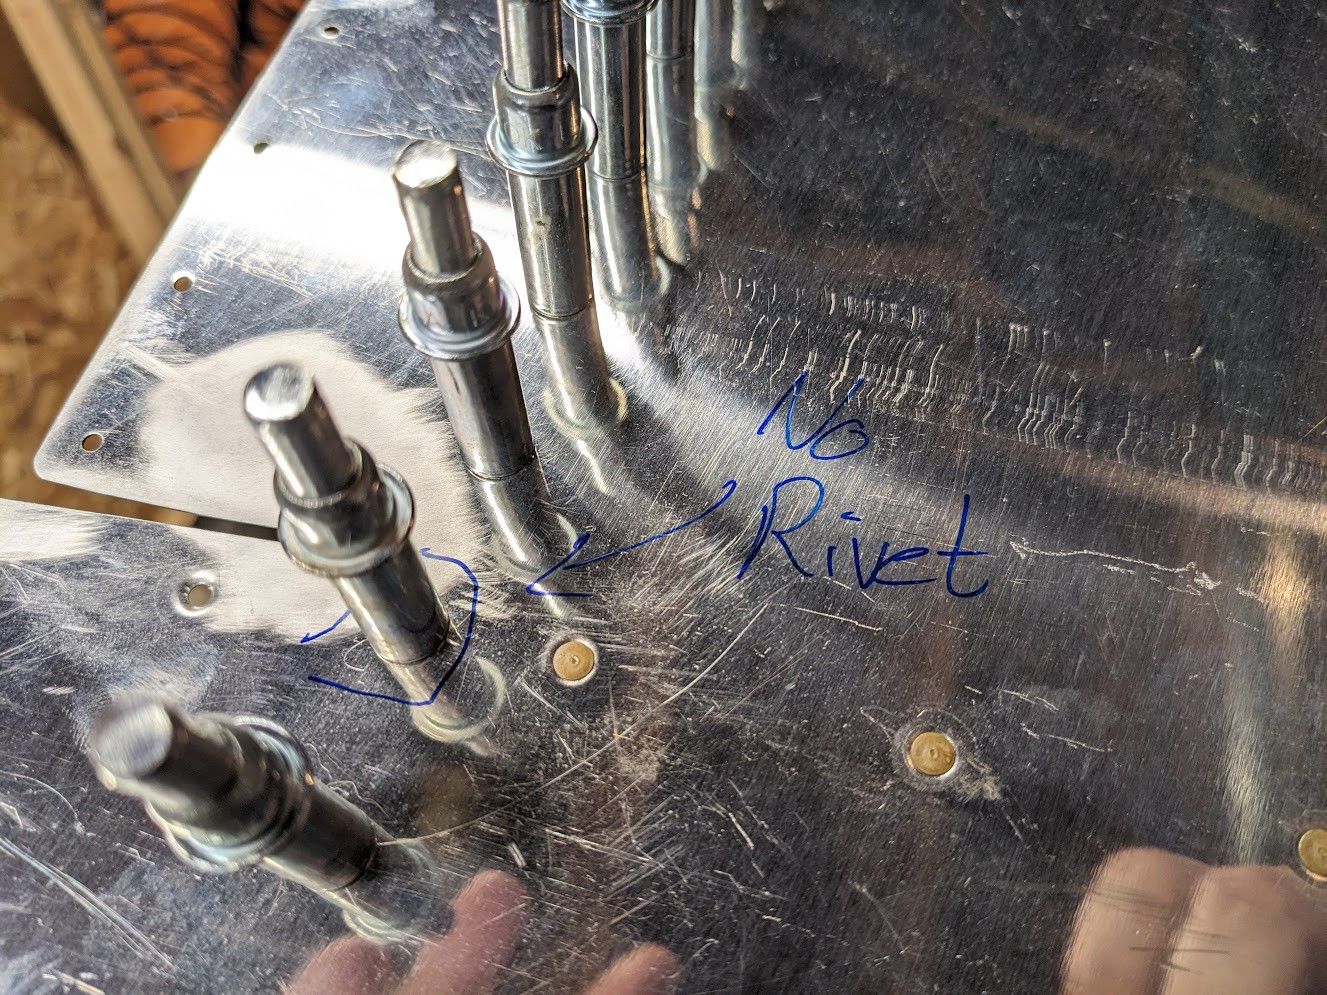
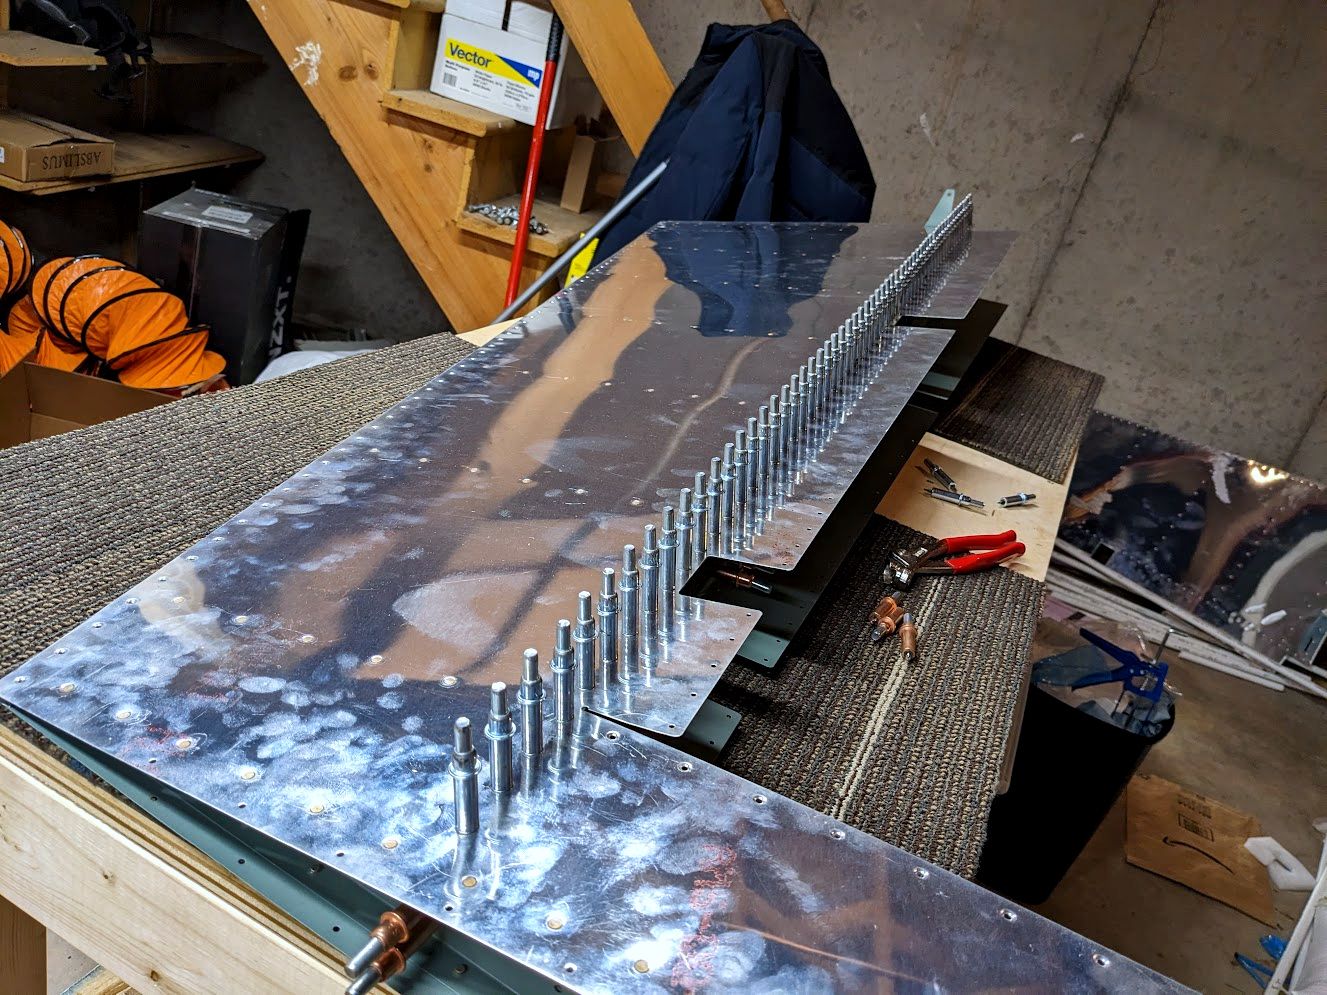
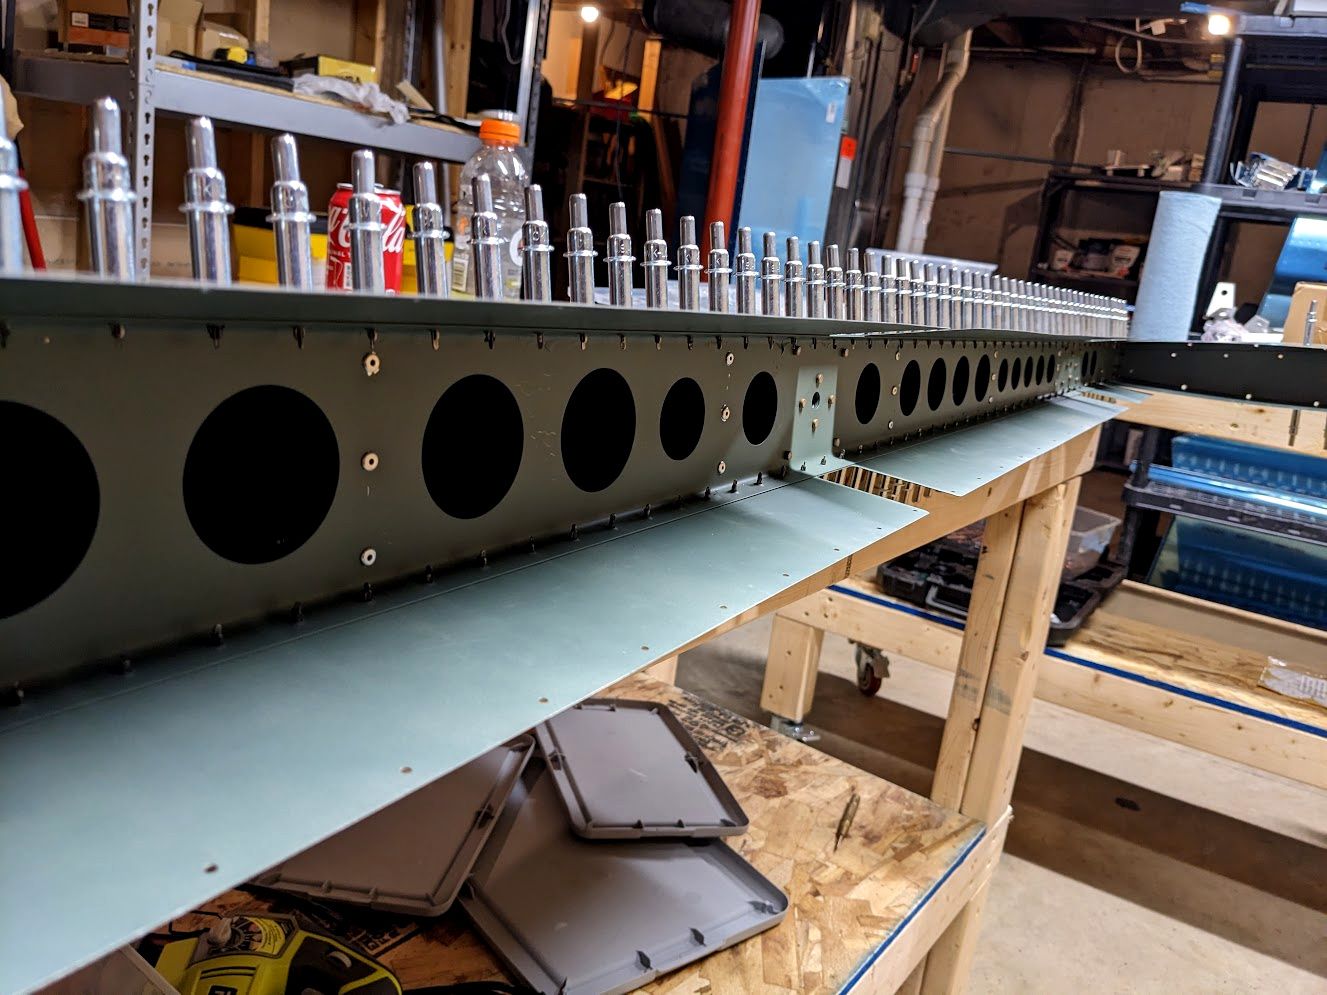
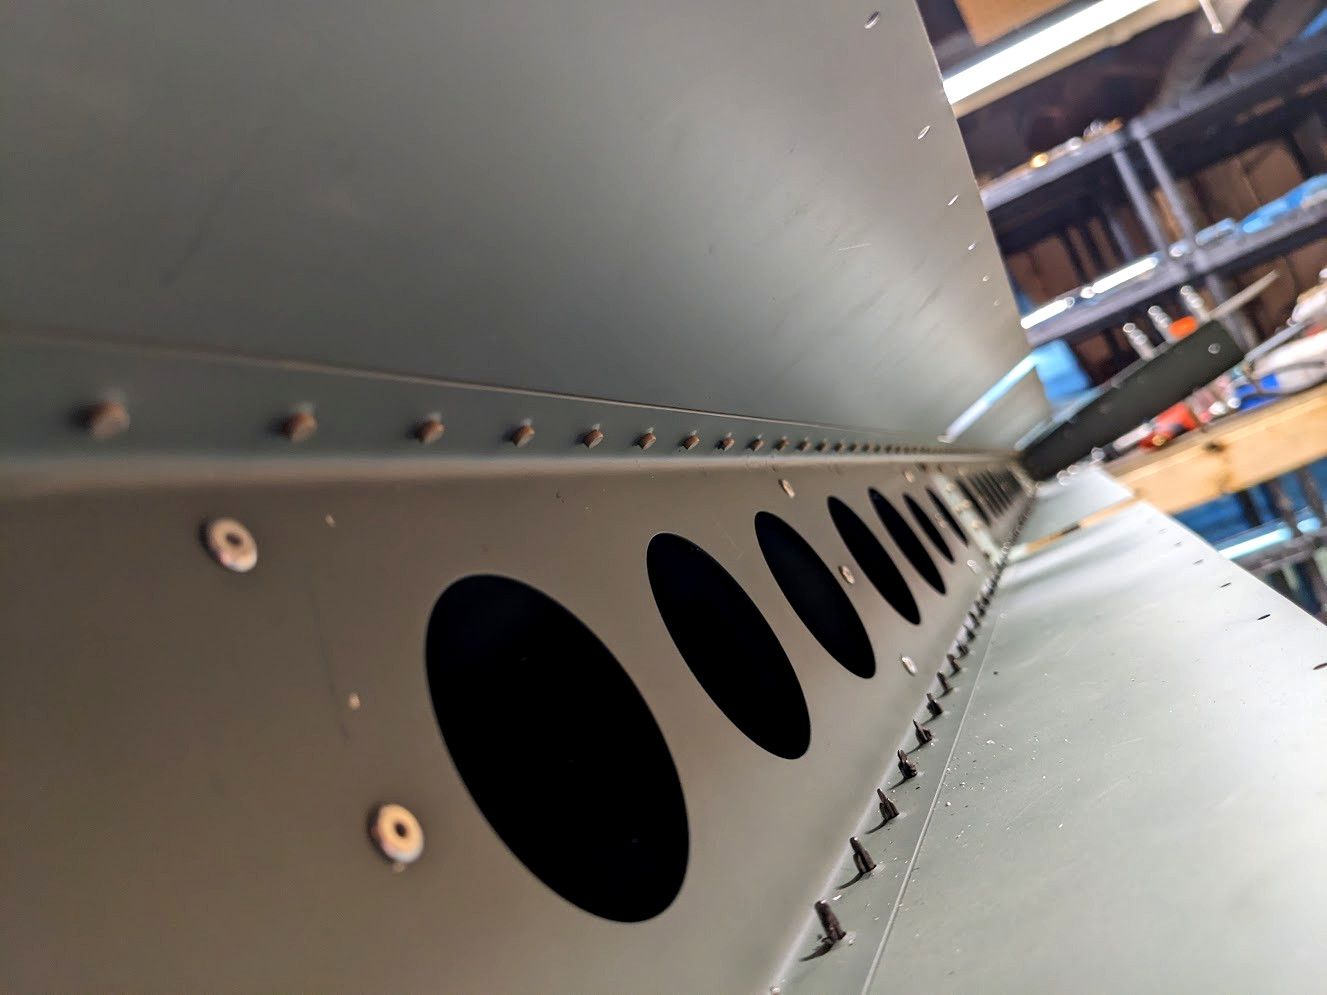
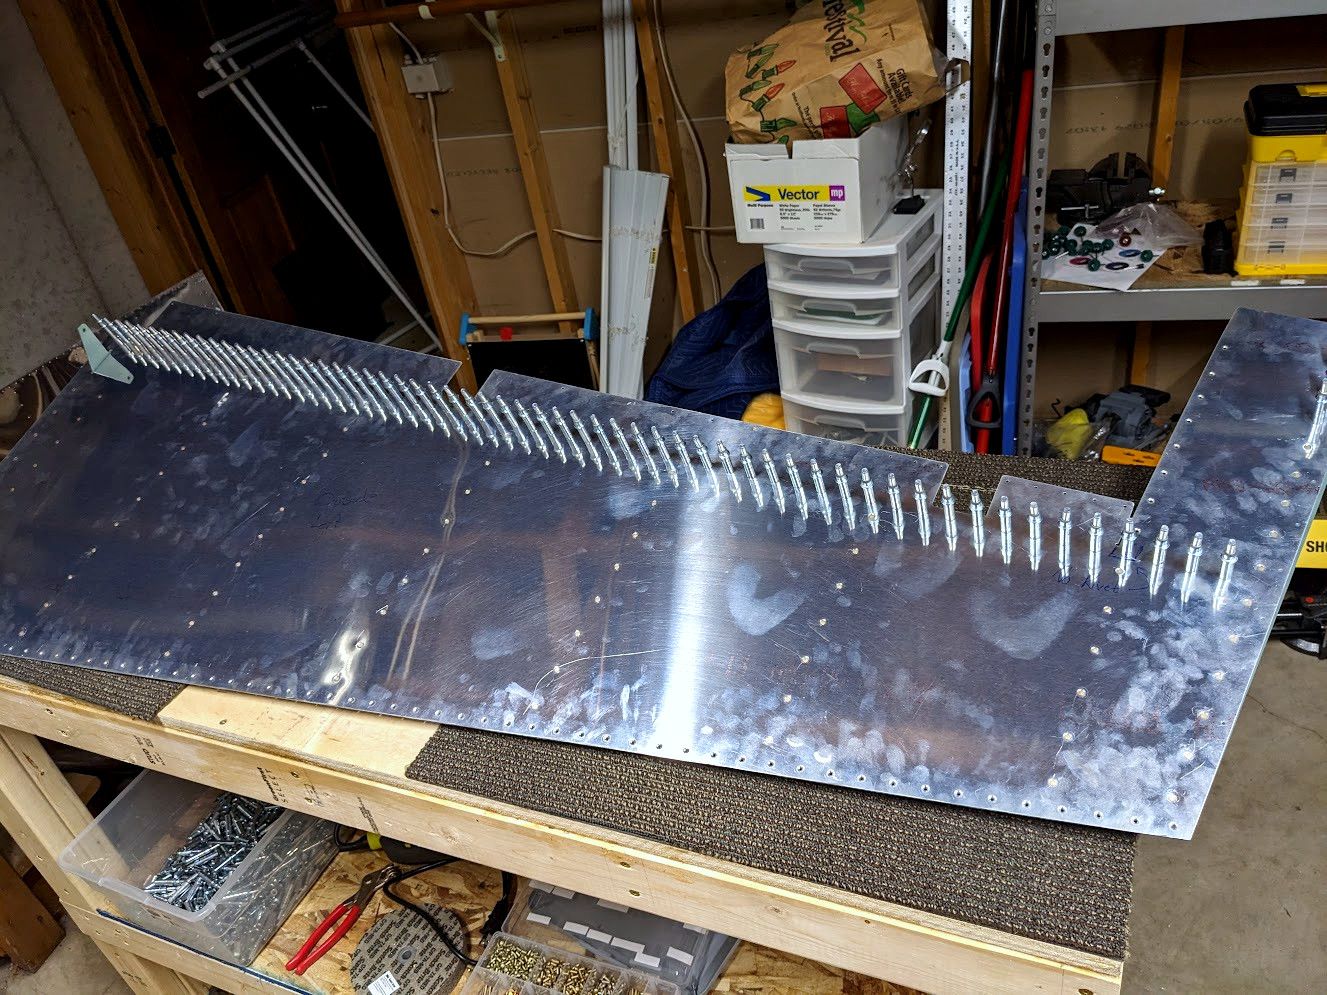
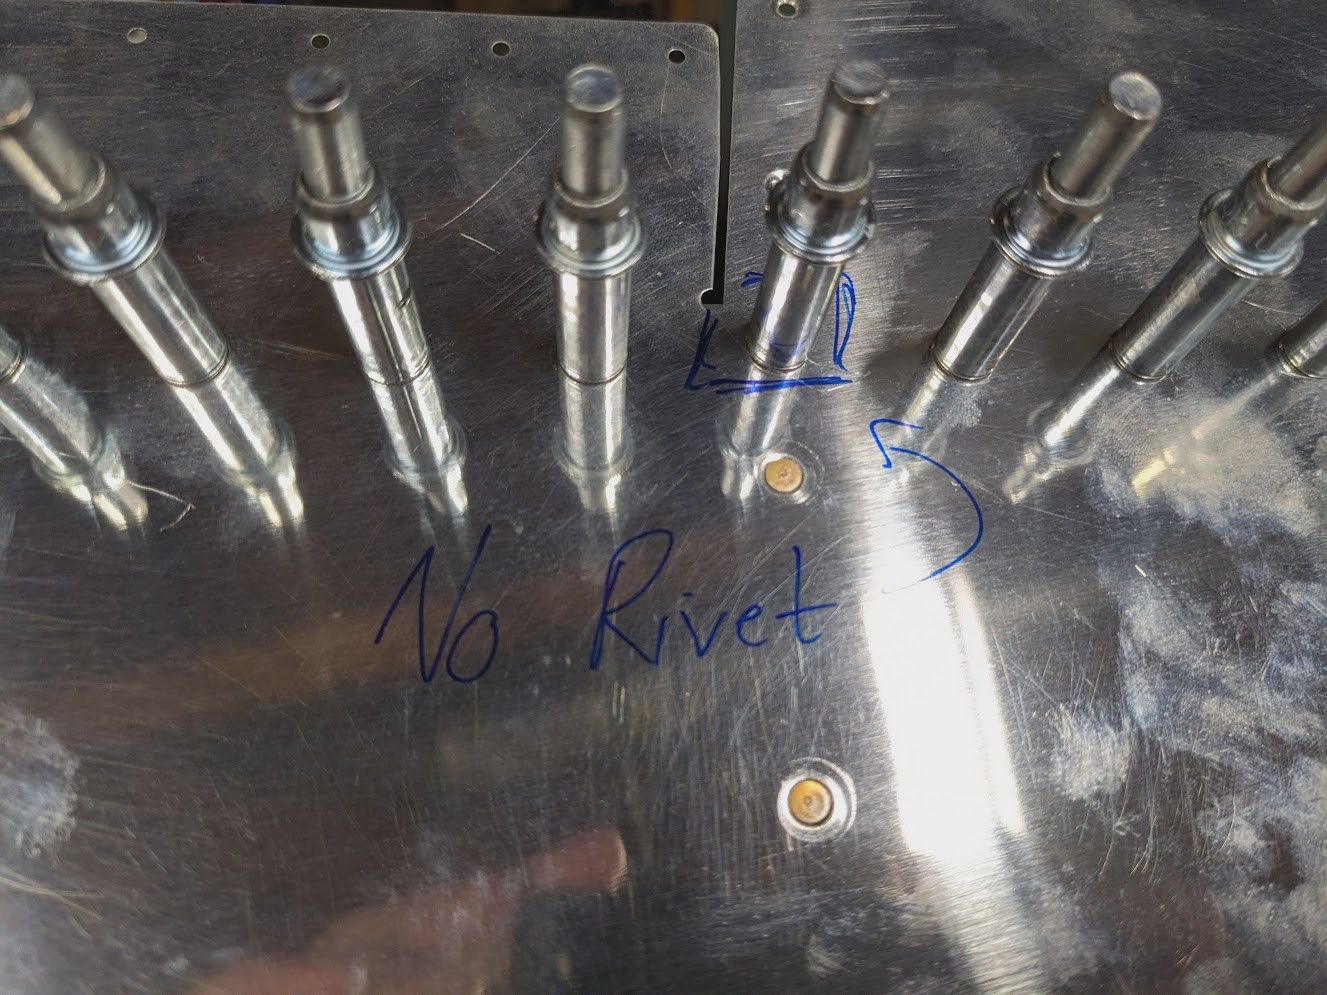
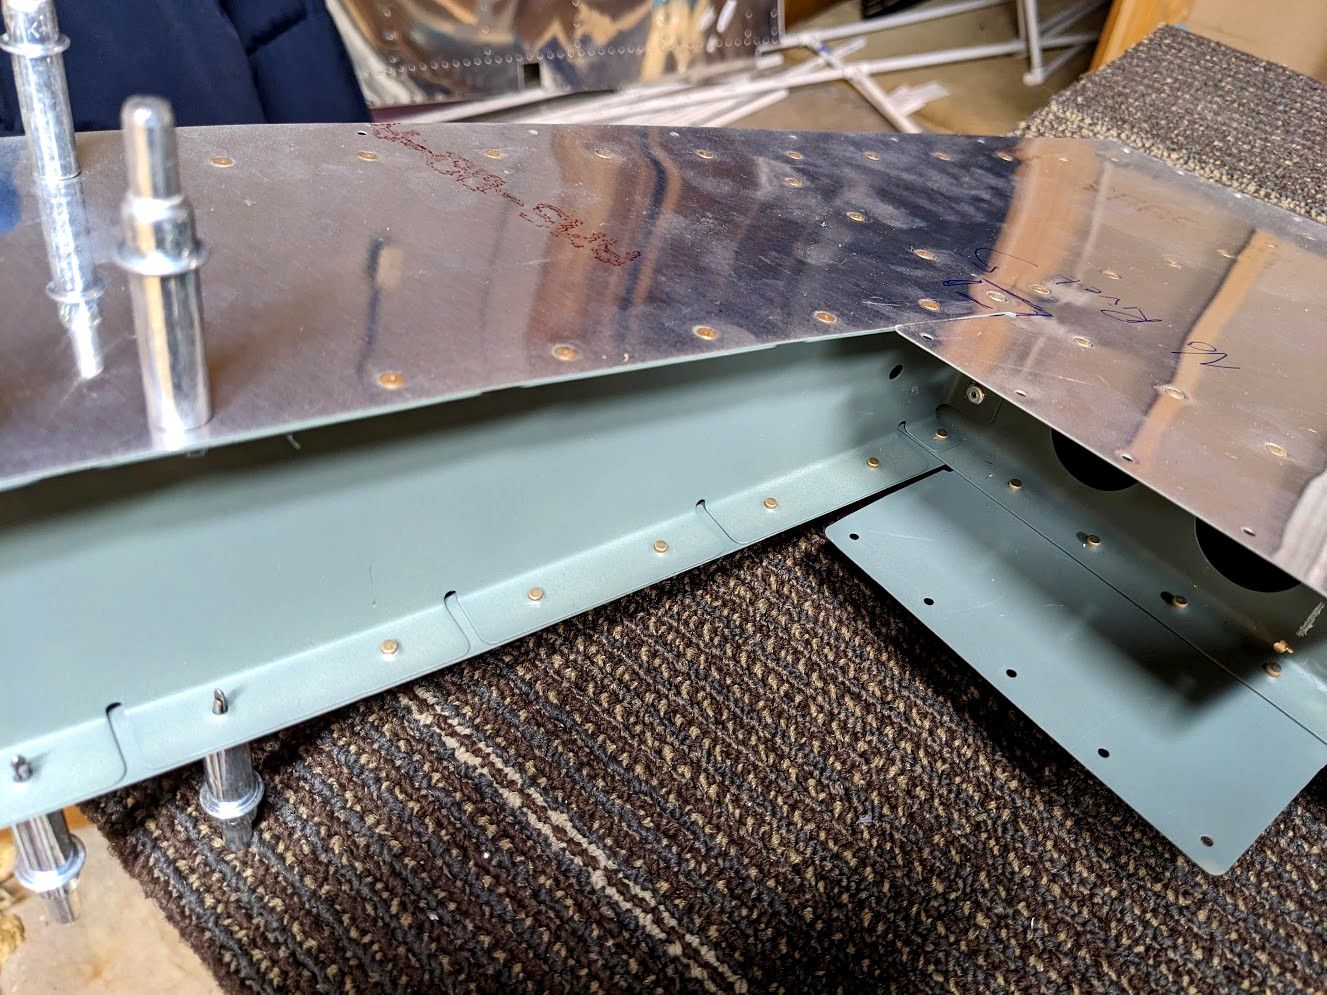
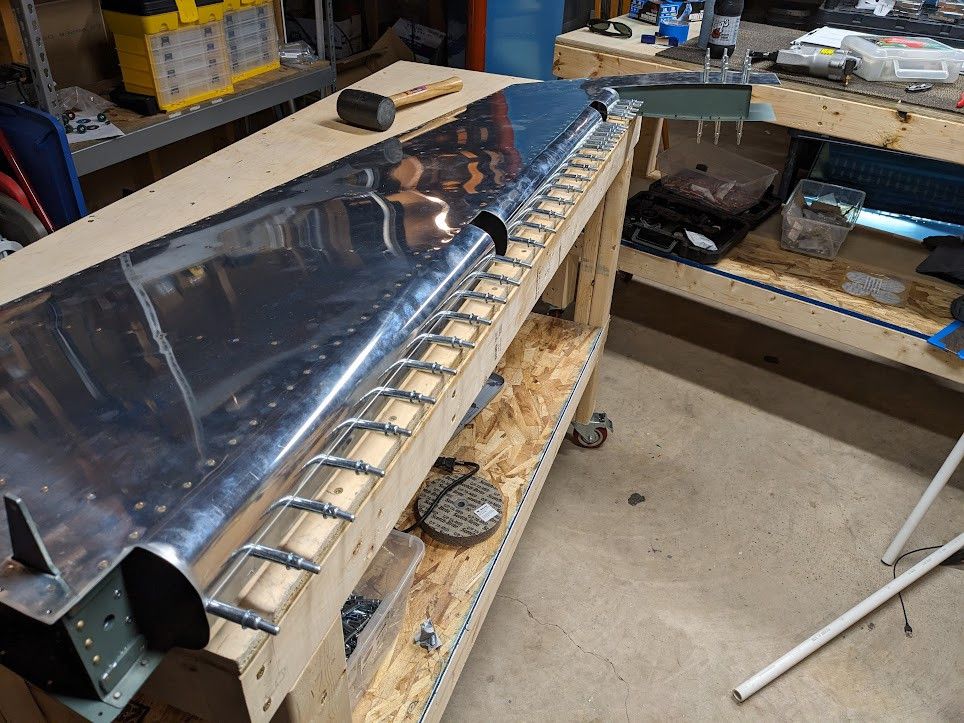
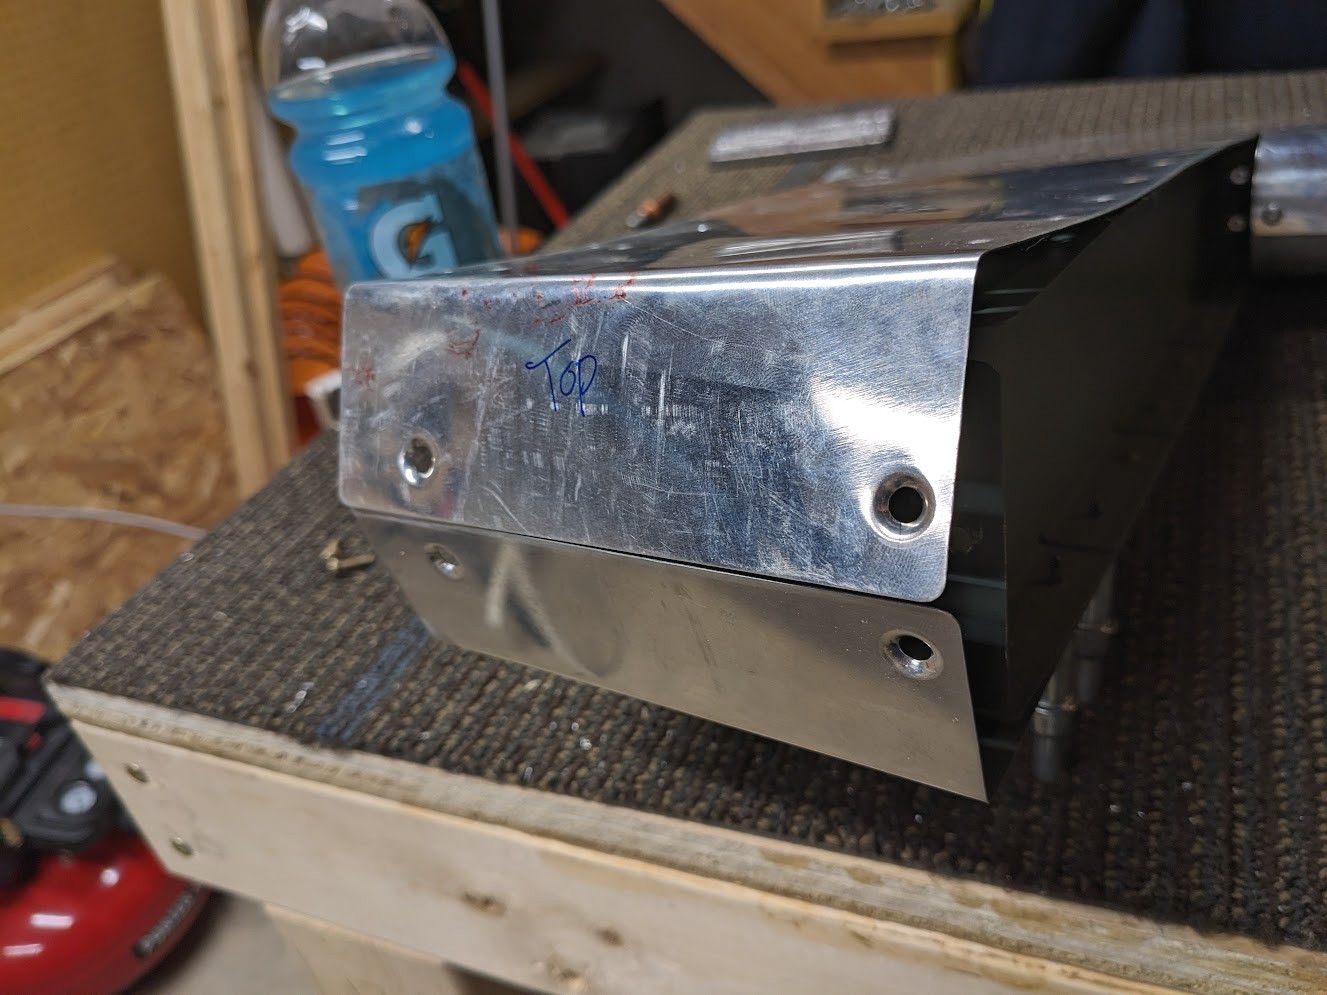
Don't be afraid to write on the aluminum with a market. It comes right off with acetone. This will definitely keep you from screwing up. But exciting time we are going to rivet the skin to the main spar! The 4" yoke actually works perfectly for this so I used my pnuematic squeezer down the entire spar for just perfect rivets. It is almost like cheating.
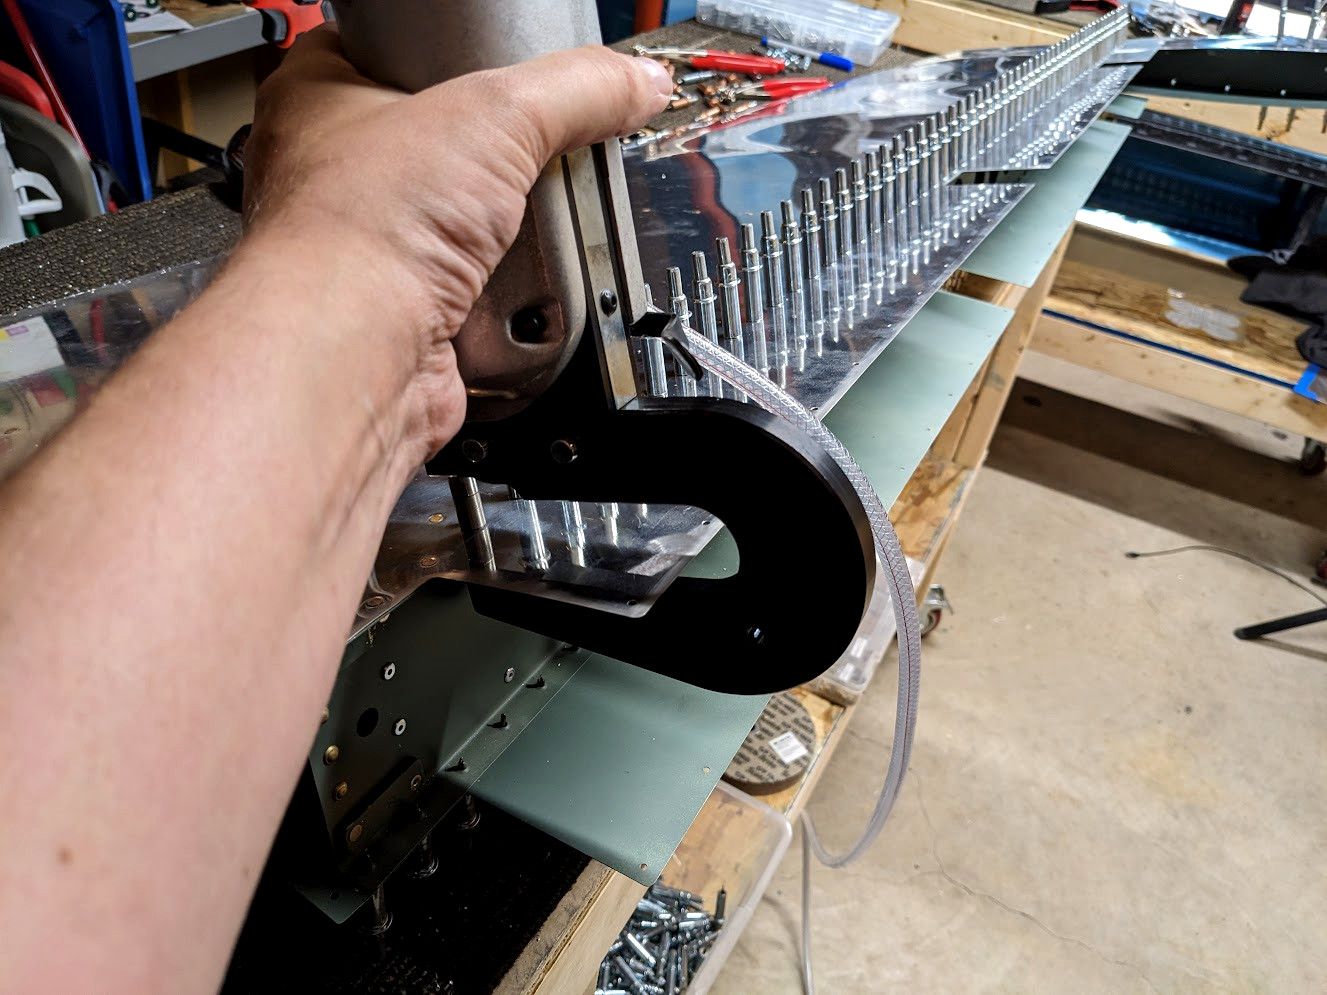
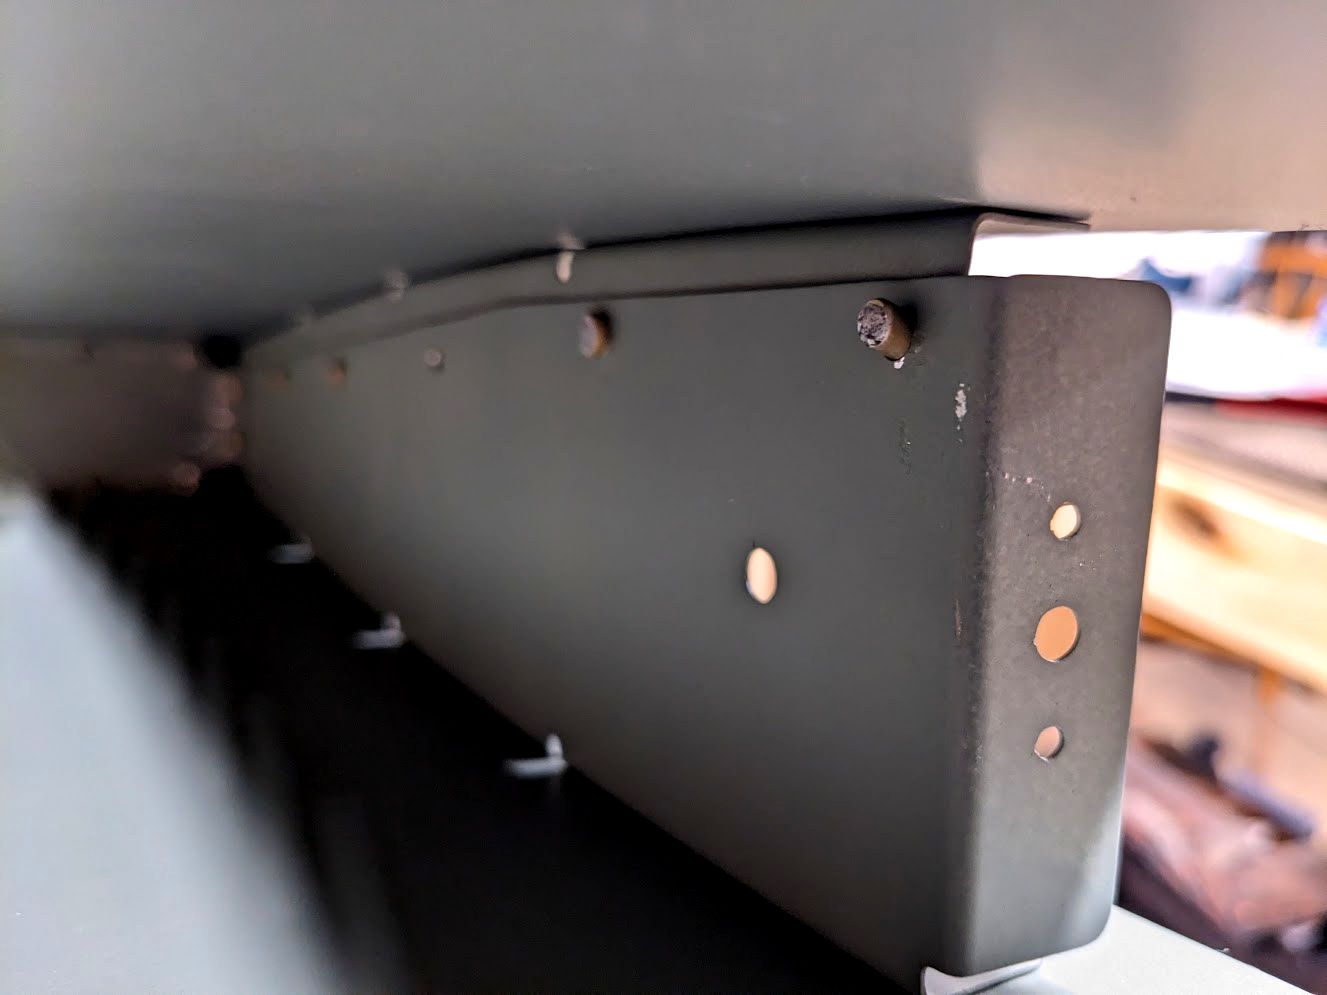
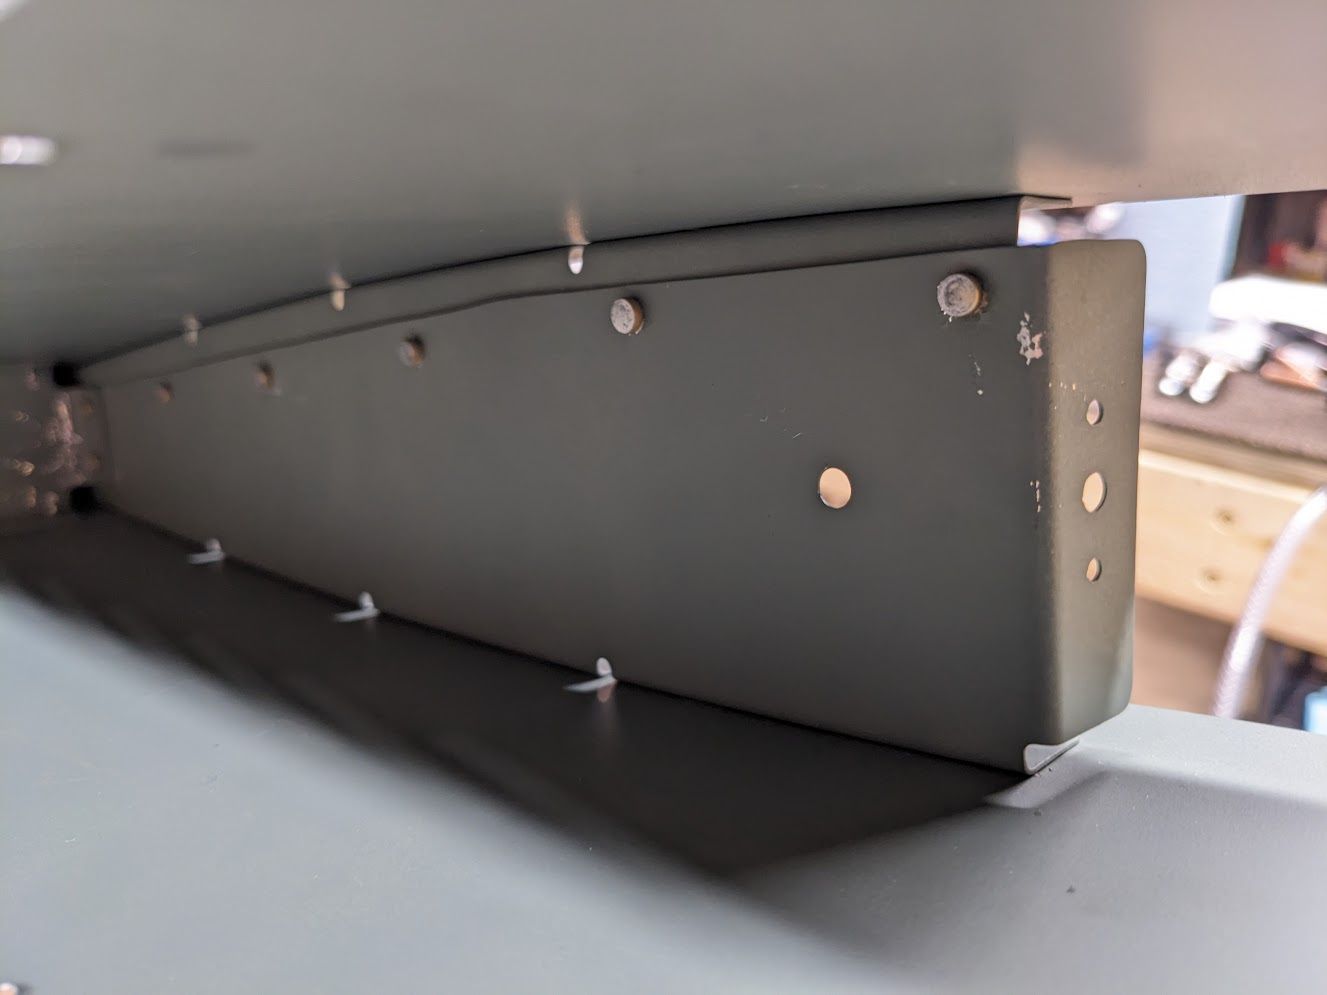
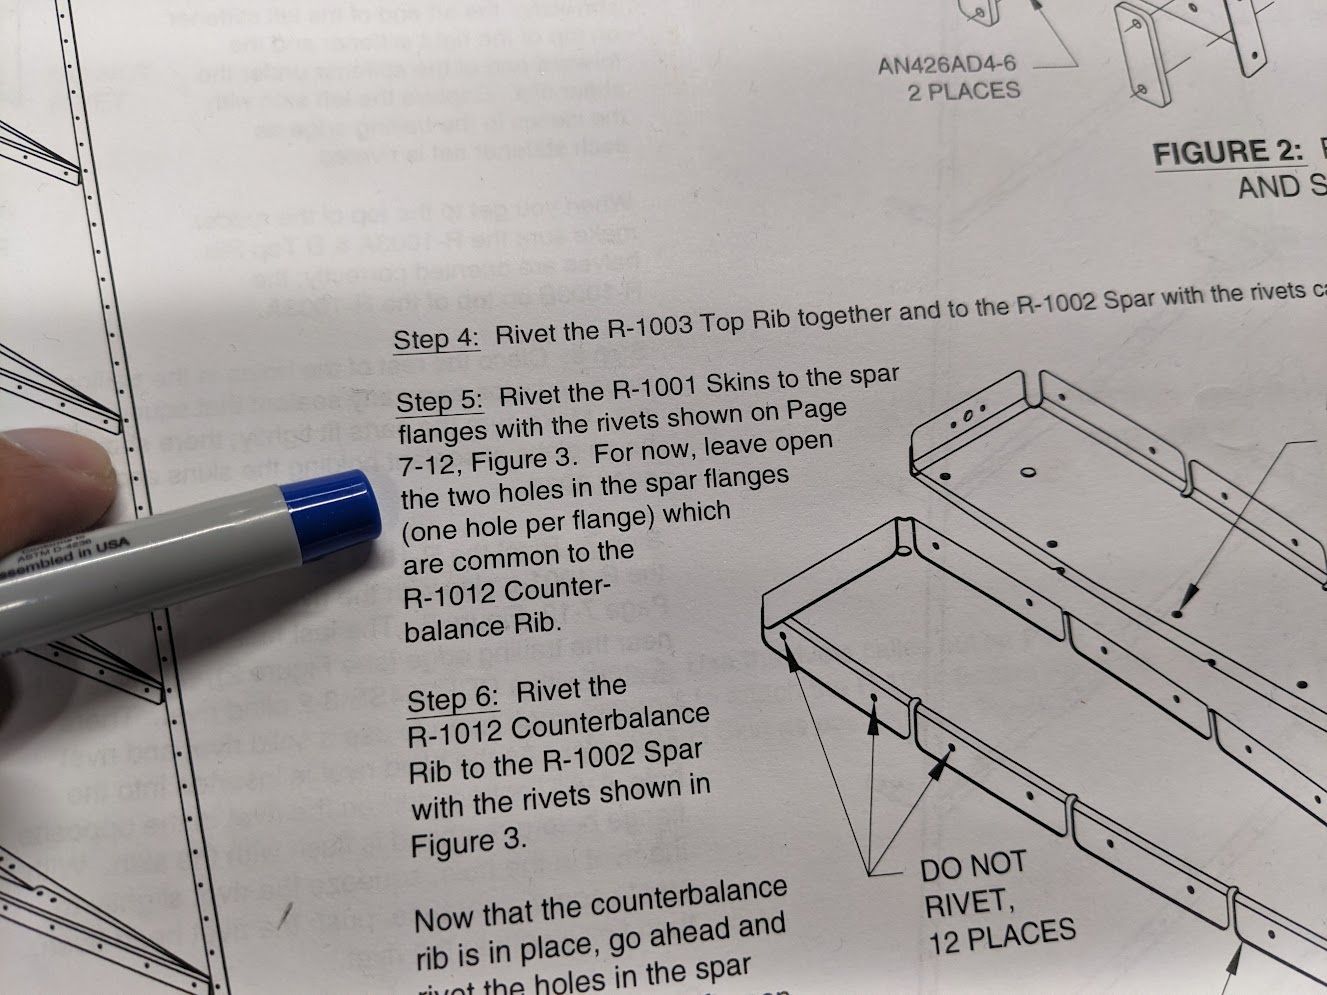
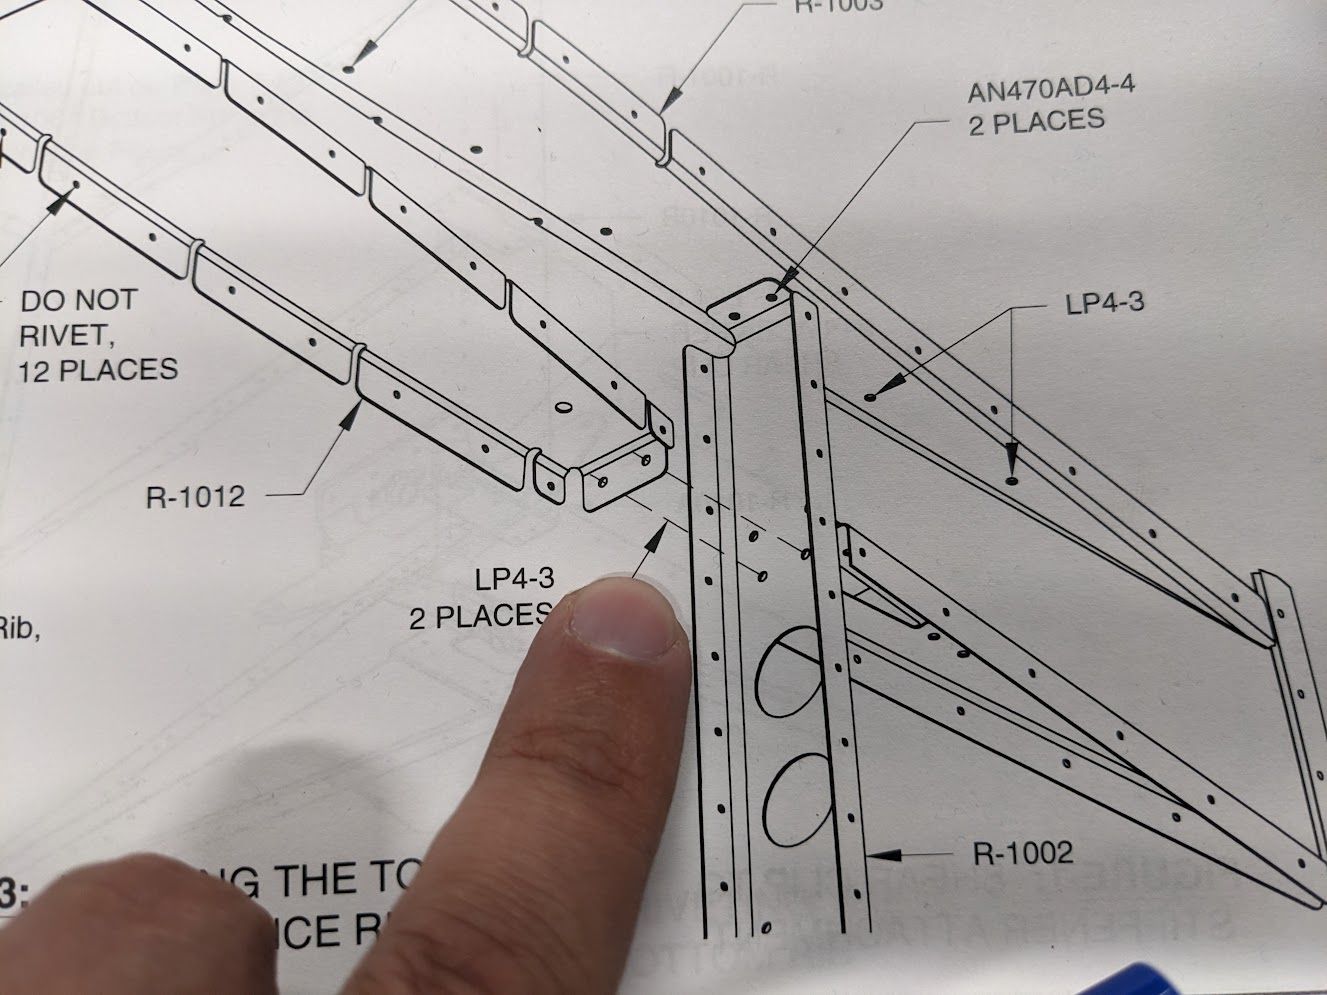
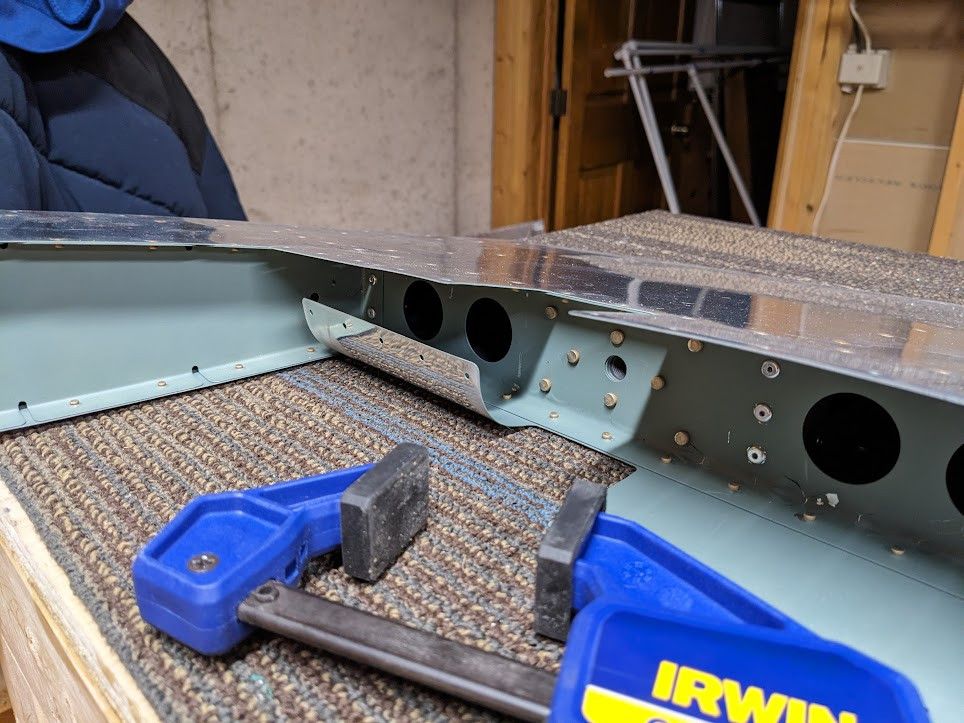
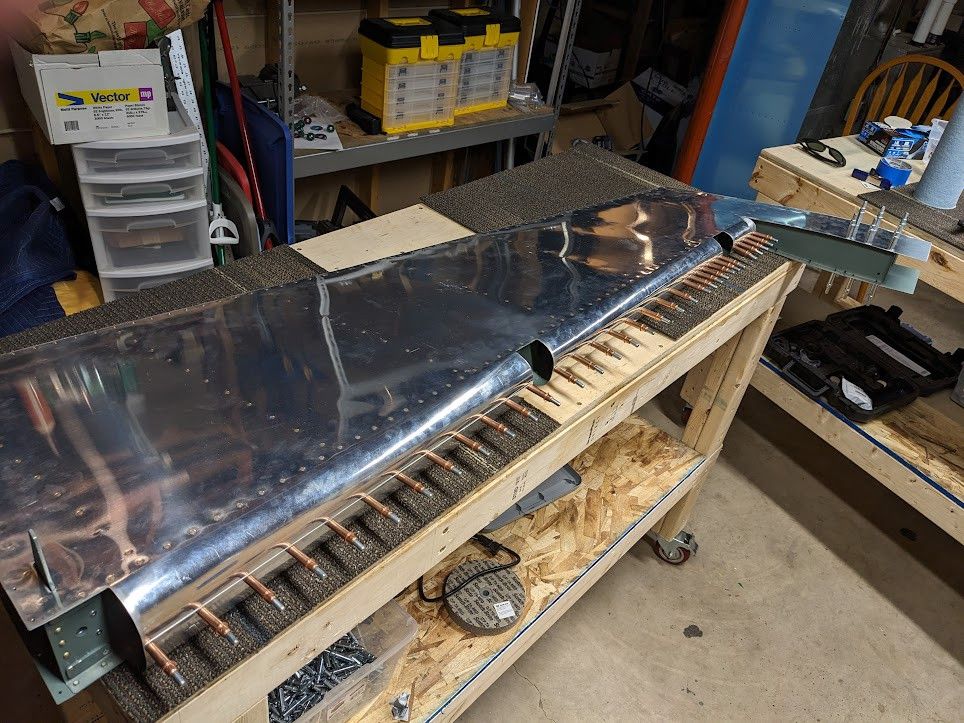
Installing the counterbalance rib was nearly the same as the main spar. It attached with some pull rivets while the rest were flush riveted to the skin. The forward three spots were left open for messing around with the counterbalance later.
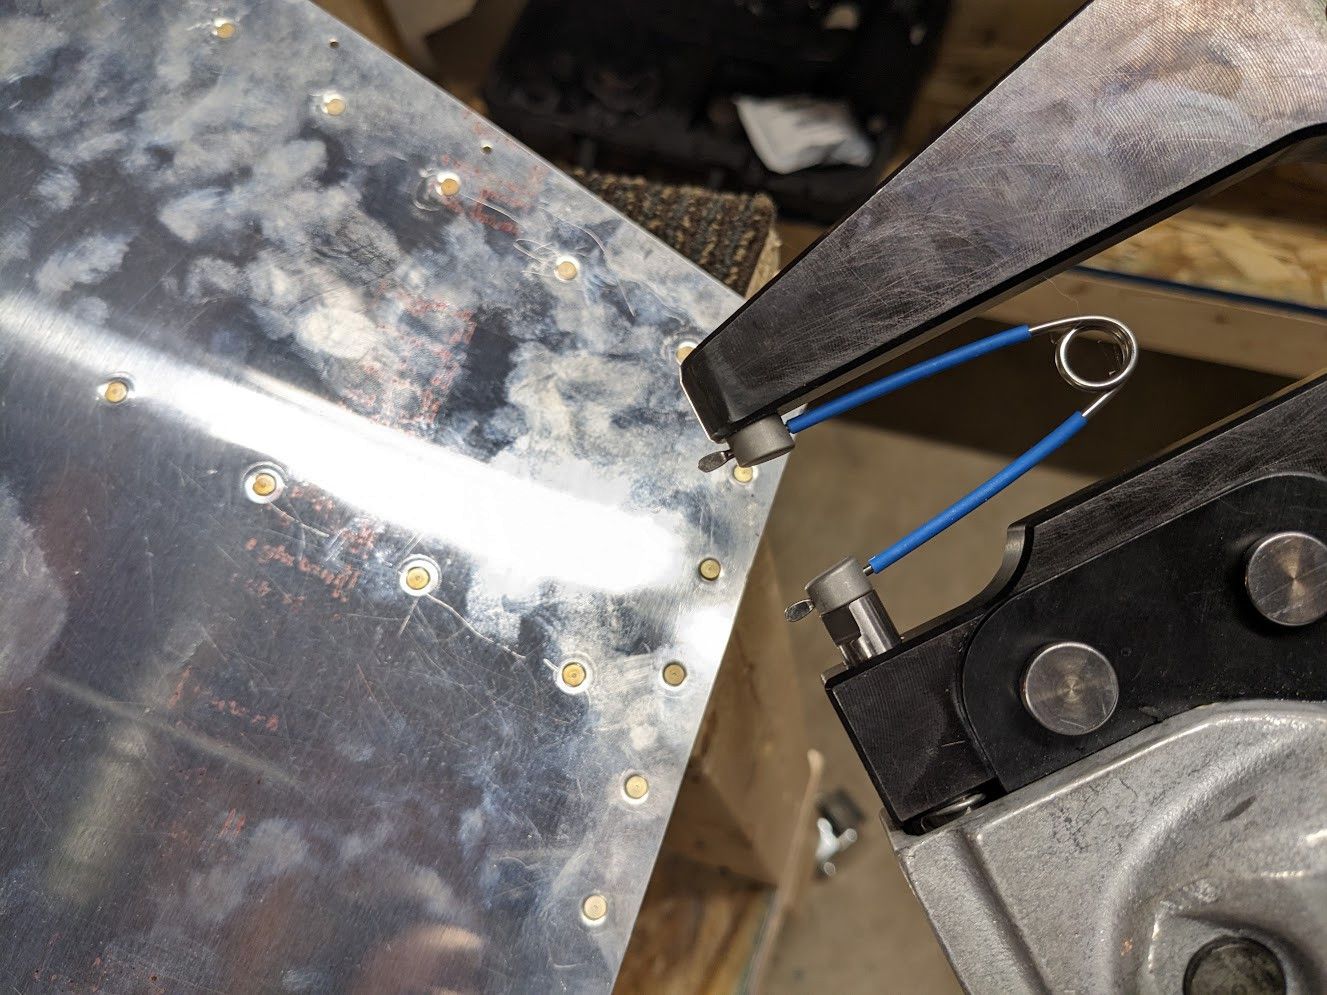
The trailing edge of the rudder is a bit tricky though. Normally this requires doing some fancy rivet work with flush rivets and making them double flush but instead of doing all that with the gun, I have a special flush rivet die that I used in my pnuematic squeezer and it made the job really easy! Definitely worth picking up.
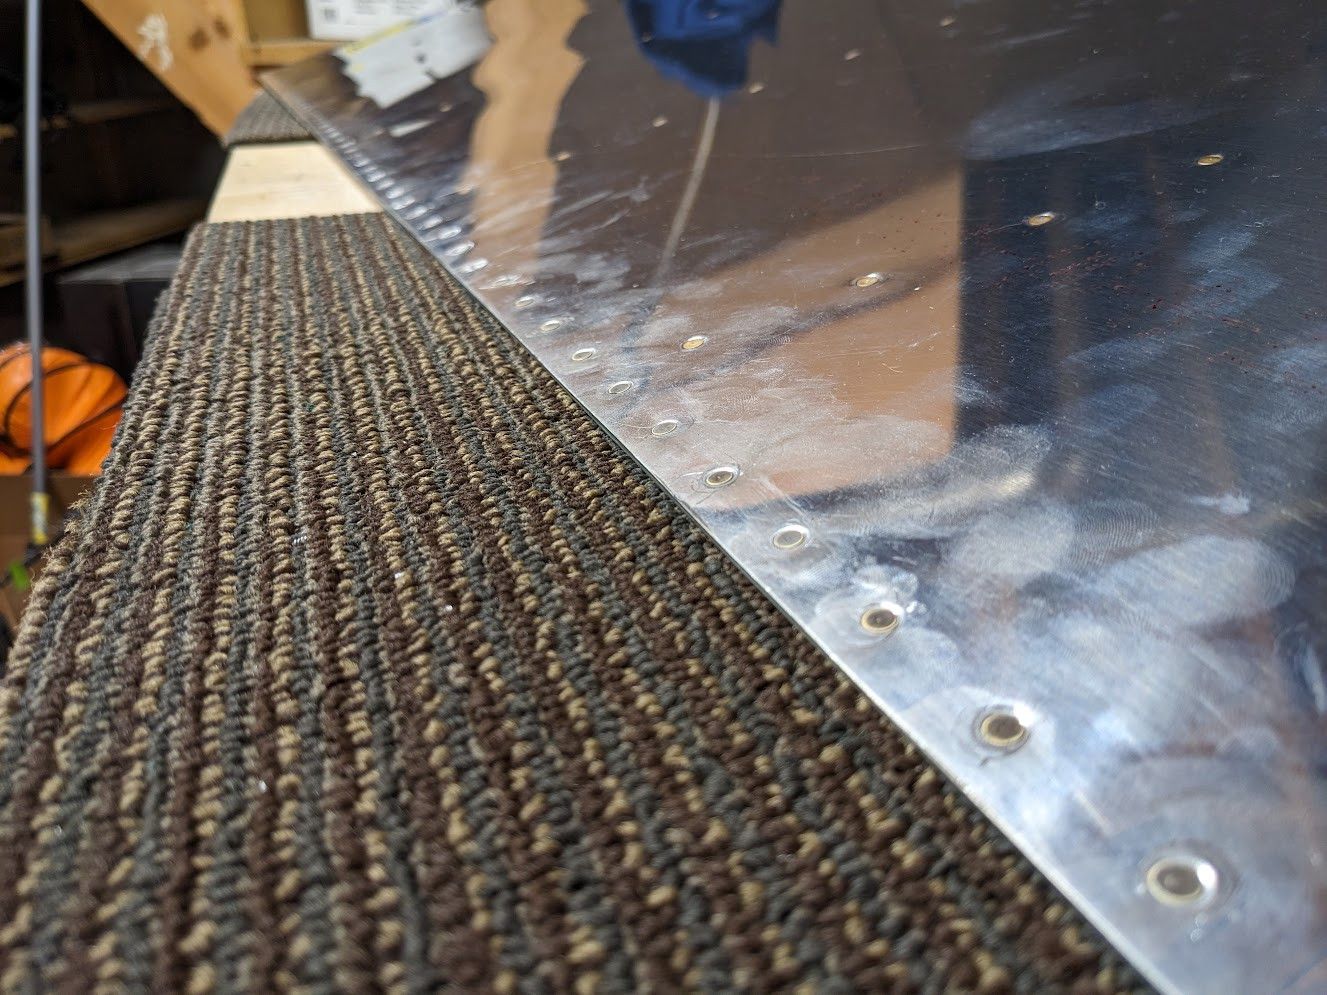
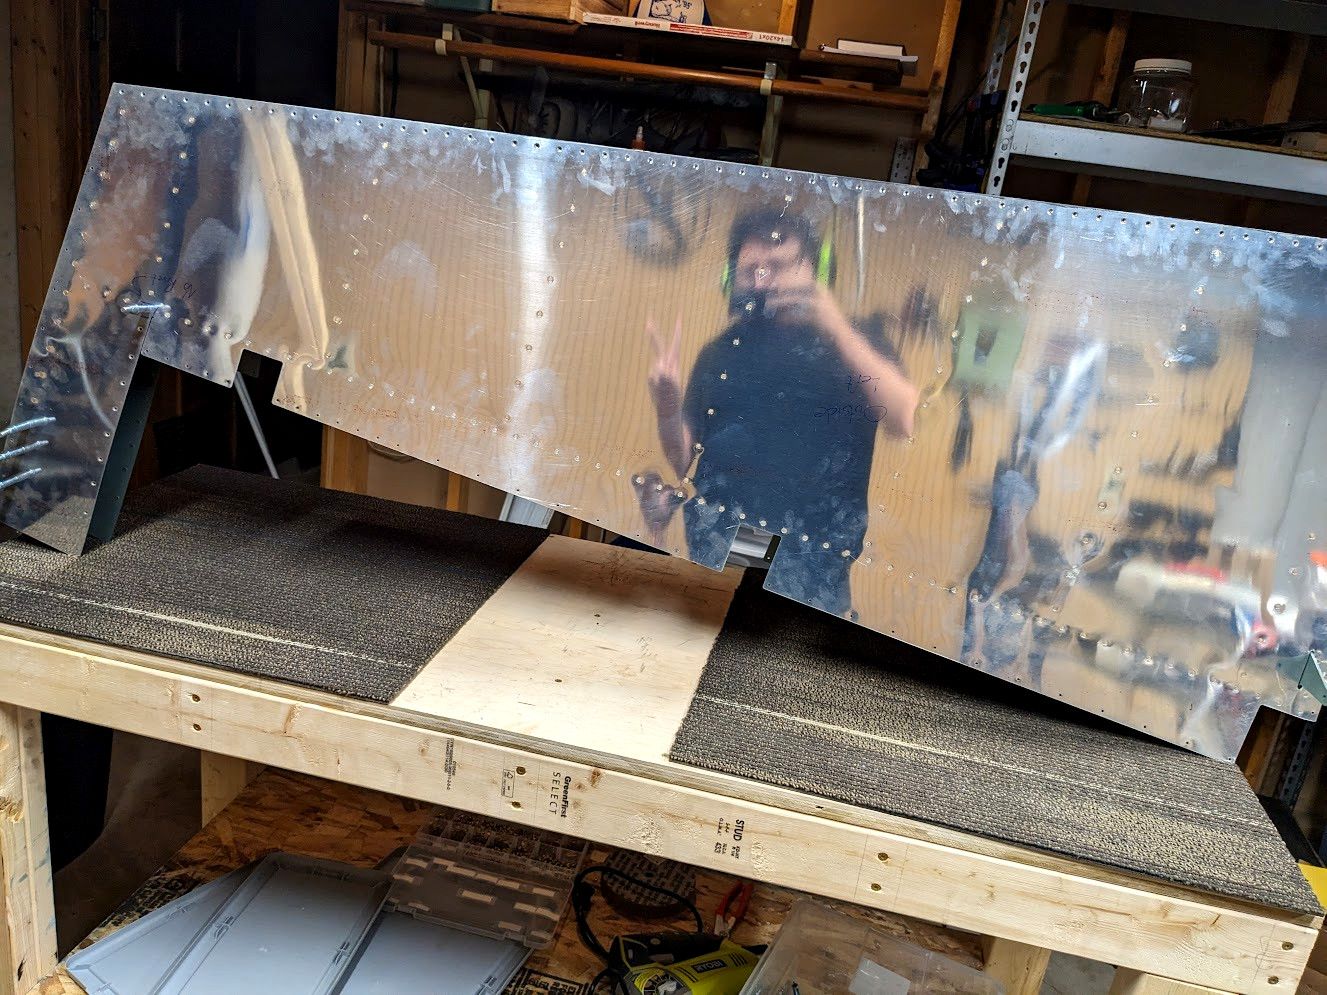
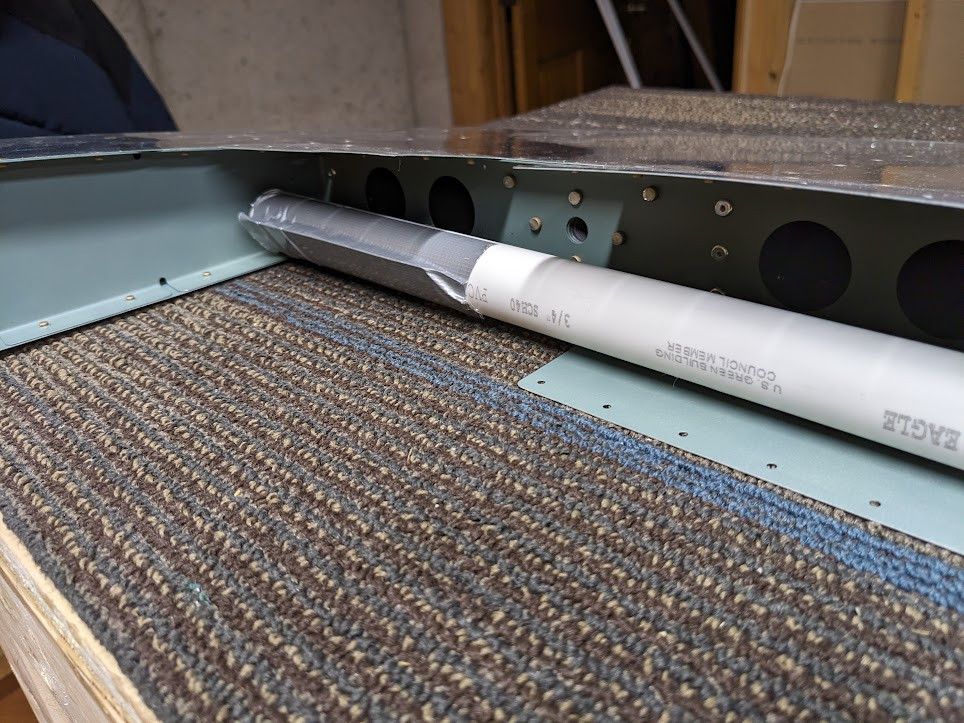
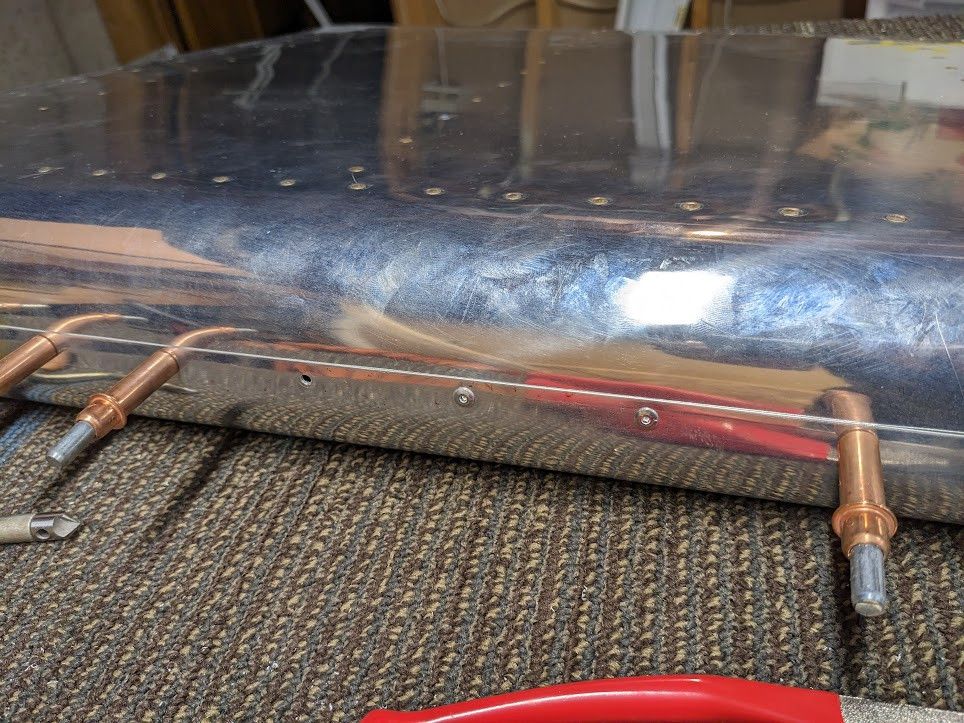
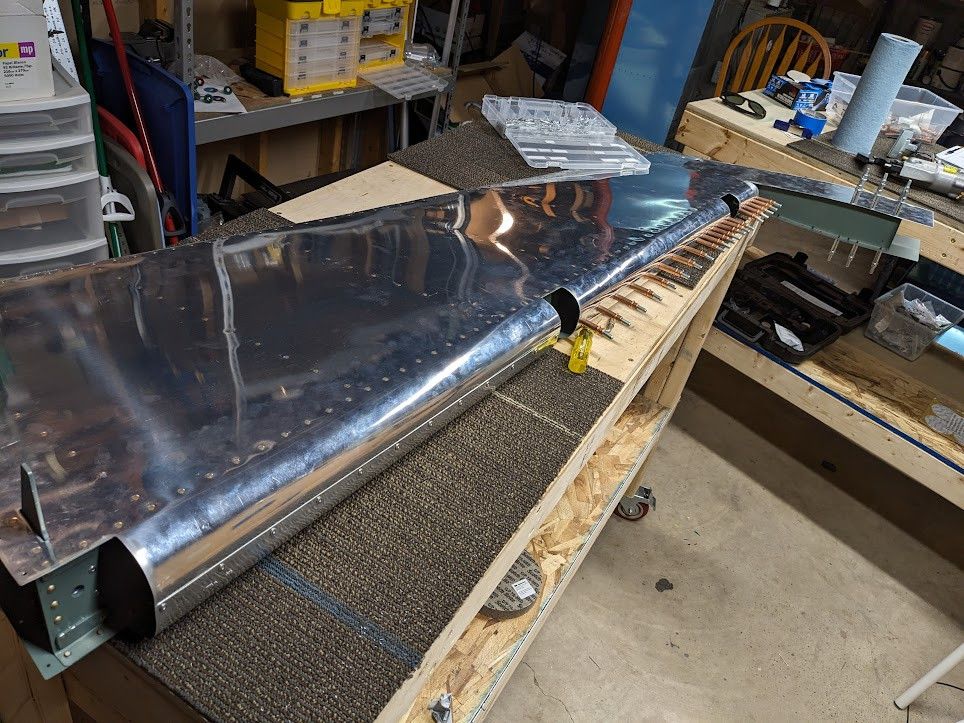
The rudder is getting more ruddery all the time, isn't it? So now it is time to close up the leading edge of the rudder and I should have bought a pipe wrench. The method is a very high tech "get a PVC pipe, tape it to the skin, roll it" but that skin has a suprising amount of spring force in it. I ended up taping a wrench to the pipe just to get more leverage!
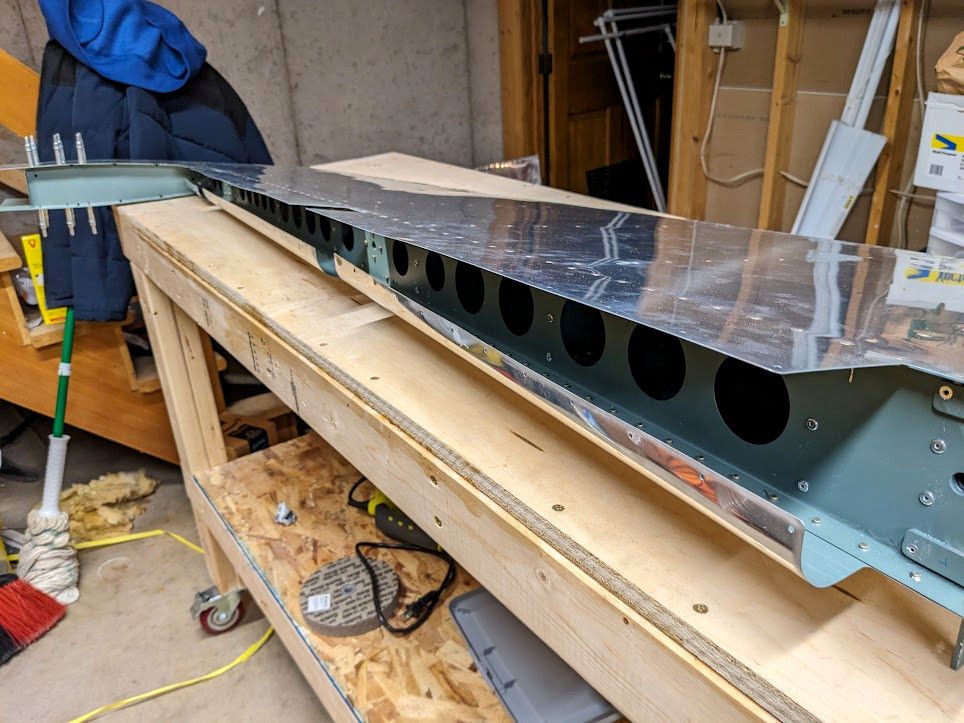
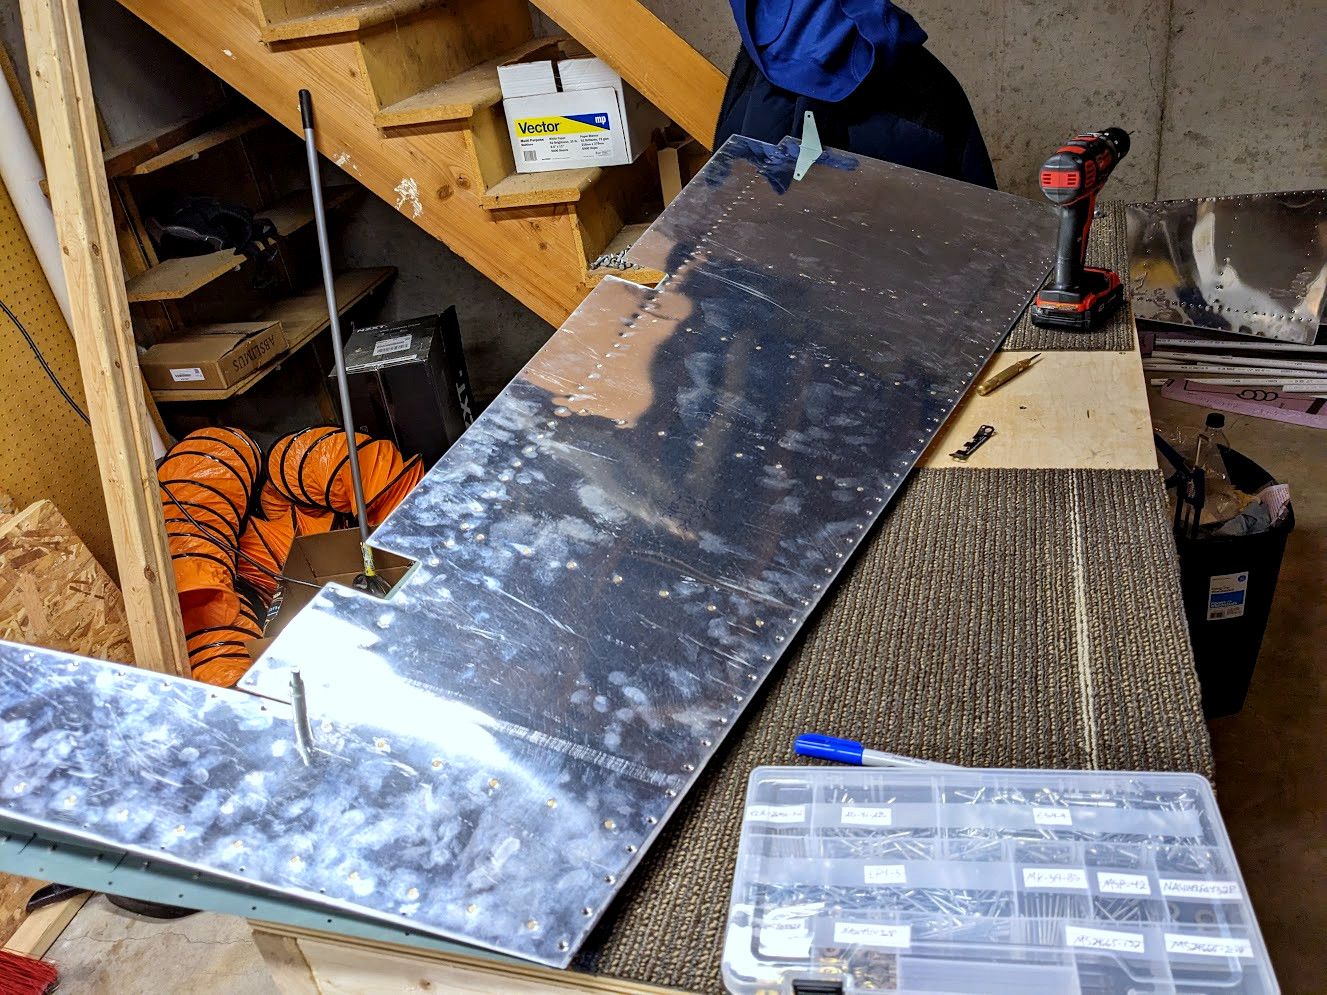
Okay, so that is done. Then just to upsize the holes with a #30 drill and pull rivet the whole thing.
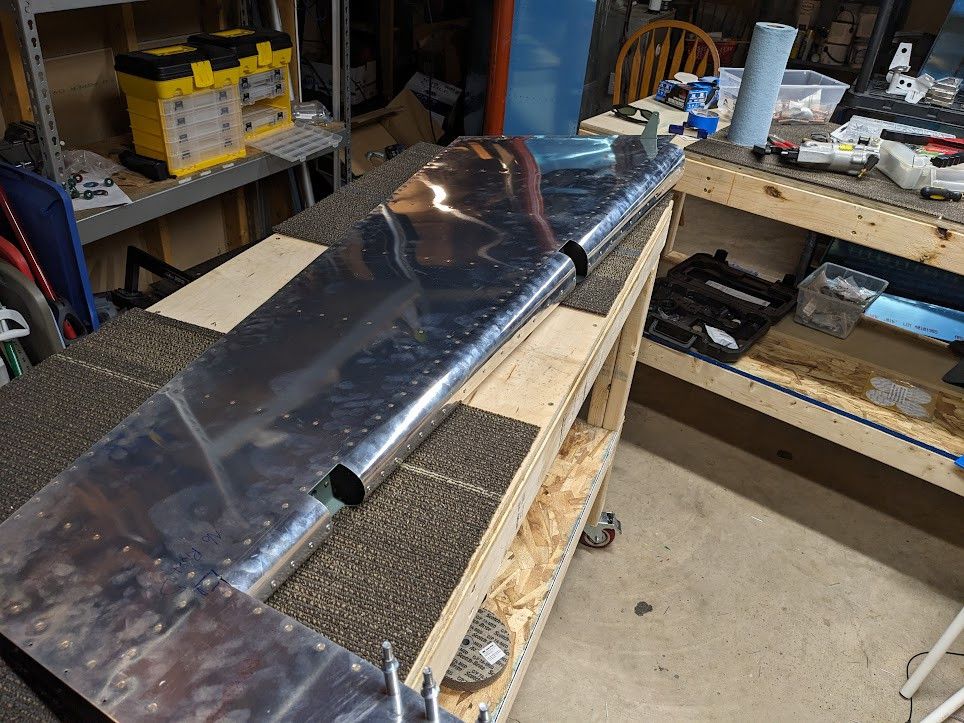
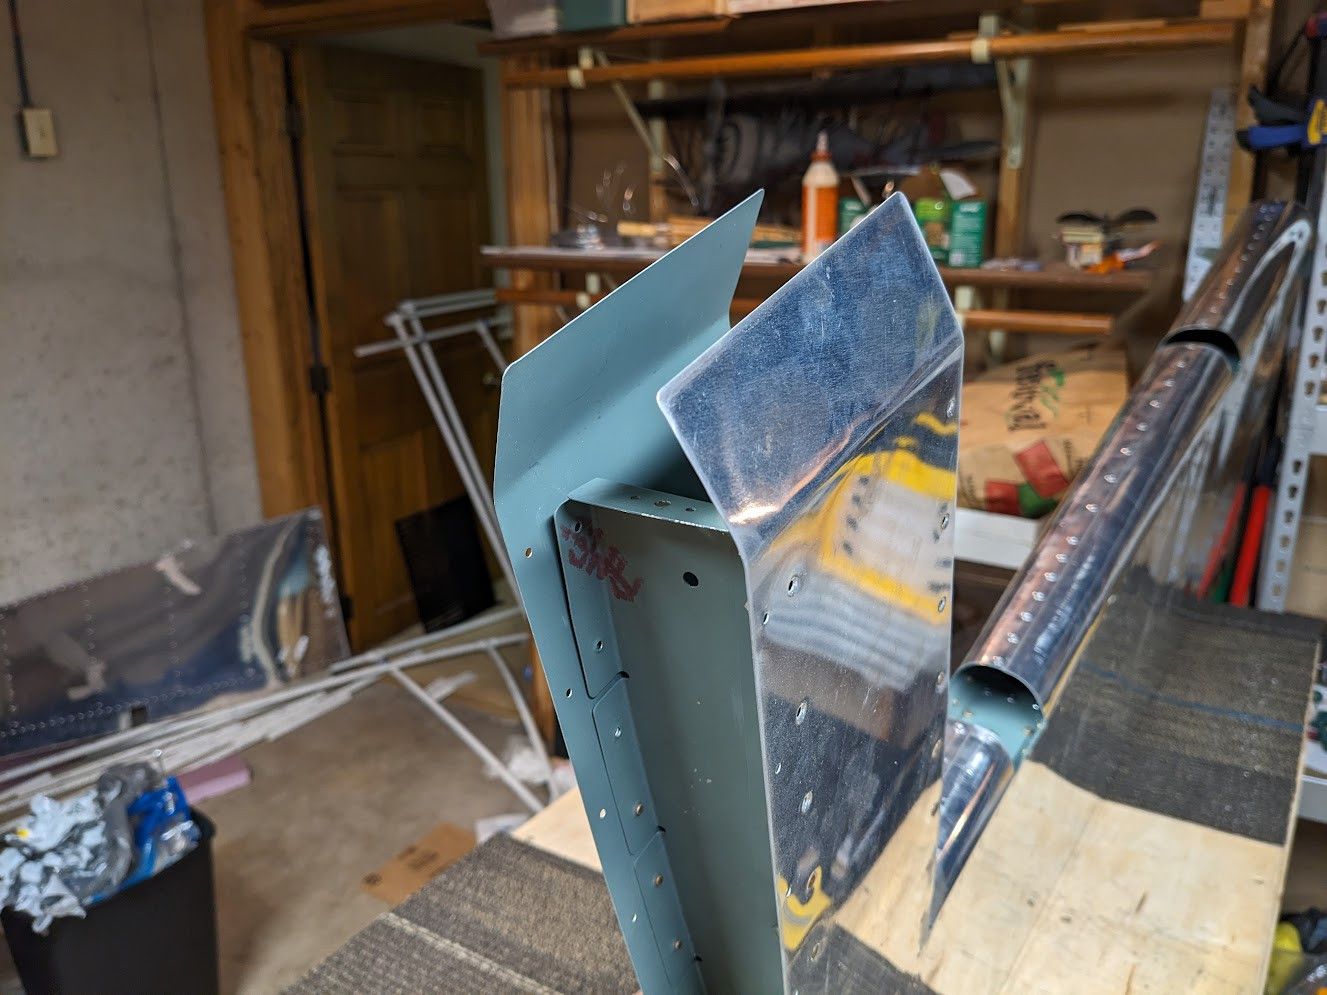
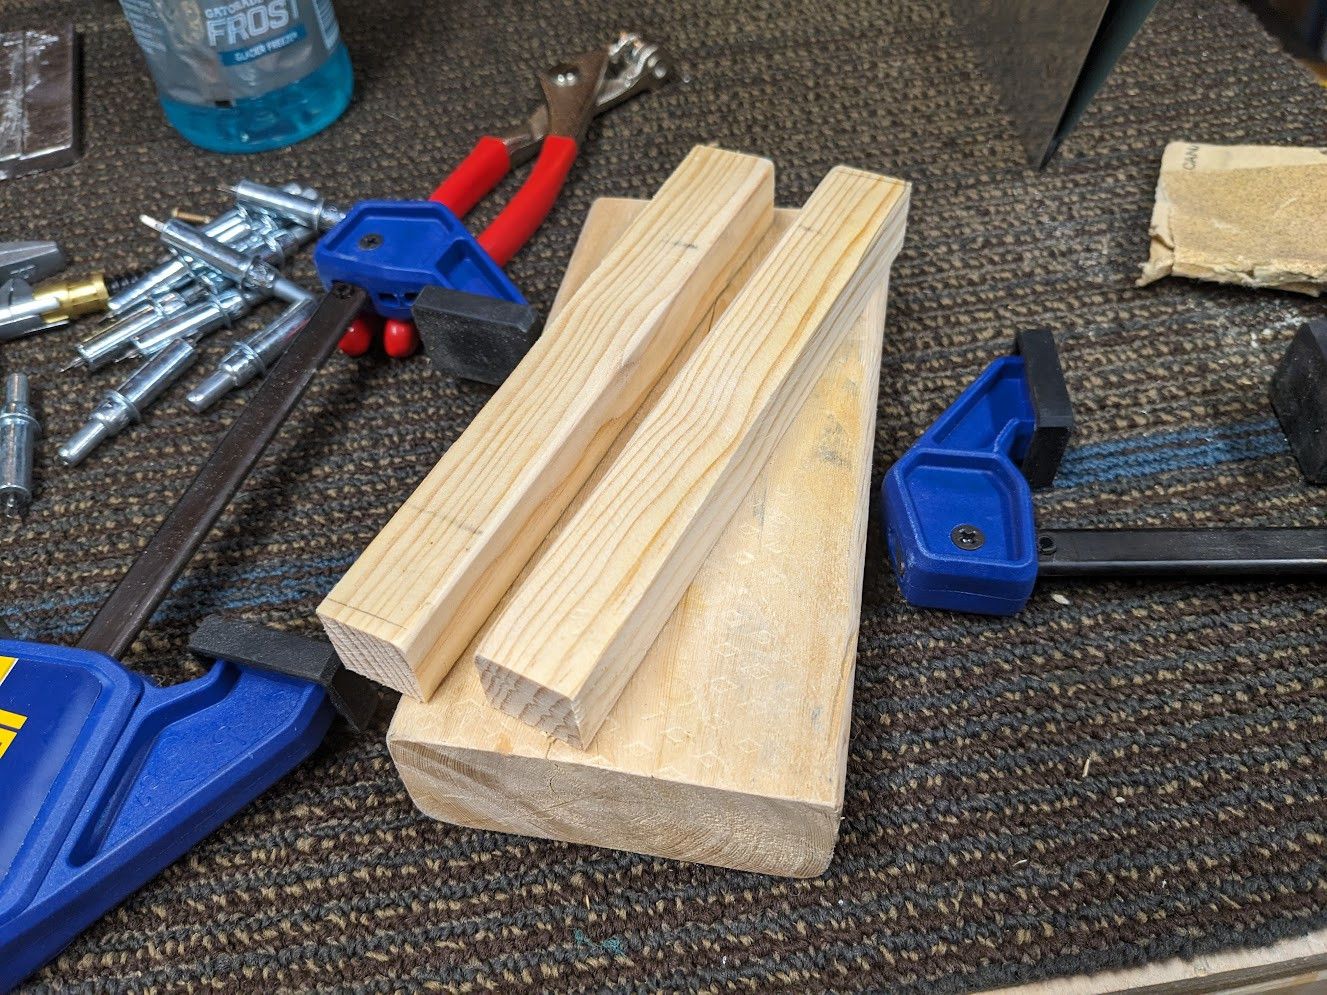
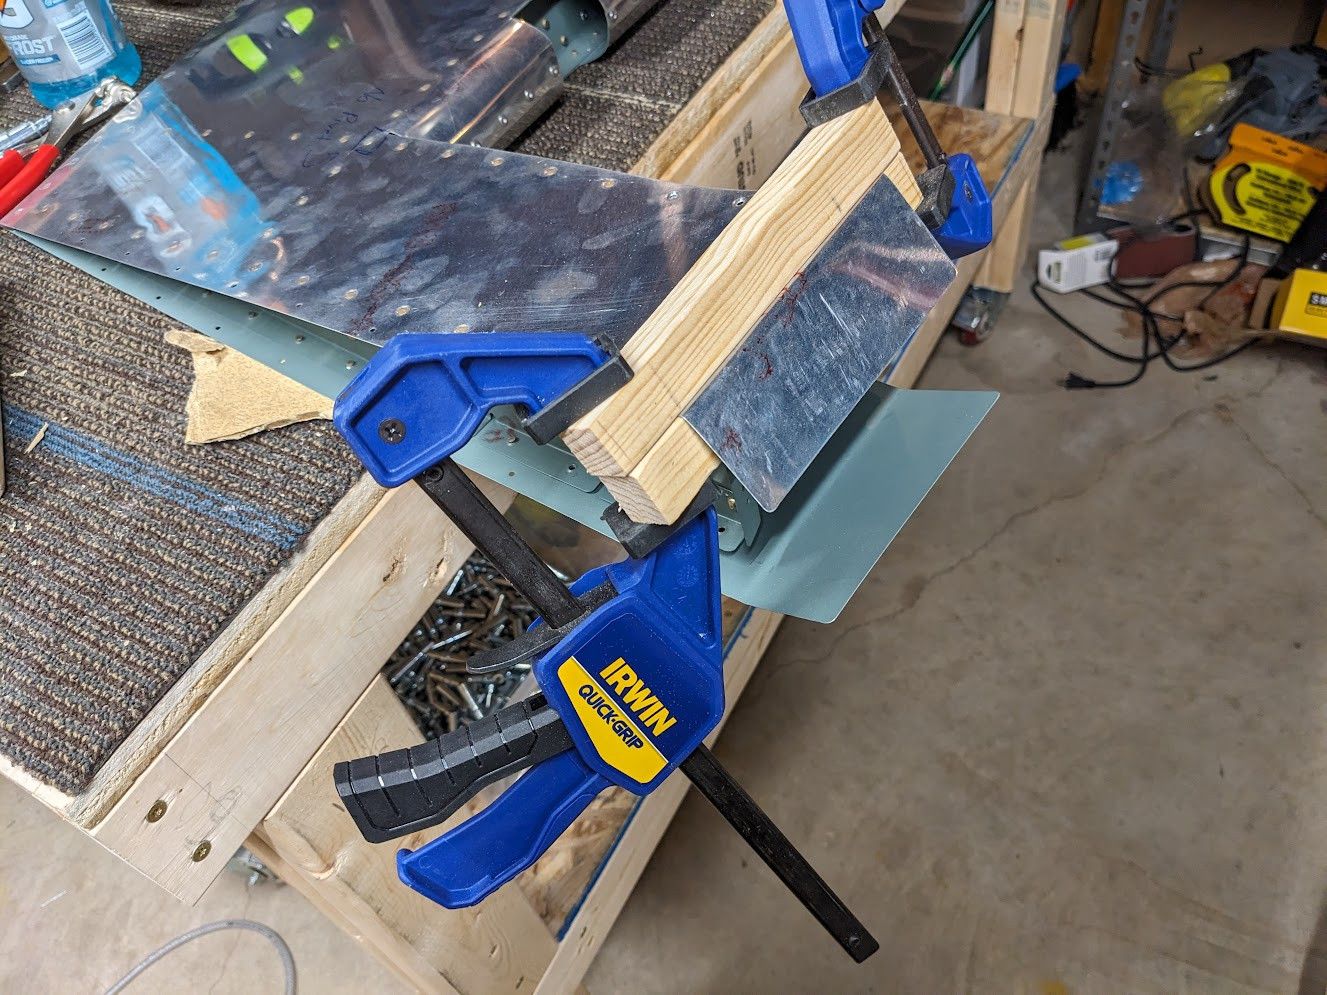
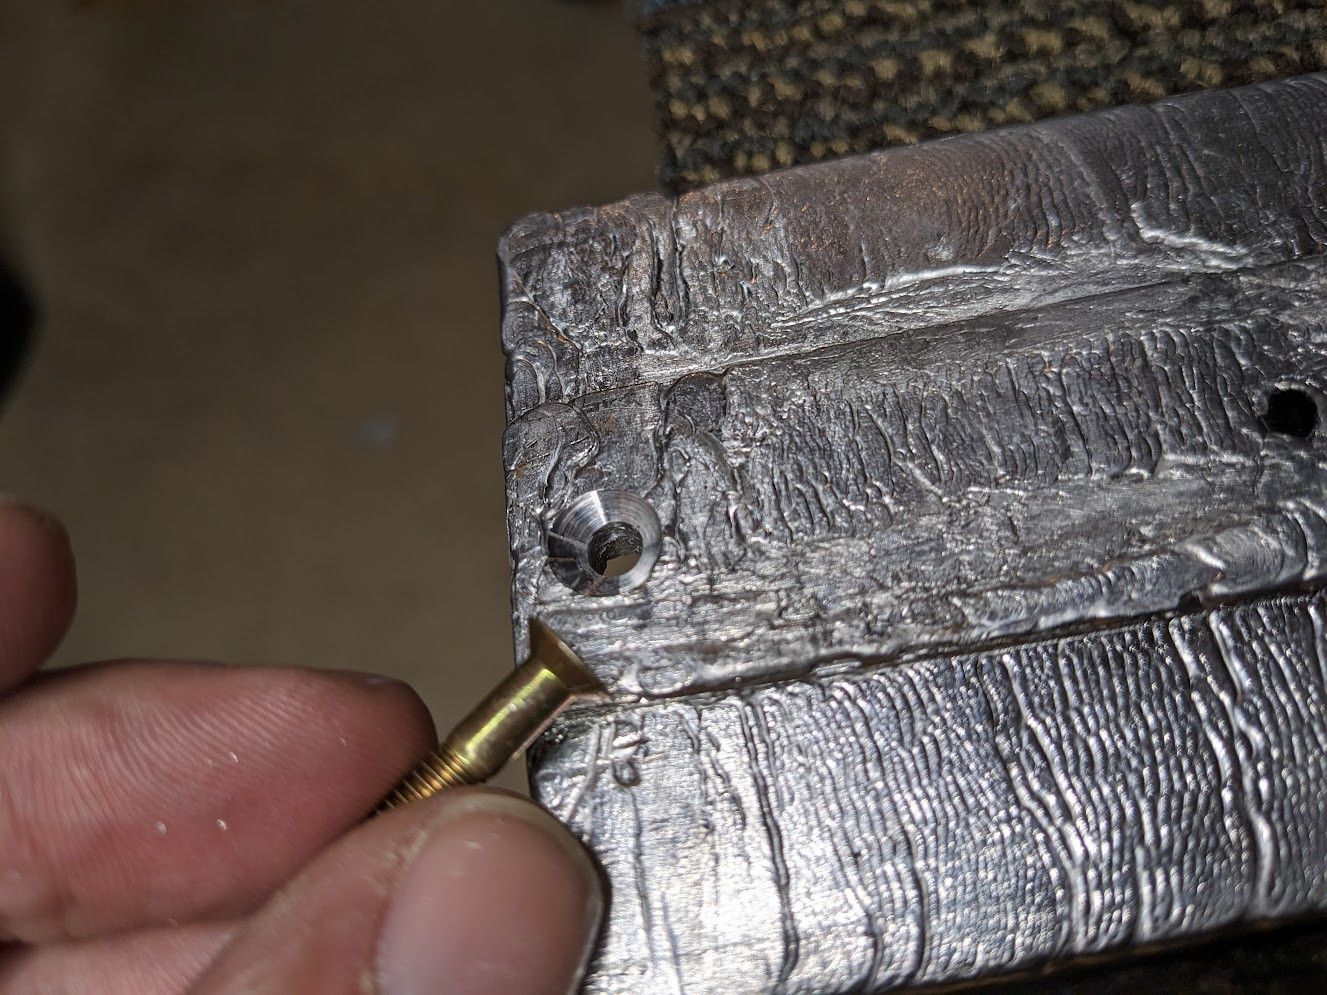
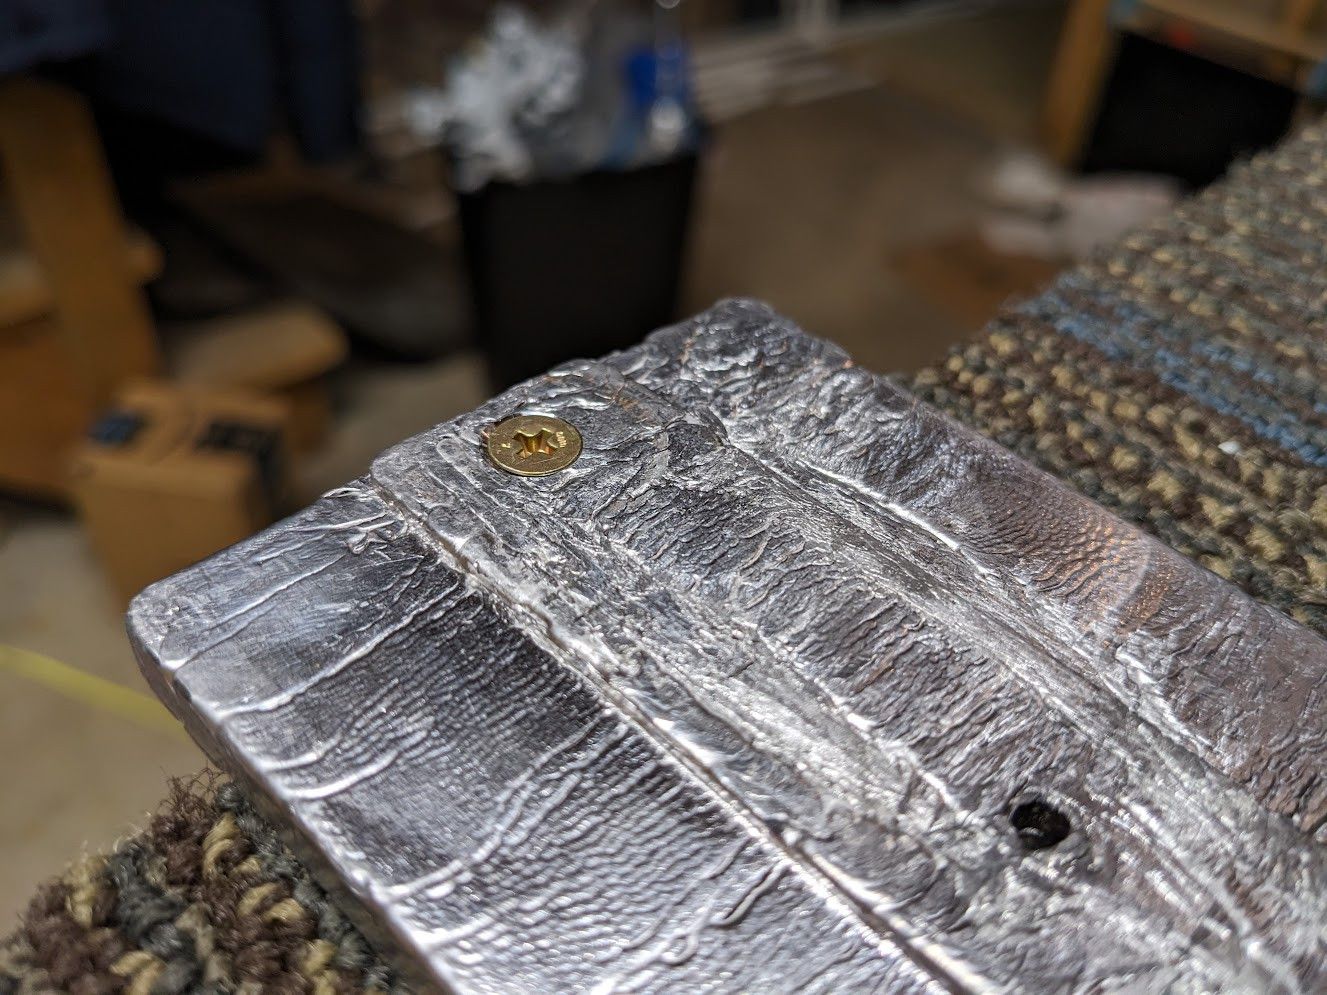
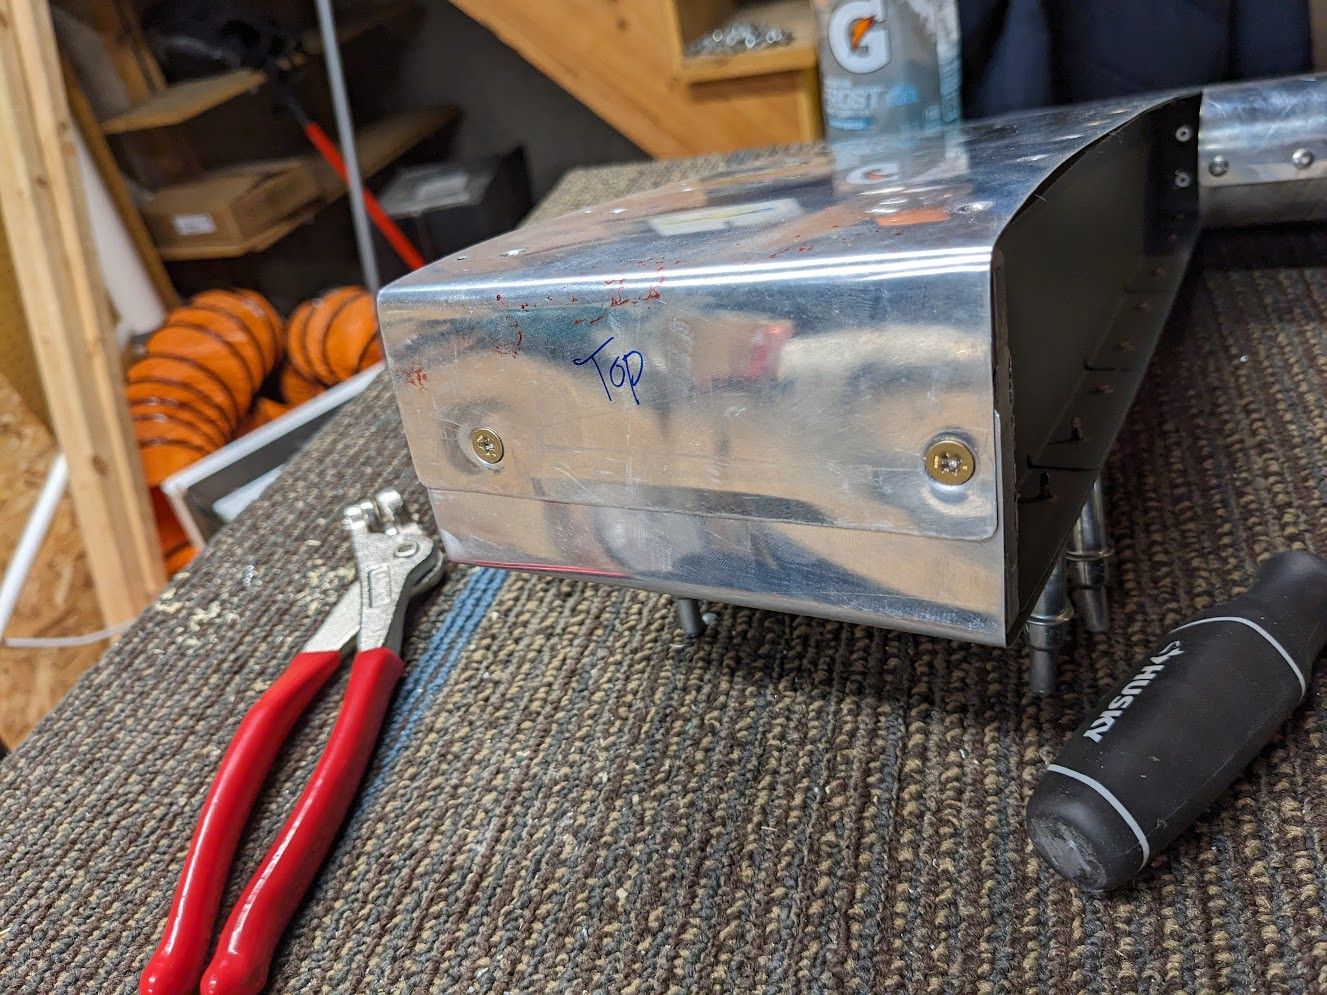
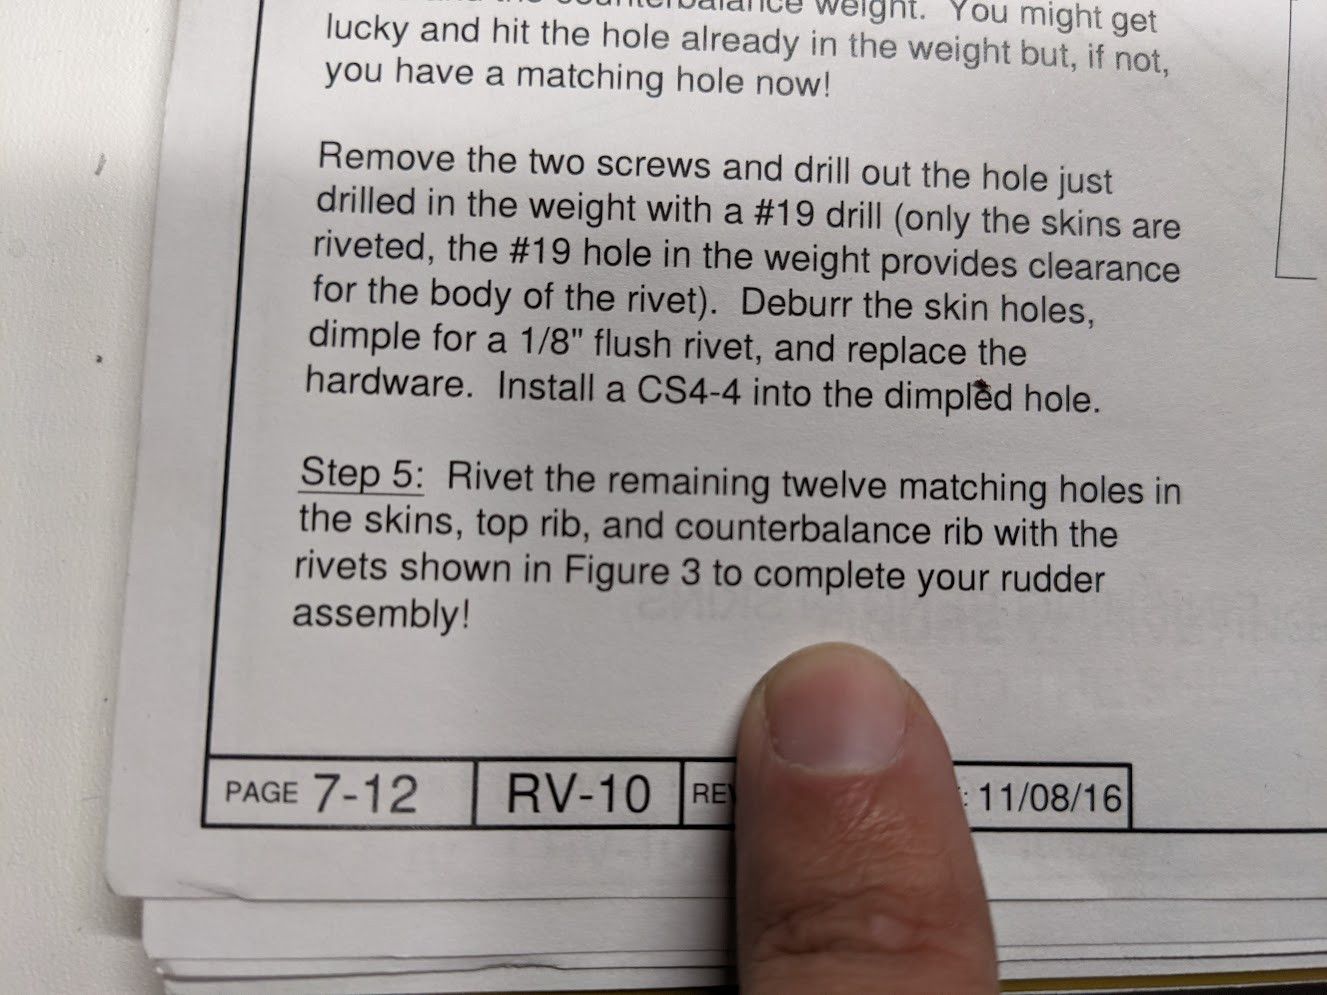
That is one good looking rudder. It feels some satisfying watching to come together! The final steps were to install the counterweight on the top of the rudder. The weight didn't have a matching hole to give some flexibility in position so I had to drill the hole myself. There was a lot of locating the weight with screws and then lining things up to bend the skins around it. I had to make a jig to bend the skins nicely and without cracking them but that wasn't too hard. Just cut up some scrap wood and sanded a radius into it.
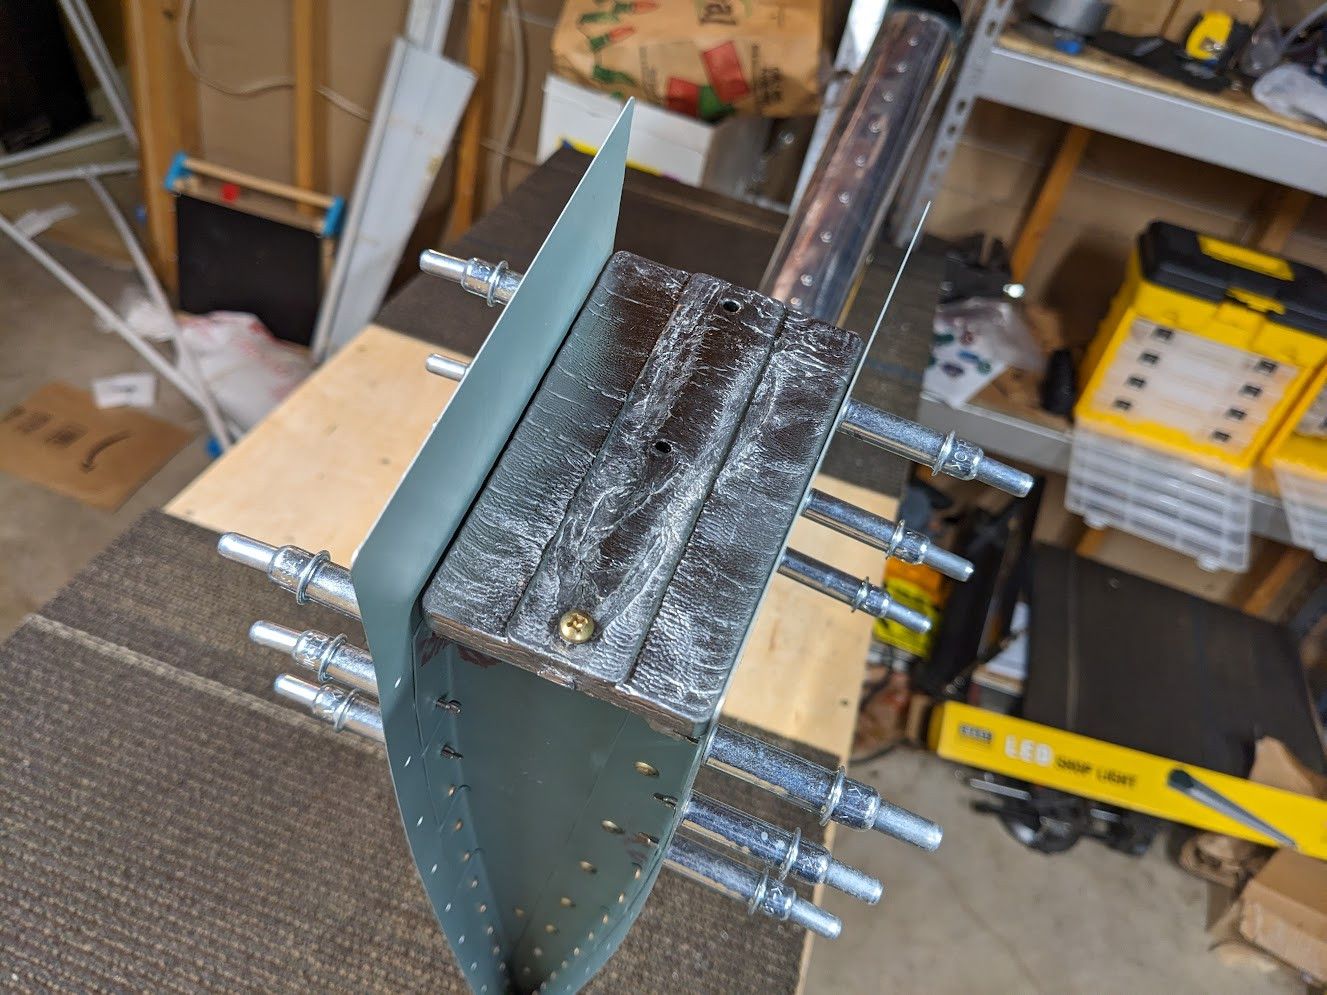
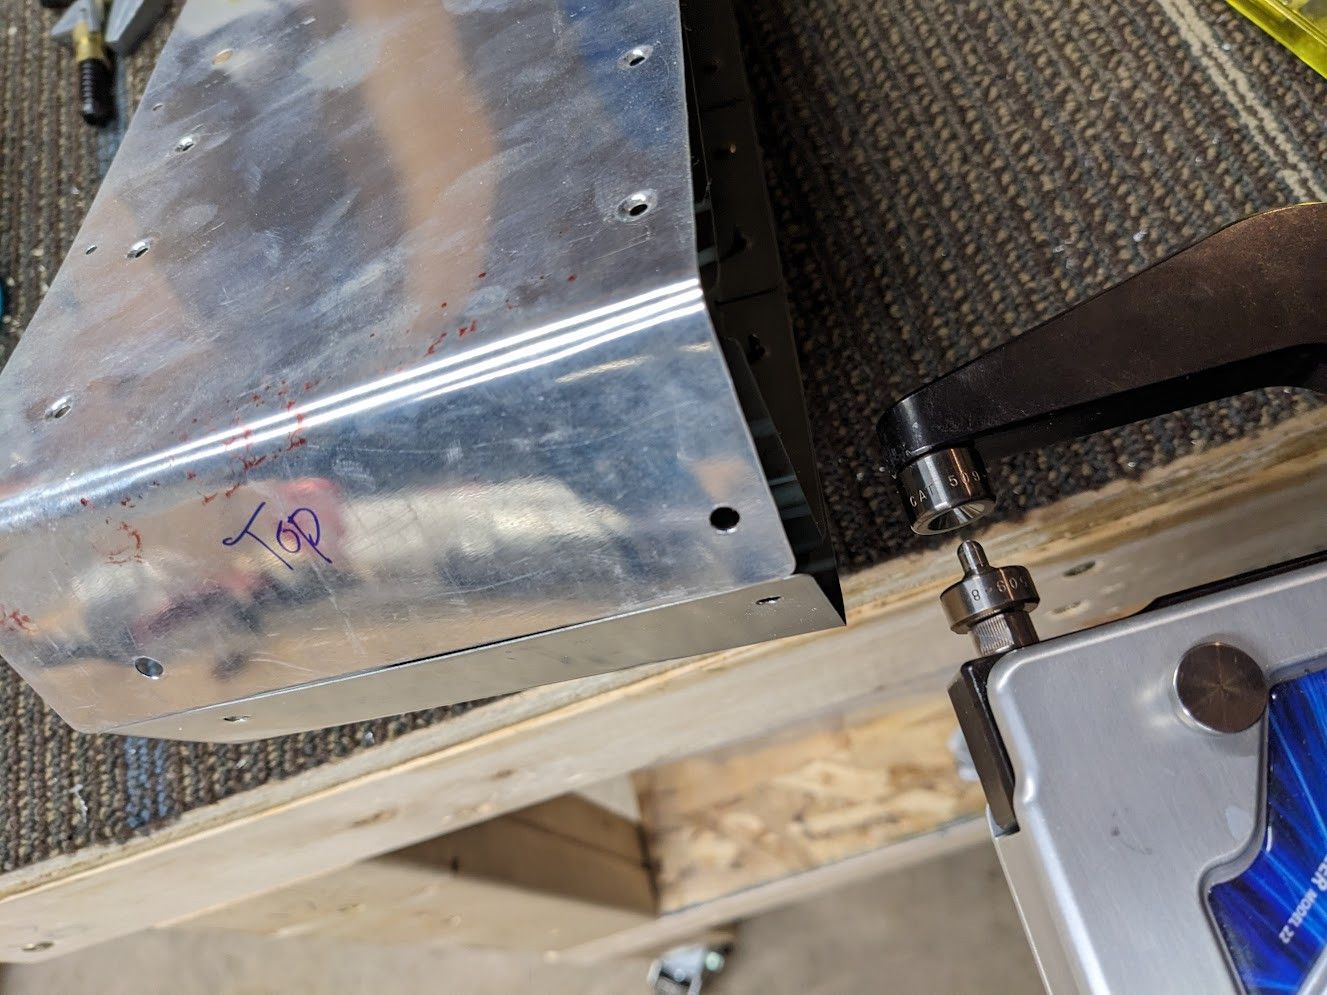
The hardest part of this whole process was actually putting a drill bit in backwards to strike it with a hammer and leave a mark on the skin so I knew where to put the holes. I don't have a photo of the process but there was not much room to swing a hammer. Then I progressively match drilled everything so it would fit together nicely. After drilling, the screw has a countersunk head so dimpling had to happen.
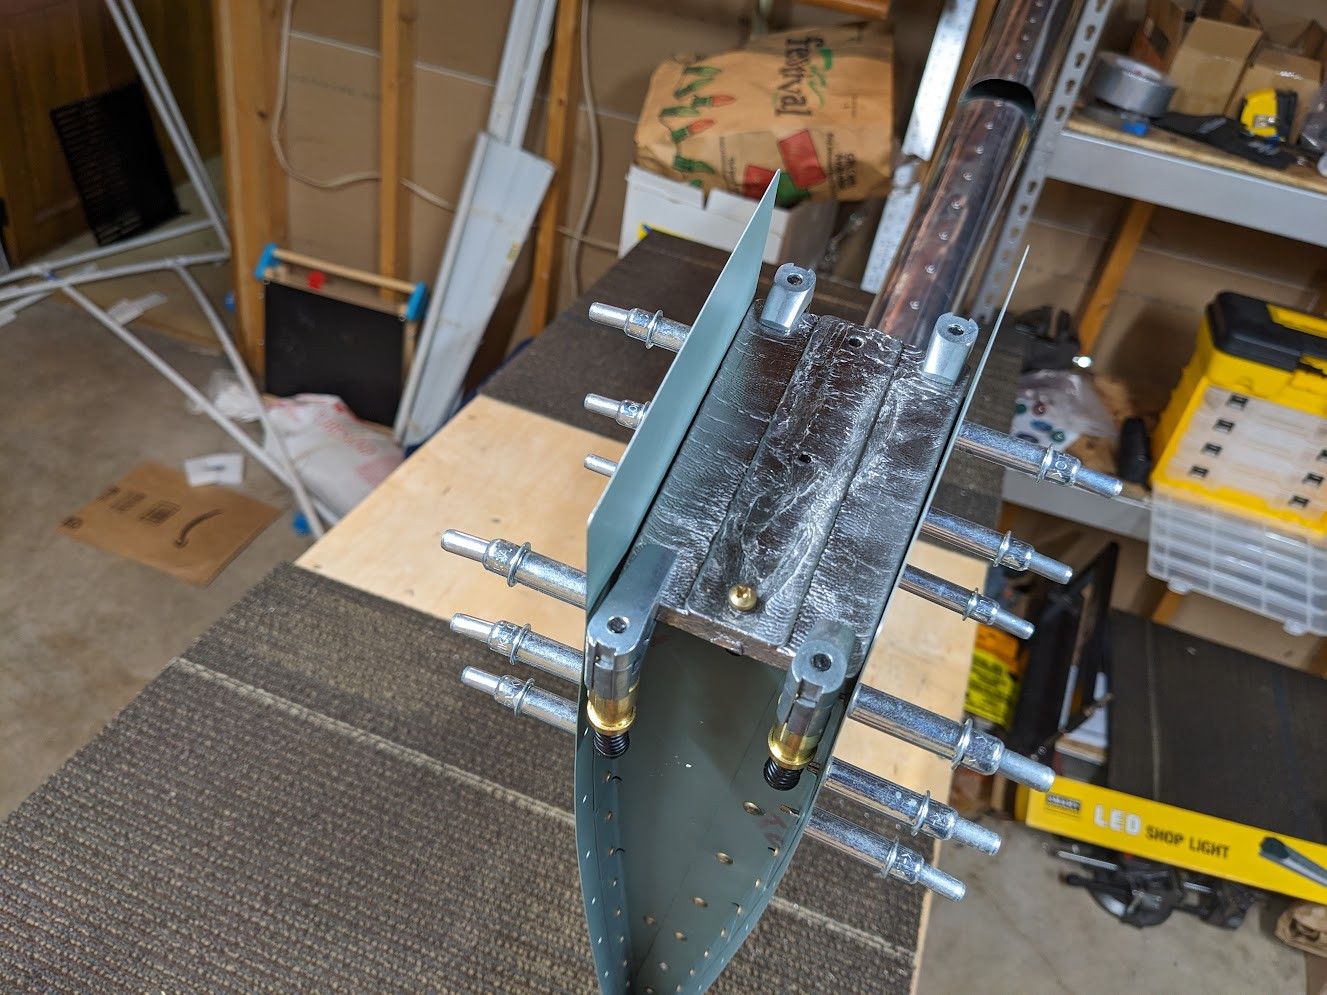
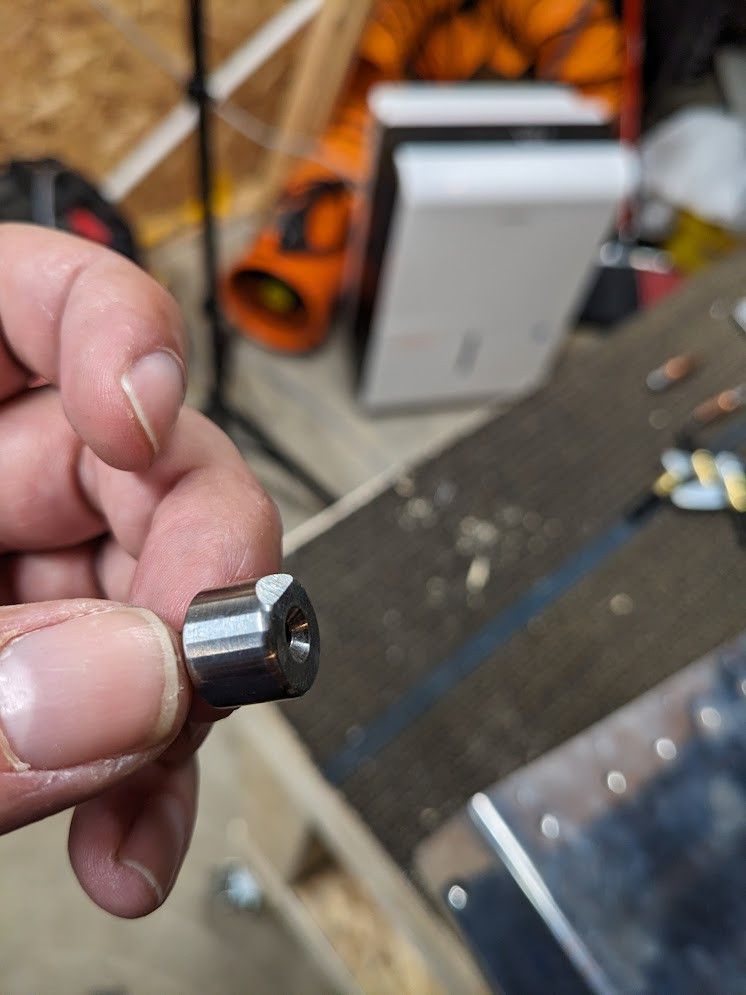
But wait, there's more. You can't just screw into nothing! That means I need to put a nutplate on the forward flange. There is no markings for it so I made a jig out of the nutplate and match drilled. The nutplate has to sit flush though, so I needed to dimple the flange and the plate itself. WAIT, there isn't enough clearance to dimple the nutplate with my die set! Well my grinder says otherwise. After all that, I have a nice place for the screw to go in to.

We're in the home stretch of rudder building now! The counterweight itself needs to be countersunk so the screws will fit.
Then a few more rivets and.
Guess what.
It is done
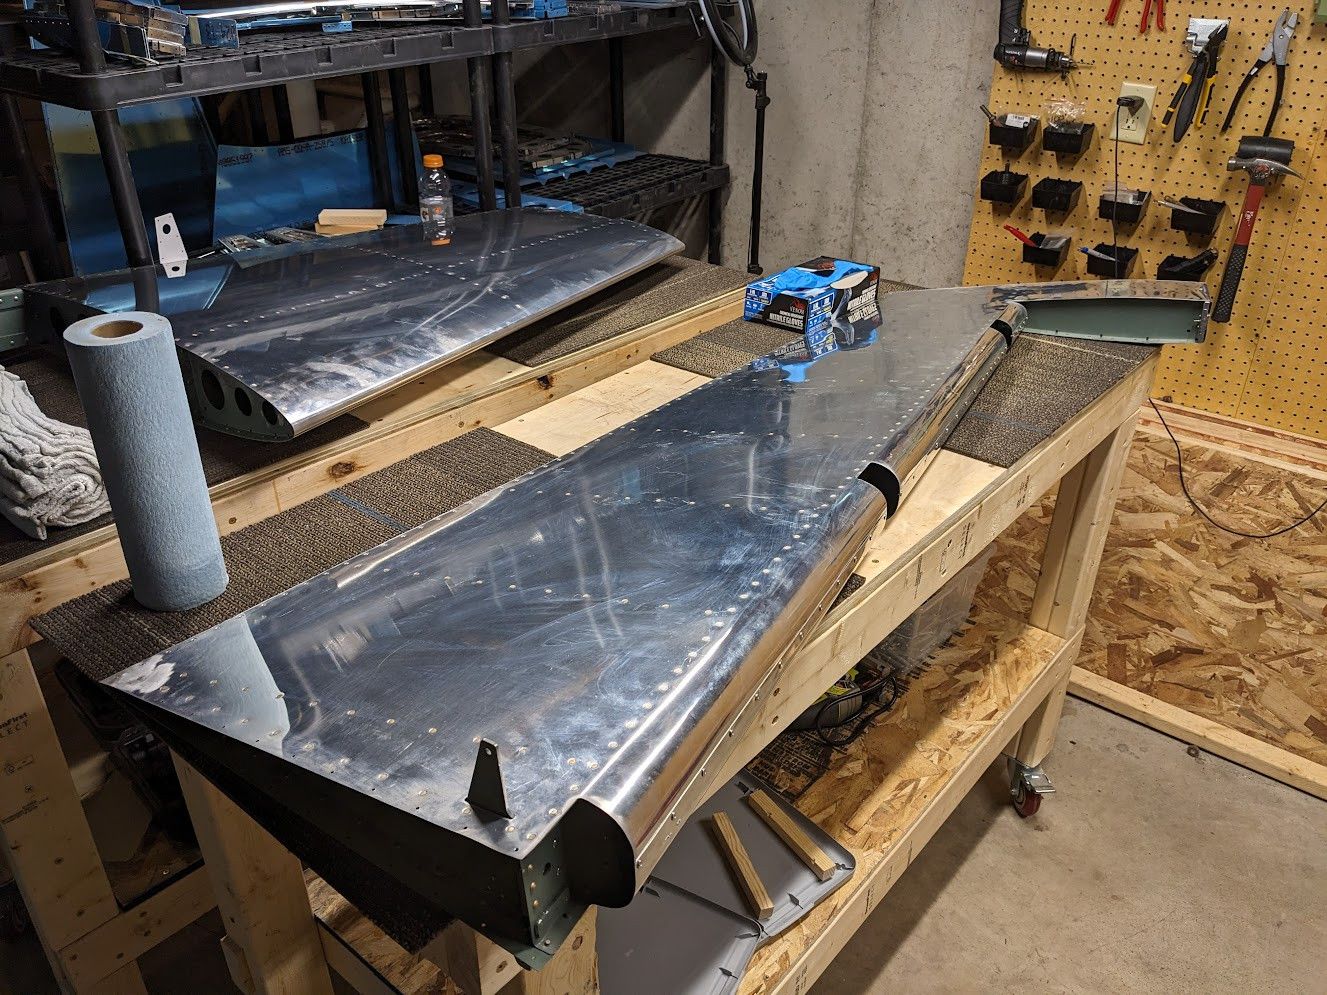

It was a long time coming, but the rudder is completed. I am now two parts in to having a complete aircraft! Tune in next time for the horizontal stabilizer!
I post regular updates as I'm working to a dedicated build account at https://firefish.sideslip.social/@rv10 . Feel free to follow along there for more frequent information! My main account is now https://firefish.sideslip.social/@aut where I talk about planes and whatever but not specifically this one. I love engaging with people about this stuff.
Thank you for taking the time to read my silly words. I love people getting excited and sharing this process!