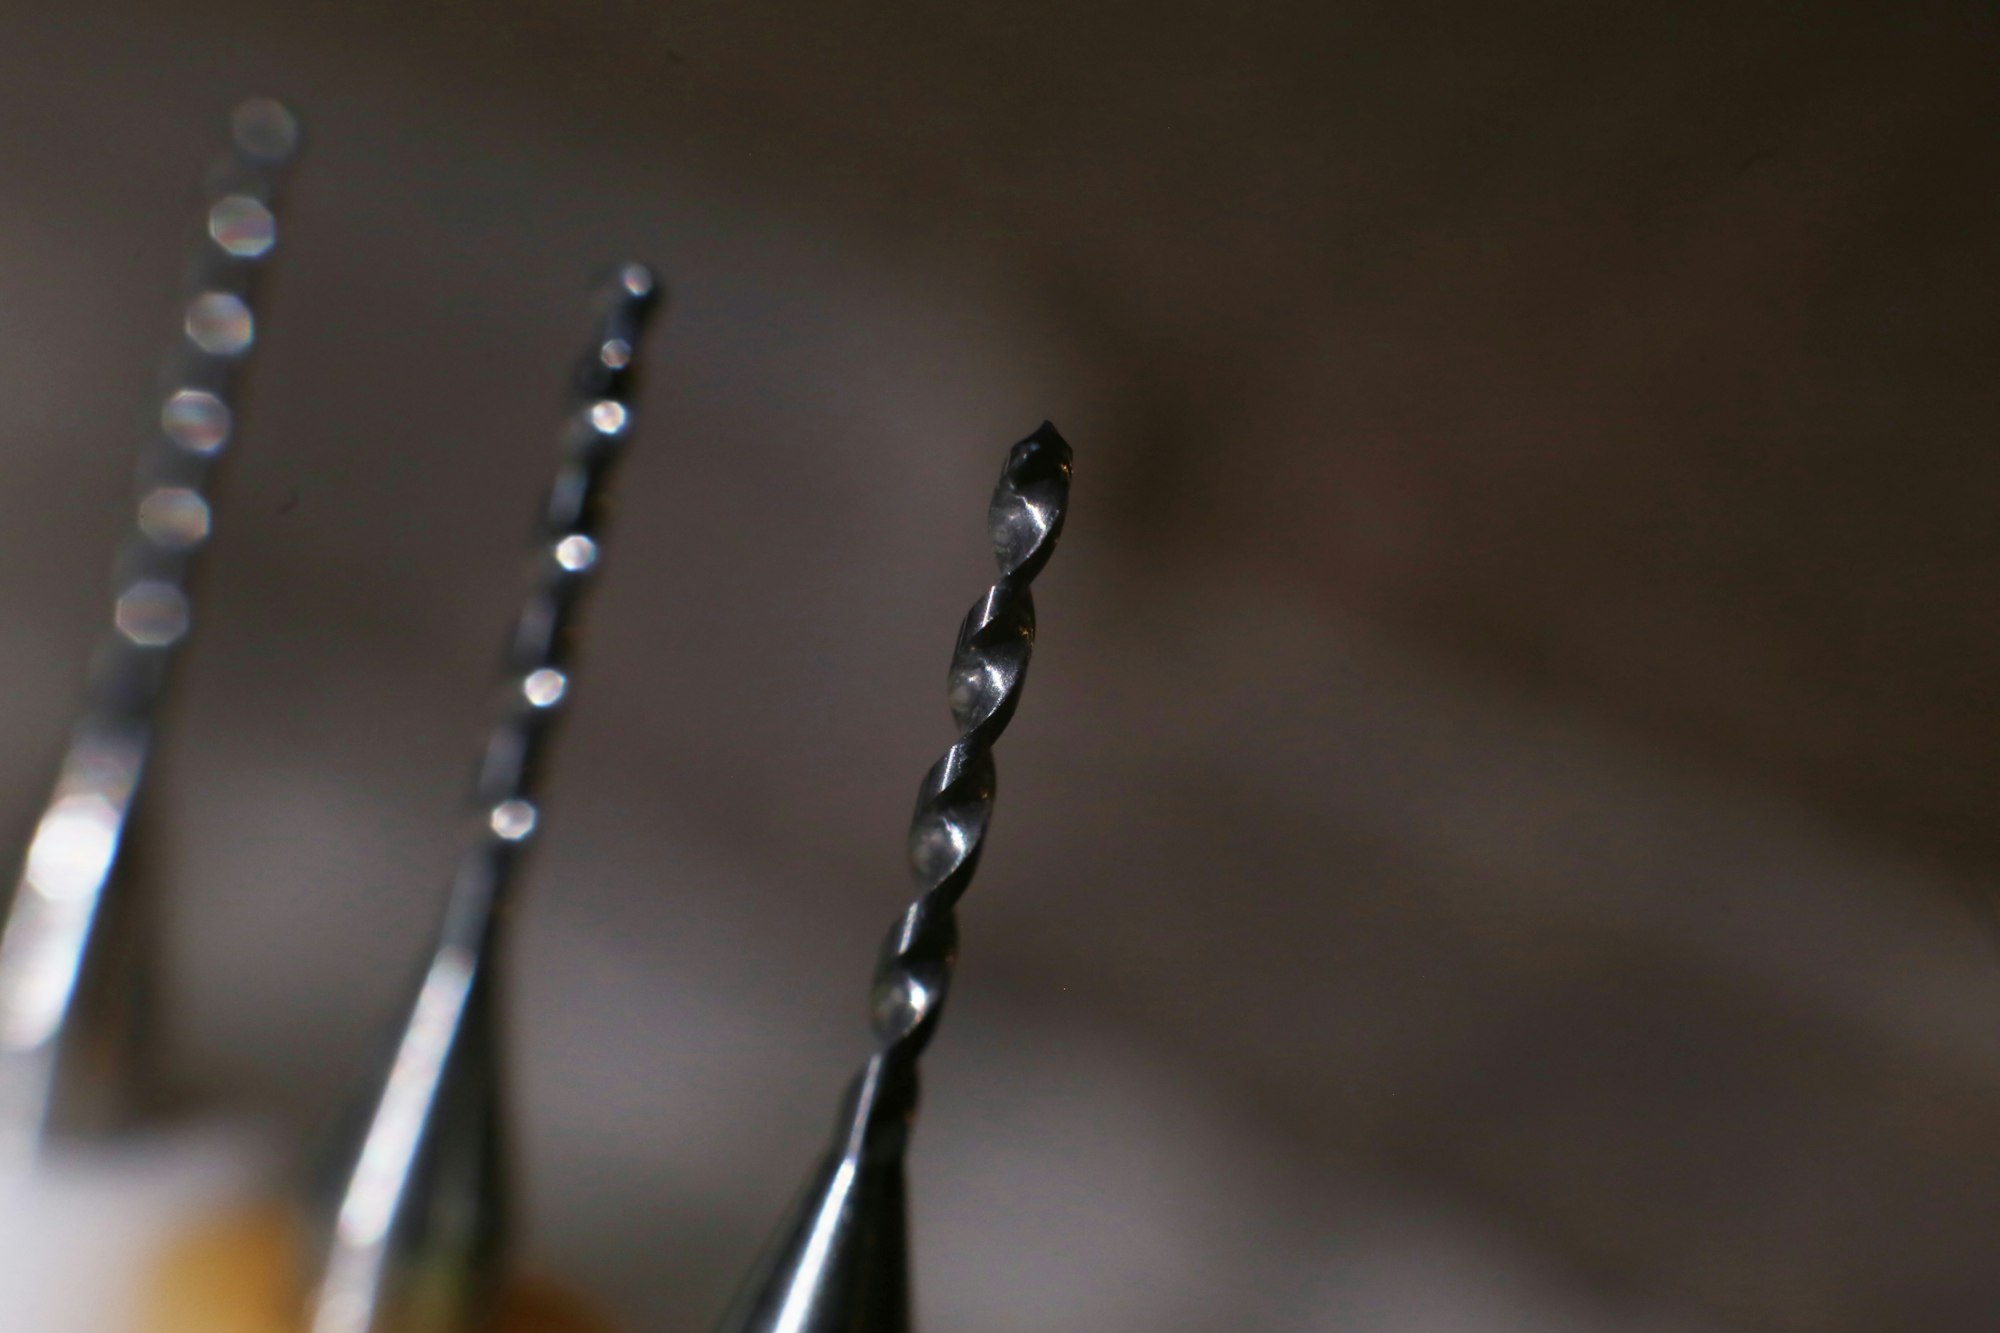
Drilling Out Rivets

I messed up and had to drill out 20 or so rivets in a row. It is a lesson in how I should read directions before doing things. Before I get into that, however, check out this video I found from years ago where I mixed some aviation fuel with water to study how fast they separate.
I think it makes a pretty cool tool for teaching as well as a reminder that you really don't have to wait that long to sump your tanks for water. Anyway, I'm sure you didn't come here to read about me mixing oil with water (however cool that might be). Let's talk about the vertical stabilizer, what I've done since last time, what I messed up, how I fixed it, and just generally how things have been.
So, I've been streaming on https://twitch.tv/autalyst and I setup the a camera in my workshop and just chat with people as I have been putting together the stabilizer. I try to do this on Sundays but I might also just do it randomly when I'm motivated. I encourage anyone that wants to that they can stop in! You don't have to say anything or interact if you don't want to, that's cool too. You can learn from my mistakes though, as was the case last time. I'll put links to the two build vlogs at the bottom of this blog post if you want to take a look. The downside to doing build vlogs like that is I'm not taking pictures to put on the blog here, so I have to pick my battles I guess (or buy an actual camera instead of using my phone).
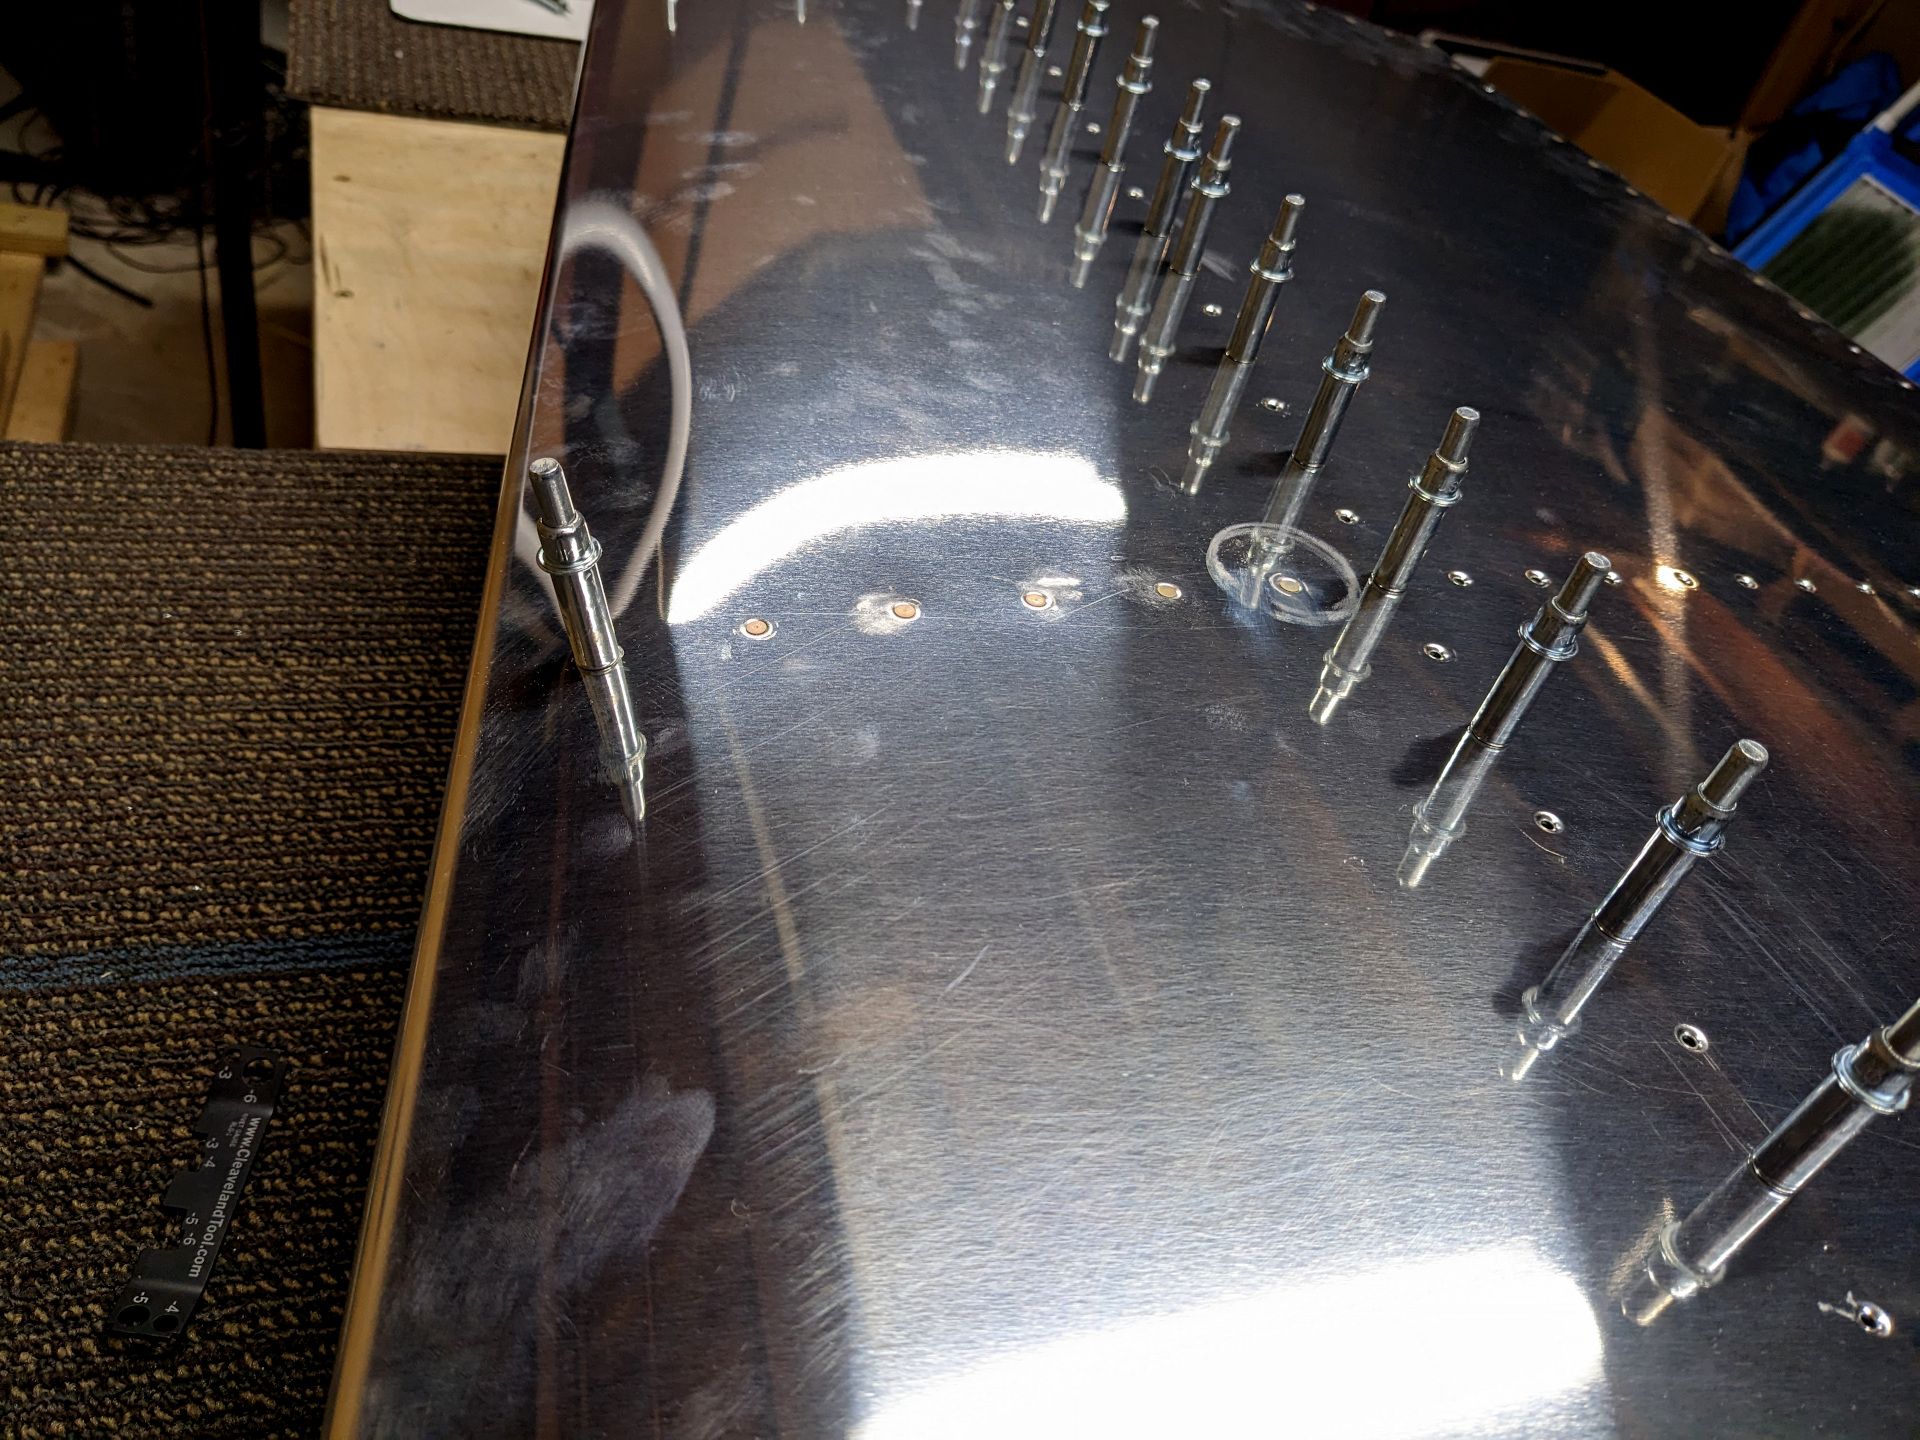
The short update is that I have riveted together the skeleton (except the bottom ribs so I could access the interior for riveting) and put the skin mostly on the skeleton. I accidentally riveted myself out of accessing the upper area, however, so I then had to go and drill out 20 rivets so I could get access to the interior to buck rivets. I did the messing up on my first build vlog and the drilling out on the next one after I did some research on what to do. Here is a picture of some rivets though, to prove I'm not yanking your chain.

And sadly, that is really the only picture I have worth showing. It is very hard to get pictures of the aluminum under bright lights. However, you can kind of see the issue from that picture above. I can't access the middle of the stabilizer to rivet those holes because I riveted the back closed! OH NO. After some YouTube "research" though, I felt confident enough to try drilling out all those rivets and it really wasn't as bad as I expected it to be. Having to reach into the assembly with a bucking bar and not being able to see proved to be much more difficult than anything else.
Here are the two build vlogs, as promised. They are 3-4 hours long each so unless you find this content super engrossing, I encourage you to skip around. You can watch me rivet myself into a bad spot and then do the "well... now what do I do without making it worse" dance. Unfortunately I don't have time to do editing or good camera shots but I hope it provides some insight into the process of building an airplane.
I plan on keeping them unlisted on YouTube since they are vlogs. So generally you will learn about them either here or on my mastodon page. That is also how I will post about a stream going live. I do also stream video games but no worries if that isn't your thing. I know we're here because we love aviation or the process of building. The games is just a thing I do for fun.
Thank you everyone that stops by and reads these things. The words of encouragement I get are very meaningful and I'm glad I can share the experience with as many people as I can. I really like aviation and I hope I can inspire others to see at least a fraction of the magic I see in it.
I am still nursing a cold and have been sleeping a lot more than normal, so progress hasn't been the fastest thing around. This is a journey, so hopefully everyone understands that. I worry I'm not pushing out content fast enough but I need to slow down that thought process. I'm doing this as a hobby and for fun, and I'd like to keep it as just a fun hobby.
Have a good one!
